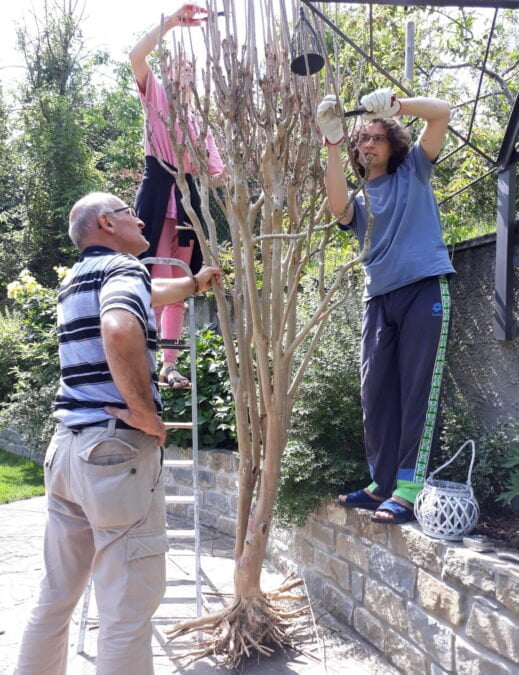
My parents live in the countryside and have a garden full of flowers. They also have a couple of trees, but last year one of them died. It was a lagerstroemia a couple of meters high, with harmonious branches and loads of pink flowers.
When we dug her out of the ground, we saw it had lovely roots as well. So we decided not to throw it away but to use it for a craft project!
Our bedroom had this awkward nook between the wall and bedside table, begging for the perfect decoration. Originally, we dreamt of birch tree trunks, but destiny had other plans – in the form of our deceased lagerstroemia.
This was to become one of our first epoxy resin projects, along with the “Celtica” diorama.
We planned a pedestal the perfect size to fit in our corner. First of all we had to carefully plan the resin pour, since we had very little experience at the time.

Click for the finished project detailed photos

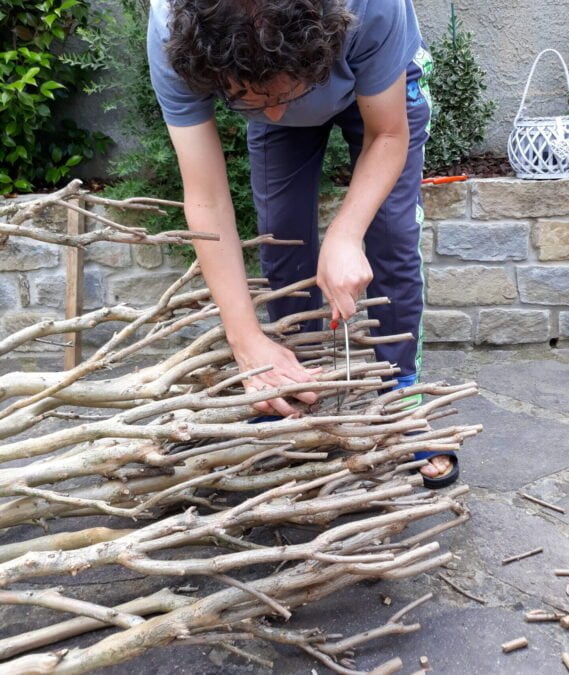
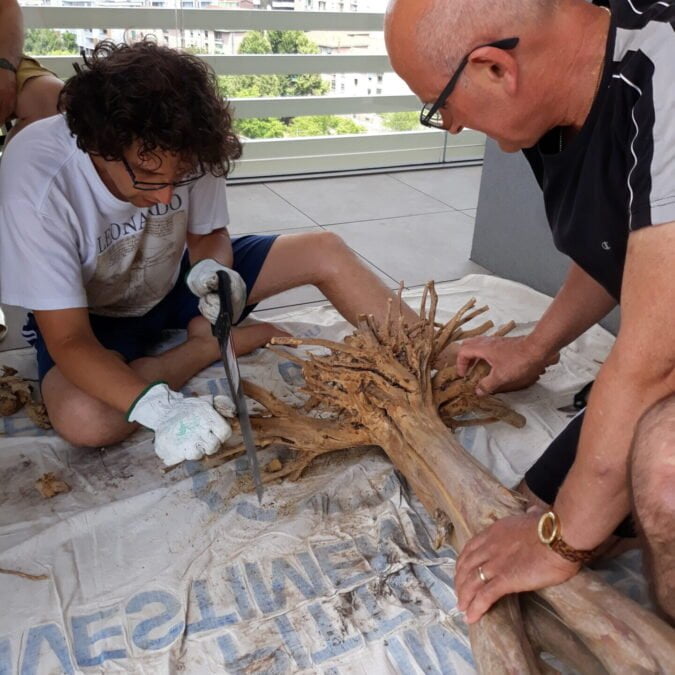
Preparing the tree took a very long time. We dug it out of the ground, cleaned the roots and trimmed both branches and roots, just the gross part. We wanted to start imagining the final appearance of the tree on its pedestal and we also had to fit the tree in my father’s van for transport.
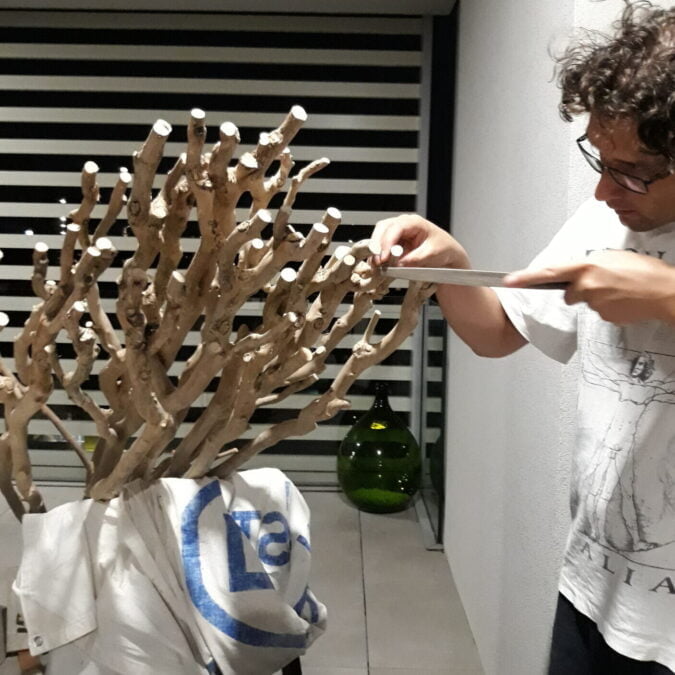
At home, we cut the branches and roots several times to reach the final canopy shape and size. After changing our mind multiple times about the right height of the tree for our bedroom, we started cleaning the surface of each branch and root.
Yes, sanding. That’s always a long part of the projects involving wood. Since I’m very patient and I like precision, I’m always in charge of the refining process, while my husband begins it with gross tools.
Next, we cut a base for the tree from a big tile, just the right shape and size to fit in out bedroom next to my husband’s night table. We secured the tree in the middle threading screws from the bottom up, making sure the head of those screws didn’t emerge from the tile, not to ruin the floor. Also, my husband added felt pads under all the tile surface.
Then, before painting, we let the tree rest in a dry place for a few months, just to be sure it didn’t change size over time. That was a wise idea: in Autumn, a few cracks appeared at the base of the trunk, just where the roots begin. Nothing scary for the stability of the wood, and also not a problem for aesthetics. Indeed, we decided to turn them into a feature. It’s a pity they were a small number!
While painting, the cracks were the first parts we took care of.
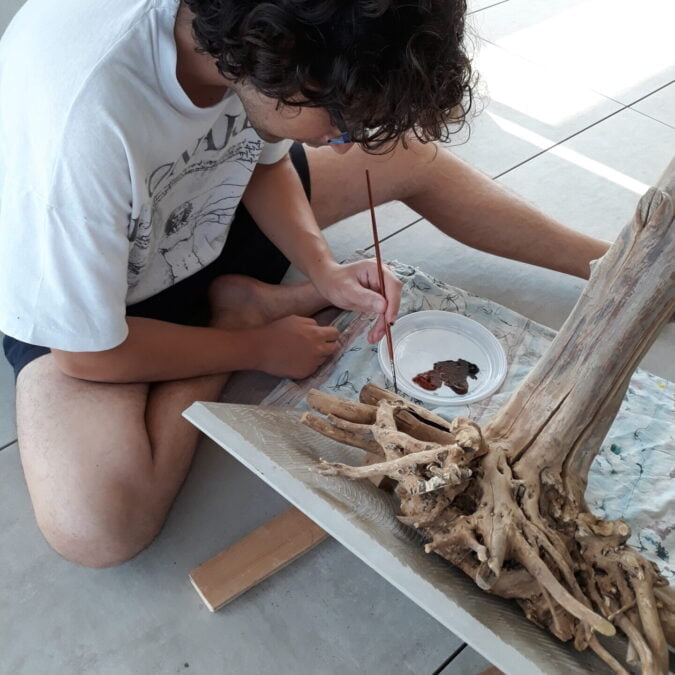
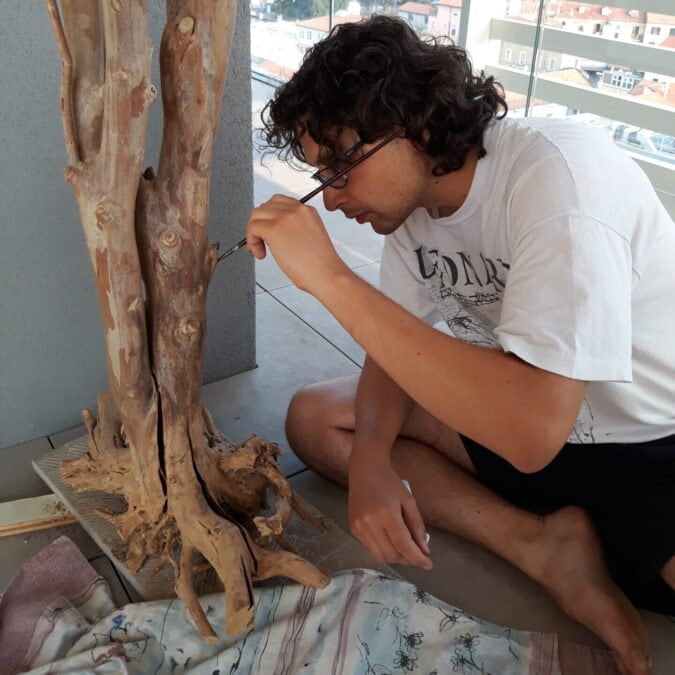
My husband painted all of them black inside, just to make them stand out. I have to confess I was not so sure of the outcome before beginning, but when finished I found them gorgeous. This is why I said it’s a pity they were just a few.
But we didn’t want to open cracks ourselves just to be able to paint them: that could have been a real damage to the wood.
Well, speaking of paint: we decided to give the tree just a layer of opaque transparent paint, mainly to protect the surface and improve durability. This paint also made the natural color stand out.


With our tree ready, the next step was the most exciting and scary one at the same time: epoxy resin.
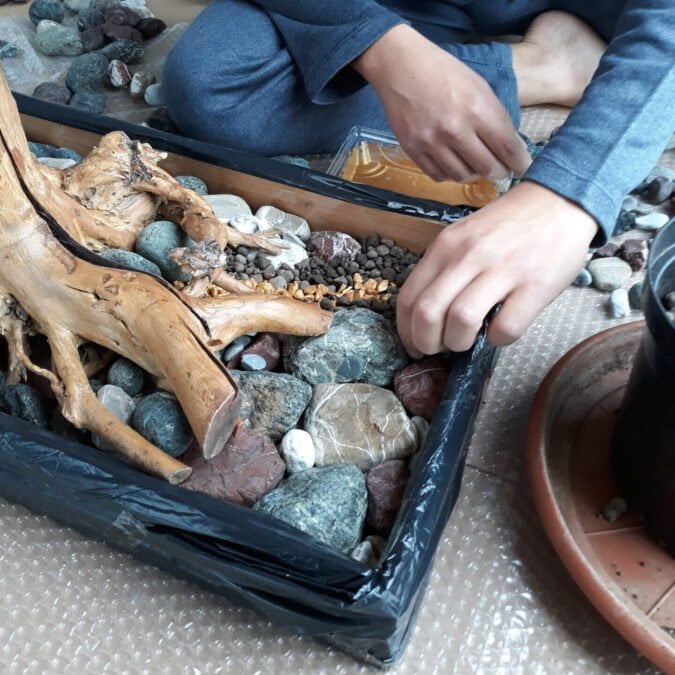
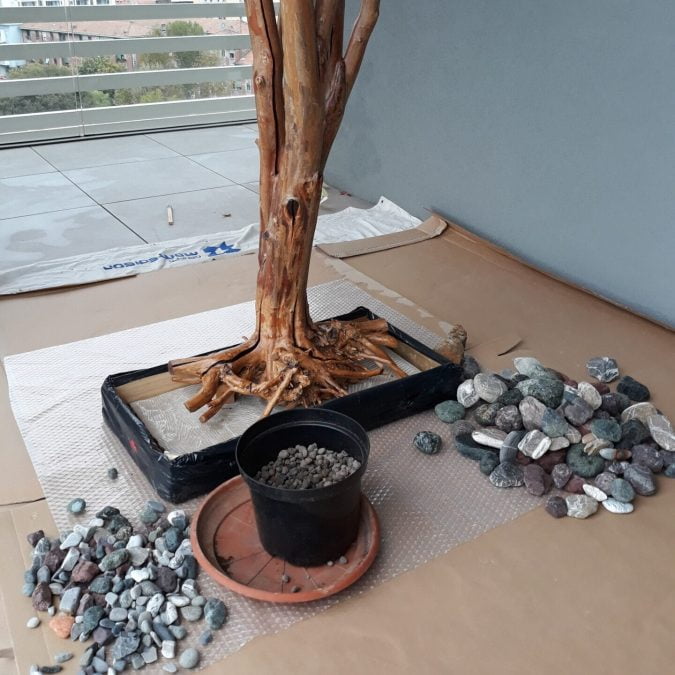
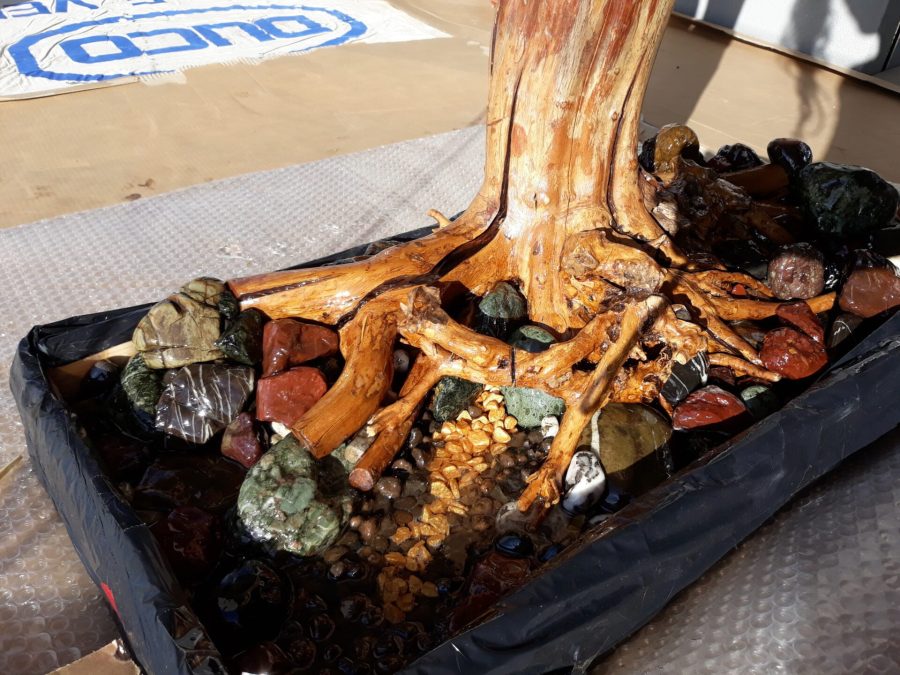
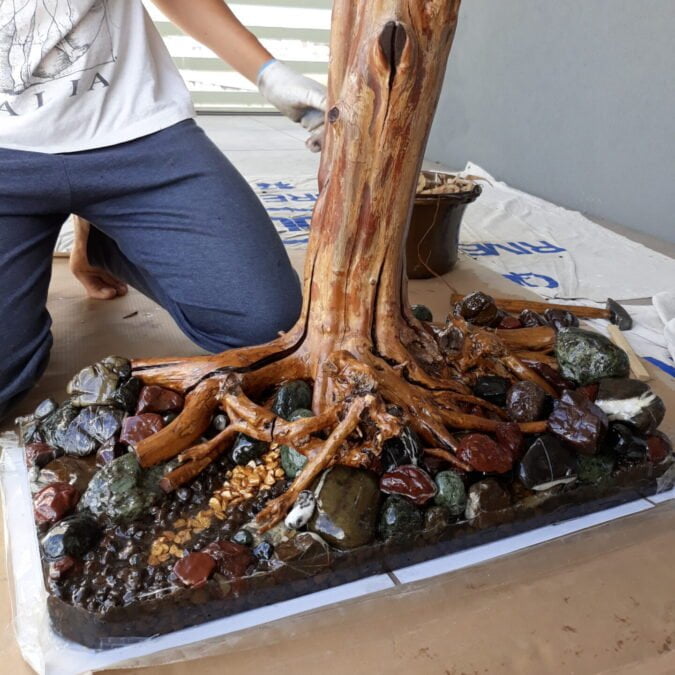
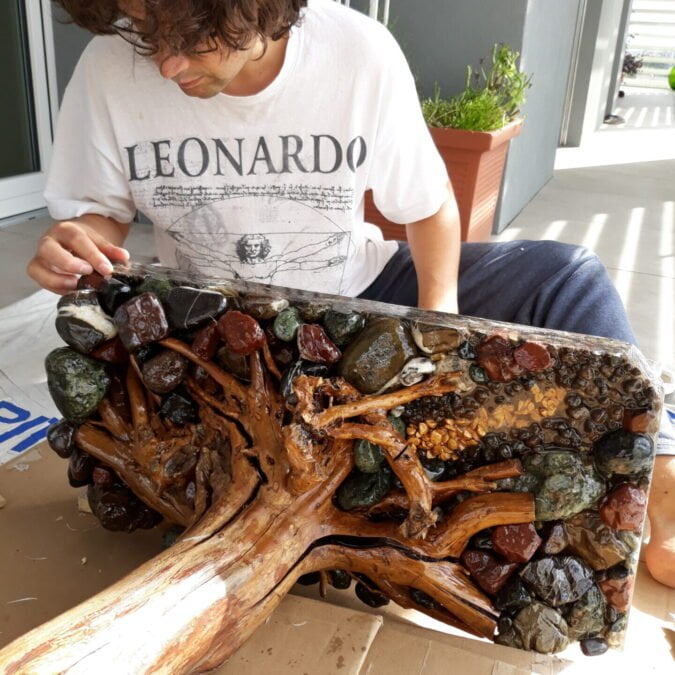
We’ve been on the shores of a river collecting colored rocks during the summer, of any shape and size. I didn’t weigh them, but we came home with a few kilograms at least! My husband painted a few of the smaller ones with gold acrylic: his idea was to place all of them under the roots to simulate a clear stream flowing from the roots with a gold vein underwater.
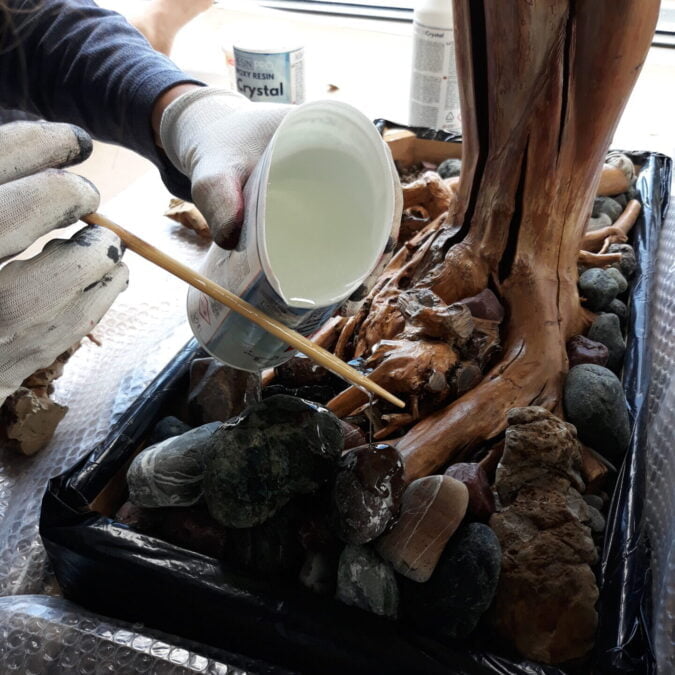
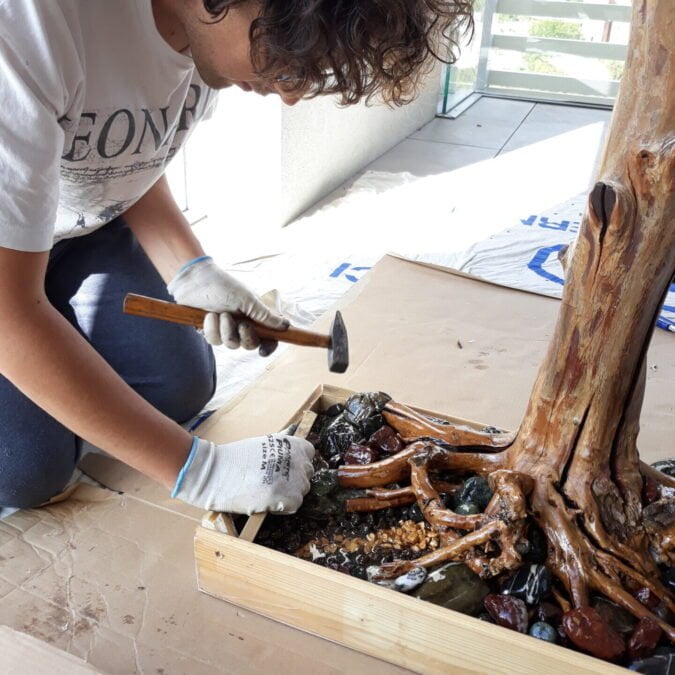
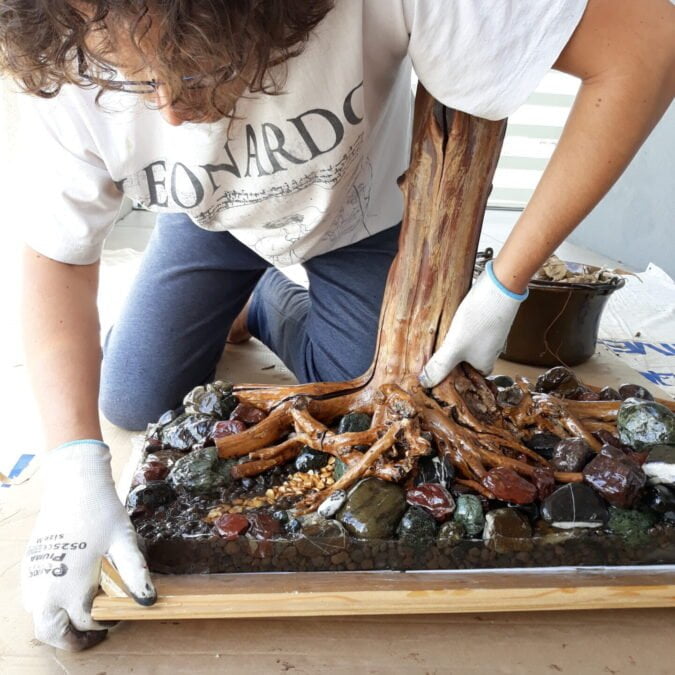
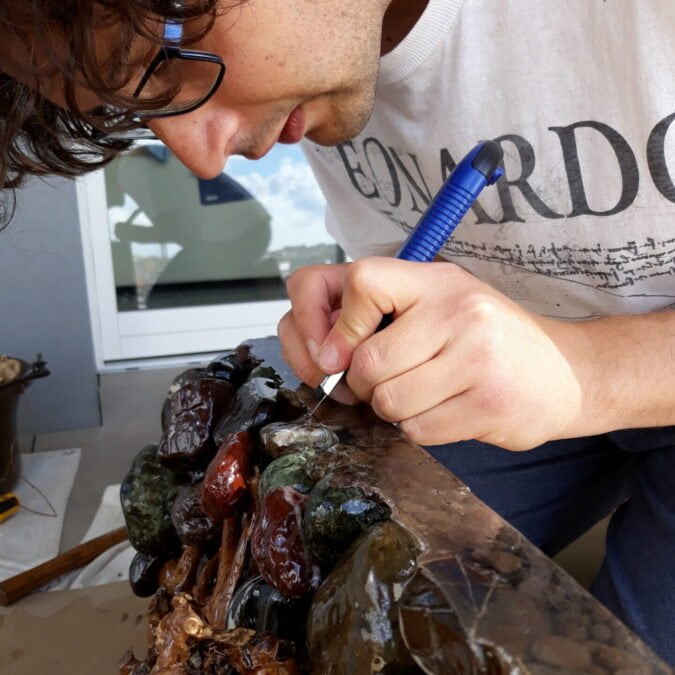
First, we made a mold around the tree and its base for the resin pour, then placed all the rocks. I suppose we’ve been little maniacs while taping it to prevent leaks! But that was our first big pour, so better safe than sorry!
We poured just a thin layer, we didn’t need a thick pour since the resin flowed through the rocks and reached easily the desired thickness. When dry, we removed the mold and we were both proud of the result! Just a small finishing of borders and corners, and our resin tree project was done!
This project needed more time for the preparations than for the core, that’s the resin pour. I suppose it’s the normal way. We both enjoyed the process in its whole and the final result.
What about you? What do you think of this home ornament? Let us know in the comments!