
For us, 2020 was the year of epoxy resin. We mainly focused on creating a mountain diorama and a pedestal for a bedroom decoration that involved using a dead tree from my parents’ garden, along with a few smaller projects. But one type of craft my husband had been drawn to for a long time was epoxy resin beach art.
Epoxy resin beaches are a popular craft that combines the fluidity and transparency of epoxy resin with pigments, creating layers that mimic the depth and beauty of ocean waves. These creations often include elements like sand, seashells or small decorative items to enhance the realistic effect of a beach scene, though the design possibilities are endless.
My husband had admired many of these resin beach artworks. Inspired by the beauty of those pieces, and confident after our previous resin and acrylic pouring projects, he decided it was time to bring his own beach vision to life.
The process of creating a resin beach involves patience and precision. The resin must be poured in layers, with each one needing to cure just enough before adding the next to create depth and separation between the different shades of water. The use of various tools like heat guns or hairdryers to manipulate the resin adds another level of skill. The end result is a stunningly detailed, almost three-dimensional portrayal of a shoreline with waves breaking over the sand.

Click for the finished project detailed photos


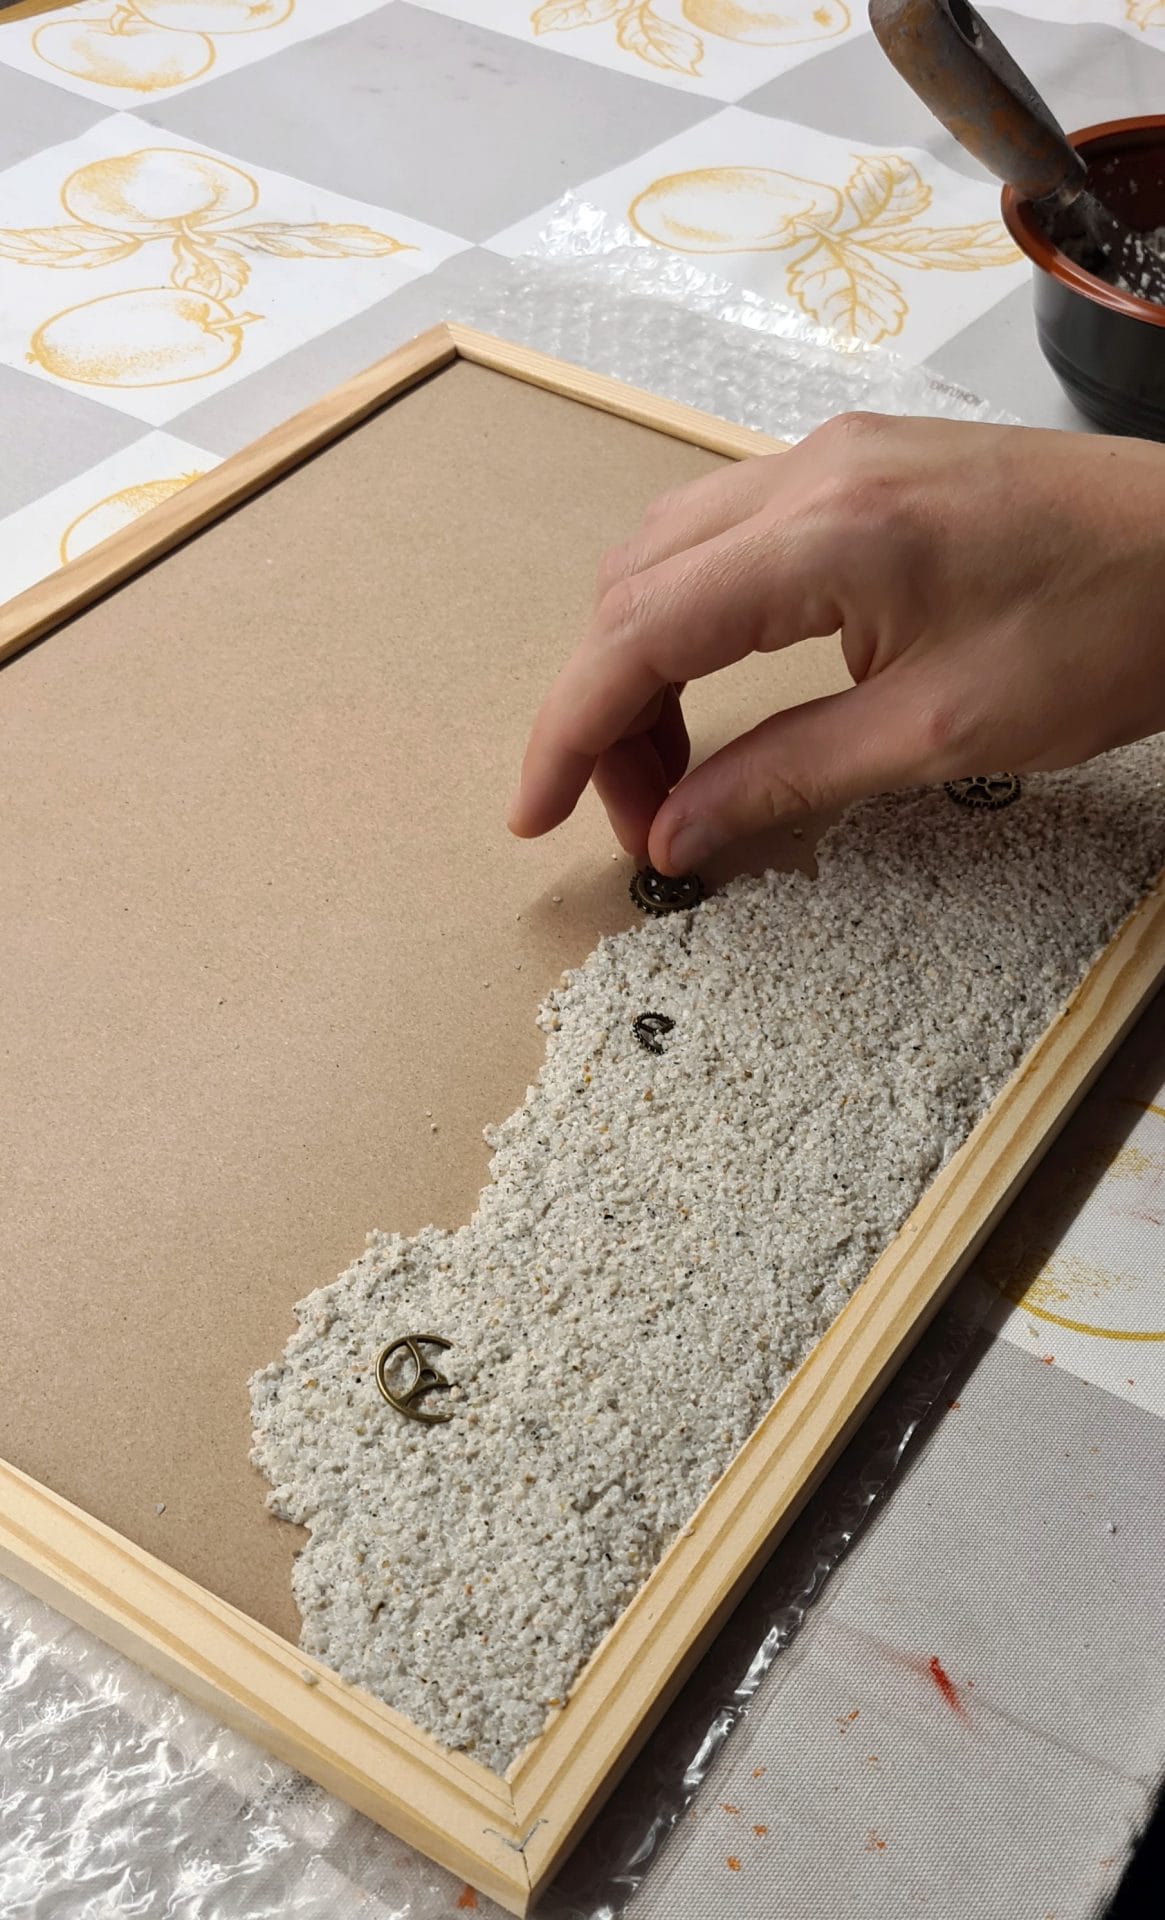
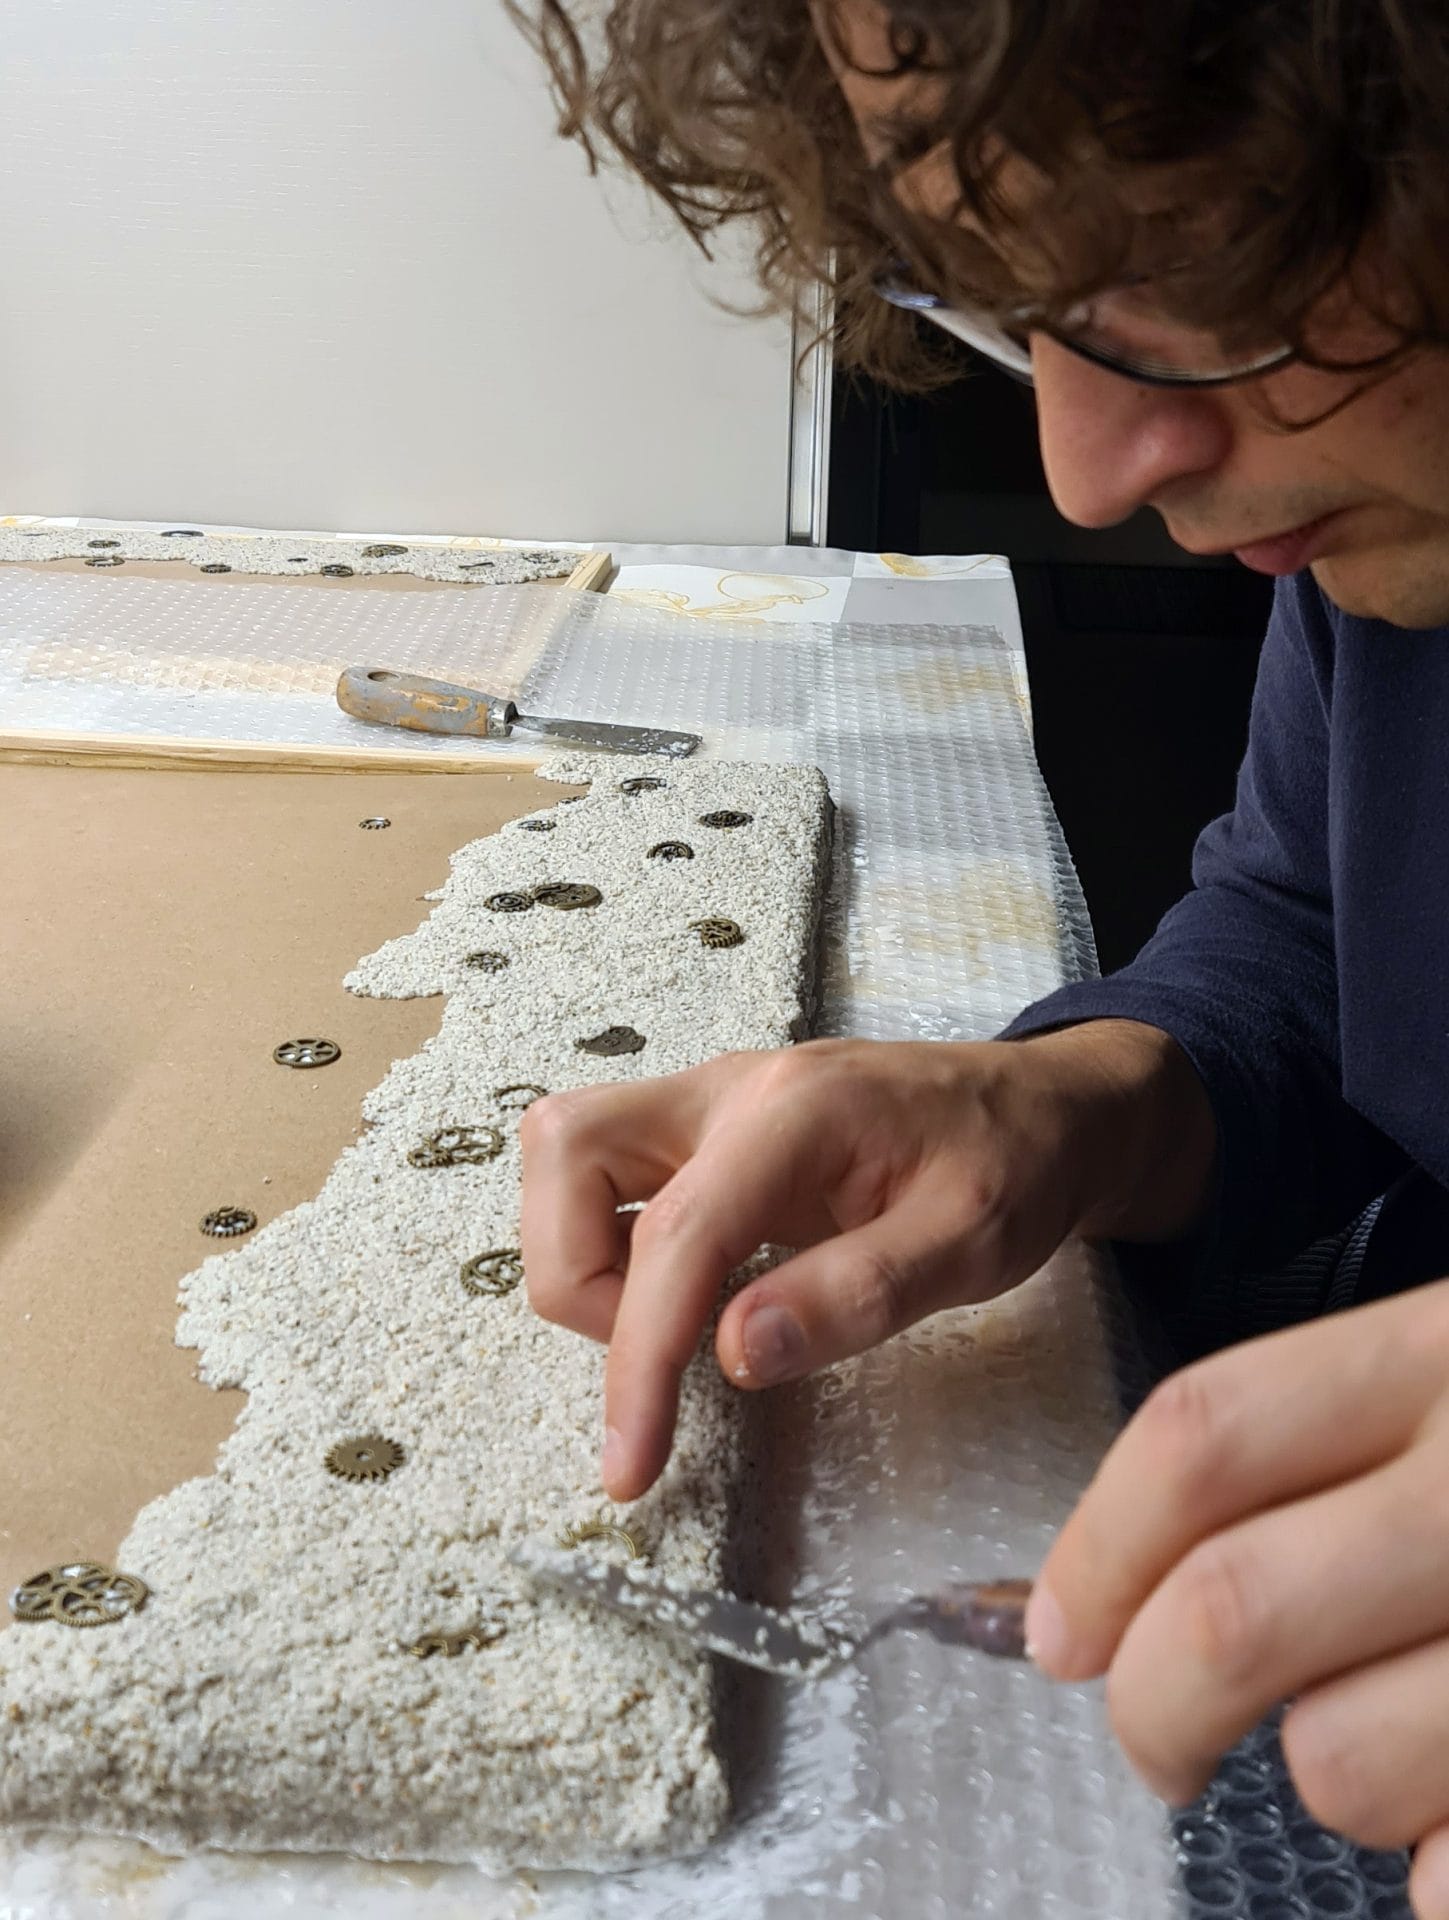
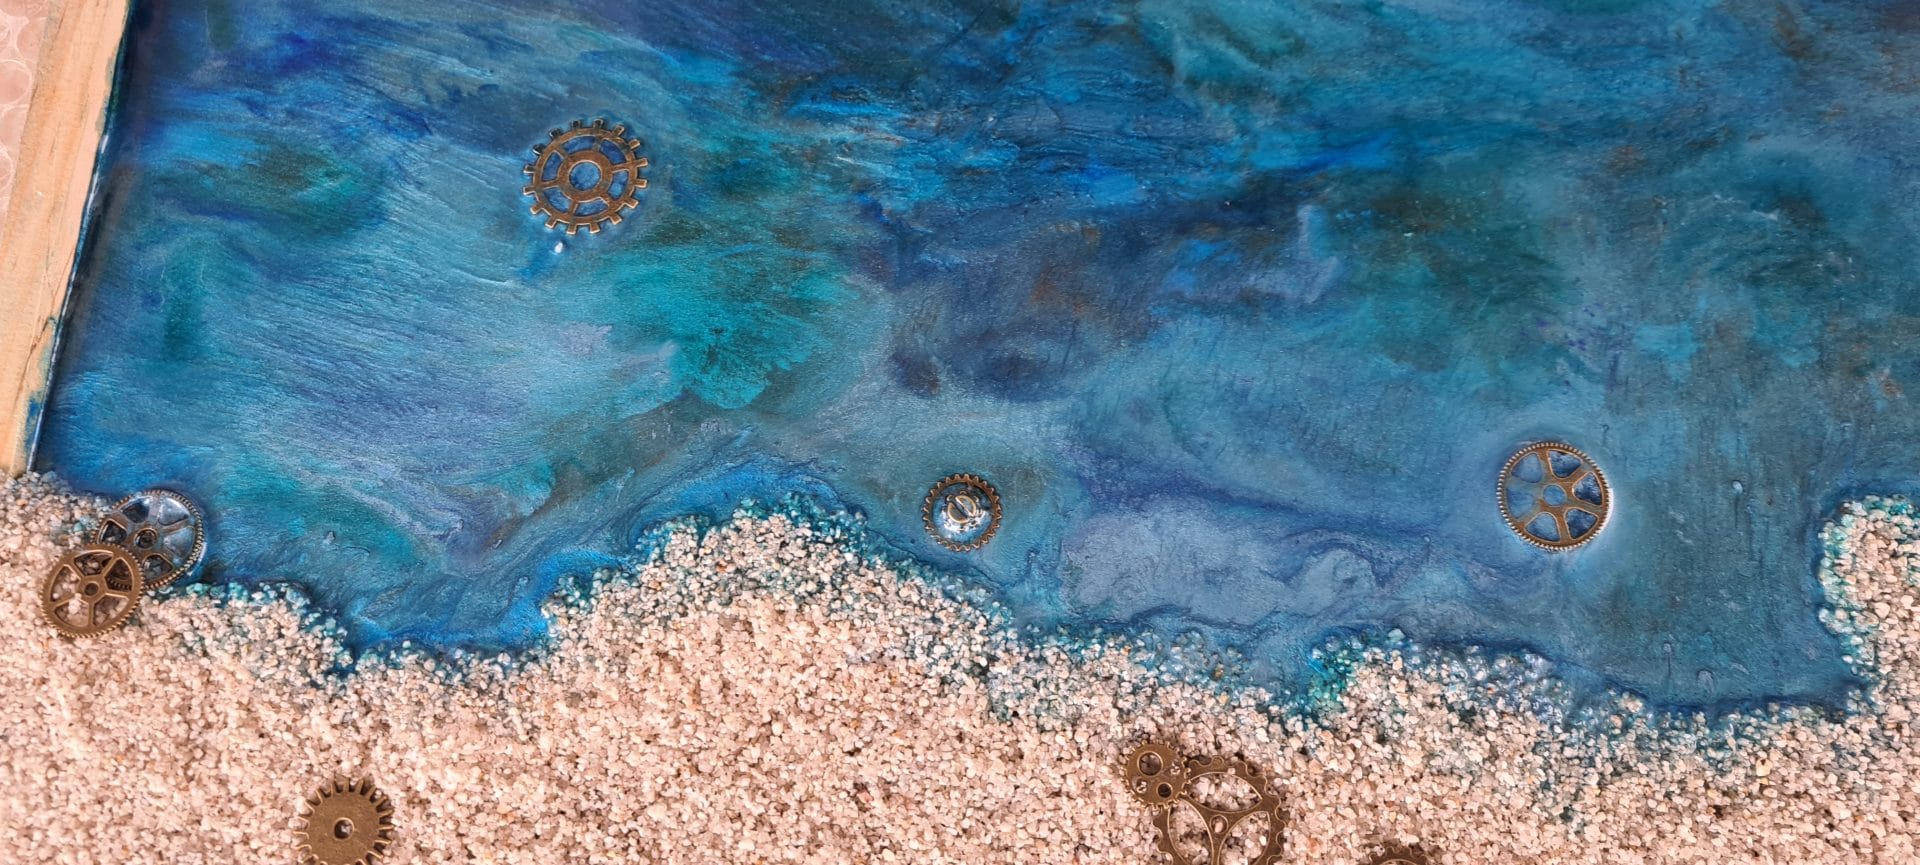
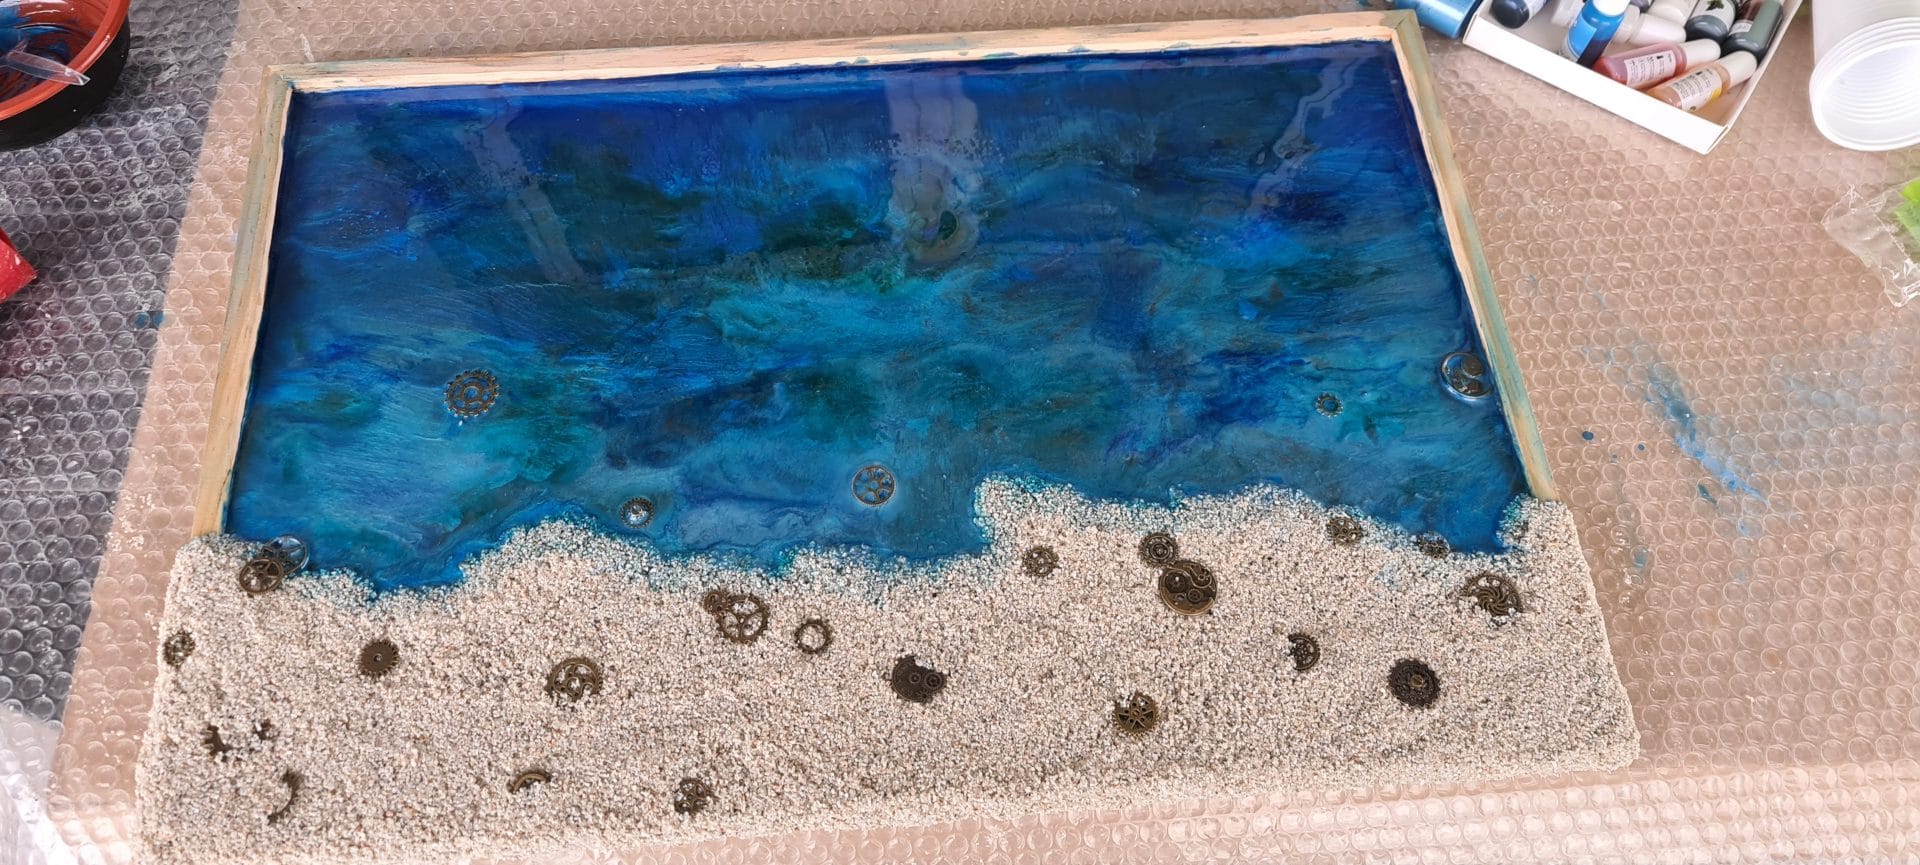
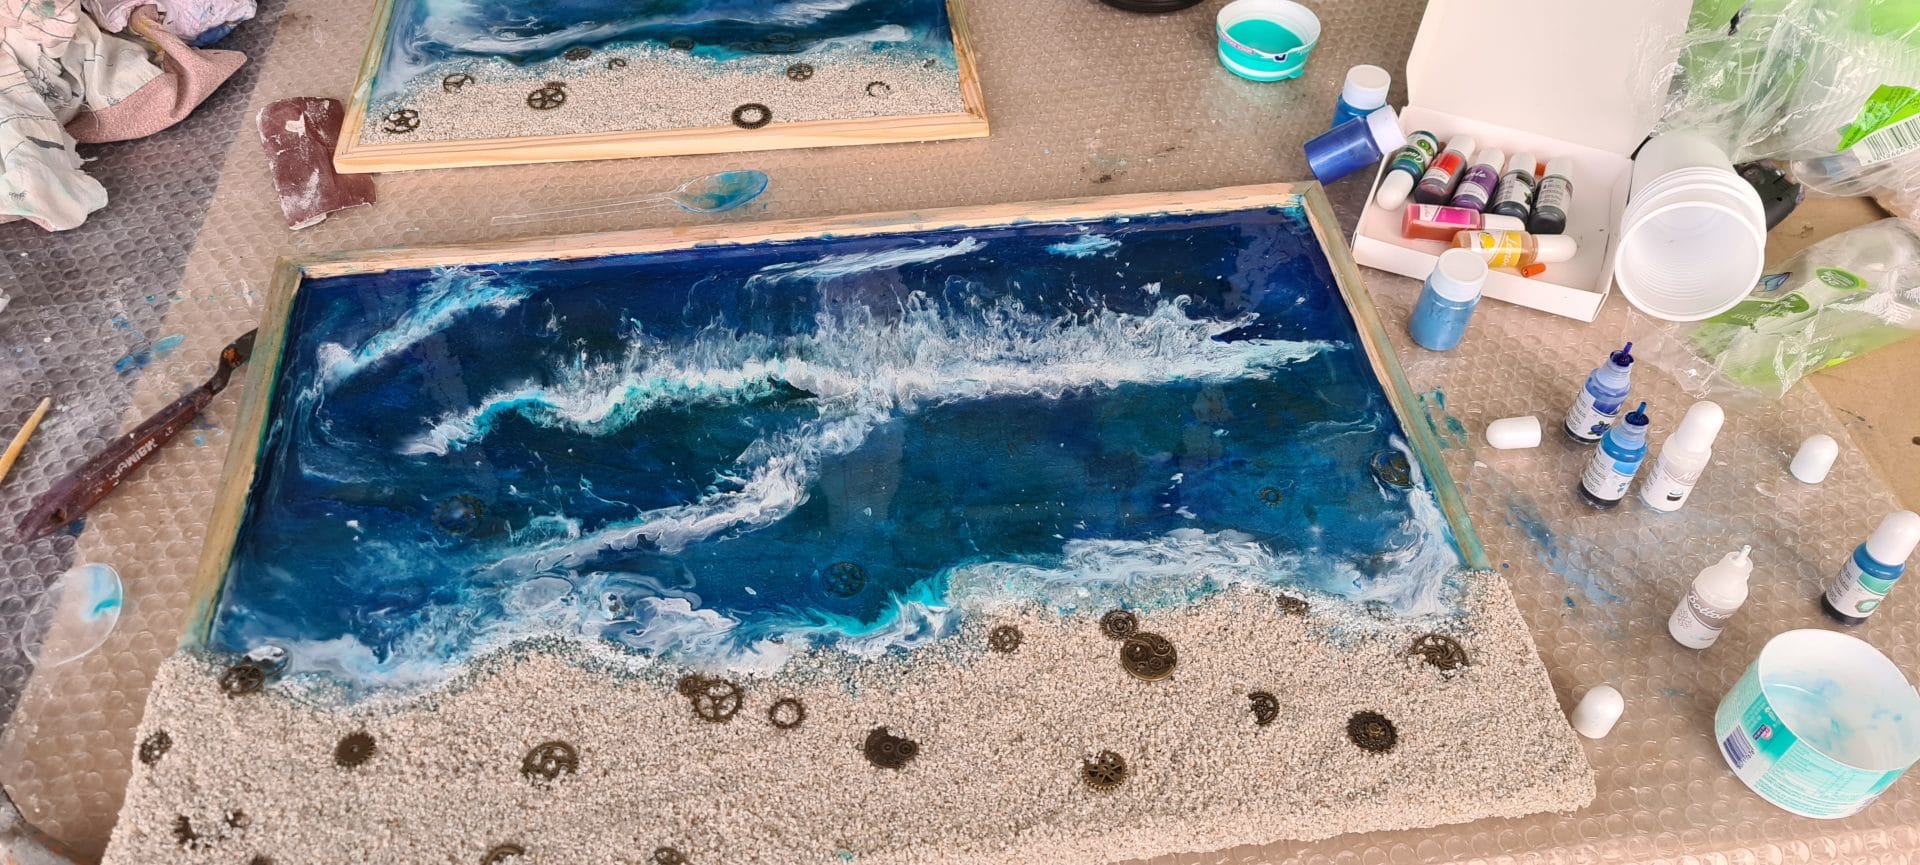
The first step was choosing the right frame. Since the beach scene would involve layering sand and resin, he picked a frame with a thick enough border to hold the materials securely, but also thin enough to avoid making a bulky hanging. The sand itself was special: white sand he had brought home from an overseas business trip. Not too fine, but just the right texture, it gave the beach scene a realistic and materic touch.
To apply the sand, he mixed it with vinyl glue, carefully sculpting the shoreline within the frame. A creative detail was allowing the sand-glue mixture to overflow slightly, covering the edges of the frame. This made the beach look like it naturally extended beyond the borders, blending the artwork into the frame itself.
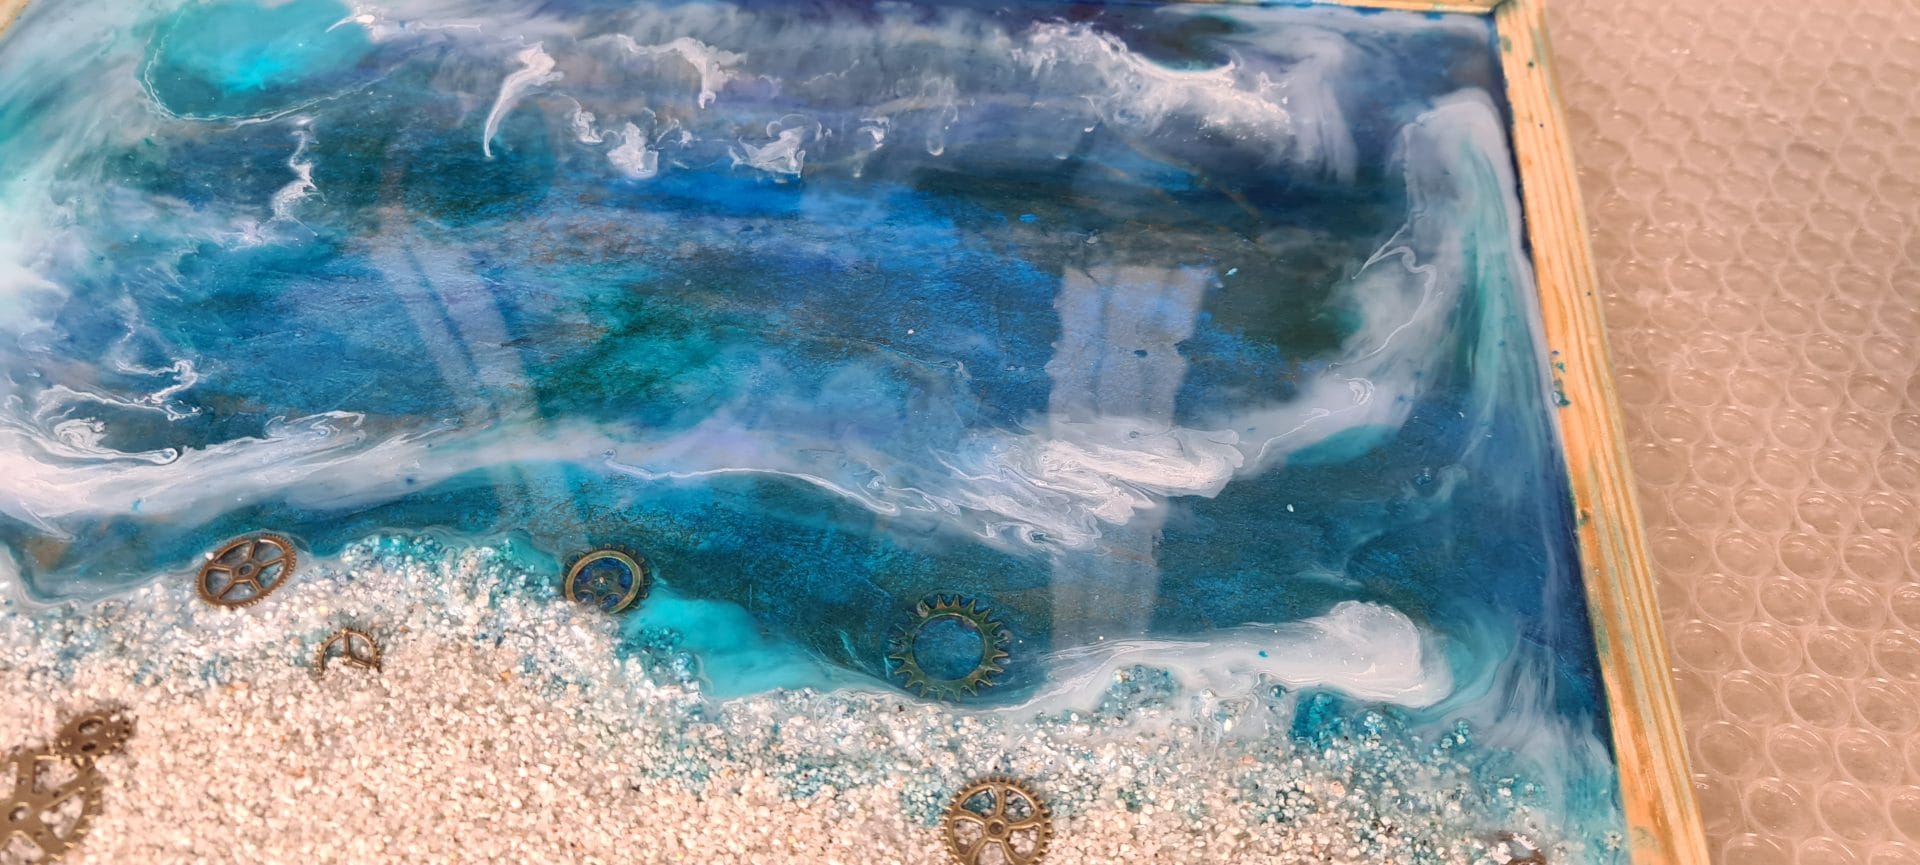
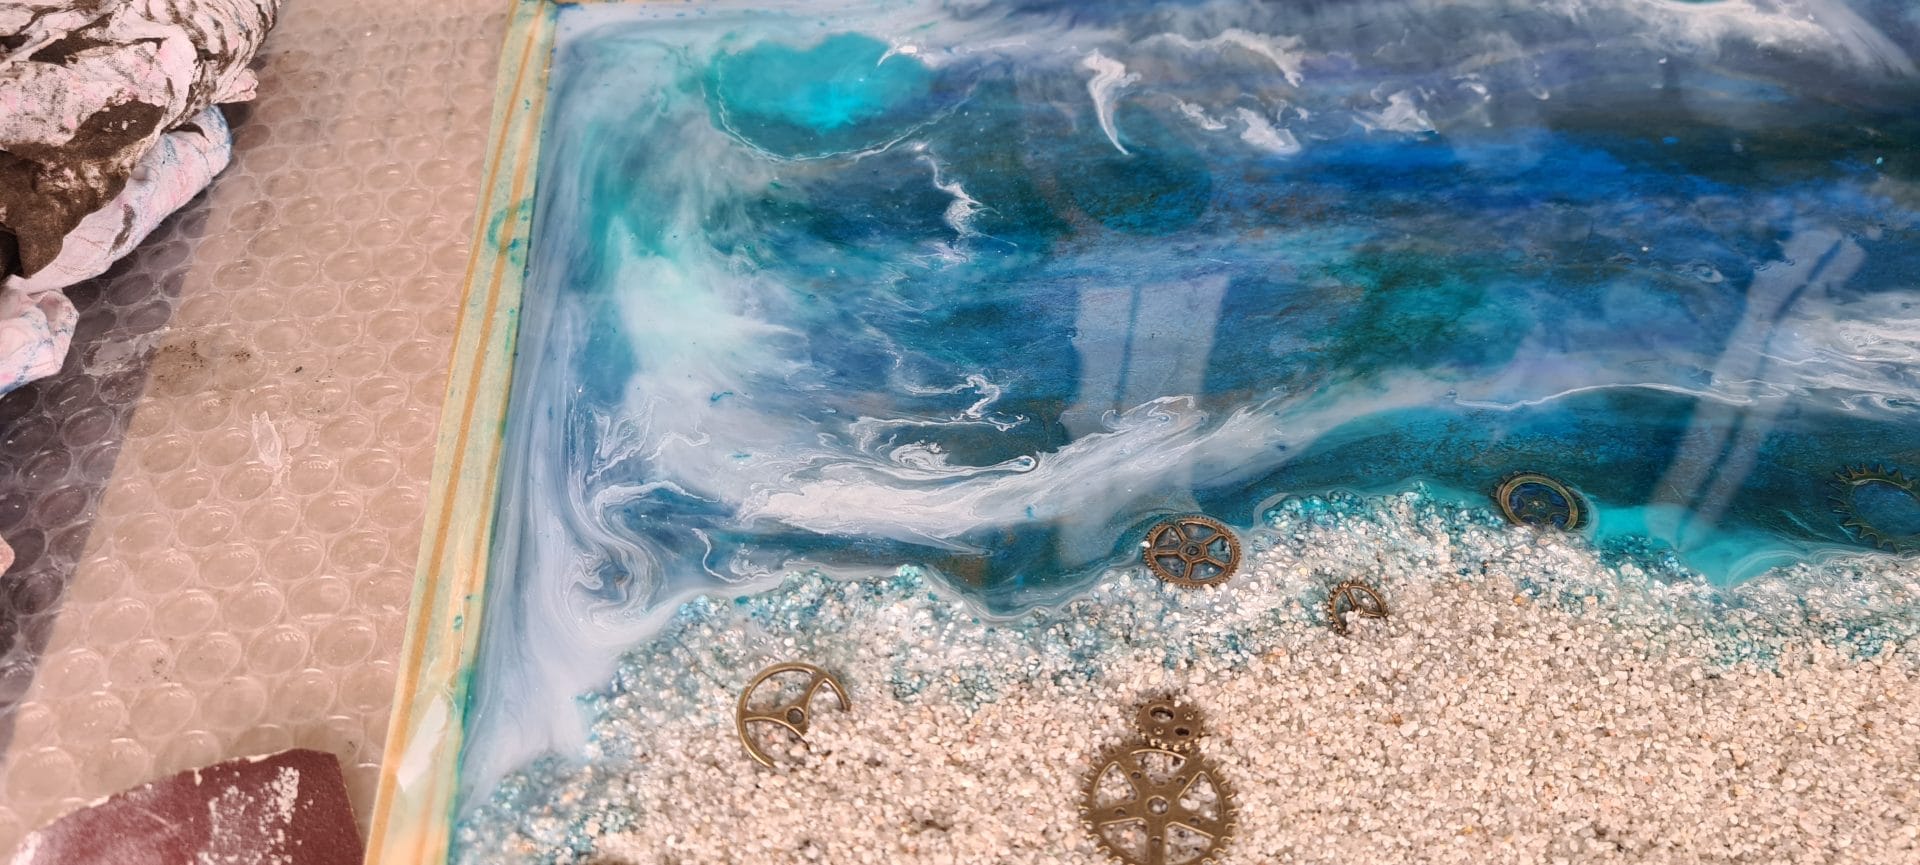
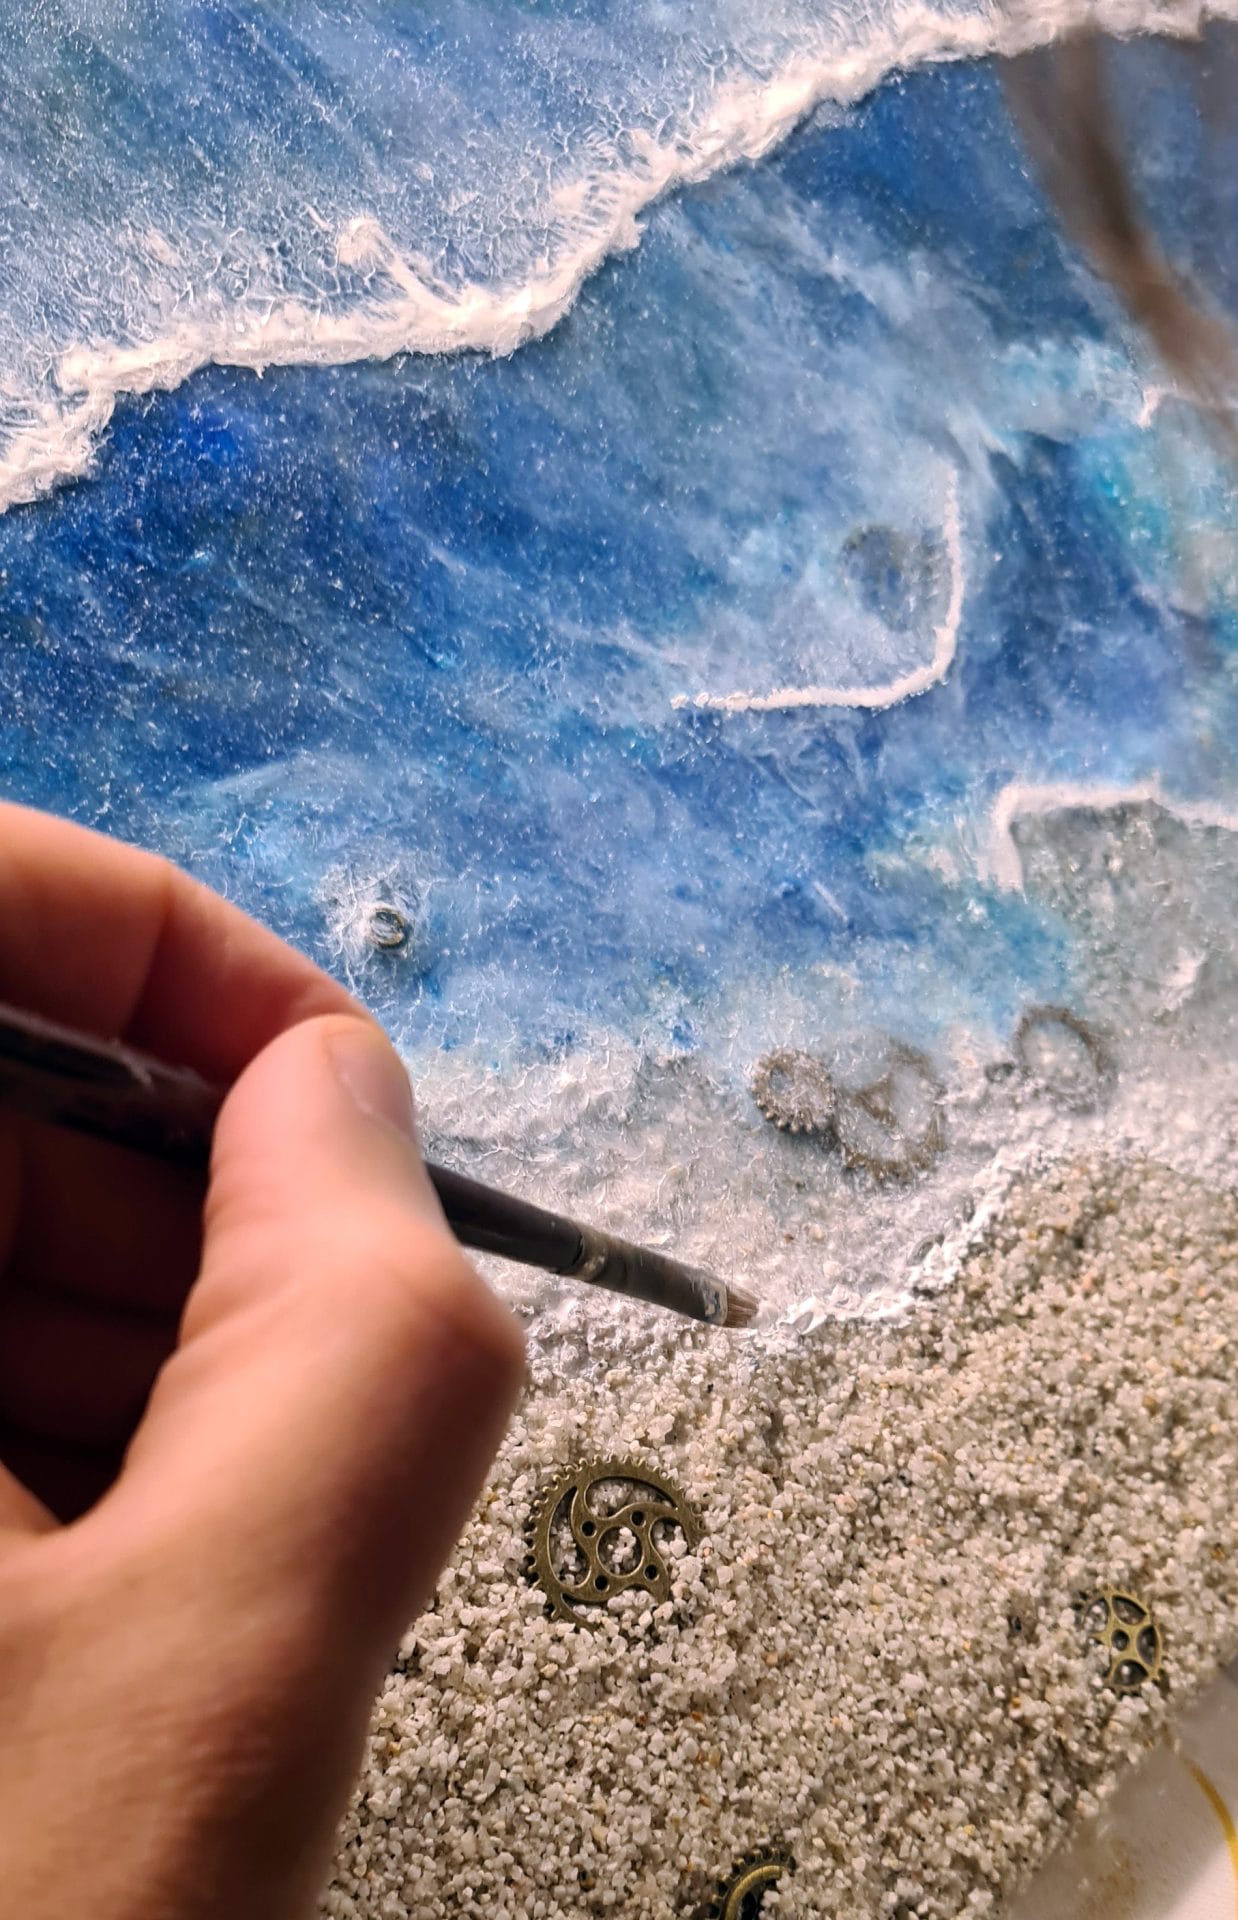
One personal decision he made was to forego the traditional seashell decorations that often accompany beach-themed art. While seashells are beautiful, they didn’t quite fit the style of our home. Instead, he chose tiny gears: an unexpected but delightful twist that gave the beach a fantasy or surreal feel (a bit steampunk, perhaps), adding a touch of imagination to the scene.
The most technically challenging part of the project was the epoxy resin itself.
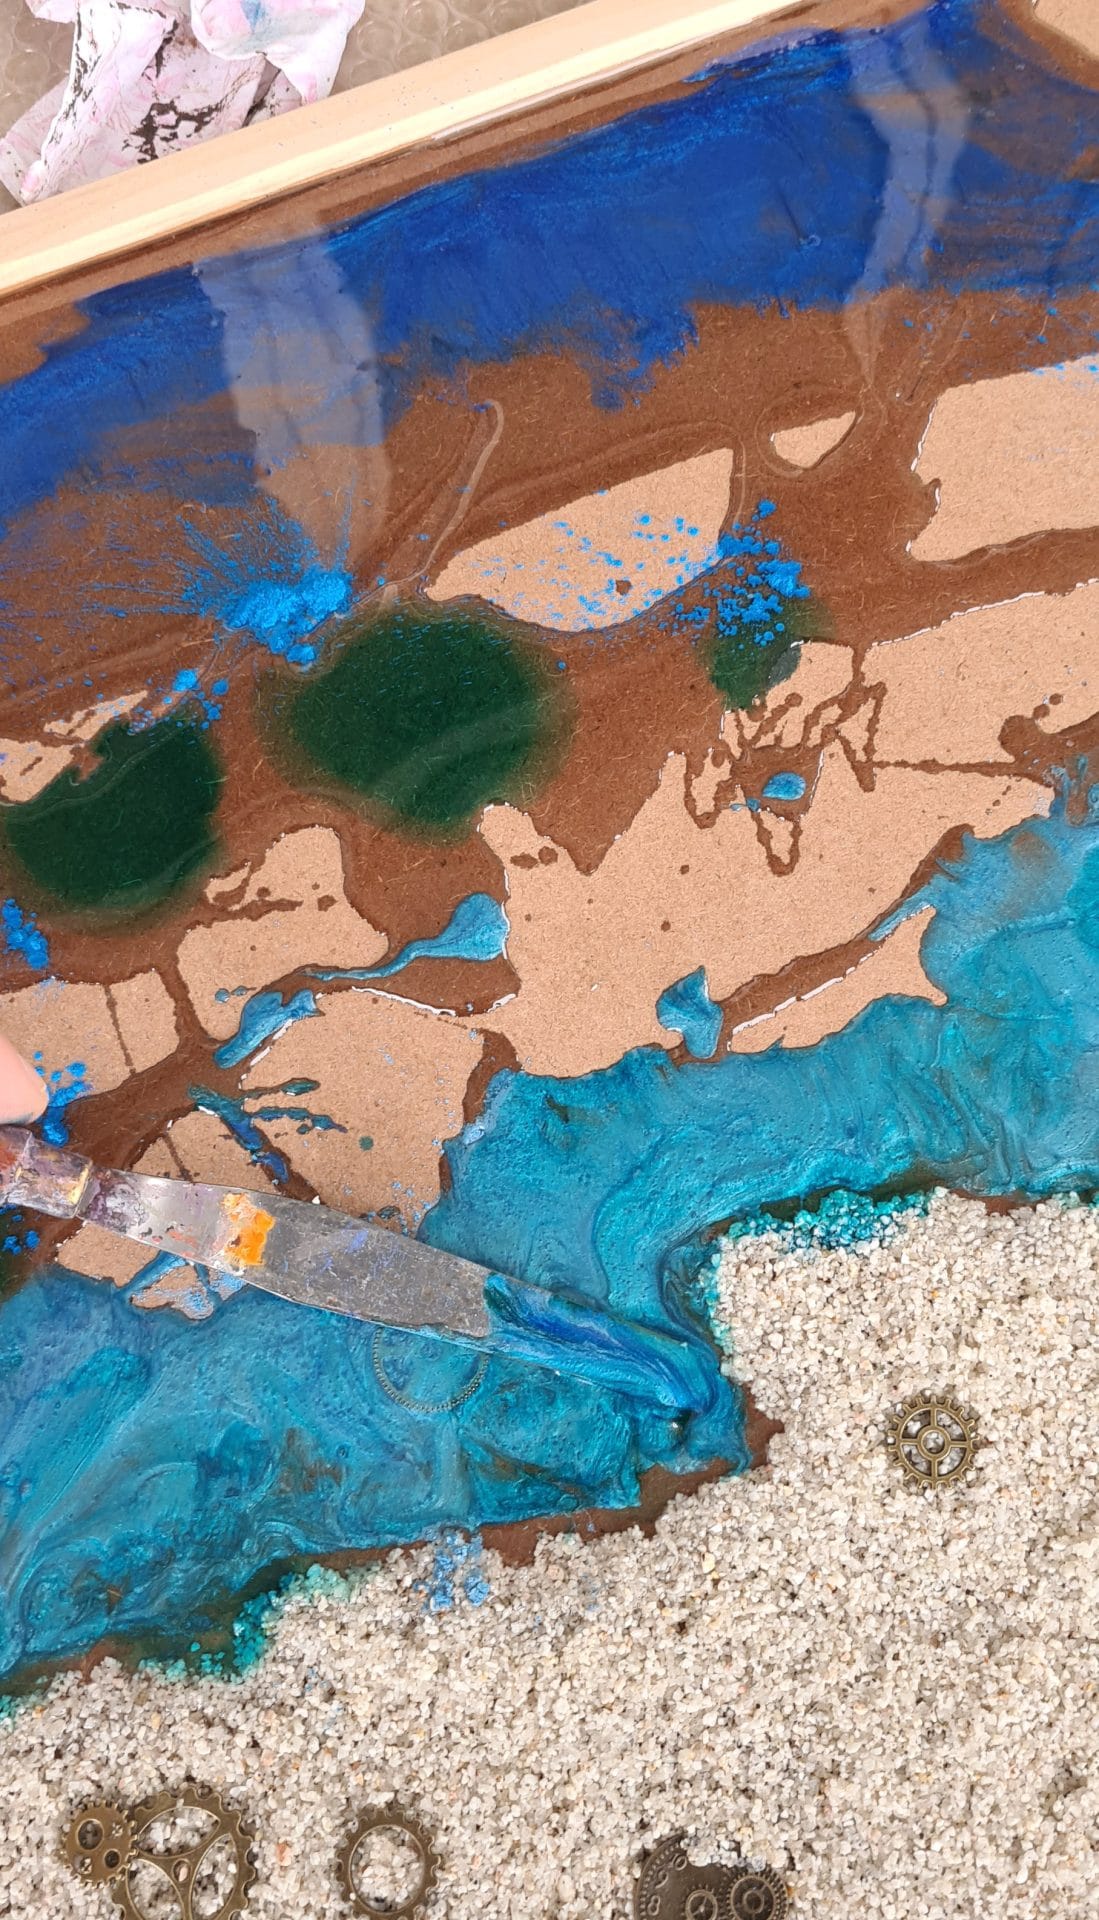
Creating a beach scene using resin isn’t just about pouring layers one on top of the other. It requires a delicate balance of timing and precision. Each layer of resin had to be poured at just the right time, when the previous one was cured enough to avoid blending, but still slightly pliable so that the layers could merge seamlessly.
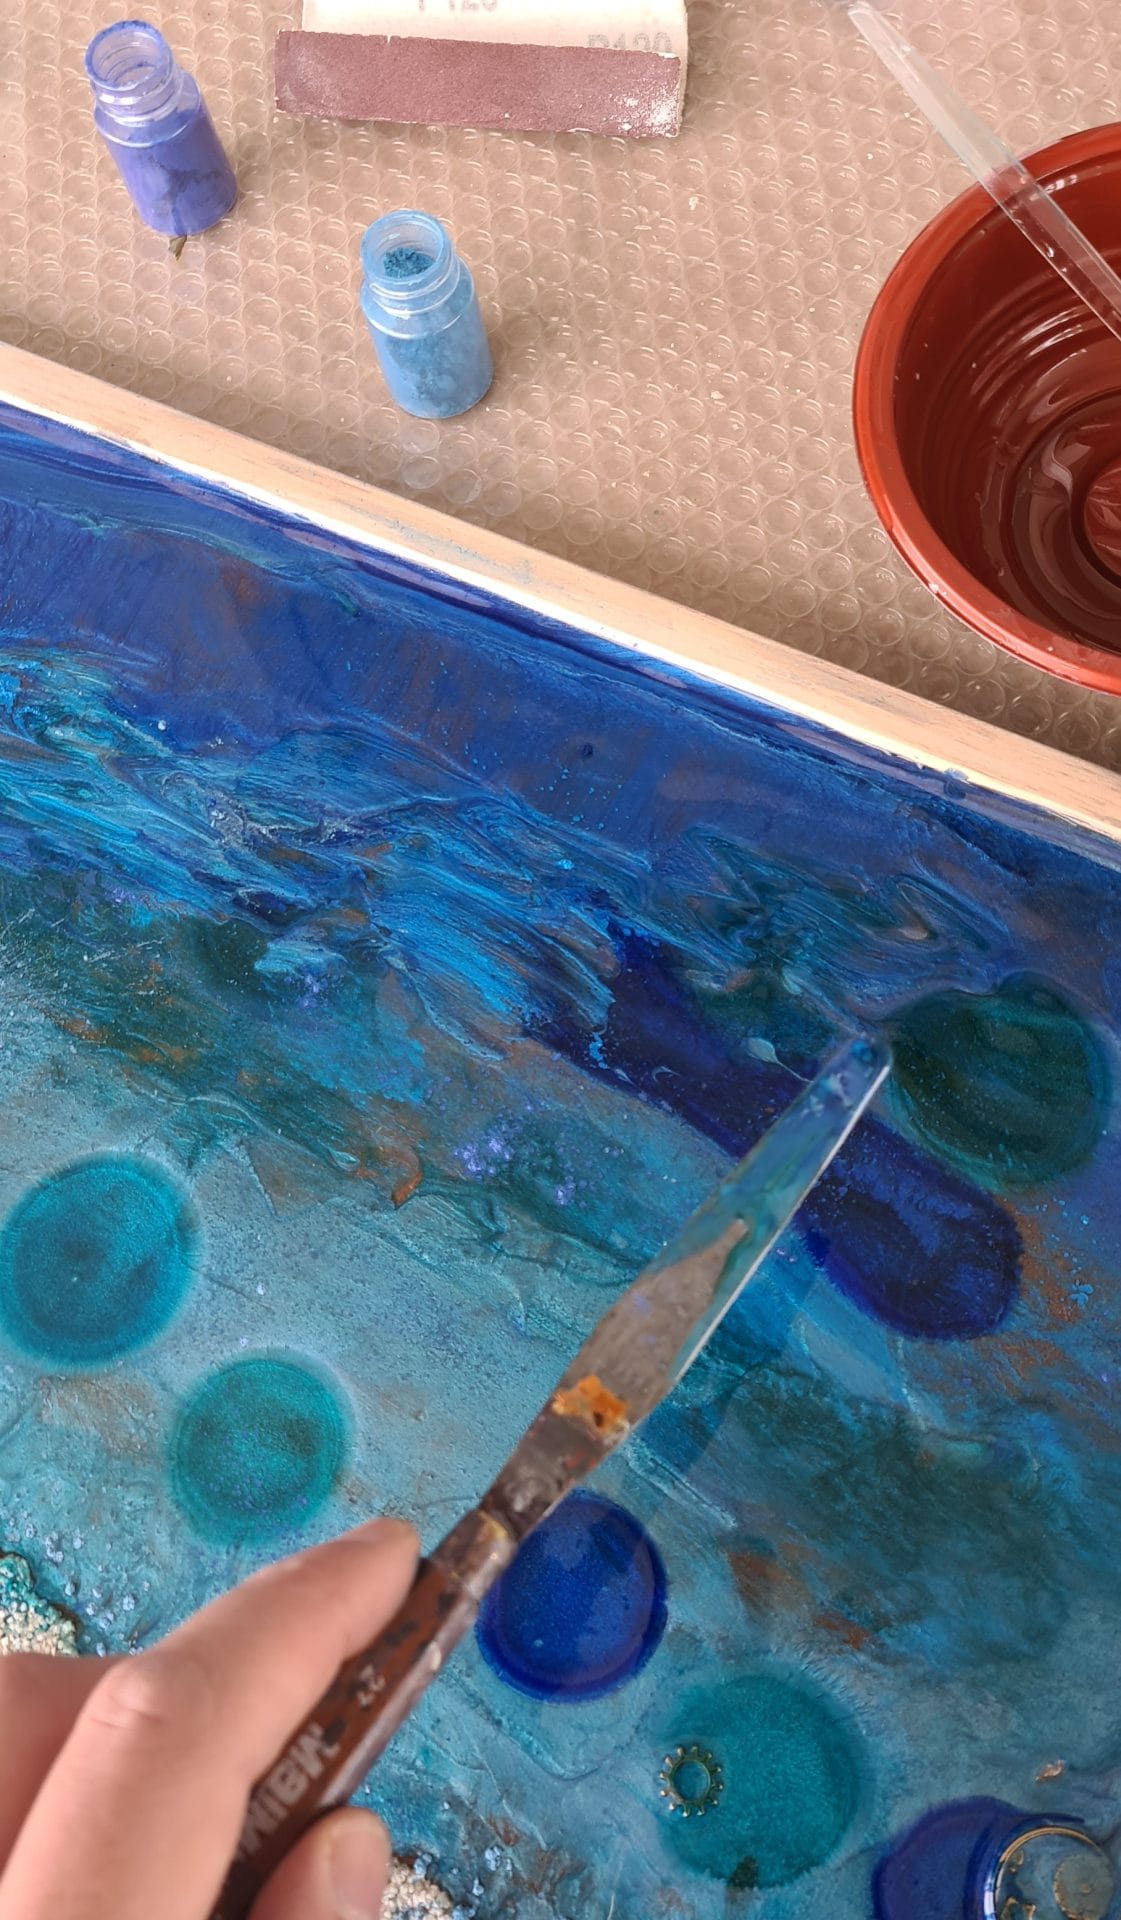
To capture the color and movement of the ocean, he used various shades of blue and green, choosing mica powder pigments to give the resin a shimmering, watery effect. He first painted the base of the frame in the colors of deep sea, to avoid seing a wooden texture at the bottom. The resin layers needed to cure one at a time, building up the depth of the water with each addition. As the layers accumulated, the scene began to take on a three-dimensional effect, allowing you to feel the depth of the ocean and the gentle transition from shallow shorelines to deeper waters.
Simulating the movement of waves was another exciting part of the process. Instead of relying on the resin’s natural flow, he used a hairdryer to blow the resin gently in different directions, mimicking the flow of water. He also used a thin spatula to stir and create subtle ripples, allowing the waves to form naturally.
One of his favorite tricks was to tilt the frame slightly, guiding the resin to move like water. The result was a dynamic scene where the waves appear to be in constant motion, giving life and energy to the artwork.


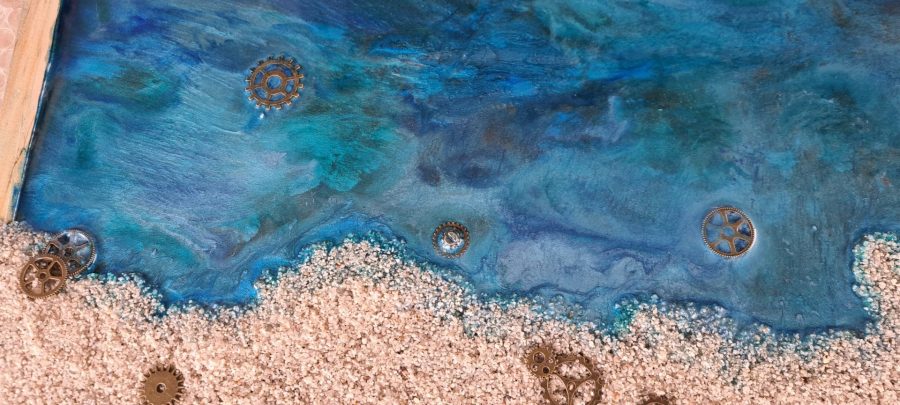
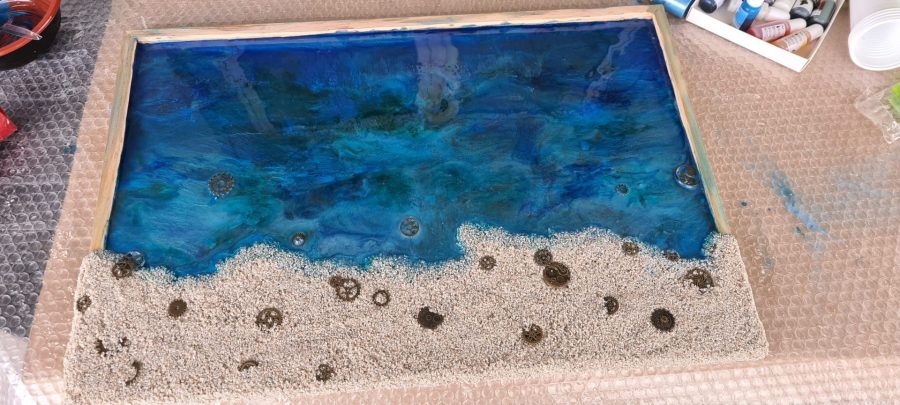

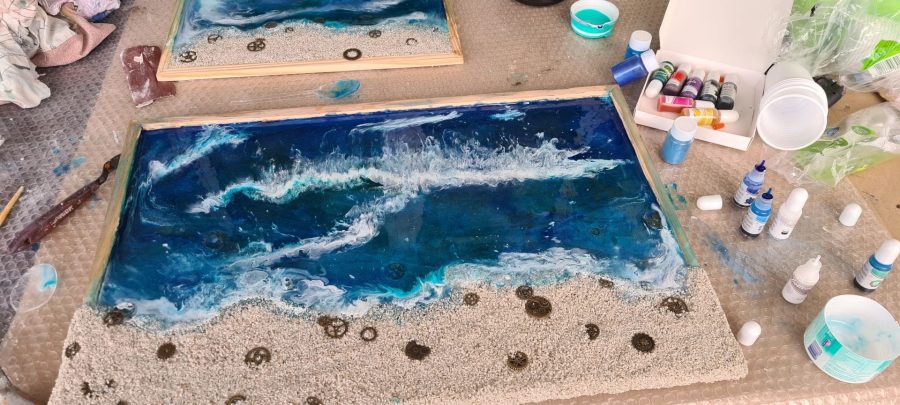
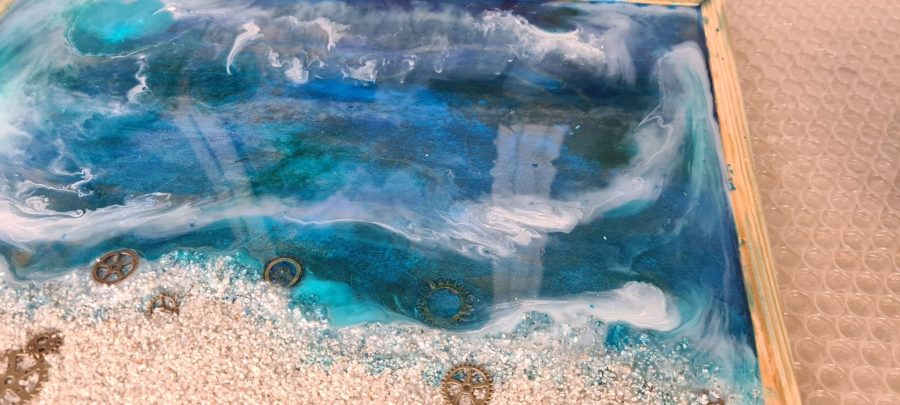
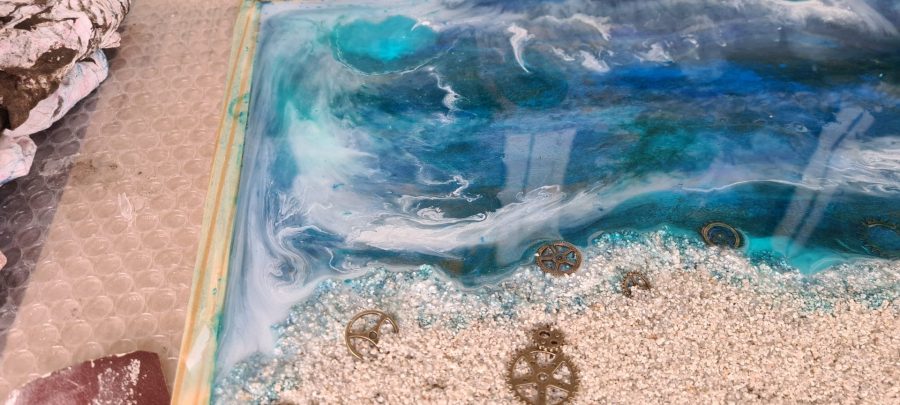


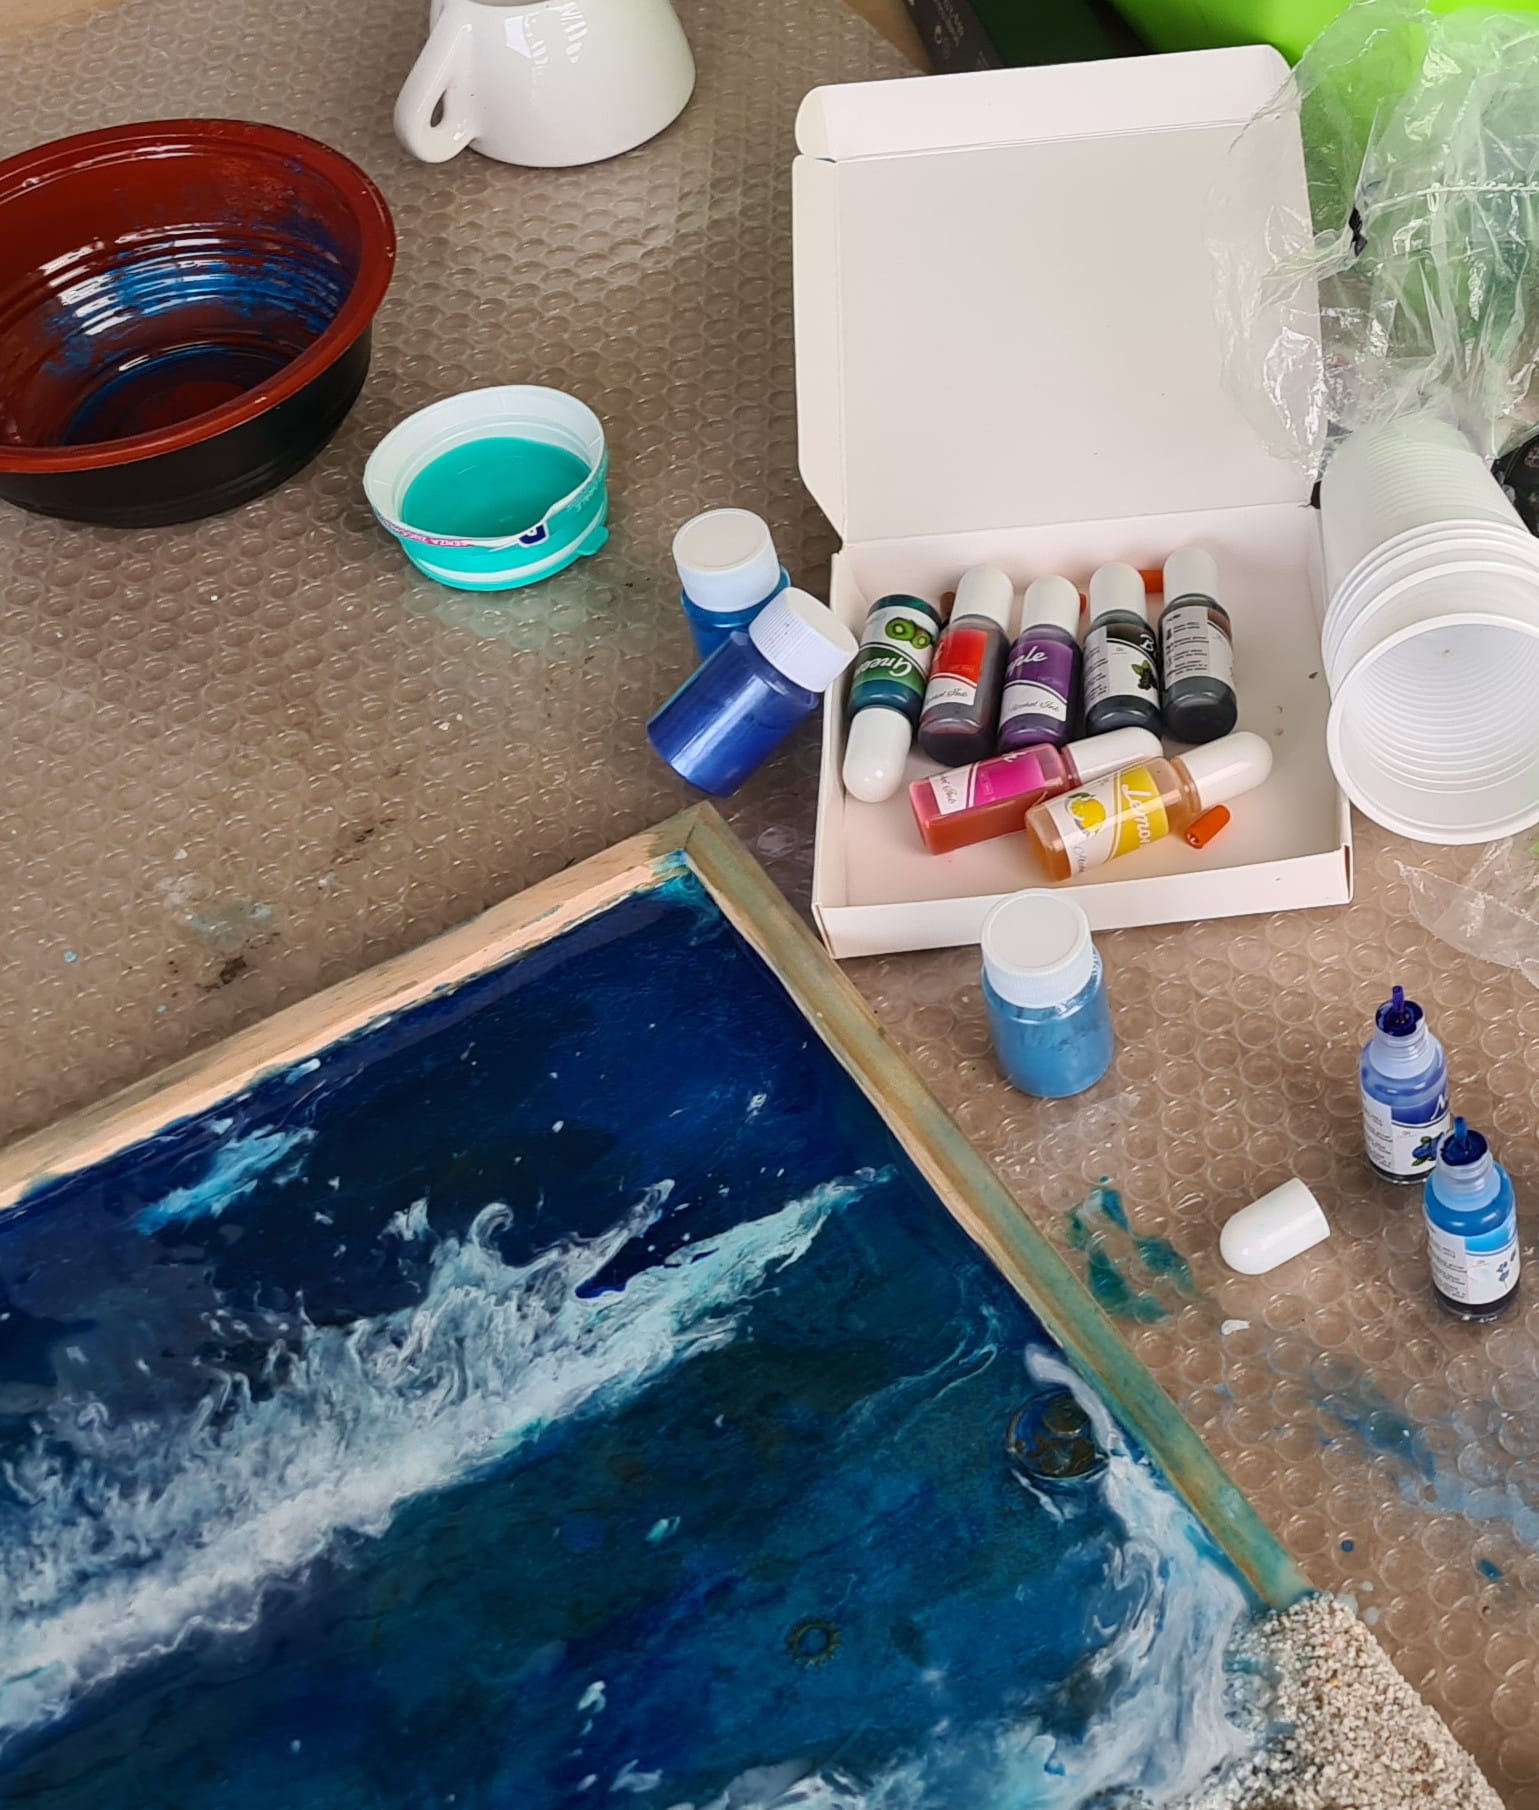
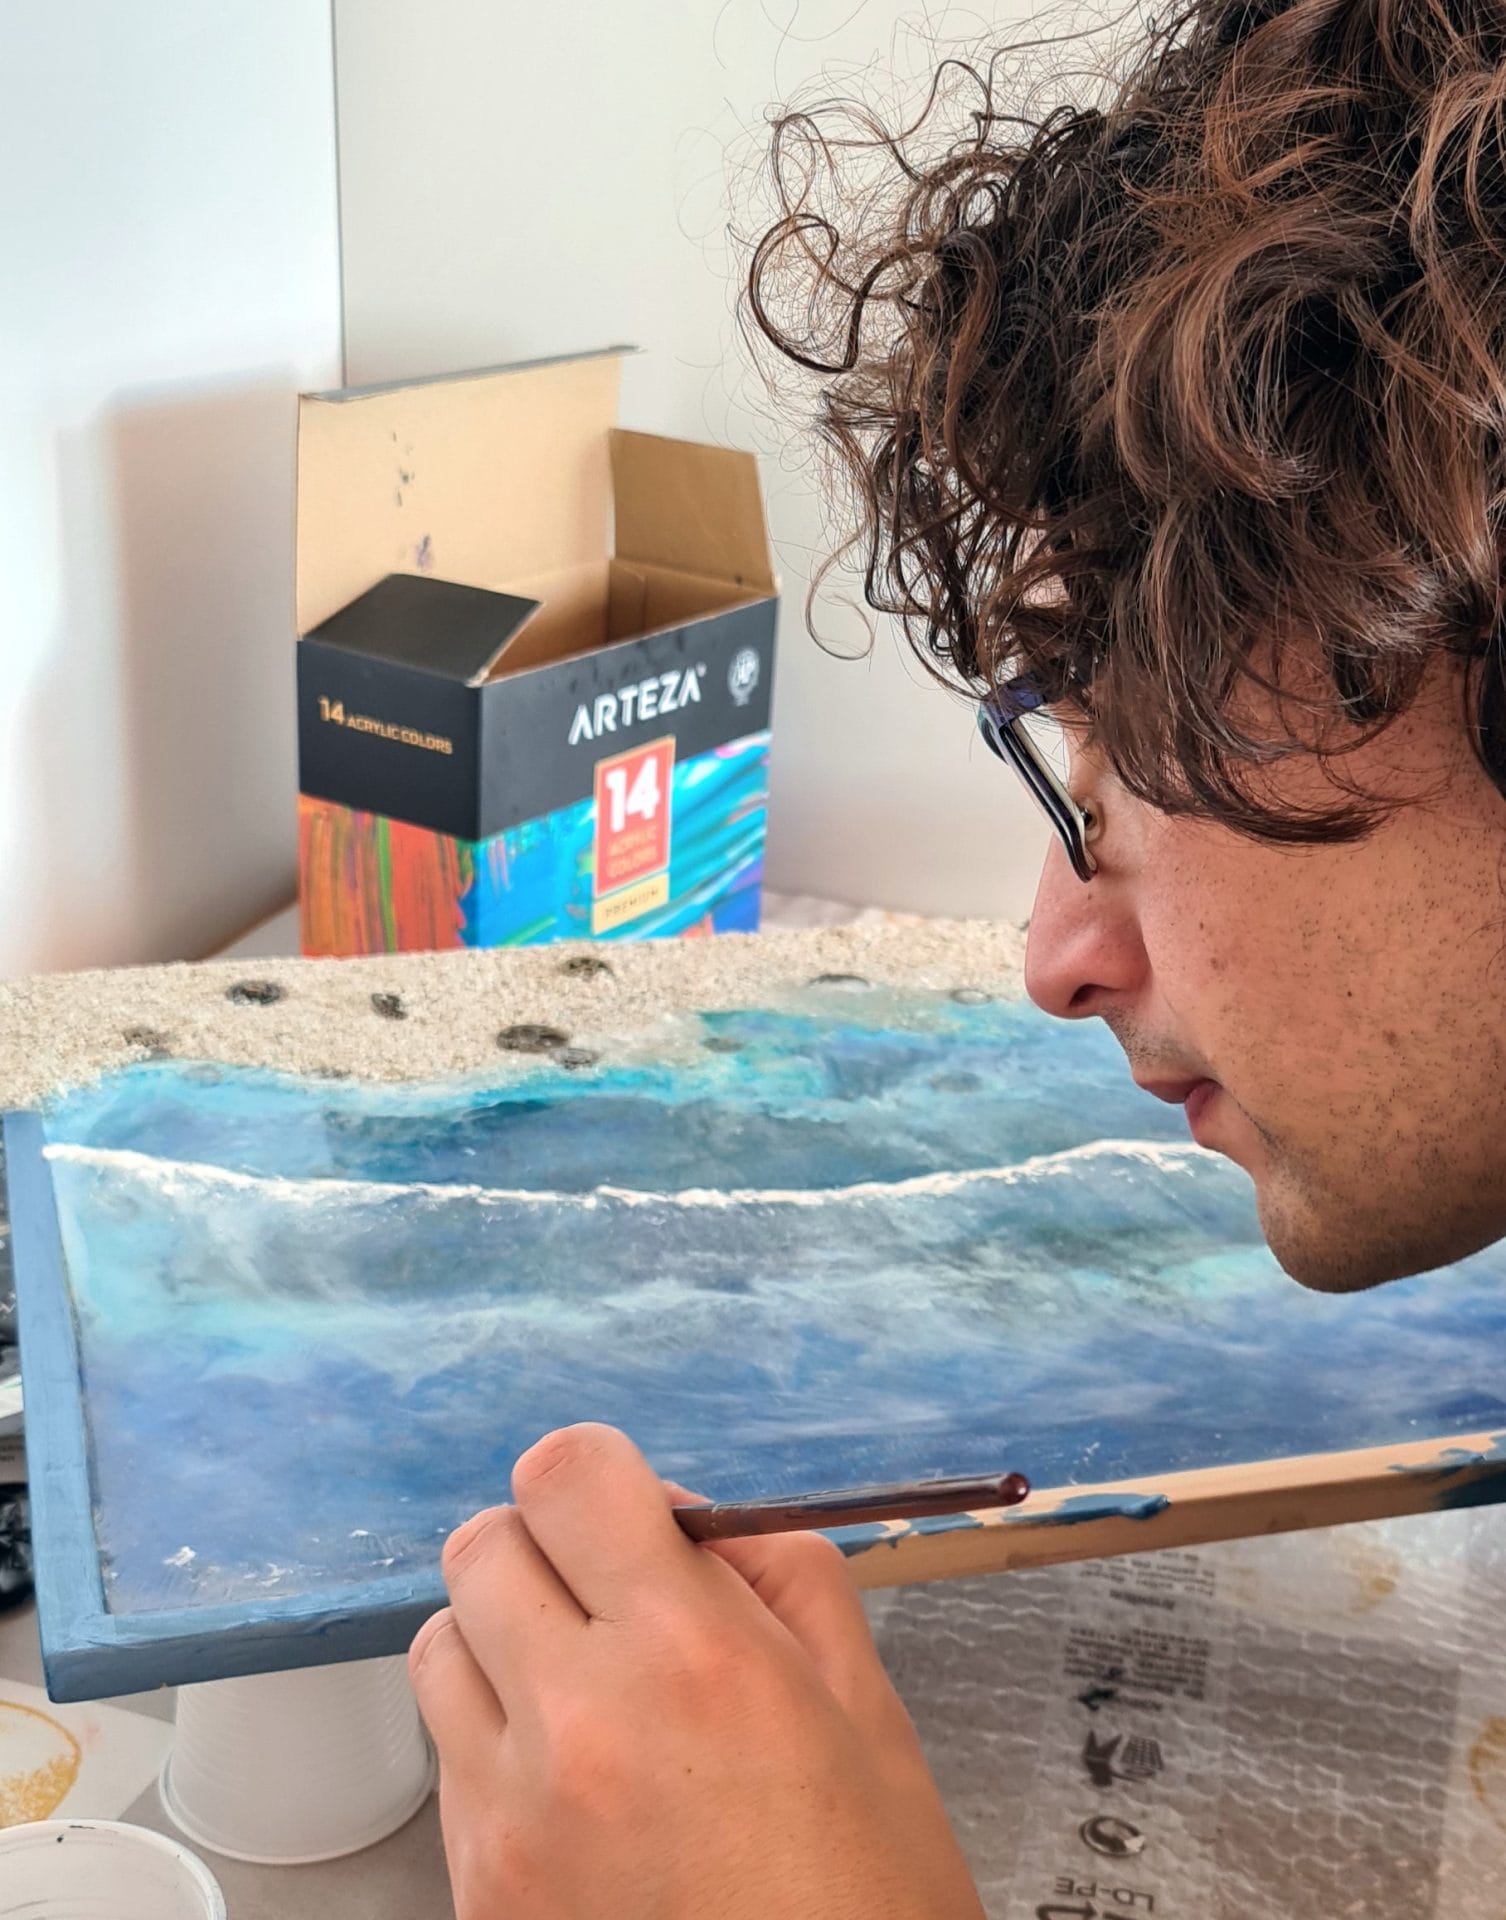
To complete the beach scene, he created sea foam using Mod Podge, a trick we learned while making the epoxy resin lake for our mountain diorama.
After pouring the final layer of resin, he allowed it to cure partially before carefully applying a thin layer of Mod Podge. This produced a foamy texture that replicated the look of waves crashing onto the shore. This 3D effect enhanced the realism, especially with the foam spilling onto the frame itself, blending the art with its surroundings.
The foam wasn’t static either, but by strategically blowing it with a hairdryer, he made it appear as though the waves were caught mid-movement.
The frame wasn’t just a boundary; he painted it to match the colors of the ocean, continuing the blue and white foam design beyond the resin. Also the foam continued over the edge of the wooden frame, blending the artwork into its surroundings and giving it a fluid, uninterrupted flow. This added an extra level of immersion, making it feel as though the waves were extending out of the frame and into the room.
After everything had fully dried and cured, he went back and added white paint to the foam to give it more definition and contrast, refining the look further. Using white acrylic paint, he enhanced the details of the foam, giving it a more defined, frothy appearance. The contrast between the glossy blues and greens of the water and the matte, textured white foam brought the piece to life, adding to its realism.
This epoxy resin beach wall hanging turned out to be a true artistic exploration that blended our love for nature, creativity, and craftsmanship. My husband enjoyed the process so much that he went on to create smaller versions to give as gifts to friends and family. Each one had its own unique twist, but they all carried the essence of that first piece.
We’d love to hear your thoughts! Have you ventured into the world of epoxy resin art? If you’ve tried making an epoxy resin beach, what were your challenges and favorite techniques? Feel free to share your experiences and ideas in the comments below. We’re always excited to connect with fellow makers and learn about the unique ways others bring their creativity to life.




2 Comments. Leave new
What materials are typically used to create the sand and ocean effects in an epoxy resin beach artwork?
For sand, just real sand. For the wave effects on top of epoxy resin, Mod Podge.