After designing the #LRcrafts logo and launching out website, I was really proud of how it came, mostly of my husband’s reception and our friends’ comments. Locutus even wanted to print the logo on a label for our doorbell! He also suggested to print small cards to attach to our crafts.
So I decided I wanted to make something special of our new logo. What could I made? Obviously, an embroidery!
I found the right sized hoop, printed a 1:1 scale logo, chose the fabric and draw in it the image. Well, it’s more accurate to say that my husband chose the fabric! I would have gone for an easier one to stitch, but there was another piece he liked most, so I decided to give it a try. It was a tough one to stitch on, but worth the effort.


Well, when I had the hoop ready to be embroidered I thought: which stitches should I use?
I wanted to use different stitches for each element, try something new to learn and give the design the 3D feeling I love in embroidery.
So I googled around and headed to the Needle and Thread Facebook group to ask for advice. Coming to DIY, embroidery in particular, Facebook groups are paramount for inspiration!
I received lovely and copious suggestions there, one that gave me a special hit: use real buttons. Real buttons? Why didn’t I come with it right away?
As I said elsewhere, our logo is the sum of our tools and techniques. So why not using other materials beside floss to display them?
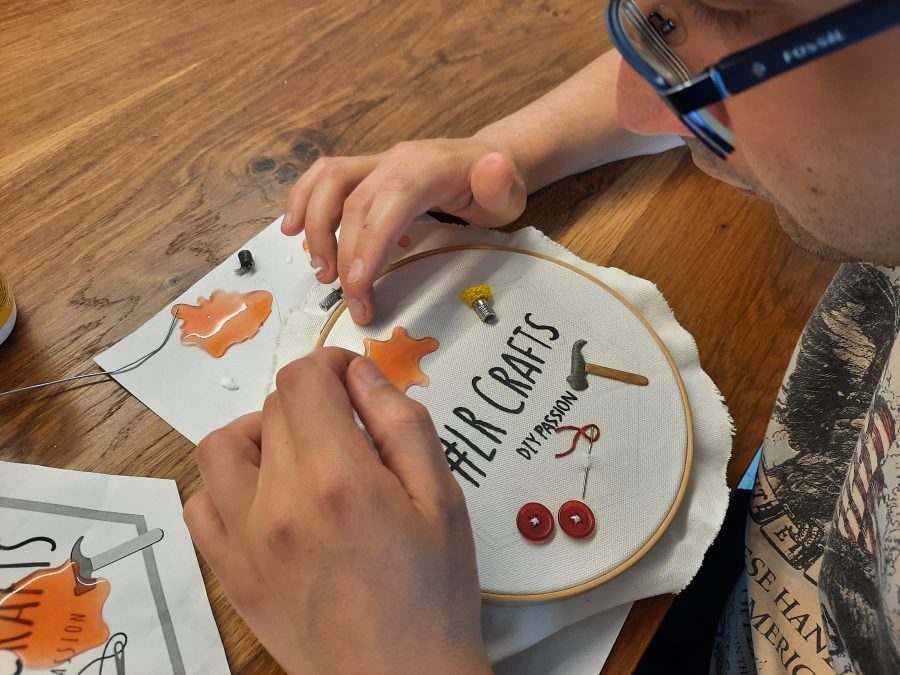
My husband was delighted when I told him I needed also his skills to complete the project. We looked at the design together and planned each part.
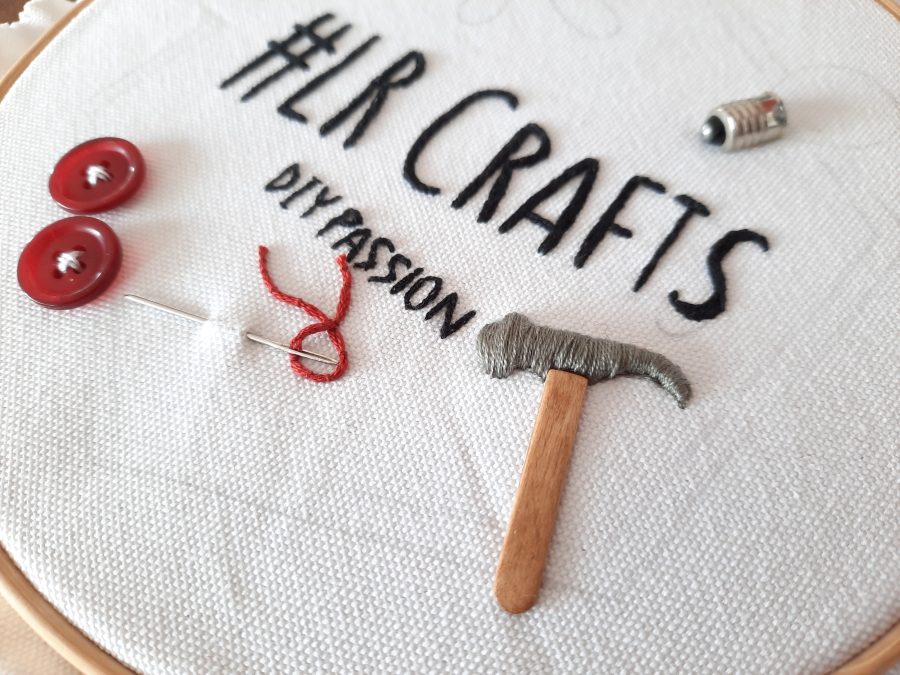
I soon found the perfect buttons to attach to the design, the right size and color. I also rummaged among my stitch tools to come out with a right sized needle to be their companion. Well, I considered the result pleasant!
I began the proper embroidery with the text. Choosing how to make it was easy: when I made my Gens d’Ys embroidery I loved stitching letters with split stitch, so I found no reason to choose another stitch.
I’m fond of the precision and control this stitch gives you along lines and curves even in small letters. I made it under the attentive eye of my hudband, carefully watching each new letter I embroidered.

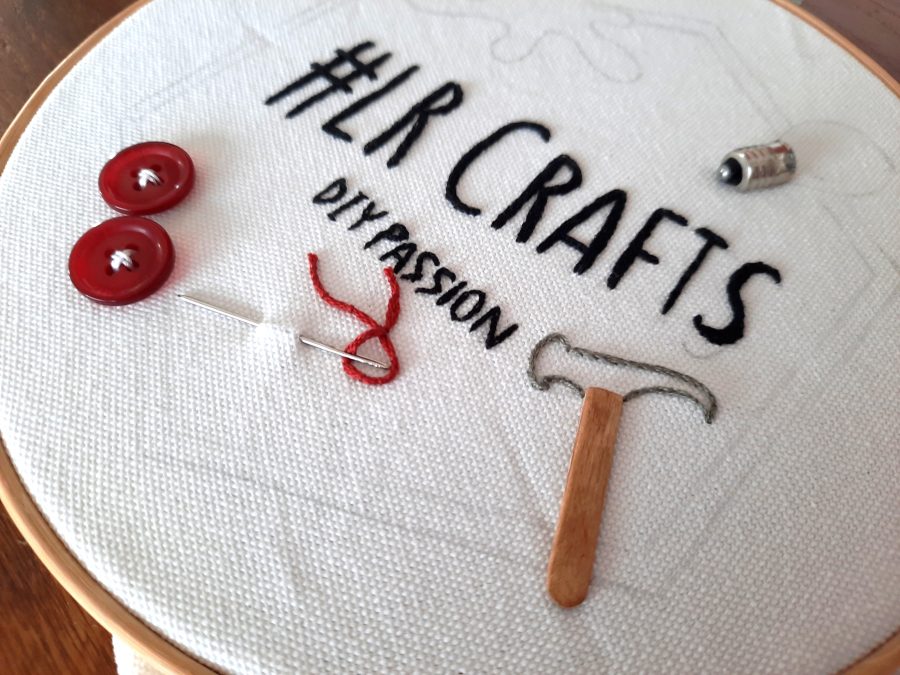
The following step was the hammer.
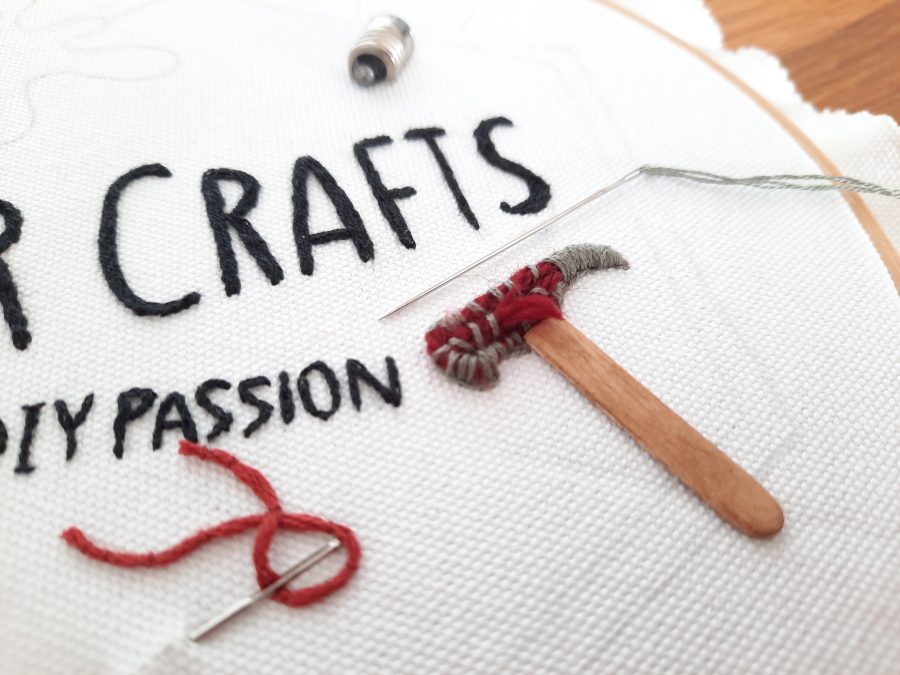
For the handle, my husband came with an ice cream stick that was more than perfect. For the head, I chose a raised satin stitch. I first fastened some wool thread to the design to give it the 3D feeling, then carefully stitched over it.
I liked how it came, but later my husband said to me he felt something was lacking. He was thinking of a more angled shape, while my hammer head was rounded due to the chosen technique. So he came with some metal wire to shape: his first idea was to attach it on top of my embroidery to let me stitch again on it to acquire a sharper look. When we saw the wire on the hamner head, though, we agreed we like it that way. I thought about looking for metal floss, too, but he disagreed, so we decided to let the hammer be.
The harder stitch to choose was the one for the lightbulb.
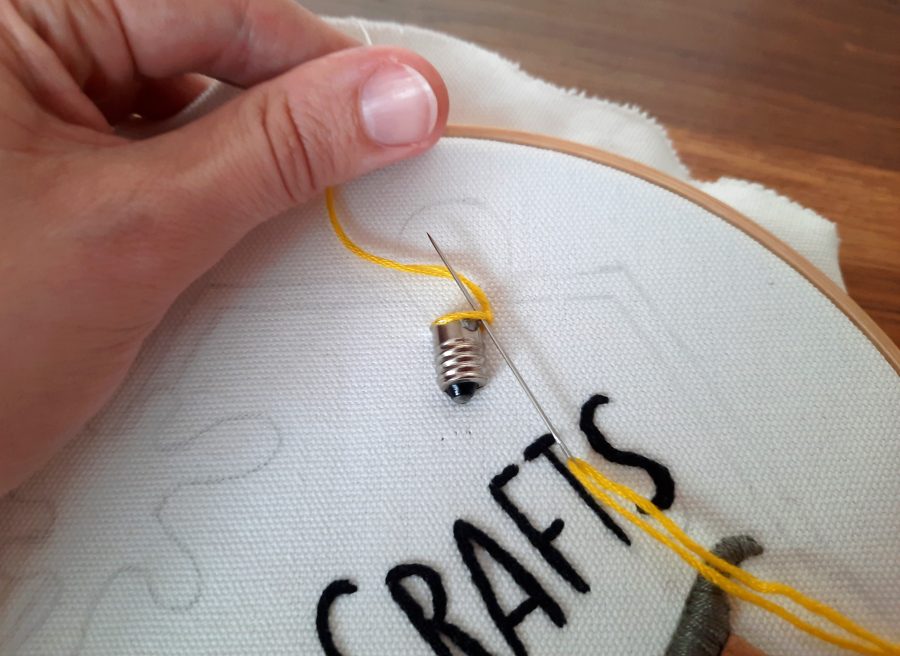
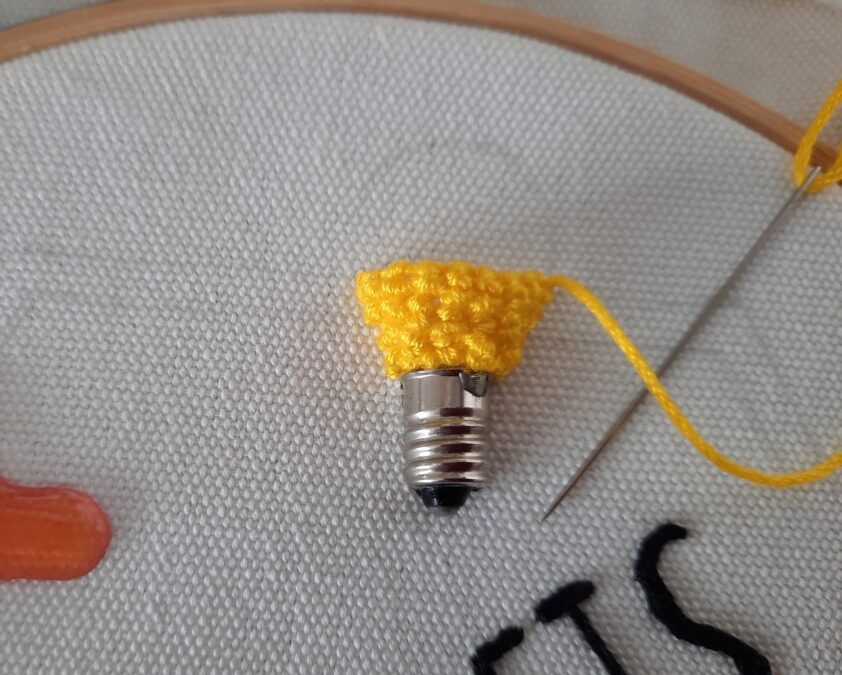
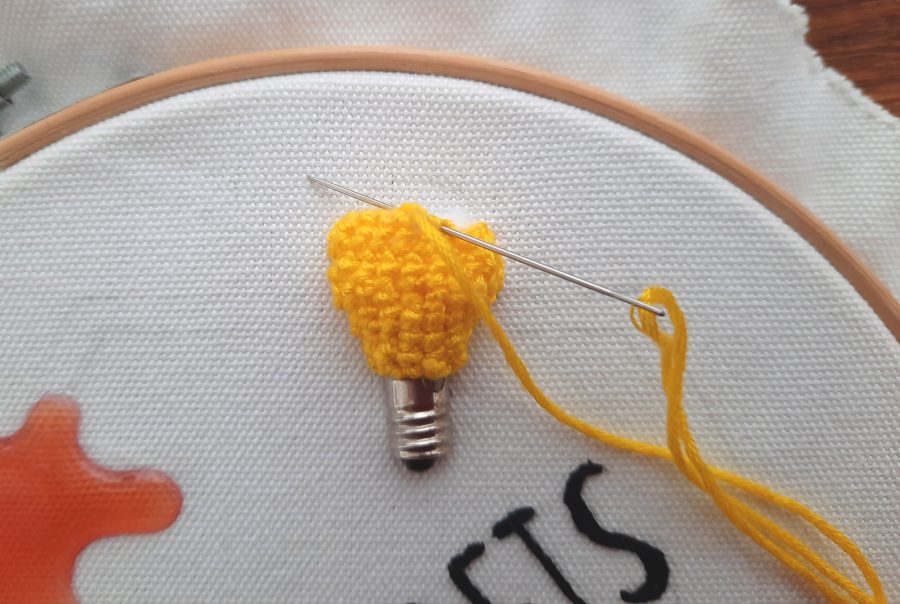
My husband was able to find a bulb the perfect size, from which he took the metal cup to attach it to the fabric. Seeing the metal on the design was awesome: the project was becoming more and more tangible, with other techniques beside embroidery.
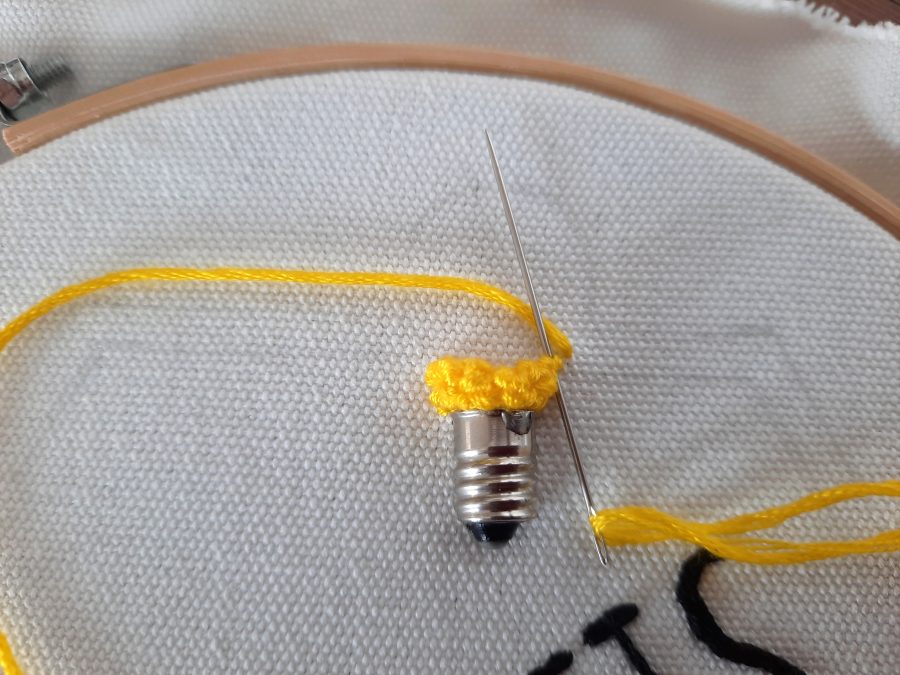
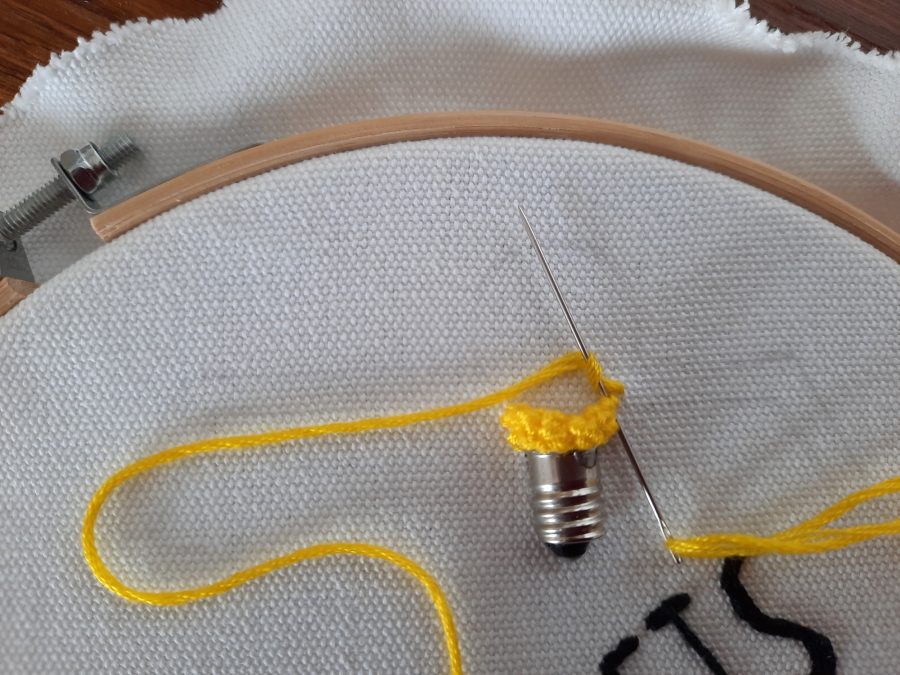
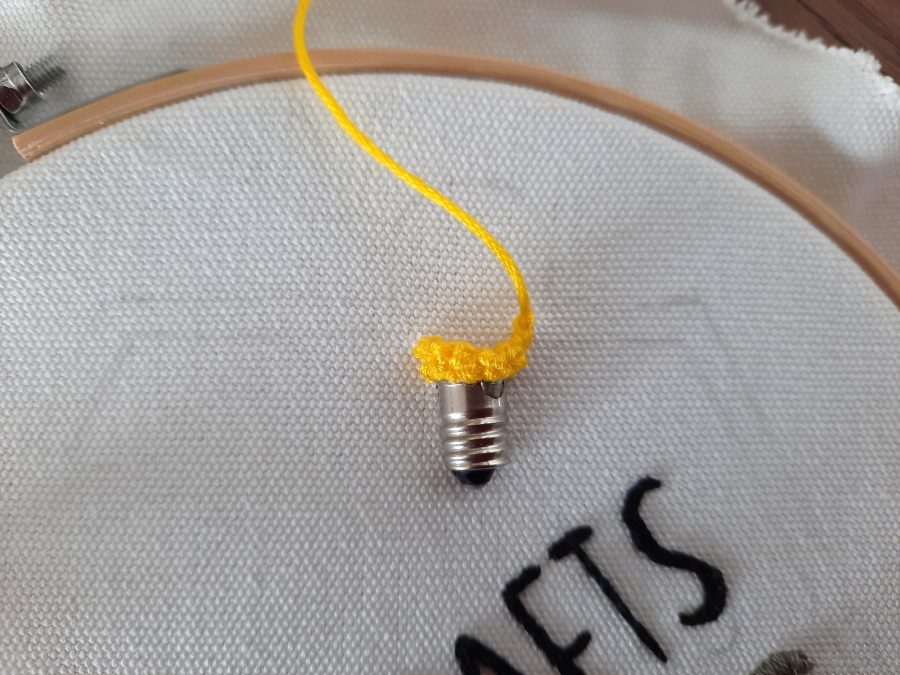
So, now I had to match the bulb cap! I could have gone with another satin stitch, but I wanted to use a different technique on each element and also seize the opportunity to learn something new.
What could I do? Head to the Needle and Thread group, obviously!
I was again overwhelmed by lovely suggestions, there! I looked for images and video tutorials of all the suggested stitches, but one of them became my husband’s favourite: padded lace stitch.
I did samples to learn it, lots of samples because I found hard to obtain the look I wanted. I persevered, though, and was finally able to stitch a good sample.
Yes, I have to say I agree with my husband: that stitch is a good match for the metal cup of the lightbulb.


About the color stain, now.
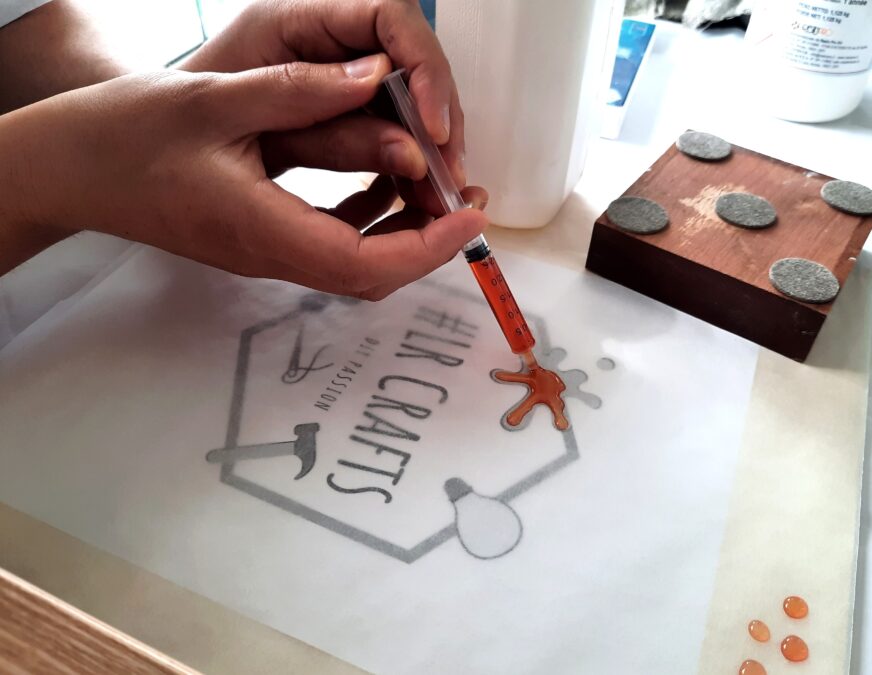
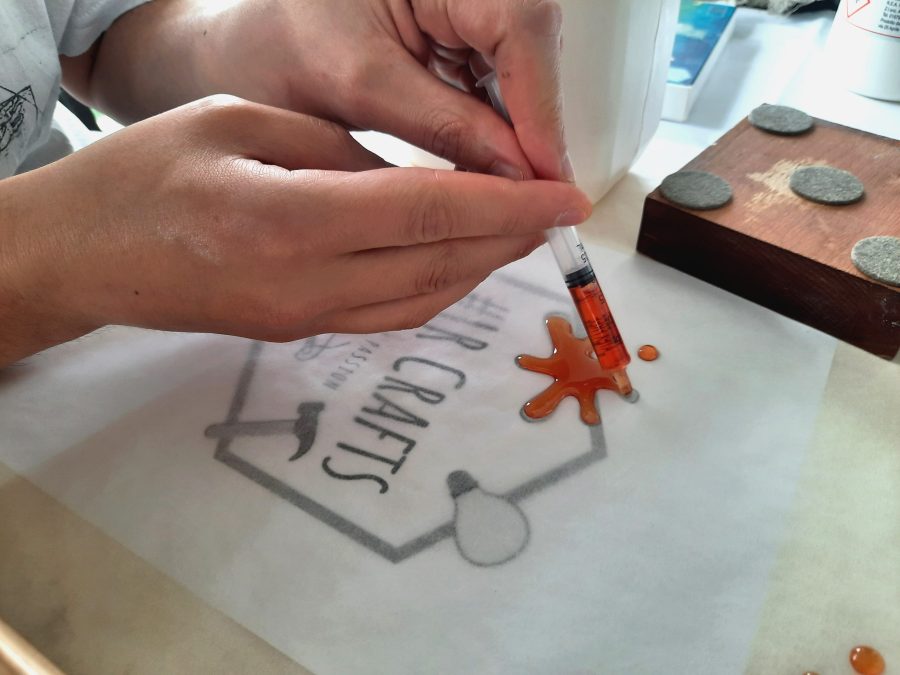
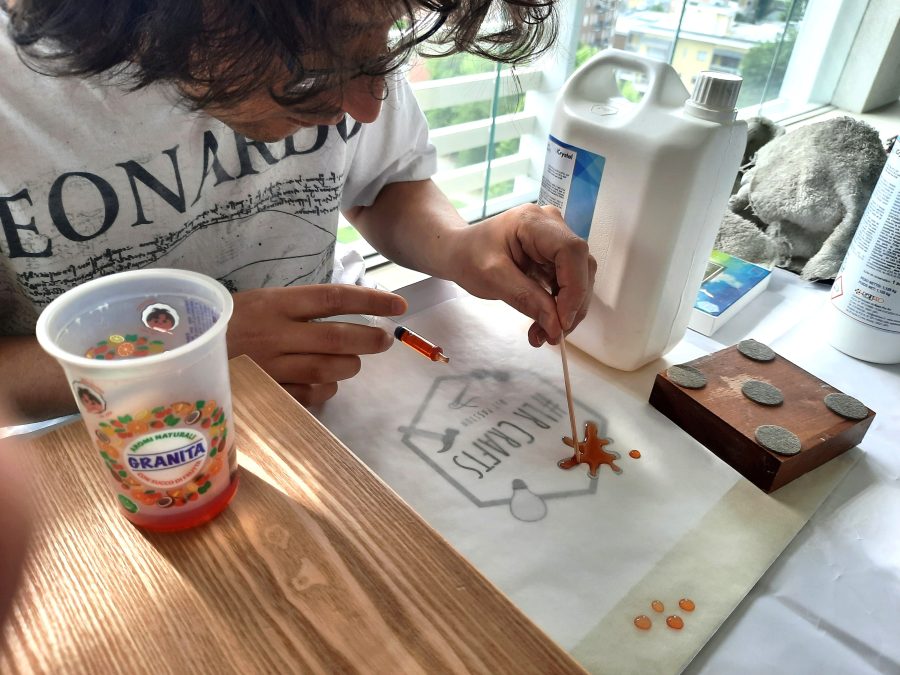
This element could represent epoxy resin as well as acrylic colors or other liquids we use for our crafts. My husband decided to make a colored epoxy stain. He poured the epoxy on wax paper different times to obtain a good shape with the appearance of a casual stain. Also choosing the right amount of colored pigment was not so easy, but we are happy of how this element matches with the others.
Now, with all the main elements ready, what missed was the hexagonal border.
I didn’t want it to be flat, not to embroider it with the same padded satin stitch used for the hammer head.
During my online researches, I came across the raised stem stitch. I tried it in a few samples with threads of various size, then decided it was perfect for the job.
Making this border, I also experimented some videos for our brand new YouTube channel. A project inside the project!
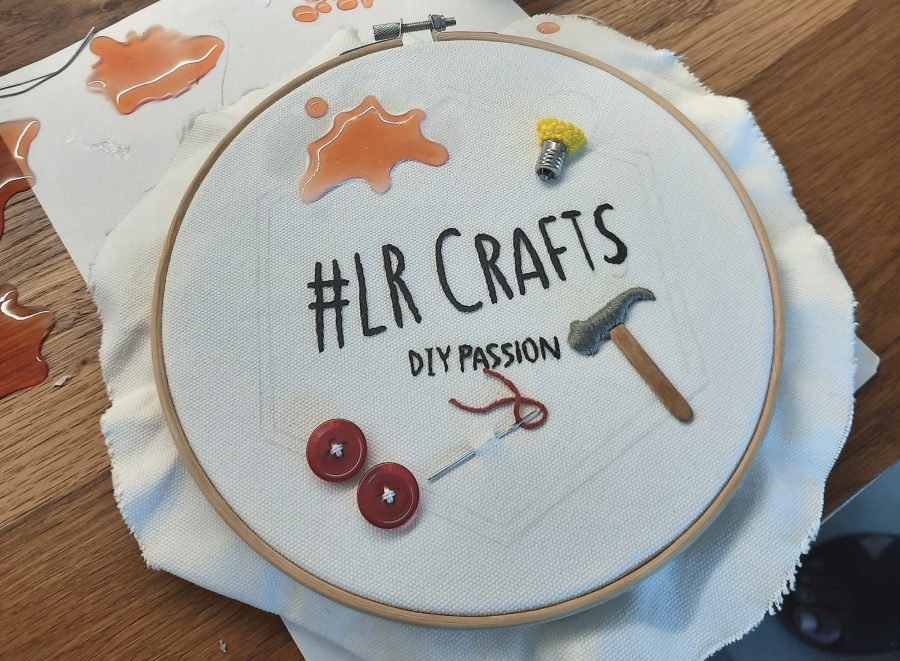
And then, border ready, the mixed-media embroidery of our logo was finished! I think it sums up well what we make and how we make it: there’s embroidery, epoxy, colors, wood, thread, metal, lighting elements, needle and buttons…
The more I look at our logo, the more I feel it describes us and what we make. And you? What do you think of this image, and of this DIY project about it?

Click for the finished project detailed photos