Between the end of 2019 and the first months of 2020, my husband and I have been busy experimenting several new crafts and new materials.
One of them is cement.
We never thought we could make such a great number of things using cement! Browsing YouTube one evening (a great source of inspirations along with Pinterest) we discovered that this material could open us a world. We are planning several projects, but first of all I’m showing you the first one, that has been the beginning of our new passion for cement DIY projects: a cement vase.
What do you need? Cement, water and… a towel! Ford Prefect from the book “The hitchhiker’s guide to the galaxy” will be glad to hear this! A towel can serve many purposes, it can even turn into a flower pot!
You can never tell the secret resources hidden behind an everyday object like this…


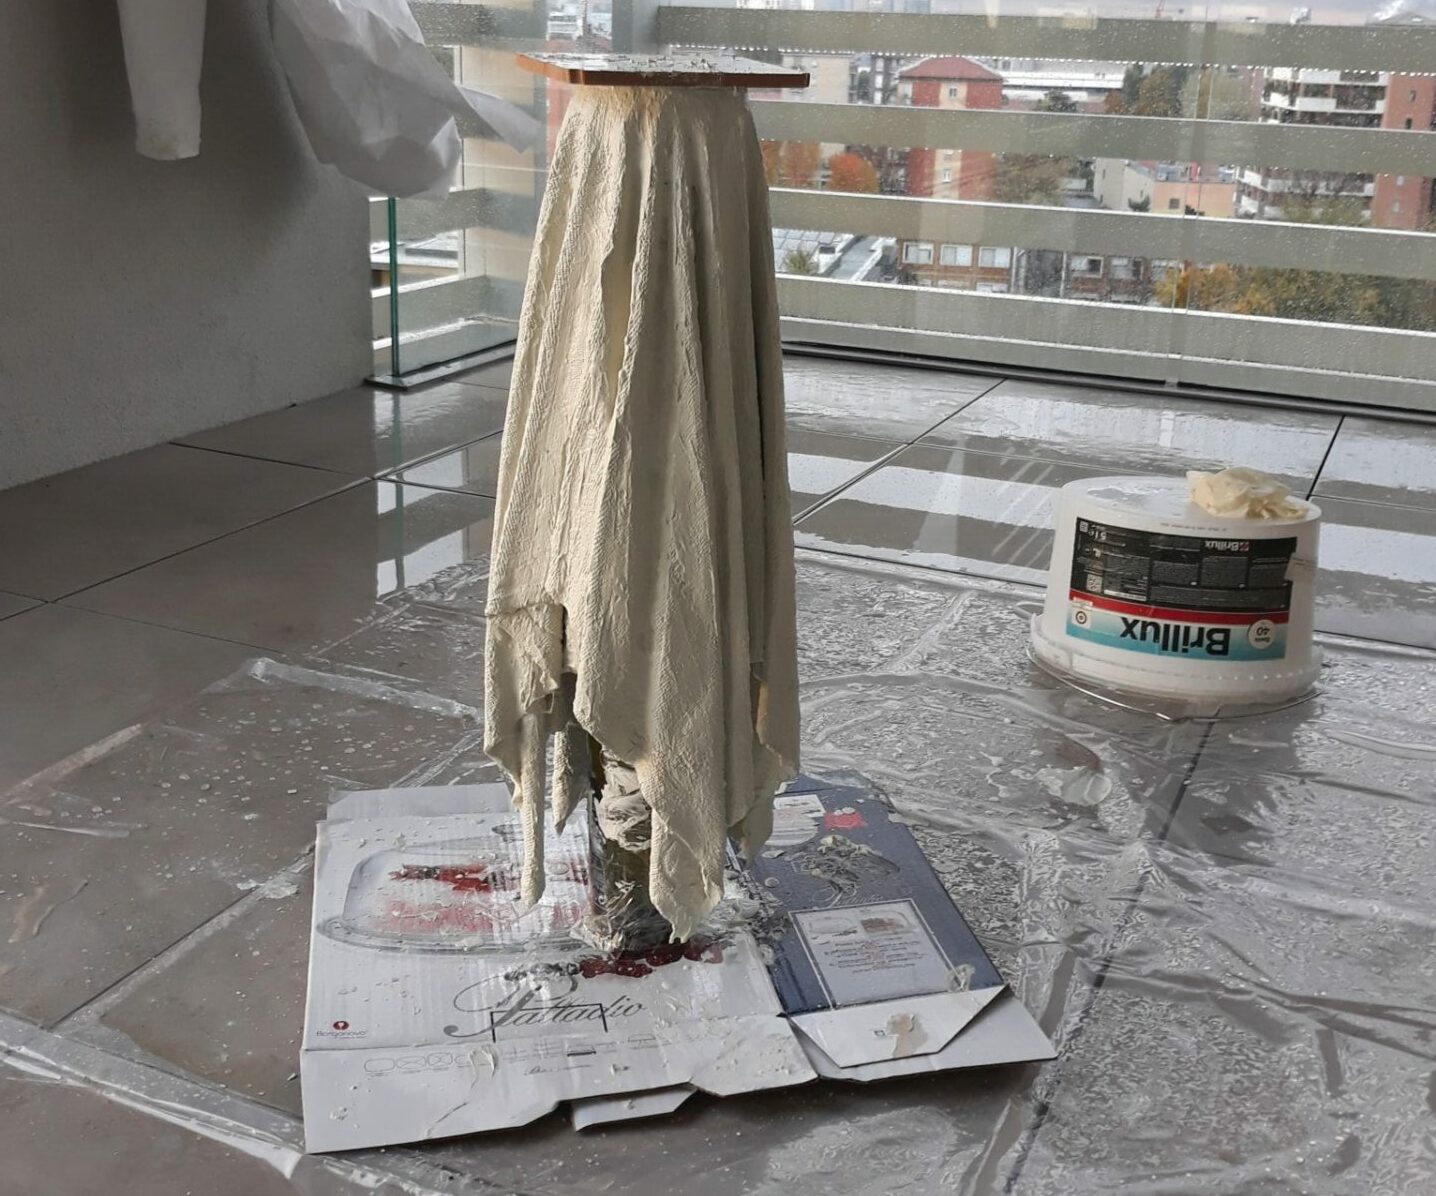
Well, after plunging the towel into the cement, the real work began.
We mixed water and cement in a bowl, then soaked the towel completely. And we had to add more cement, since the quantity we calculated at first was not enough: a towel could be very thirsty!
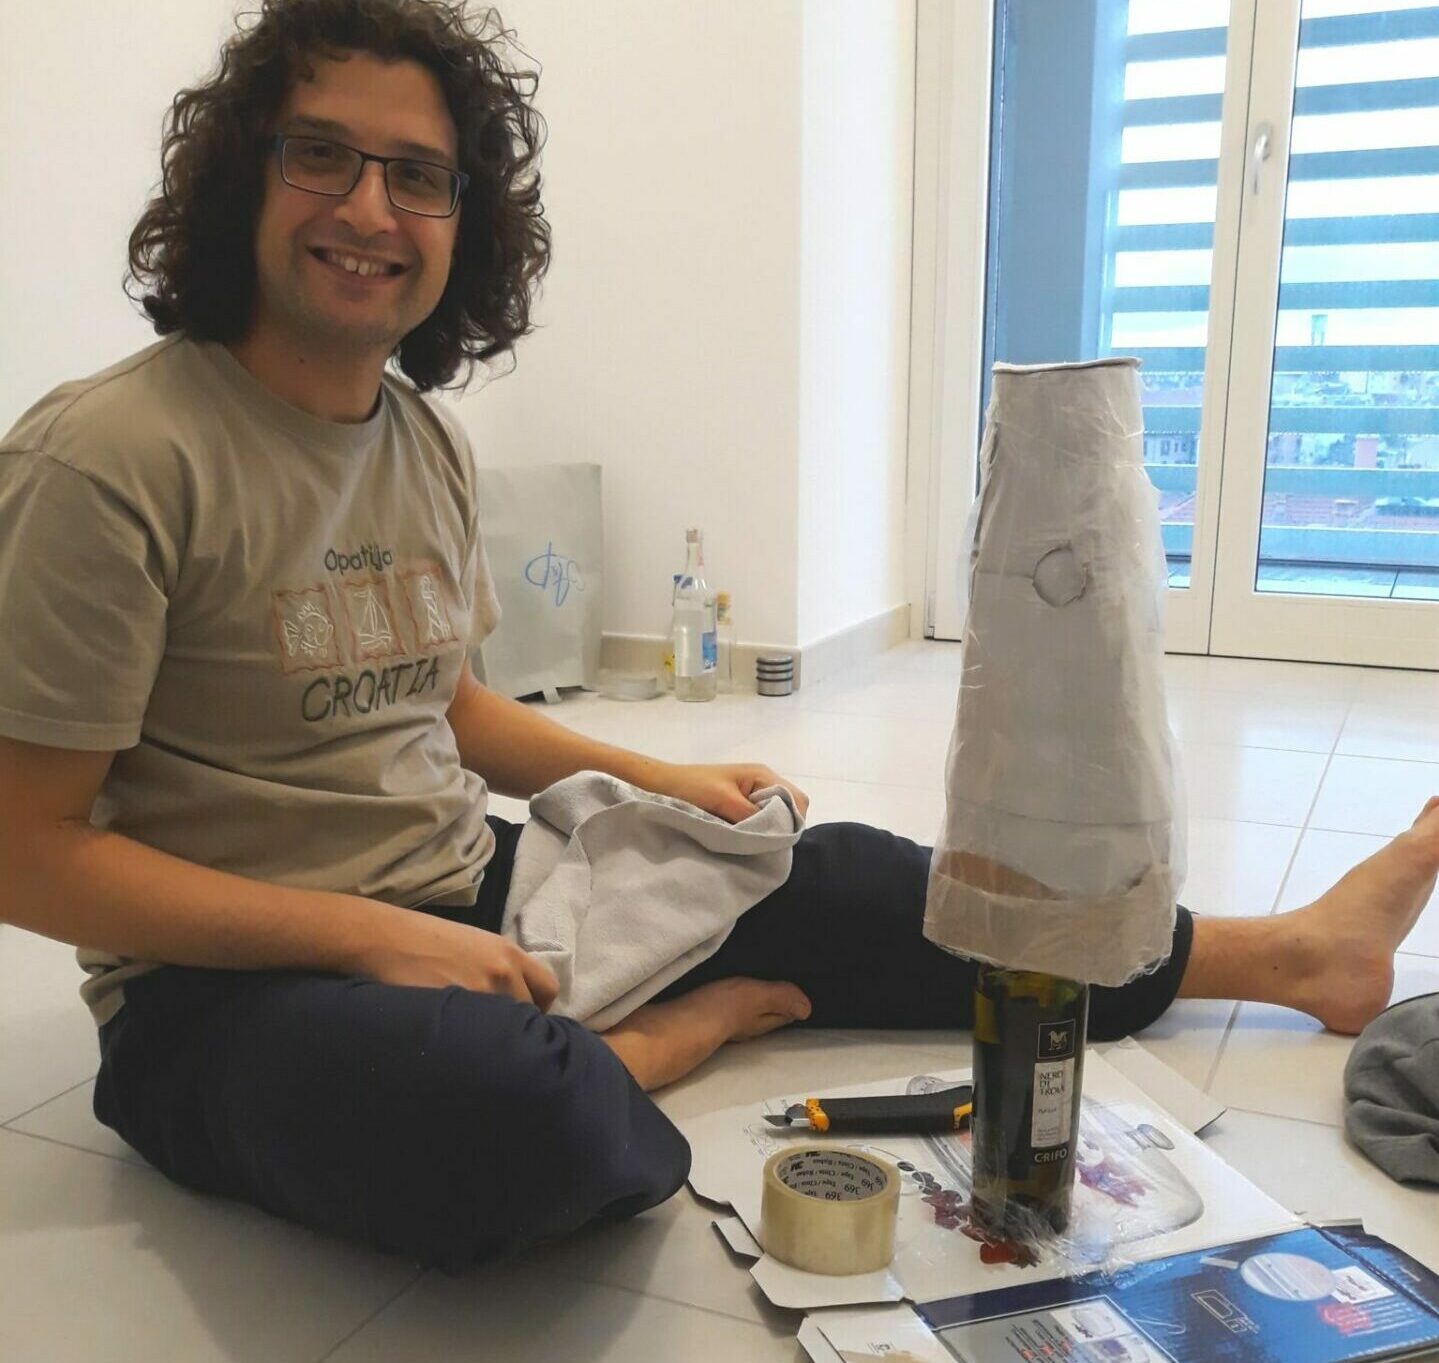
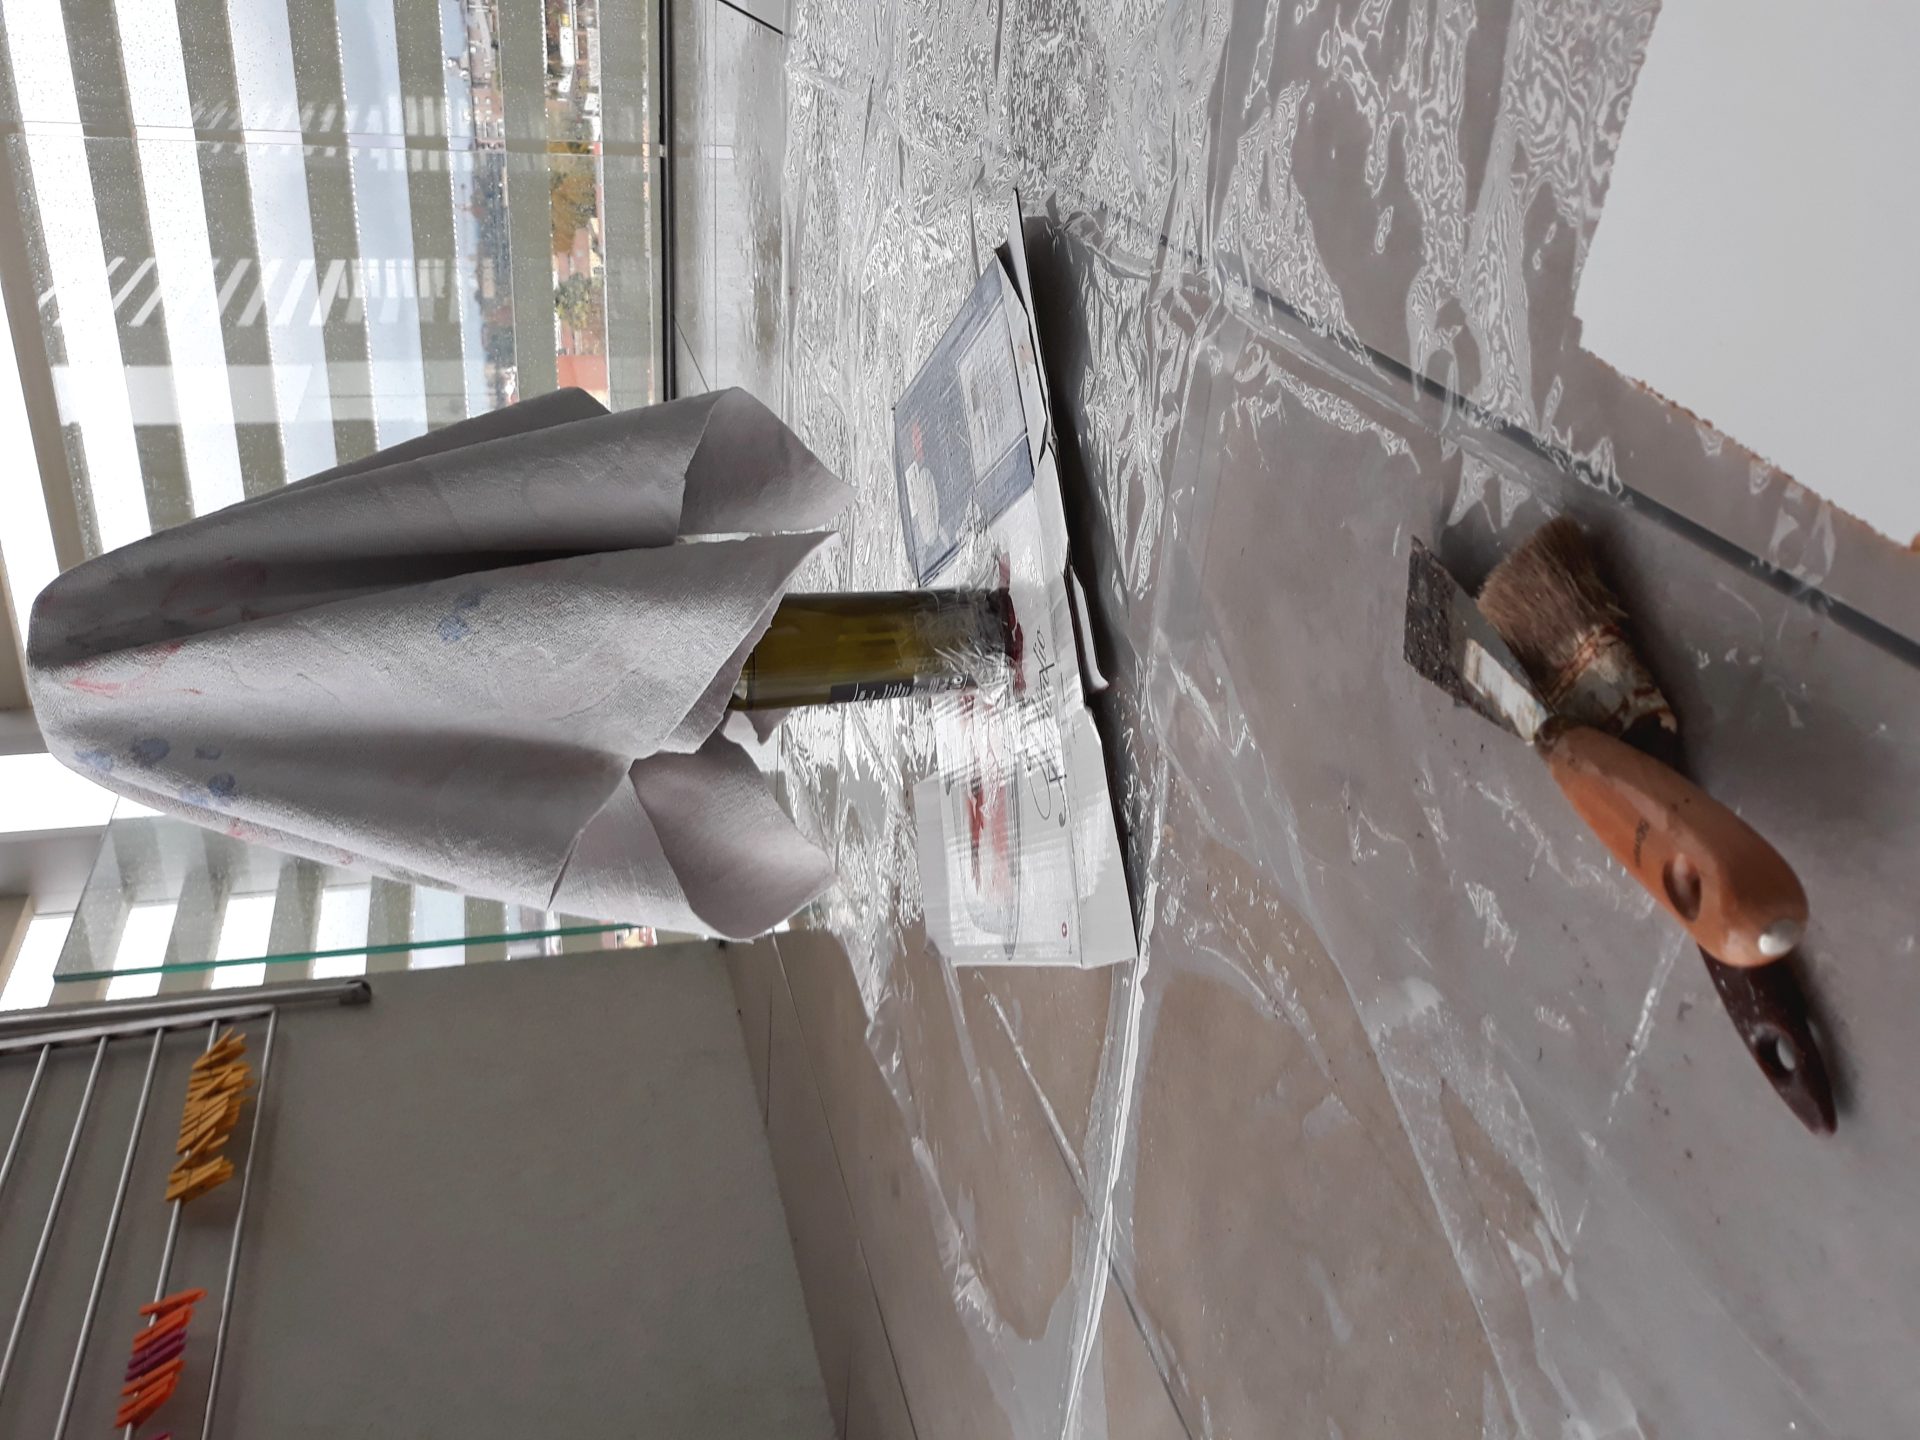
The soaked towel was then placed on a stand to give it the shape of the future vase: we used a glass bottle filled with water to make it stable and covered it with a vase-like shape made of cardboard and plastic. The use of plastic is mandatory: otherwise, the cement will stick to the cardboard and ruin the piece.
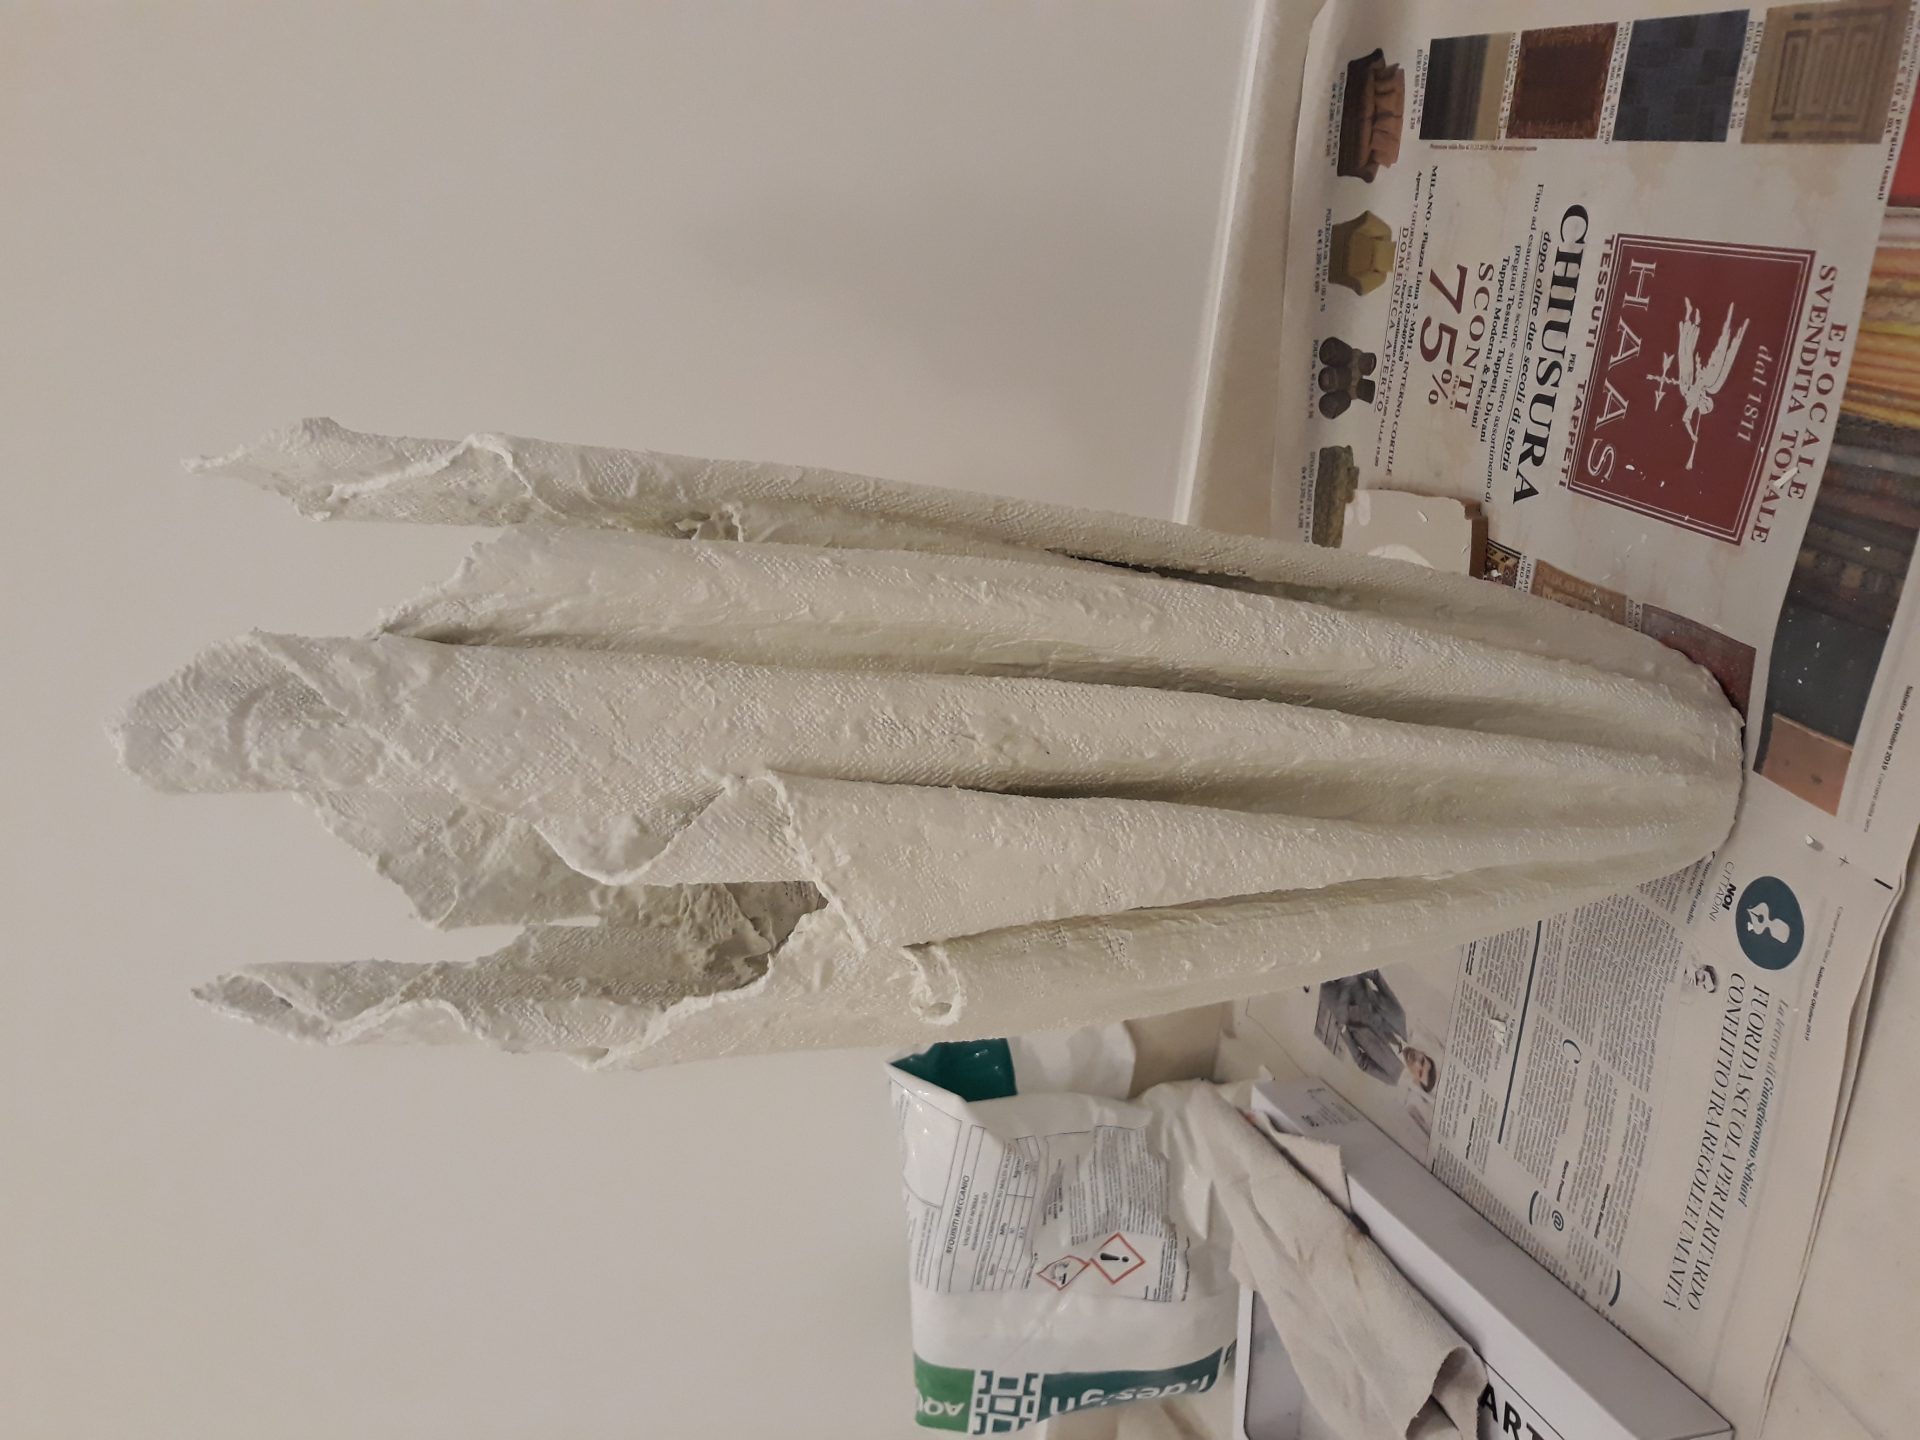
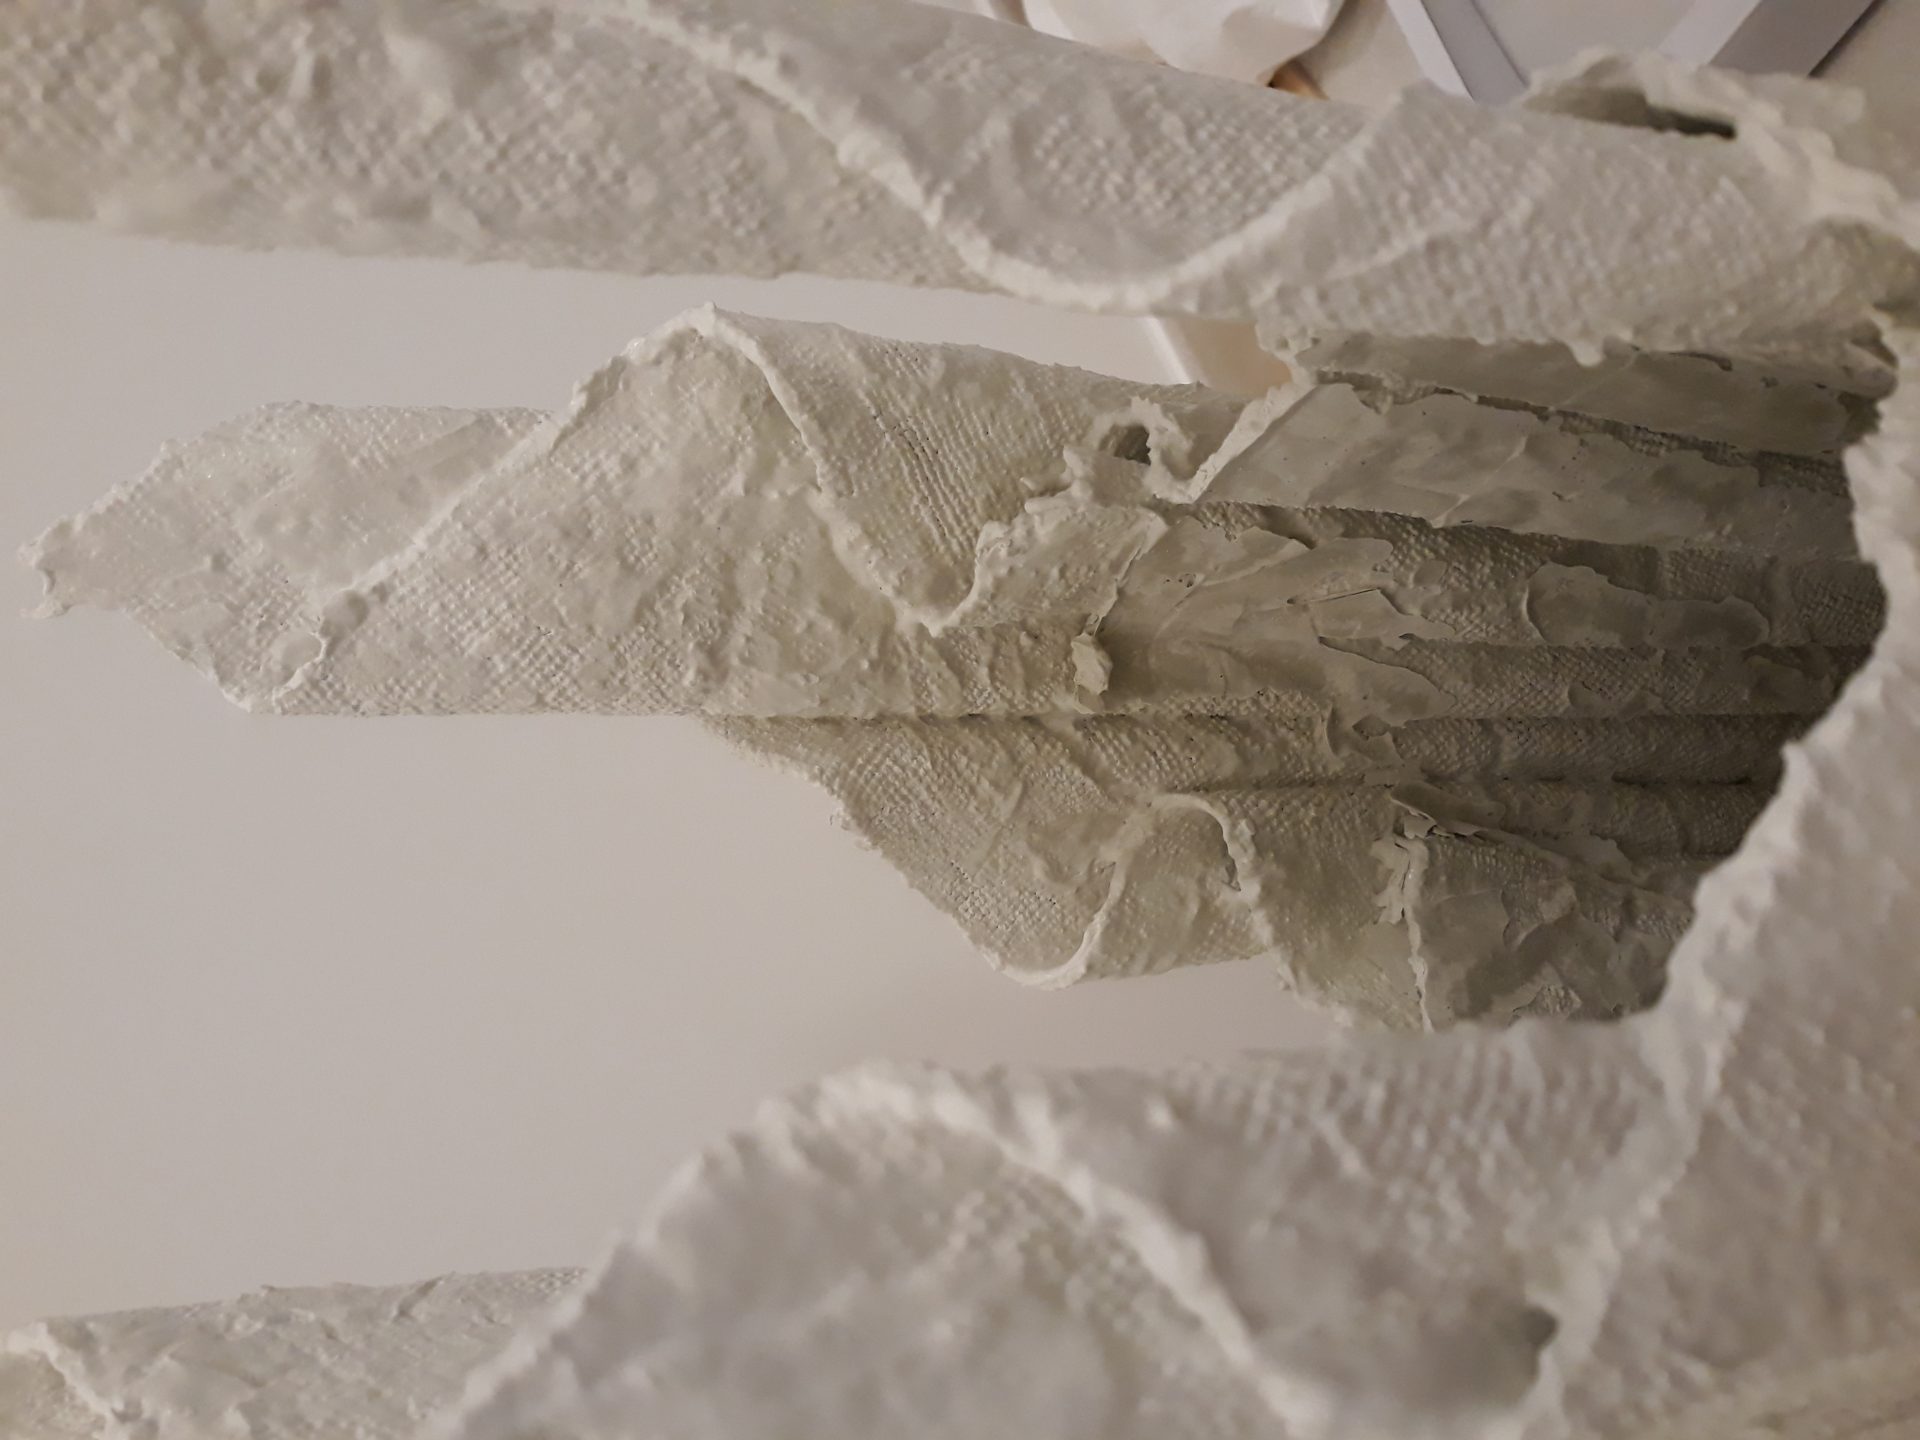
A couple of nights drying and we could see the future vase coming to life.
We had to use another cup of cement and brush it on a few spots where the original material fell off a bit. This way we hid a few spots of the original towel that came out during the drying.
Swipe for more detailed pictures.
At the beginning we thought it would have been quicker, but as the work went on, we decided to take our time to refinish the surface.
We wanted it to be smooth, suitable for the painting, but without erasing the original nature of the towel.
The refining process took longer than expected, but it was really interesting because it got us closer to a new technique: since it was our first time working with cement, we wanted to enjoyed every step of it. We worked in pair, slowly and carefully, studying each reaction of the cement and towel, learning as we went on.
Another night of drying, and we decided to sand the vase a little bit. We did not want to remove the original towel texture, but just a few lumps here and there.
We took particular care in this to prepare a surface that was good enough for painting.
Yes, also painting was a new challenge, using something we never tried before. One project, two new materials to experiment with.


The painting process took more time even.
After speaking with artist friends, we decided the best technique for our vase was working with acrylic colors, but it was another new experiment for us. Our only approach with acrylics had been a test for a project we had planned but not jet completed, so we happened to have a handful of colors at home to begin with.
We read a lot and asked more expert friends for all the advices we could get.
The first helpful tip we got: before applying the color, paint all the surface with vynilc glue and water to close the pores of the cement.
Following this recommendation, we found the application of color way more easy.
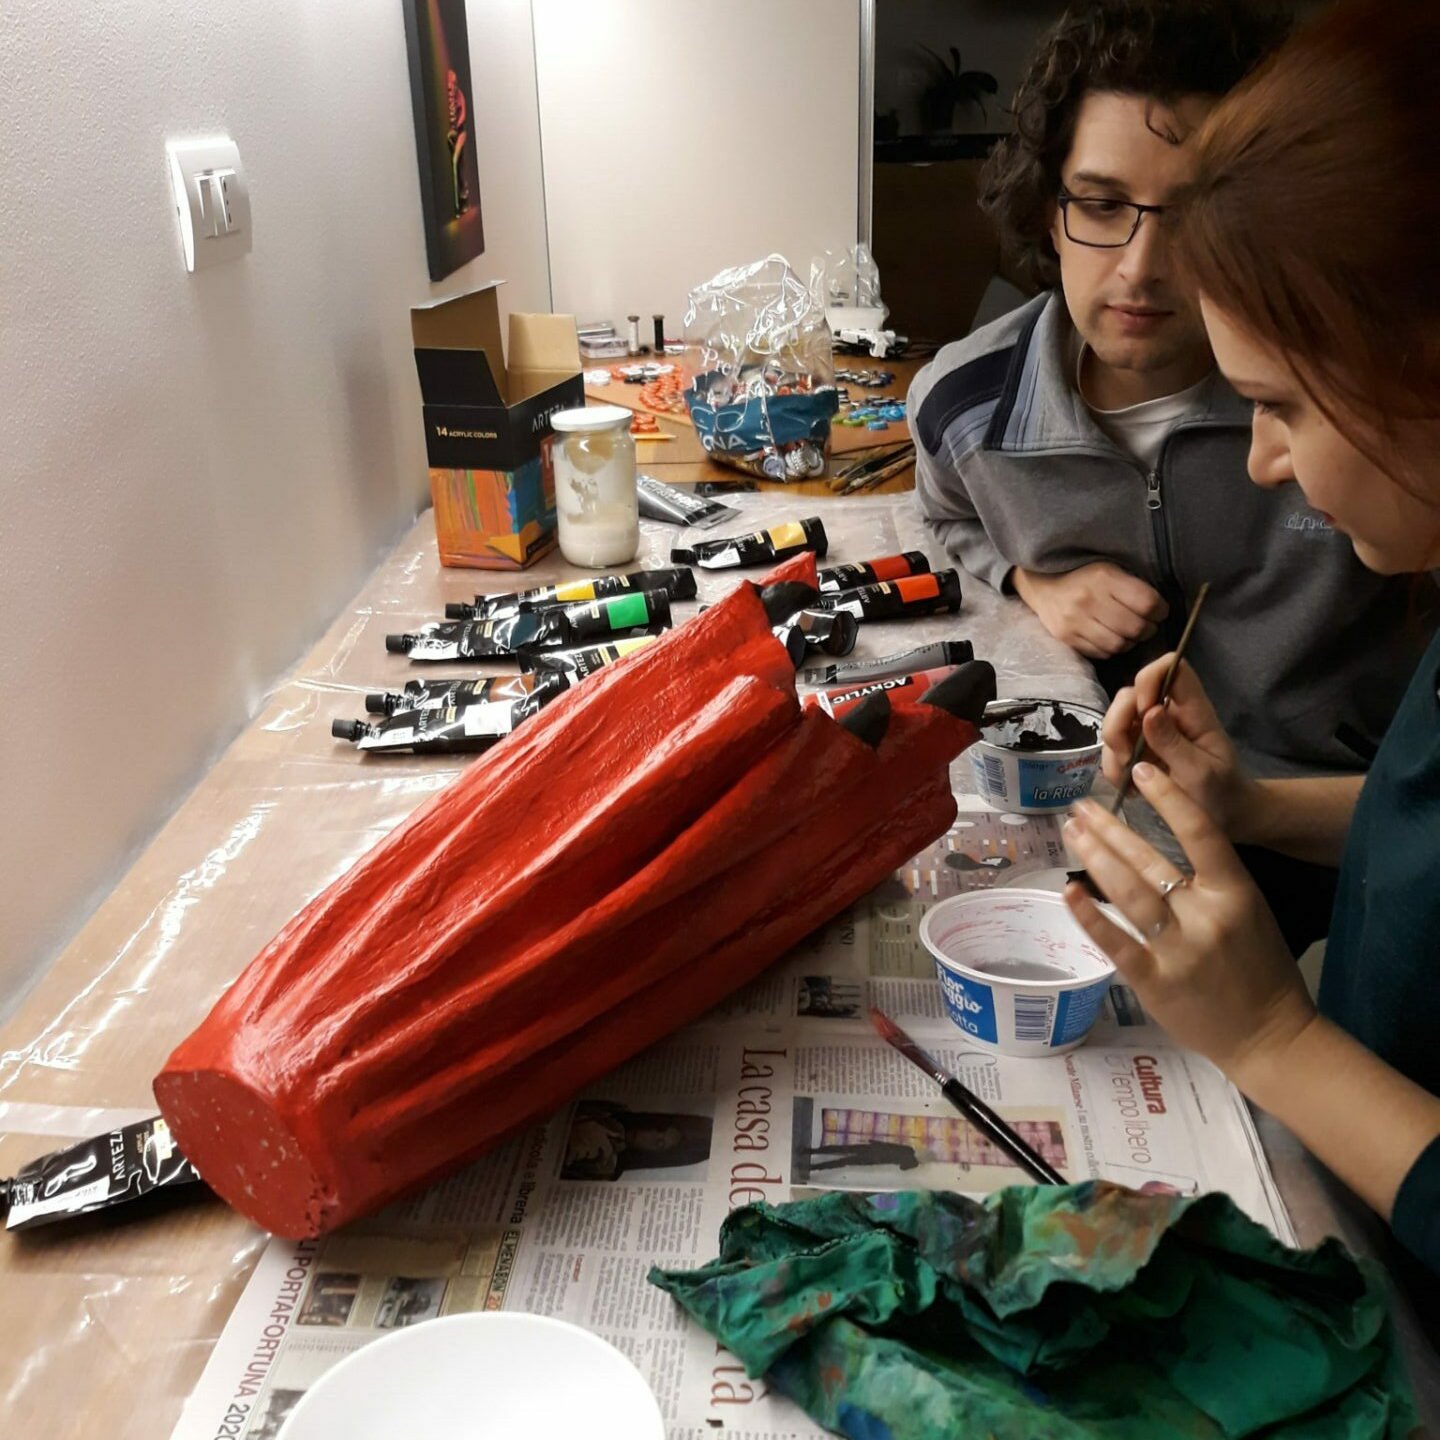
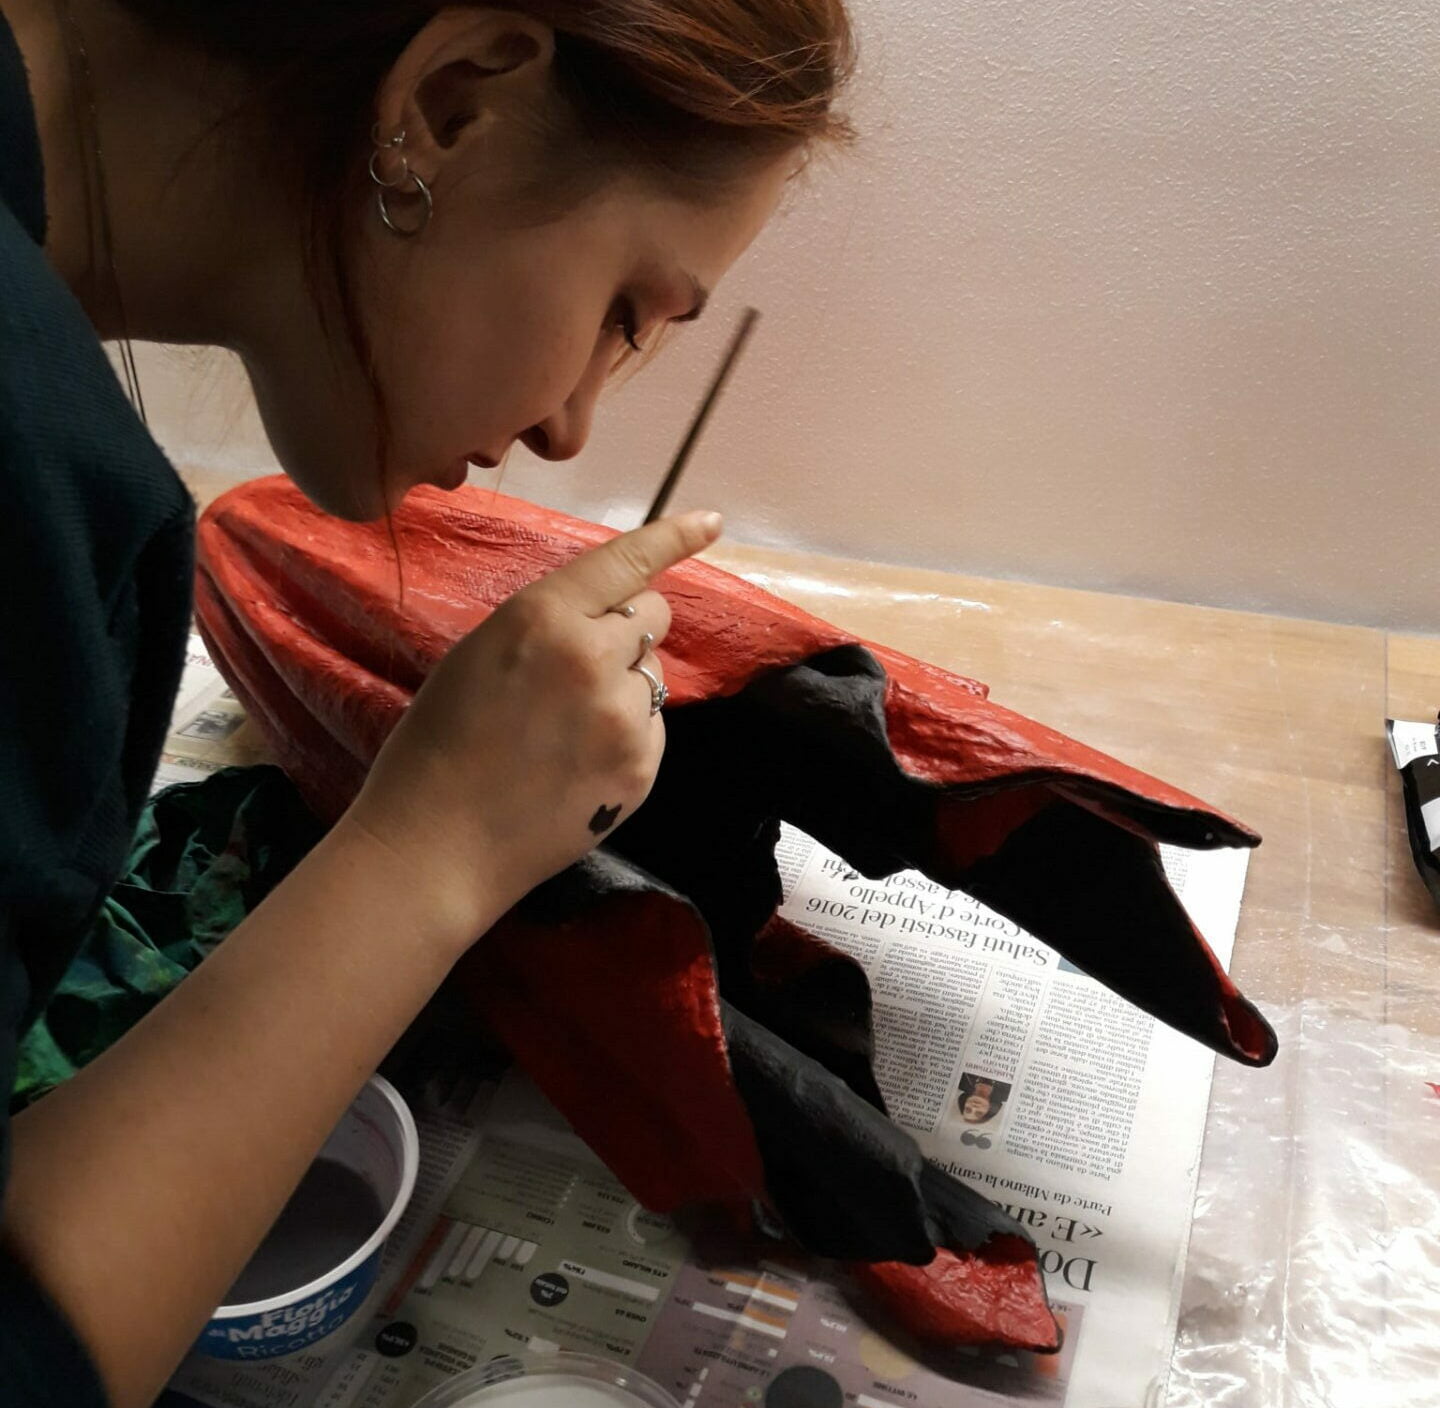
The first idea was to paint the vase red on the outside and black on the inside, but we also wanted to give it shading to make the 3D shape stand out.
We knew it was not easy, so we asked a friend for a fast painting lesson.
After painting the base red on the outside and black on the inside, my friend Sara came to our rescue with a quick lesson about acrylic colors.
She is a wonderful artist, go check her out!
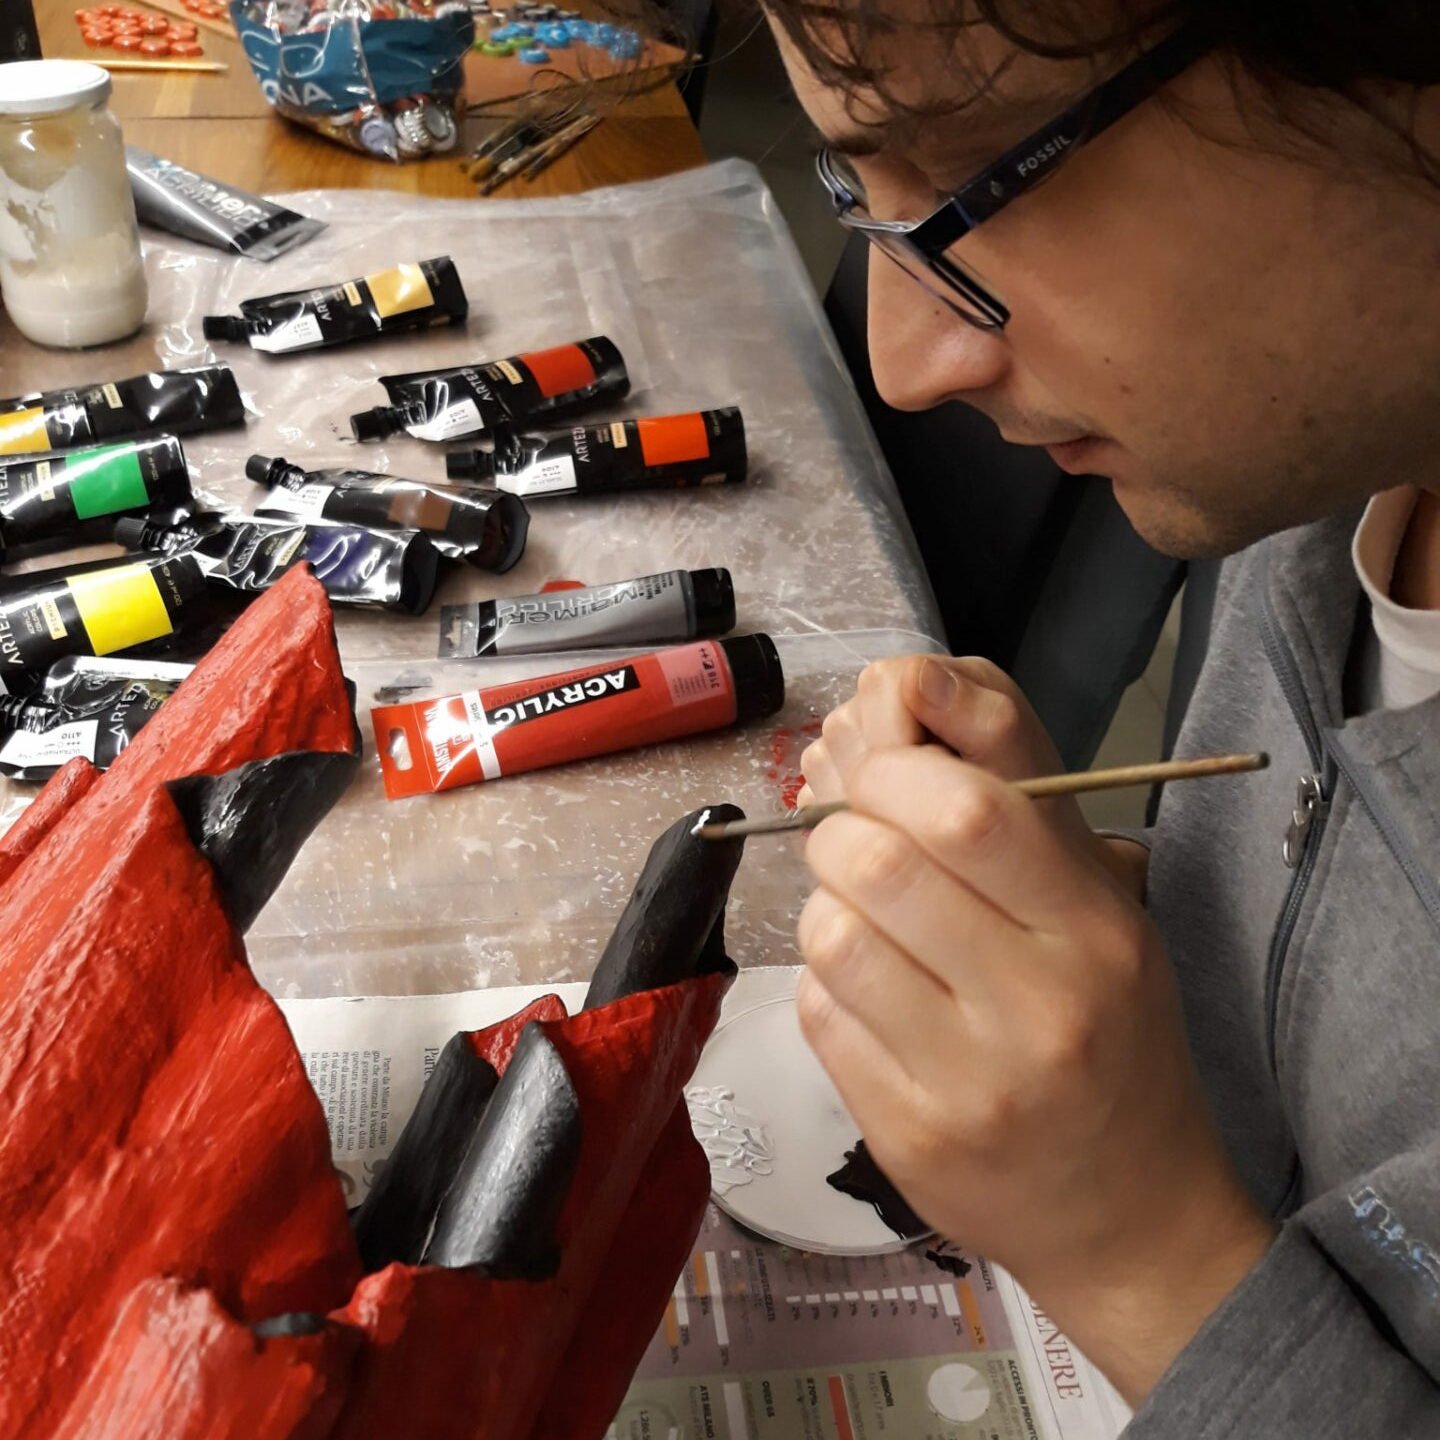
She showed us the right technique to obtain the shading effect we wanted.
The first thing to note about acrylics is that they dry fast, so be quick. She helped us prepare the palette and apply the different layers on the surface. It was very funny and instructive.
We learnt that adding white to obtain a lighter color could make it more grey and dull, so to lighten the black we chose to add silver instead. For a lighter red we added gold (also to obtain a sparkling effect), for a darker color we used a very dark purple made with red and a touch of dark blue.


And here it is! After a long making process, the cement vase is done!
Trying this new technique and materials was funny and interesting. We discovered how to work with cement and we learnt a lot on the coloring process.
Last but not least, we made a decoration for our new home that was conceived from the beginning for the specific place it now stands.
We can’t wait for our next cement creation!
And you, what do you think of the final result? Tell us in the comments below!