When we moved to our present home, we wanted to decorate the place for all the seasons: we liked the idea of changing the appearance of the rooms to make each period festive. Like Christmas, but all year round!
The first season we wanted to celebrate with proper decorations was Autumn. It’s always been my favourite season, with cool mornings, colored leaves, red sunsets and sunrises, cozy afternoon teas… For this time of the year, my husband and I made a series of cement pumpkins to be placed around the house.
The most complicated part was painting, but you could choose a coloring method easier than the one we used. We chose acrylic colors and my husband took his time to give each pumpkin the most realistic look he could.

The making process was not hard at all!
What you need is:
- Cement
- Plastic trash (for example the plastic around cases of water)
- Duct tape
- Strings
- Balloons
- An old towel
- Old tights (for smaller pumpkins)
- A bowl bigger than the final size you want to obtain for your pumkpin (for smaller pumpkins)
- A plastic bag (for bigger pumpkins)
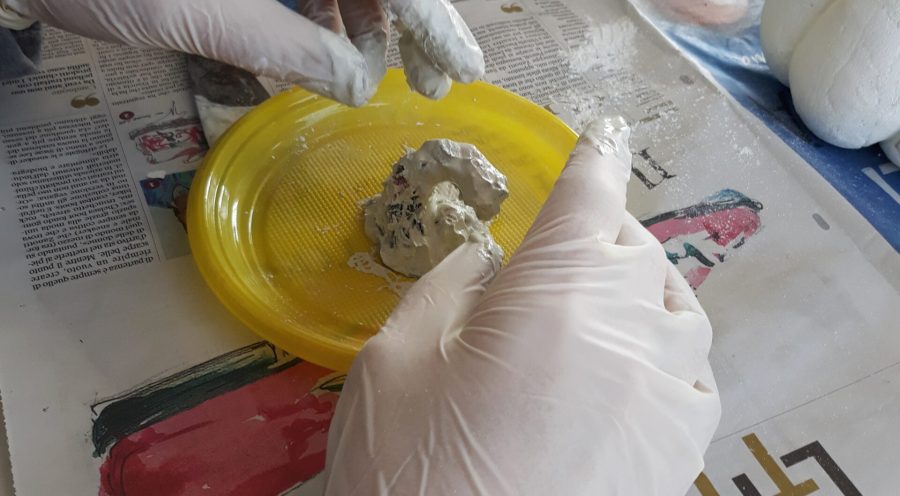
As for the cement, we chose it white because we wanted to paint our pumpkins. Follow the instructions on the bag to mix water and cement correctly. You’ll need a couple kilograms for a medium-sized pumpkin. Remember to have with you more than you think enough: you’ll need for certain to mix more, for example to cover your pumpkin thouroughly while giving it shape, or for for small corrections after drying.
Two of our pumpkins are very big, so we looked for a way to make them lightweight: a pumpkin with a 50cm diameter would have been difficult to lift! We couldn’t simply make a cement ball!
What we did was inflating a balloon to be placed in the heart of the pumpkin to make it lighter.
About the shaping of the pumpkin, we followed two different methods.
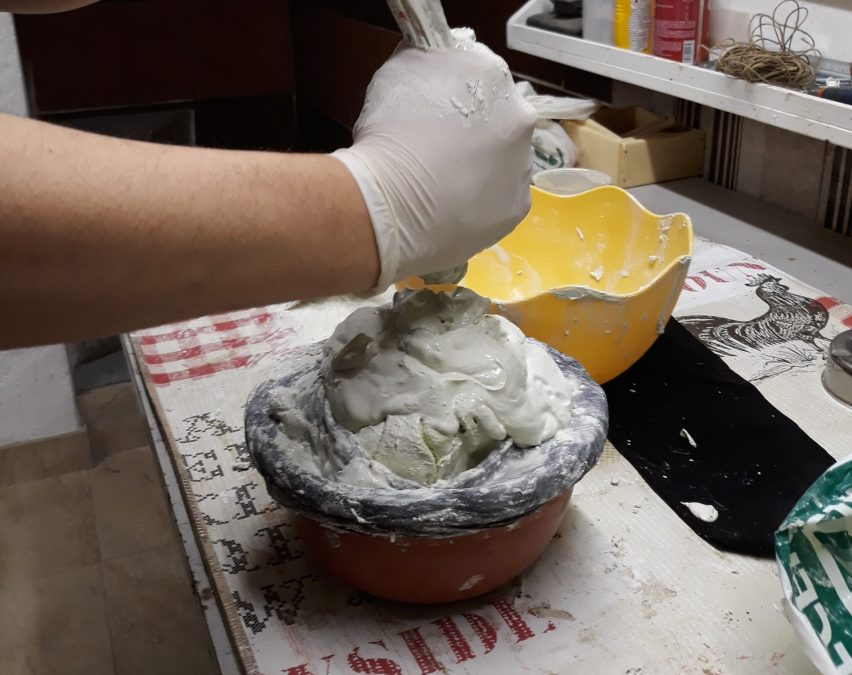
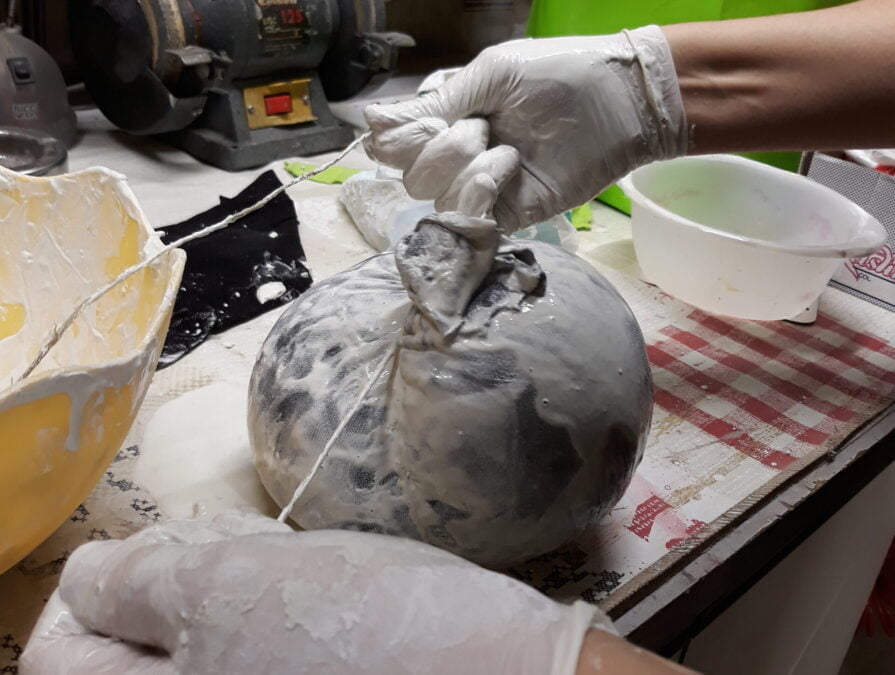
First, for the smaller pumpkin, we wrapped the inside of a bowl with one leg of old tights, placed inside an old towel soaked in cement, positioned the inflated balloon in the middle and poured more cement on top. Then we pulled the tights over it to close, like a sack. We made a knot with the loose end of the tights and tightened.

A small tip
While drying, we placed a weight on top of the knot.
This was to create a shape that was bigger in width than in height.
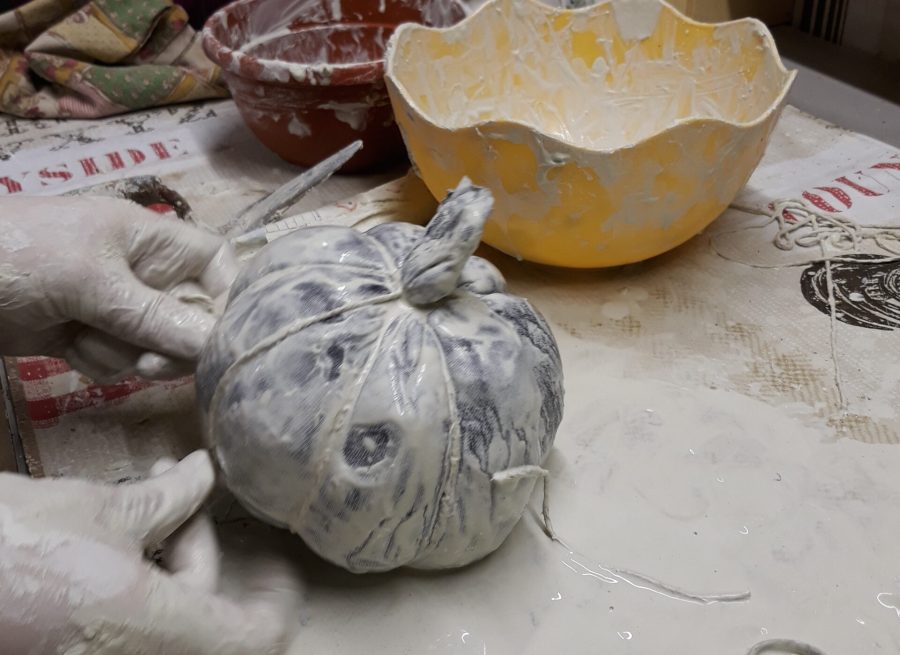
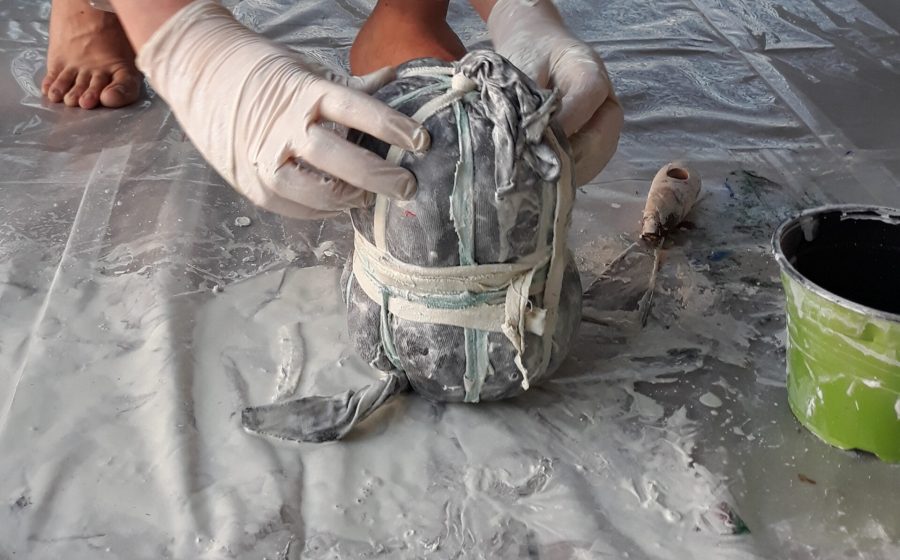
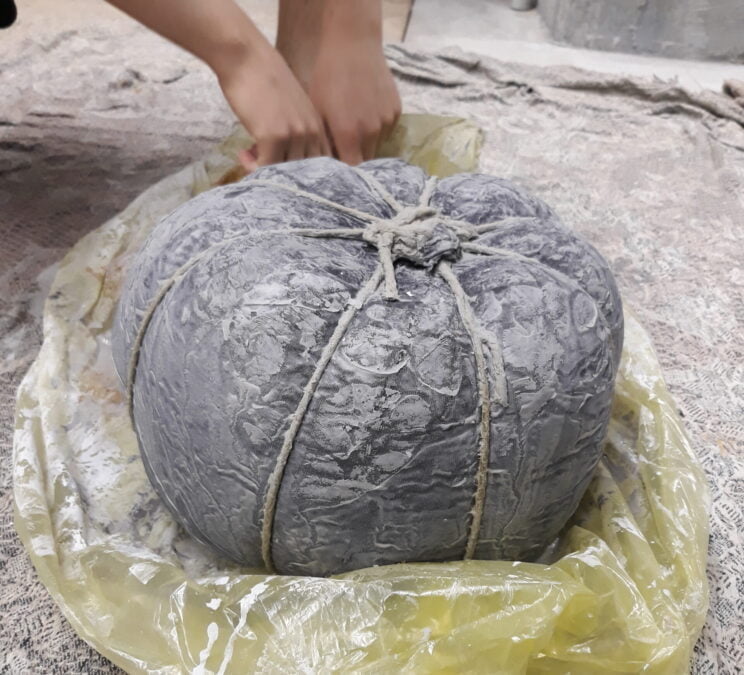
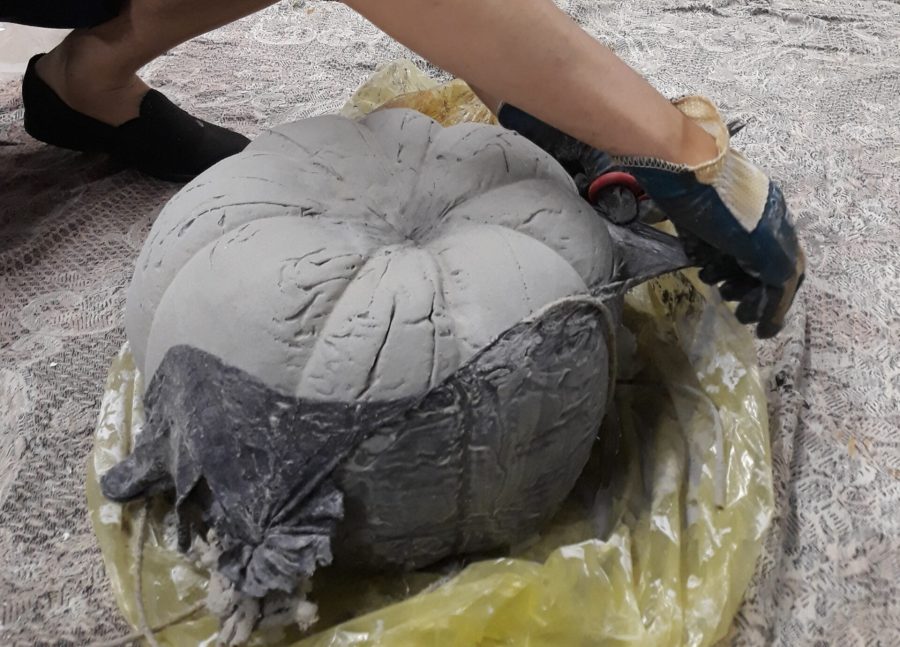
Lastly, we used the strings to give this shape the appearance of a real pumpkin, pulling them hard. We laced one end of each string to the upper knot, then circled the pumpkin vertically to reach its bottom and come back up from the opposite side. All the strings surrounded the pumpkin like we had to draw its meridians.

The bigger pumpkins simply would not fit inside the bowls we had, so we had to find other methods. We also chose not to use balloons, but recycle plastic trash to make them lighter. A ballon would have been too small to be of any help with the final weight, also it was not handy to obtain the elongated shape we had in mind for the medium pumpkin. You could use for example the plastic sheets covering the boxes of water bottles or any plastic packaging. We did not use paper because to make cement you use water, so we didn’t want it to melt paper.
For the medium-sized pumpkin, we made an elongated shape with plastic and duct tape, soaked an old towel in cement to cover it, then fitted all inside the tight leg and stringed it.
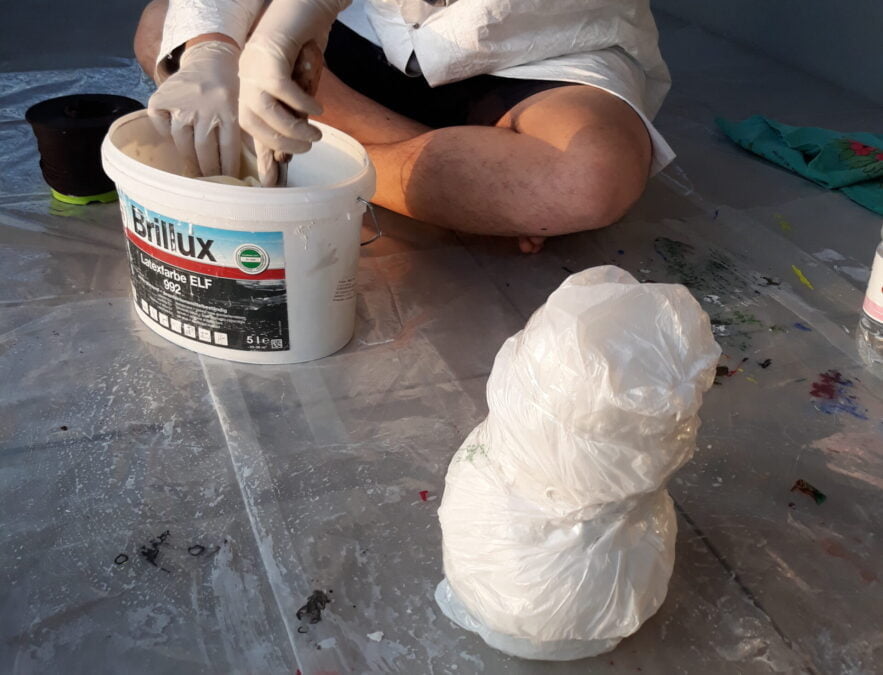
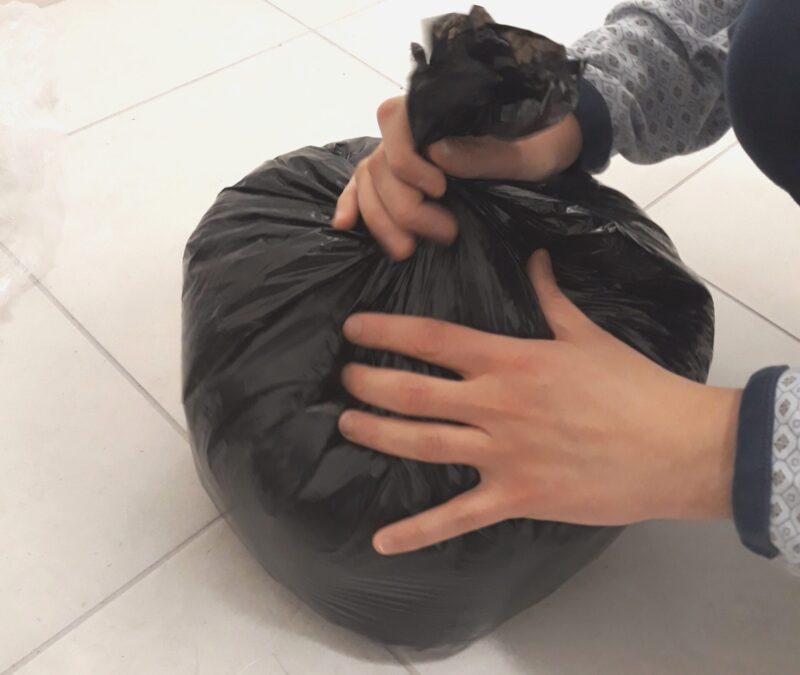
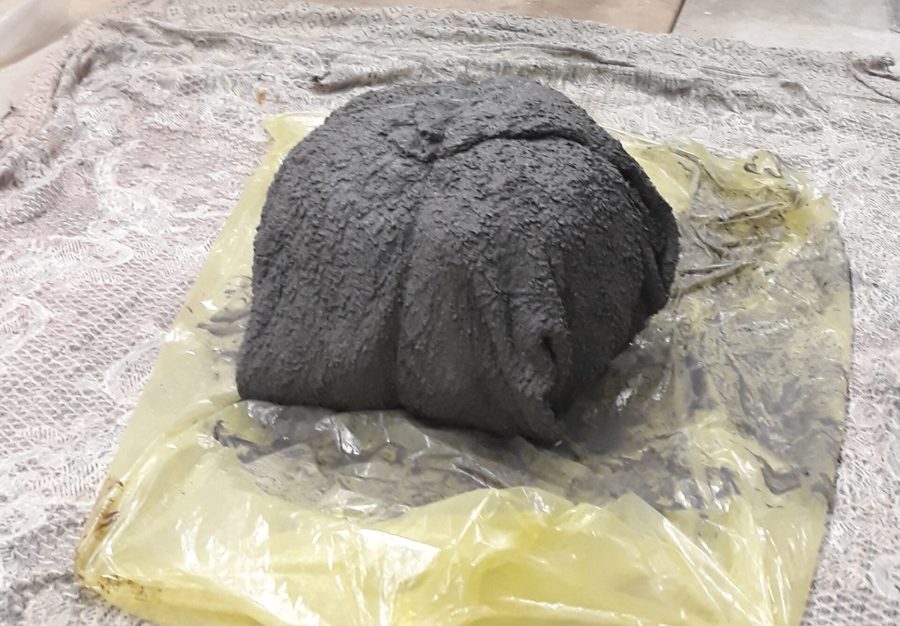
As for the bigger one, since it’s really big, we made a ball with plastic trash, then placed it in a plastic bag we closed tightly to keep everything in shape. This, we covered with a towel soaked in cement. Finally, we used another plastic bag to wrap the towel, since it would not stay in place alone, and finally stringed it.
After drying, we cut away the strings and the tights (and the outer plastic bag for the bigger pumpkin). The towels, instead, remained part of the final texture. We also sanded a bit with high grit sandpaper.
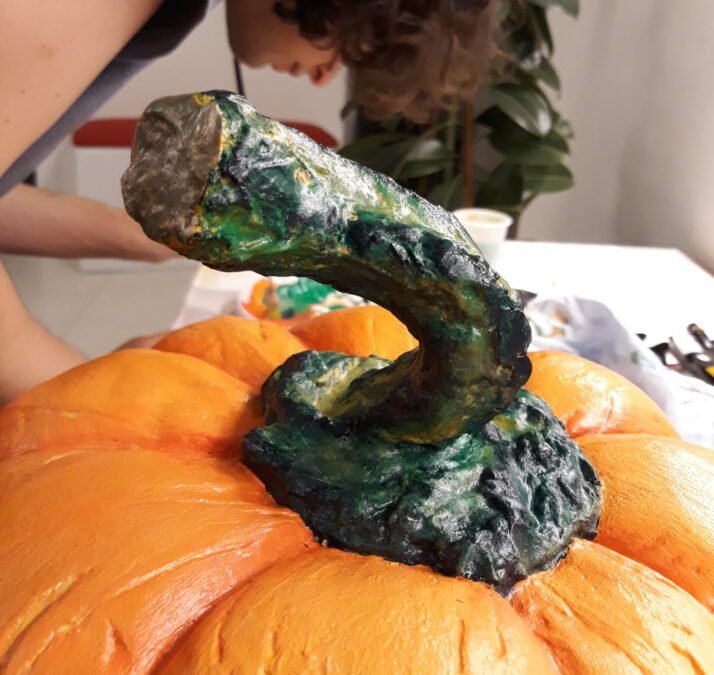
With more cement, we made the stalk.
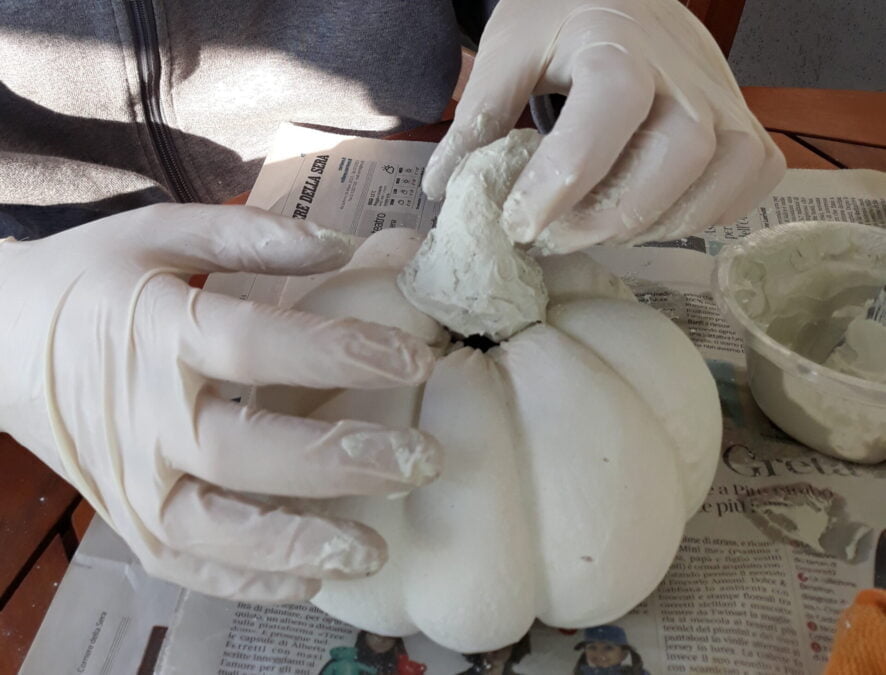
We modelled it with metal wire and rope, as inner support, then soaked it in cement and sculpted. When it was almost dry, we needed to add other fresh cement to give it the shape we wanted.
After drying completely, we attached it to the top of the pumpkin with more cement.


Easy, isn’t it? Easier making than telling, for me!
Guess what was the hardest part. Yes, the final step: painting.
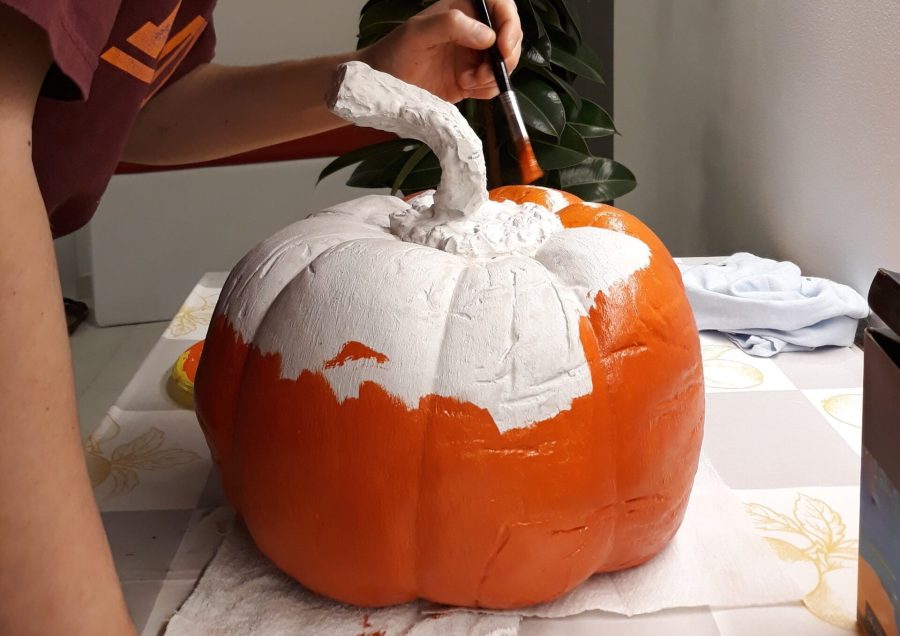
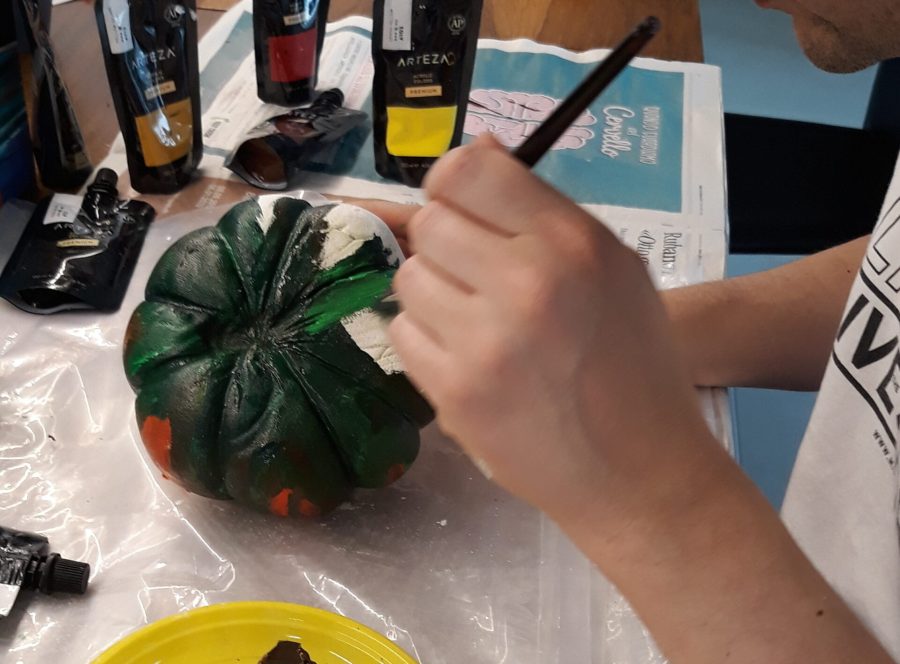
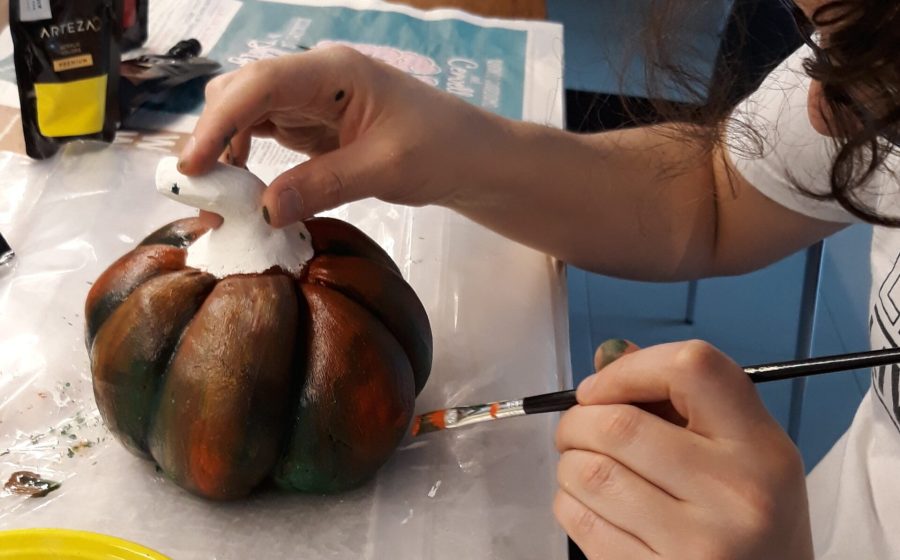
The painter master of the family is my husband, no doubt. You know it if you follow our DIY adventures on Instagram. With acrylic colors he carefully painted all the three cement pumpkins we made as Autumn decorations.
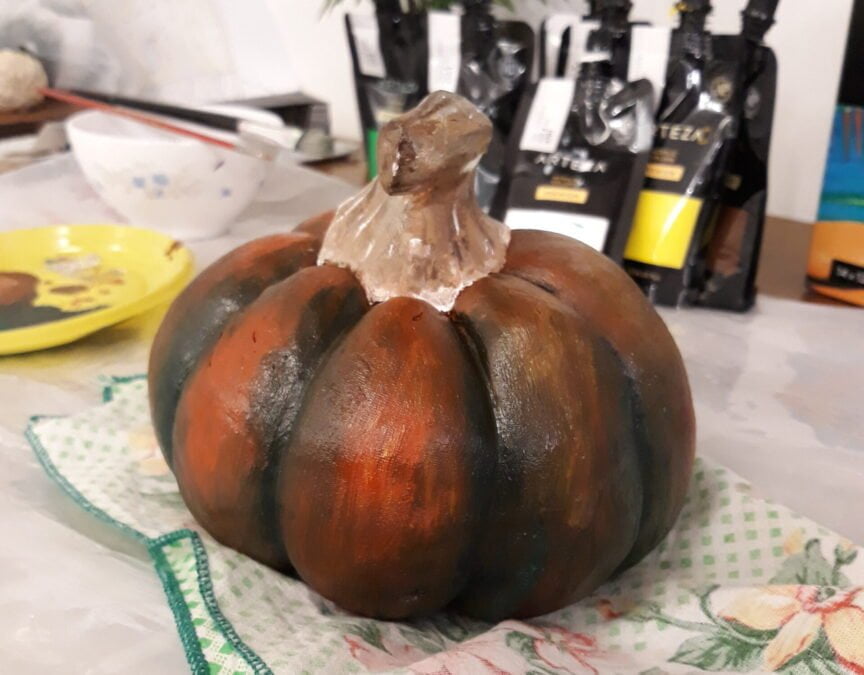
First of all, he gave each of them a one-color base layer, then added a carefully planned shading. Just for the stem of the bigger pumpkin, he spent one hour and a half of work.
The final result looks really natural, do you agree?
Well, this is just the first project for our season decorations: we have more in mind for Autumn, but also for the other seasons! Stay tuned to discover the next crafts soon!


