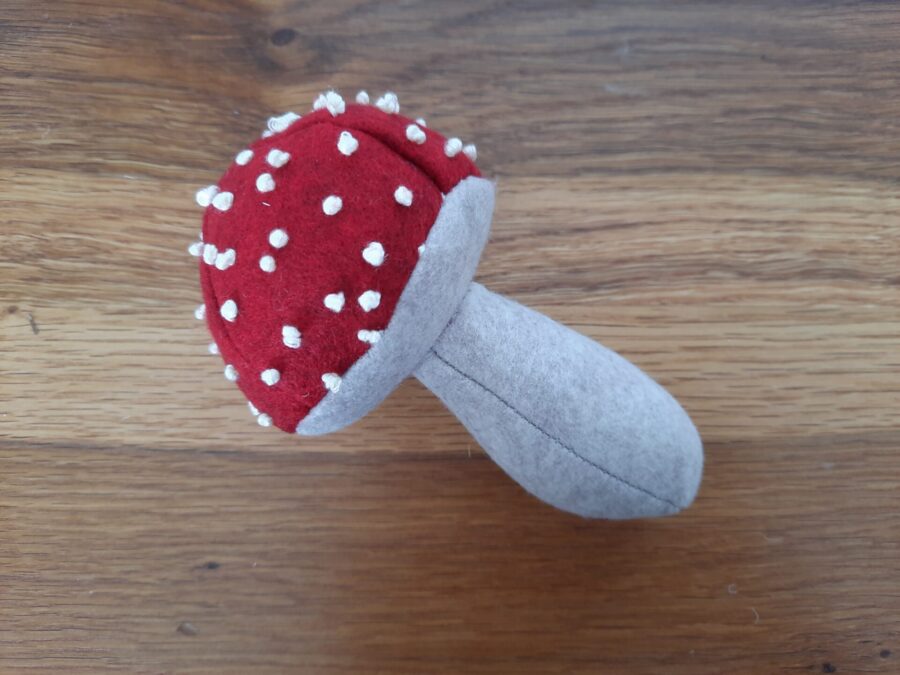
If you’ve been following us for a while, you know a couple of things about our #LRCrafts family: we love crafting, we love decorating our home with our creations, we love seasonal decorations. If you add a special vibe for Autumn, you get the whole picture.
When I got my sewing machine as a birthday present last Summer, I started getting acquainted with it making sewn pumpkins. As soon as they got shape, my husband started asking me to sew mushrooms to complete the Fall decor. Well, I tried as soon as I finished the pumpkins, but I wasn’t able to make one that satisfied me. Too fat, too thin, disproportioned… I made several mockups, no one good enough to fit with the other Autumn crafts.
Until the time it worked. I recently tried a new solution that was the best I could hope for. Now, I’m telling you how I made my sewn mushrooms, and how quick and easy they are to sew!

Click for the finished project detailed photos

Creating these sewn mushrooms has been such a delightful journey, blending creativity with the joy of seasonal decor. But why stop at just home decorations? With a little imagination, your handmade mushrooms can find new life beyond your Autumn setup.
For instance, why not transform your sewn mushrooms into adorable custom keychains? By attaching them to keychain loops, you can carry your craft wherever you go, turning these plush creations into charming key pendants. Imagine gifting a set of colorful, mushroom-themed keychains to your loved ones: they’d make a thoughtful and unique present for any occasion!
You could even create an entire collection of mushroom keychains, experimenting with different fabrics, patterns, and sizes. Whether you keep them for yourself or share them with friends, these customized keychains add a whimsical and personal touch to everyday life.
But before I’m carried away too much by my creativity, let’s start the tutorial on how to sew mushrooms in the first place!
What you need is:
- Pattern
- Stuffing material
- Fabric of your choice
- Sewing thread to match the color of the fabric
- Sewing machine or needle and thread
- Scissors
Download pattern and instructions
The inspiration came from Pinterest! To be precise, from Tatyana Maksimenko‘s pins, that I adapted to my needs. Pinterest is my go-to place for any craft! On my #LRCrafts Pinterest profile I save tons of useful stuff.
Download the mushroom plush pattern, with photos and QR code to the detailed instructions you are reading now.

First things first: cutting all the pieces of fabric.
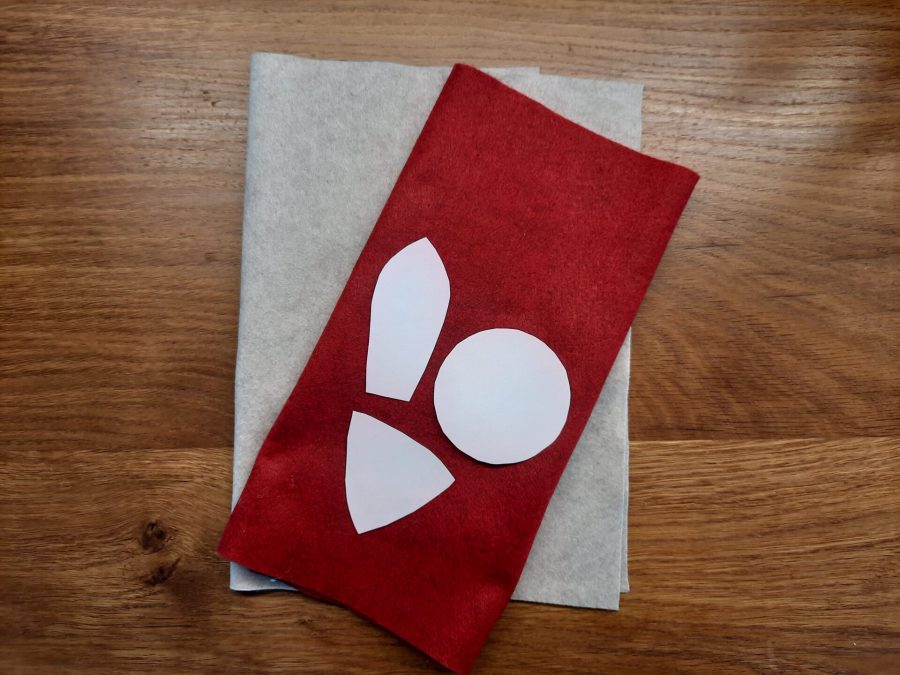
Since I wanted to reproduce the Amanita muscaria (a poisonous mushroom that I find beautiful), that has a red cap with white dots, I chose red and light grey fabric. I went for felt fabric because I wanted something strong and sturdy, so it could support itself without any rigid additions inside.
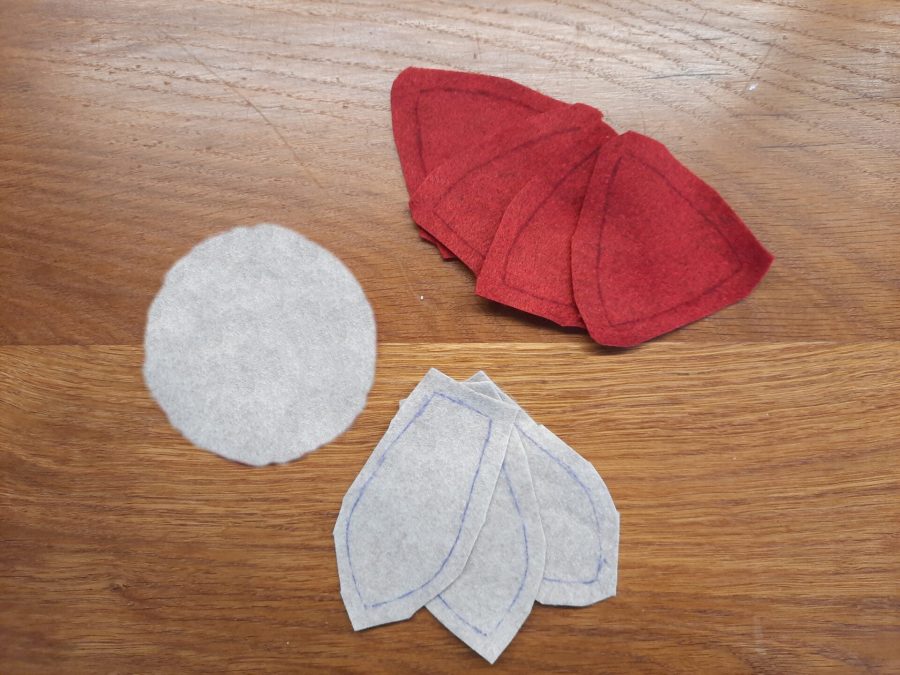
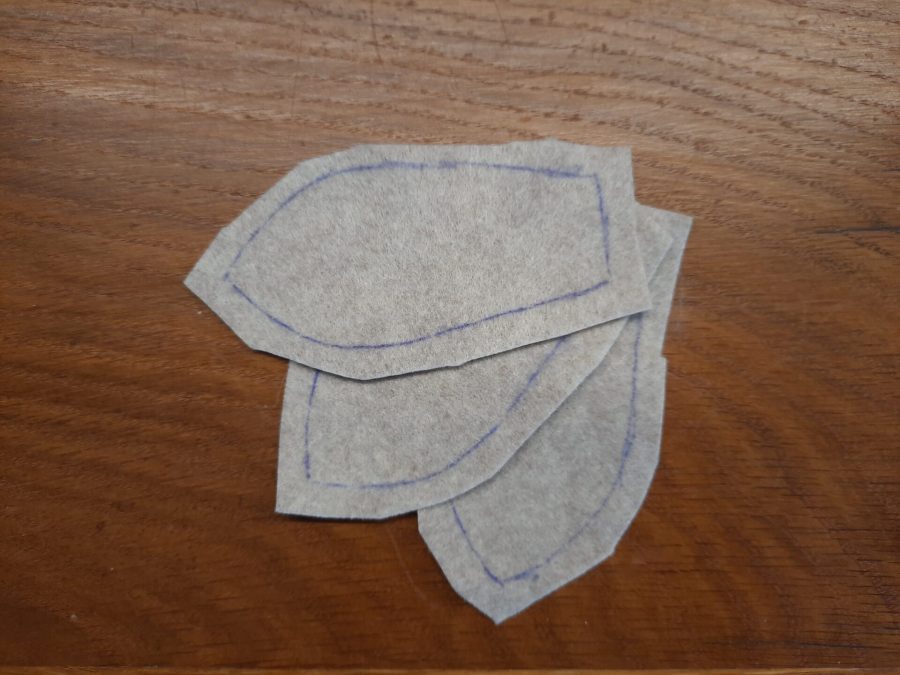
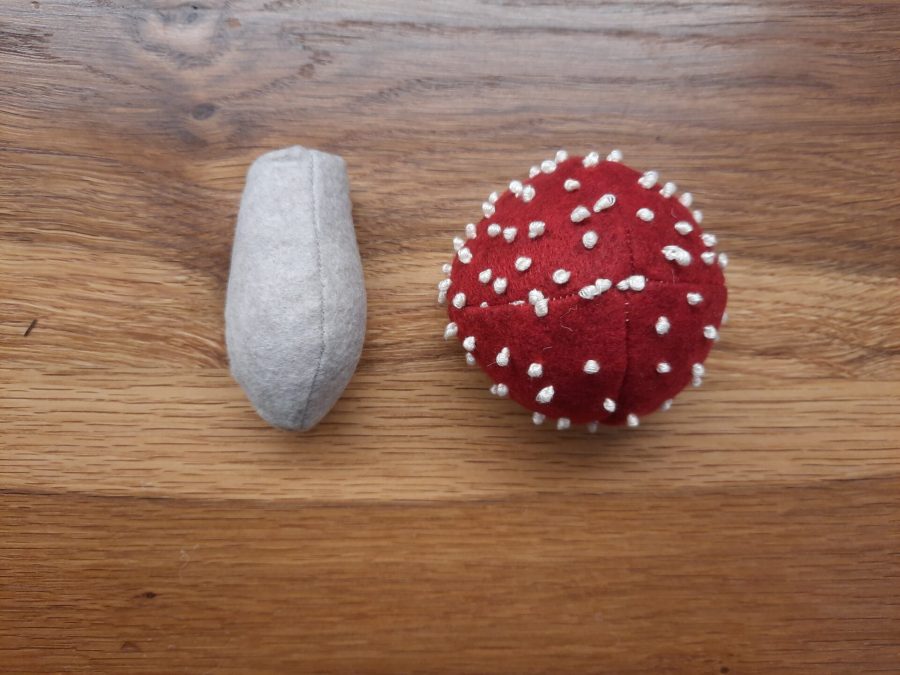
So I cut four cap panels (the triangular shapes in the pattern) out of red felt, one circle and three elongated pieces for the gills (bottom of the cap) and the stalk.
Following the pattern, I traced the pieces on the fabric, then left about half a cm of seam allowance while cutting: this way, the lines I marked on the felt became my guiding lines for stitching.
Let’s start assemblying!
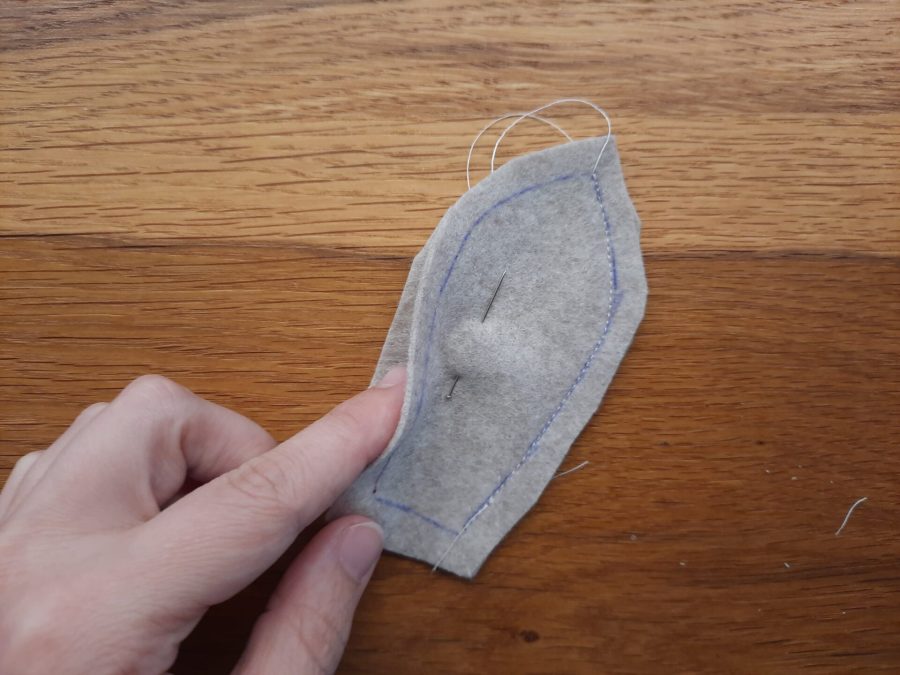
I began with the stalk. I put the first two pieces together, one on top of the other, right sides touching. I pinned them in place and sewed with my machine. Be careful to sew just one long side, from the tip to the short side!
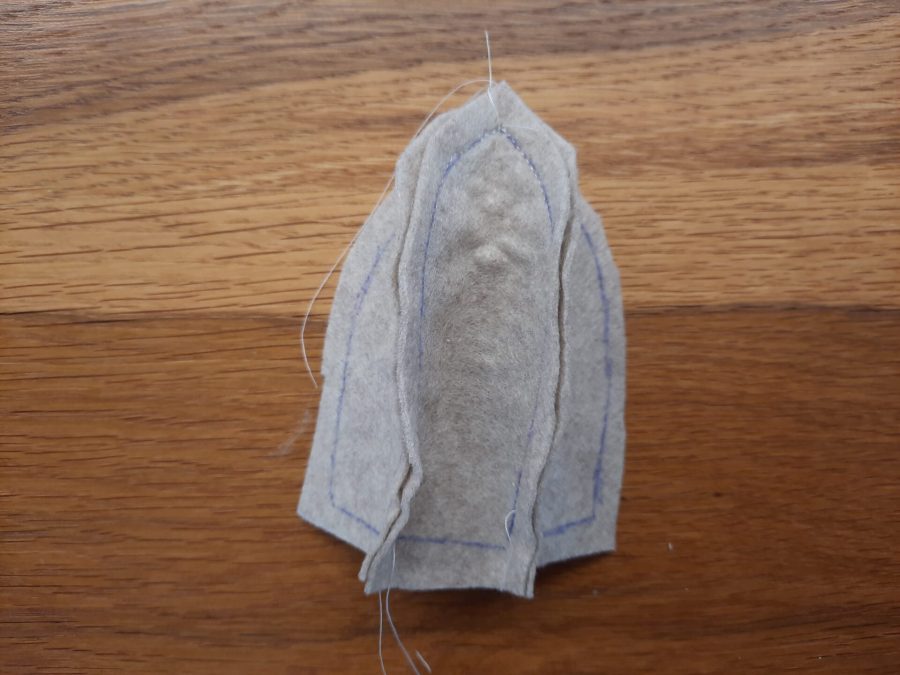
Second step, open the two pieces, right sides up. Place the the remaining piece on top of them, right side touching the right side. Match one long side of the joined pieces with the long side of the remaining one, pin them together and sew like before. I like to begin sewing from the short side towards the tip, just to be sure that the my new seam reaches the old one, to close the stalk.
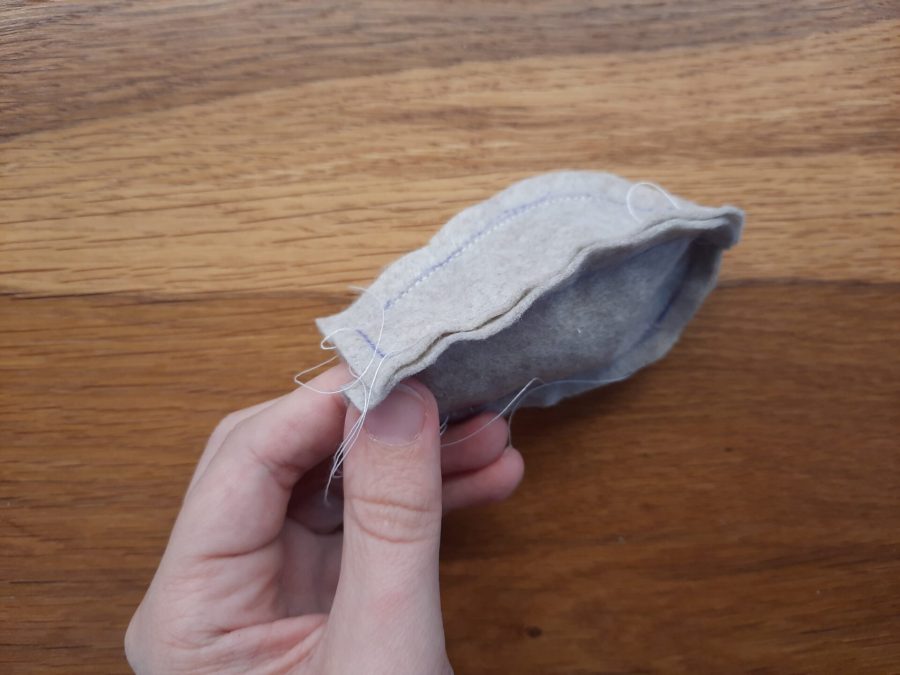
There you are, ready for the third step. Join the two loose long sides together, right sides touching as always, and sew one last time. Use the opening on the short side to reverse the “sack” et voila, stalk ready.


Now, take care of the cap in a similar way.
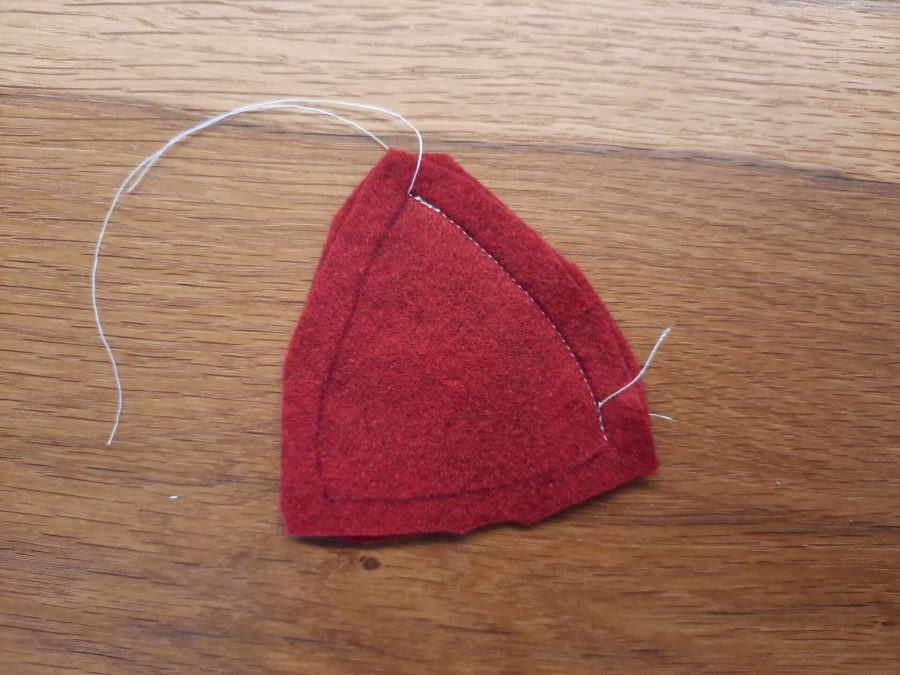
First, join two cap pieces, right sides touching, and sew them along one side. Next, repeat with the other two pieces, so to obtain two couples. Now, place one couple on top of the other, always right sides touching, and sew them along the two sides: you’ll end up with a cap.
Easy, isn’t it? I just can’t stress enough to check that you joined your pieces correctly: I sewed the wrong sides once, and tearing away seams is not funny…
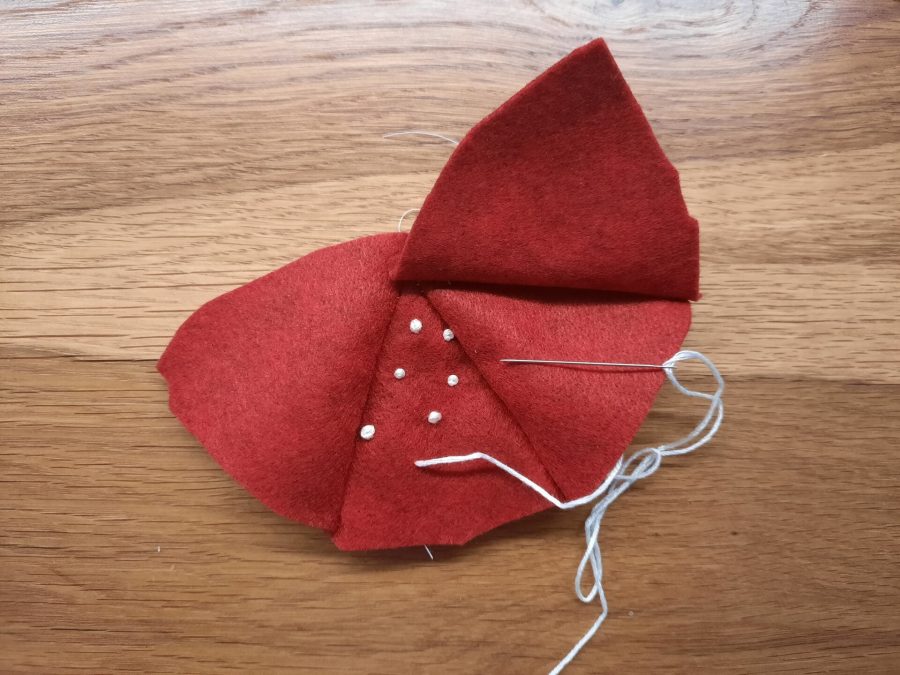
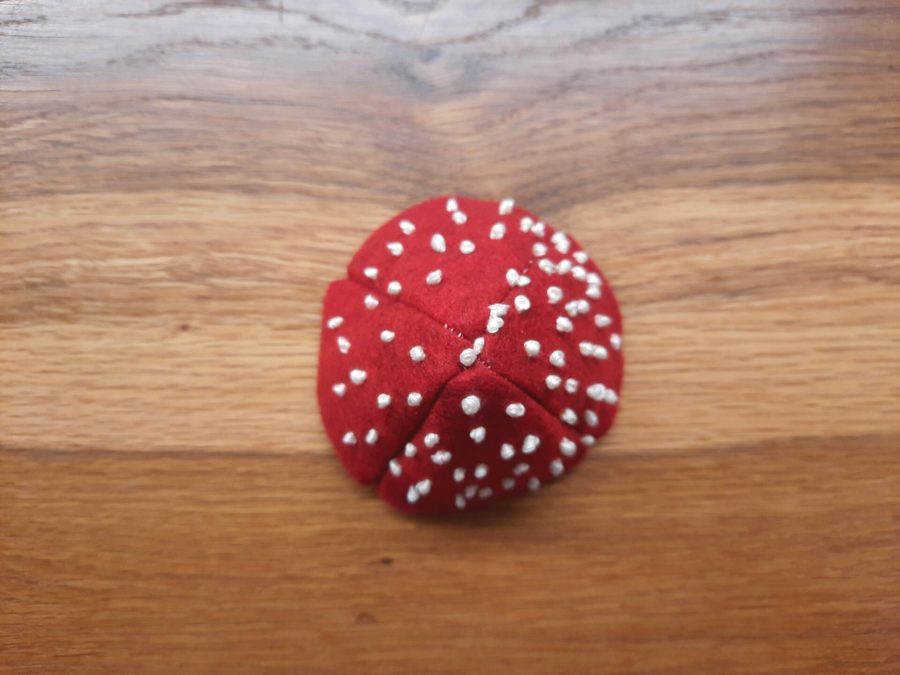
Now it’s time for any decoration! I wanted to embroider white dots on my red caps, so I took my time to add French knots all around my mushrooms. I even embroidered during the commute to work!
Adding support to your toadstool
With a good felt fabric, you’d have all the support your mushroom needs. If you want more, just before the final assembly you can add a wooden stick inside the stalk, all surrounded by soft stuffing. Pay attention to choose one that’s a little shorter than the stalk, it helps the finishing of the toadstool.
About the cap, you could add a rigid circle inside it to support it. It could be wood, cardstock or plastic, your choice. I tried with a mason jar lid, and it worked really well. Attaching your stalk after inserting the circle would be harded, though. Maybe you’d like to attach the stalk before inserting the disc.
When the embroidery is finished, you can stuff and assemble the final mushroom.
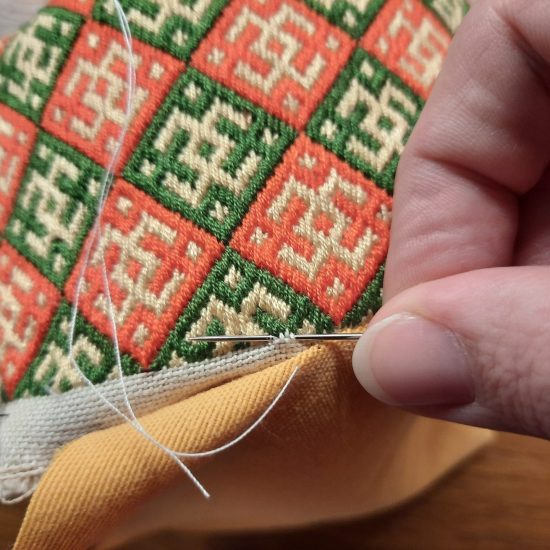
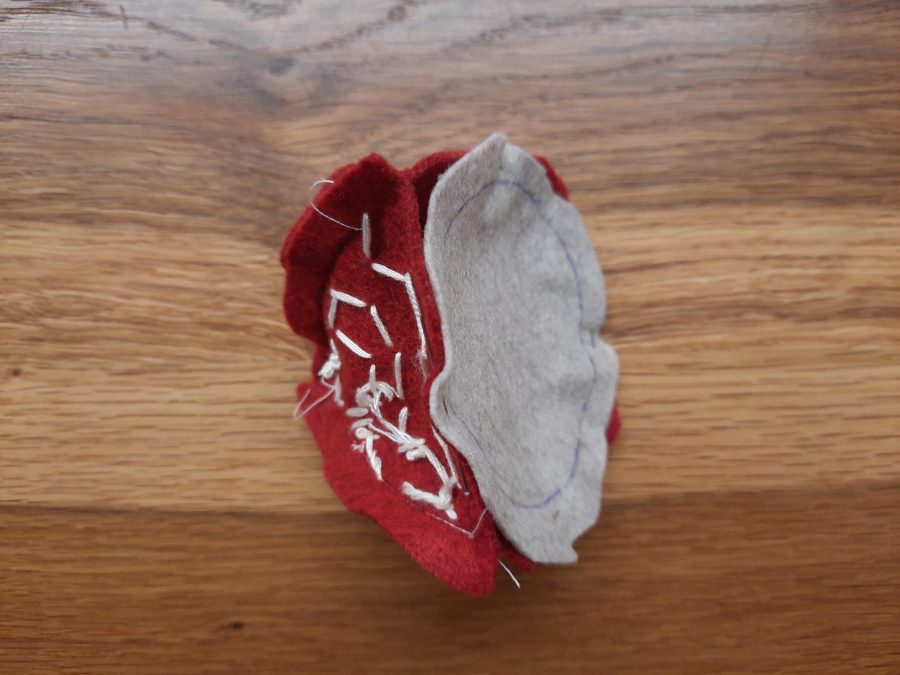
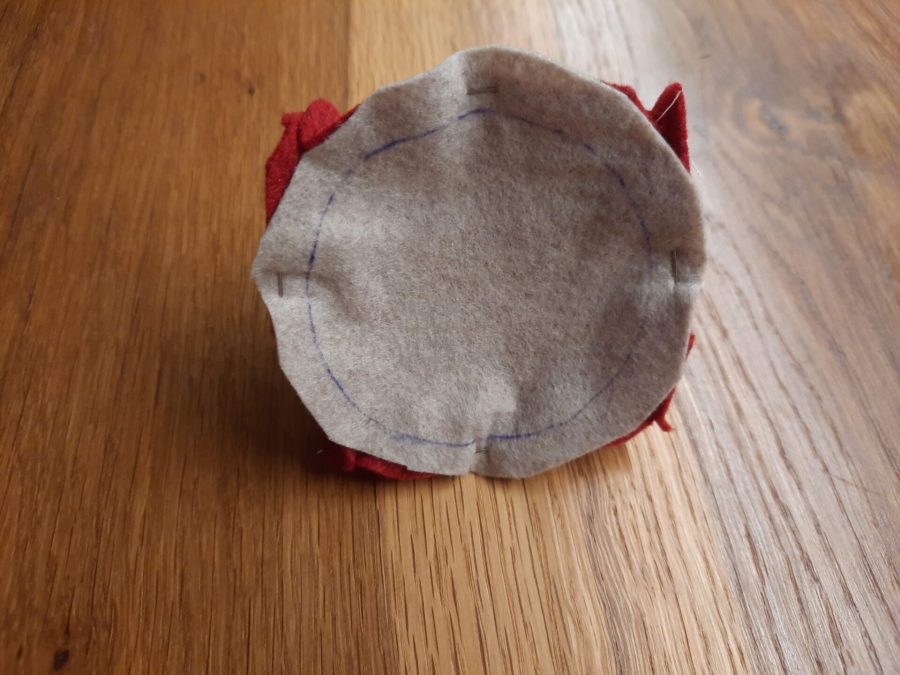
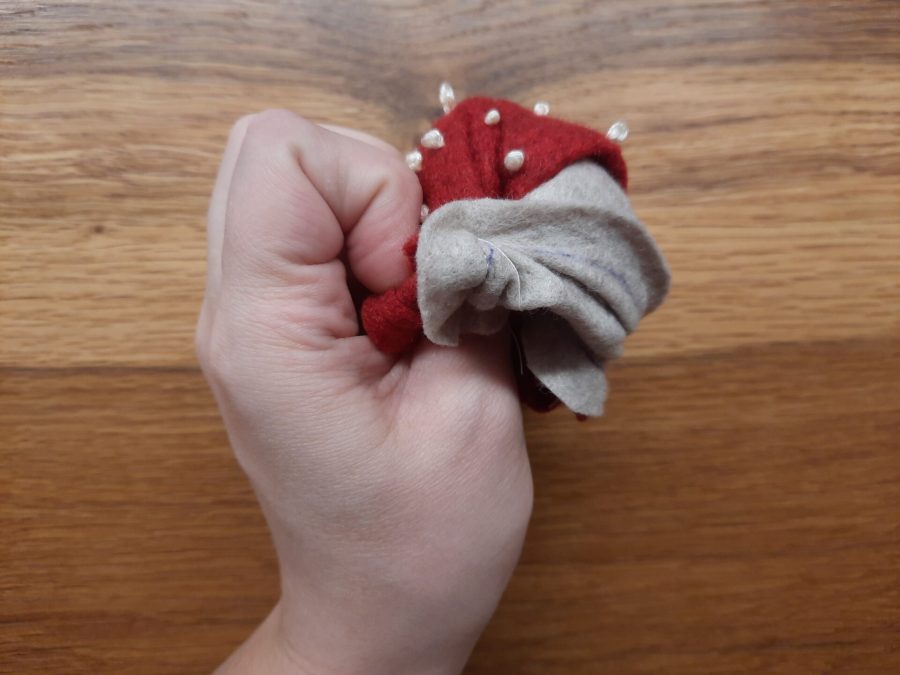
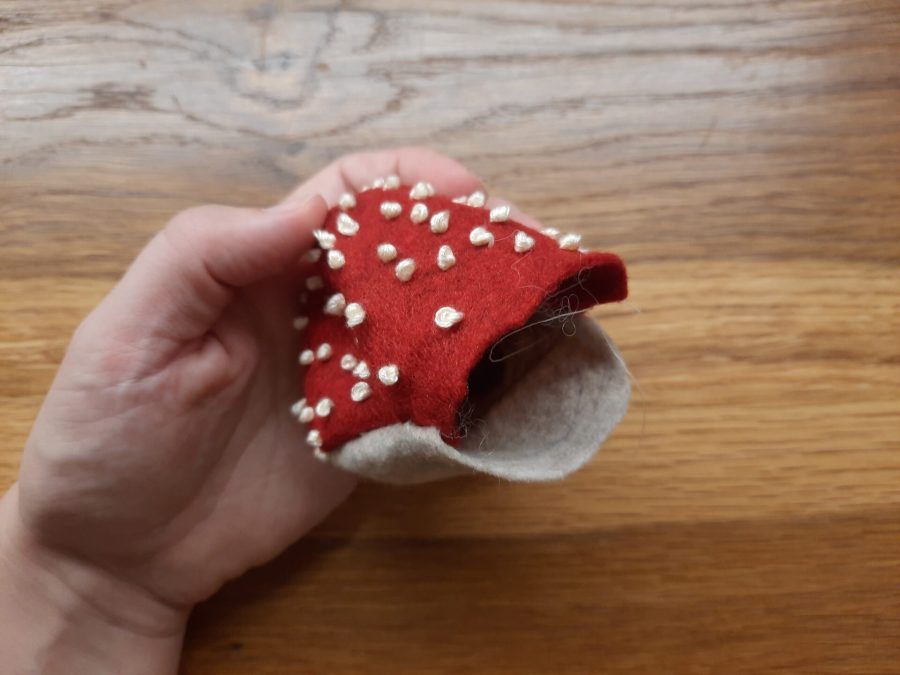
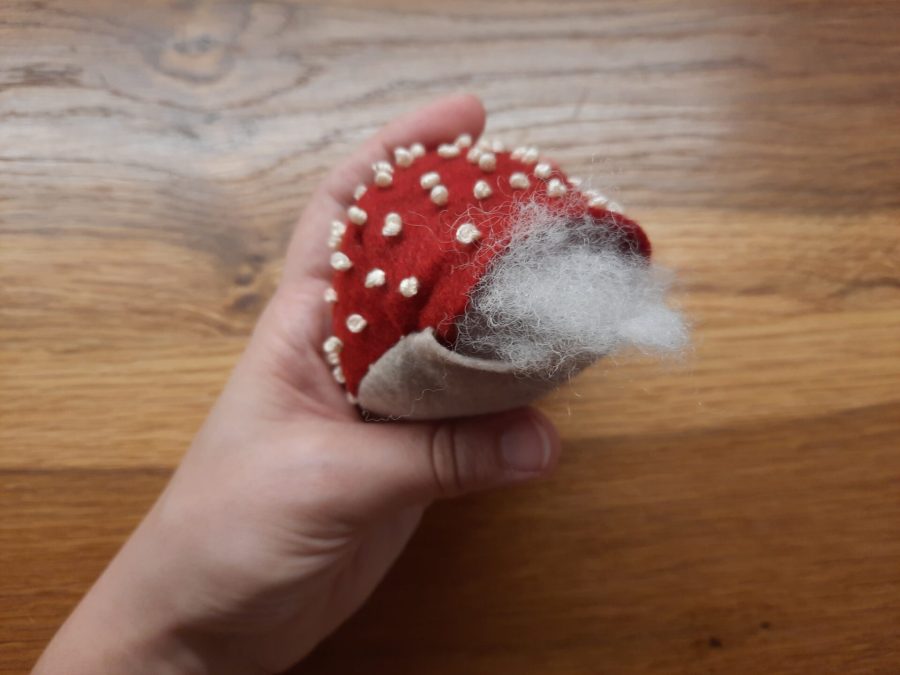
Start with the cap and pin the fabric circle at the bottom to close it (did I tell you “right sides touching?”). Sew it in place, but be careful to leave a small opening: you’ll use that to reverse it. Once you have it built and reversed to the right side, you can stuff and close the opening. That, you’ll have to do by hand. Choose a thread that matches at least one of the colors of your fabric, even though the goal is to make stitches not visible using a ladder stitch.
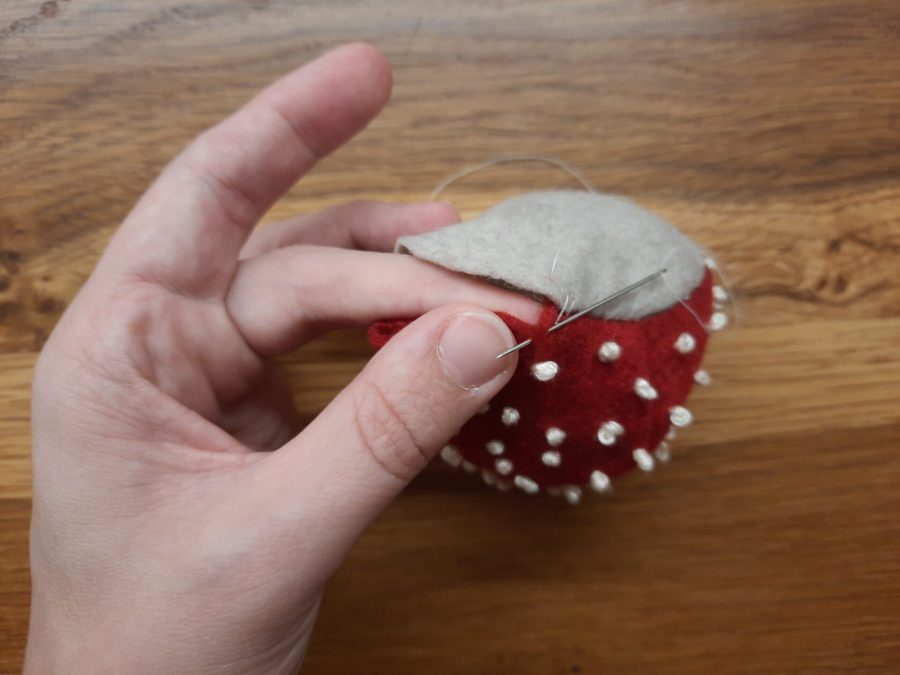
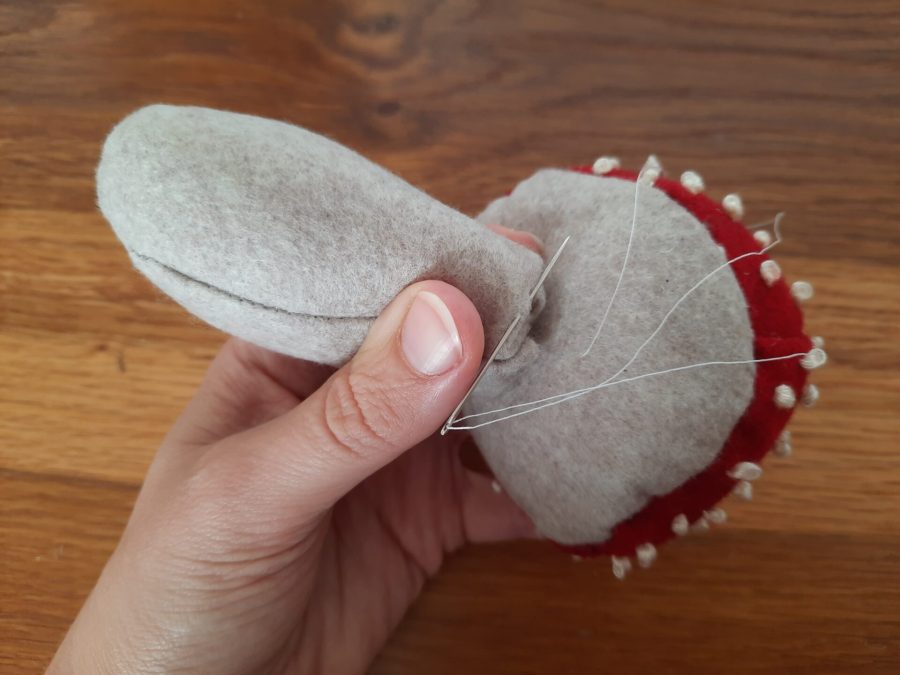
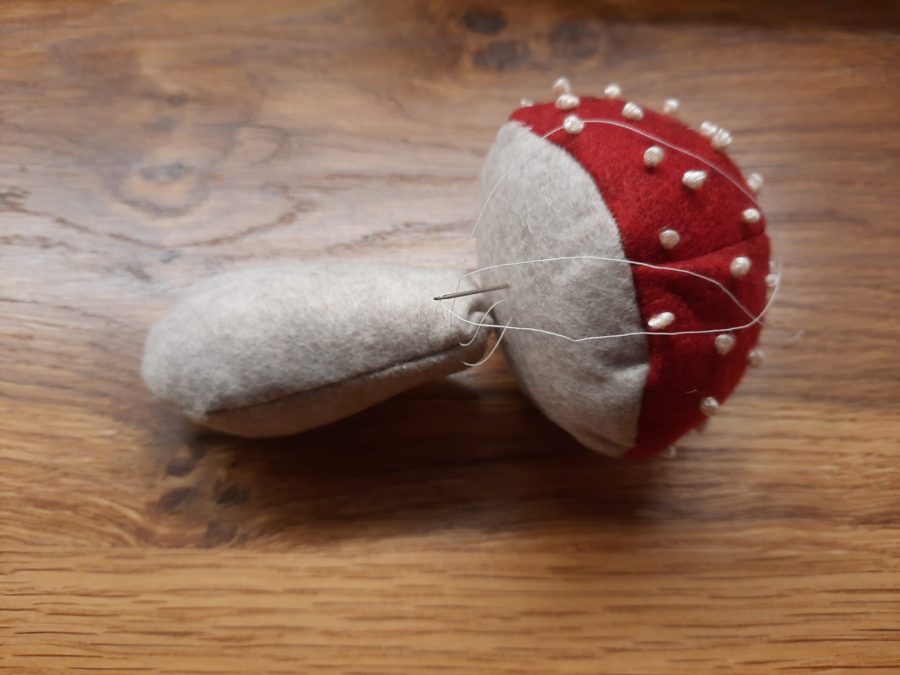
Once the cap is ready, the final step is attaching it to the stalk. That will be the hardest part of the whole process. When your stalk is reversed and stuffed, you need to turn the top edge a little inside, place it in the middle of the cap bottom and sew with ladder stitch. Keeping the stalk in place is not easy, I suggest you to stitch at least three opposite points of the stalk then proceeding all around. I like to stitch all the circumference then start over and do it again, just to add strenght and hide the stitches that would be more visible from the outside.
Once you mastered this step, your mushroom is ready!

About stitching the pieces of the toadstool together
I chose invisible stitching, but you could decide to sew the final assembly all by hand and make visible and decorative stitches. Herringbone or other resistant crossing-stitches would be great.
I made my very first mushroom in a little more than half an hour. Now a few of them are sitting all around the house, with my sewn pumpkins, to decorate our home for Autumn.
I already have an idea, though, about a Fall composition to make, and this implies the use of an old craft of us that was not intended for Autumn-specific use but…
Stay tuned to know more about it!