
I love Autumn, and I love decorating our home, mainly with our crafts.
This year, just a couple of days before the beginning of Autumn, my family came with an awesome birthday present: a sewing machine!
It’s a Brother F60X, a digital sewing machine with loads of built-in stitches. I’m already in love with it!
Locutus has always been the master of sewing machines, but now I’m practising every moment I can to master all the secrets of my machine. I did small repairs and quick projects just to train on this new crafting tool.
The first craft I made? I sewed tiny pumpkins to scatter around the house in Autumn!
I saw on Instagram the lovely felted pumpkins made by RJ Styles Handmade Creations, then the cute ones made from socks by Hey Sew Sister, so decided I wanted to make my own ones!
With the help of my husband I was able to prepare a super easy pattern and make my first sewn pumpkin in the span of an hour! Now I want to share with you how I made them. There’s also my sewing pattern to download!

Click for the finished project detailed photos
Free pattern download
If you want to follow this tutorial, you can also download the pattern. It’s free!
What you need is:
- Pattern
- Stuffing material
- Fabric of your choice
- Sewing thread to match the color of the fabric
- Sewing machine or needle and thread
- A long and strong needle, like the one used for doll making or tufting
- Scissors
For the crocheted vine
- Crochet needle
- Crochet yarn of your choice
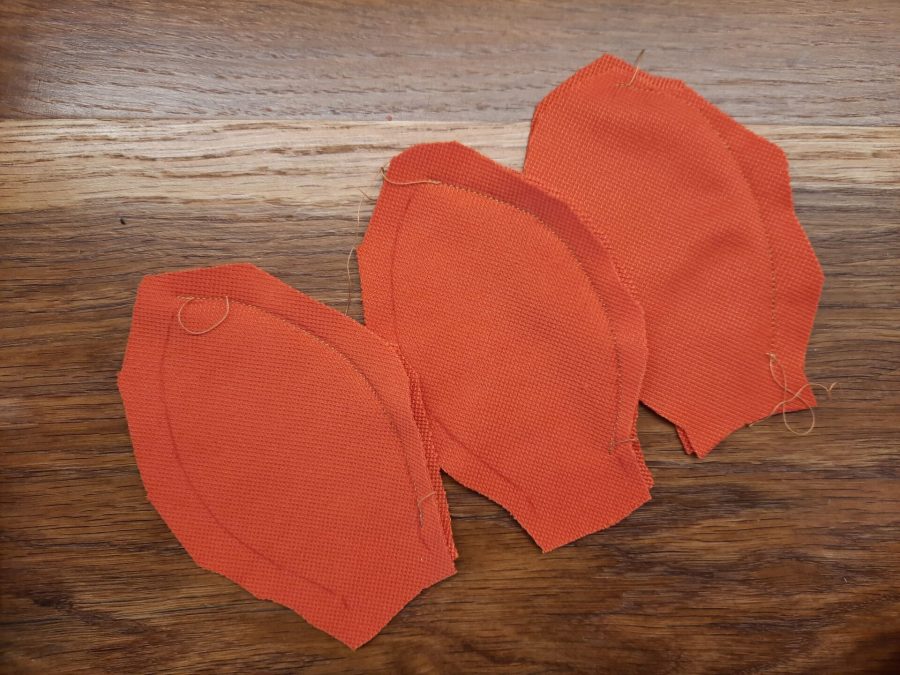
I chose to make my pumpkins with six equal slices. You could choose as many as you like: each seam connecting the slices corresponds to one rib of your final pumpkin.
As for the size of the finished pumpkin, consider that the final height will be about a half of the slice lenght. My slices are 10cm long, resulting in about a 6cm high pumpkin.
First, print and cut the pattern the size you want it. I drew it on simple paper, but card stock could be easier to manage and also reusable for a longer period. Use it to trace its outline on the wrong side of your fabric.
To do this, I was used to chalk, but one day I found a pen for fabric whose marks erase with heat: you draw on your fabric, then apply heat with a hair dryer and thr marks vanish! I highly recommend it, it’s super handy!
I cut six slices out of my fabric, following the pattern. I used an orange pillowcase I found by chance, that has a lovely rough surface I fell in love with.
Be sure to leave about 2 cm of seam allowance.
When you have all your pieces, begin sewing them together.

A small tip
At both ends of each slice, mark two dots: it will make it easier to find where to start and finish sewing.

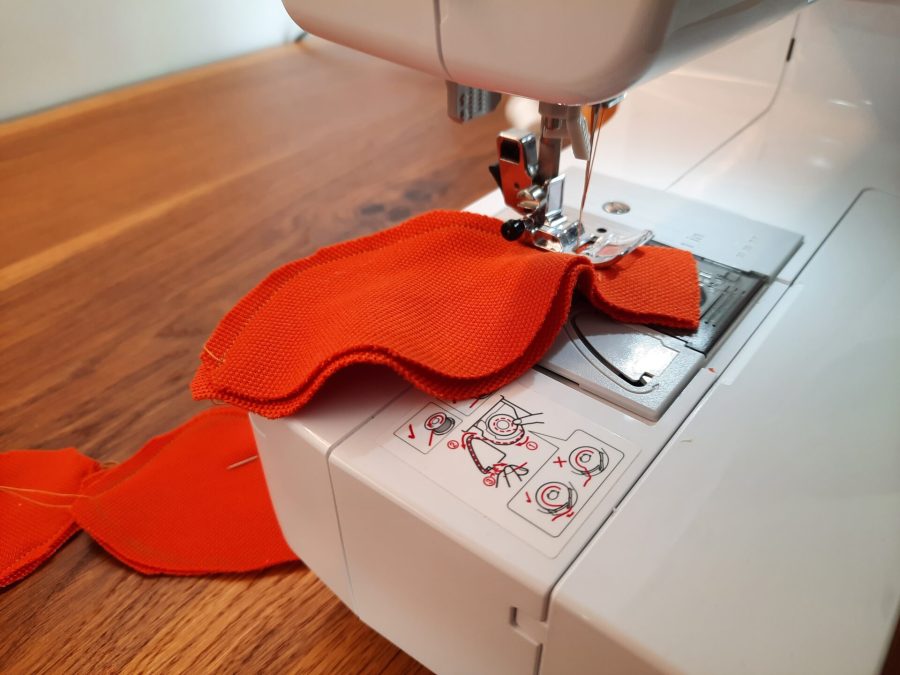
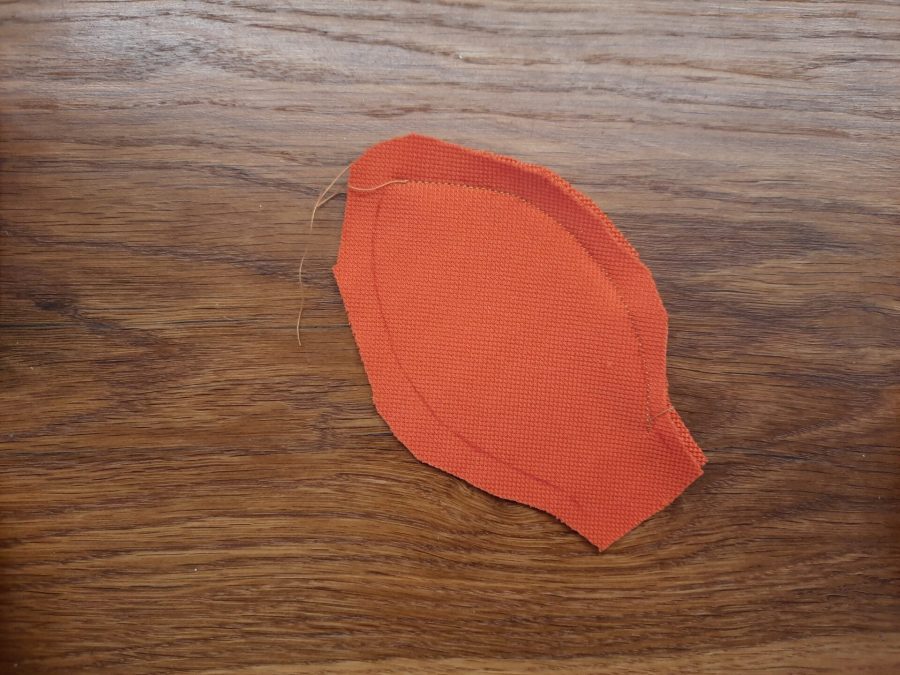
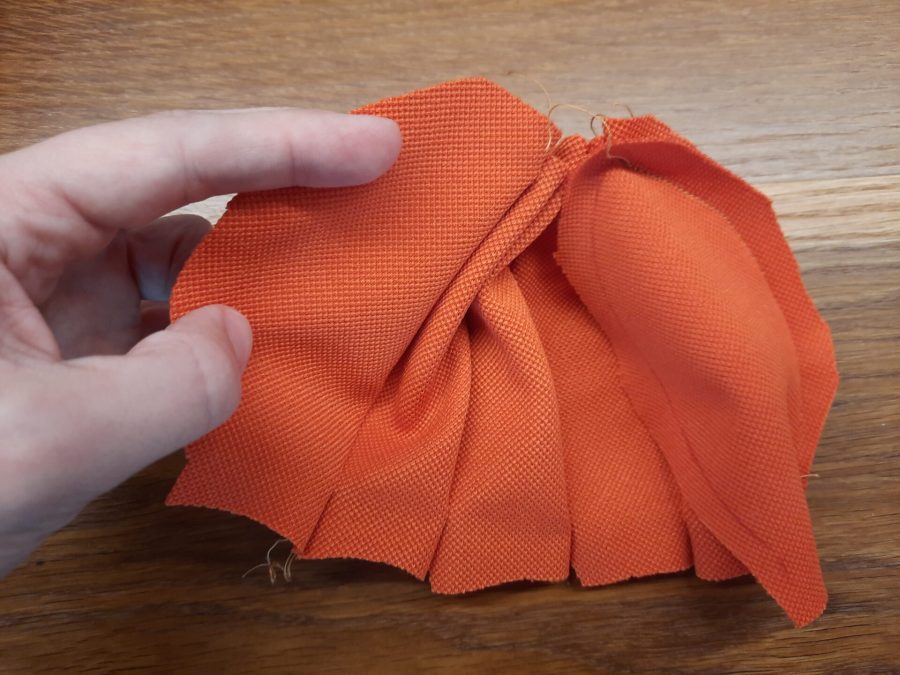
To sew the slices together, I took the first two, placed one on top of the other (being careful to leave the right side of the fabric inside, so that each slice showed me its wrong side) and pinned in place. I then sewed along one of the sides, from base to top. One thing to keep in mind: always leave the bottom side open: from there, you reverse your pumpkin to the right side and stuff it.
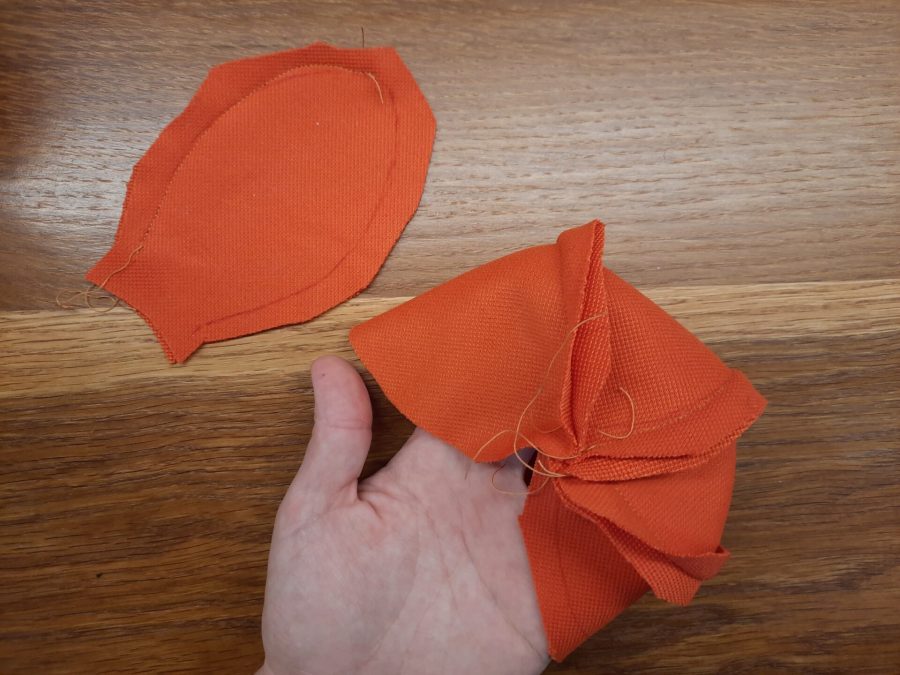
I repeated with the other slices, two by two, so I had three pairs.
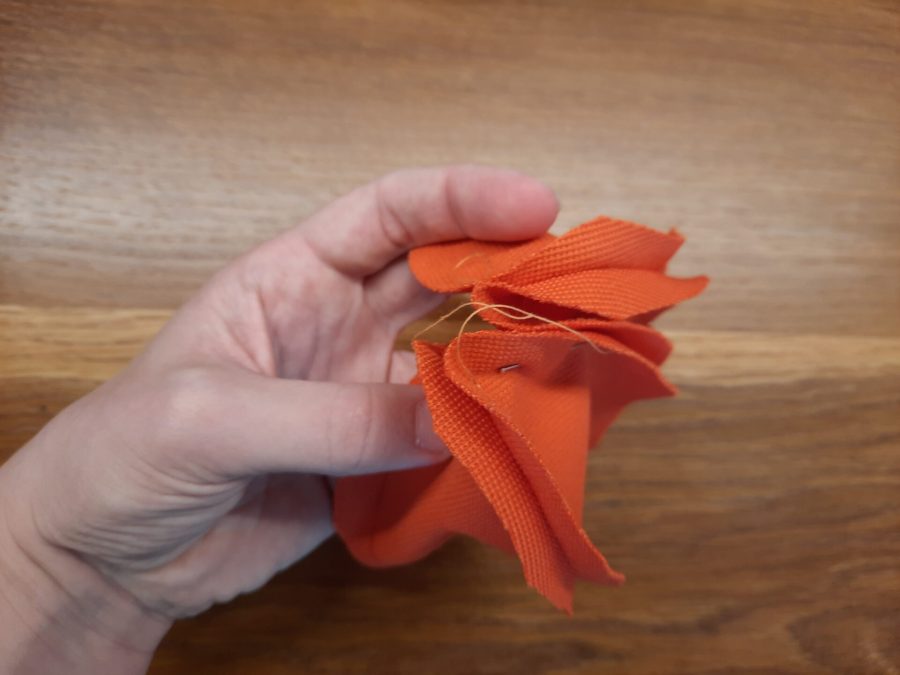
Then I had to connect them all together. I placed my pairs on the table, right sides down, one after the other. That was what I had to obtain: a line of slices all connected. This line would so become a sack.
Picking up one pair, I added another one to it: I pinned them together along one free side and sewed them. Be always careful so that the right side of the fabric stay consistently on the same side! You have to keep it on the inside of the sack you are sewing, then reverse it at the end. Line up the points of the slices and pin them well.
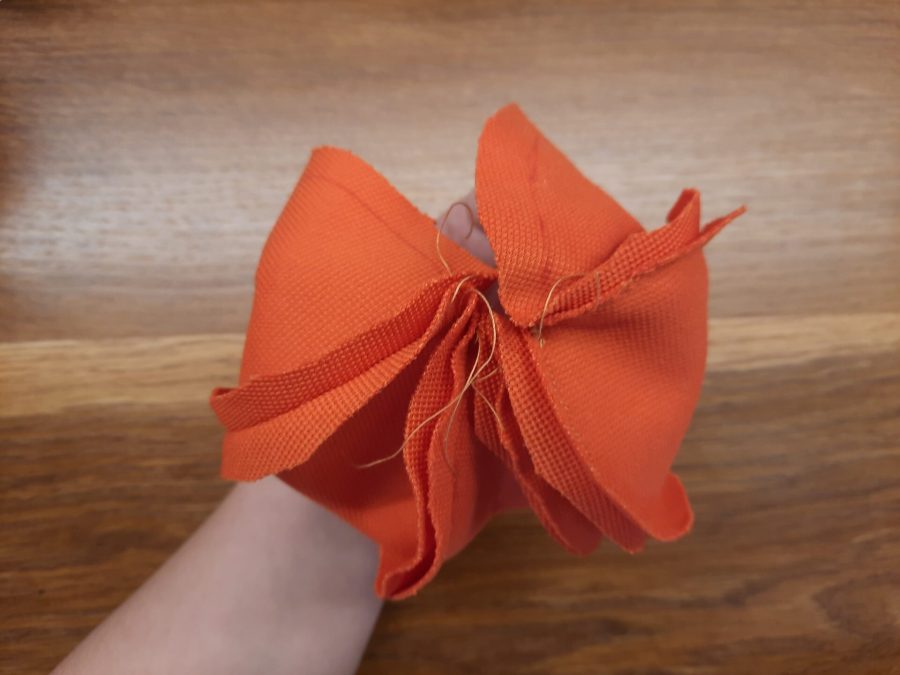
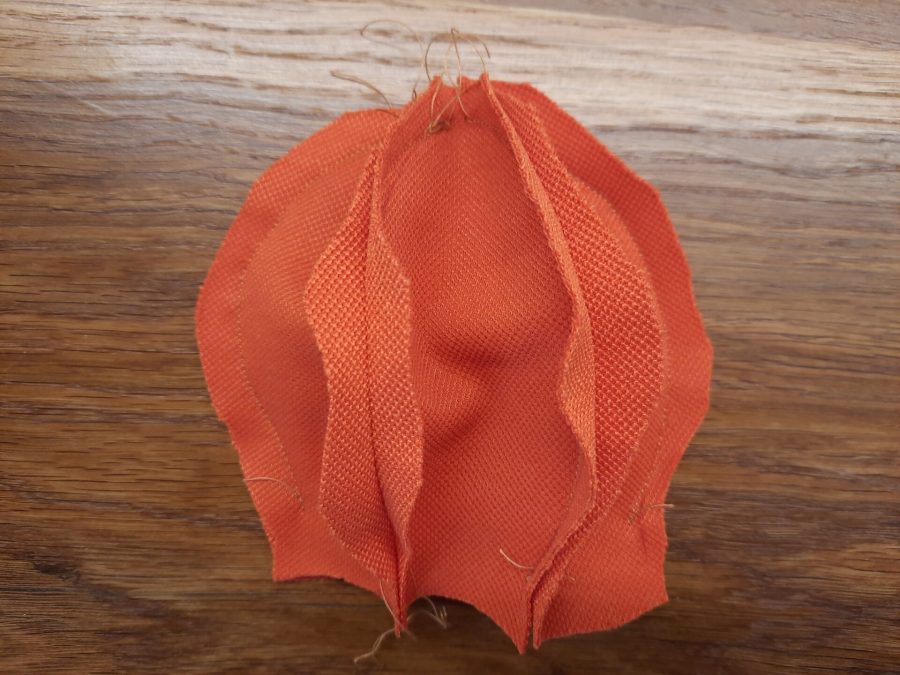
Picking up the last pair of slices, I sewed one side of it to the side of the other pieces. Then (and it was the trickiest part!) I sewed the last two free sides together to complete my sack.
A small tip
Do you want your pumpkin to be taller and more round? Use fewer fabric slices. I suggest not to use less than five, though.
I’m a beginner with the sewing machine, and you could say I chose a project that’s not so easy for a novice: I discovered that sewing along the edges could be tricky! In the end, I am satisfied of the seams I was able to make! Even though I would have been more comfortable with my usual handsewing, I feel at ease using my new machine. Thanks to my husband’s advices, I was able to make a pumpkin all by myself without his supervision!
After sewing the last slices together, I obtained my orange sack. While sewing the slices together, I was careful not to close the bottom, where I left the small rectangles. Instead, I closed the top.
If the top is not perfectly sealed with seams, it doesn’t matter: while stitching the ribs, you can make up for it. The tops and bottoms will plunge towards the inside of the pumpkin, so to correct any mistake. This is true also for any small mistake on the seams connecting the slices: you have time to correct later on.
Sack ready, I reversed it to have the right side of the fabric on the outside. I then stuffed it with polyester fibers we had as leftovers of a previous project. Cotton, filing material for dolls or stuffed animals or any kind of soft fiber would be perfect.
Now, time for a bit of hand sewing.

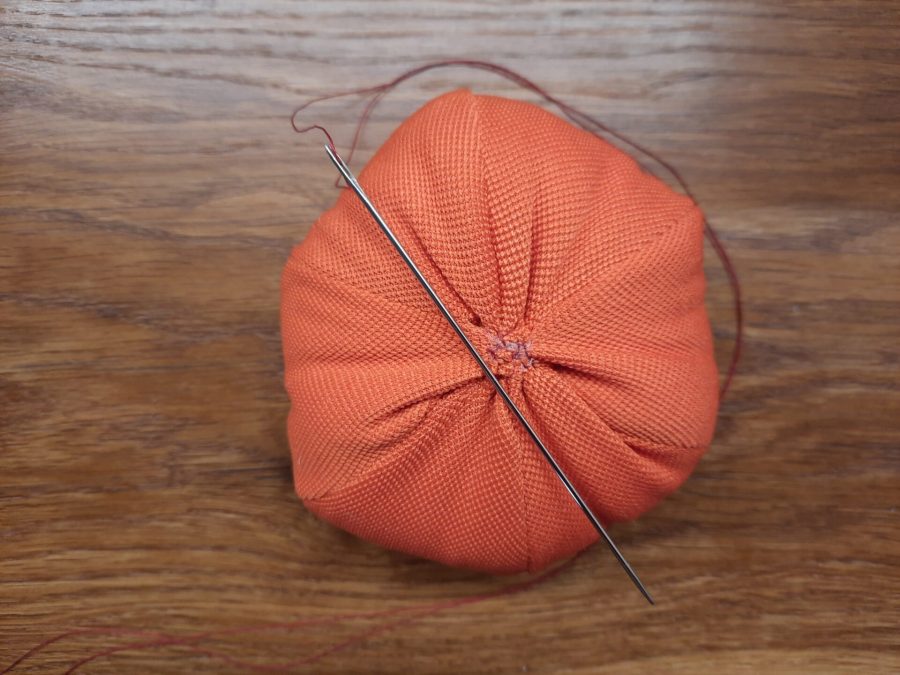
To make the ribs and transform a sack into a pumpkin, I took a very long needle, about 10cm long, and used a strong waxed thread I had at home. It’s slightly darker than the orange of the fabric, but I felt it could be good for the project, giving a little shade.
I used this to seal the bottom of the pumpkin. All the rectangles I had at the bottom of the slices, fell inside the pumpkin. They came in handy when I discovered I wouldn’t have had enough fabric to close the bottom completely!
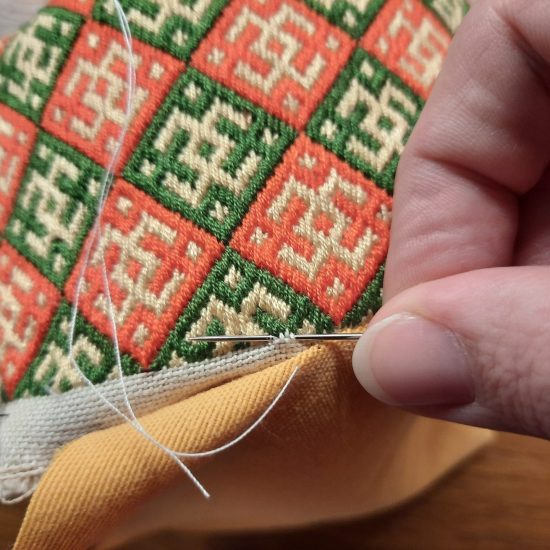
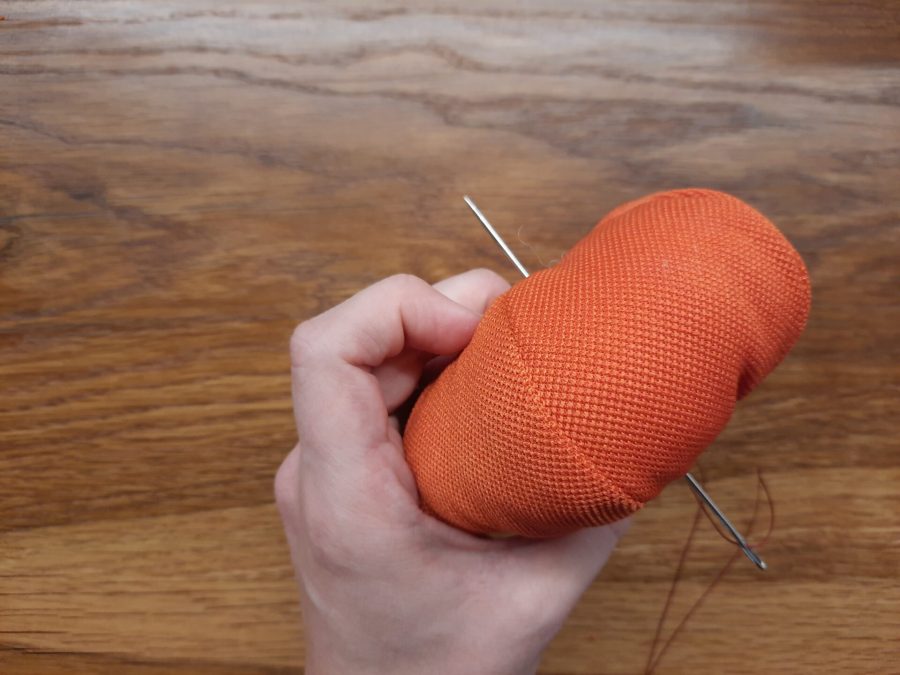
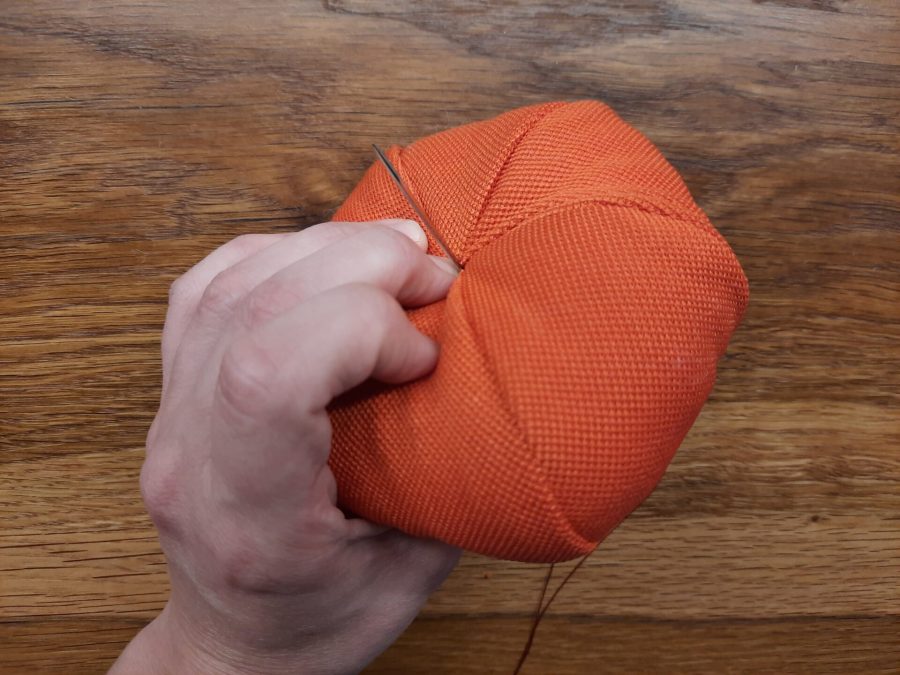
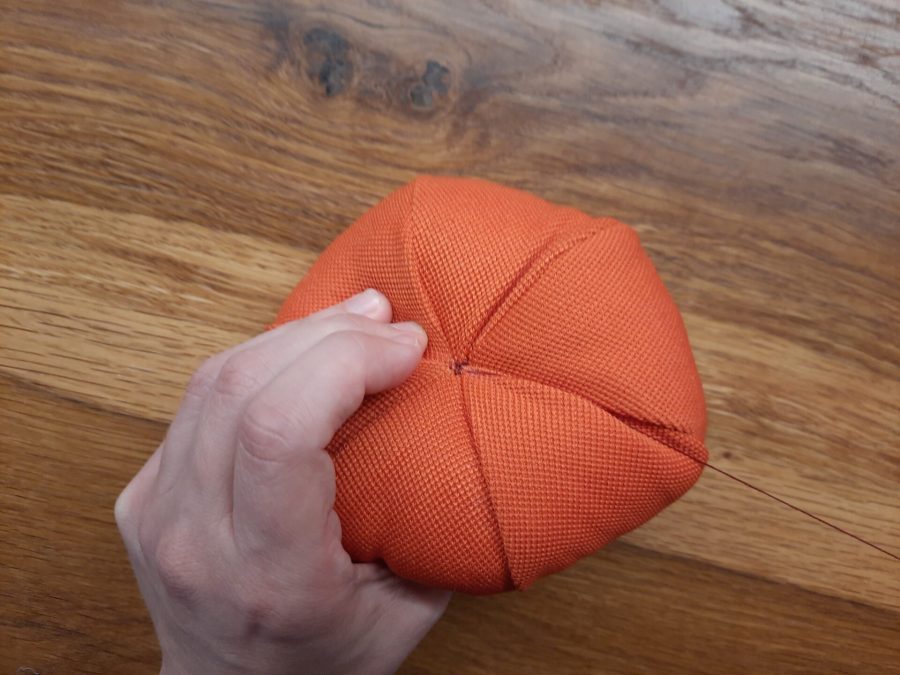
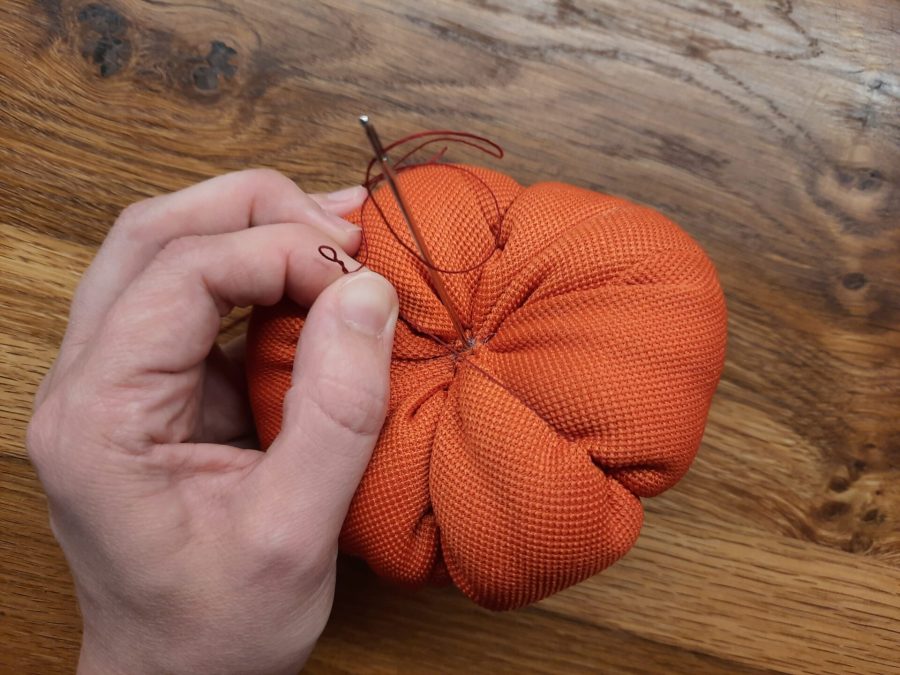
Without cutting the thread, I proceded to make the ribs. I positioned the needle in the middle of my pumpkin’s bottom then brought it out from the middle of the pumpkin’s top. This could require the help of a thimble to push hard or a tweezer to pull. Then I squeezed the pumpkin and started following one vertical seam with my thread, pulling it tight to keep it in place. Pulling hard, the seams indent and tie off: each time I finished at the bottom, I brought the needle in and pulled it out from the top to begin following another seam.
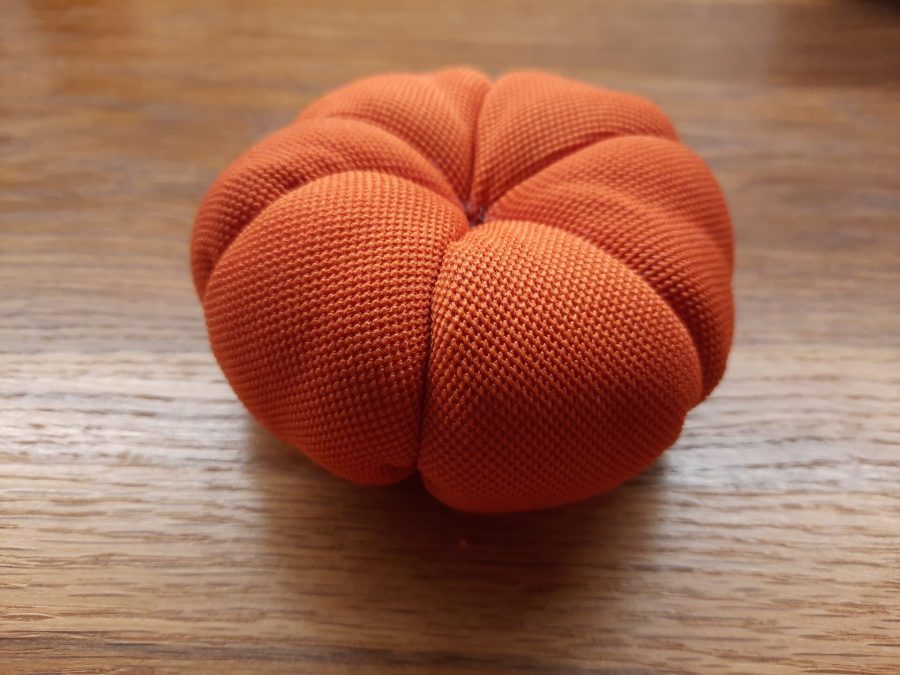
After pulling over each seam, I finished at the bottom and fastened the thread with a knot. Pumpkin complete!
A small tip
After pulling the thread on the first seam and coming back to the top, follow the seam directly opposite the one you worked. Then choose another and work on the opposite one, until you finish them all. This makes the final pumpkin’s shape more symmetrical.
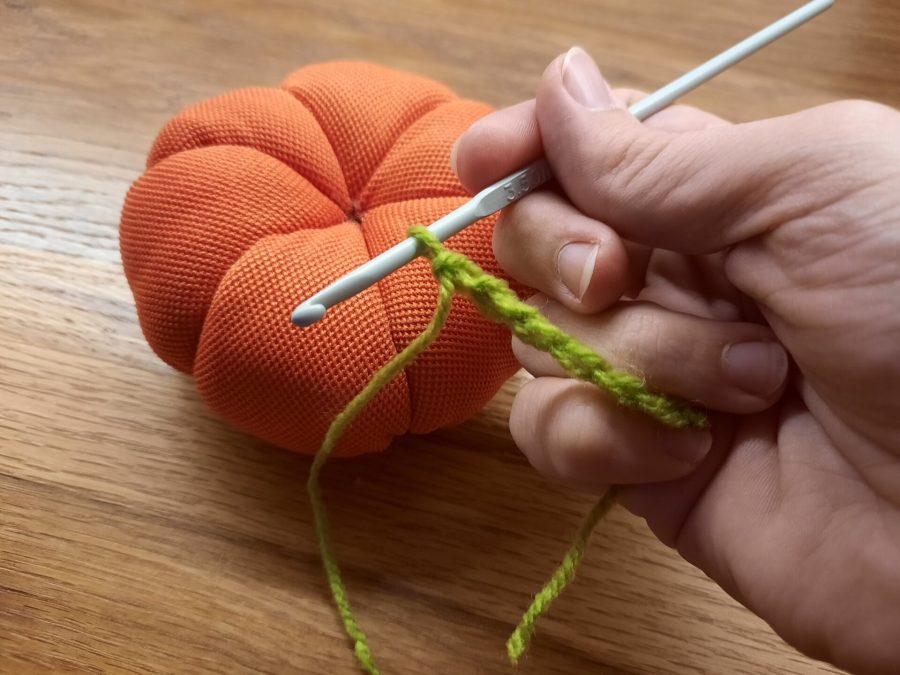
As for the vine, it’s easily crocheted. After making the initial chain, I stitched 3 stitches into each chain cross: my work curled like magic.
Since the crocheter in the family is my mum (the one who thaught me this trick), I leave a link to a proper crochet tutorial about curls, so you can choose the one you like for your vine.
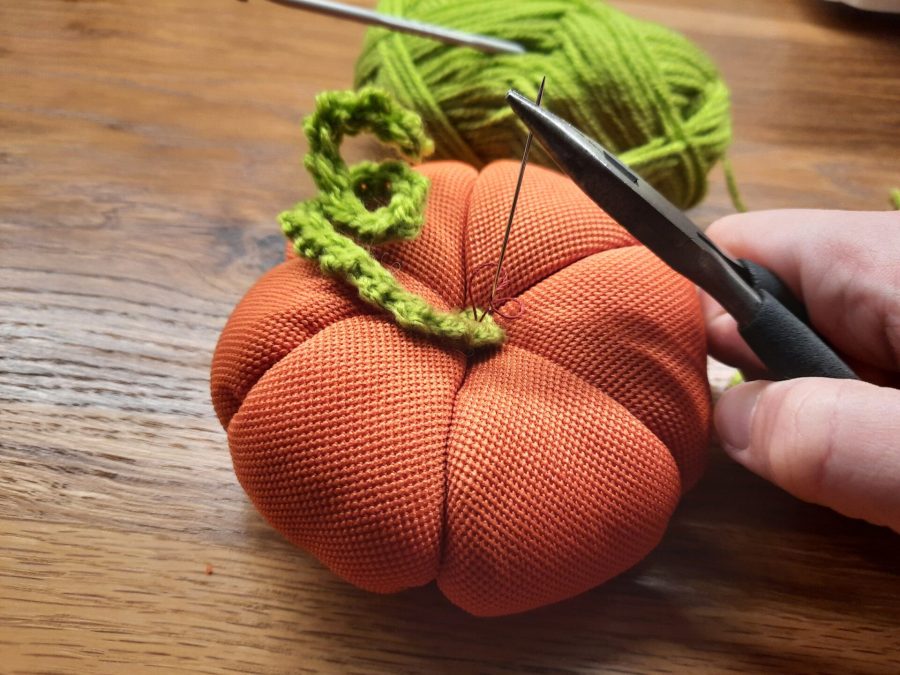
I sewed the crocheted vine to the top of the pumpkin with the same strong thread used for the ribs: the different color is not visible from the outside, the crochet covers it completely. One thing I needed, though, was pliers: this could come handy also to stitch the ribs, mainly if the stuffing material is thick. You could have troubles taking your needle out, so pliers come to your help.

What do you think of my sewn pumpkins? Are they cute and easy to make? As always, the comments section is at your disposal: give us your thoughts!



)
2 Comments. Leave new
Fantastic content. Many thanks!
You’re very welcome! Thank you!