As I said while speaking of our string art Christmas tree, when my husband and I moved to a new bigger home we started making proper Christmas decorations.
Well, we didn’t stop at the first Christmas: each year we added something.
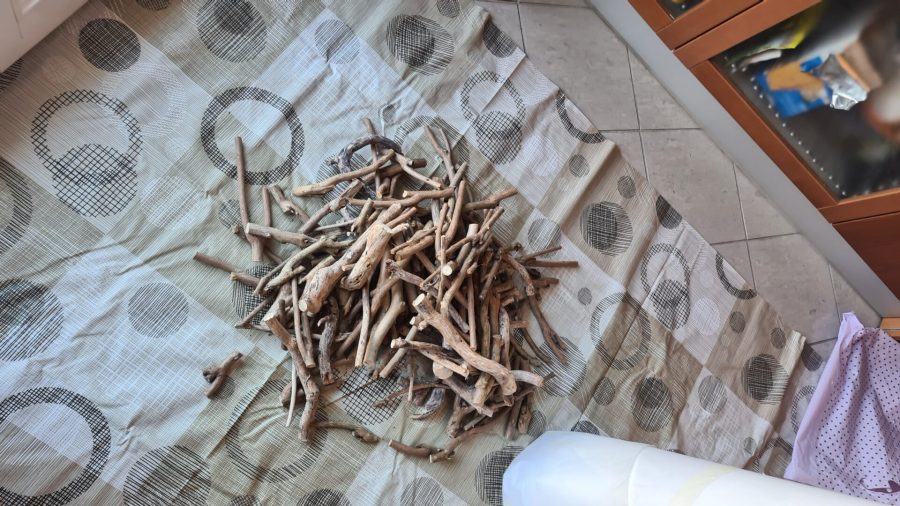
The project for 2021 was a Christmas tree for our terrace. We happened to have branches and twigs, leftovers from another small project. You know, the sort of stuff you keep because “who knows“.
We gathered them in the woods near my home town during the winter from a group of dead trees and ivys, and there were a lot of them.
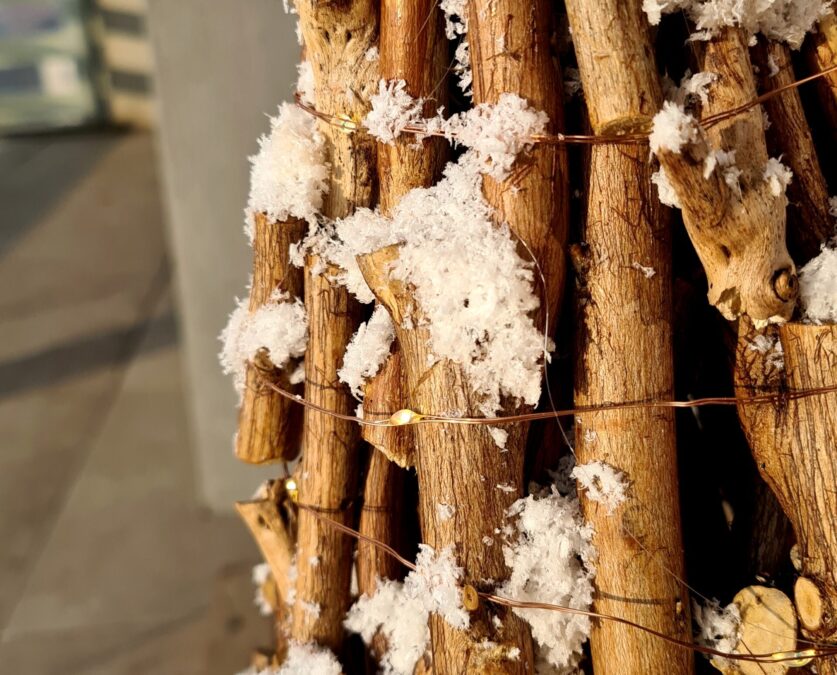
Well, they came out useful. Just with the addition of LED lights and fake show, we had a lovely decoration to place out of the window to be seen from our couch.

Click for the finished project detailed photos

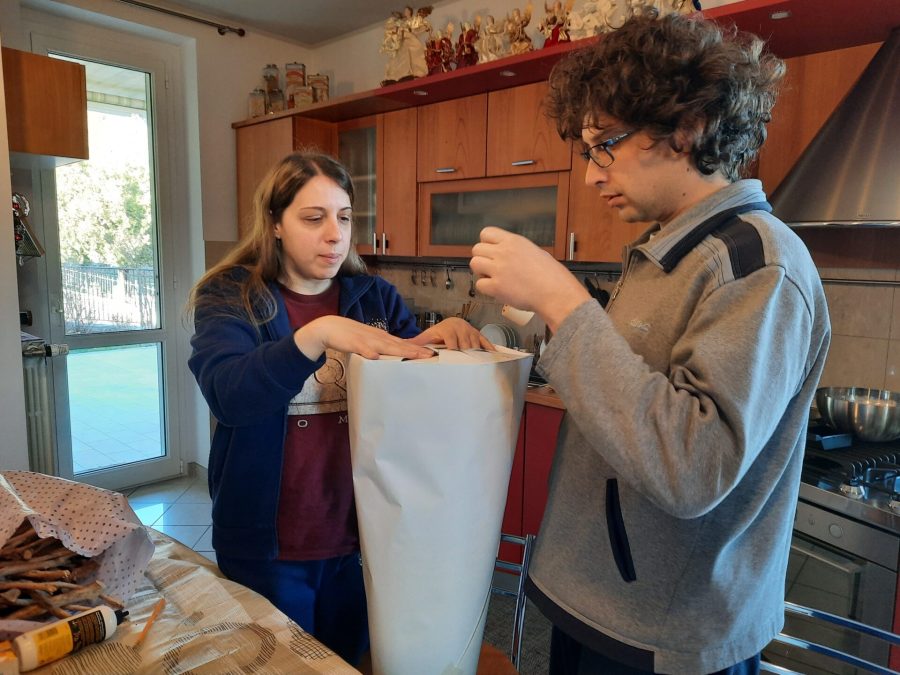
To begin, we had to prepare a basic shape, a cone to be covered in twigs. And we needed something that could be removed, to leave just the wood.
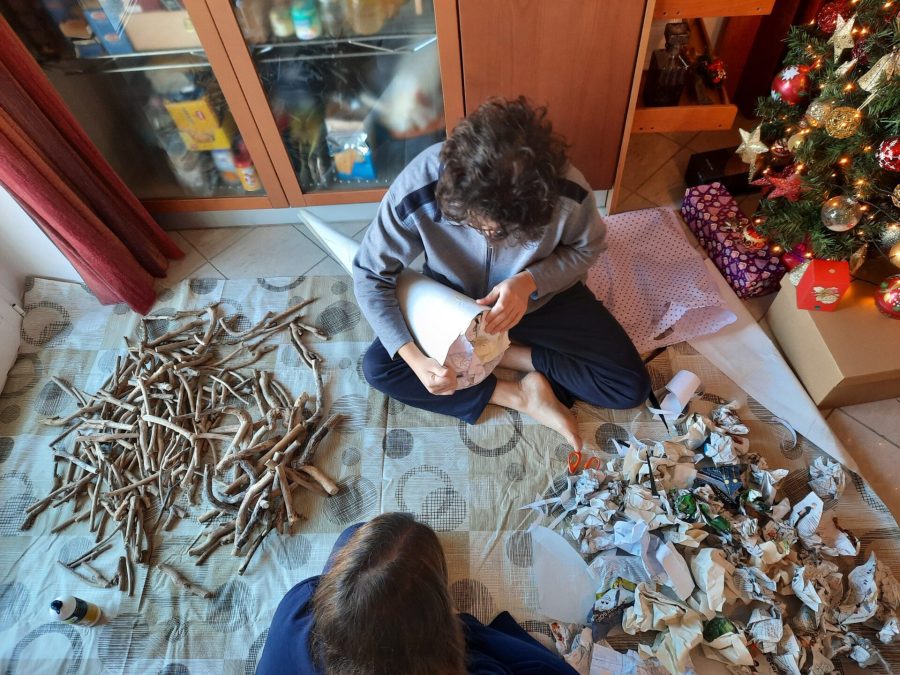
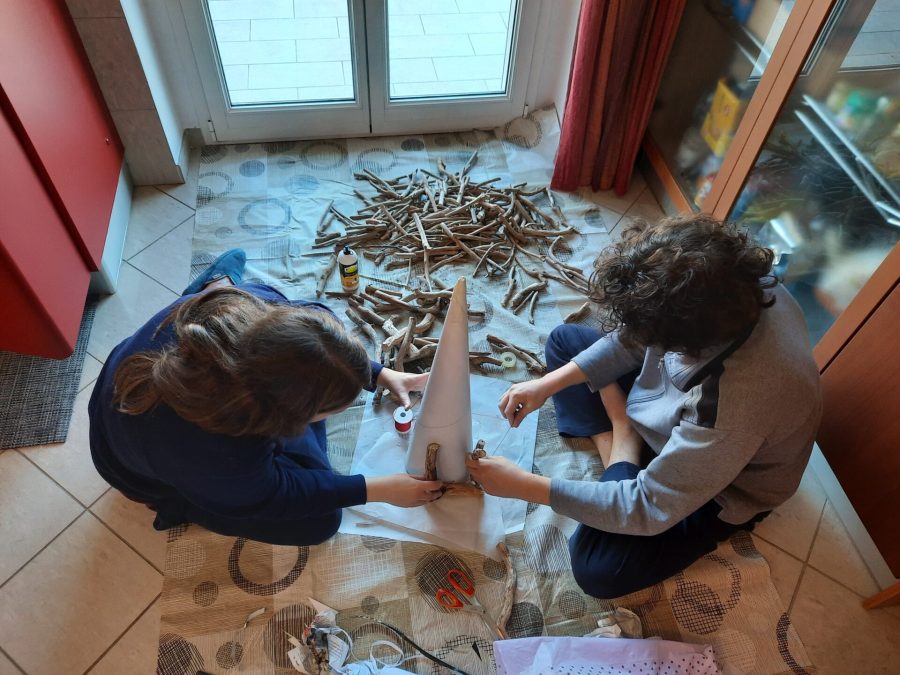
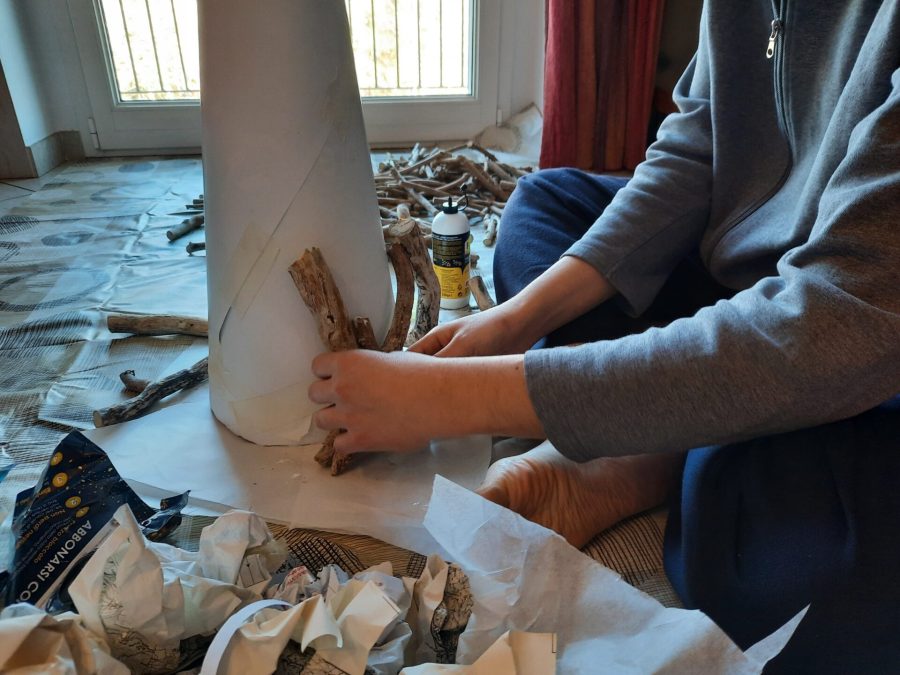
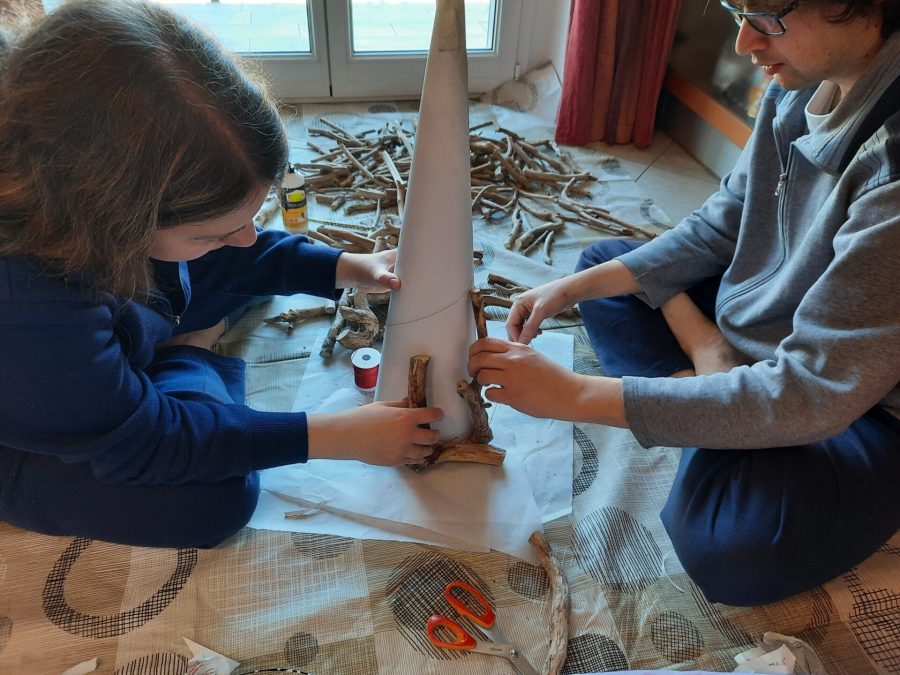
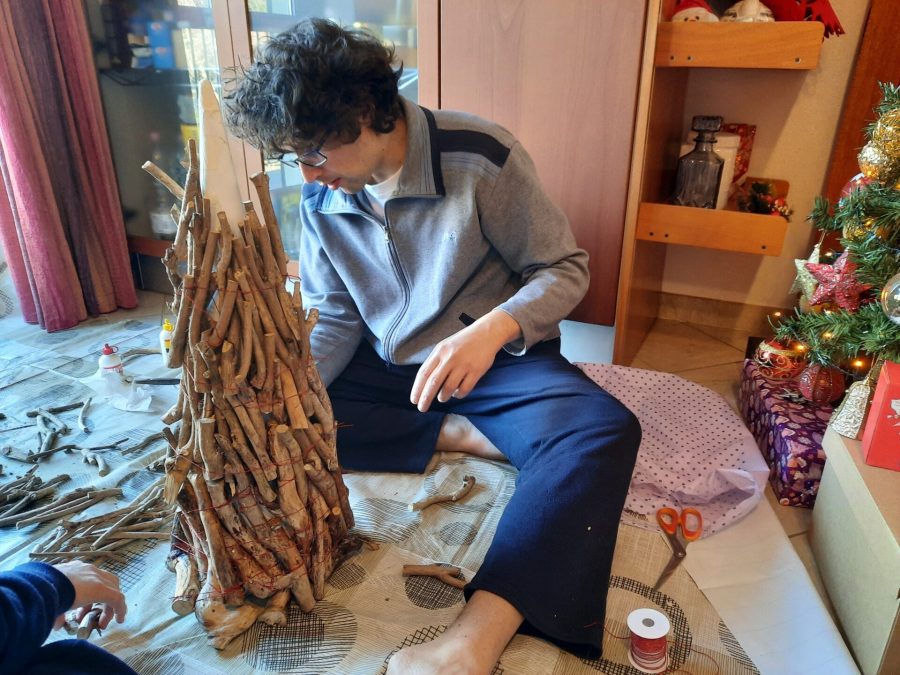
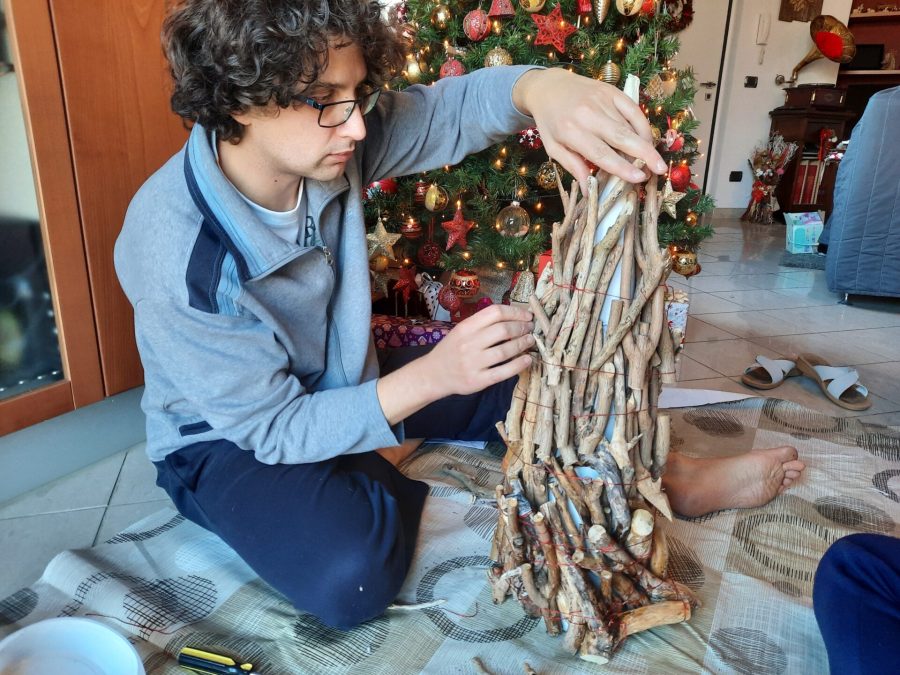
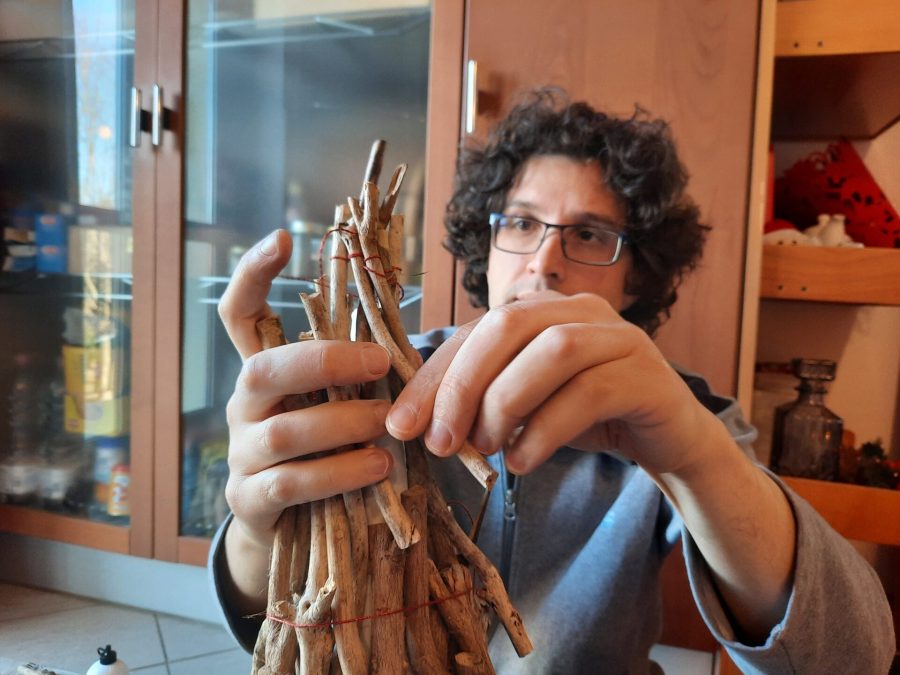
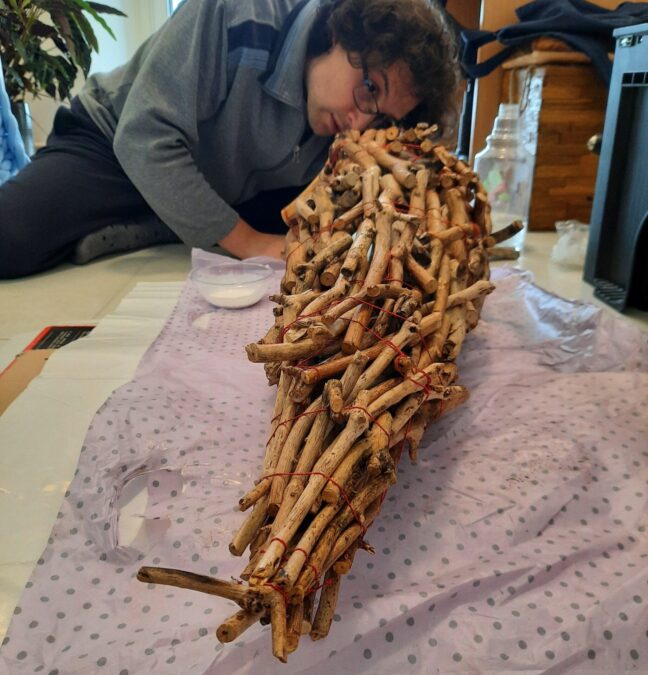
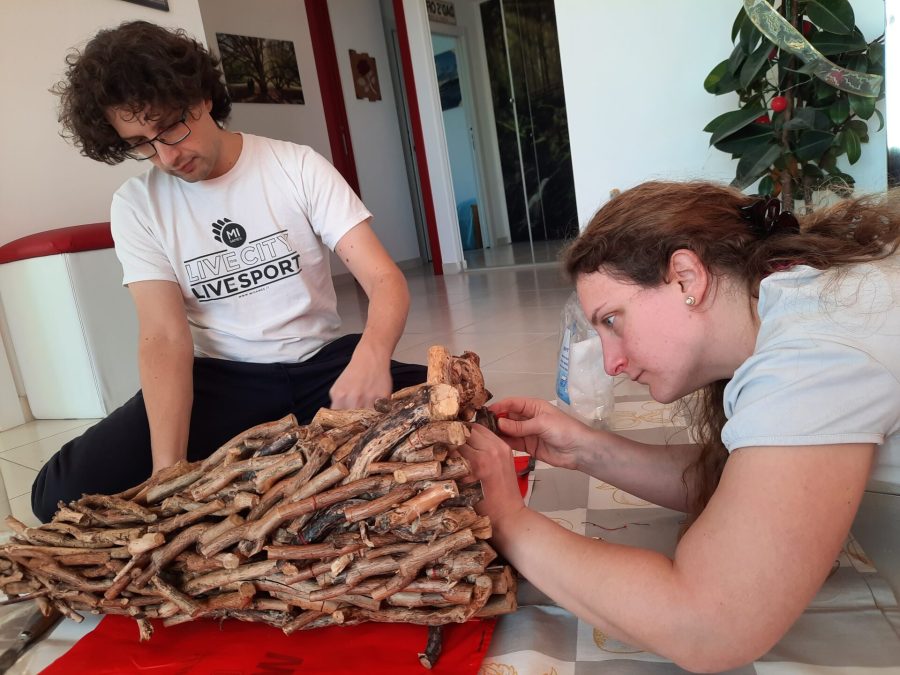
We used the back of past events posters: even here, the kind of stuff that most people would throw away. DIY pojects are so environmental friendly! After making the cone, we stuffed it with old magazine pages for support. Then, we began placing the twigs around it. Starting from bottom up, we placed the branches and fixed them row by row with a rope, chosing a red Christmas-themed and thin one: we thought that, if we were not able to remove it in some places, it could be goodlooking.
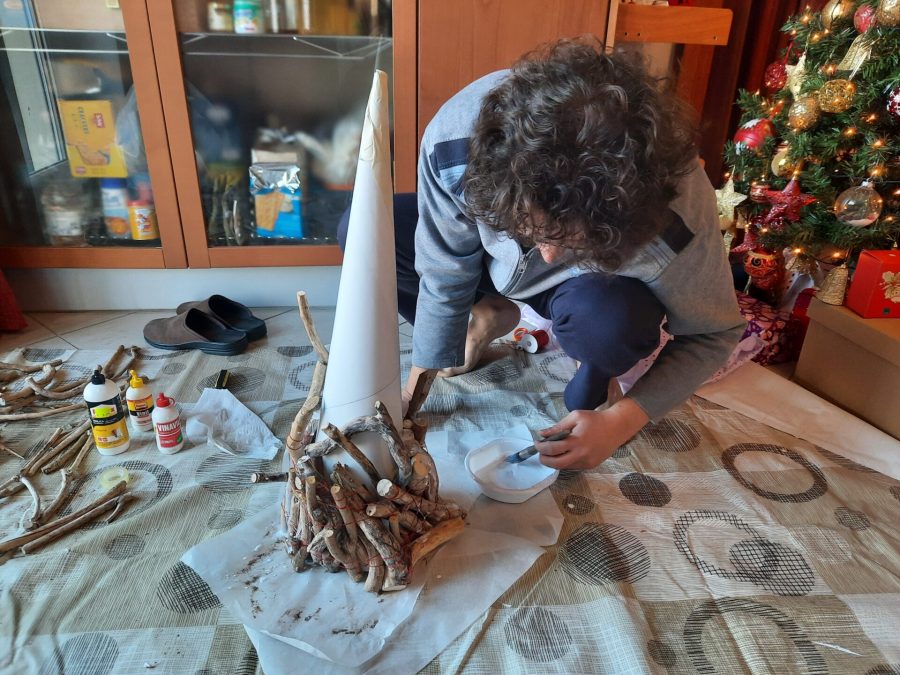
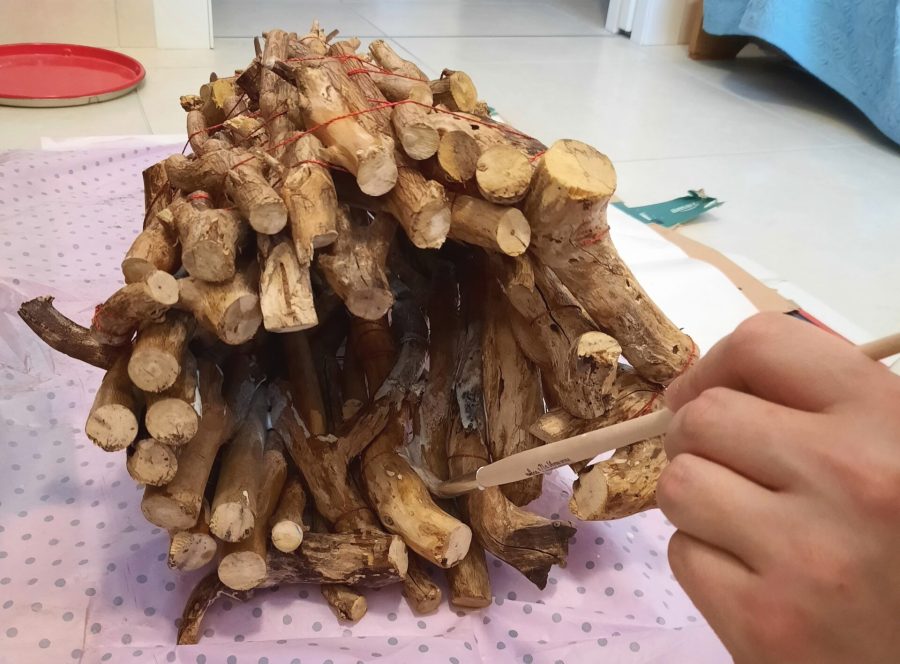
After placing the first row of twigs, we started glueing them with vinyl glue. We applied a mix of water and glue with a brush just on the wood, not on paper, to be able to remove the support cone easily.
It was quite a long process, longer than I expected. It was good we had the help of my sister-in-law, who was with us for Christmas.
The removal of the paper cone was quick, instead. The following step was adding more glue as a support, even inside the twig cone.
After the glue was dry, it was time to remove the cord. Well, that was not easy! My husband was generous with glueing (and that’s a good thing!), but I neede all my proverbial patience to get rid of the smaller pieces of cord that became firmly attached in between twigs and covered in glue. I wanted to be thourough so I took my time, with my resive husband waiting for the next step to begin.
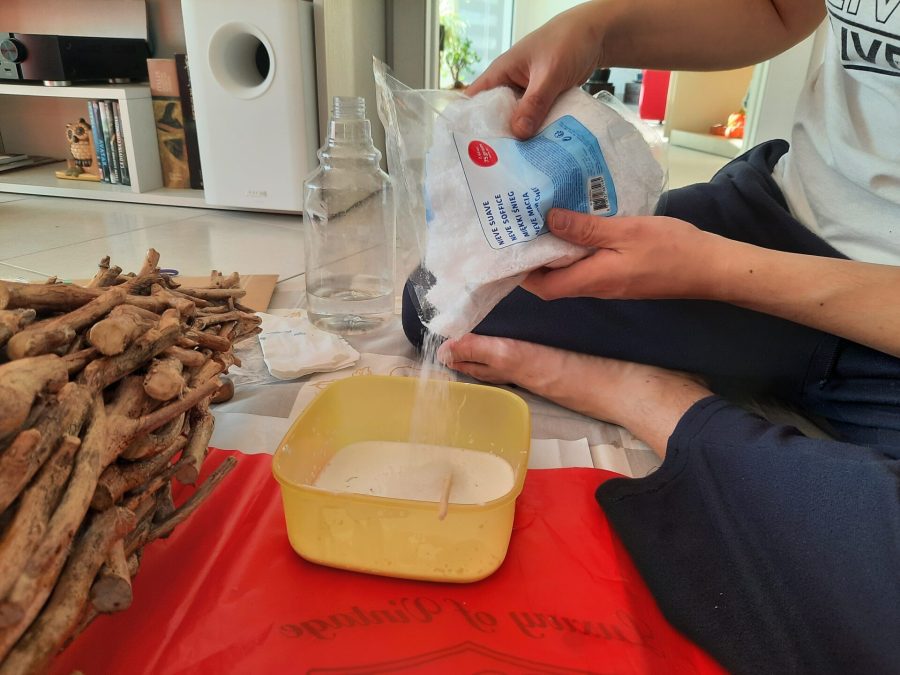
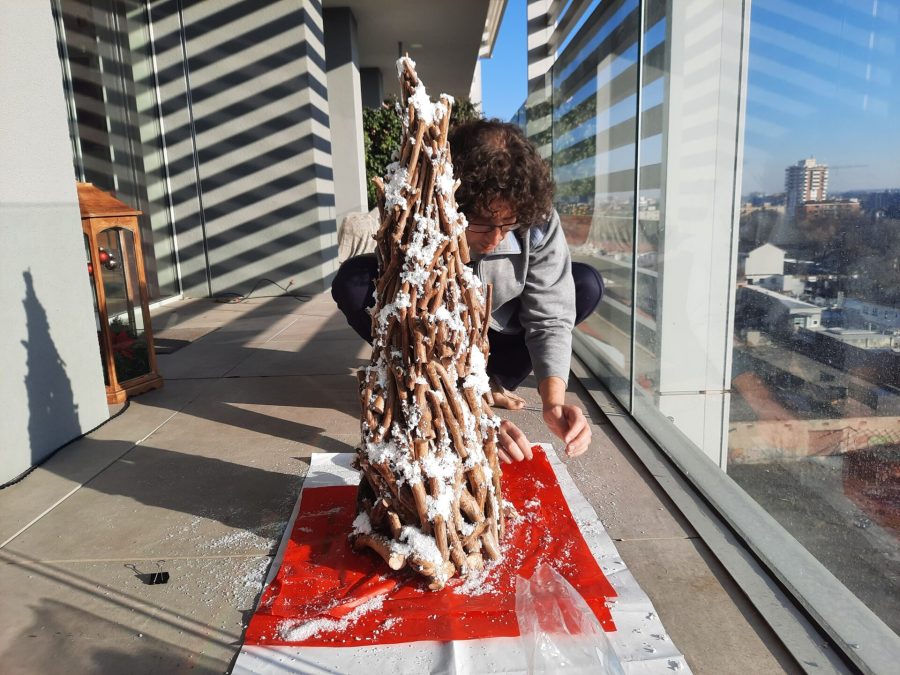
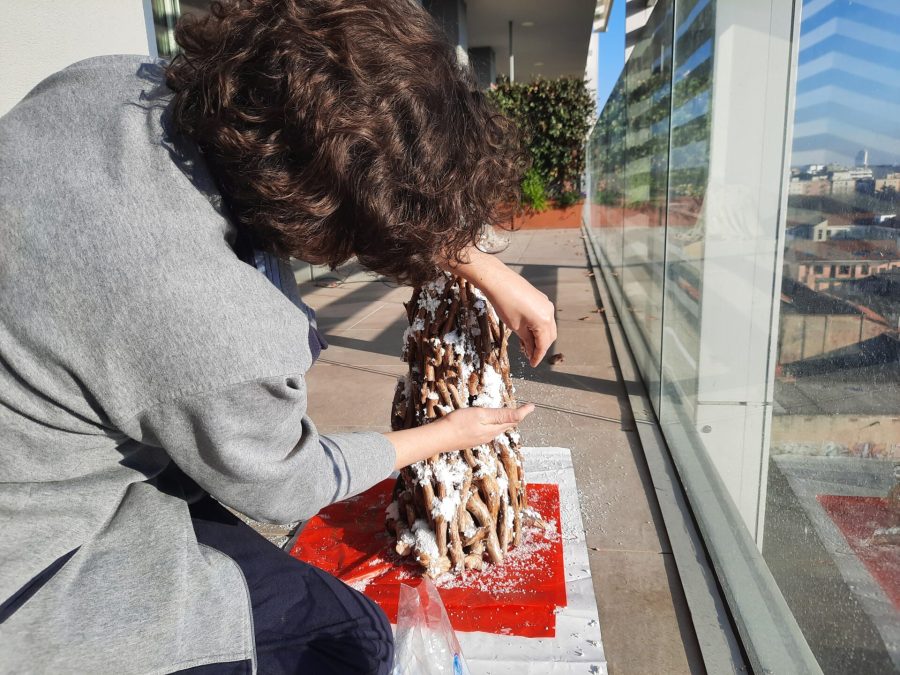
When in the end I was satisfied with my task, Locutus could begin with snow. We bought a pack of soft fine show for Christmas cribs, mixed it with vinyl glue to obtain a sticky mixture. My husband then started applying with a spatula. A lot of the fine snow fell on the floor, but we were prepared for this. When we were satisfied with the first layer, we added more glue to the twigs just where we wanted the snow to stick and started spraying it on top.
Final, we added a row of LED lights all around the tree, being careful about the position of each individual light to obtain an even distribution. We chose a strip of lights to be connected through a socket, no batteries, since we had just a socket outside in the place destined for the tree.

So our twig Christmas tree was finished! Just in time for the end of New Year’s Eve, so we could enjoy our latest addition to our Christmas decorations.
I really like how it turned out, with this soft realistic snow mixing with lights, simple but effective.
And you? Do you like the project? Would you add something else, just before next Christmas? Tell us in the comments below!