
This year, our Christmas preparations started earlier than ever. By early, I mean back in the heat of July.
While the summer sun beat down outside, we were already imagining the cool glow of Christmas lights and the tranquil scene of Bethlehem on the night Christ was born. But this project isn’t one that could be rushed. This is a project that we’ve embraced for its long, slow pace, accepting that it will take years – yes, years – to complete. And that’s exactly how we want it to be.
We’re embarking on a journey to create the biggest and most intricate Nativity diorama we’ve ever made. Set inside an ancient steamer trunk, this diorama will be more than a static scene – it will be alive with detail: LED lights twinkling like stars, buildings crafted by hand, reflective epoxy water, and all the tiny elements that will make the city of Bethlehem come to life. We’re aiming for something that feels timeless and immersive, a work of art that tells a story.
And like every good piece of art, this one indeed starts with a story. For me, it’s a family story, wrapped in memories of the past and the discovery of a hidden treasure in a previously unexplored place.
So grab a cup of tea, settle in, and join us on this slow and thoughtful journey. As deliberate as the crafting itself, the tale of how this diorama came to be will take a while to unfold. This is just the beginning, the first chapter of a multi-year adventure, one that will grow and change as we move forward. I hope you enjoy reading it as much as we’ve enjoyed beginning this very special project.

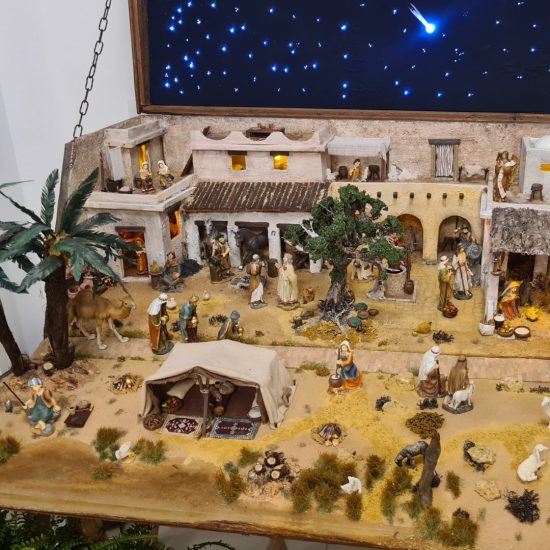
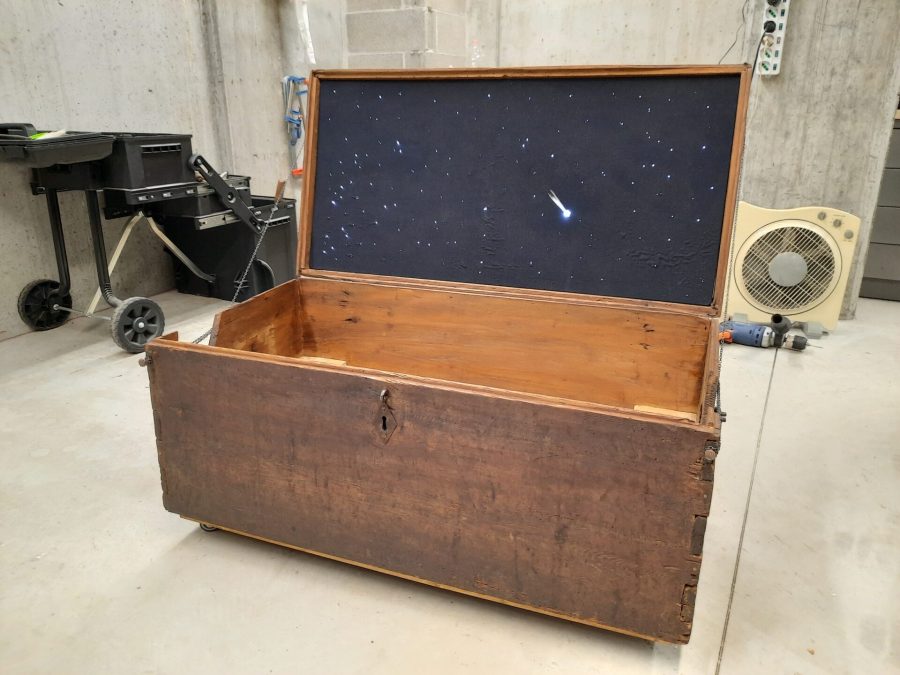
The project after the first phase: trunk restored, LED sky mounted, not yet a proper landscape
Table of contents
The discovery of the antique steamer trunk
Our journey, this time, didn’t begin with a trip to the craft store or with new materials in hand, but with history itself.
In my grand-uncle’s stonewalled house, there’s a steep staircase that leads to a room beneath the roof. As a child, I would often stand at the foot of those stairs, gazing upward with a mixture of curiosity and wonder, imagining what magical world might be waiting for me at the top. But my parents always refused to let me climb them. The stairs were too steep, too narrow, and no one had ventured up there for decades.

Years passed, and now, as an adult, my uncle no longer lives in that house. The pull to explore that attic space grew stronger, until finally we decided it was time to unlock its secrets. And indeed we discovered the promised magical world.
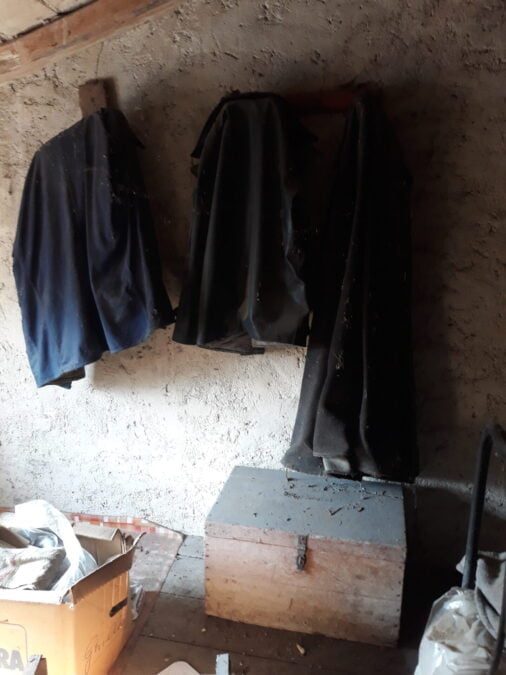
When we finally made the climb, it was as if we had stepped back in time. That room had remained frozen for decades, untouched by time or the passing of years. Even when my 90-year-old uncle lived in the house as a child, this bedroom was left undisturbed. The moment we pushed open the door, it felt like entering a time capsule.
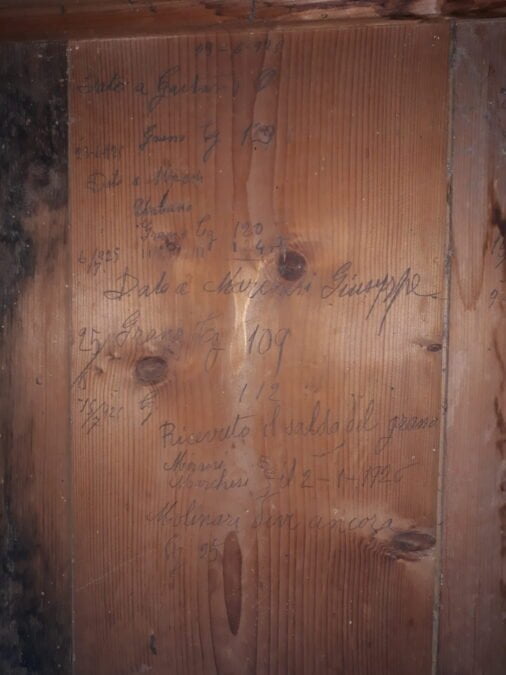
Carved into the wooden door were writings from 1925, the scratches of long-ago hands telling tales of debts and notes, marks of everyday life from almost a century ago. Inside, the room was filled with mysterious tools, old books, yellowed letters and documents from as far back as 1864.
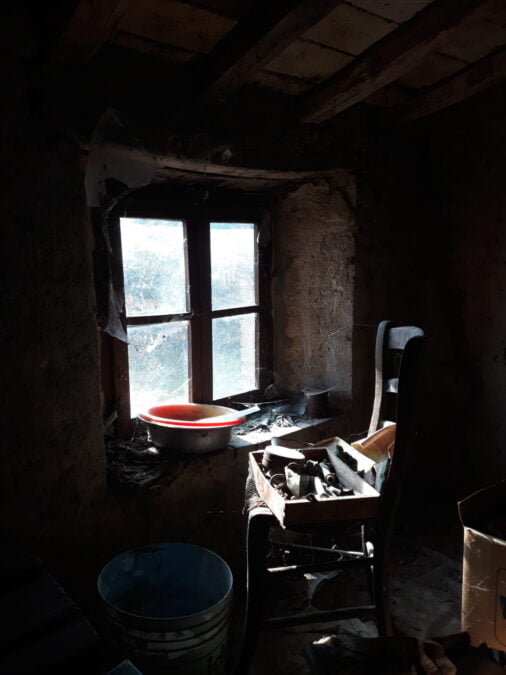
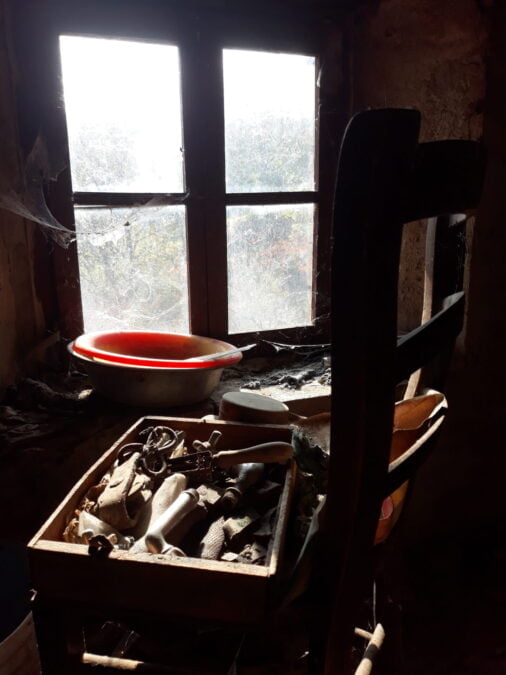
And yet, what caught my attention most was a chair, positioned just by the window, bathed in the soft light filtering through. The chair was still covered with small, everyday objects, a step back in the history of my family. We learned that this room had been abandoned in 1925, left exactly as it was when its last occupant – a family friend – scratched his final notes onto the door before departing.
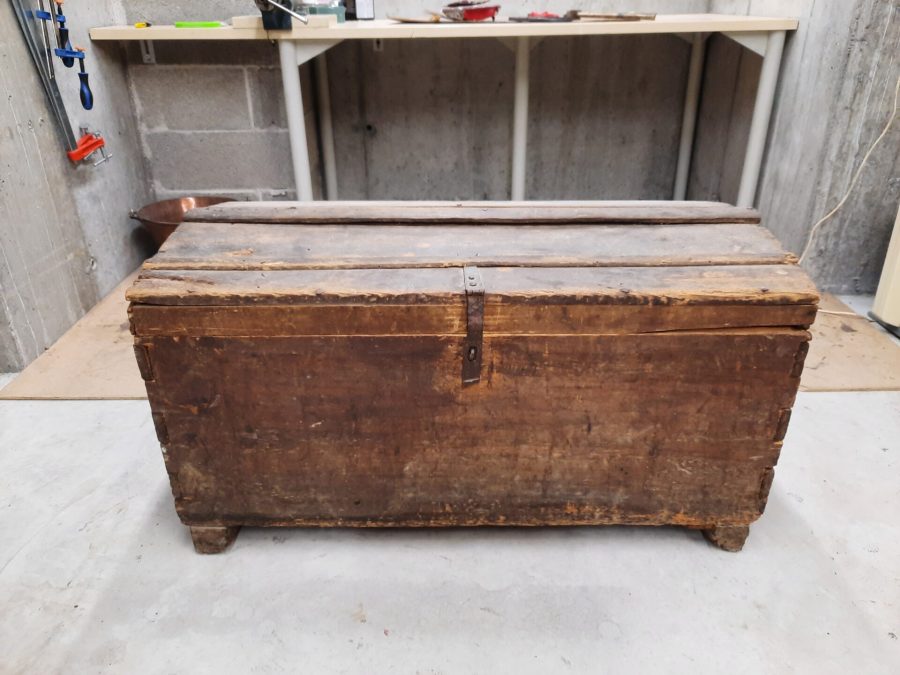
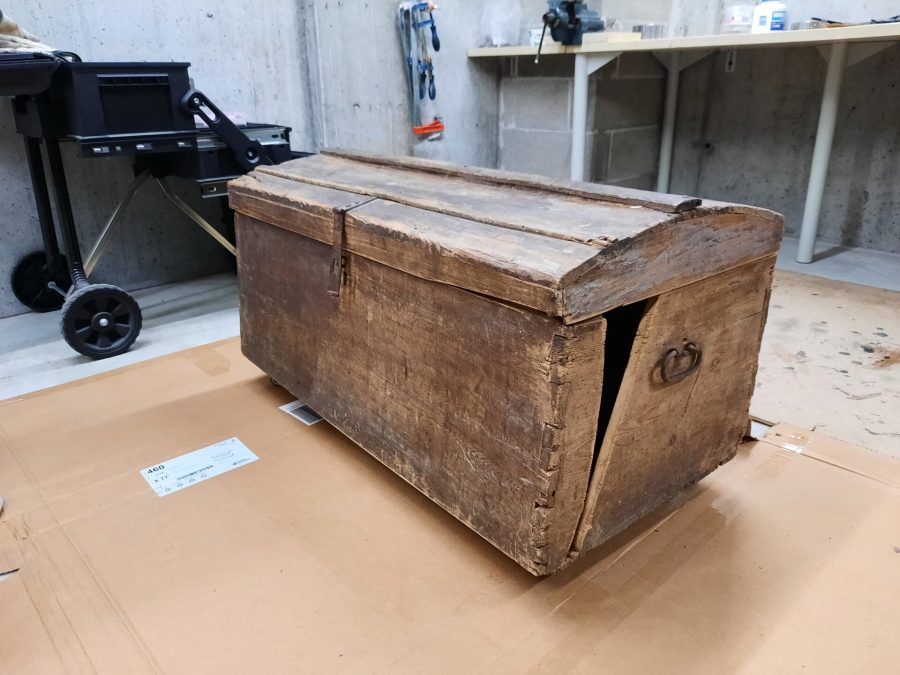
And among all these pieces of history, there it was: the steamer trunk. Its surface marked with the initials “G.M.”, my great-grandmother’s initials. This trunk was once destined to cross the ocean, packed with all her belongings for a journey to America, before she changed her mind and left it behind, empty.
The restoration begins
Structural works
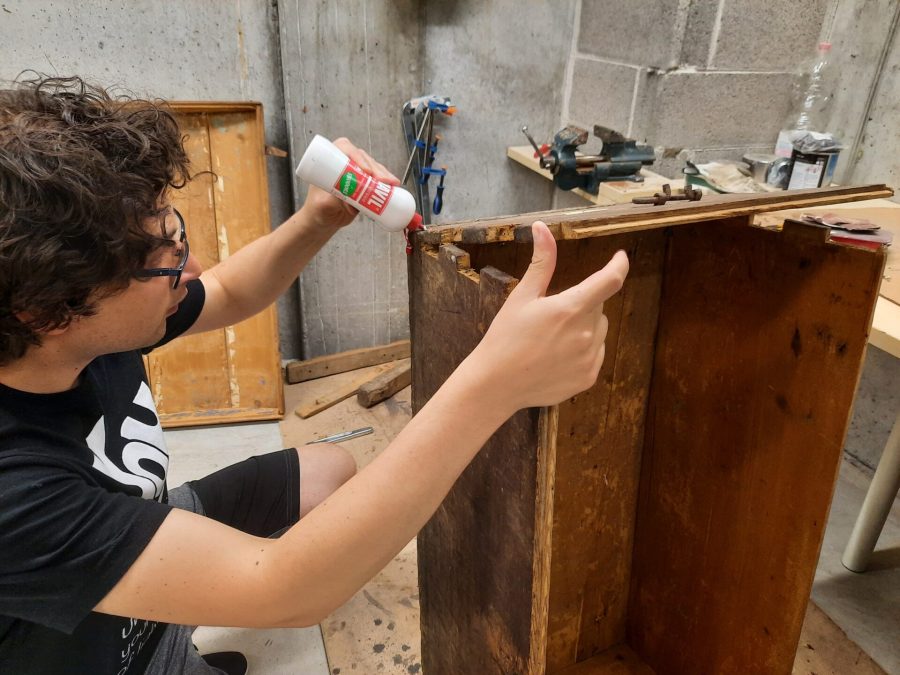
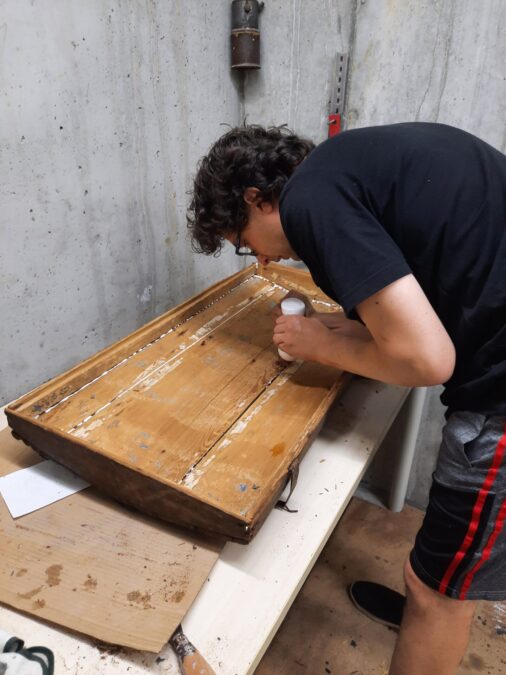
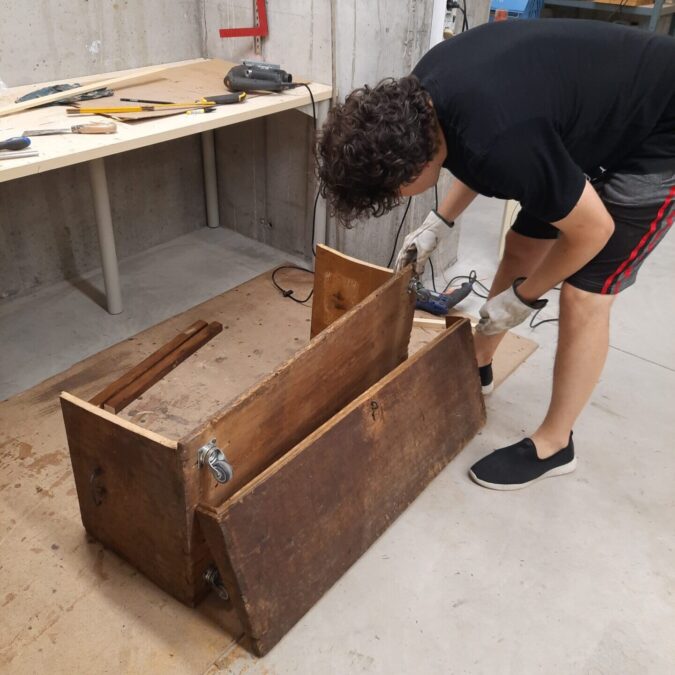
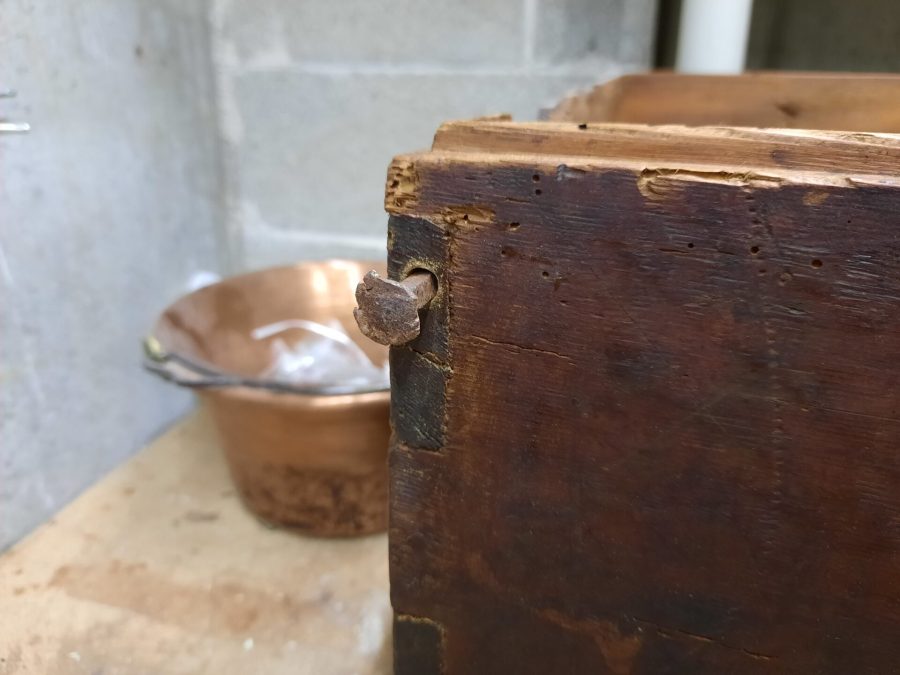
When we first brought the trunk home, it was solid but battered. Years of exposure had left it looking worn, and we could see that it would need some work to prepare it for the weight and complexity of the diorama we envisioned. My husband and I disassembled much of the trunk, reinforcing the structure with nails and glue, being careful to preserve the original features, including its peculiar, handmade nails. These small details are part of its charm: each one holds a piece of its story.
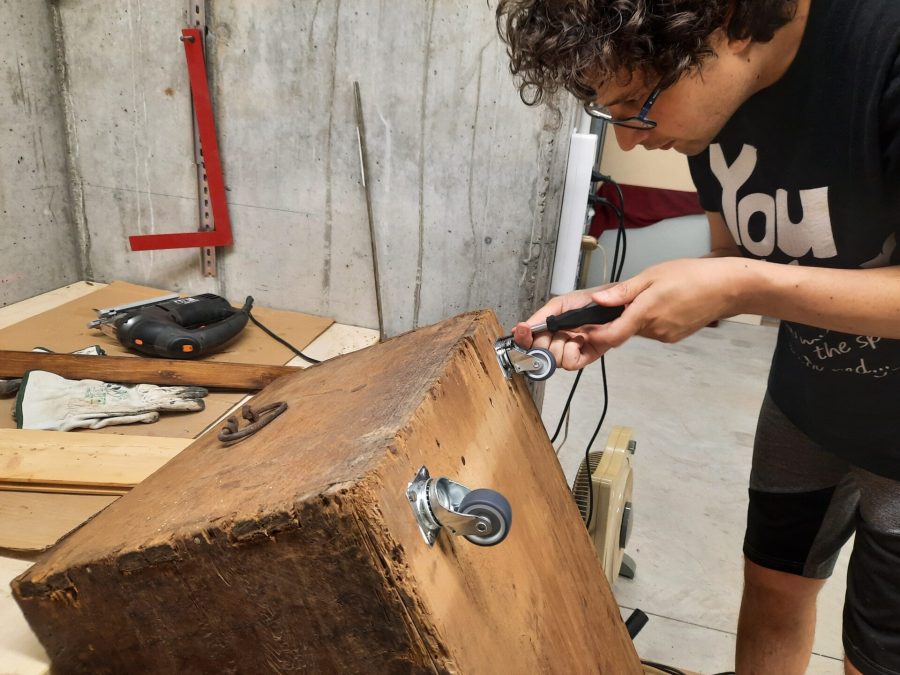
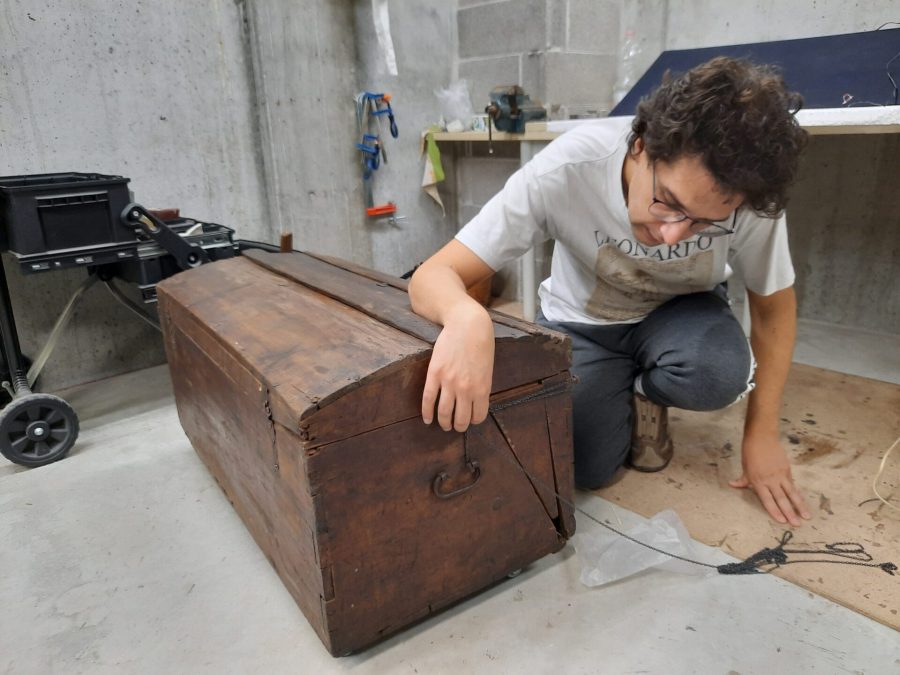
During the restoration, we also had to think ahead to the diorama’s practical needs. This wasn’t going to be a light display: it was going to be heavy, with multiple layers, buildings, and decorative elements. So we decided to add wheels to the bottom of the trunk. While not part of the original design, this modification would allow us to move it easily when fully assembled. And given how long we expect this project to take, the ability to move it around our home was essential!

Look for the detail
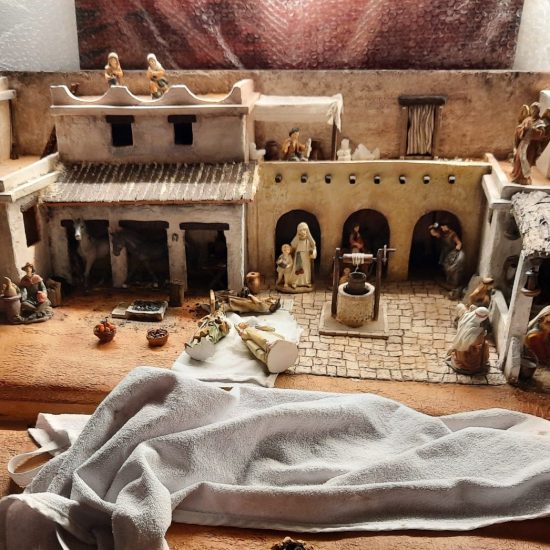
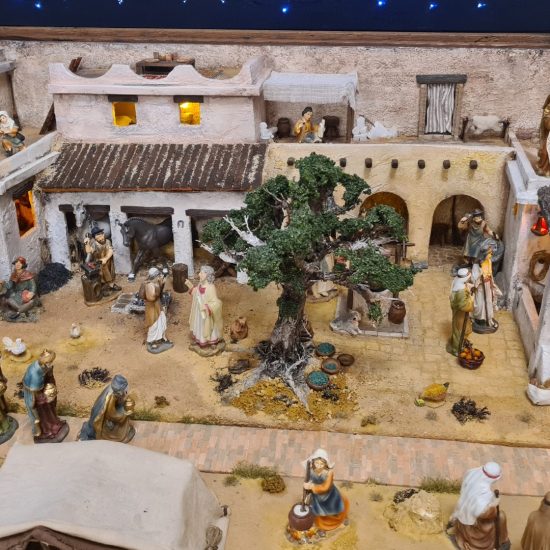
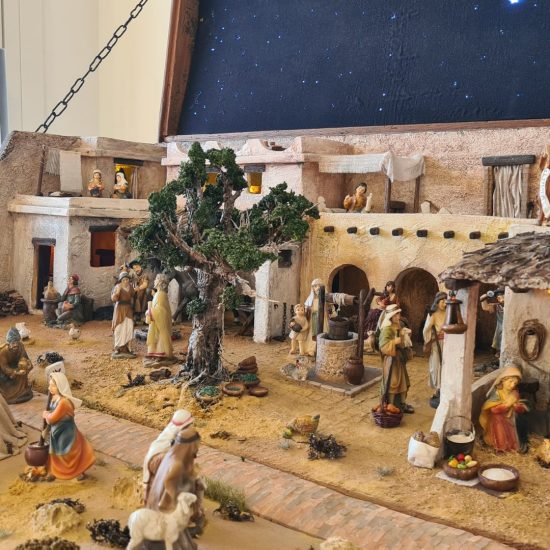
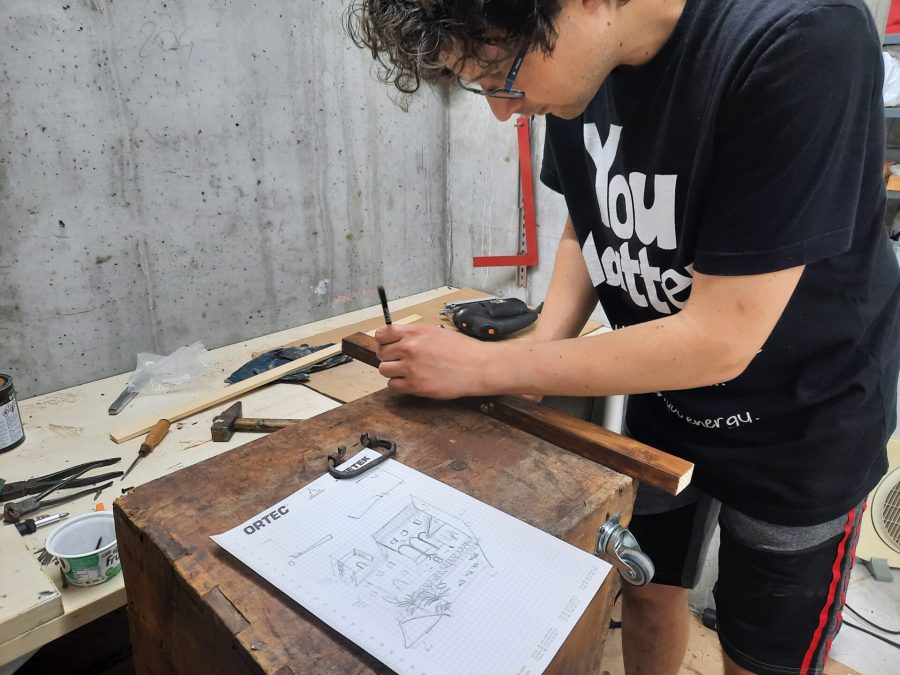
If you slide through the photos, you’ll also find a glimpse on the first sketch of the final landscape. It’s set in the Bethlehem inn where Mary and Joseph found a stable as a shelter, with sandy terrain, a central well, a paved Roman road, an oasis with a pond.

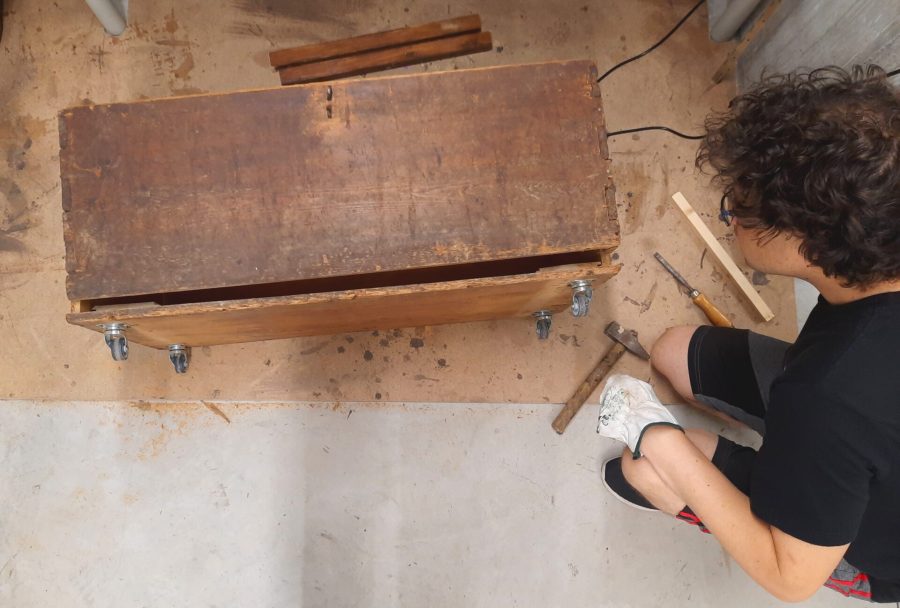
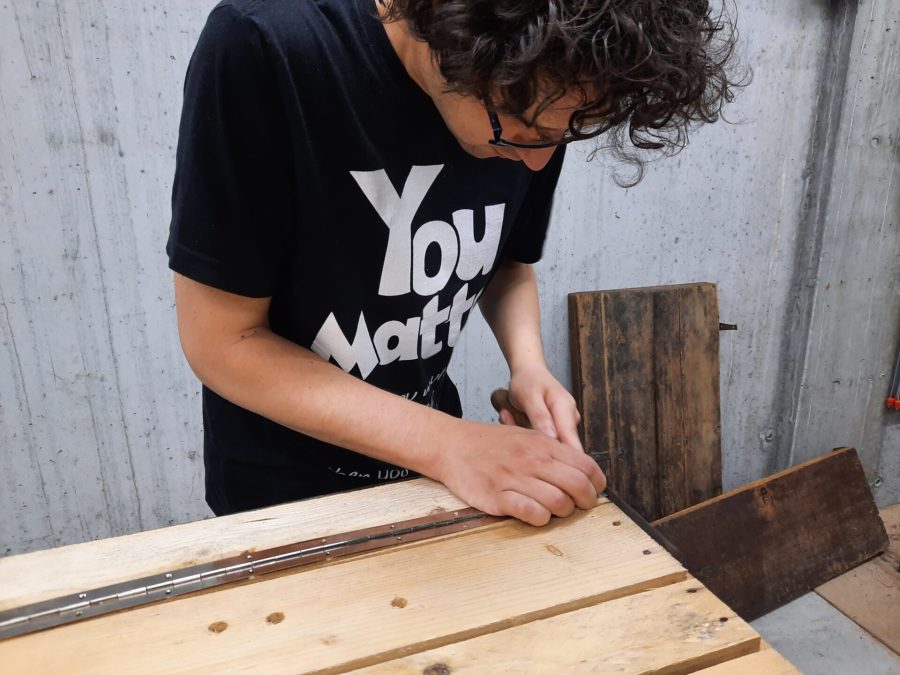
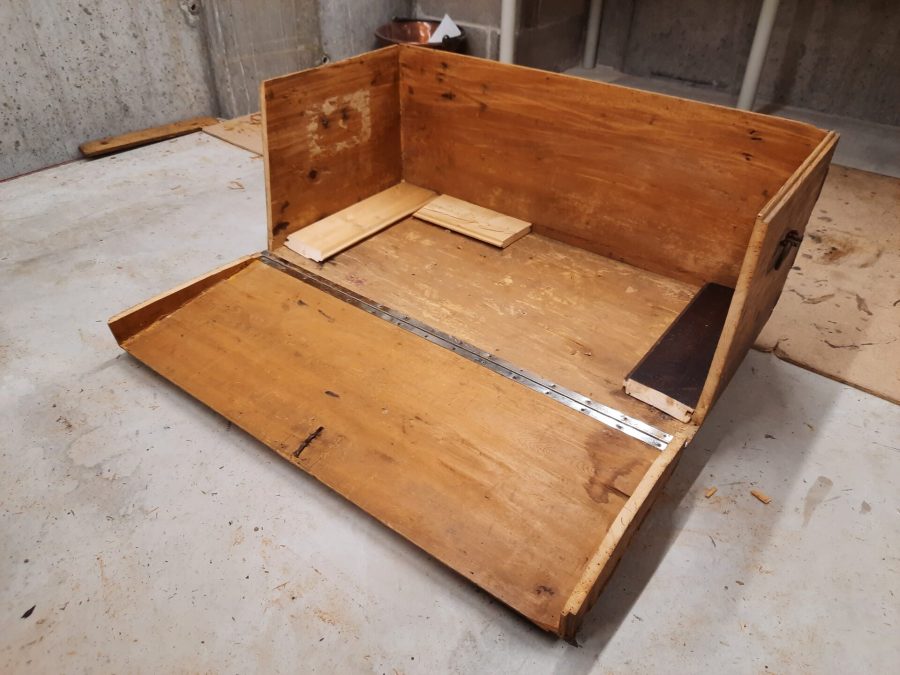
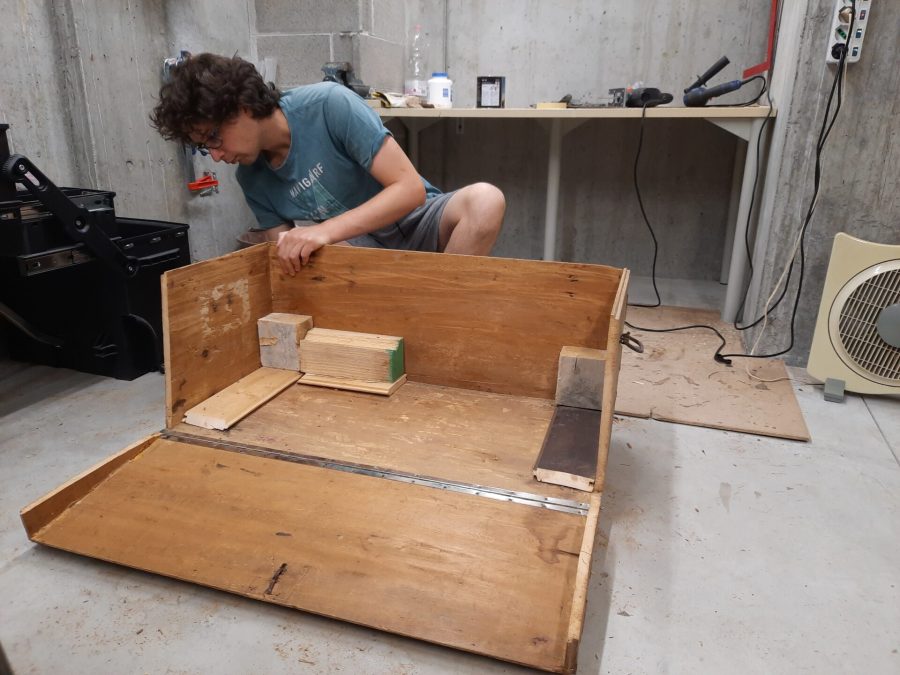
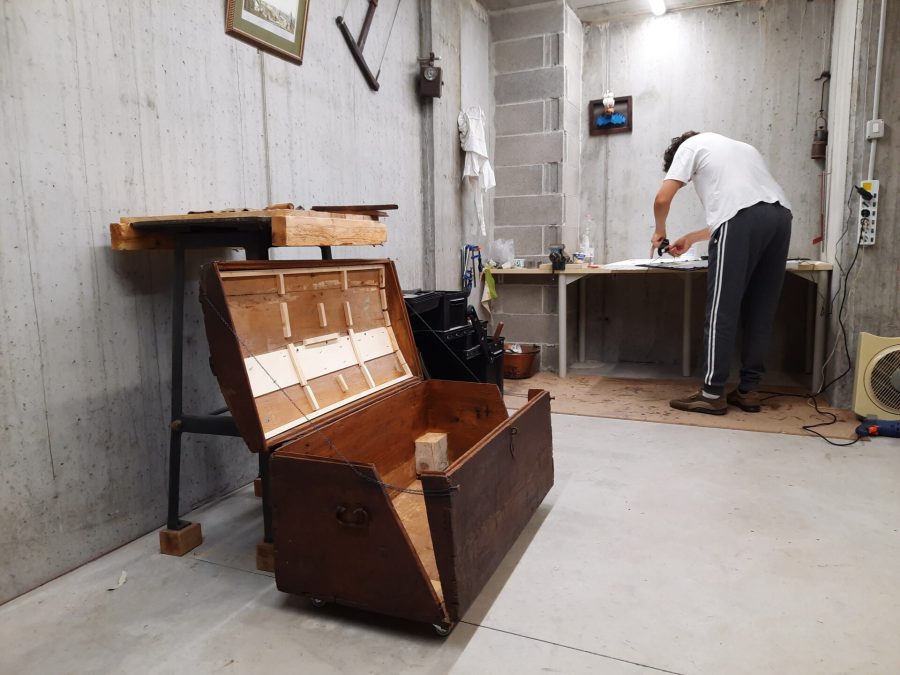
As we worked on the structure, we started planning the most important transformation: the trunk’s functionality. While it looked like a normal, closed steamer trunk, we wanted it to open up, expanding the space for our diorama. We envisioned cutting the front open and attaching it with hinges, allowing the front side to lay flat and double the surface area when opened.
This step was one of the trickiest parts of the project. We needed the trunk to remain stable and look like an intact piece of furniture when closed, but we also wanted maximum space for our display when opened.
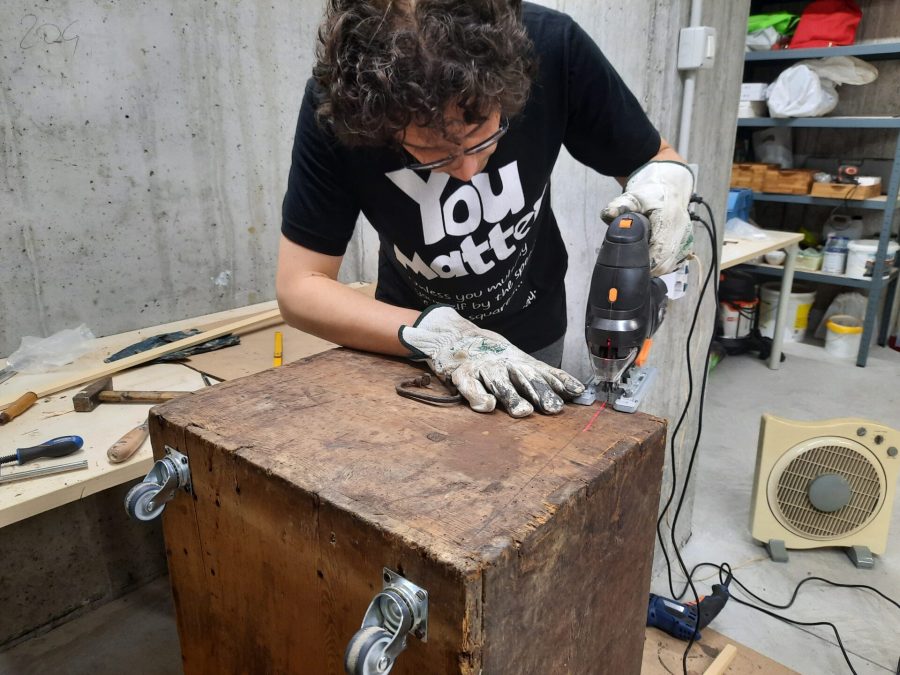
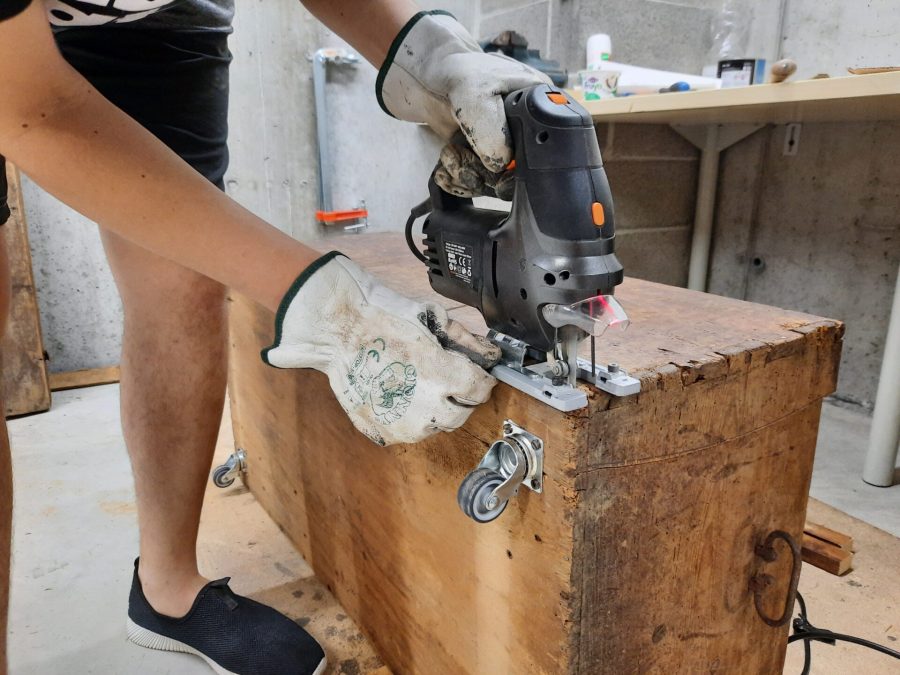
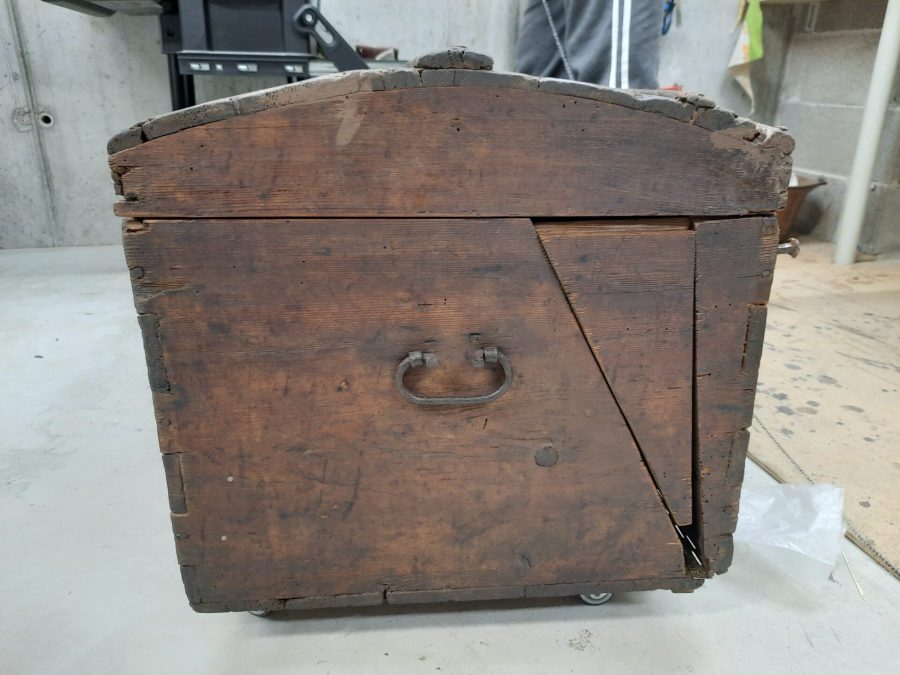
After much thought, we carefully made vertical cuts along the short sides, ensuring that the corners remained intact to preserve the structure’s strength. Then we added diagonal cuts, removing small triangular sections that could be slotted back in when closed. It was a delicate balance of preserving the past while preparing the trunk for its new role.
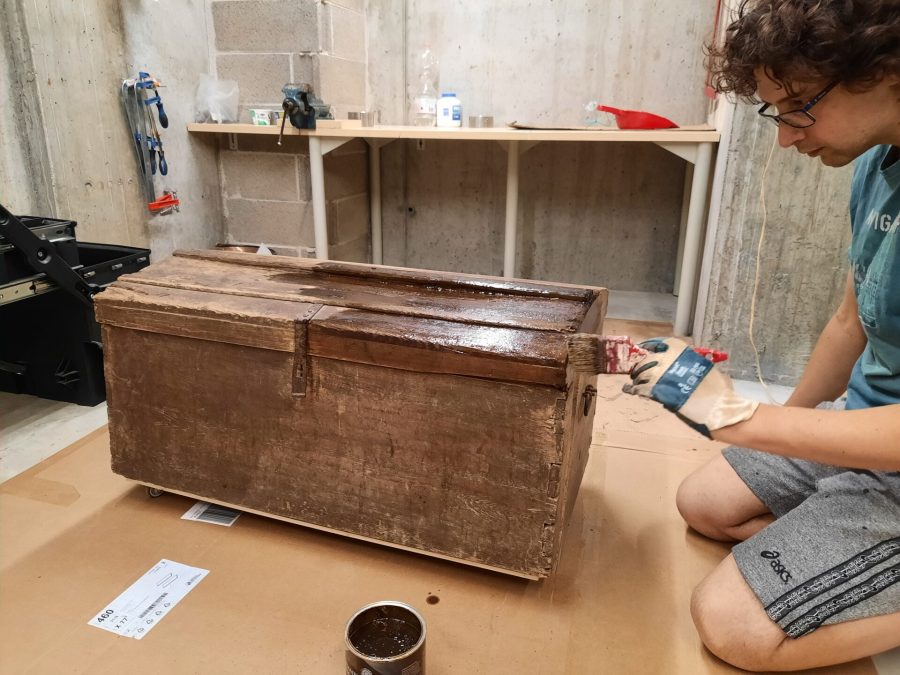
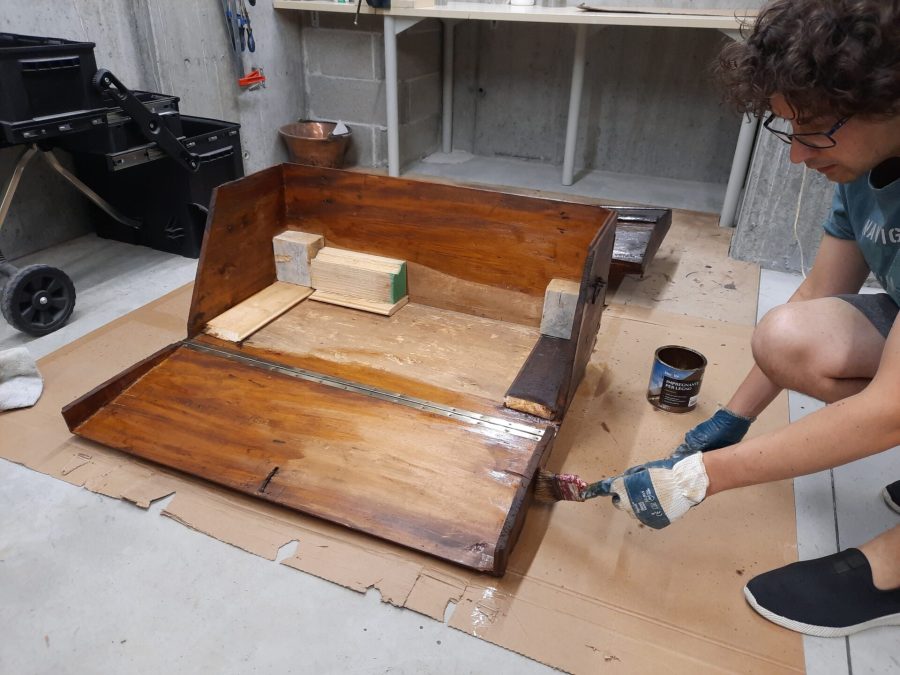
Once the structural work was done, we refinished the wood.
We sanded lightly, keeping as much of the original wood texture as possible. In some areas we also had to apply wood plaster to close holes that formed over the long years of neglect.
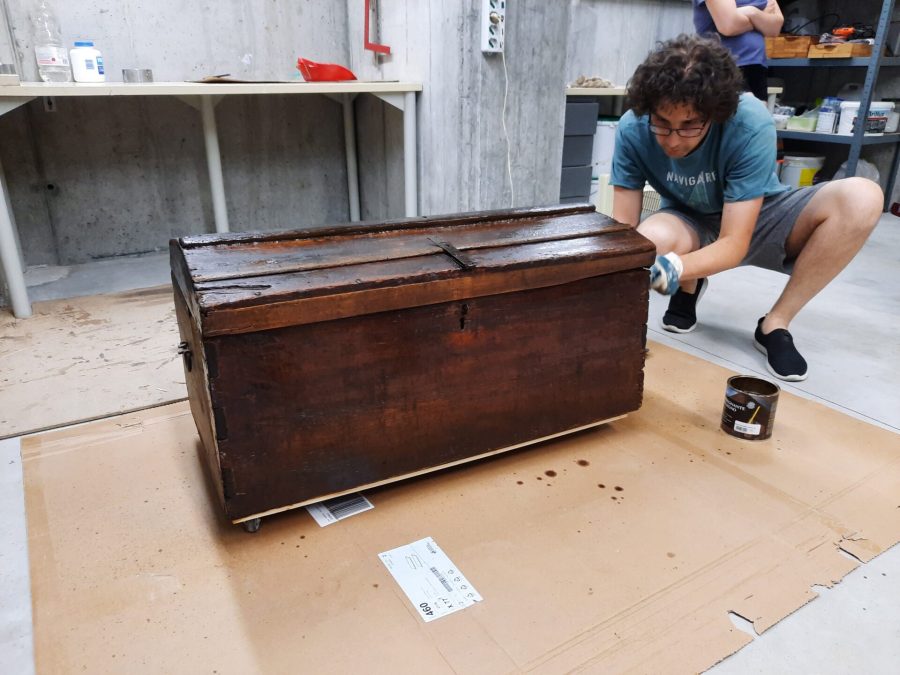
In the end we applied a dark paint that matched the faded areas of the trunk. While it looked darker than before, we knew it was just because the old wood had been bleached by time. This gave it a fresh but authentic look, still deeply connected to its origins. We also painted the interior, even though most of it would eventually be covered by the diorama features.


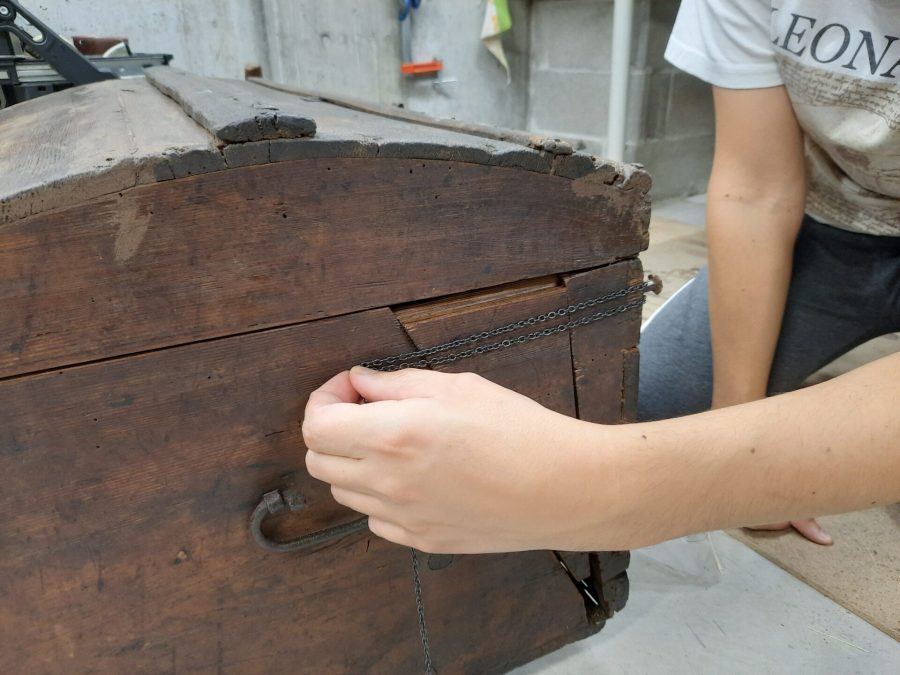
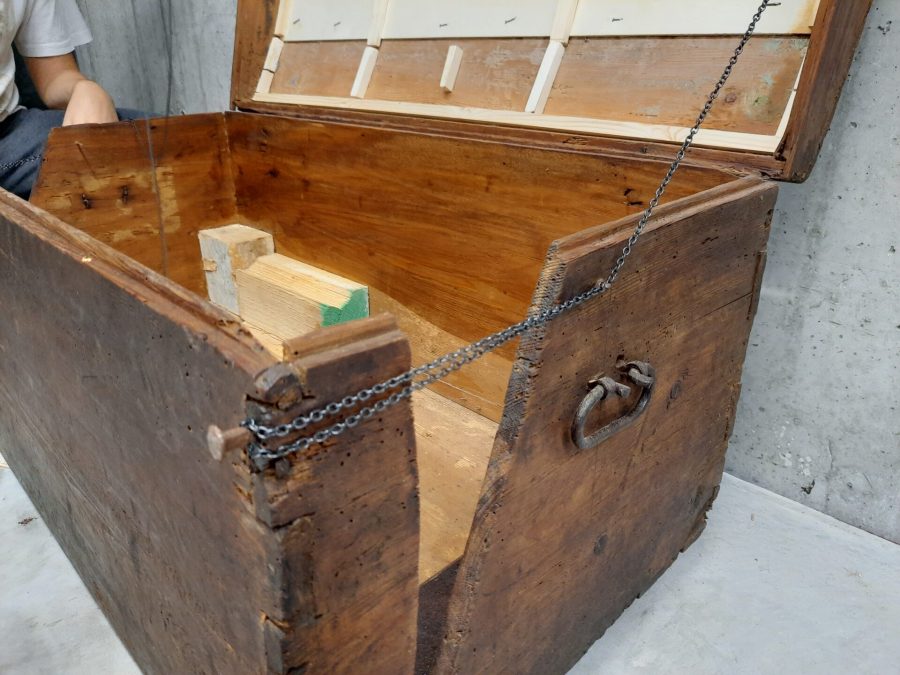
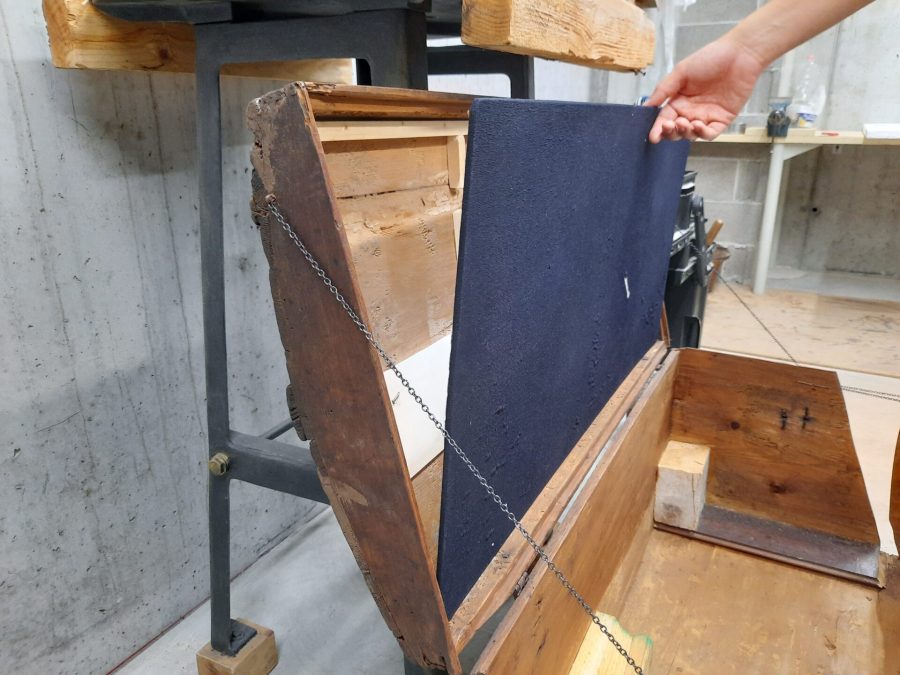
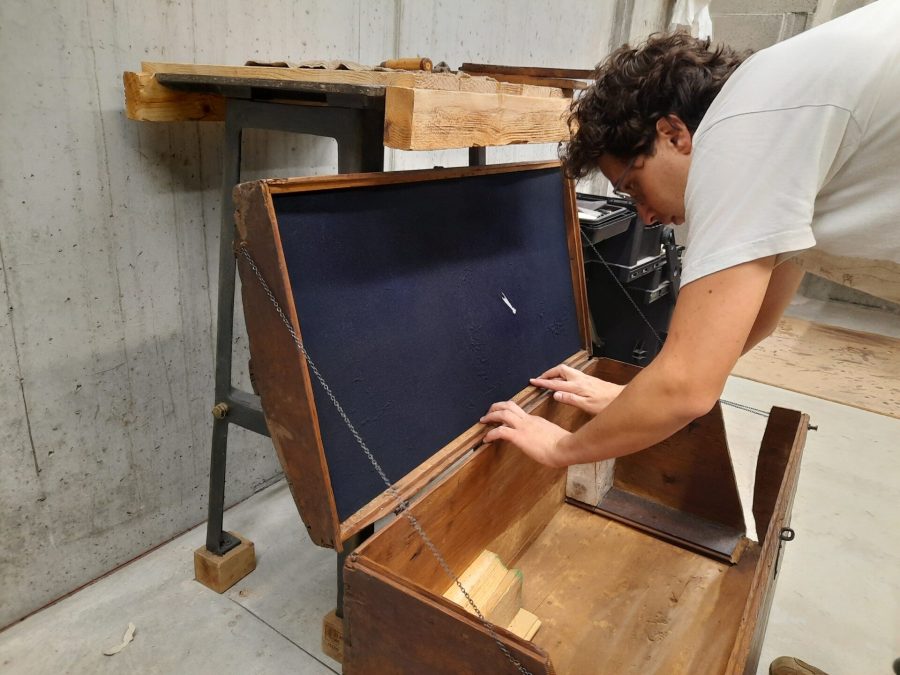
Yet we had another problem to solve: how do we keep the trunk in place, when open and when closed? After all our cuttings, we needed a way to keep the lid in position while the diorama was on display, and also a way to keep the trunk parts together when closed, since we opened it all up.
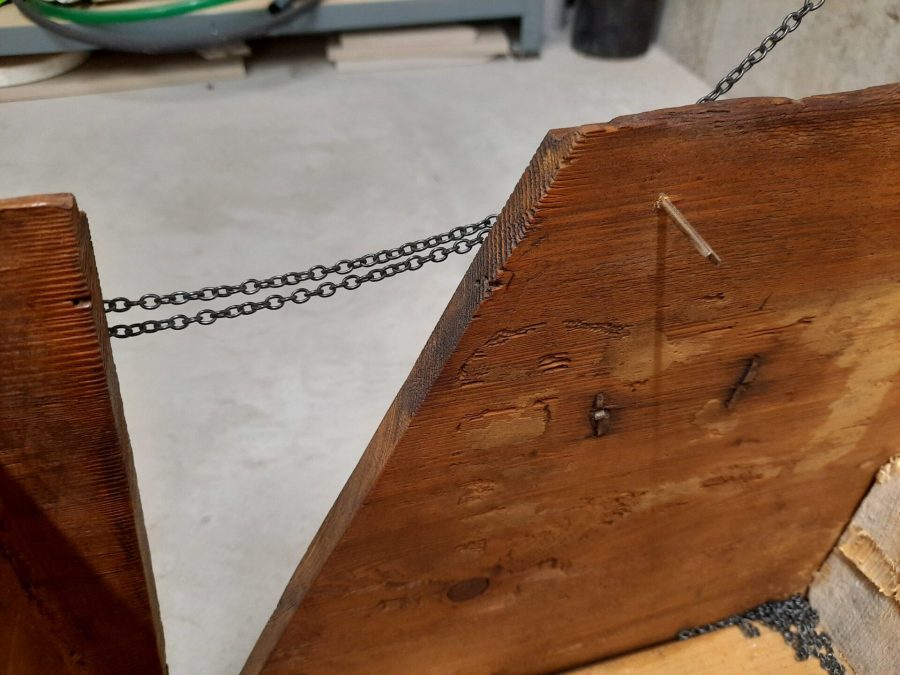
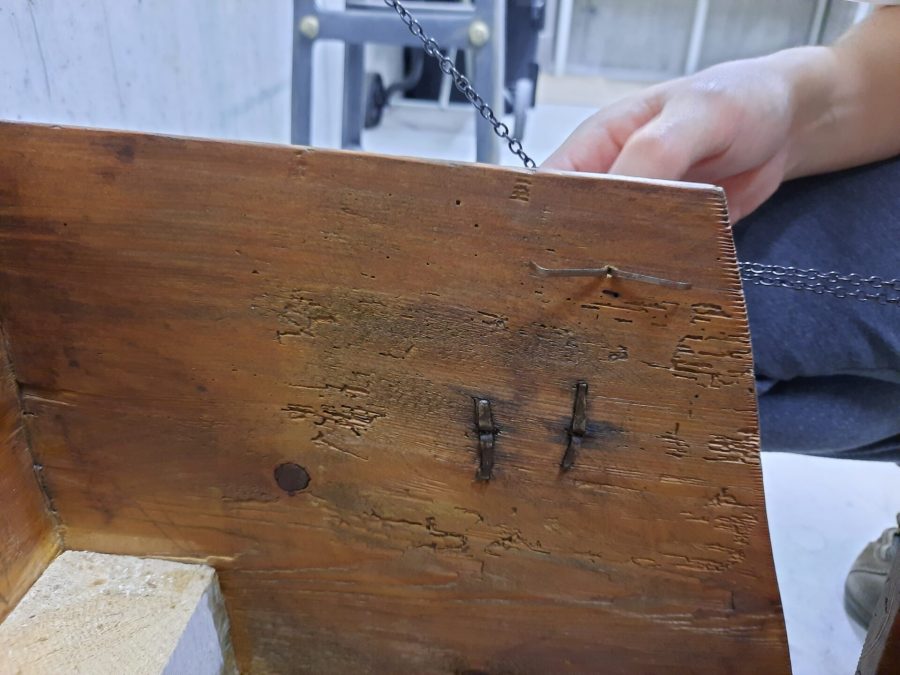
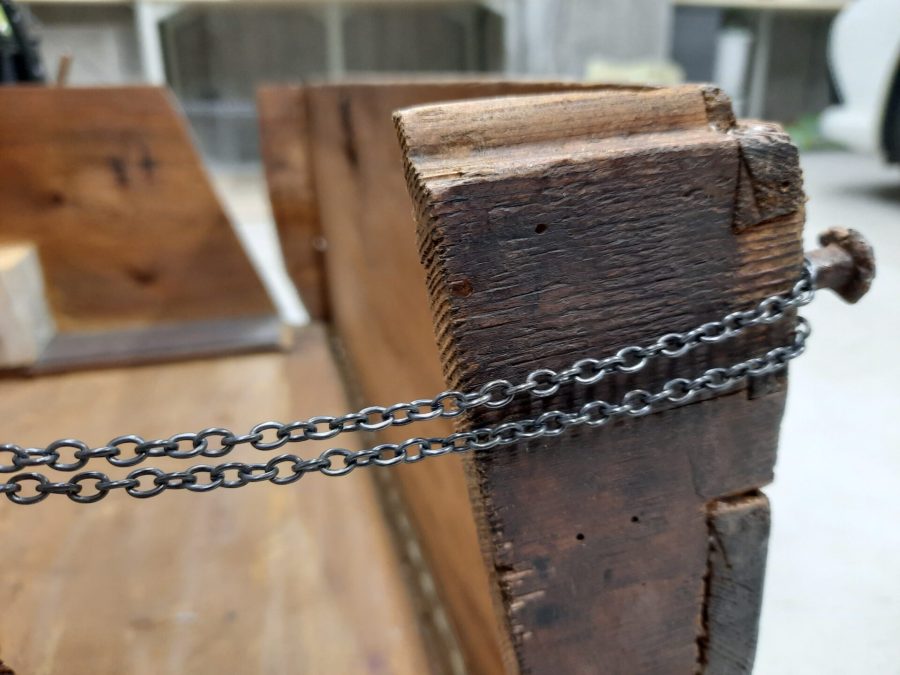
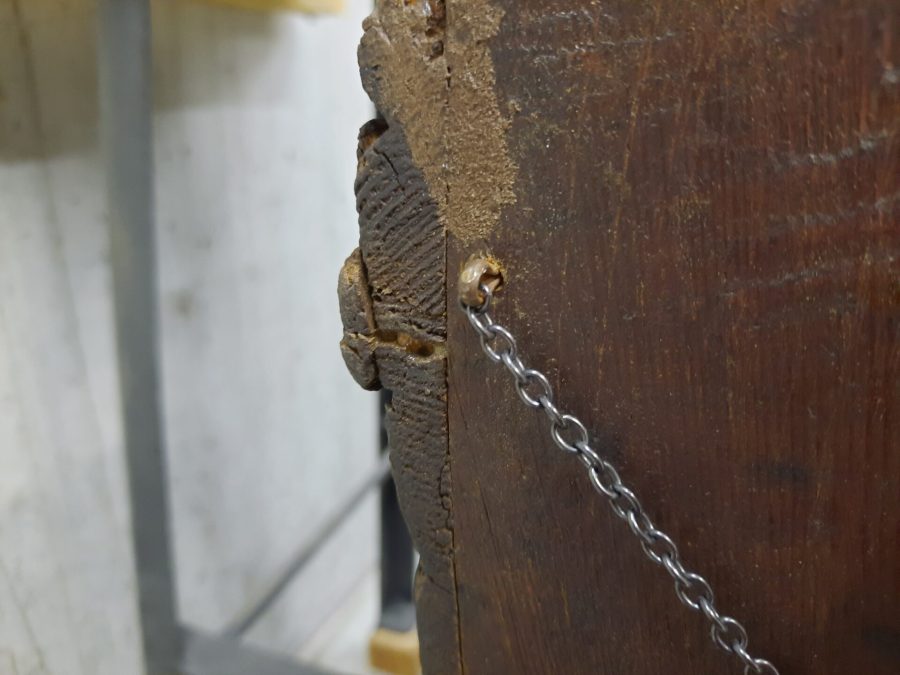
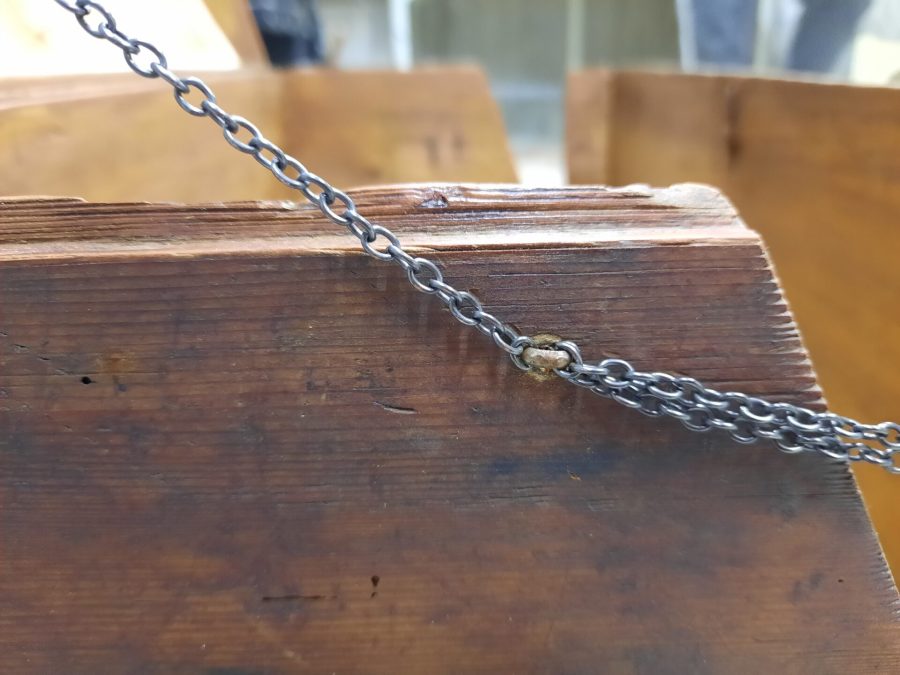
The best way to accomplish this in style with the whole project, was with chains. We secured them using old split pins from our stash and original nails from other places around the trunk. This way we had a chain holding the lid open at a certain angle, plus another chain to keep the front closed. The two triangles that we cut out from the short sides could fit back in place, so when the trunk is closed you have the impression that it’s still a normal wooden steamer trunk.
A sky full of stars
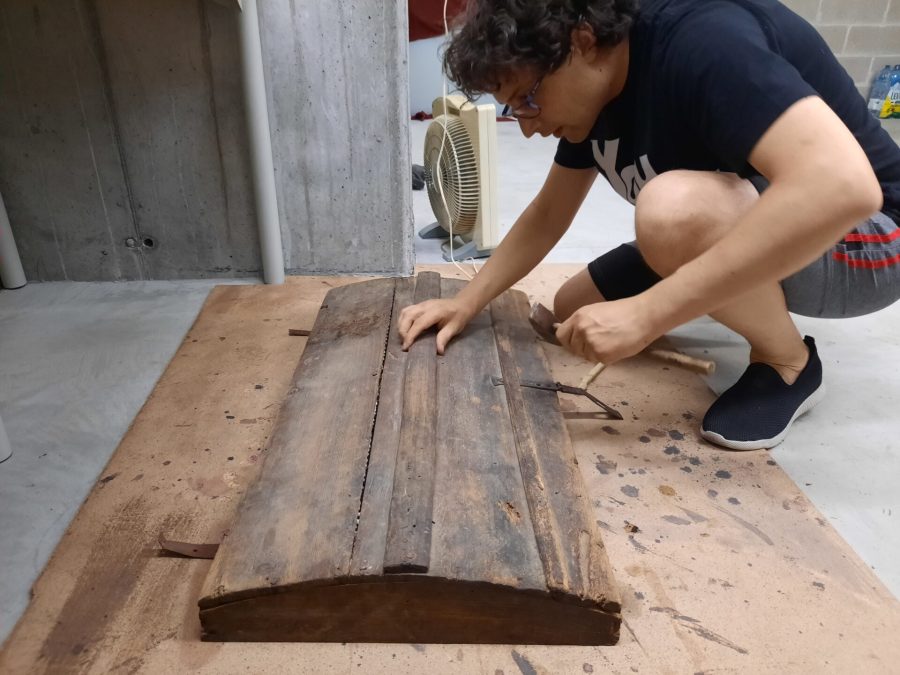
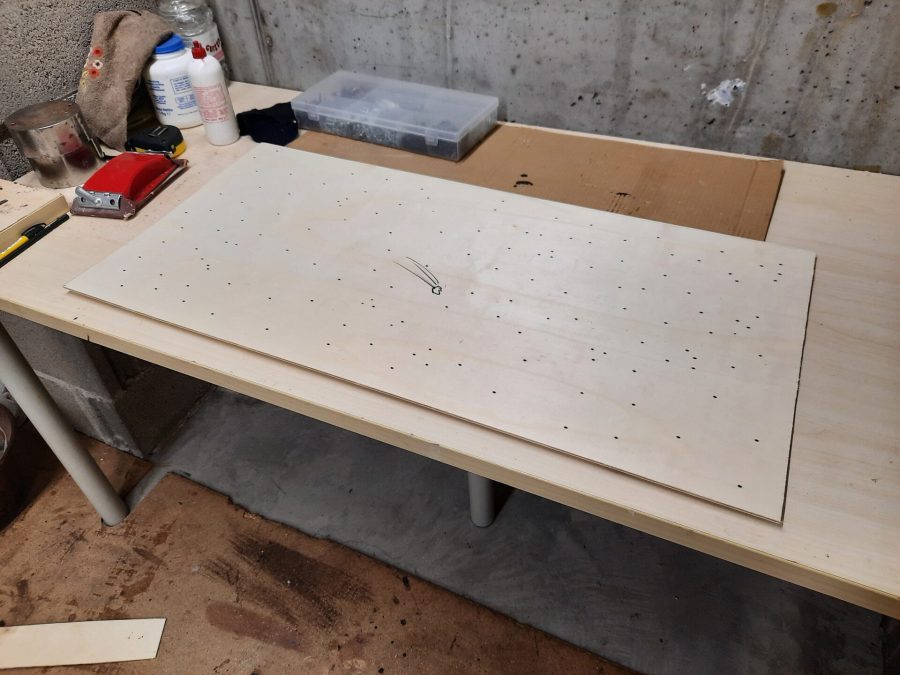
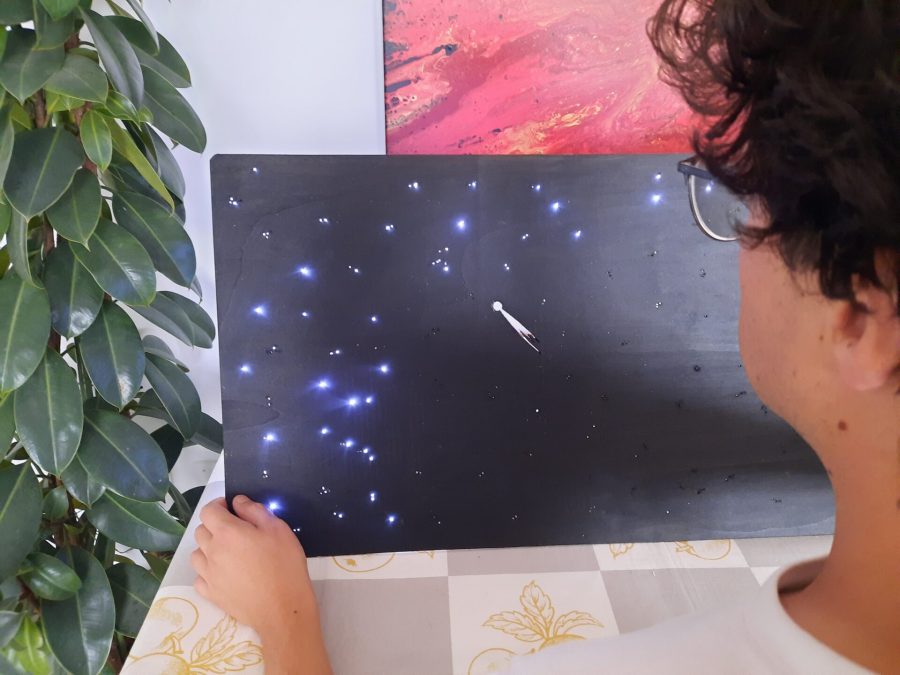
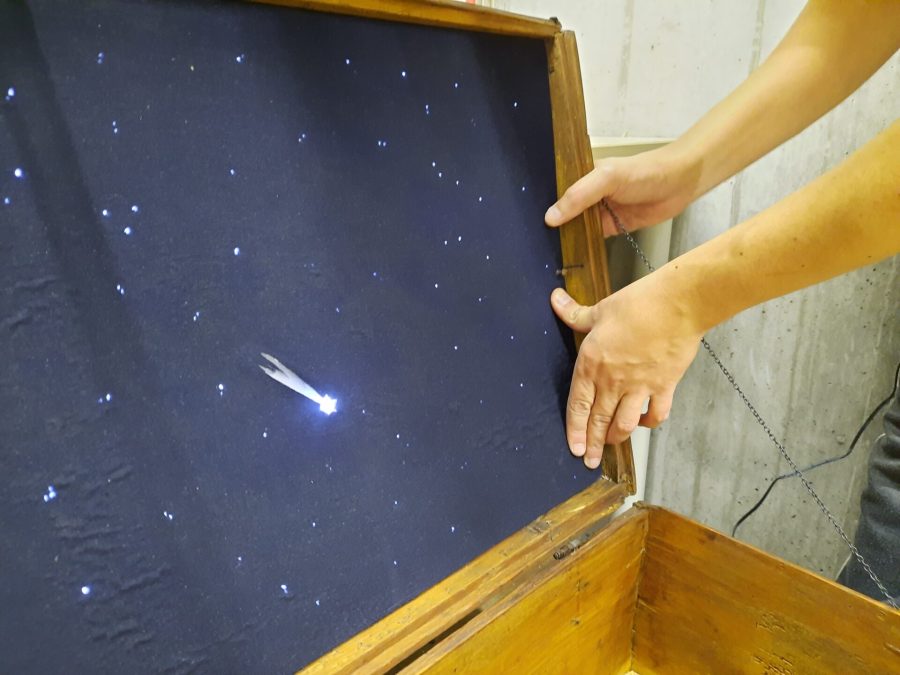
With the trunk structurally sound, we turned to the most exciting part: the night sky. We imagined the lid of the trunk becoming a starry night sky, full of twinkling lights and one stunning comet shining above the diorama. We didn’t want a painted-on sky or the typical Nativity star; we wanted something that felt real and alive.
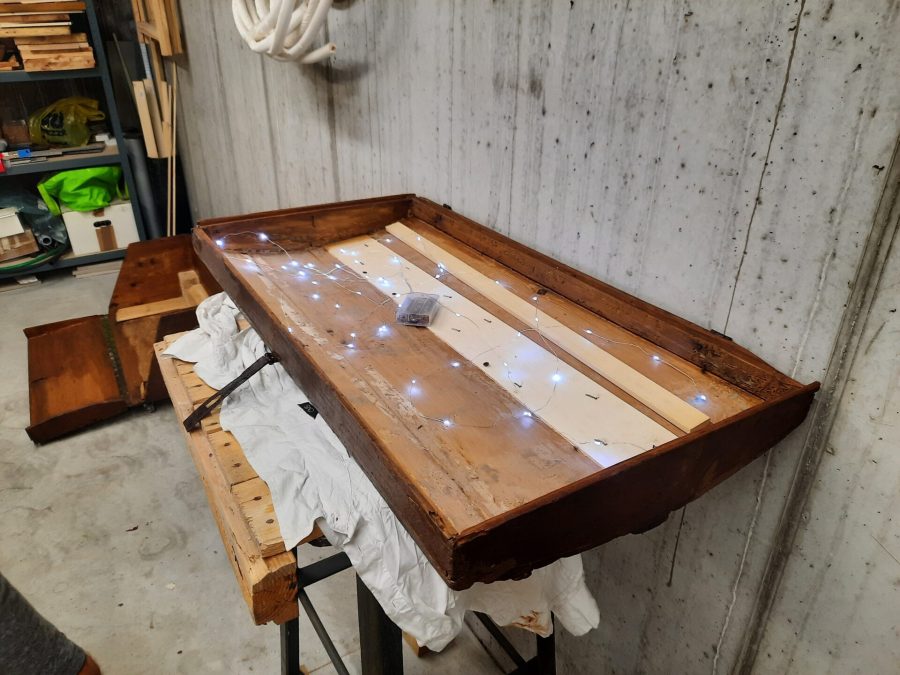
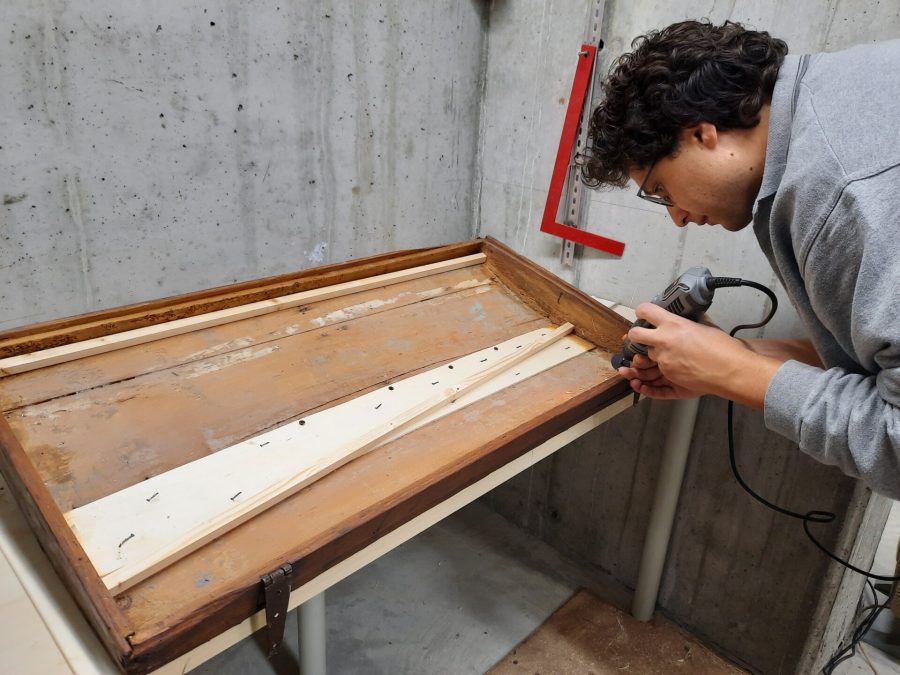
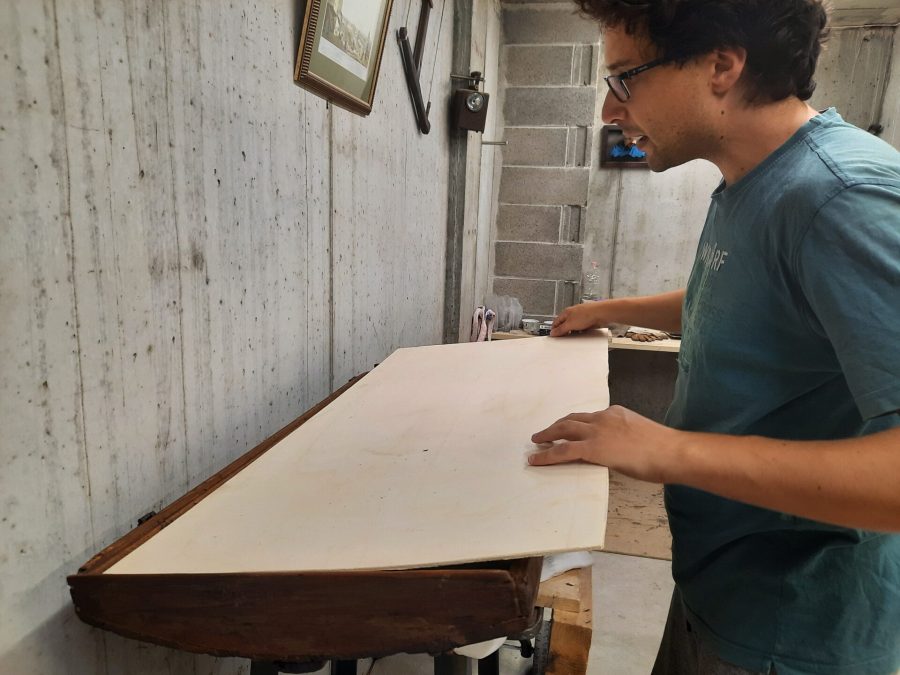
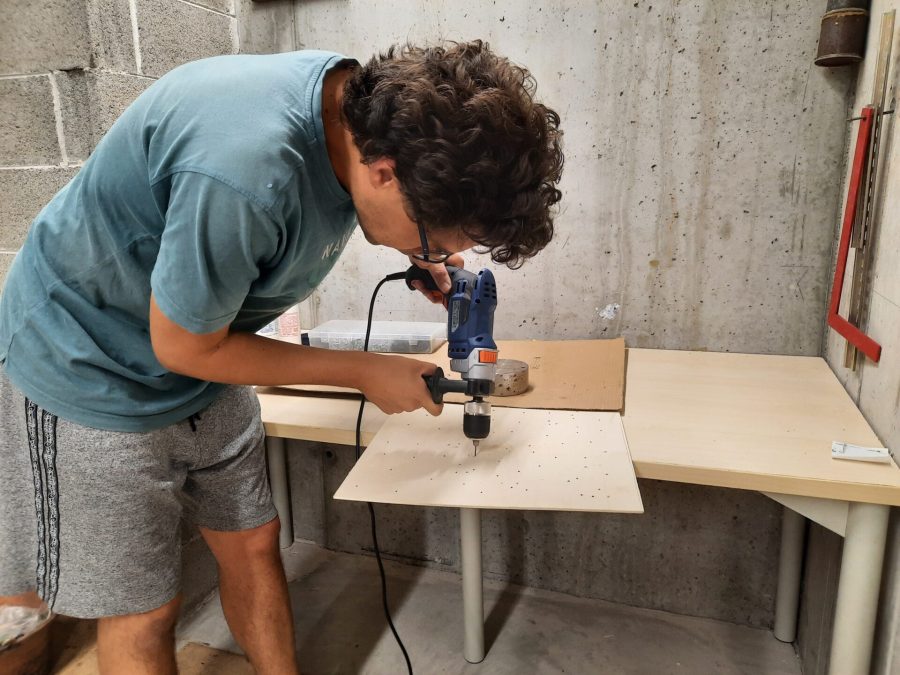
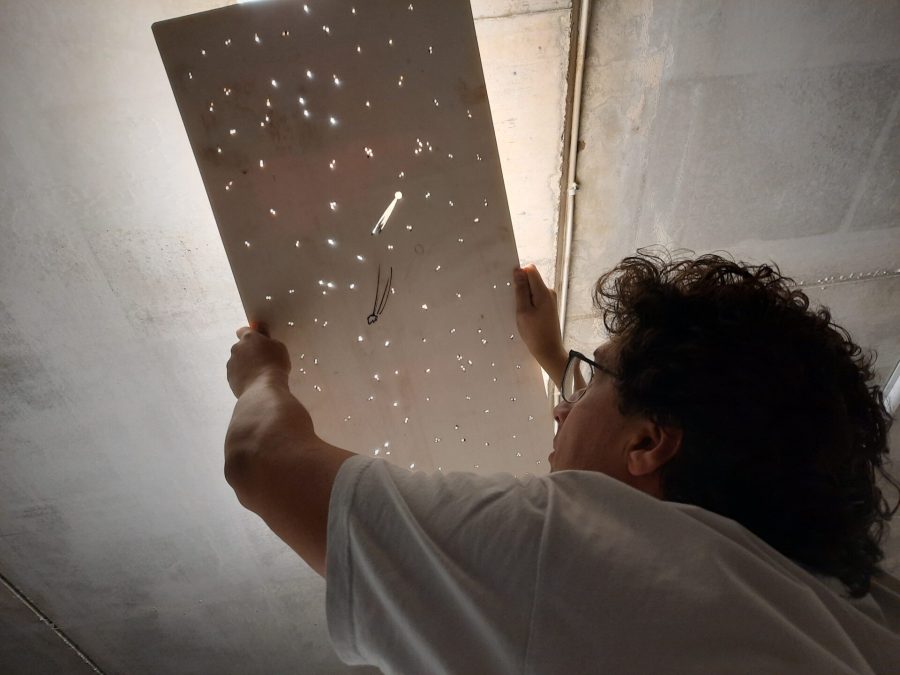
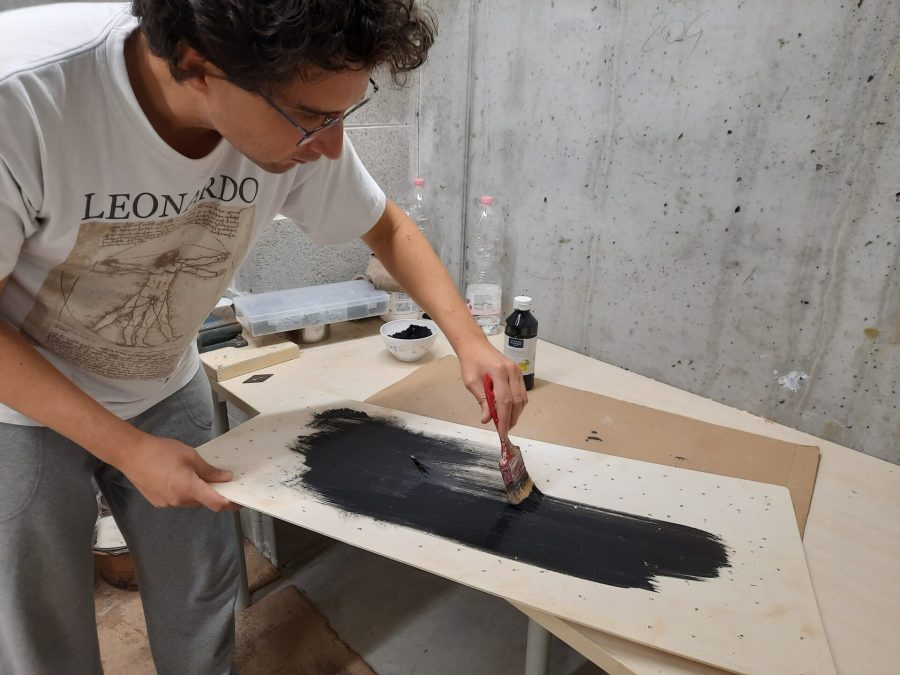
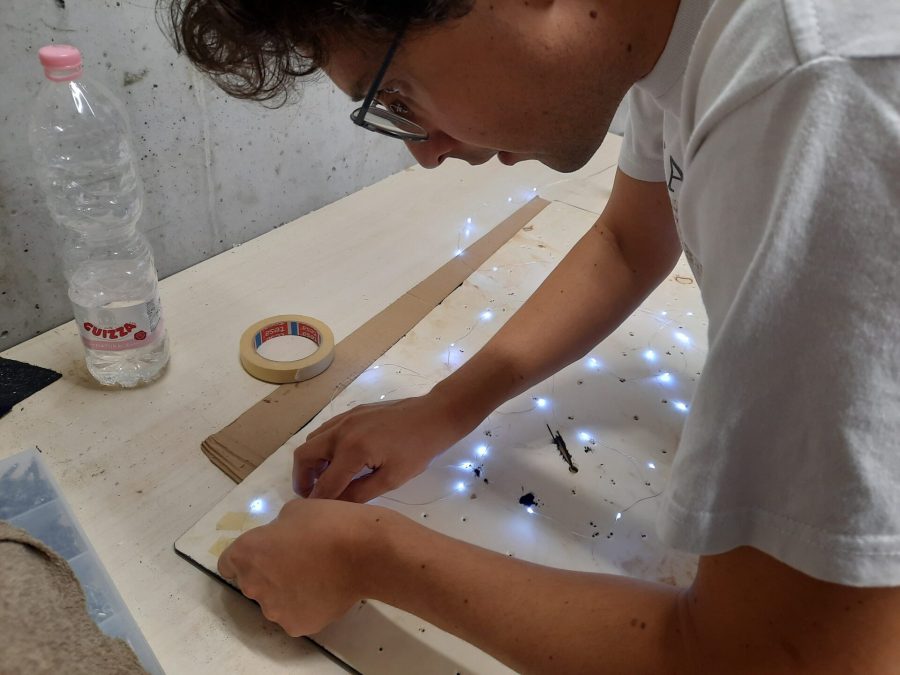
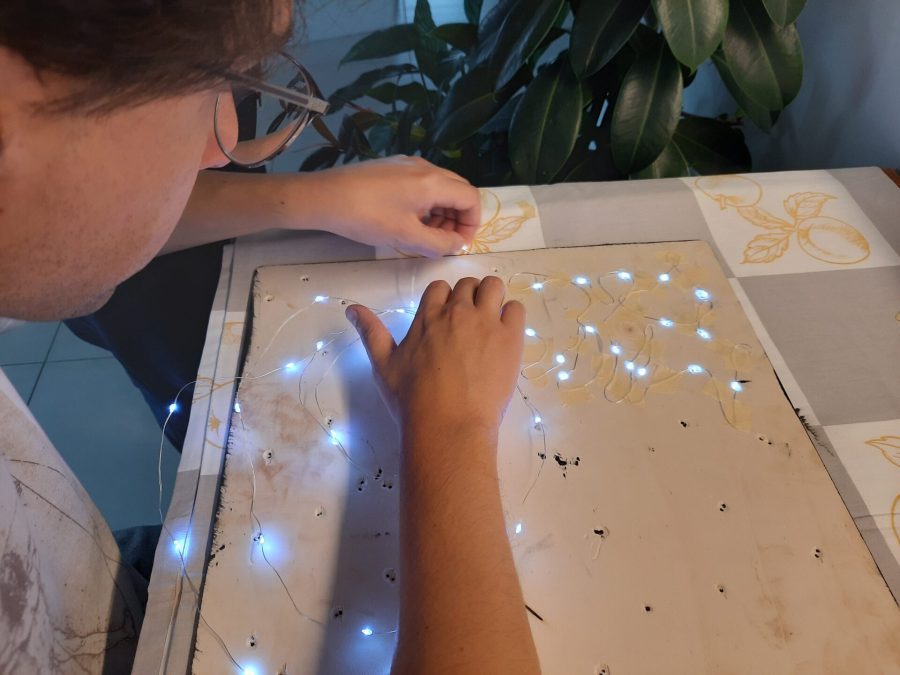
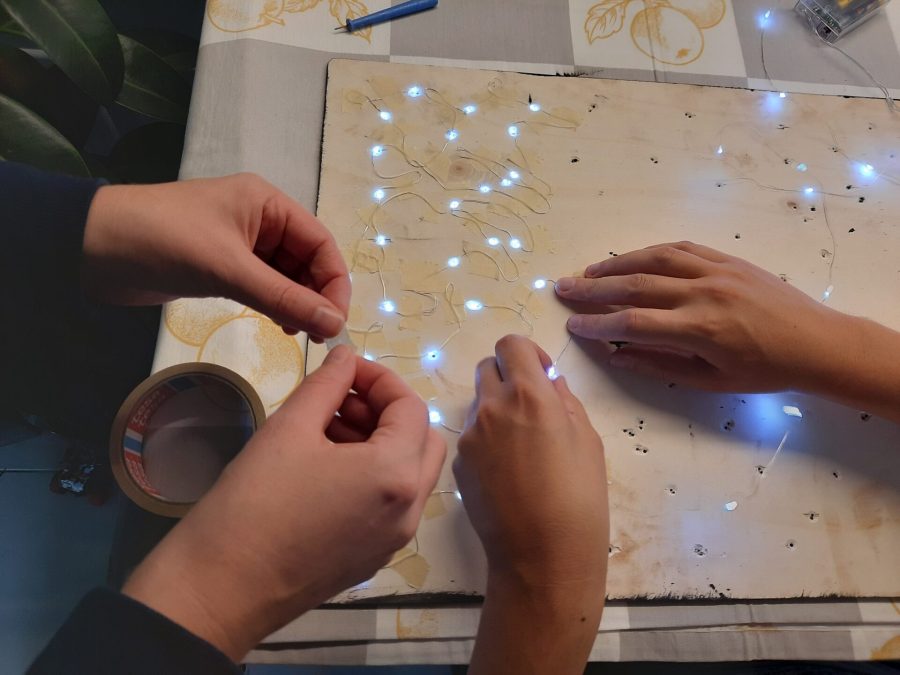
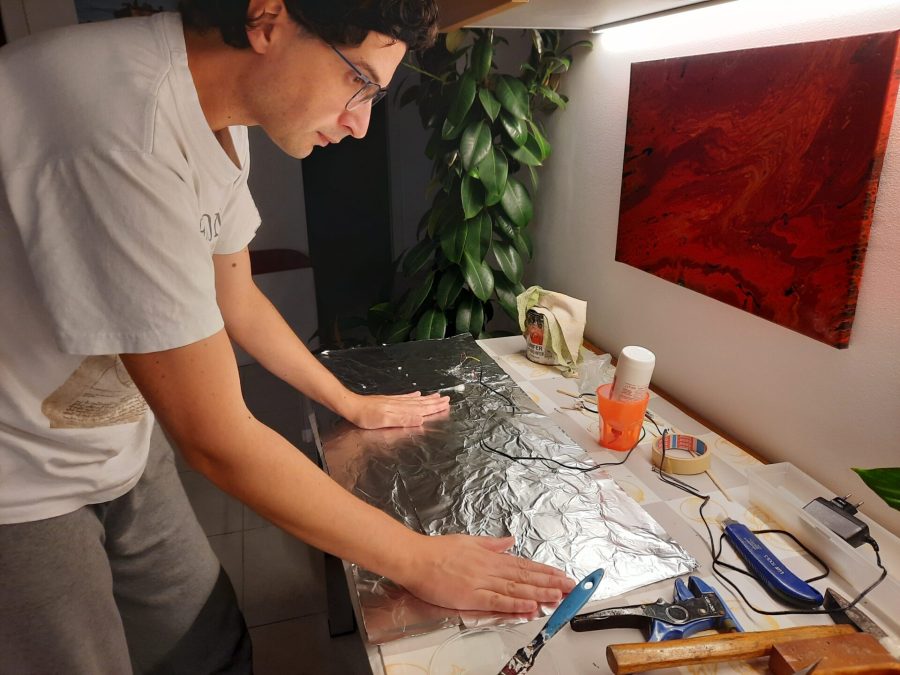
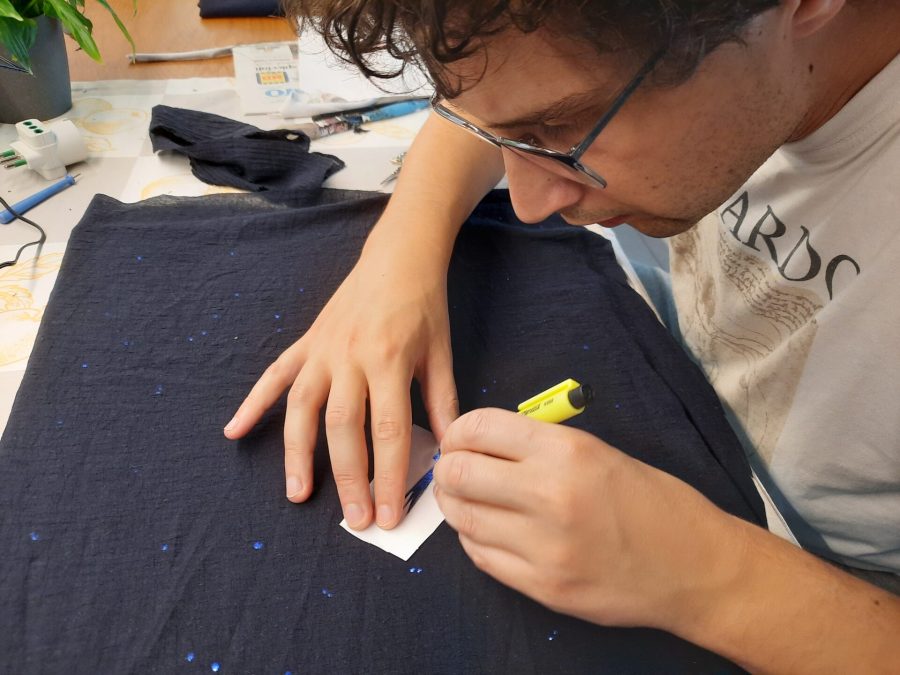
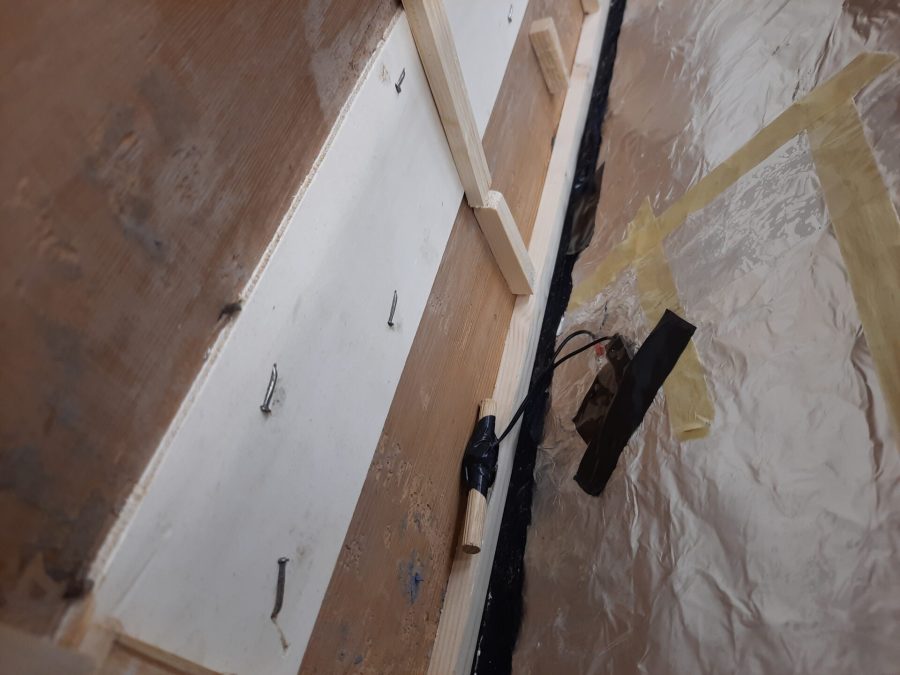
We chose a pine wood panel for the inside of the lid, bending it slightly to match the natural curve, and painted it black. Then, my husband set to work drilling over 200 tiny holes for the LEDs, each one carefully placed in different sizes to mimic the varying brightness of stars in the night sky, plus the Betlehem comet. With aluminum foil backing each light, the stars would shine brightly without any of the light leaking out in the wrong direction.
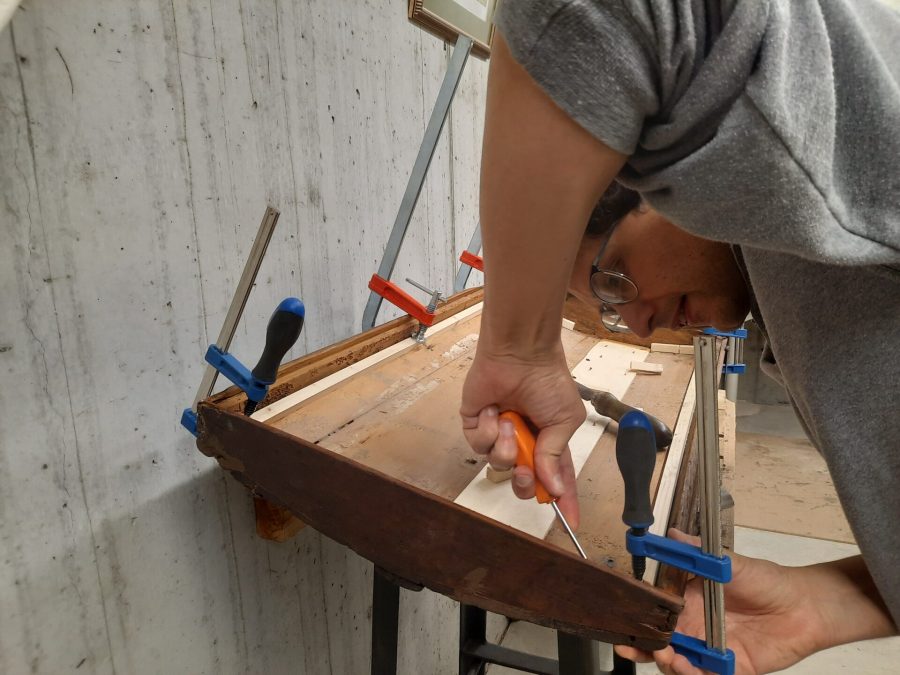
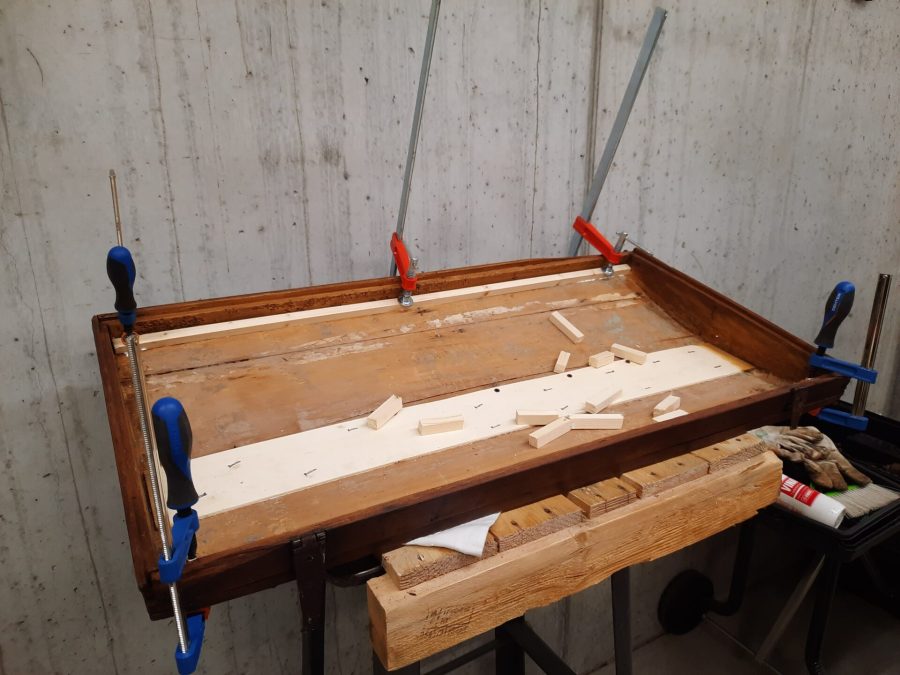
On the trunk lid, my husband drilled a tiny hole in an uncospicuous spot for the main wire to come out. Little wooden spacers on the inside helped accomodate the LEDs and wiring.


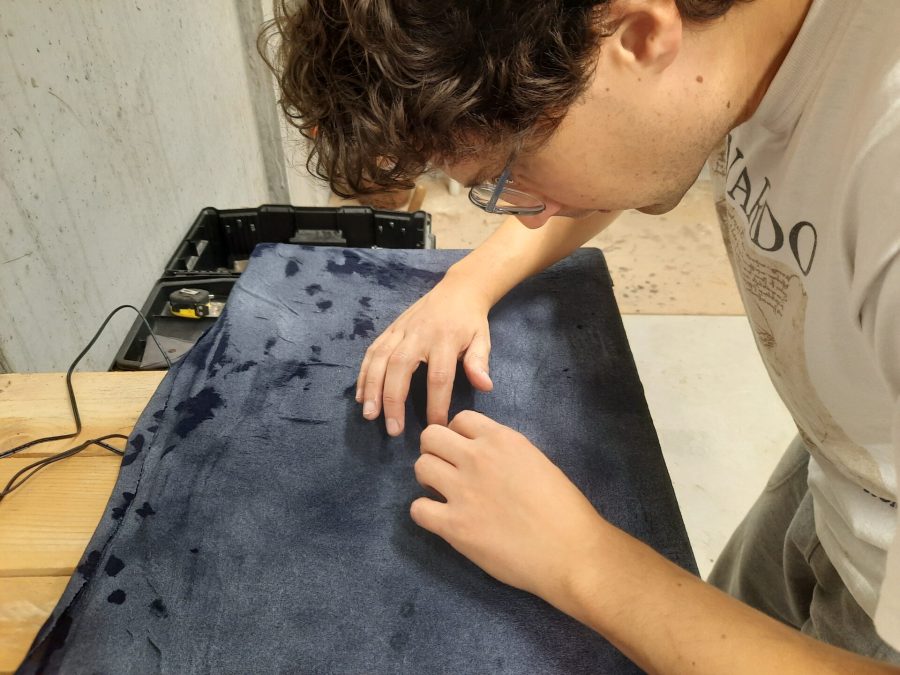
To create the perfect texture, we added a dark blue fabric to the front of the panel, dimming the lights just enough to make them feel natural and distant, like the real night sky. After all the work, the sky panel fit perfectly inside the lid, with wires running discreetly out the back, hidden from view.
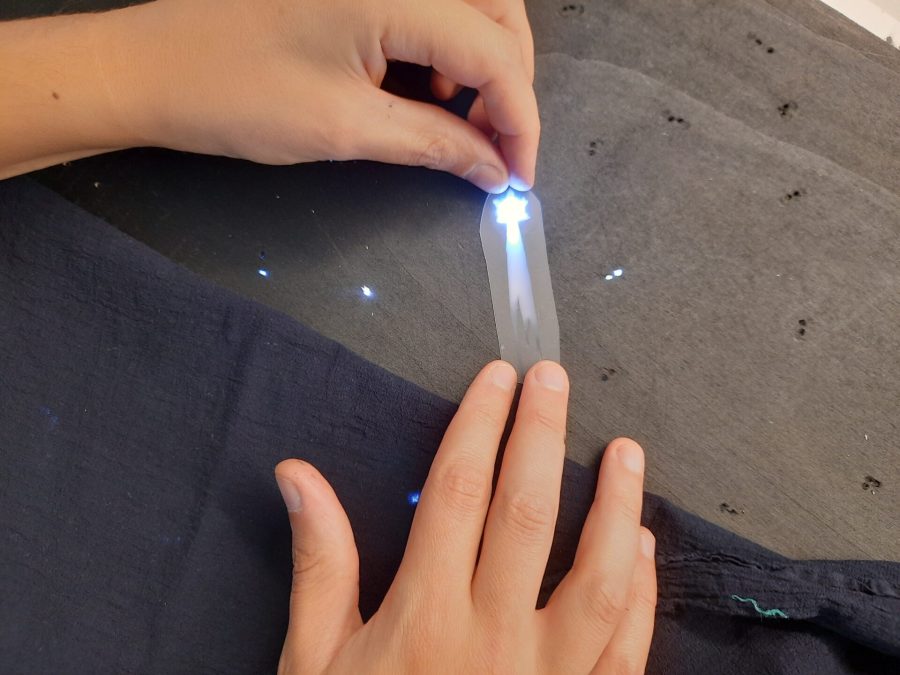
For the comet, he used a diffuser from a broken monitor, to give it a soft realistic glow.
To mount the sky onto the lid, we embedded the panel inside, letting it follow gently the natural curve and rest on the spacers. We kept it in place hammeringed two of the original nails in the center of the short sides, a nice historical feature with a practical purpose.
About the following steps
November came in a flash, marking the end of the first phase of our project.
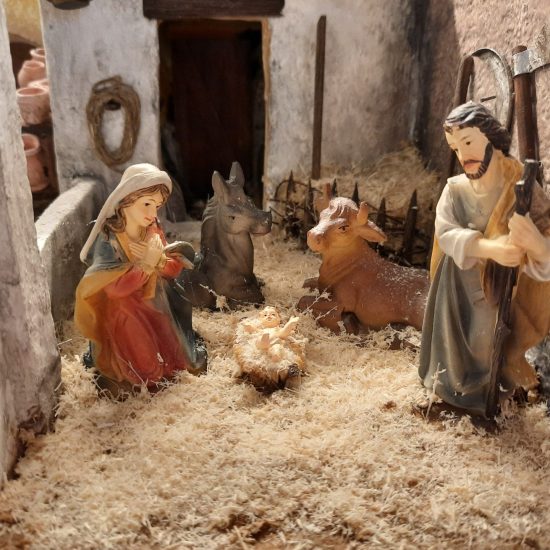
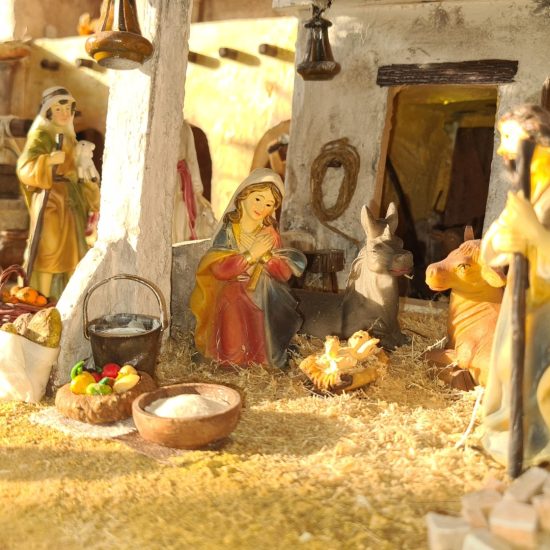
For its inaugural Christmas, we proudly displayed the trunk in our home, showcasing inside the old statues I inherited from my family – those same figures that filled my childhood holidays with wonder. Looking ahead, we’re excited to find size-appropriate statues and create a proper sandy terrain, complete with handmade buildings, an epoxy resin pond, a paved road and – of course – more twinkling LED lights.
This multi-year, multi-material journey is just beginning, and we can’t wait to see where it leads! We’d love to hear your thoughts and suggestions: what would you like to see next in our Nativity diorama? Share your ideas in the comments below!








)