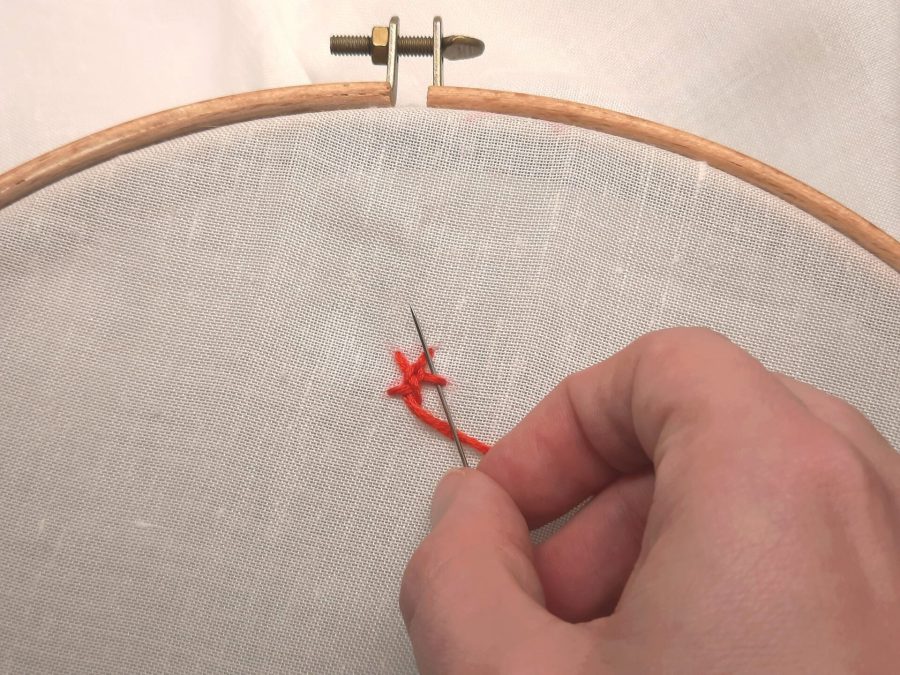
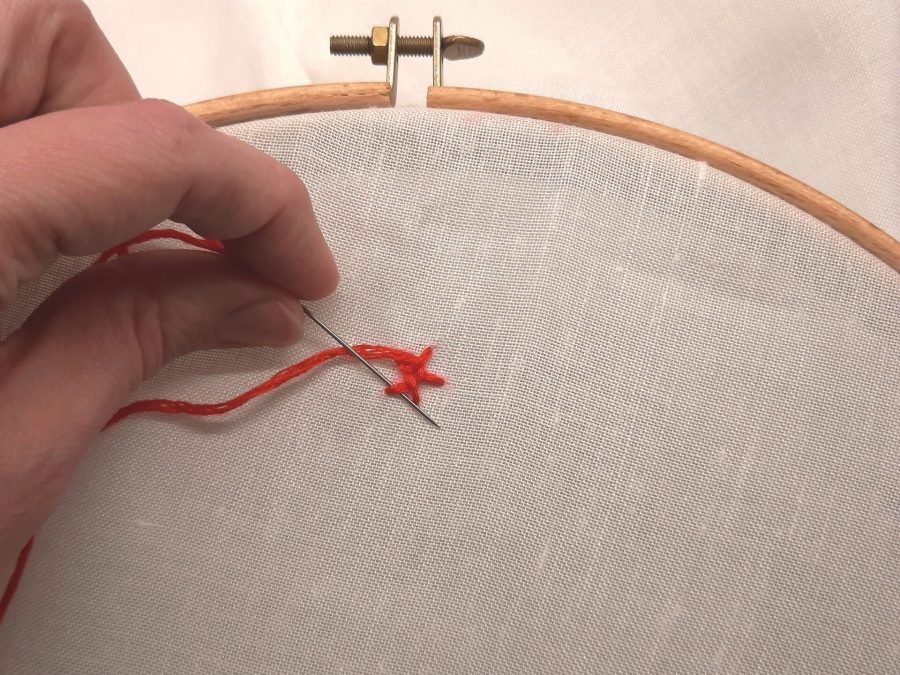
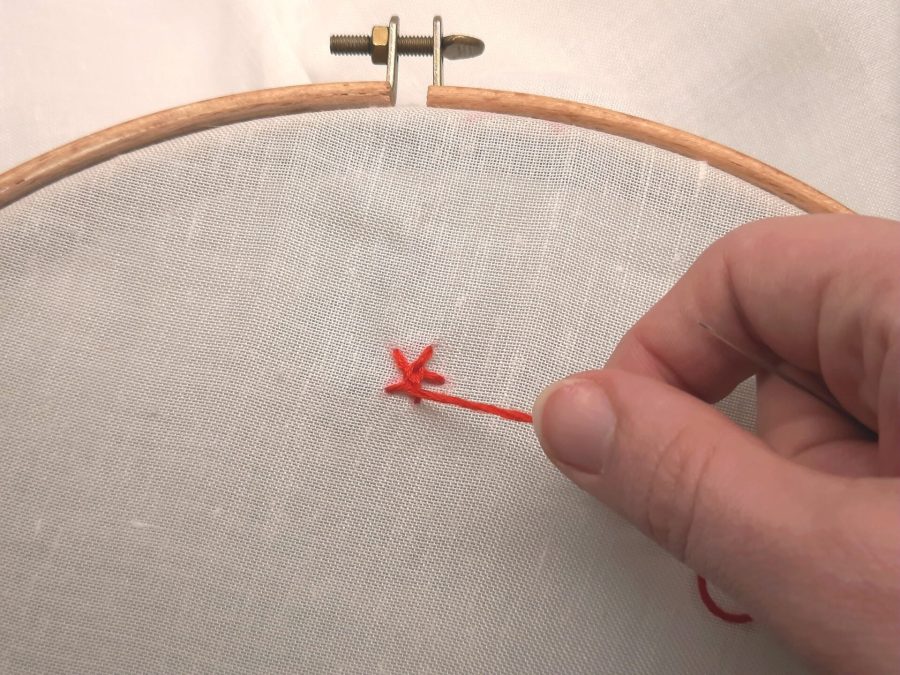
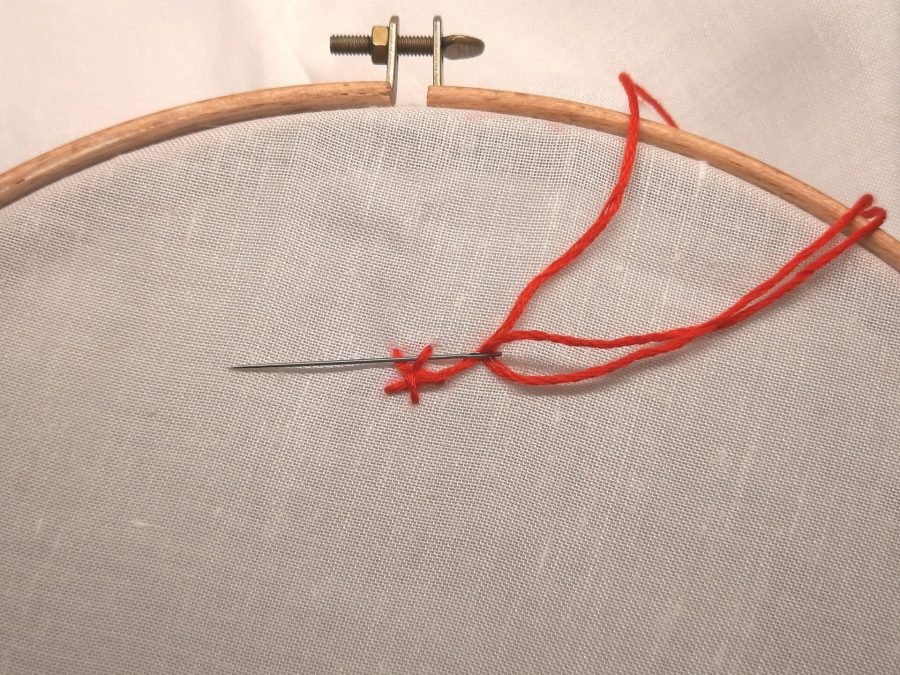
I love making experiments with new stitches. I try to practice at least one new stitch for each new embroidery project.
And if you have seen my embroideries, you must be well aware that the stitches I like most are the ones that add a 3D touch to the project.
A 3D stitch that is easy, quick and versatile is the woven wheel, or woven spider web stitch. Great for flowers, but not only: as usual, the only limit is your creativity.
Here’s a very short tutorial to start practising this stitch. Just a couple of steps to make an impressive embroidery.
And if you come up with clever design ideas to use it, please come back here and tell us about it in the comments section!

Click for the finished project detailed photos
1. The spokes
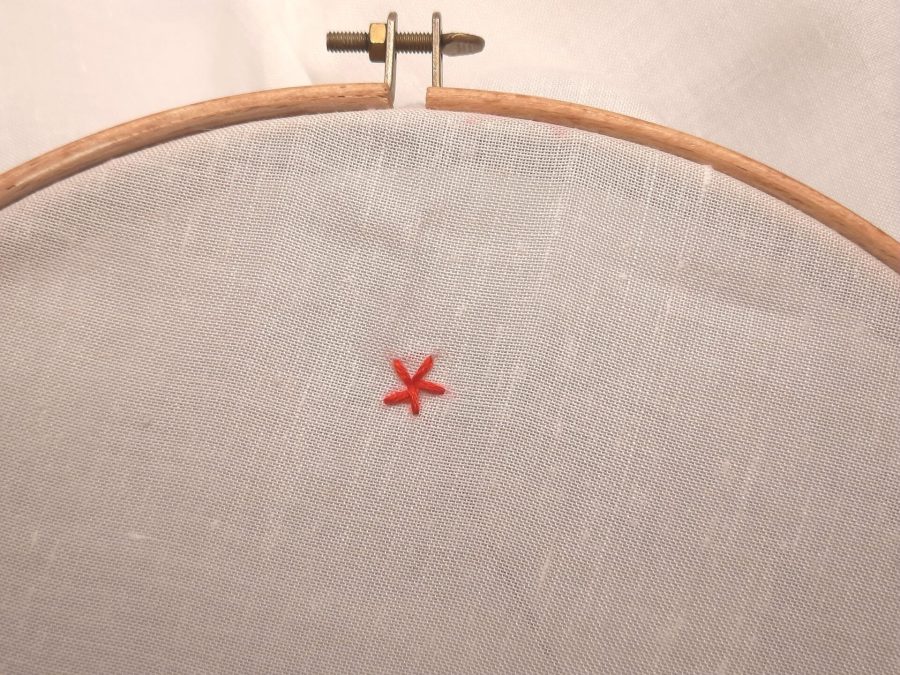
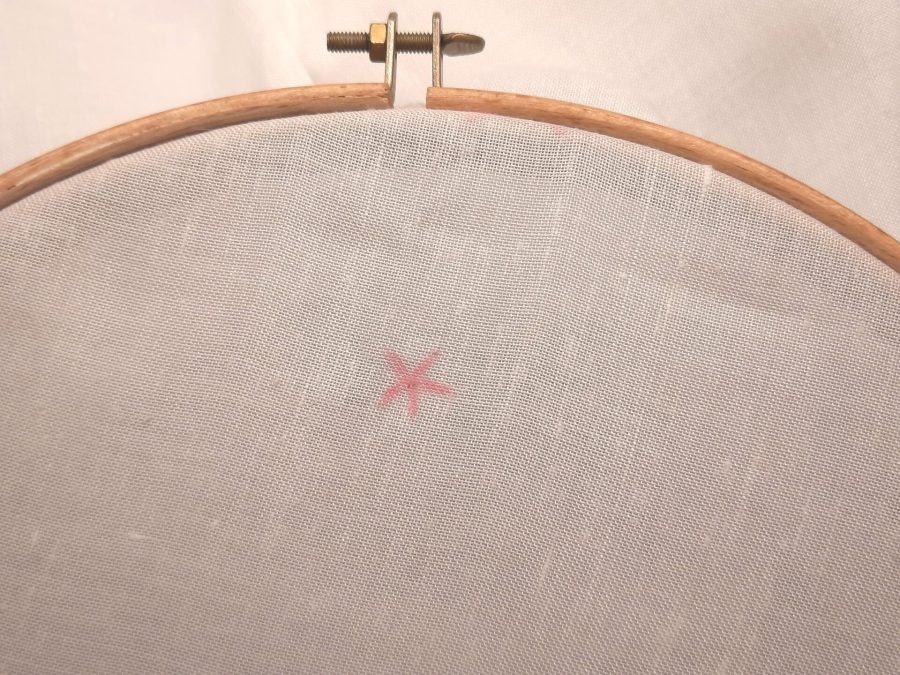
First, trace a circle and its center point on your chosen fabric. It will determine where your embroidery will be and its final size. You are going to use this as a guide for the first part of the woven wheel: the spokes.
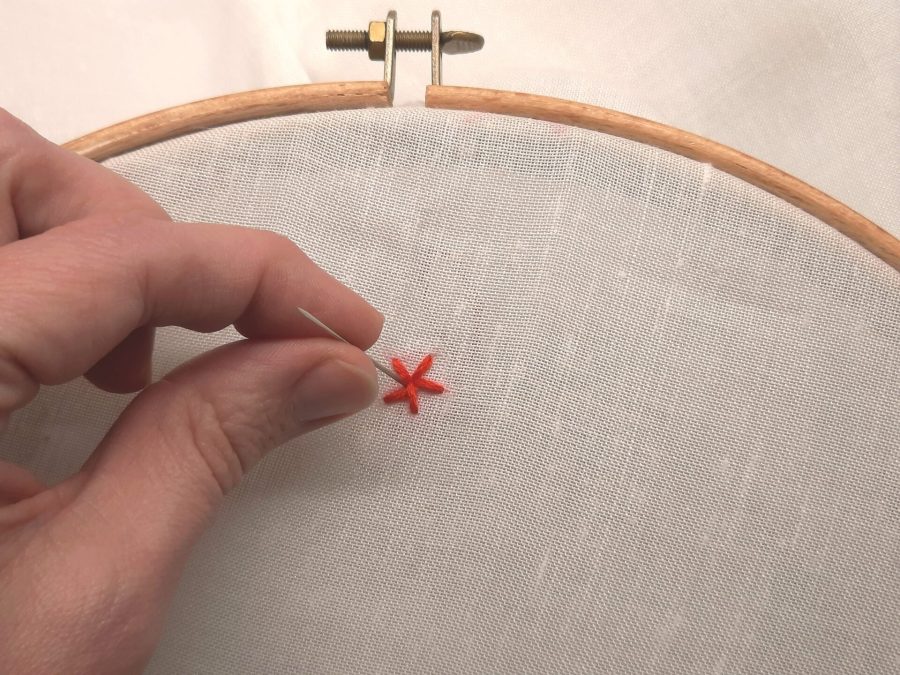
Pull the needle from the center and stitch an odd number of straight stitches: for the weaving process to be continuous and easy, having an odd number of spokes is paramount. The more spokes you add, the thicker your embroidery will become.
All the spokes must radiate from the center and end all on your circle. Keep them at the same distance from one another. It’s easier if you mark them on your fabric in advance.
It seems the beginning of a spider web, doesn’t it? Well, it’s also called “woven spider web stitch” for a reason!
2. The weaving
Now you are ready to begin the proper weaving.
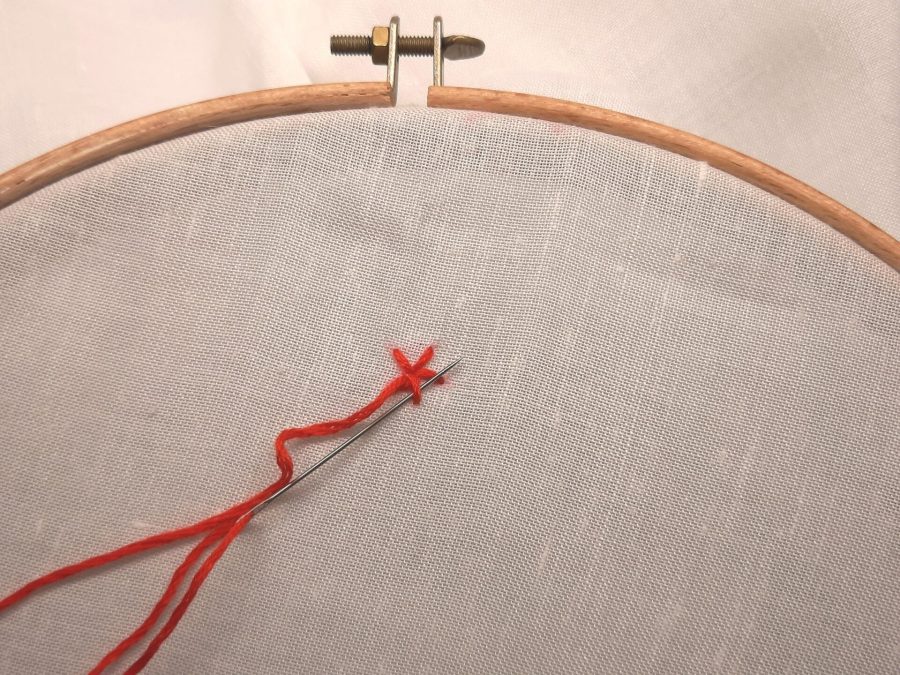
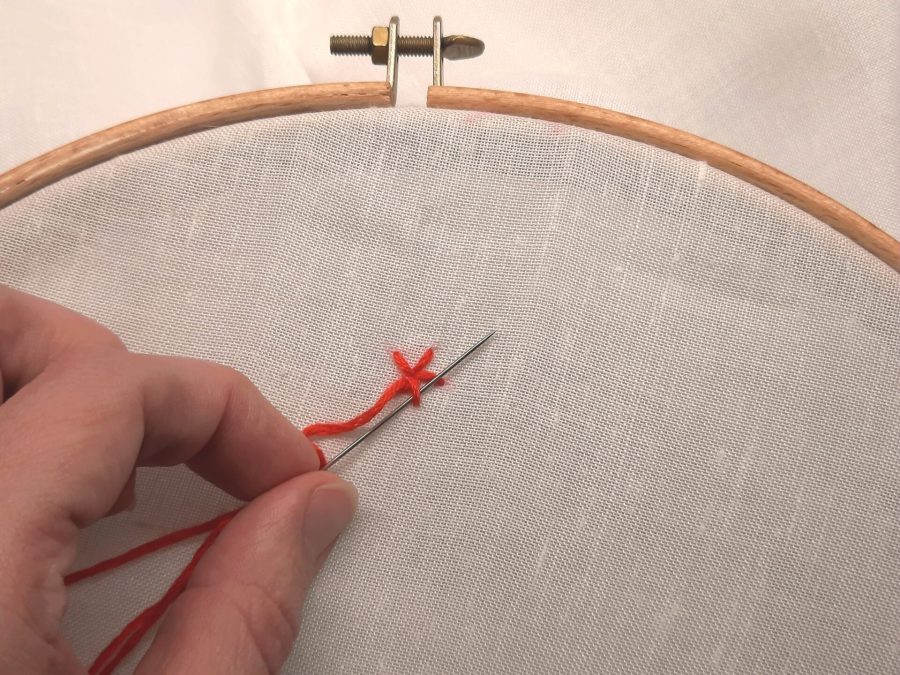
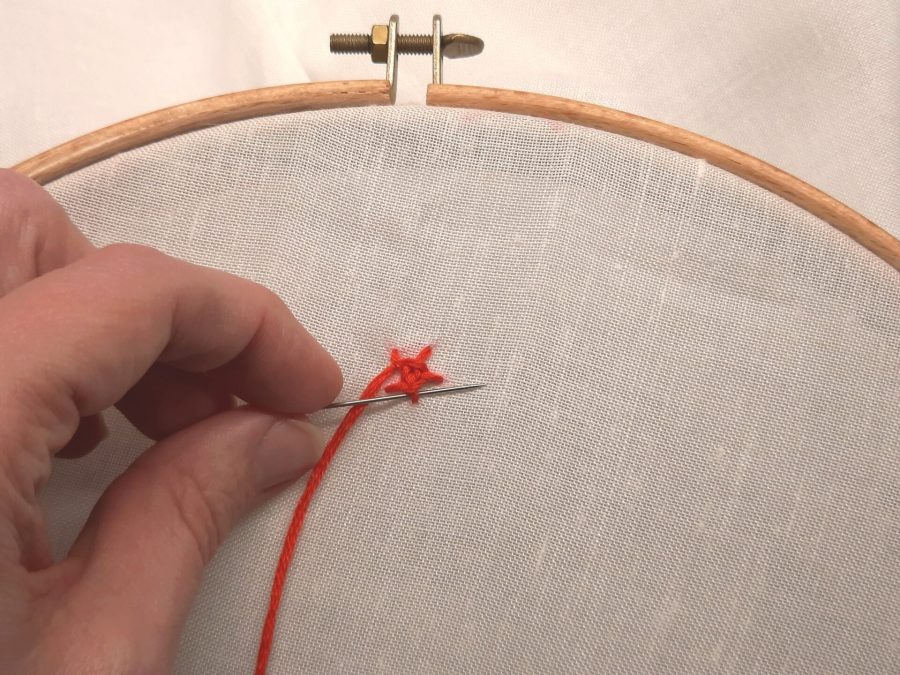
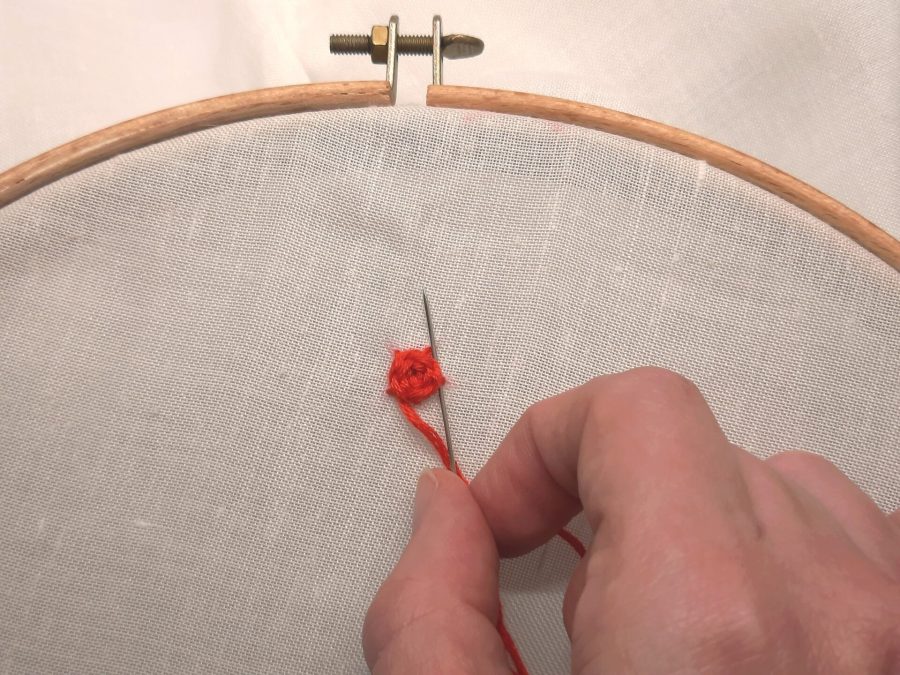
Bring your needle up near the center point. Push your needle under one spoke, close to the center. Go over the second spoke and then under the third. Repeat over and over, weaving the needle up and down each spoke, alternately. Always follow the same direction, being it clockwise or anti-clockwise, the choice is up to you.
If the number of spokes is odd, you should go on weaving up and down continuously, filling the space in a circle.
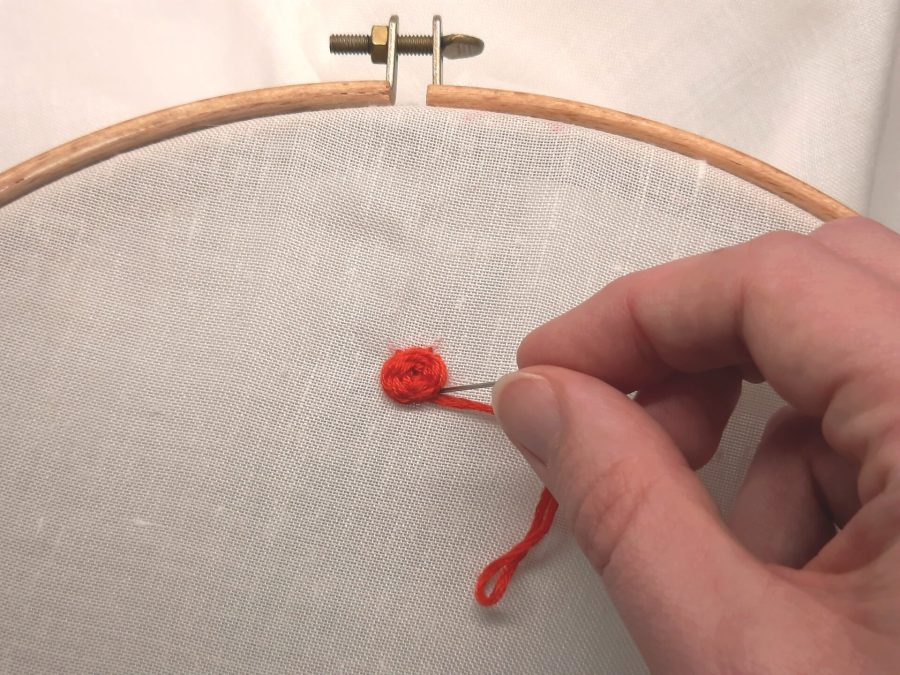
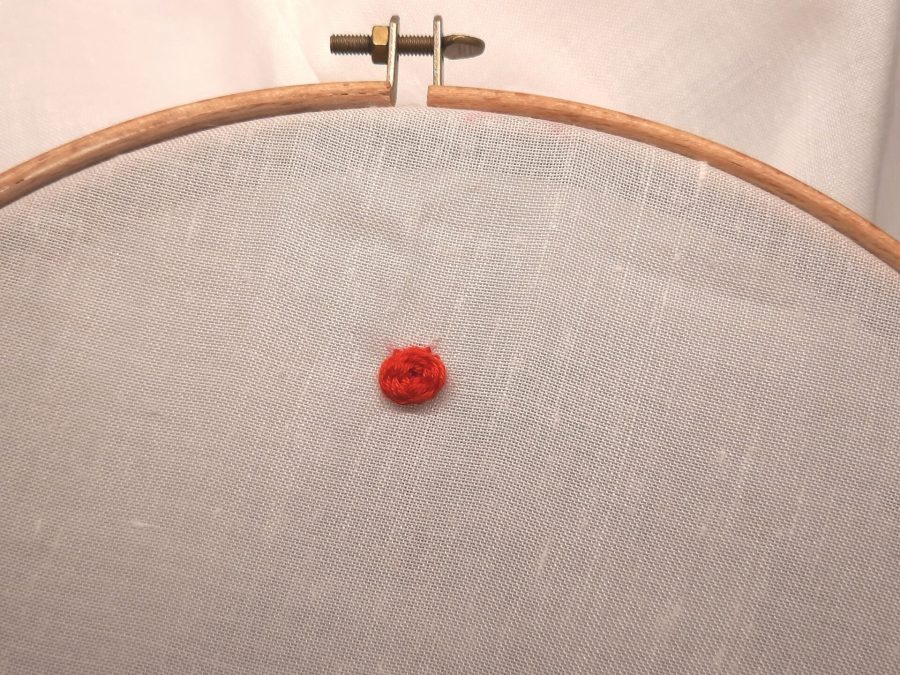
Go on until you can’t see the spokes anymore, all covered with thread. To finish off, take the needle down, hiding it under the weaving, and secure the thread behind the embroidery.
I hope you found this quick and easy tutorial useful and simple to follow.
For any thoughts, the comments section is always open!