
There was a moment, at home, when we were full of baby food jars. Our daughter, during weaning, ate at least one a day, so we started keeping them to store small portions of food we prepared for her, mainly vegetables. Then we decided to keep those small jars also for crafts.
Besides using them to store screws or nuts or nails or other small stuff, you can make loads of tiny crafts, that can be cute also as small presents. In the majority of cases, these crafts are super quick and easy to make!
A couple of ideas? You could make Baptism favors, paint and glue pots, small candle holders, Advent calendars with candies, Christmas decorations, succulent pots…
Here’s the tutorial to make one of those easy crafts: a tiny pincushion with pin storage.

Click for the finished project detailed photos
Want a free pattern?
If you need a quick pattern to print, ready to cut and sew the needed fabric to make this pincushion, here it is.
Complete with quick handy instructions, photos and the QR code and URL of this post you are reading just now. So you can access to the detailed instructions anywhere anytime.

What you need is:
- Baby food jar with screw-on lid
- Fabric of your choice
- Ribbon of your choice, as thick as the jar lid
- Stuffing material (polyester, cotton, filing material for dolls or pillows…)
- A piece of cardboard at least the diameter of the lid
- Hot glue
- Needle and thread (also embroidery floss, if you want to decorate your ribbon)
- Scissors and a seamstress measuring tape
About sizes
The jars I use have a metal lid 5 cm in diameter with a 1 cm border.
Both the 80g and 100g version, no matter the brand, have the same lid, just the glass jar height changes, which is super handy, so I can choose the lid to use with each jar.
Now, let’s begin the how-to part!
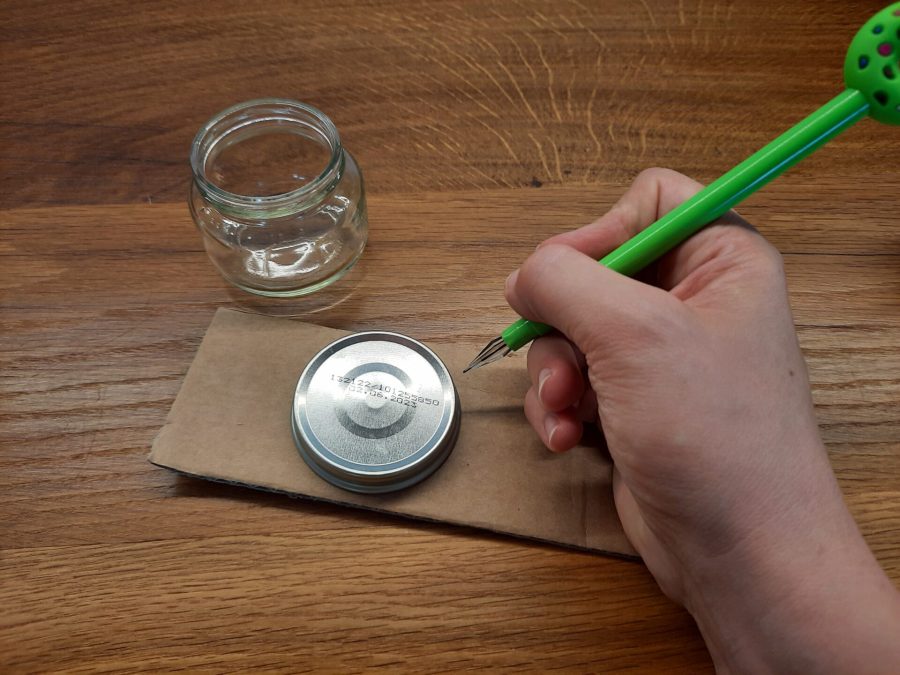
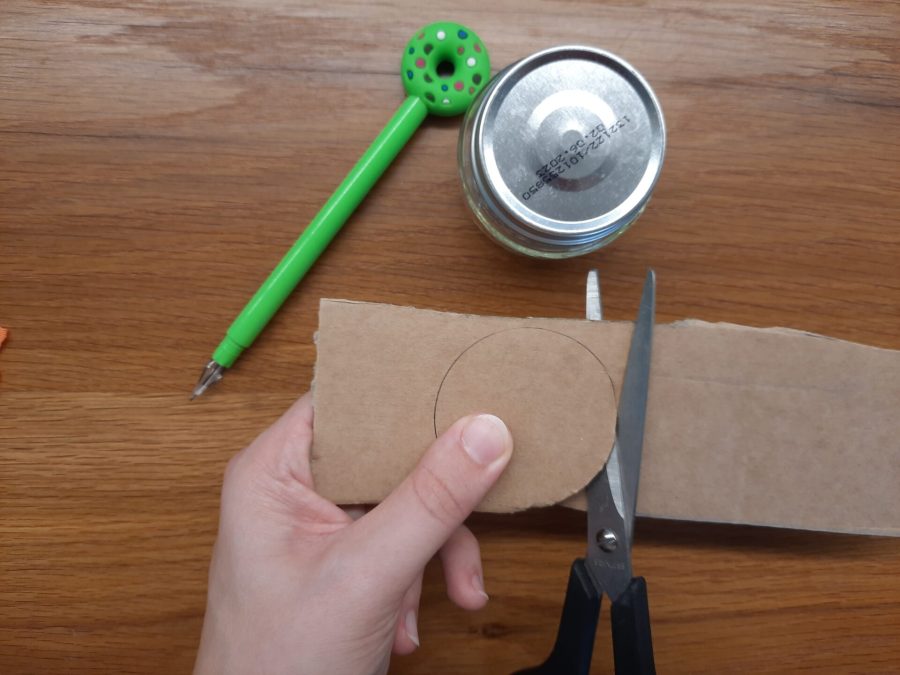
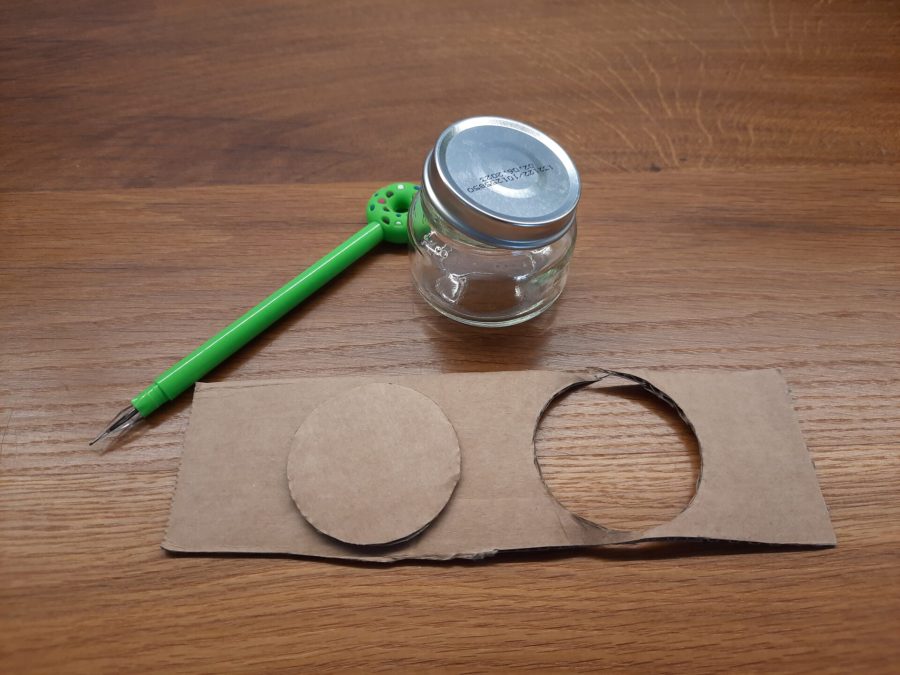
First, you need a cardboard disk the same diameter of your lid. You’ll use it to give the right size and shape to stuffed top.
I found the boxes which contained my parcels from online shopping were perfect. You have them around the house most of the time, for one reason or the other, and they are mostly the right thickness, not too heavy, not too light.
Yes, that’s the easy part.
Yes, the rest of the craft is that easy!
Now, time to stuff the top of your pincushion.


I cut a circle in my fabric, about 10cm in diameter (the double of my lid diameter).
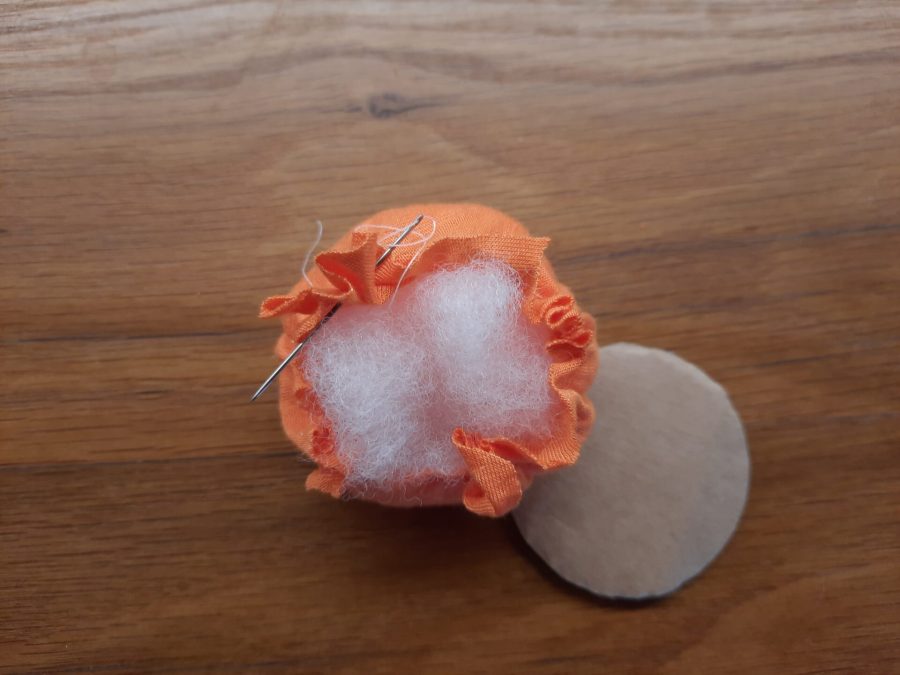
I then added polyester fibers for doll making that I had around from previous projects as stuffing material. With needle and thread, no matter the color, I stitched all around my fabric circle circumference using a basting stitch (an easy running stitch). Pulling the thread slightly, you begin to obtain a small rounded sack full of fiber.
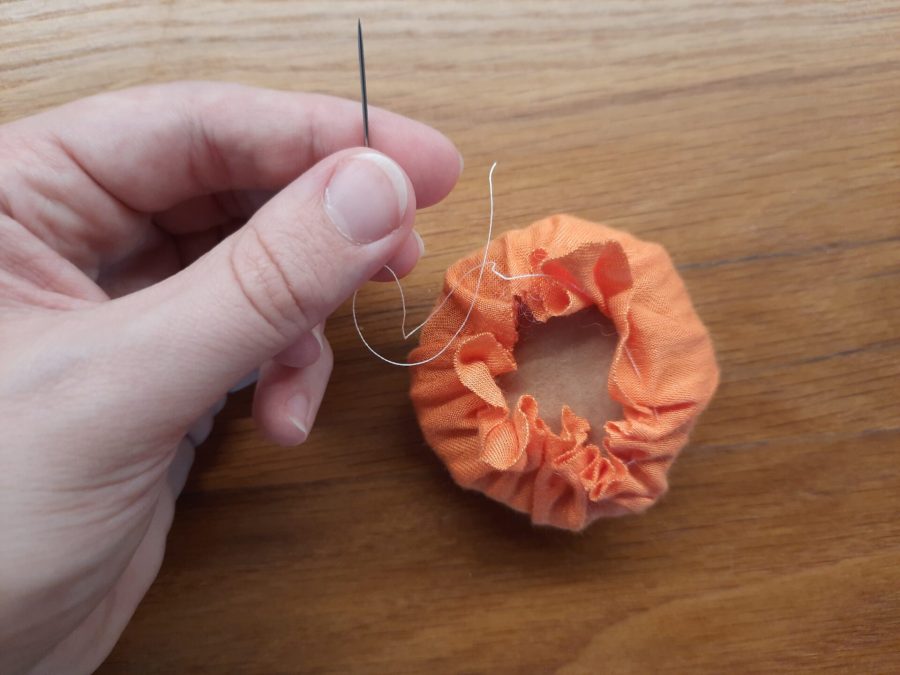
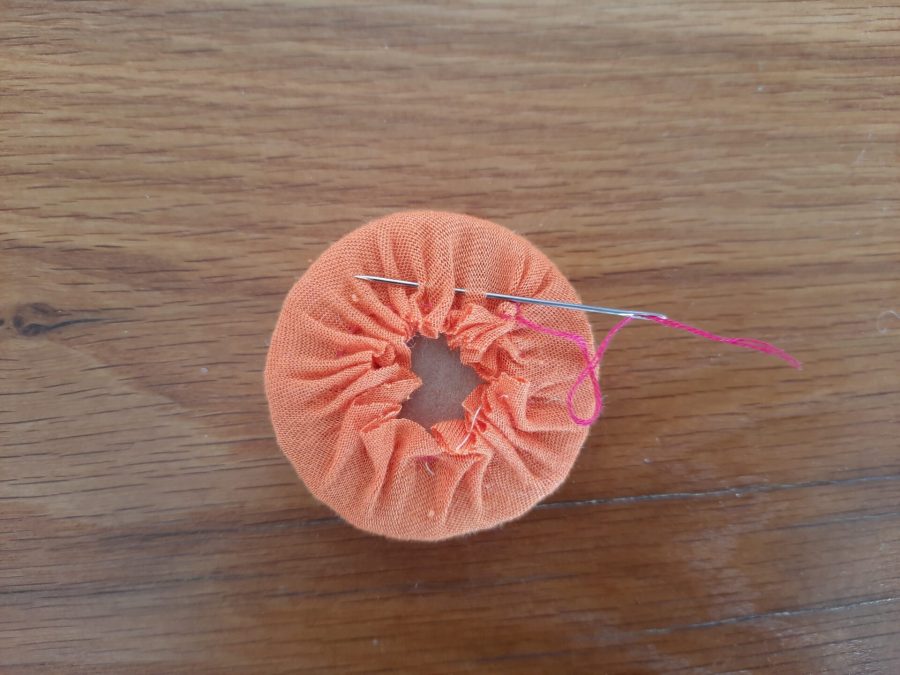
Before closing it, though, I added the cardboard disk. This helps you giving a semispherical shape to your cushion and gives you a support to glue it to the jar lid. After inserting the cardboard inside the fabric sack, so that I could see the cardboard from the opening in the fabric instead of the filling fiber, I pulled the thread tight and fixed it to close the sack.
You’ll not be able to close it completely, and you don’t have to. What you need is to tighten the fabric around both the filling fiber and the cardboard, and leaving a portion of the cardboard disk visible is perfectly fine.
A nice addition
Do you want your pincushion to help you keep your needles and pins?
Add a small magnet inside the stuffing material, so you can literally toss the pins on top of your pincushion. How to find a magnet? I bought a cheap magnetic curtain tie back from a local shop and stole the magnet from there!
Next step: glueing the cushion on the lid.
I just added hot glue on the botton of my cushion, both on the fabric and the cardboard, and pressed gently.
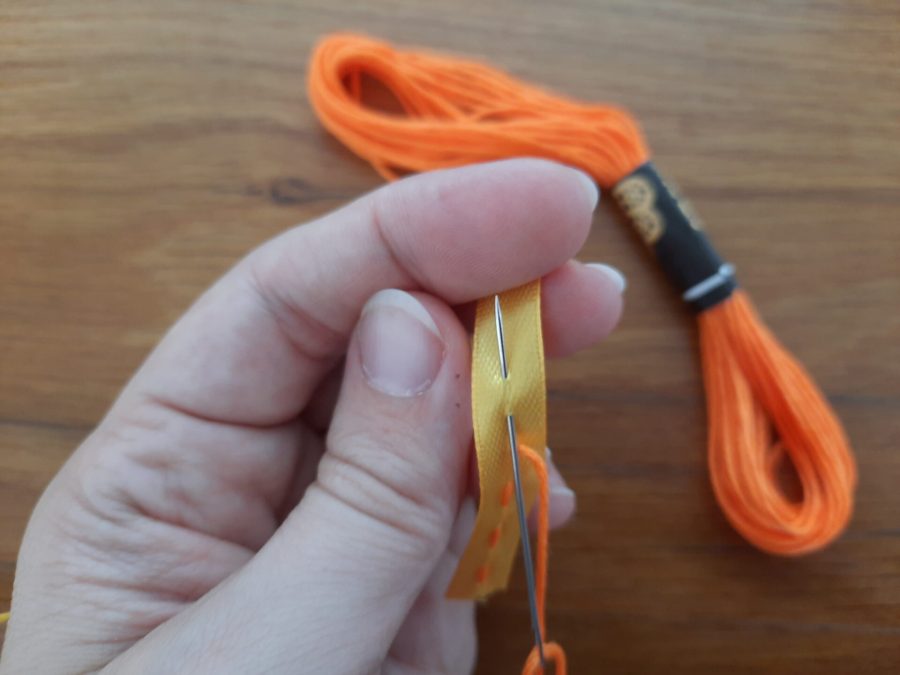
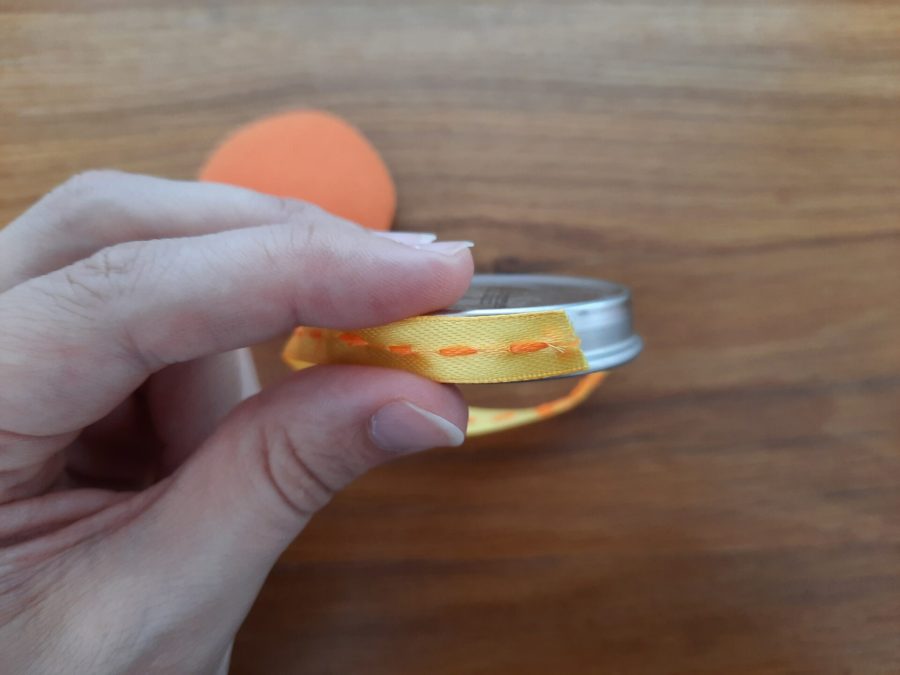
The final touch: covering the border of the lid with a ribbon. And you can be creative here about what to use to match your fabric. For a quick project, I decided to embroider a fast and easy running stitch with orange thread on a yellow ribbon. Since you have to use a ribbon as thick as the lid, to match its size, you don’t have room enough to make big things.
When my ribbon was decorated, I simply attached it with hot glue.
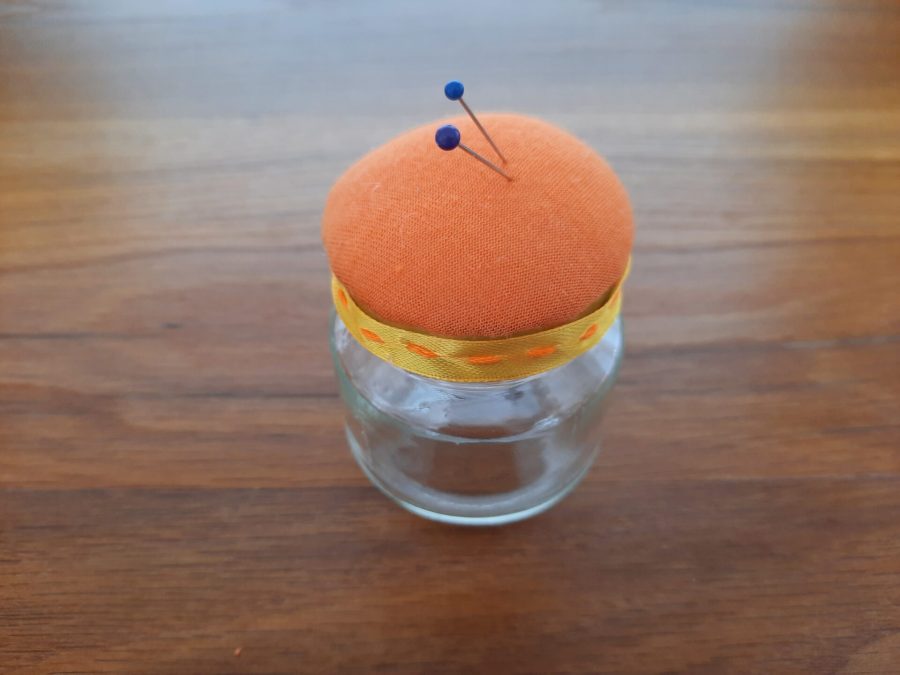
Easier done than told, I would say! Your pincushion is ready to store your pins!

So, do you think this project easy as promised?
The comments section, as always, is open to your thoughts! Let’s discuss together any way to use or improve this quick craft, and if you made one yourself feel free to share with us!



)