I love sewing and embroidery. I also think my husband is right when saying that you need the right tool for the right job: it saves you loads of time and struggle!
So I always take care of organising my tools, of finding (or making!) the ones I need. A few years ago, I prepared a sewing travel kit that has everything I need, while being compact to carry around. Well, I recently upgraded it further with a new addition: a needle book.
In my travel kit I could store a few needles, the essential ones for most needs, but I could carry more inside it, I just lacked a proper storing organisation.
I’ve had in mind to make a needle book for a very long time. I started collecting inspiration on a Pinterest board, finding awesome stuff, but not quite as functional as I wanted. Finally, one day I stumbled on the perfect fabric and a couple of accessories and decided it was time to make my needle book.
I decided to set aside all the initial ideas of decorations just to speed up the process. I measured the right size I needed to fit into my travel case, drew a pattern and started making.

Click for the finished project detailed photos
Want a free pattern?
Would you like to make one yourself? I prepared a quick pattern to print, ready to cut and sew.
Complete with the QR code and URL of this post you are reading just now. So you can access to the detailed instructions anywhere anytime.
First, I needed a compact needle book, the widest side being no more than 10cm.
My travel kit is stored in an expandable pencil holder that’s super compact but has an amazing storage capacity. I carry it with me anytime I travel. Even on my commute to work! The bigger pocket was perfect to host my needle book.
In a household shop I found a box with fabric offcuts from tablecloths: a yellow strong fabric came home with me. That’s what I chose to use for this project because needles could be inserted and taken out easily without damaging the fibres.
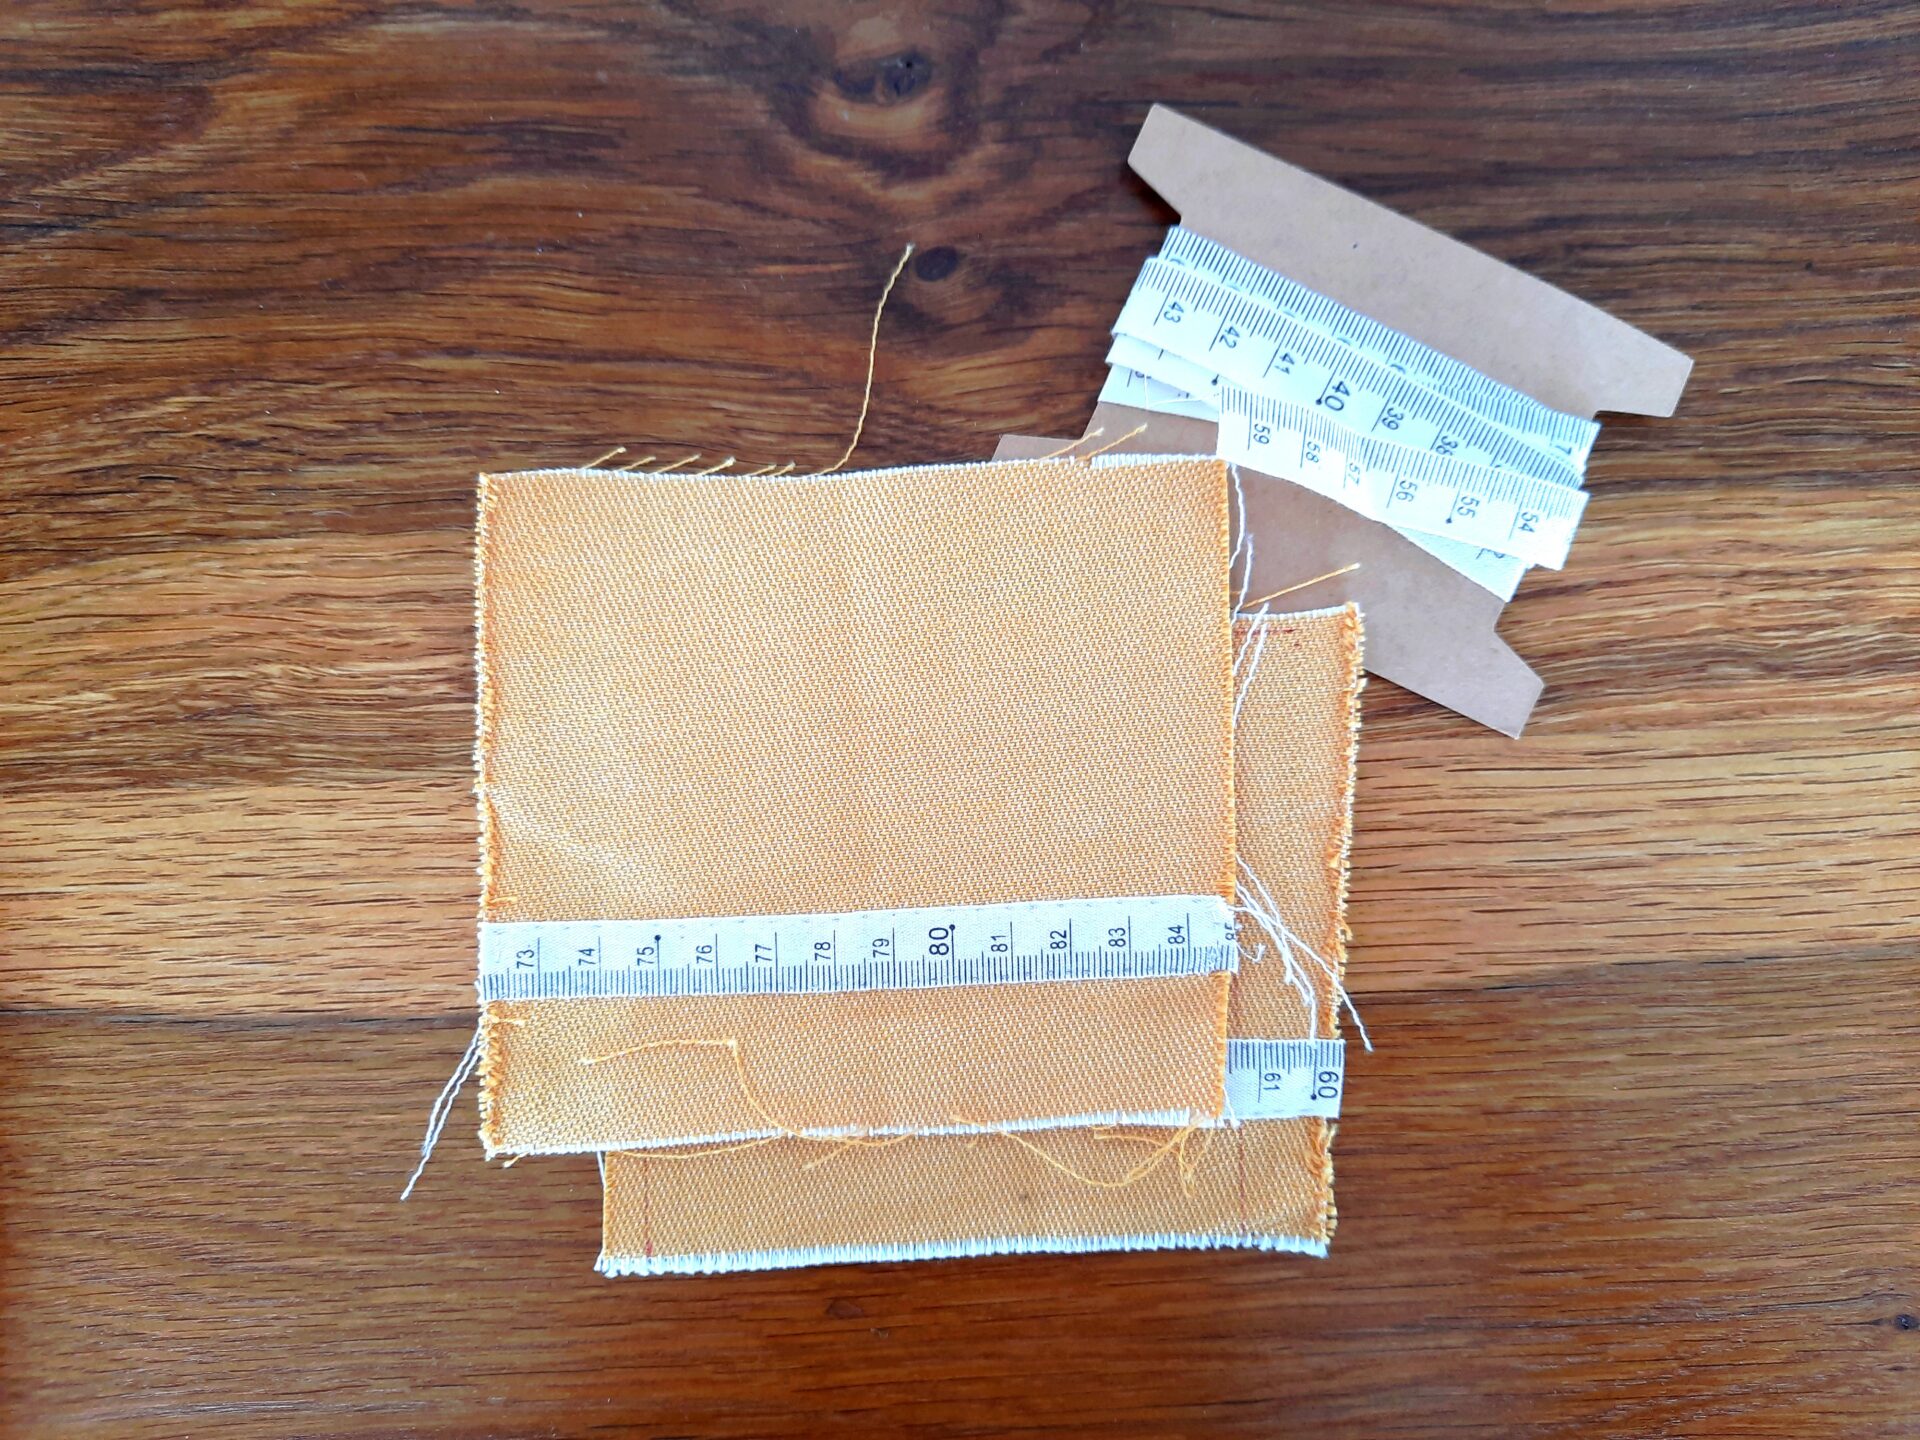
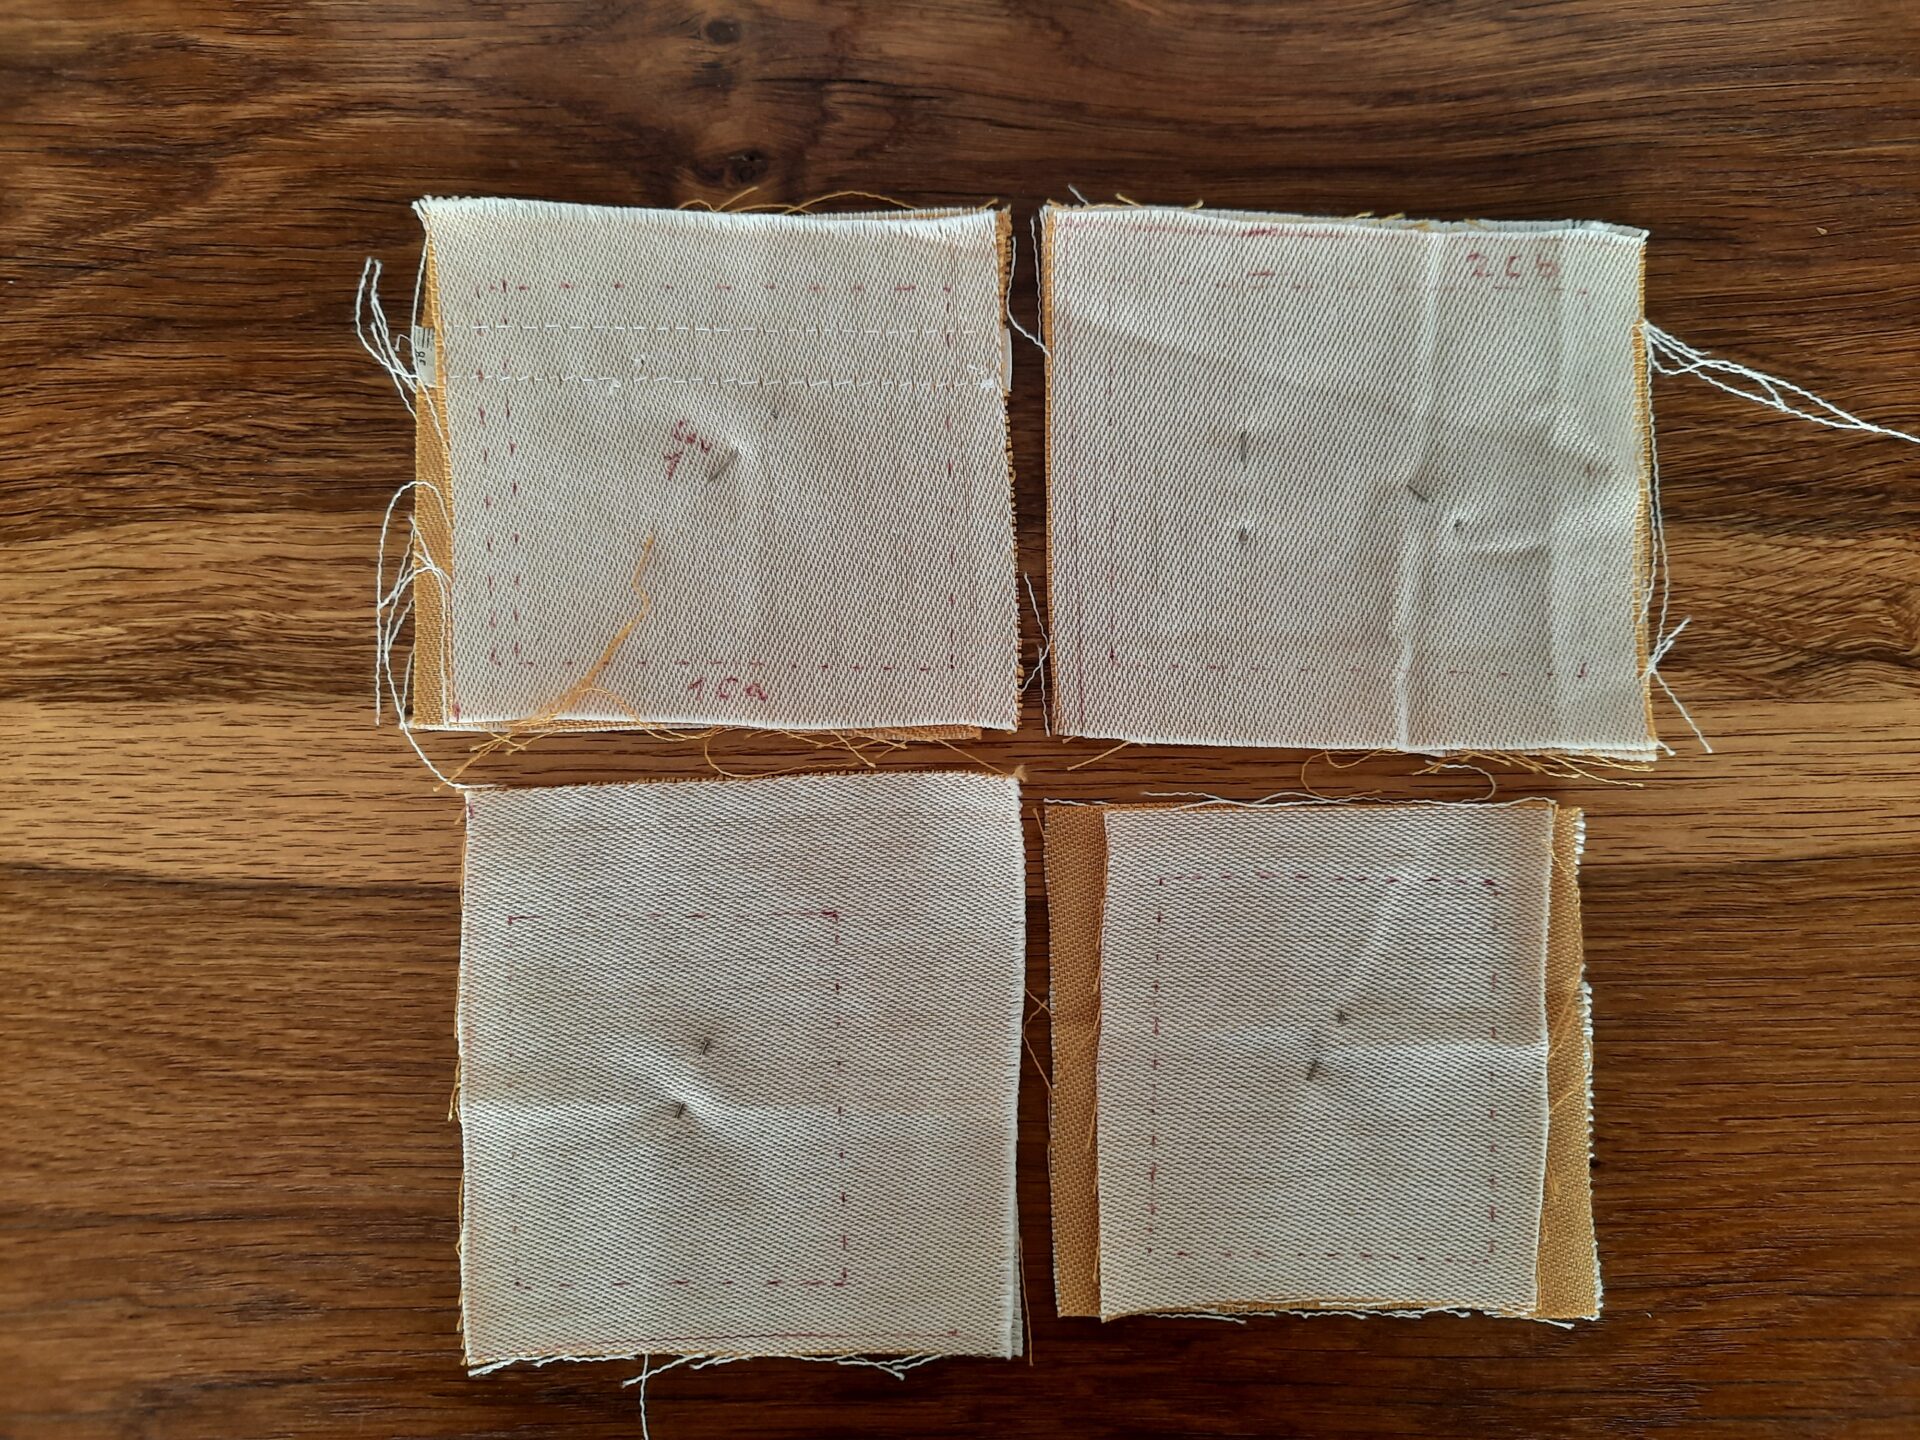
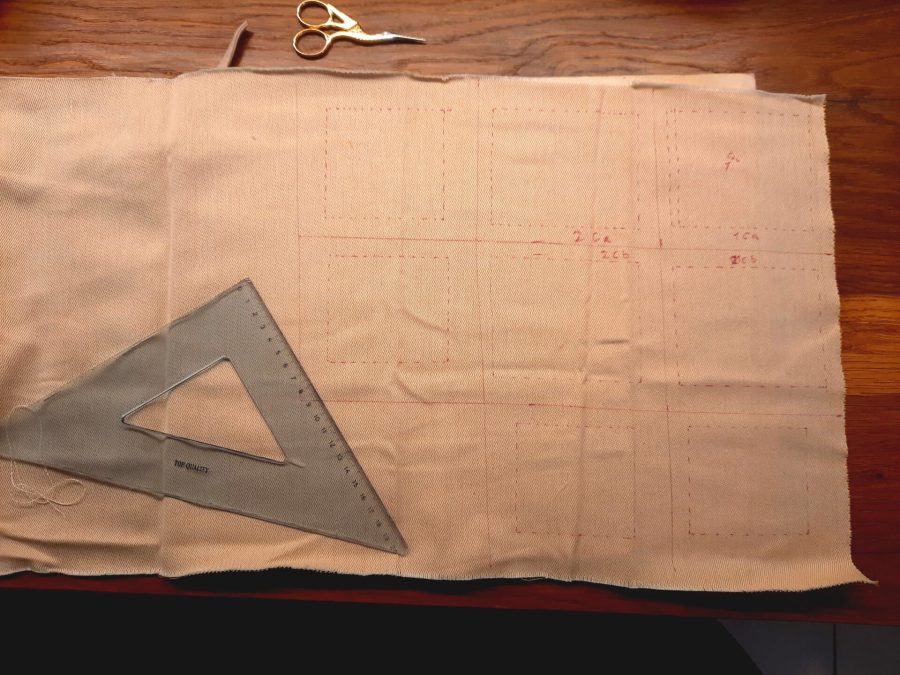
Step one: drawing all the needed pieces on the fabric. I cut four bigger pieces to make the front and back cover, other two smaller ones for the two inner pages. I didn’t need more. I left a seam allowance of 1cm, drawing both the sewing line and the cutting line.
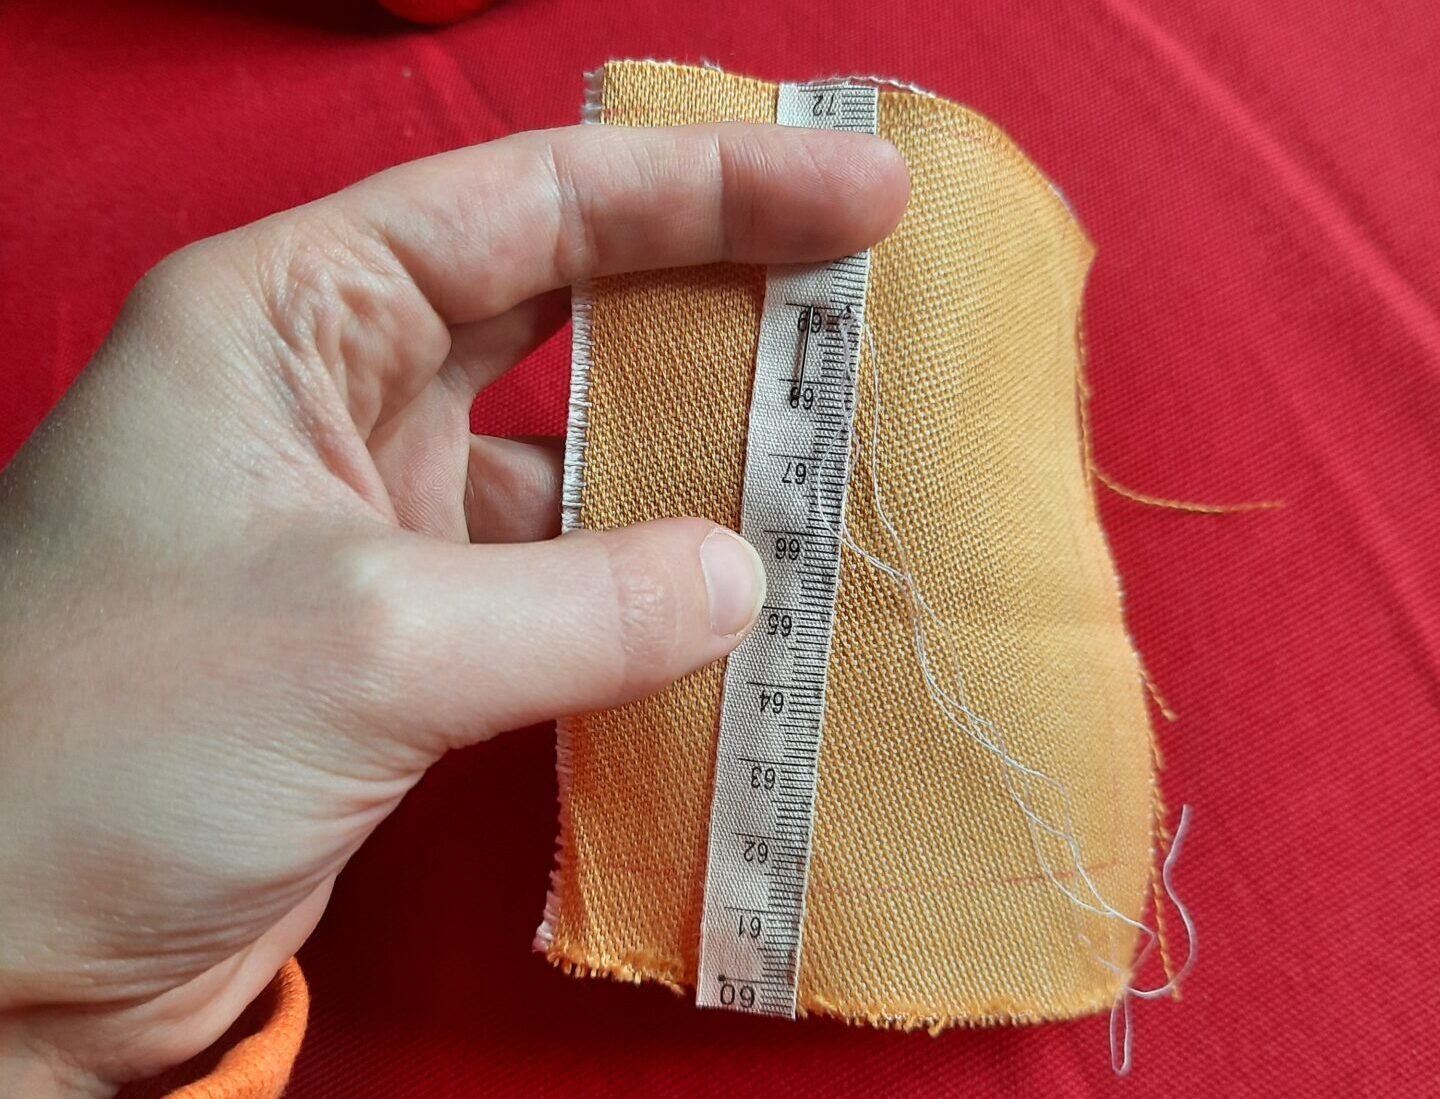
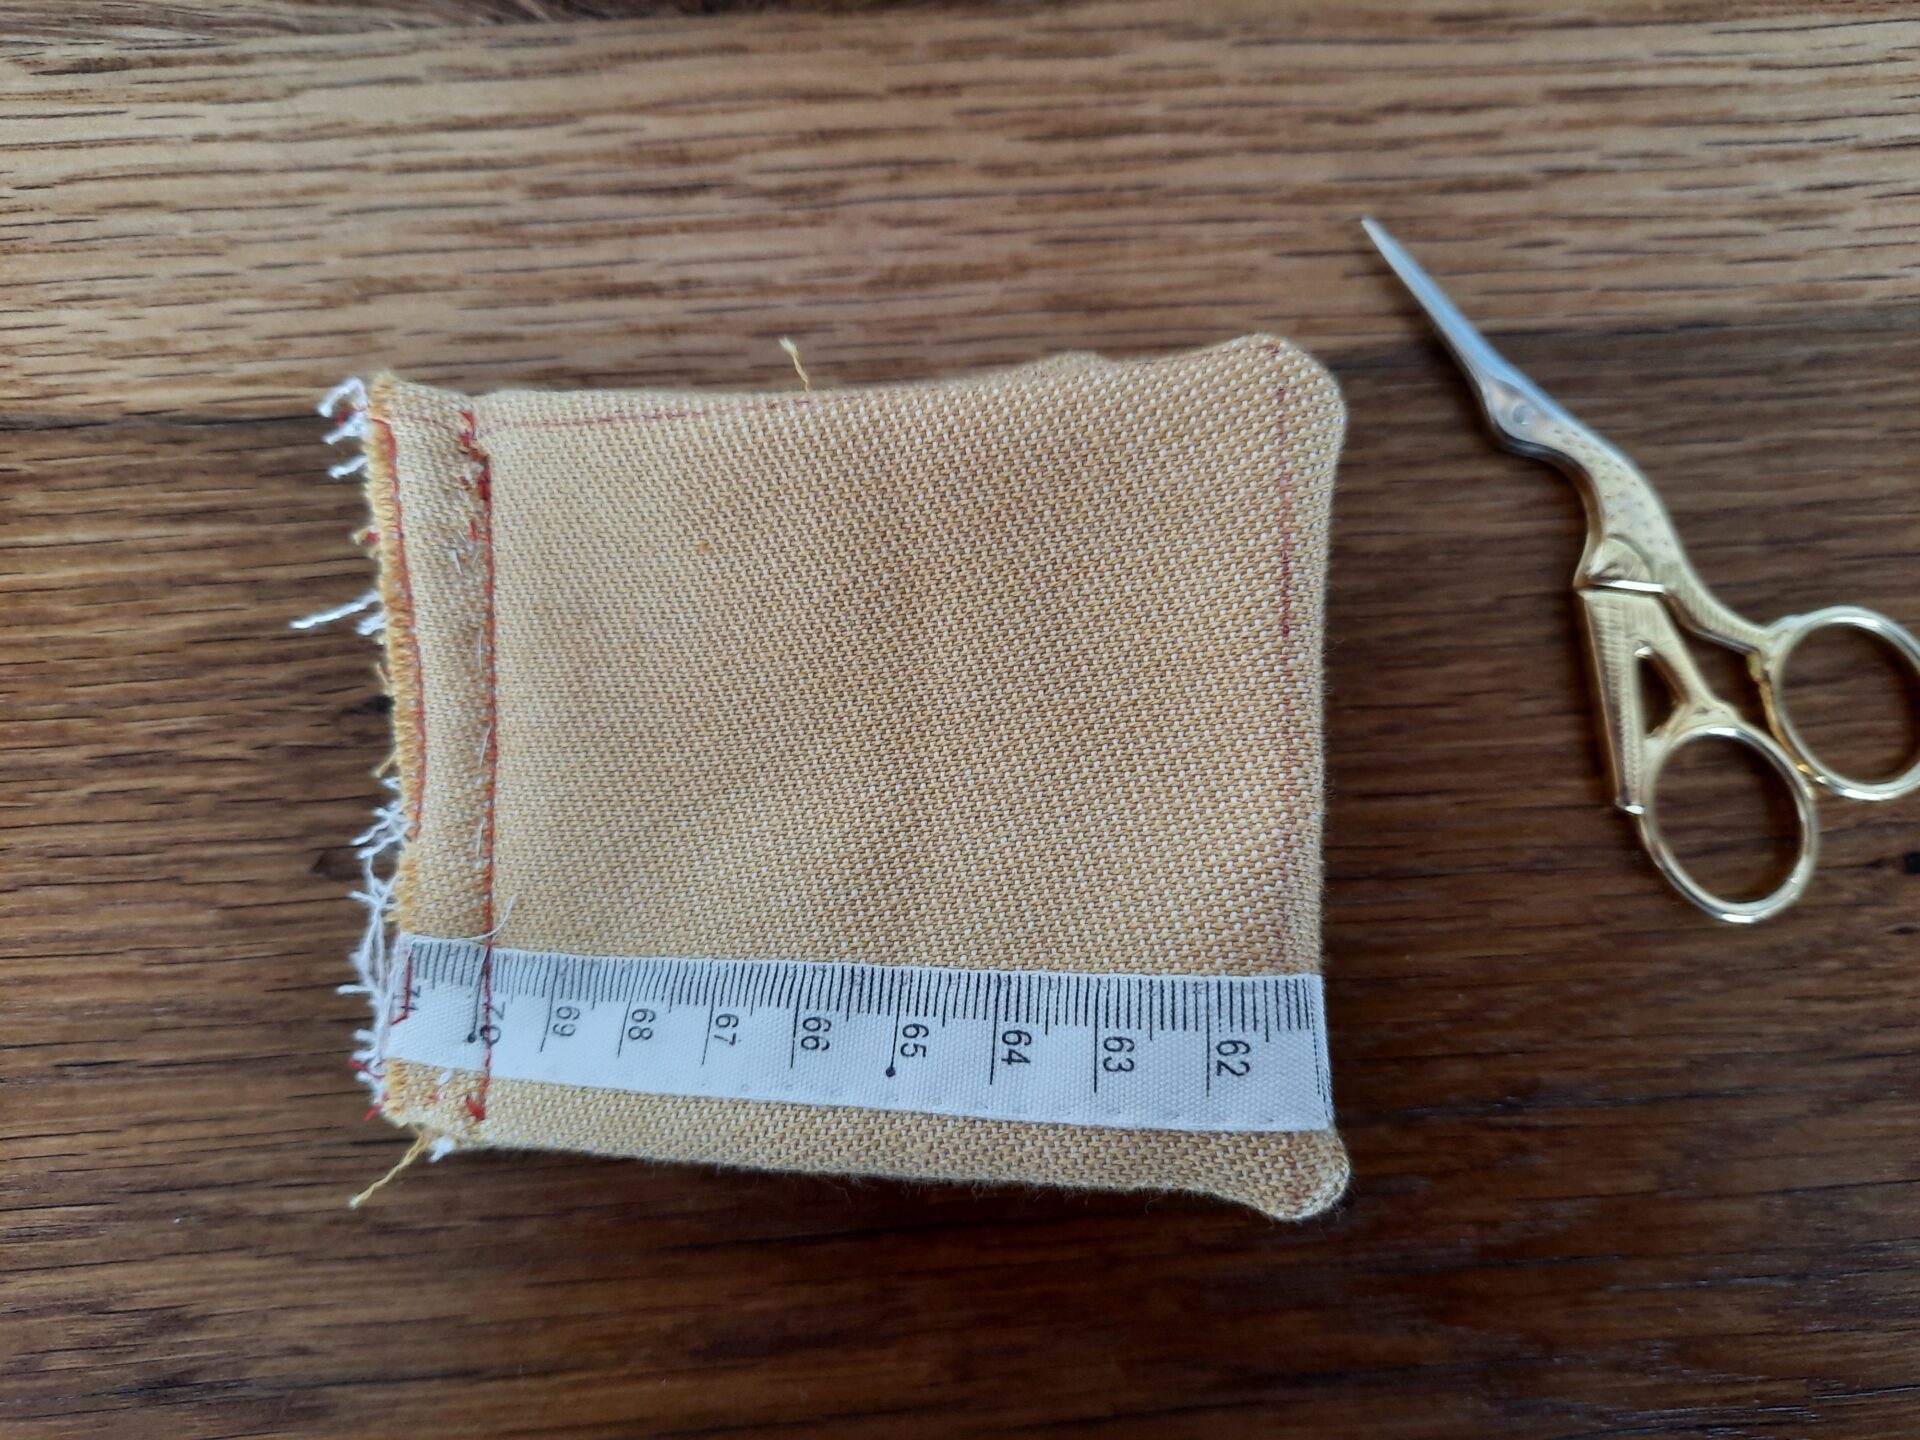
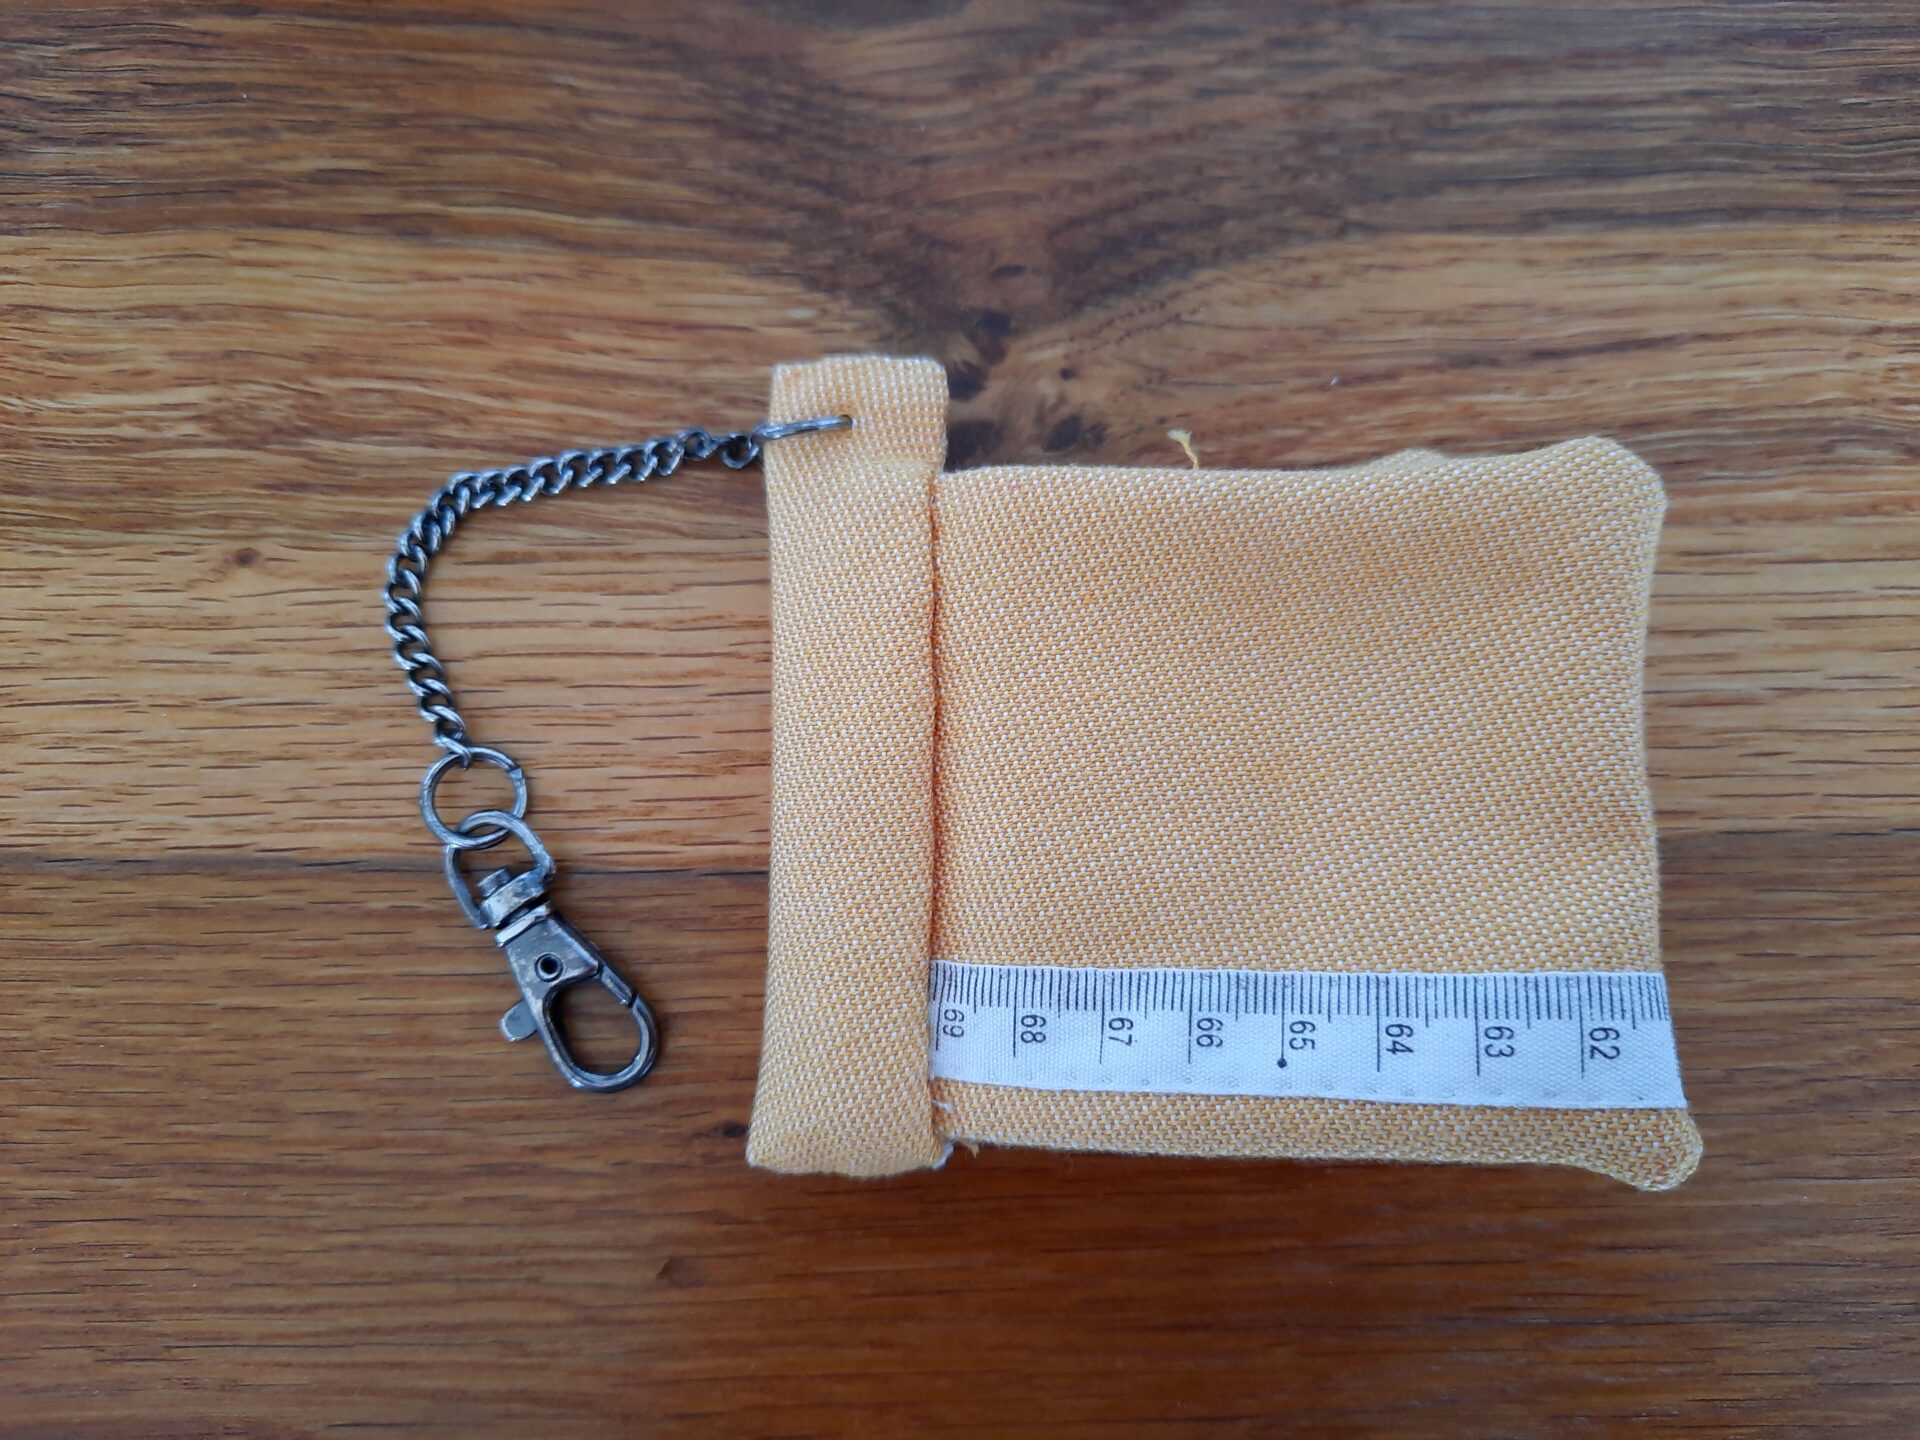
I said I didn’t indulge in decoration, but in reality I decided to add a tiny detail to customise the needle book: I had a ribbon with the drawing of a measuring tape that I bought during a fair exactly with this project in mind.
Well, the initial idea was to make a more complex piece, with sewing-related embroidery. Maybe one day I’ll come back to it to look for a way to add something, but it will not be easy, with everything assembled and stitched
The perfect step to decorate the needle book is just before pinning the pieces together for the sewing step. I hand stitched the ribbon on the front cover pieces et voilà, that’s all the decoration I added. I wanted the project to be finished quickly.


So, time for stitching!
I displayed all the pieces in front of me and started pinning them together, two by two, right side against right side. This way I obtained four rectangles, two bigger for the covers, two smaller for the inner pages. I carefully placed the pieces so the ribbons on the cover touched in the right place.
Having the covers bigger is convenient: the inner pages don’t sprout up from the sides and, if needed, there’s room to add a closing button. I chose not to add one this time. The choice could be a press button or a traditional button on the front cover with an elastic ring on the back cover. I didn’t need it, though, because the needle book was to be stored inside a pencil holder with zipper.
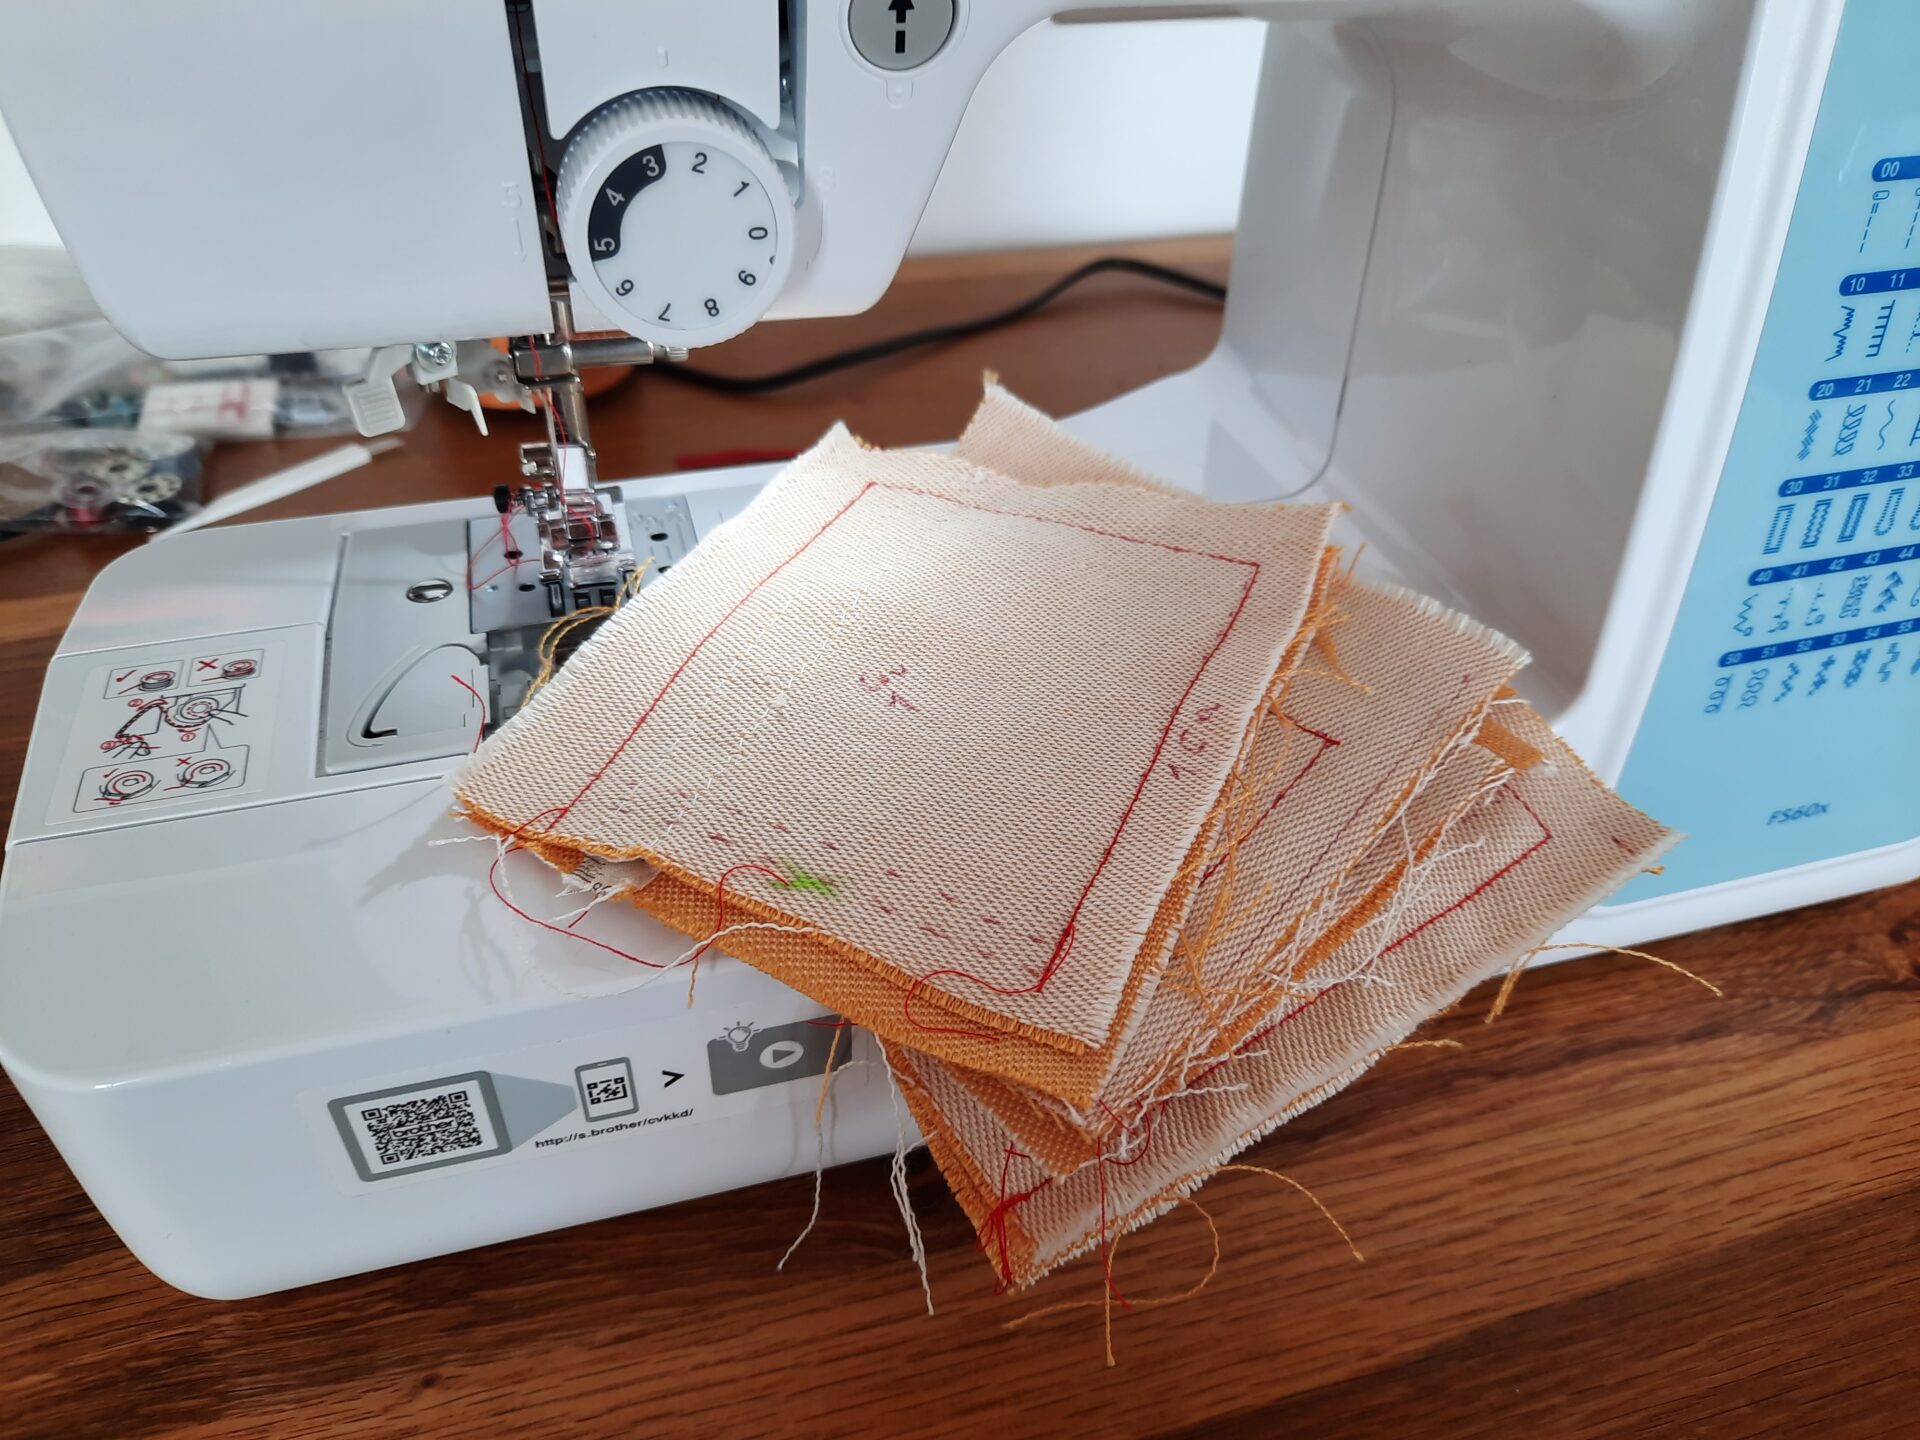
Time for sewing, then! With my sewing machine, I sewed three sides of each page, leaving open the left side, where I had to join the pages to make the book.
After sewing, I reversed the four pages. Time to bind them all together. Since my sewing machine is quite strong, I machine sewed the open left side to bind the book.
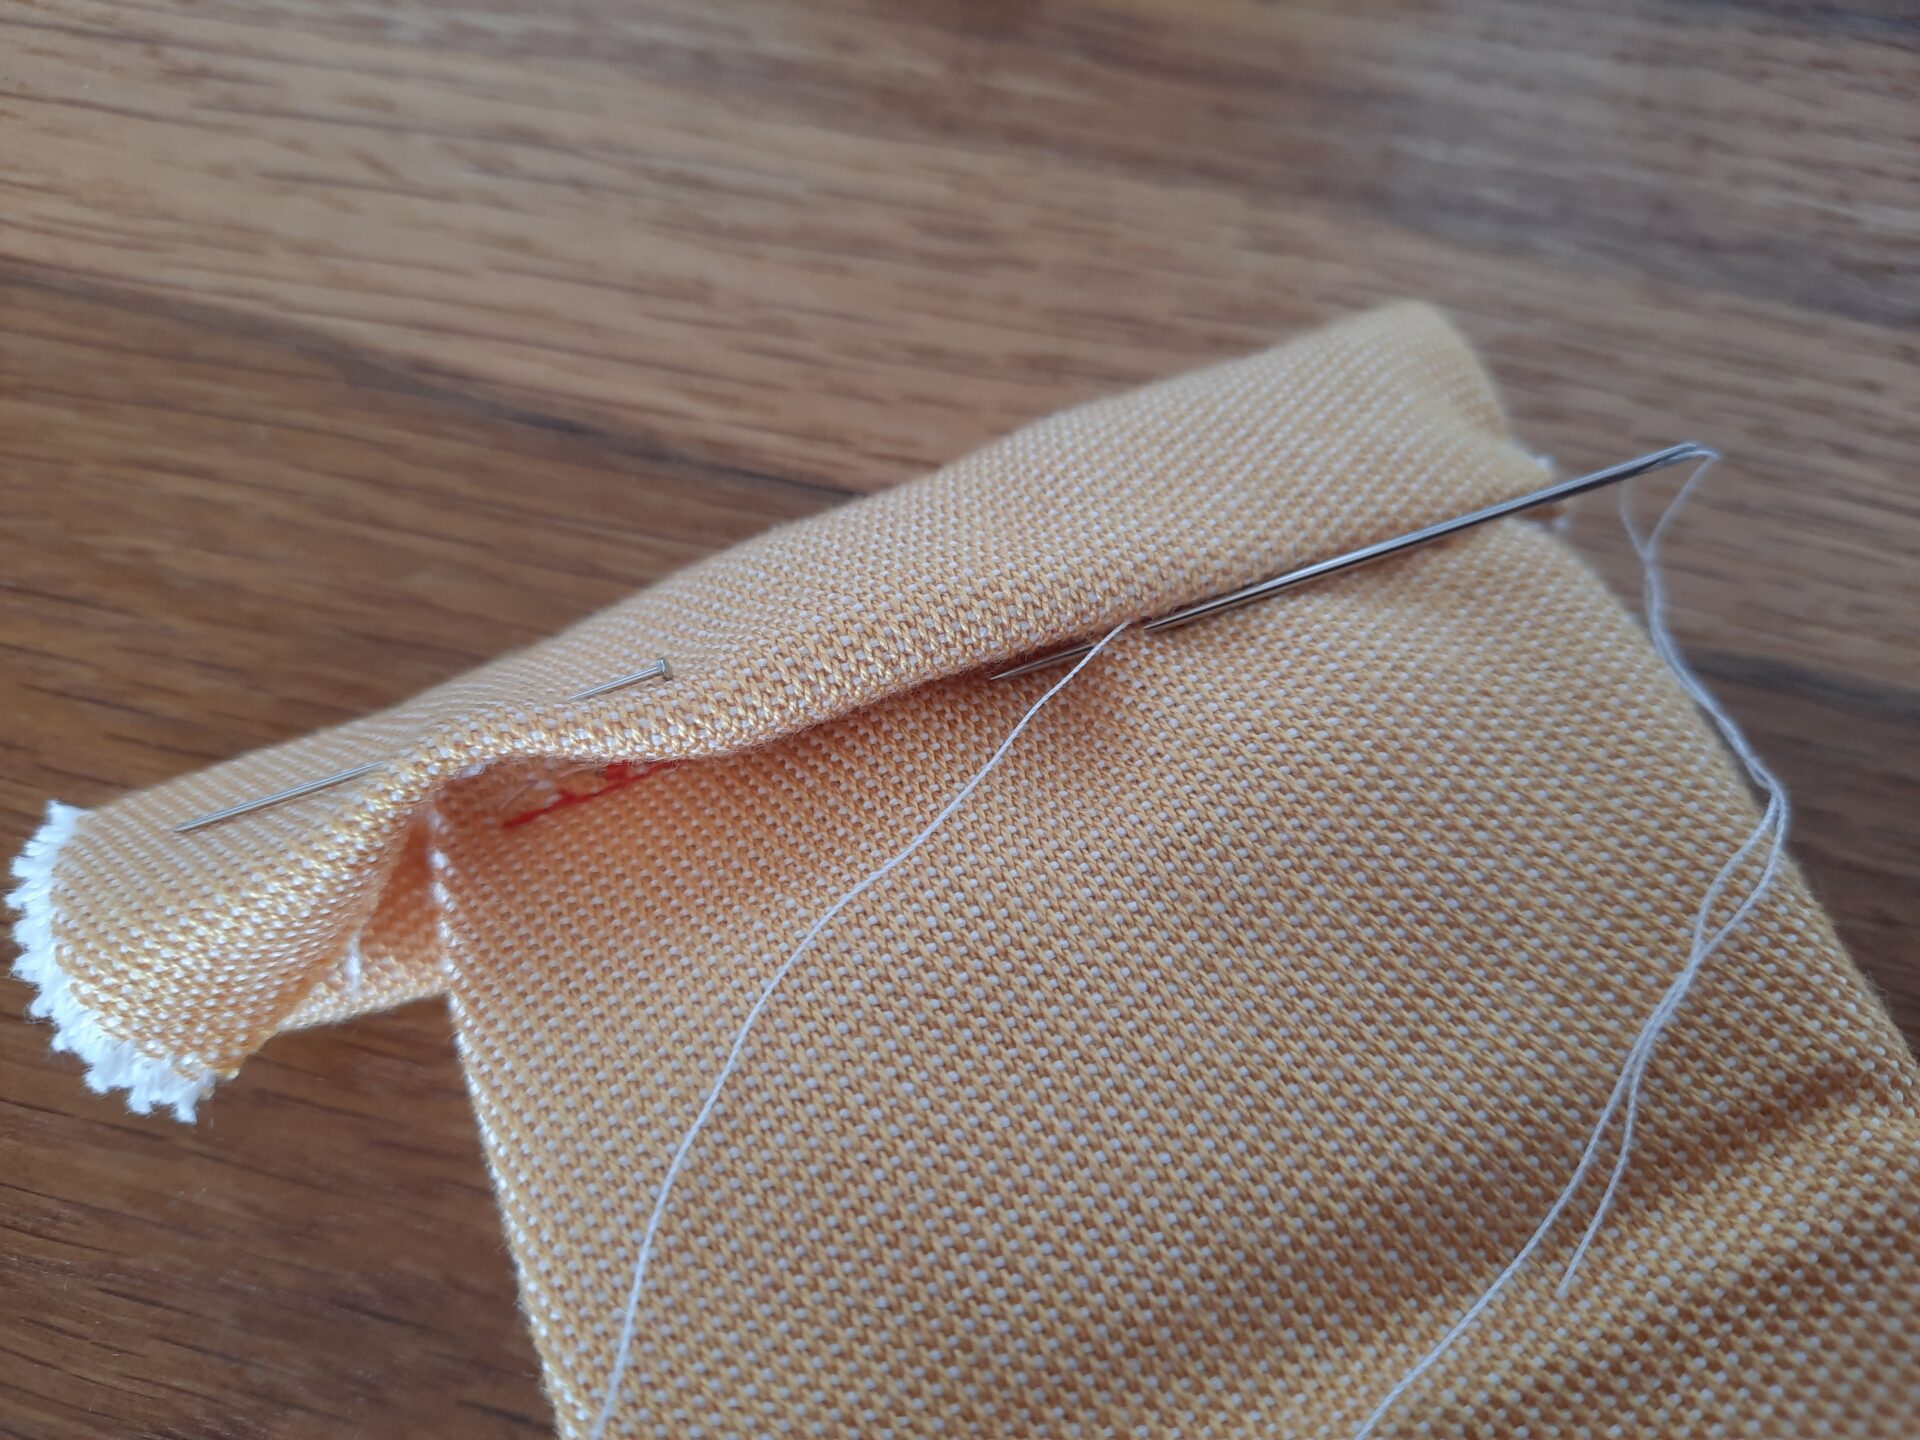
Now, I had to refinish the spine of the needle book. I cut another strip of the same fabric used for the pages to be the spine. I left the usual 1cm of seam allowance to fold the edge and hide it.
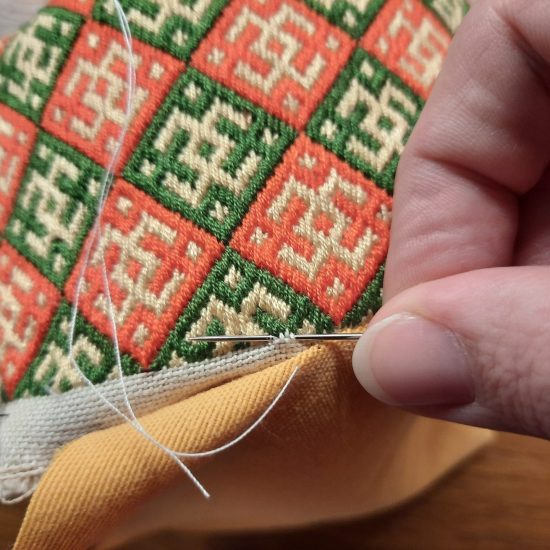
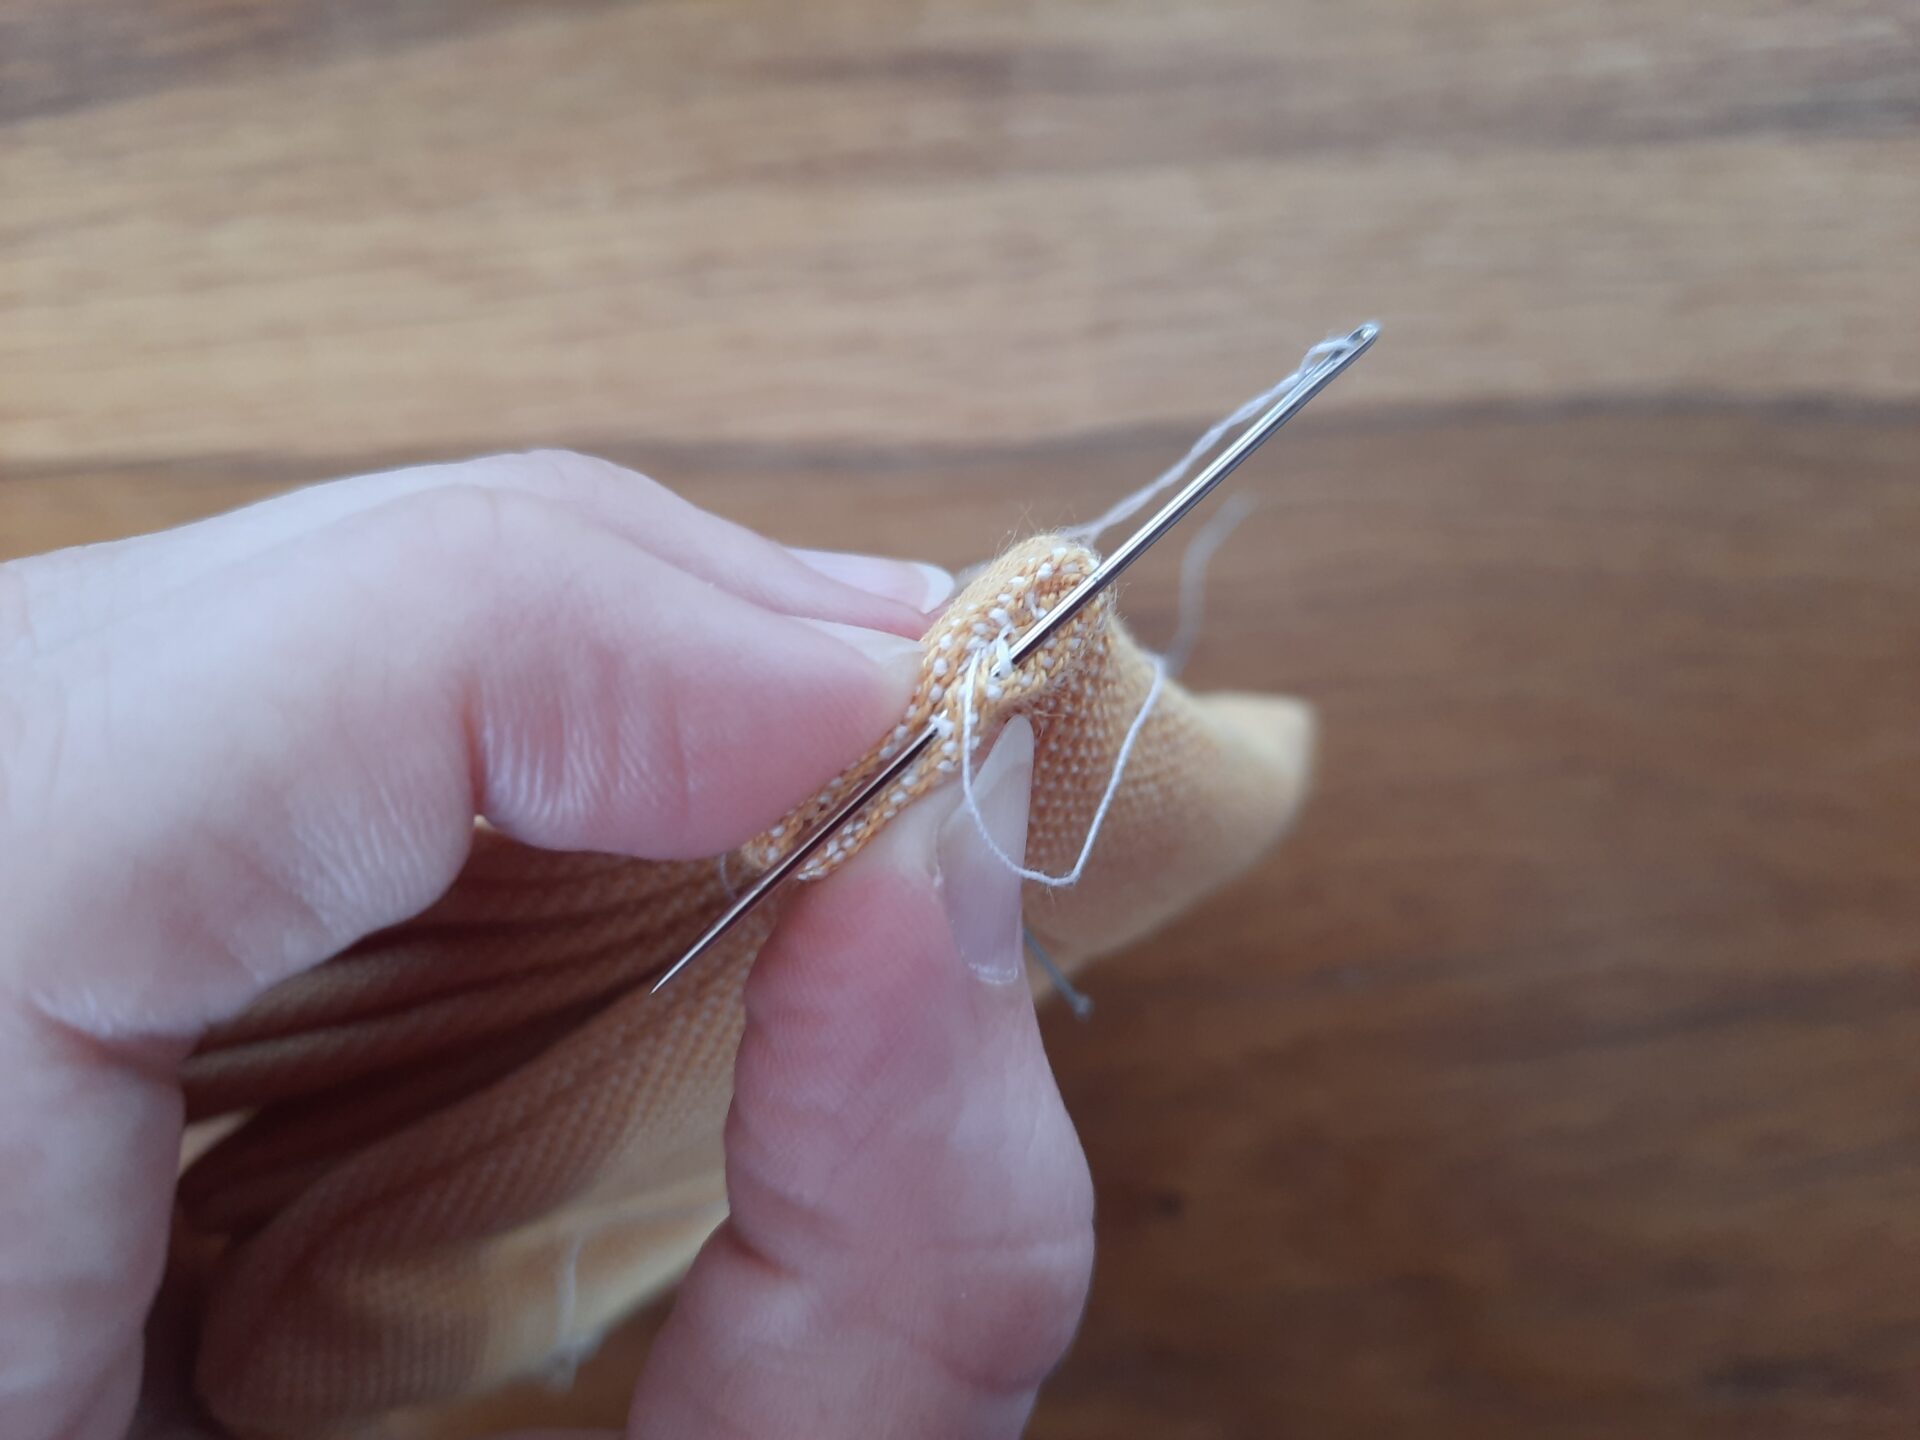
I hand stitched that with invisible seams, but you could also machine sew it, maybe with a decorative stitch from the ones your machine has pre-built. I have lovely ones on my Brother machine, but I decided not to use them: I have in plan to rethink the decorations one day in the future.


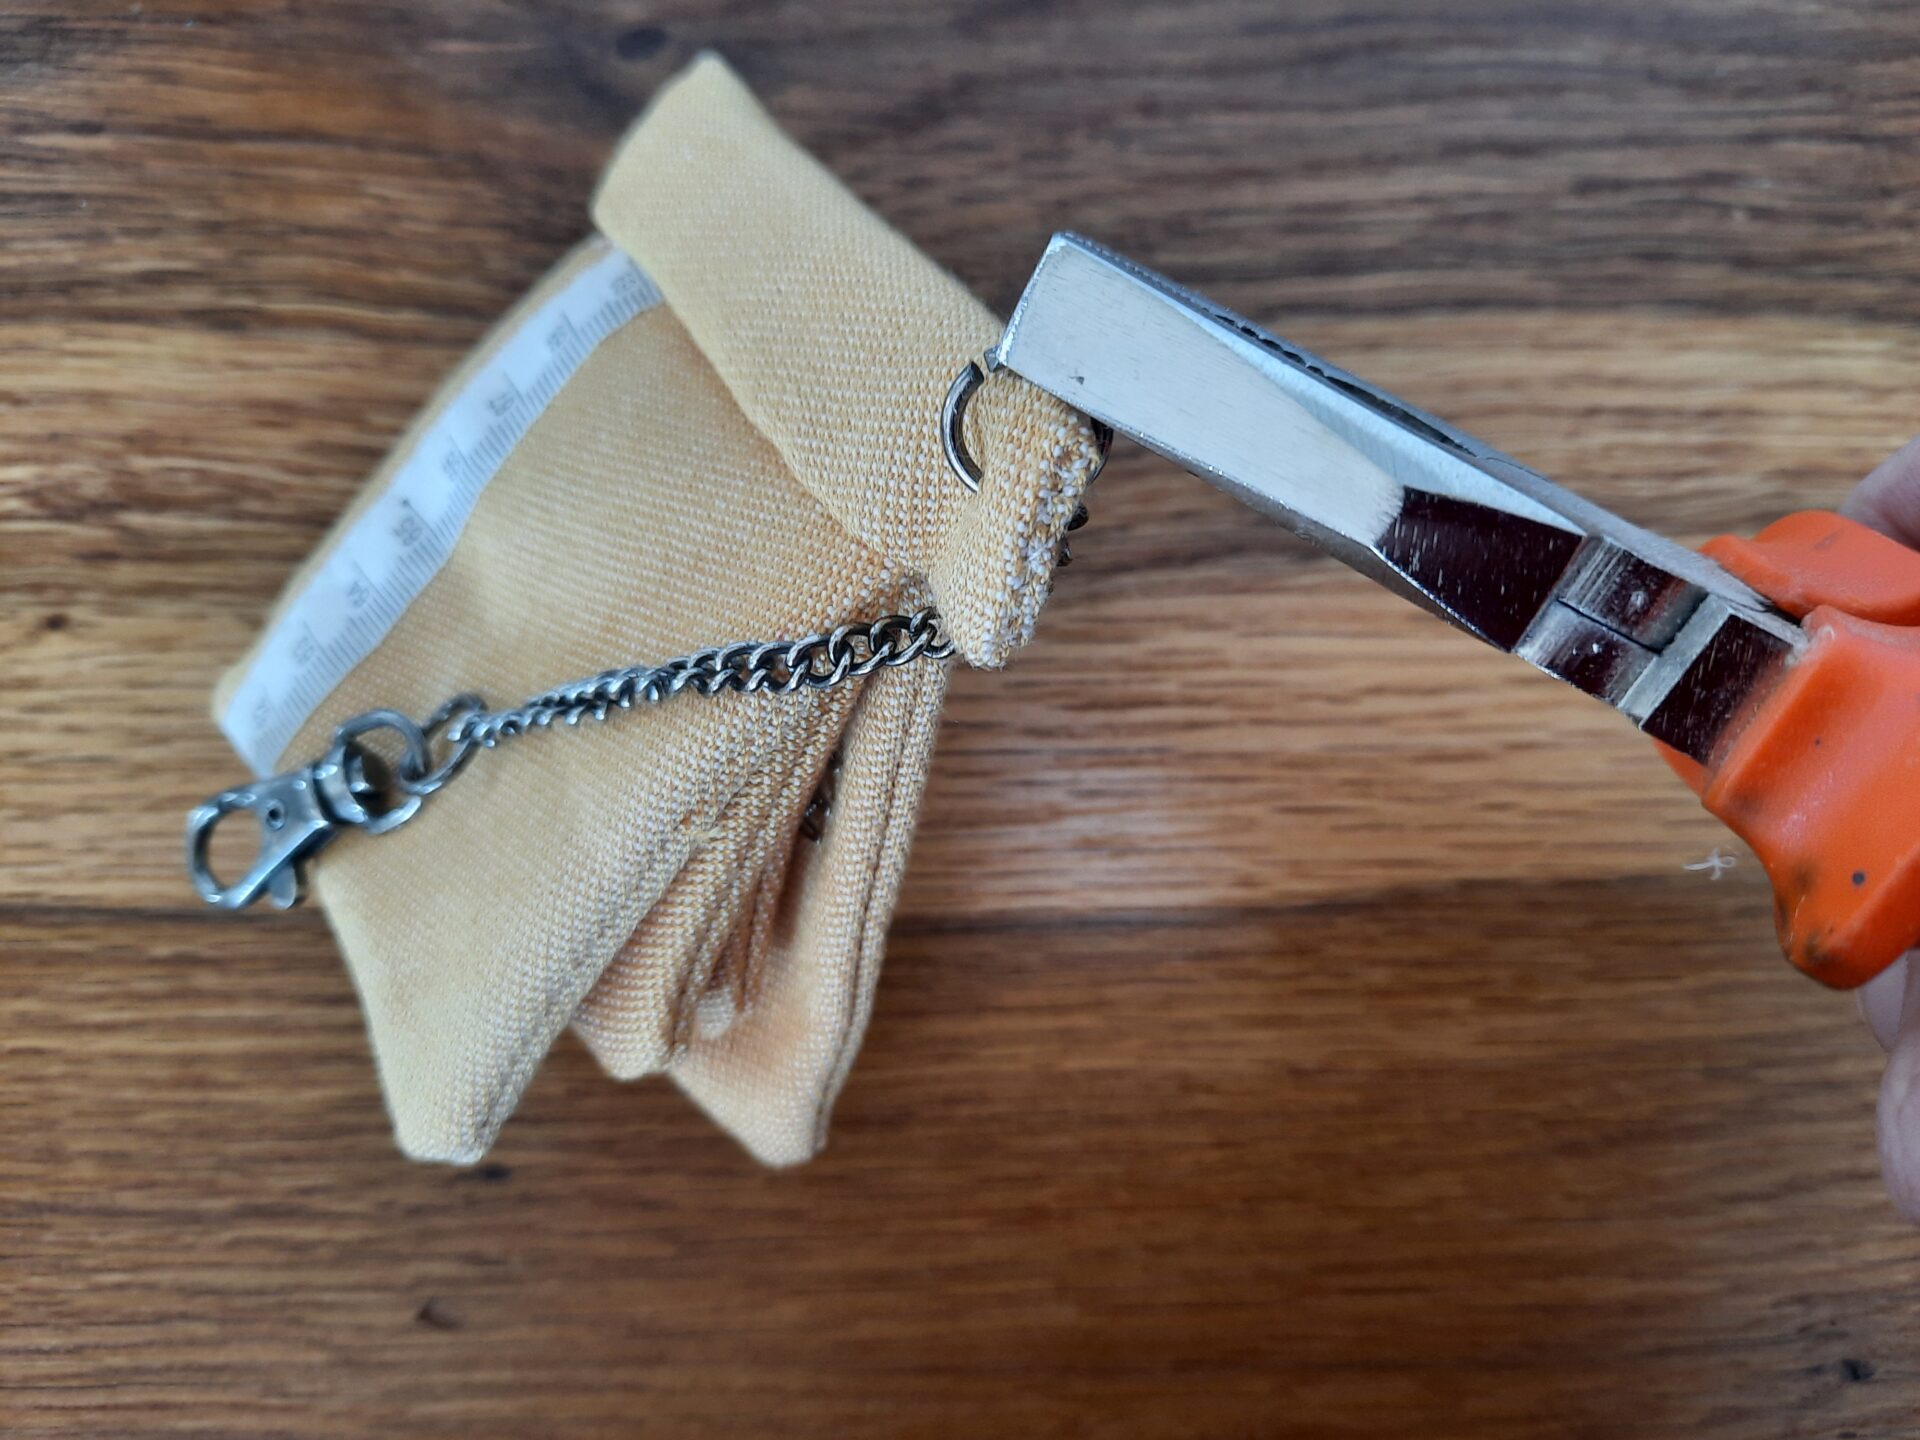
I made the spine higher than the cover: I needed a strip coming out to attach a chain and carabiner. I repurposed the ones that came with a little purse that got ruined over time.
You could pierce a hole in the protruding strip of the spine, closing it with a buttonhole stitch. Even though I really love hand embroiderying buttonholes, this time I just enlarged the fabric fibres with an owl and inserted the chain final ring.
I had to open the ring with plyers, insert it in the hole then close it again. Not so hard, but doing this with the help of another person is better.
And here’s a quick and easy needle book! It took me less than an hour from start to finish (the hand stitching the part that took me most of the time!).
What do you think of this project? Should I come back to add embroidery or other decorations? Please let me know in the comments!