
I started knitting with a lucet during a living history event for reenactment purposes, but as my journey around the tool, its history and the techniques goes on, as I find it’s great also for modern projects.
You already saw a few suggestions about the projects you can make with a lucet, but here I want to go deeper: I want to show you how to make lovely bracelets.
Sure, a crochet hook or a tricotin could make the same, but you should know, reading here and there on this blog, that I know how to crochet but I don’t feel at ease.
So one day I began trying new ways to make bracelets with my lucet: I made hundreds of easy friendship bracelets during an event for charity, but for the next edition I’d like to make something better than a simple lucetted cord tied with a knot.
Here’s what I discovered along the way: a few ways to make impressive, although still easy, bracelets.

Table of contents
Before beginning
The following instructions assume you are familiar with braiding a cord with the lucet. That’s the only skill you’ll require.
As for materials, you need:
- Yarn of your choice (one or more colors, it depends on the chosen bracelet)
- A button
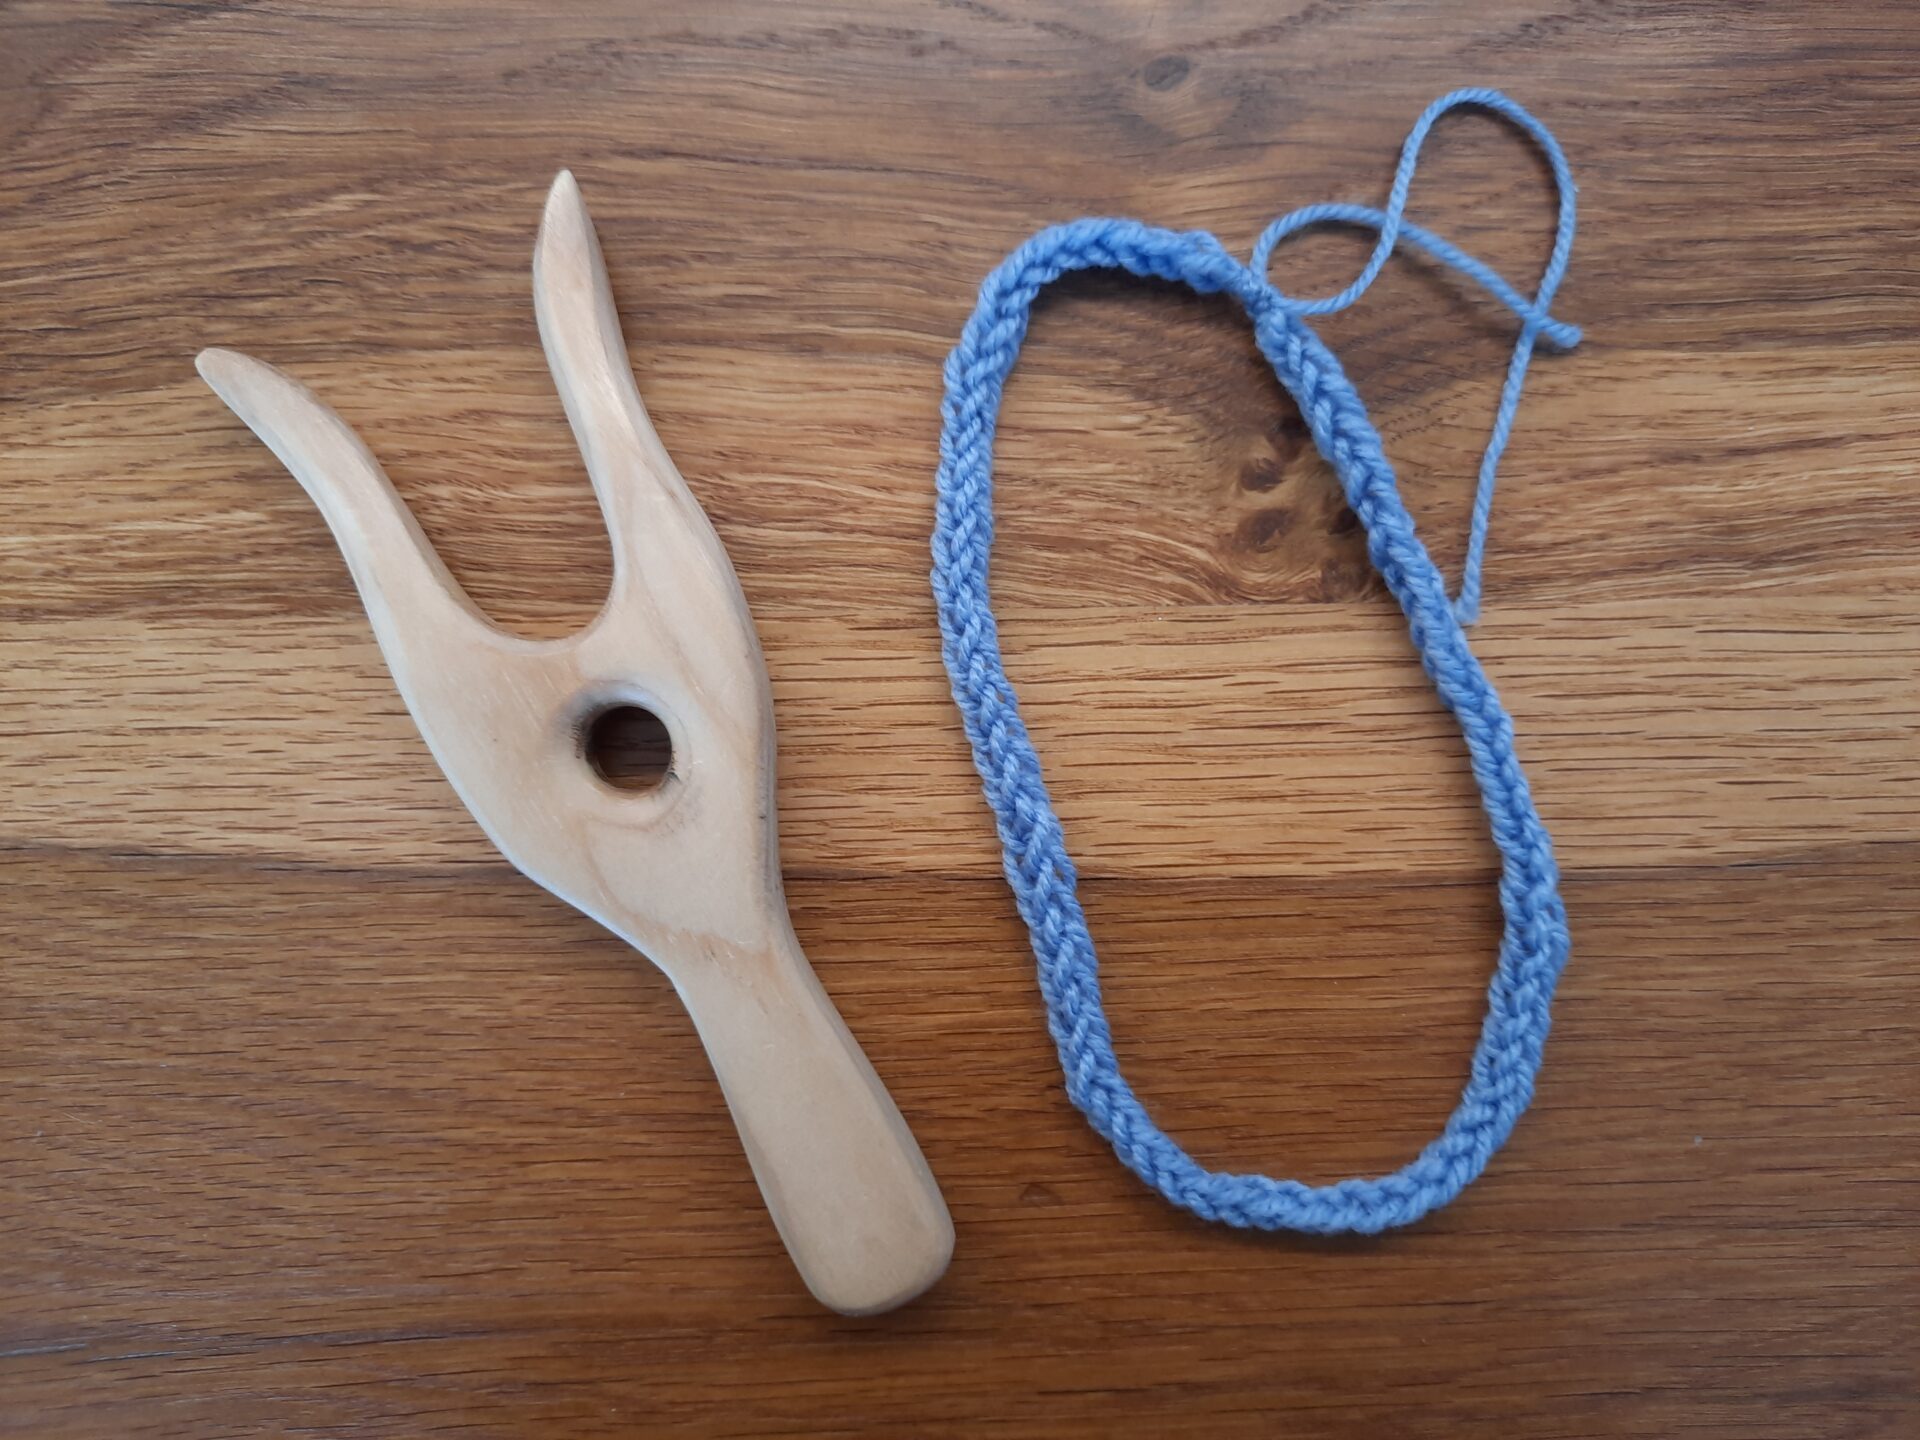
- The lucet, obviously
- A latch hook or tapestry needle to help you threading the buttons
In my demonstrations, I use a sort of tambour needle: it speeds my work a lot, thanks to a snap that closes thread. I use it to thread buttons and also to hide the excess thread (or tail) inside my lucetted cords. It really improves durability!
Do you want to start with lucetting?
To make those bracelets, you need to know how to make a basic cord with the lucet. If you are new to lucetting, don’t worry, it’s super easy and quick to learn. Do you want to give it a try? Have a look at our basic tutorial.
The knotted button


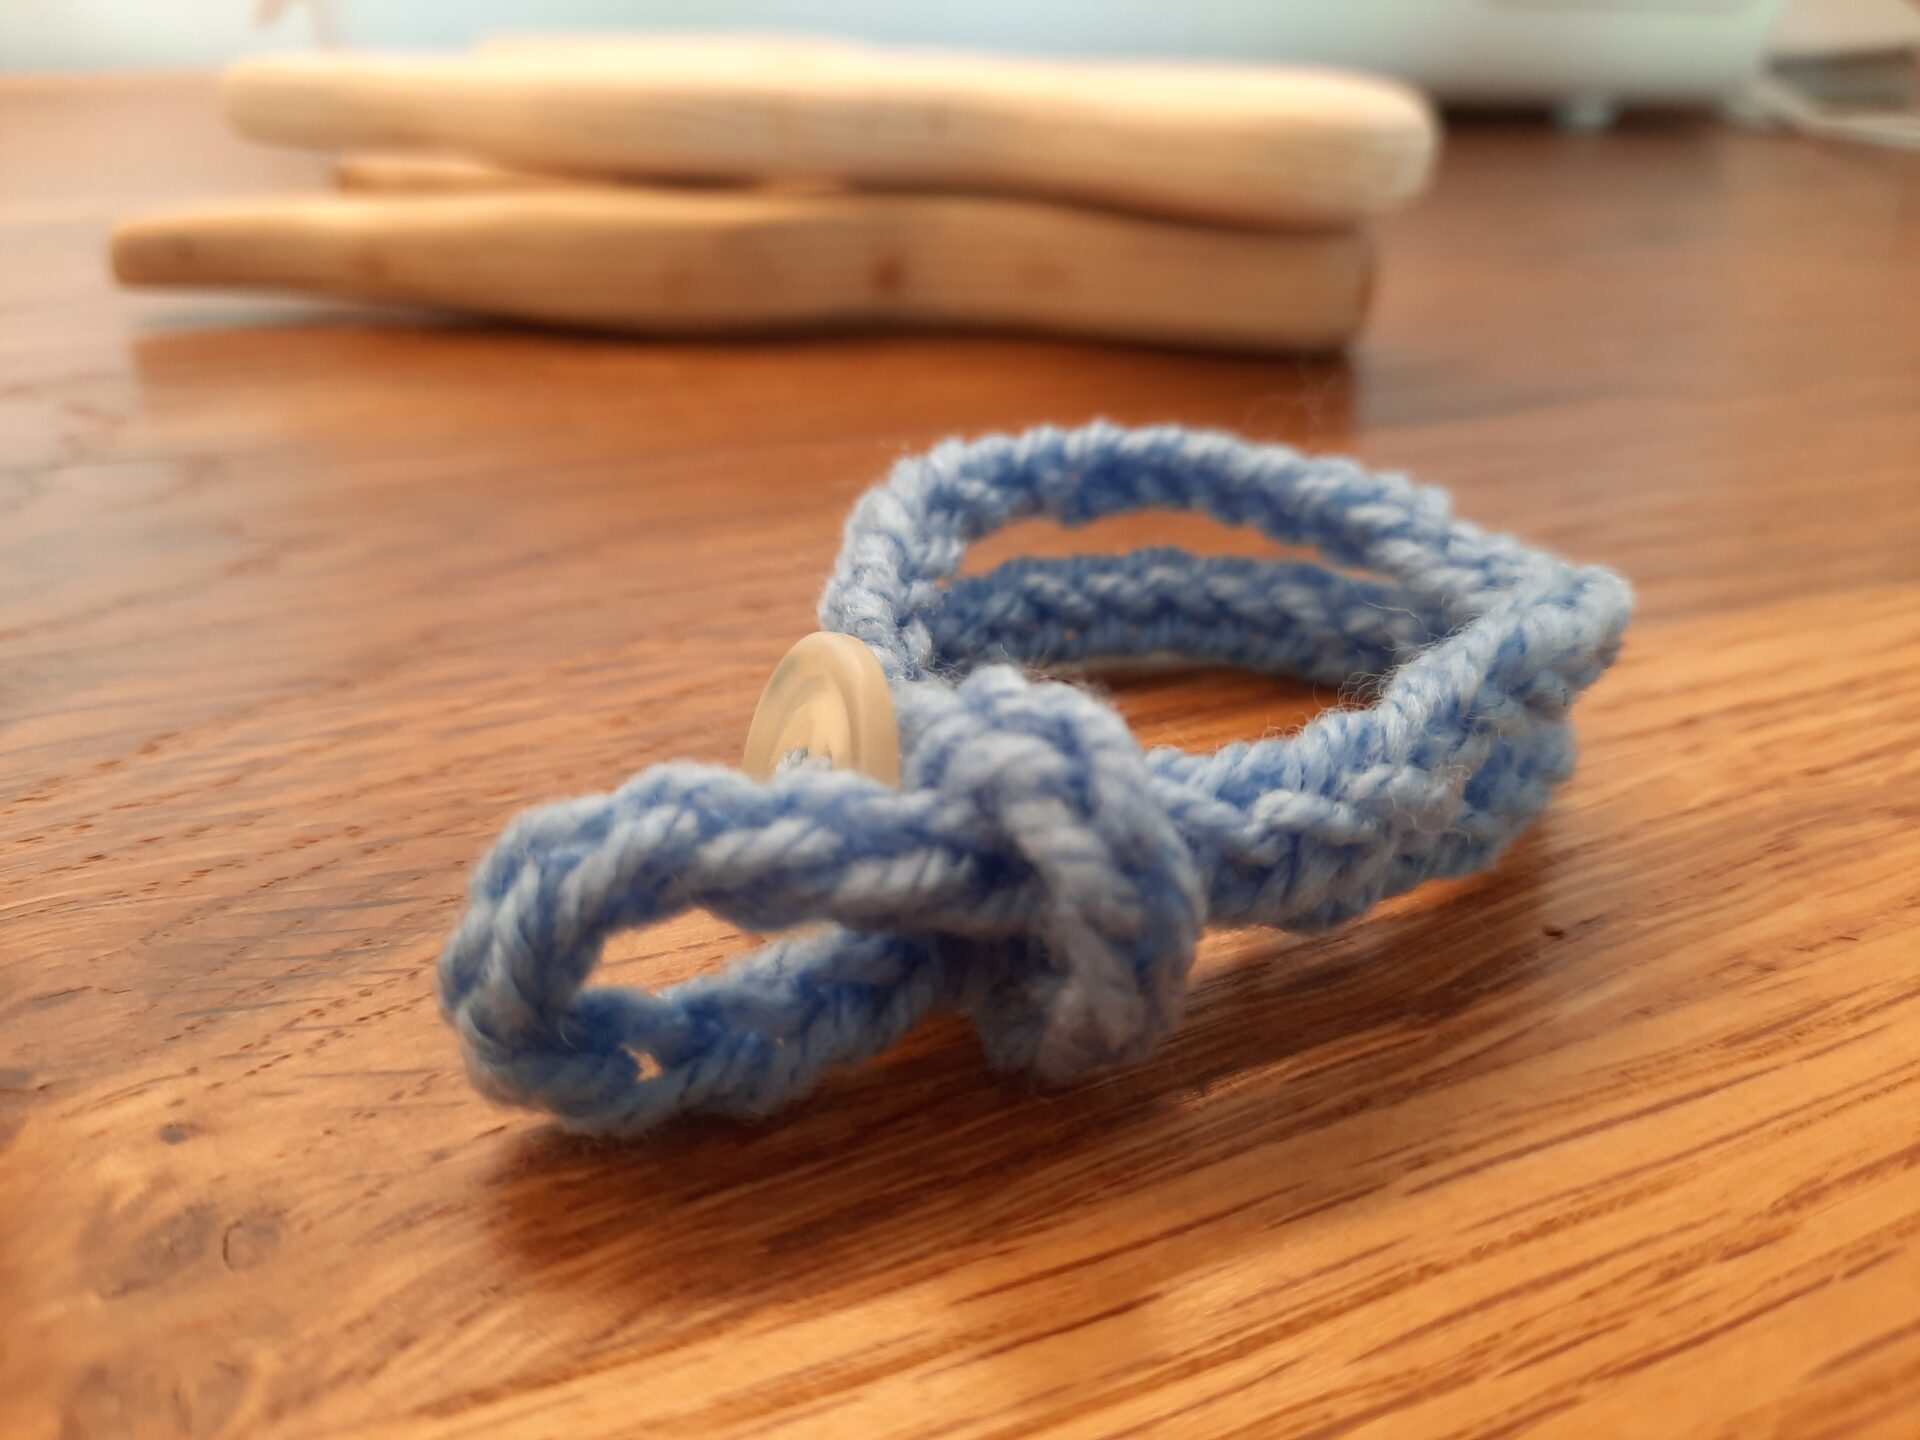
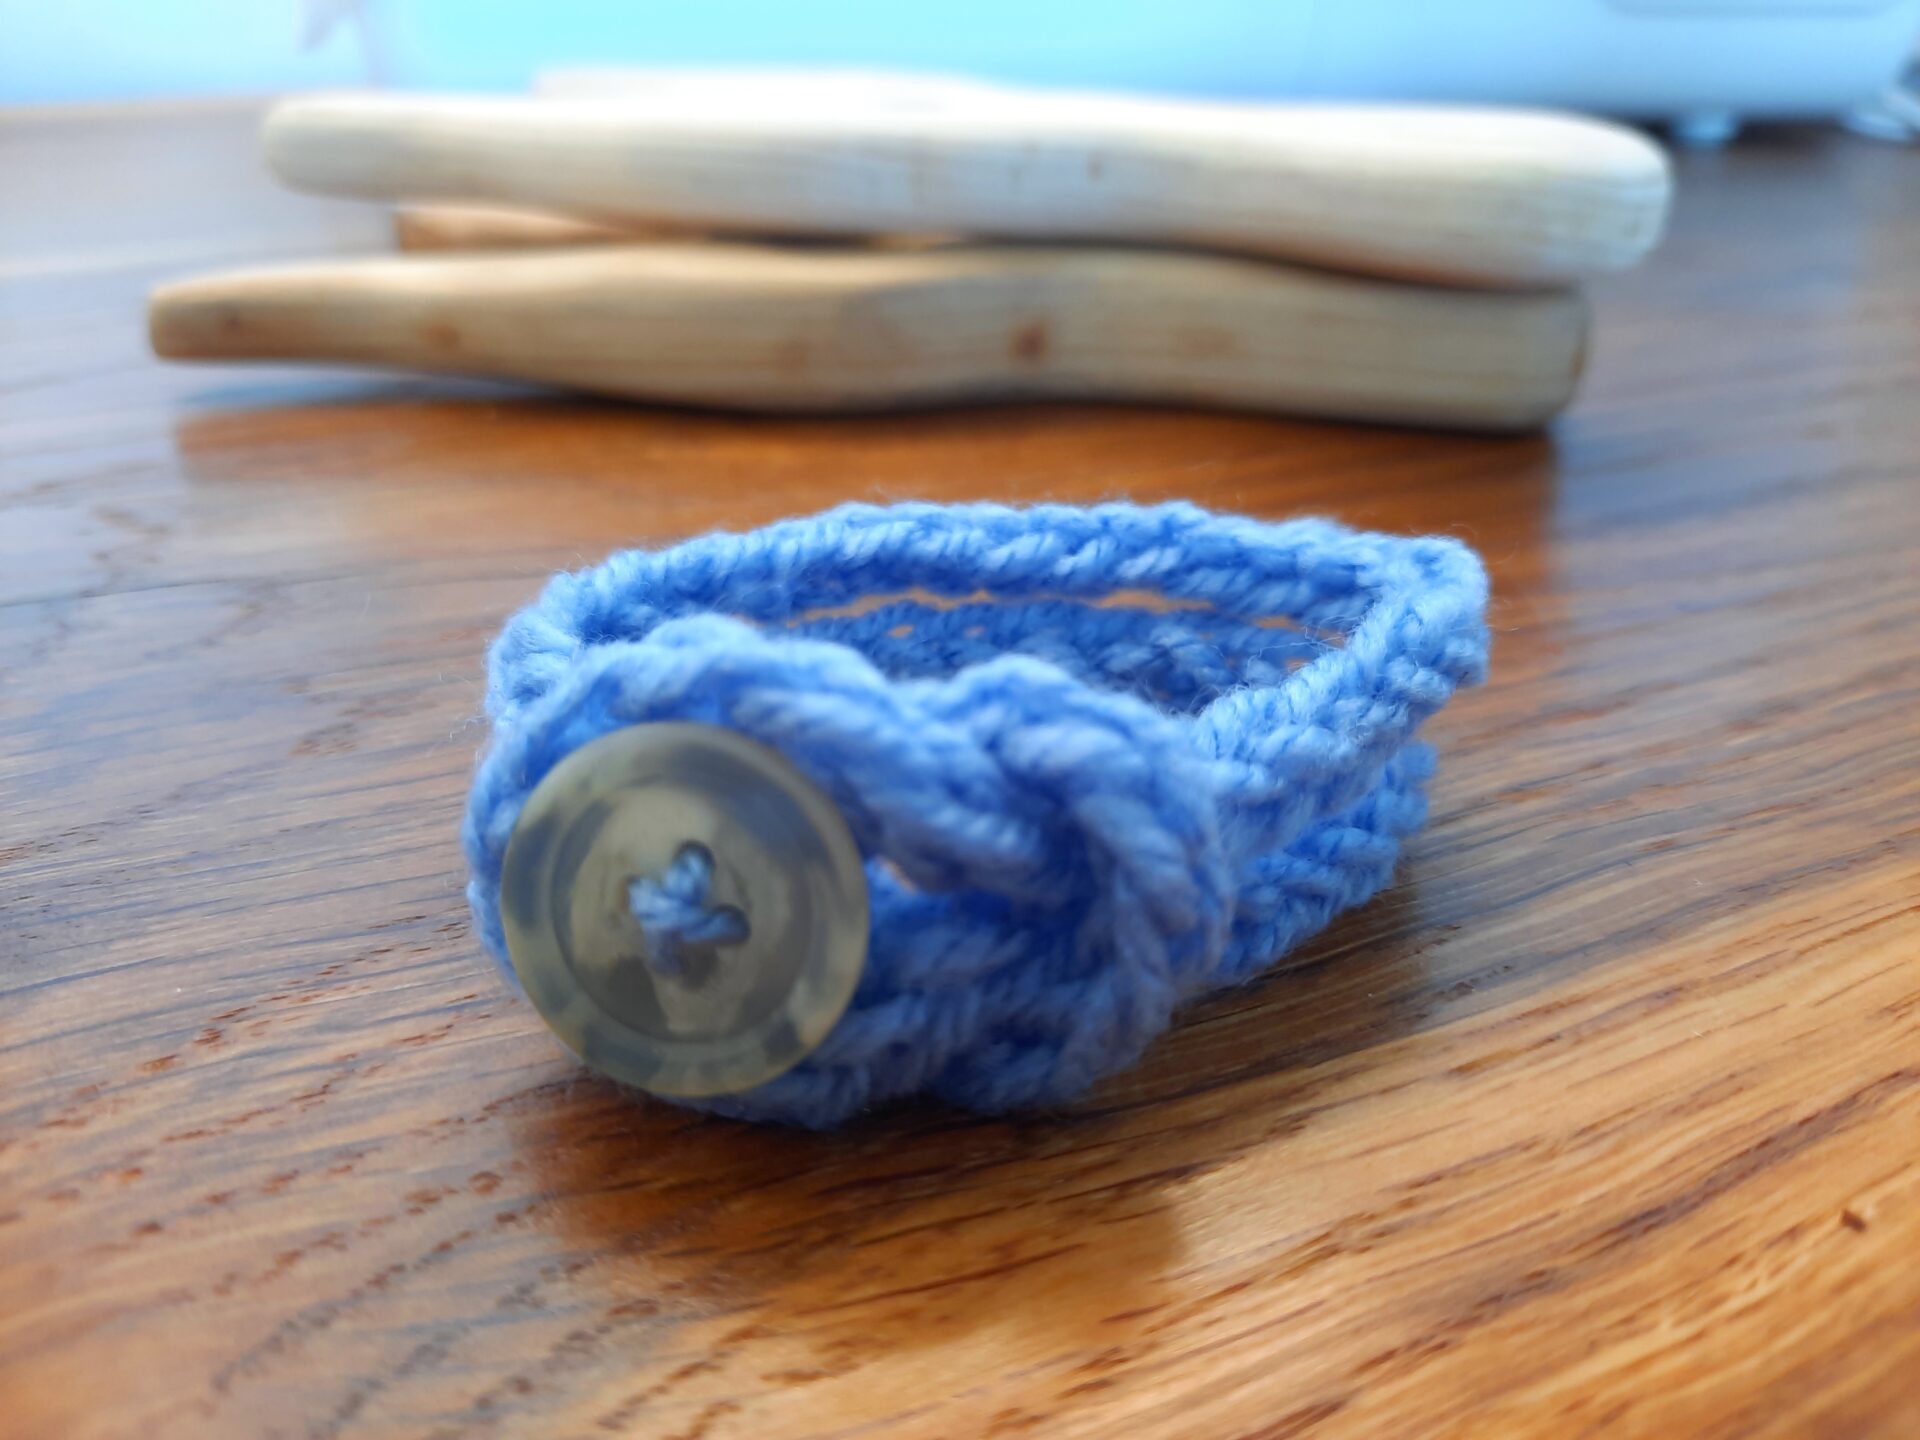
This bracelet is super easy but makes a lovely impression. You just need yarn and a button of your choice.
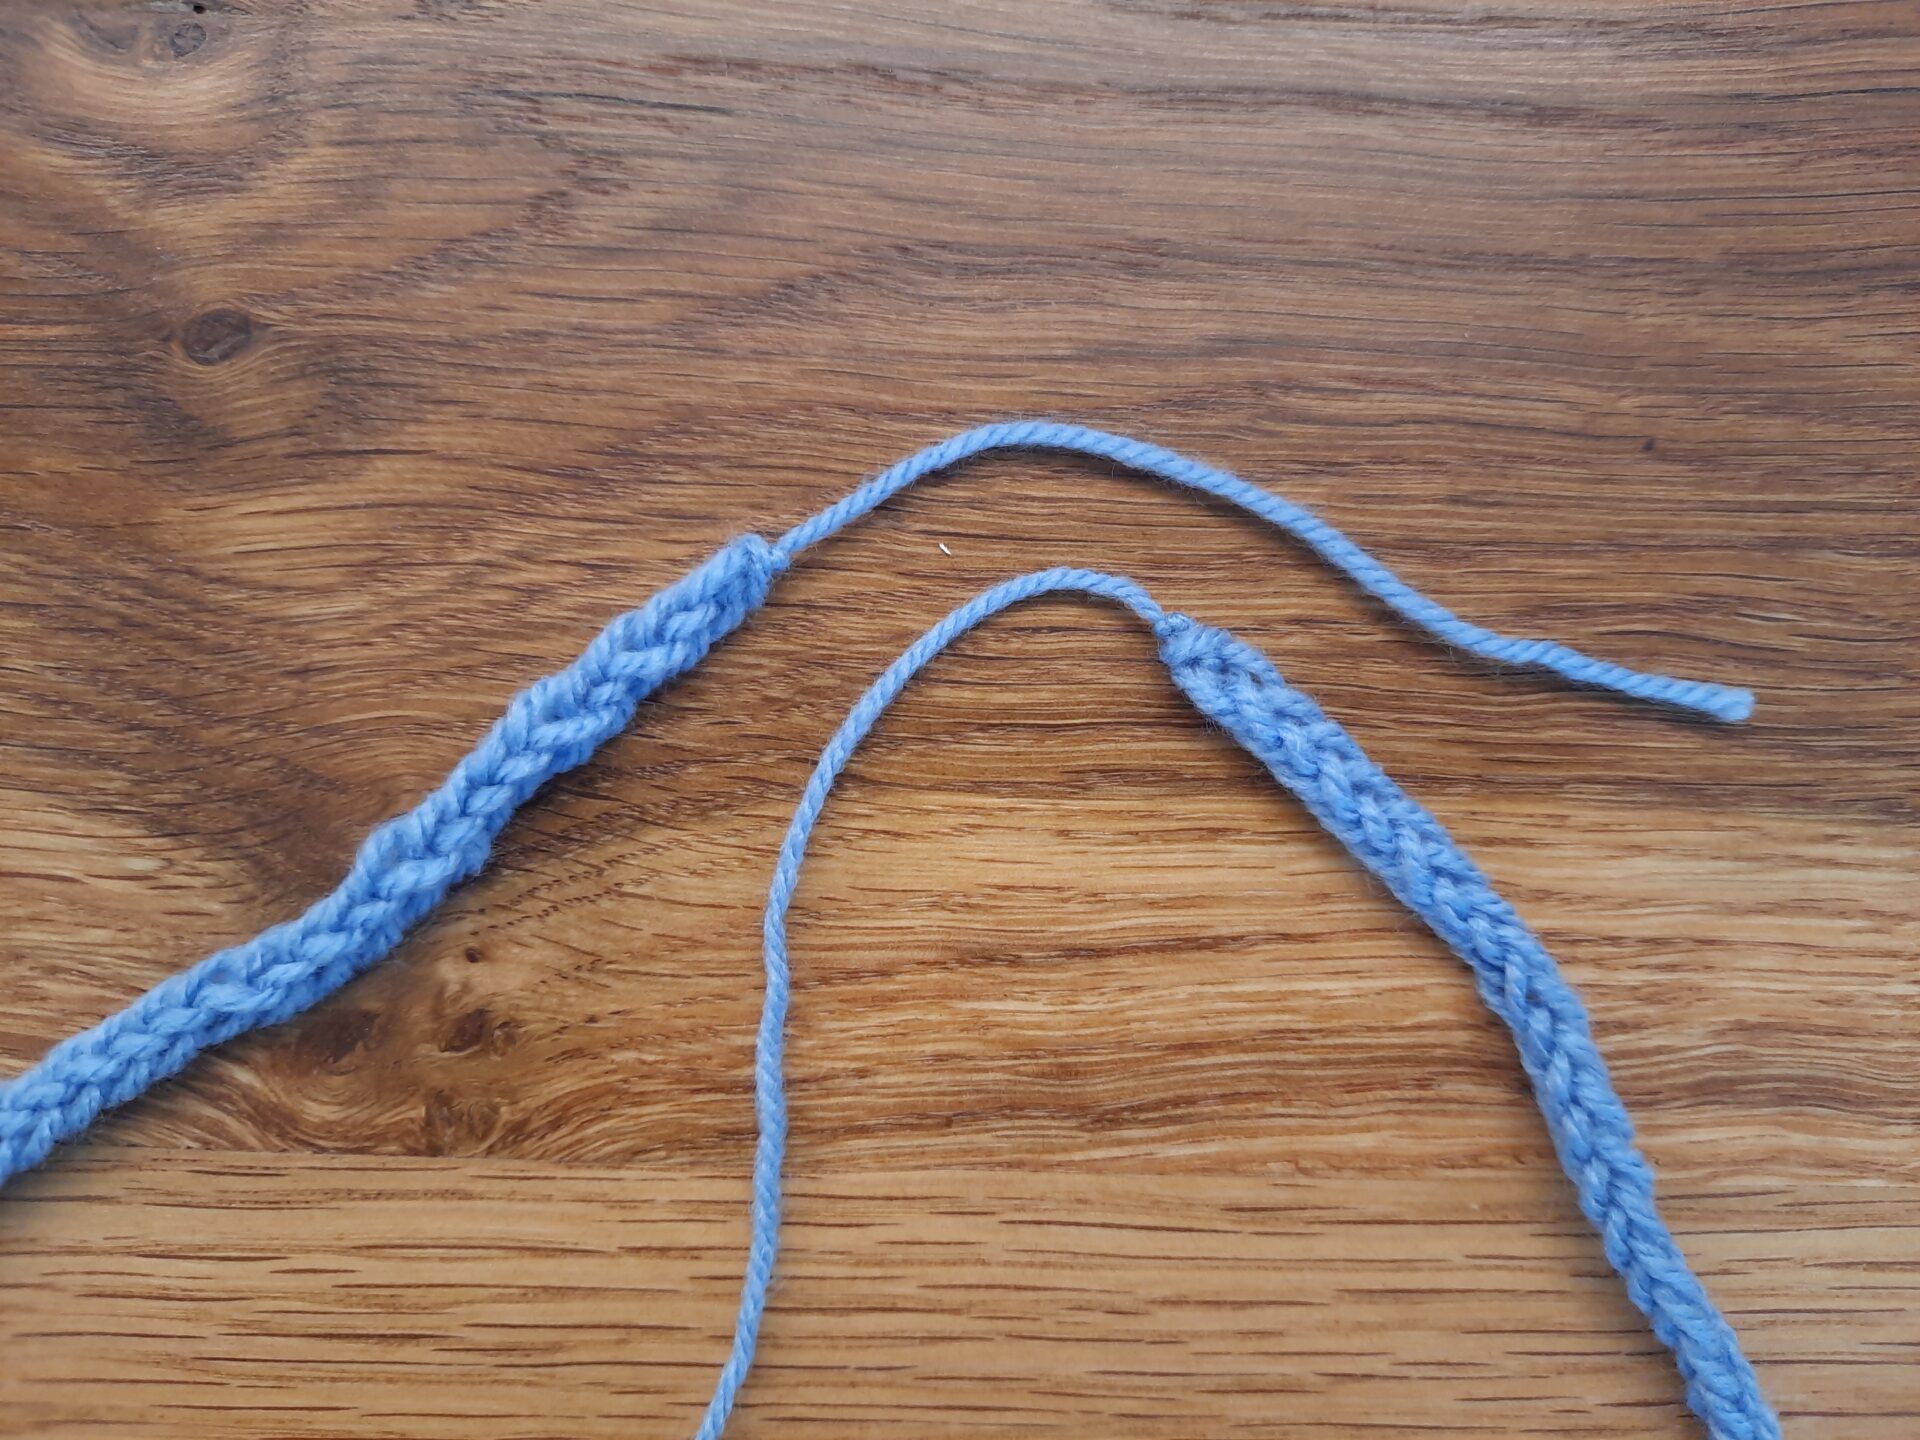
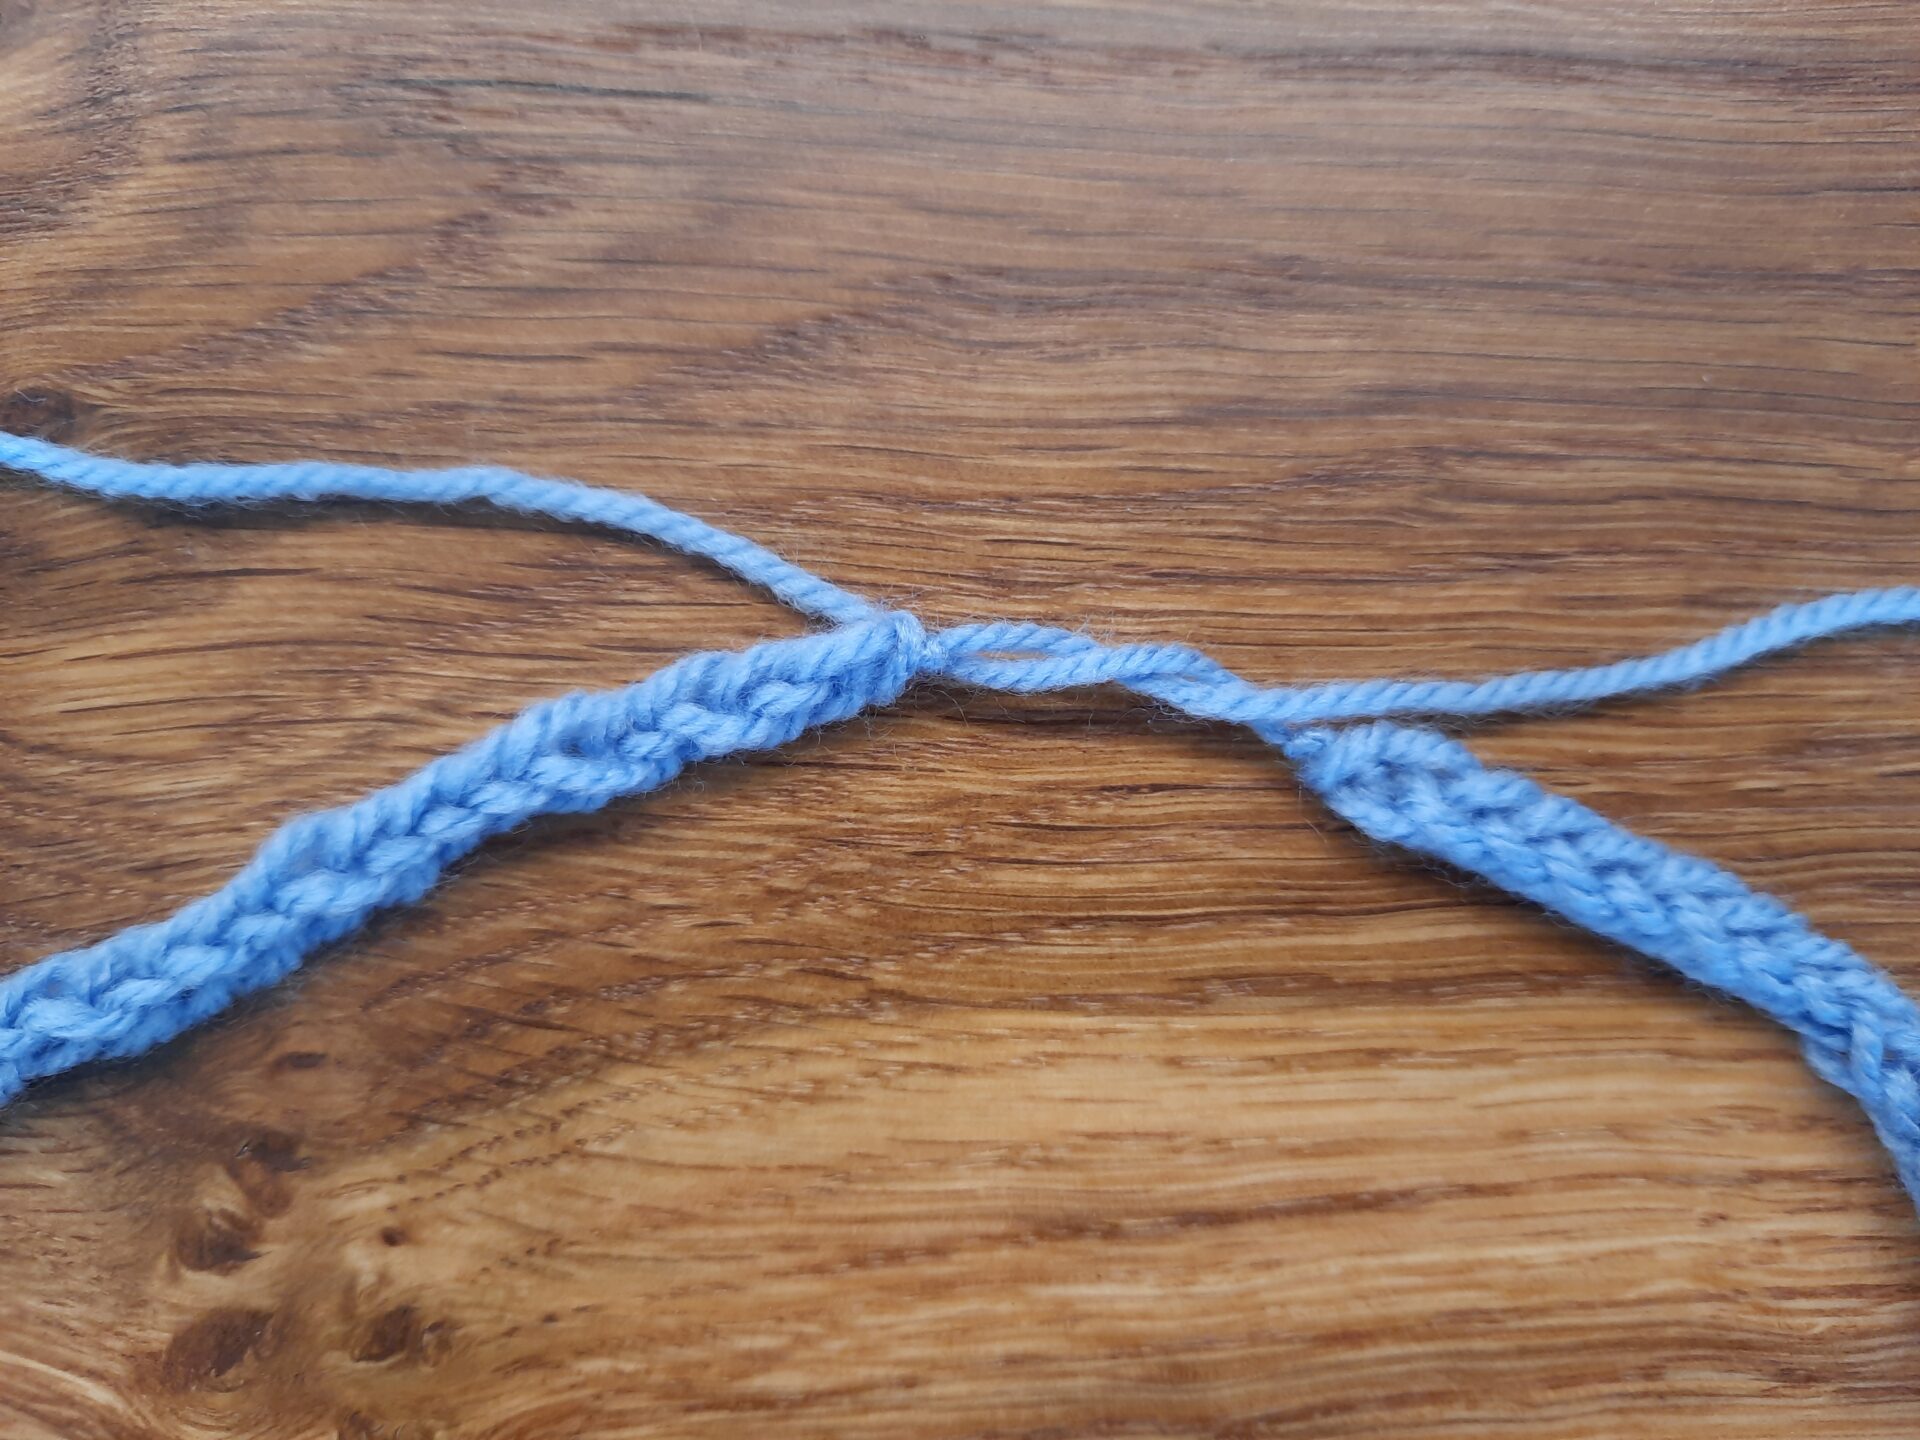
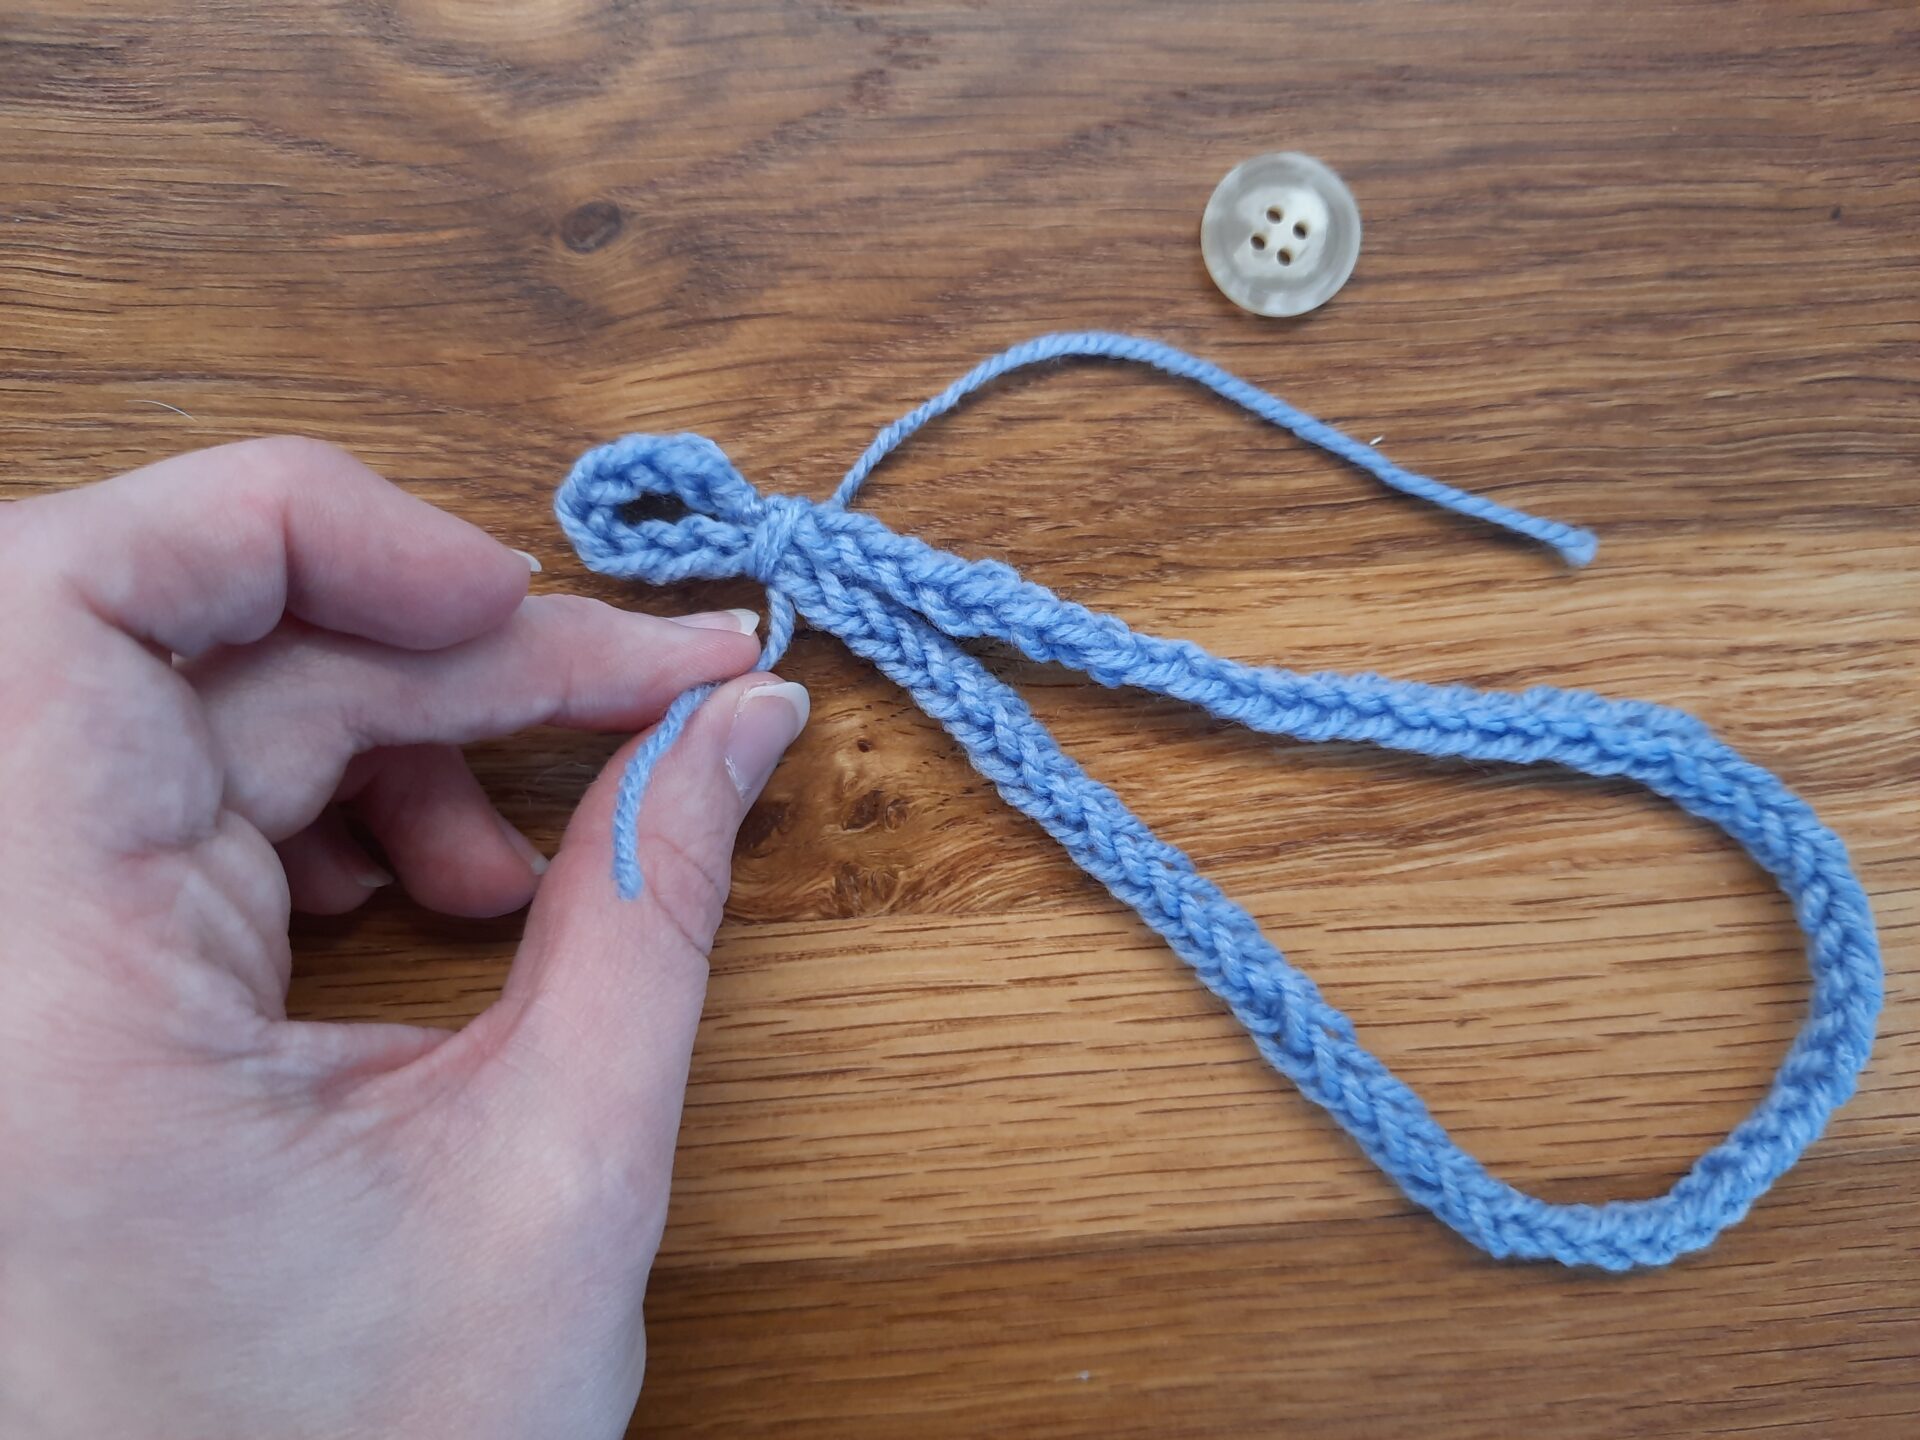
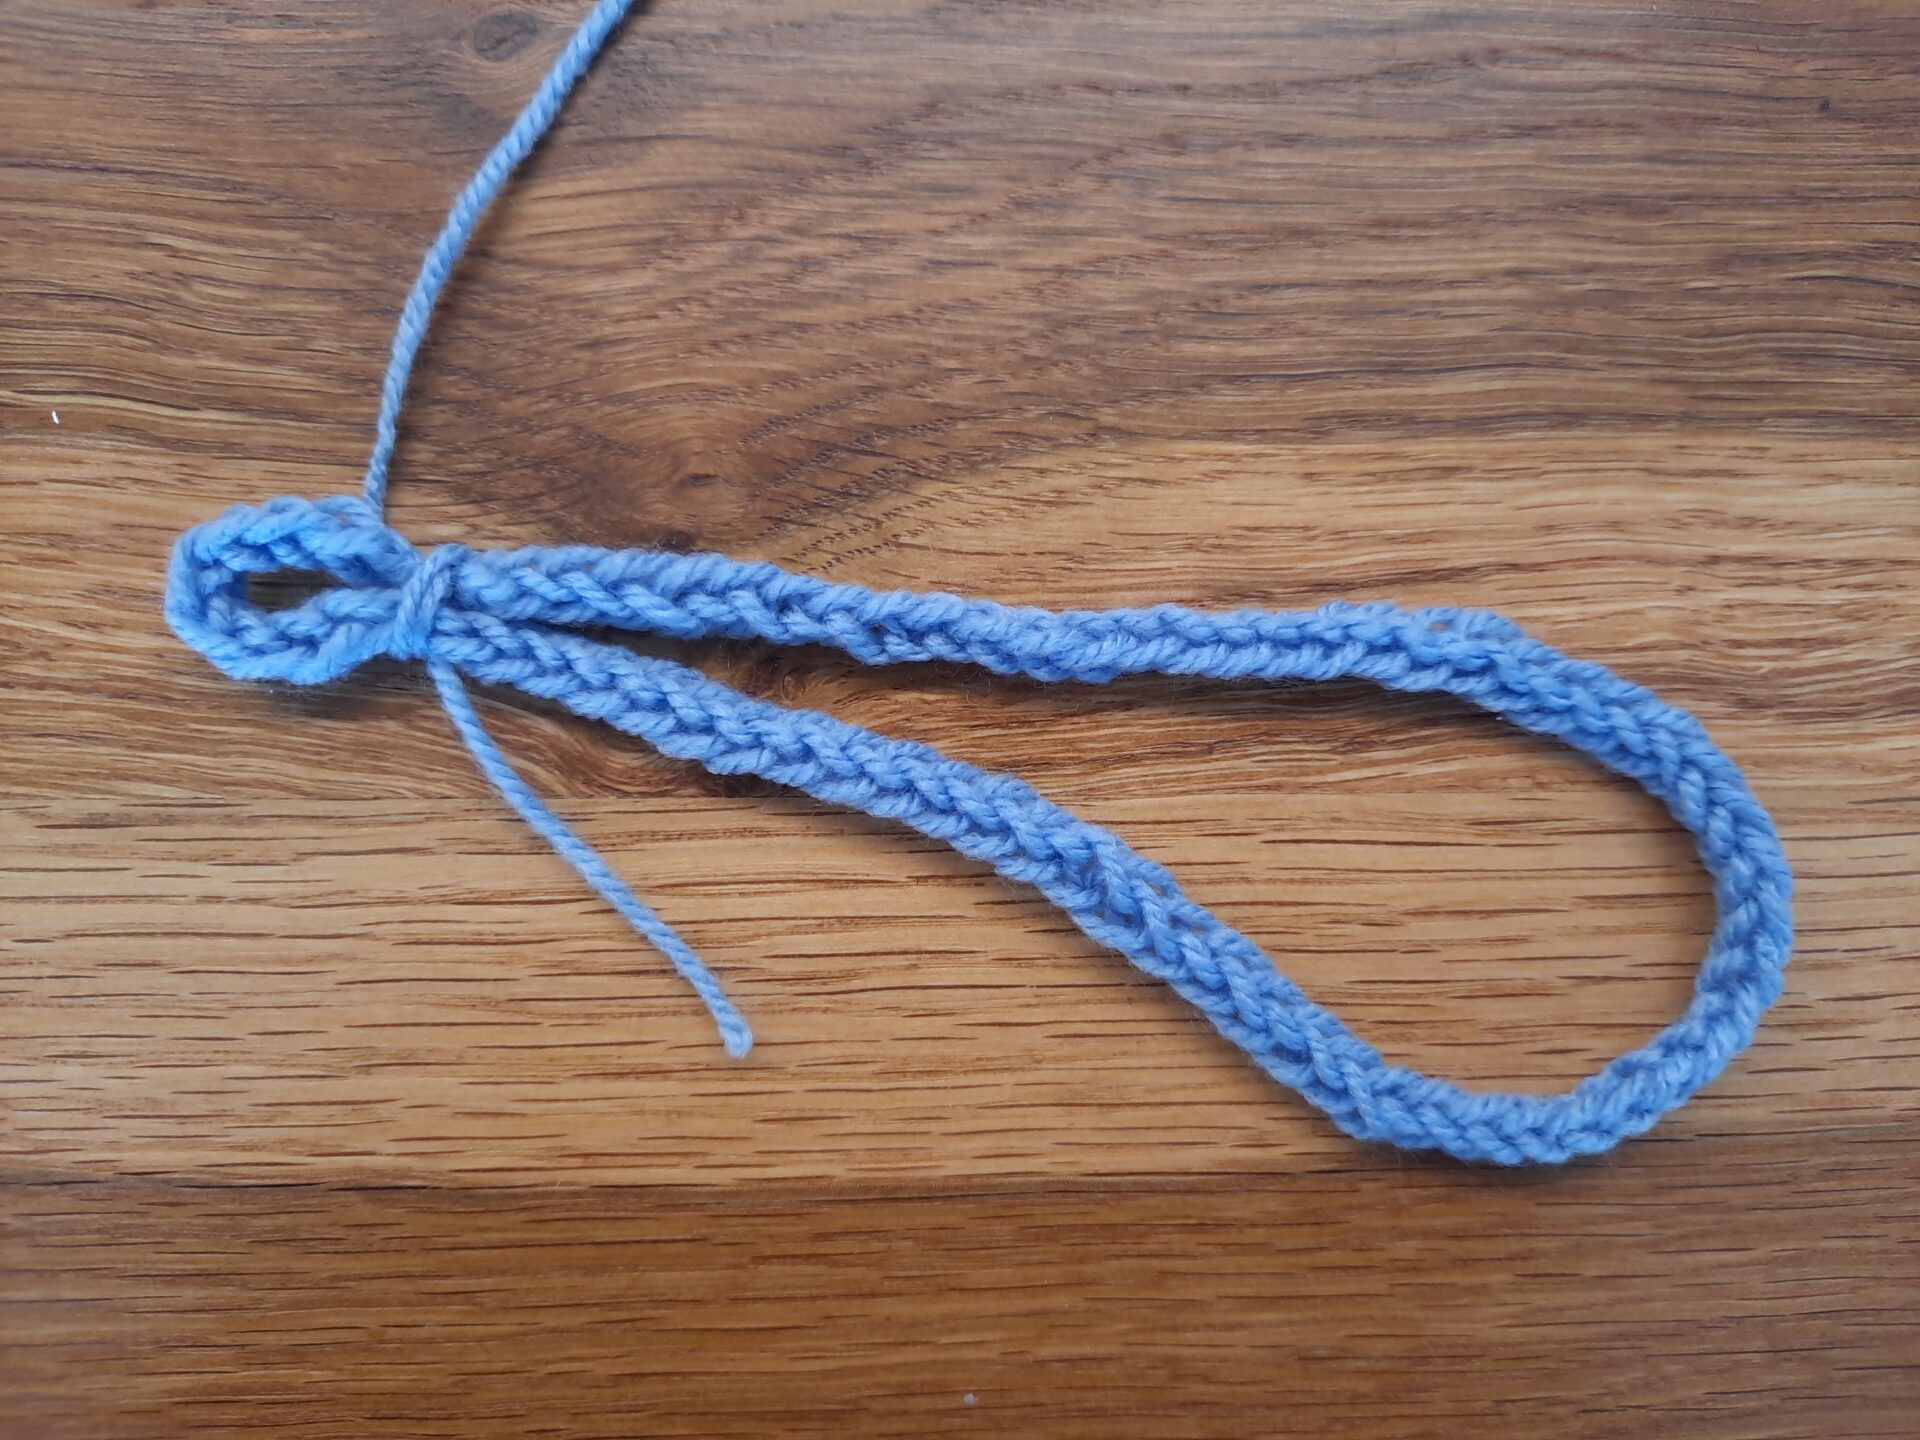
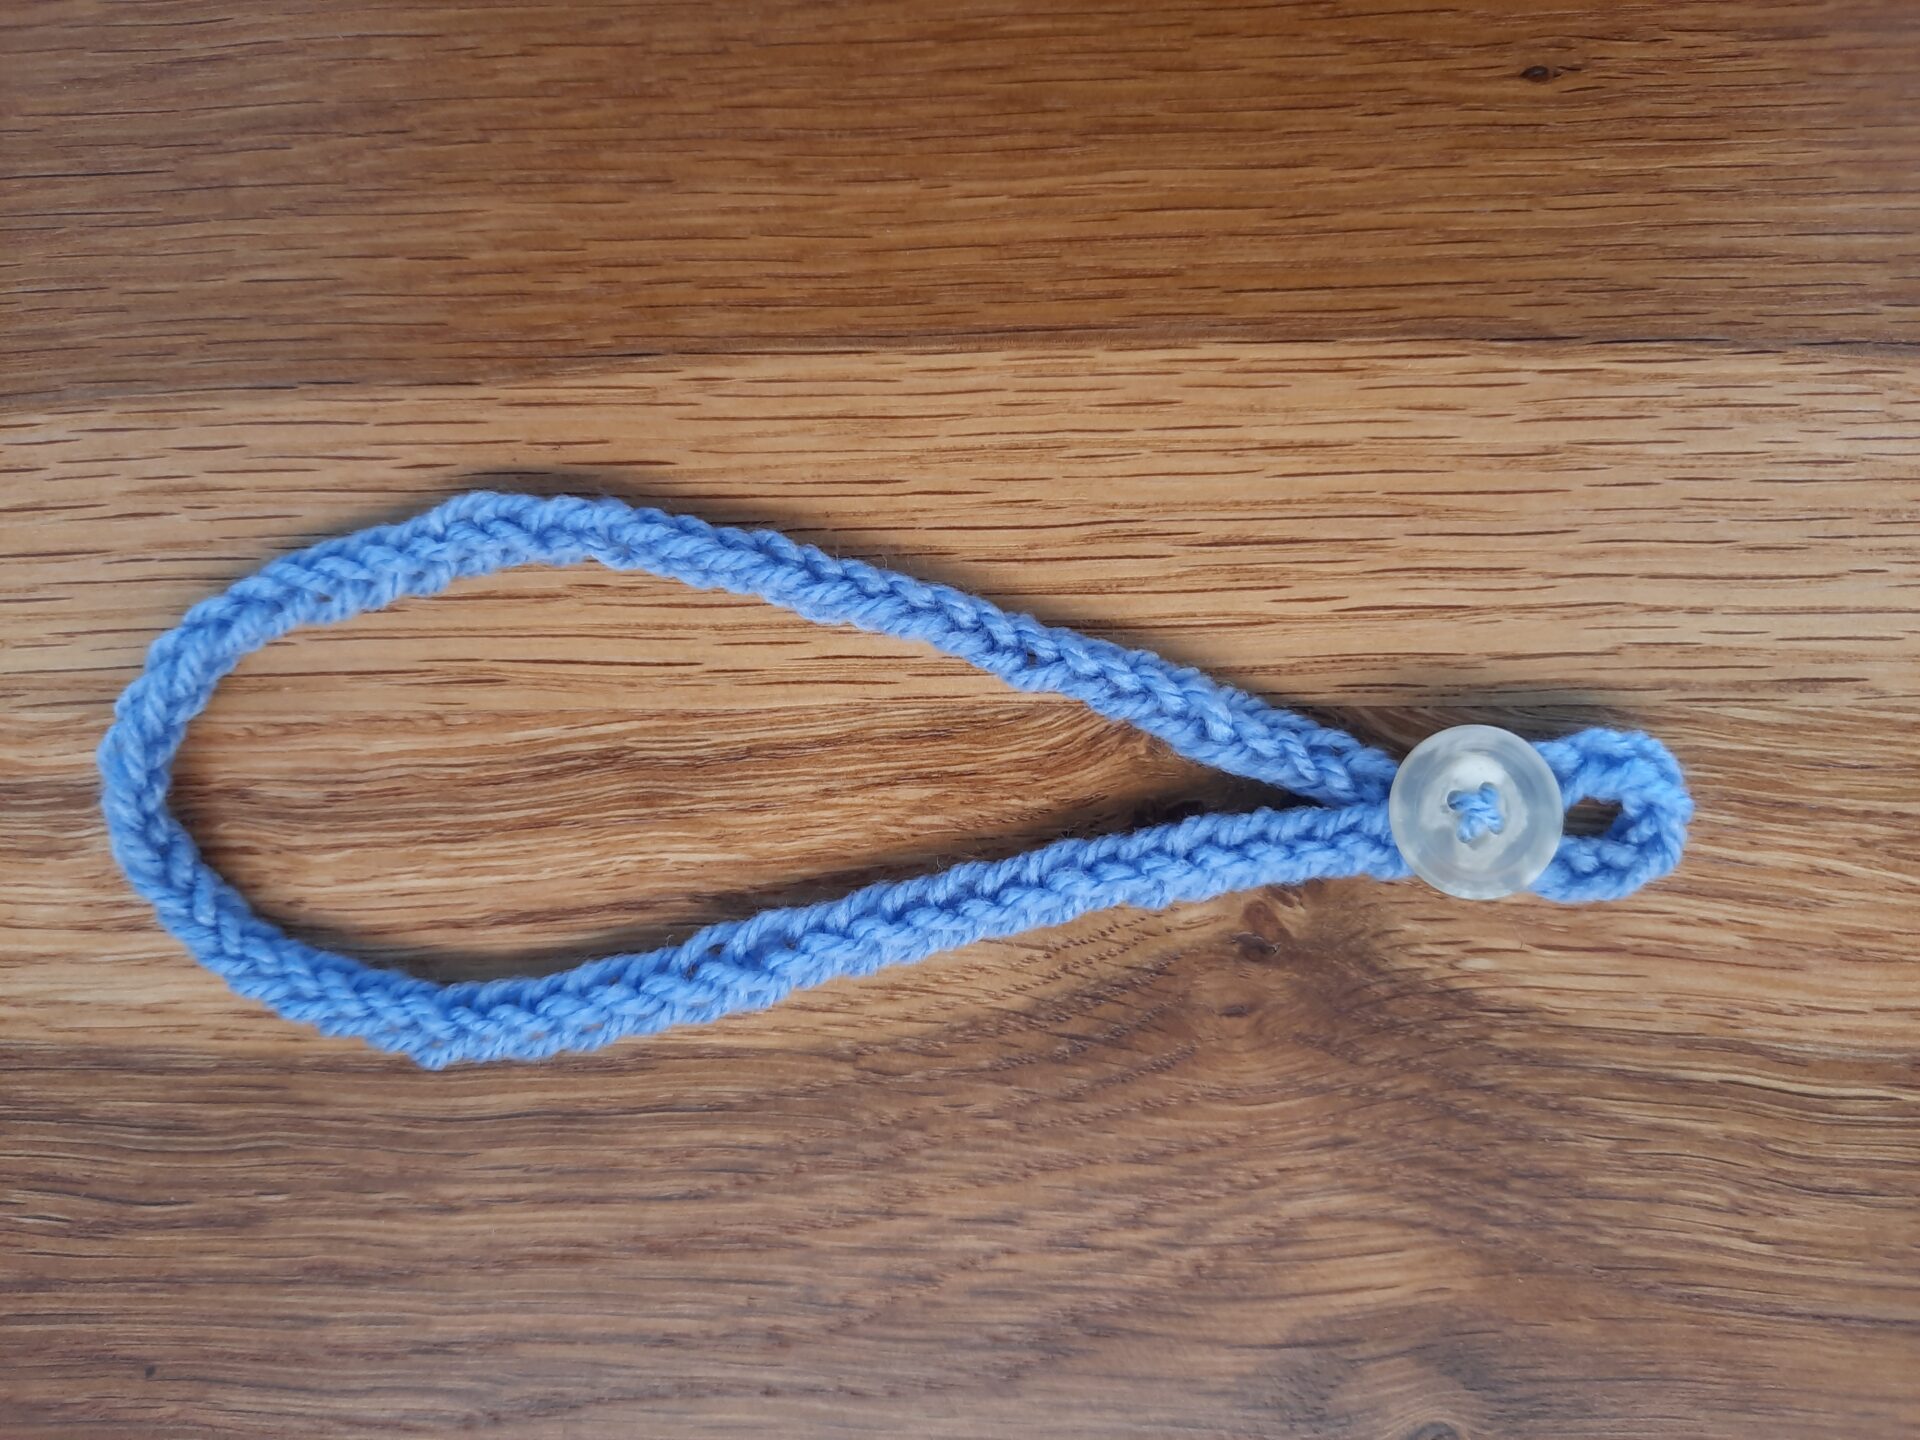
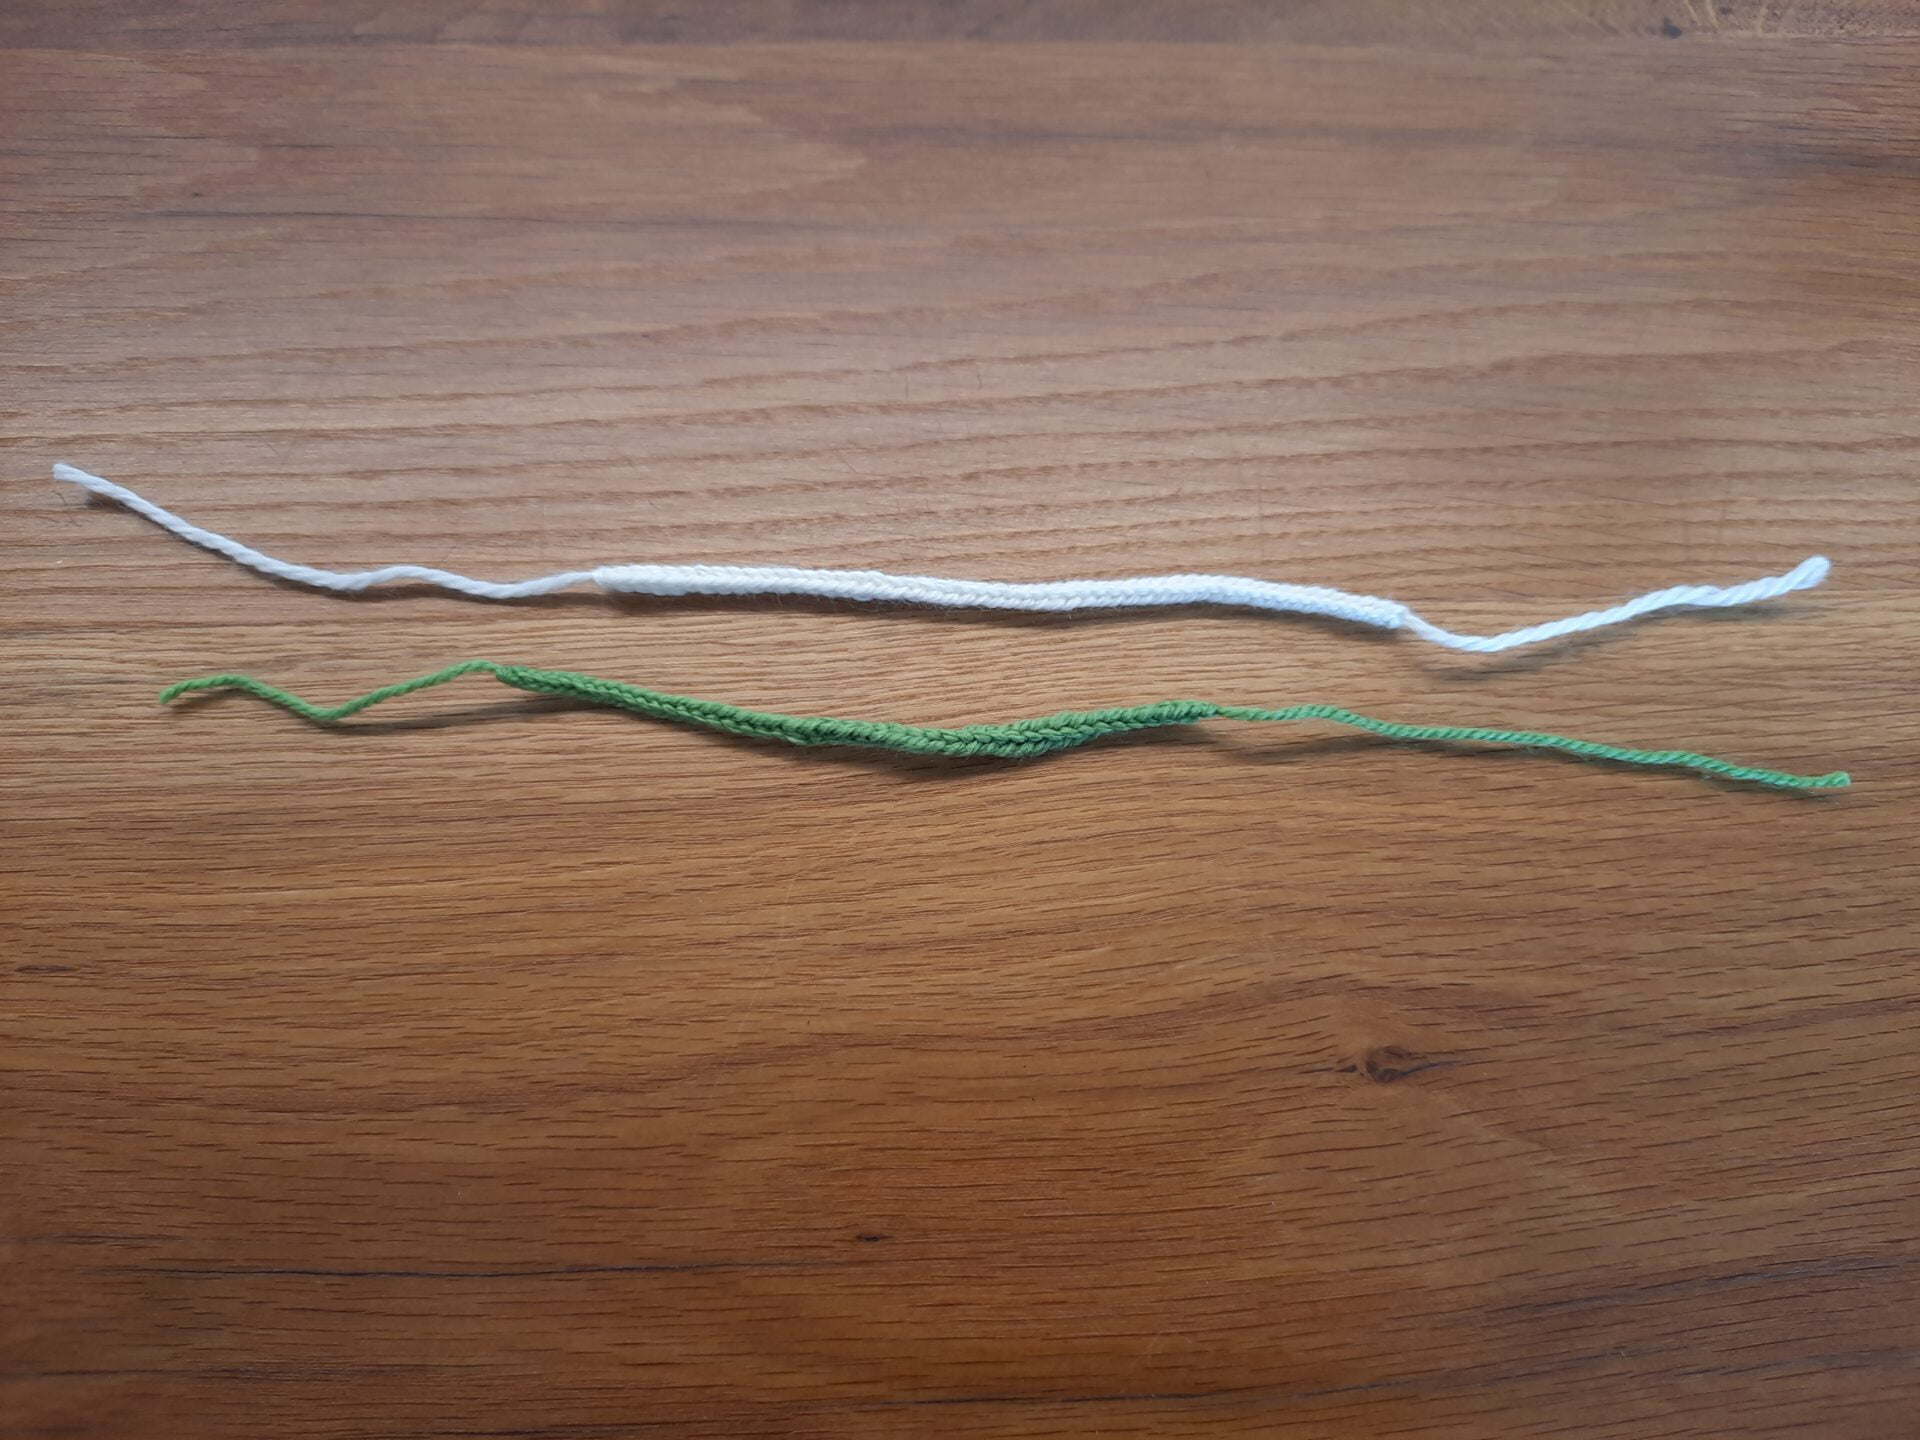
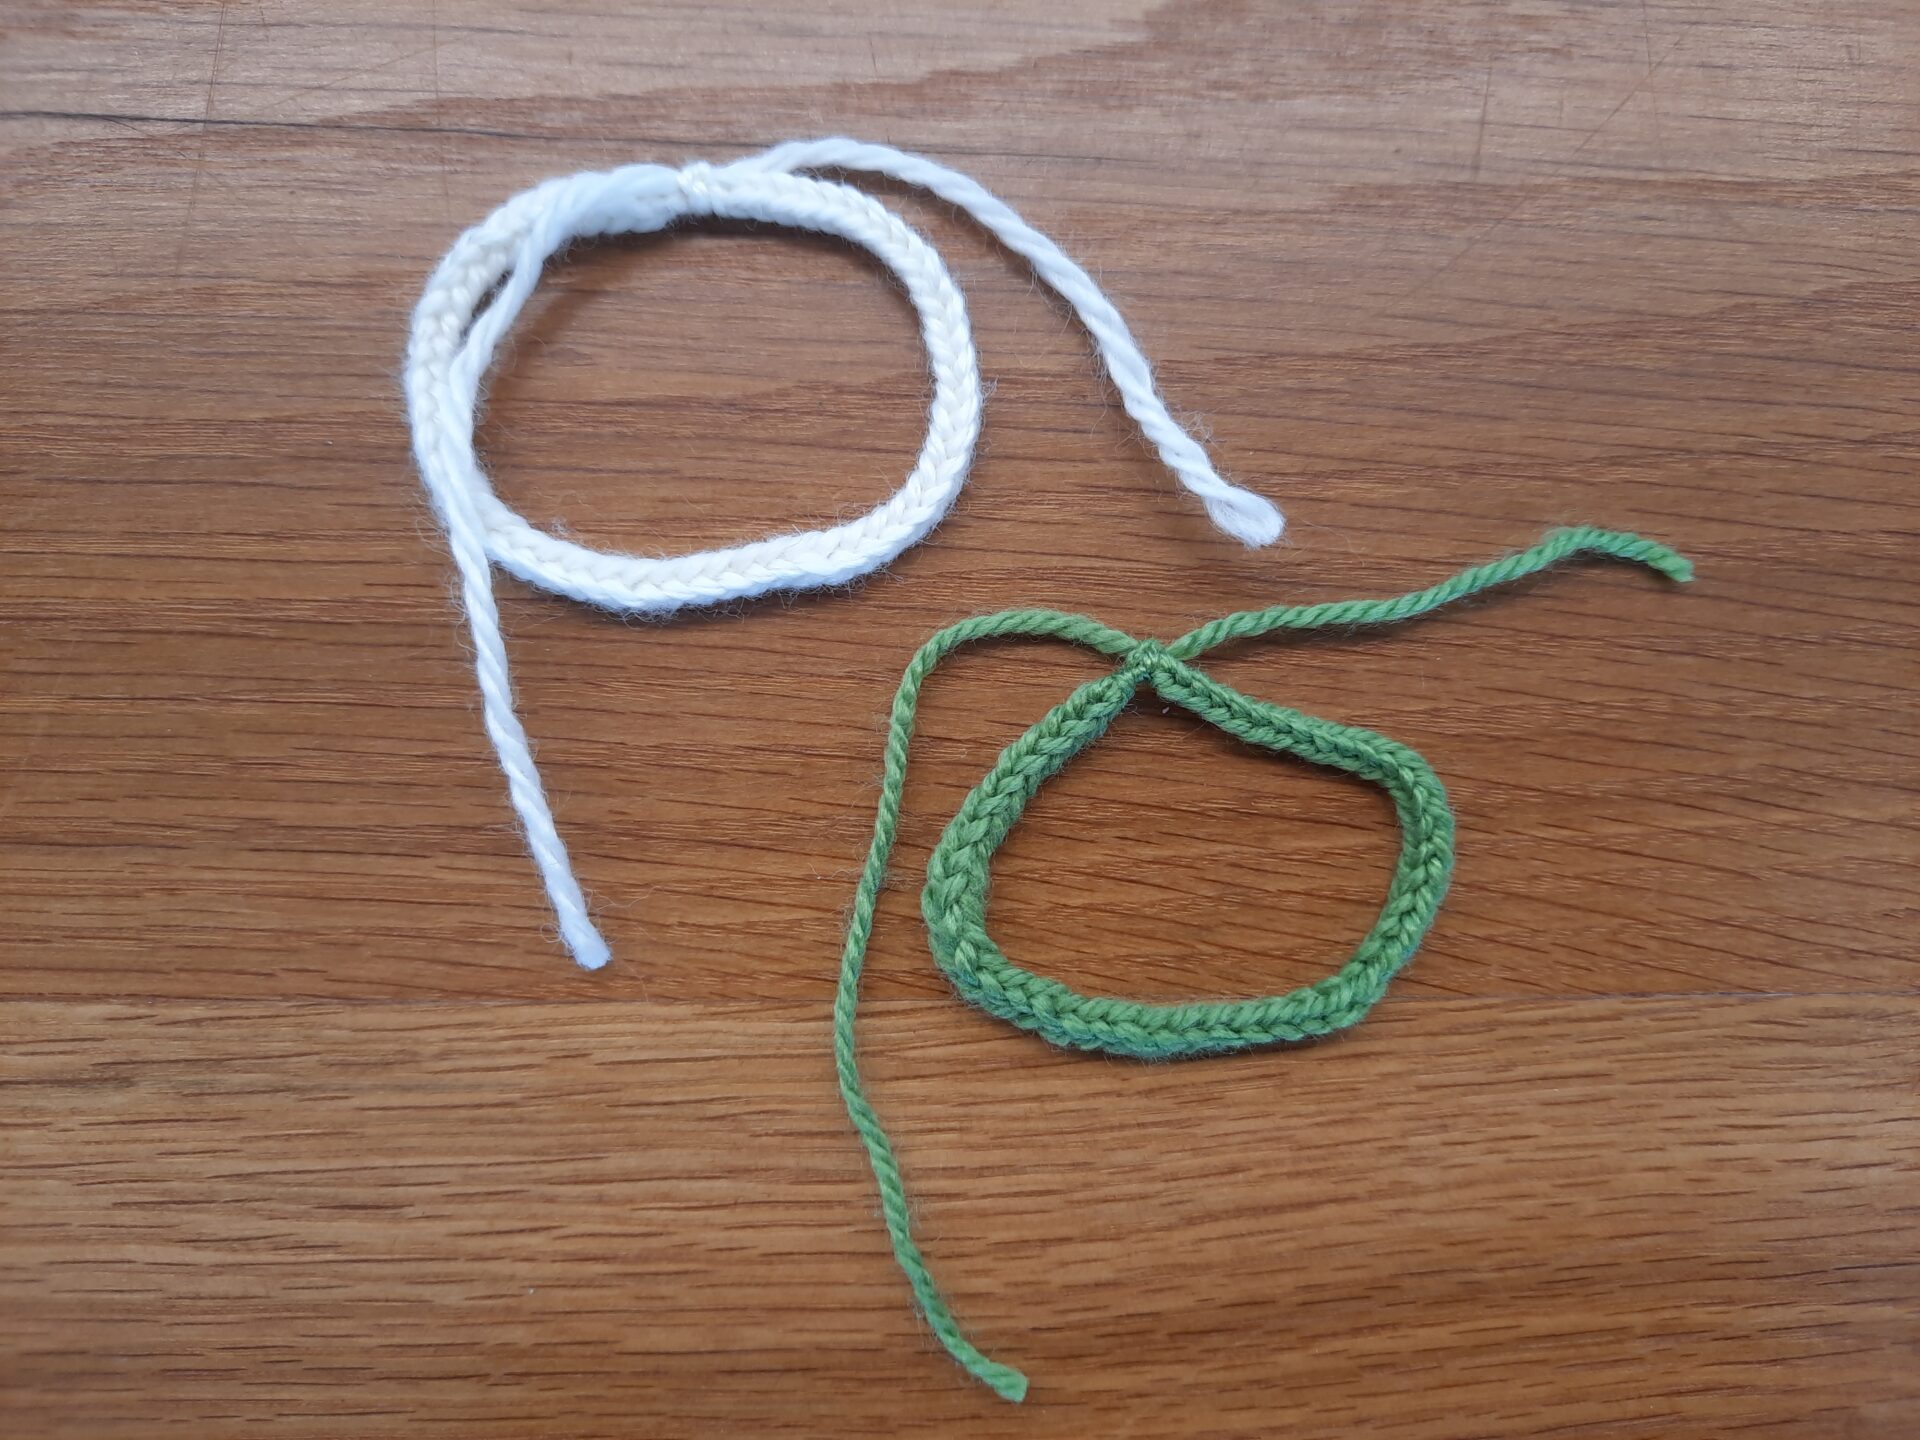
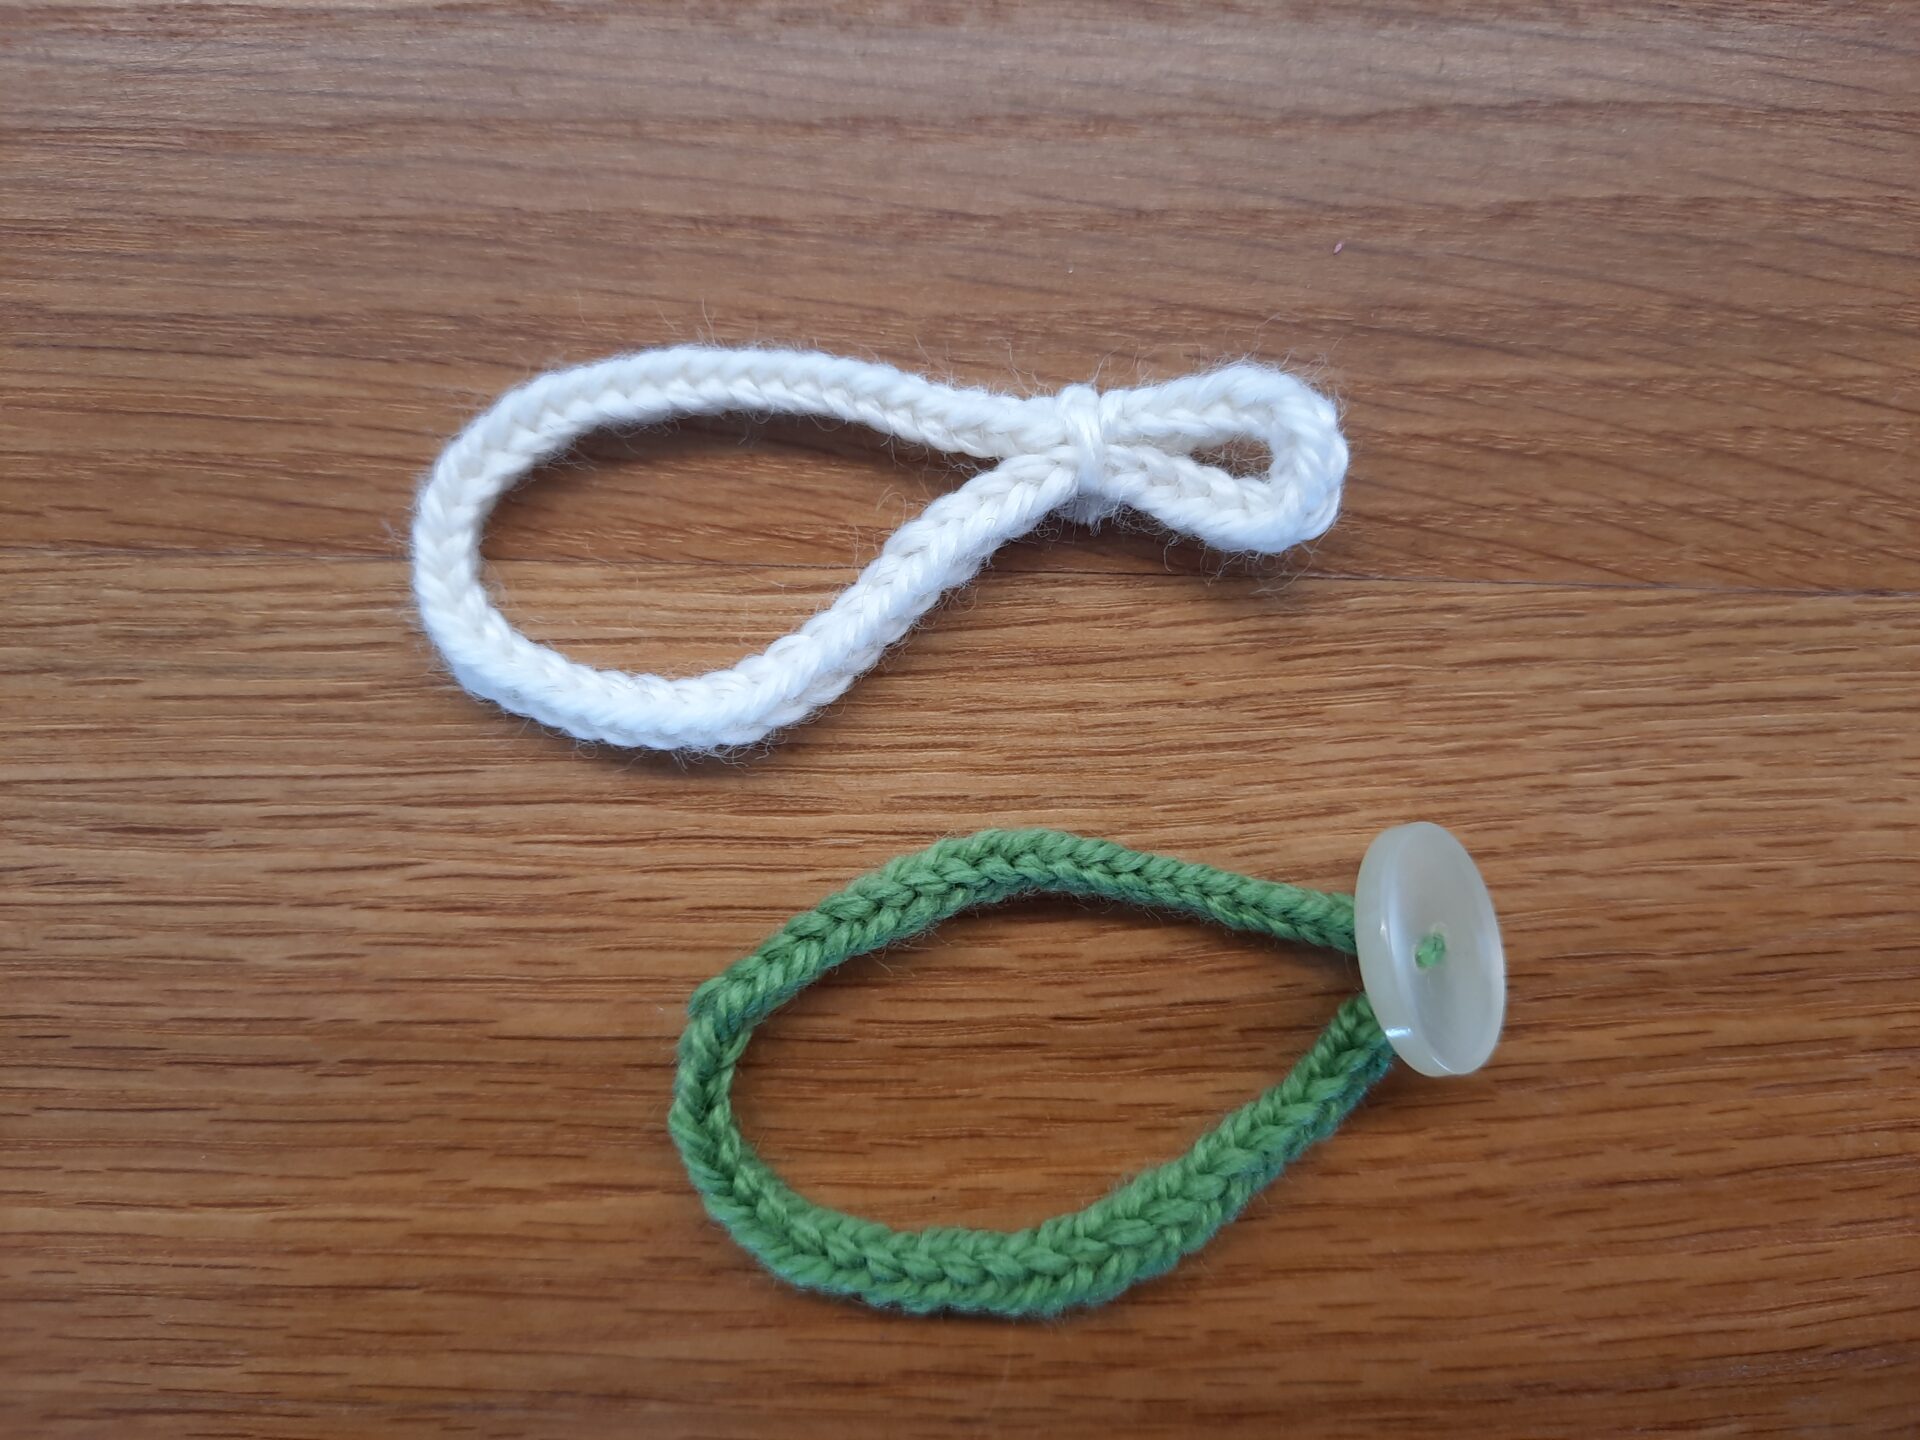
Start by measuring the circumference of your wrist, then make a cord double this size. Leave the excess yarn at the beginning and at the end to have two tails: you’ll use them a lot. Once your cord is ready, use the tails of yarn to secure the two end thus making a loop.
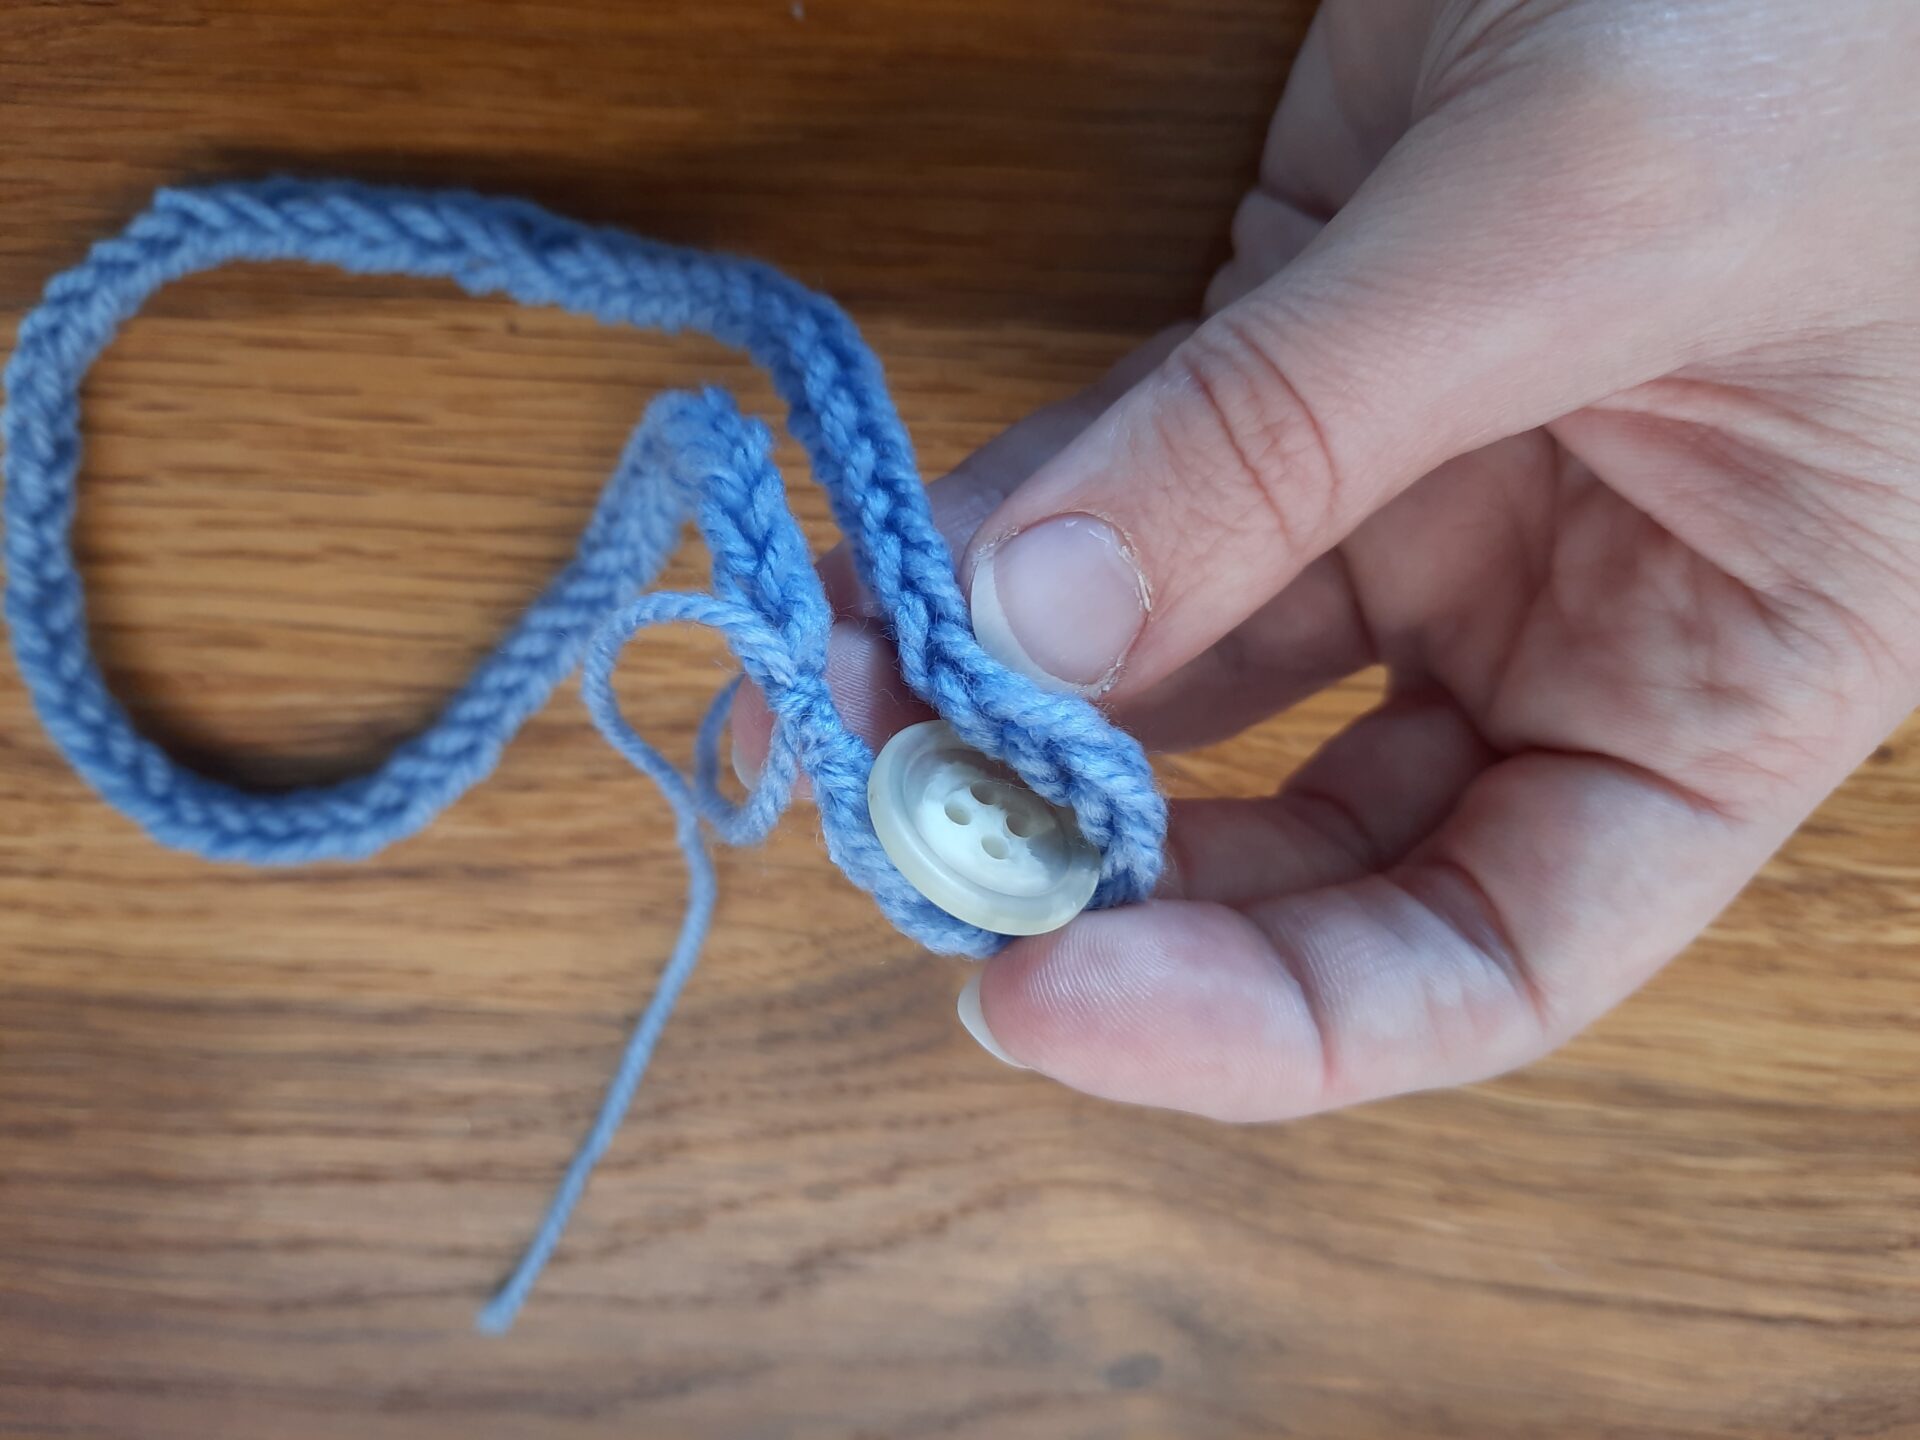
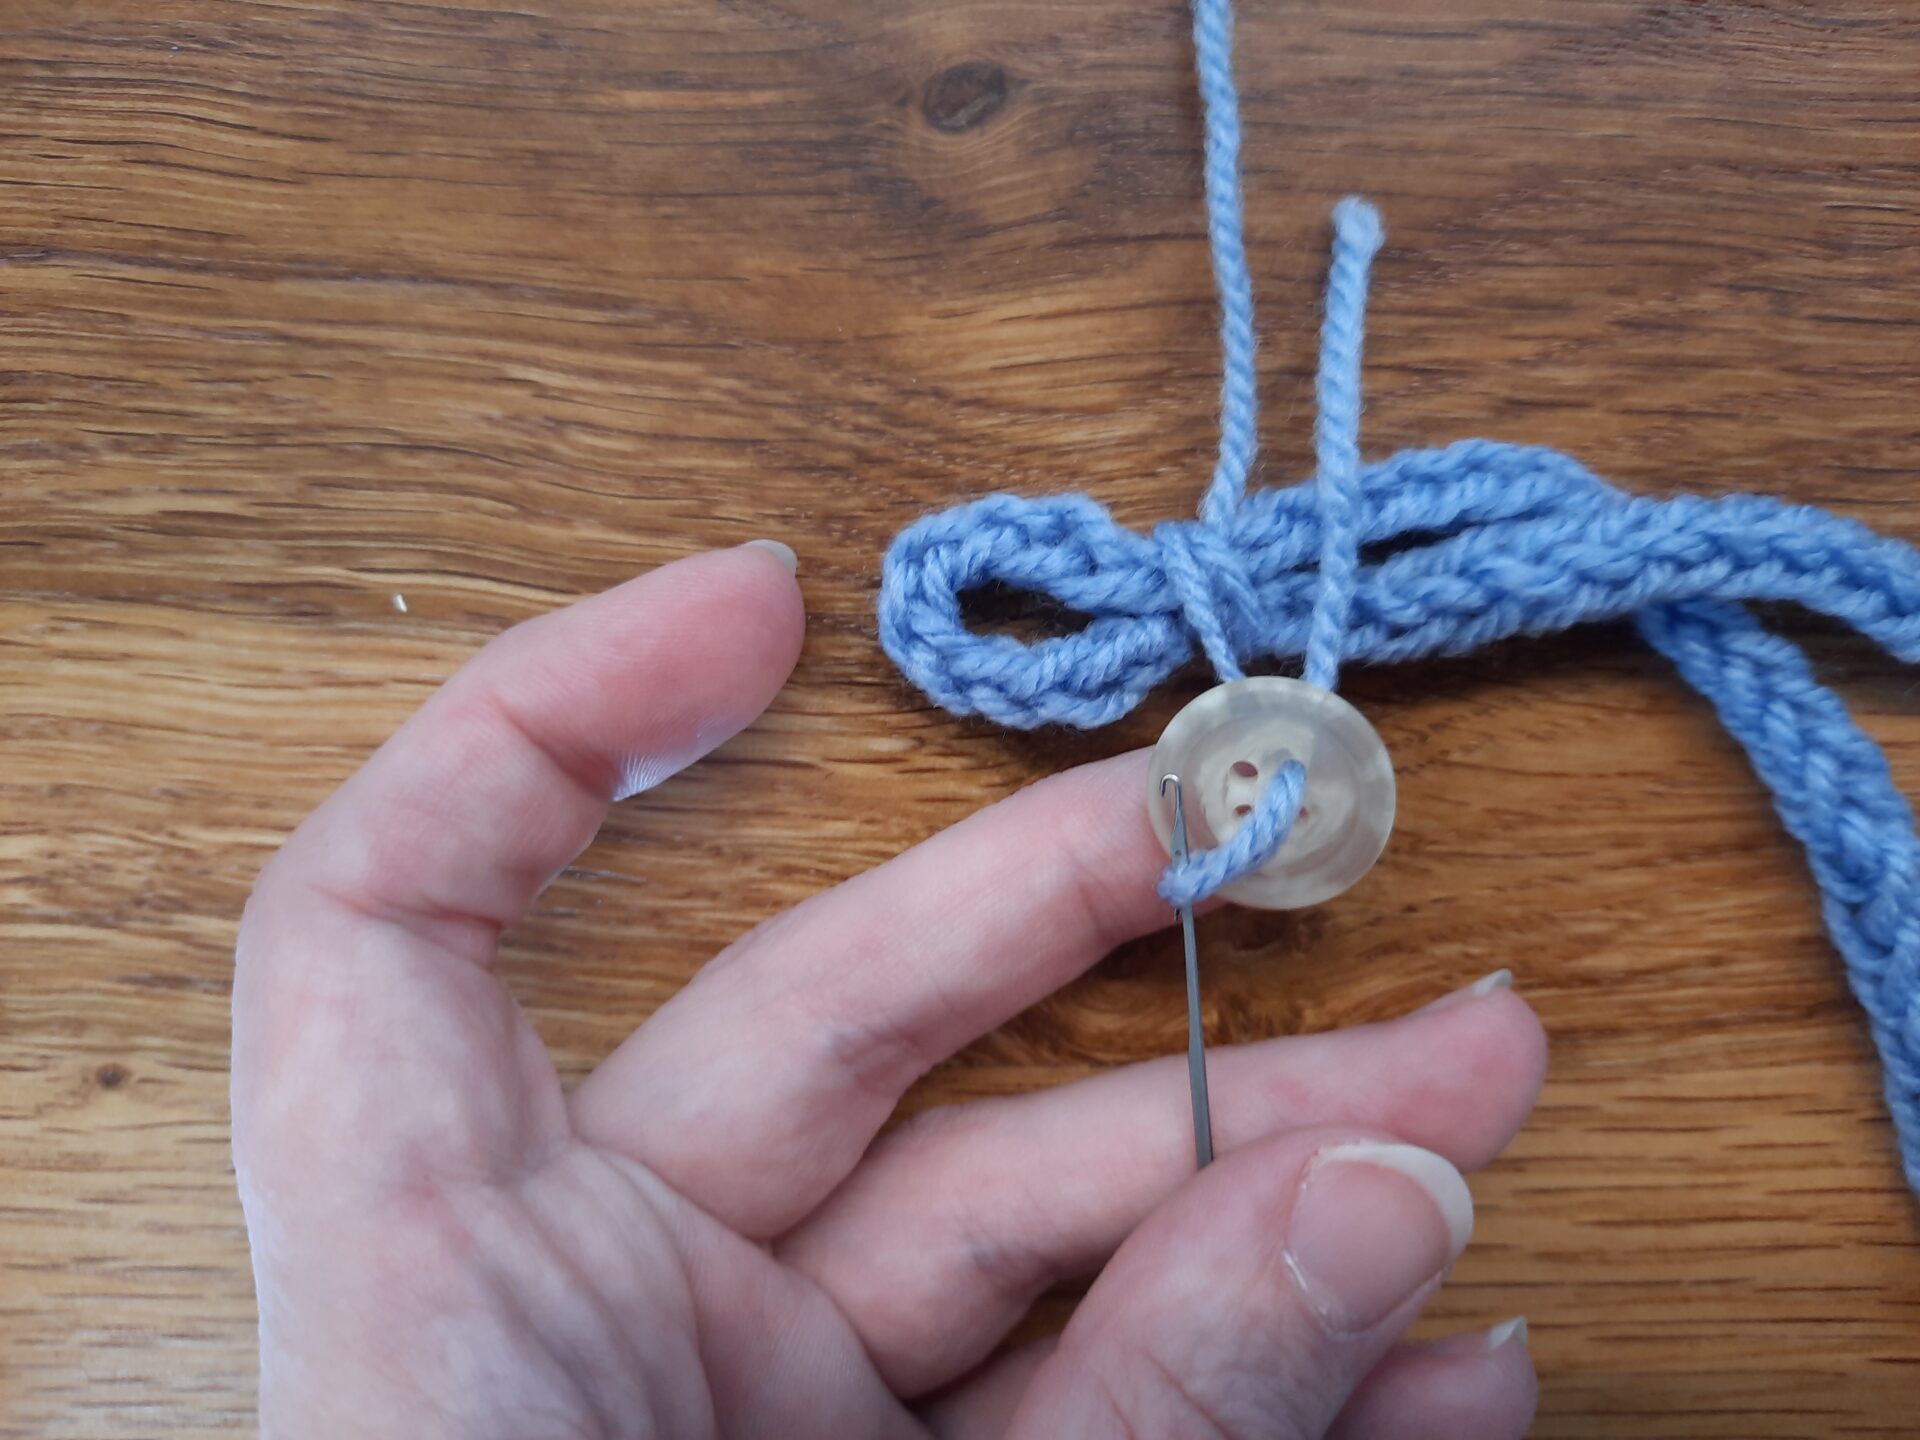
Now you need to make the buttonhole, using again the yarn tails to secure. Your button will need a ring to pass through, made with your braided cord, so measure the size needed. Using the yarn tails, secure a buttonhole on your cord: wrap the yarn around your cord multiple times, then secure. Be sure to make more than one knot for strenght.
Now attach your button: pass the yarn tails inside the holes of your button, then secure on the back with multiple knots. You can then cut your yarn tails: you can also decide to hide the excess yarn inside the braid using a needle, hook or similar tool.
Now you have the bracelet ready, but how to wear it?
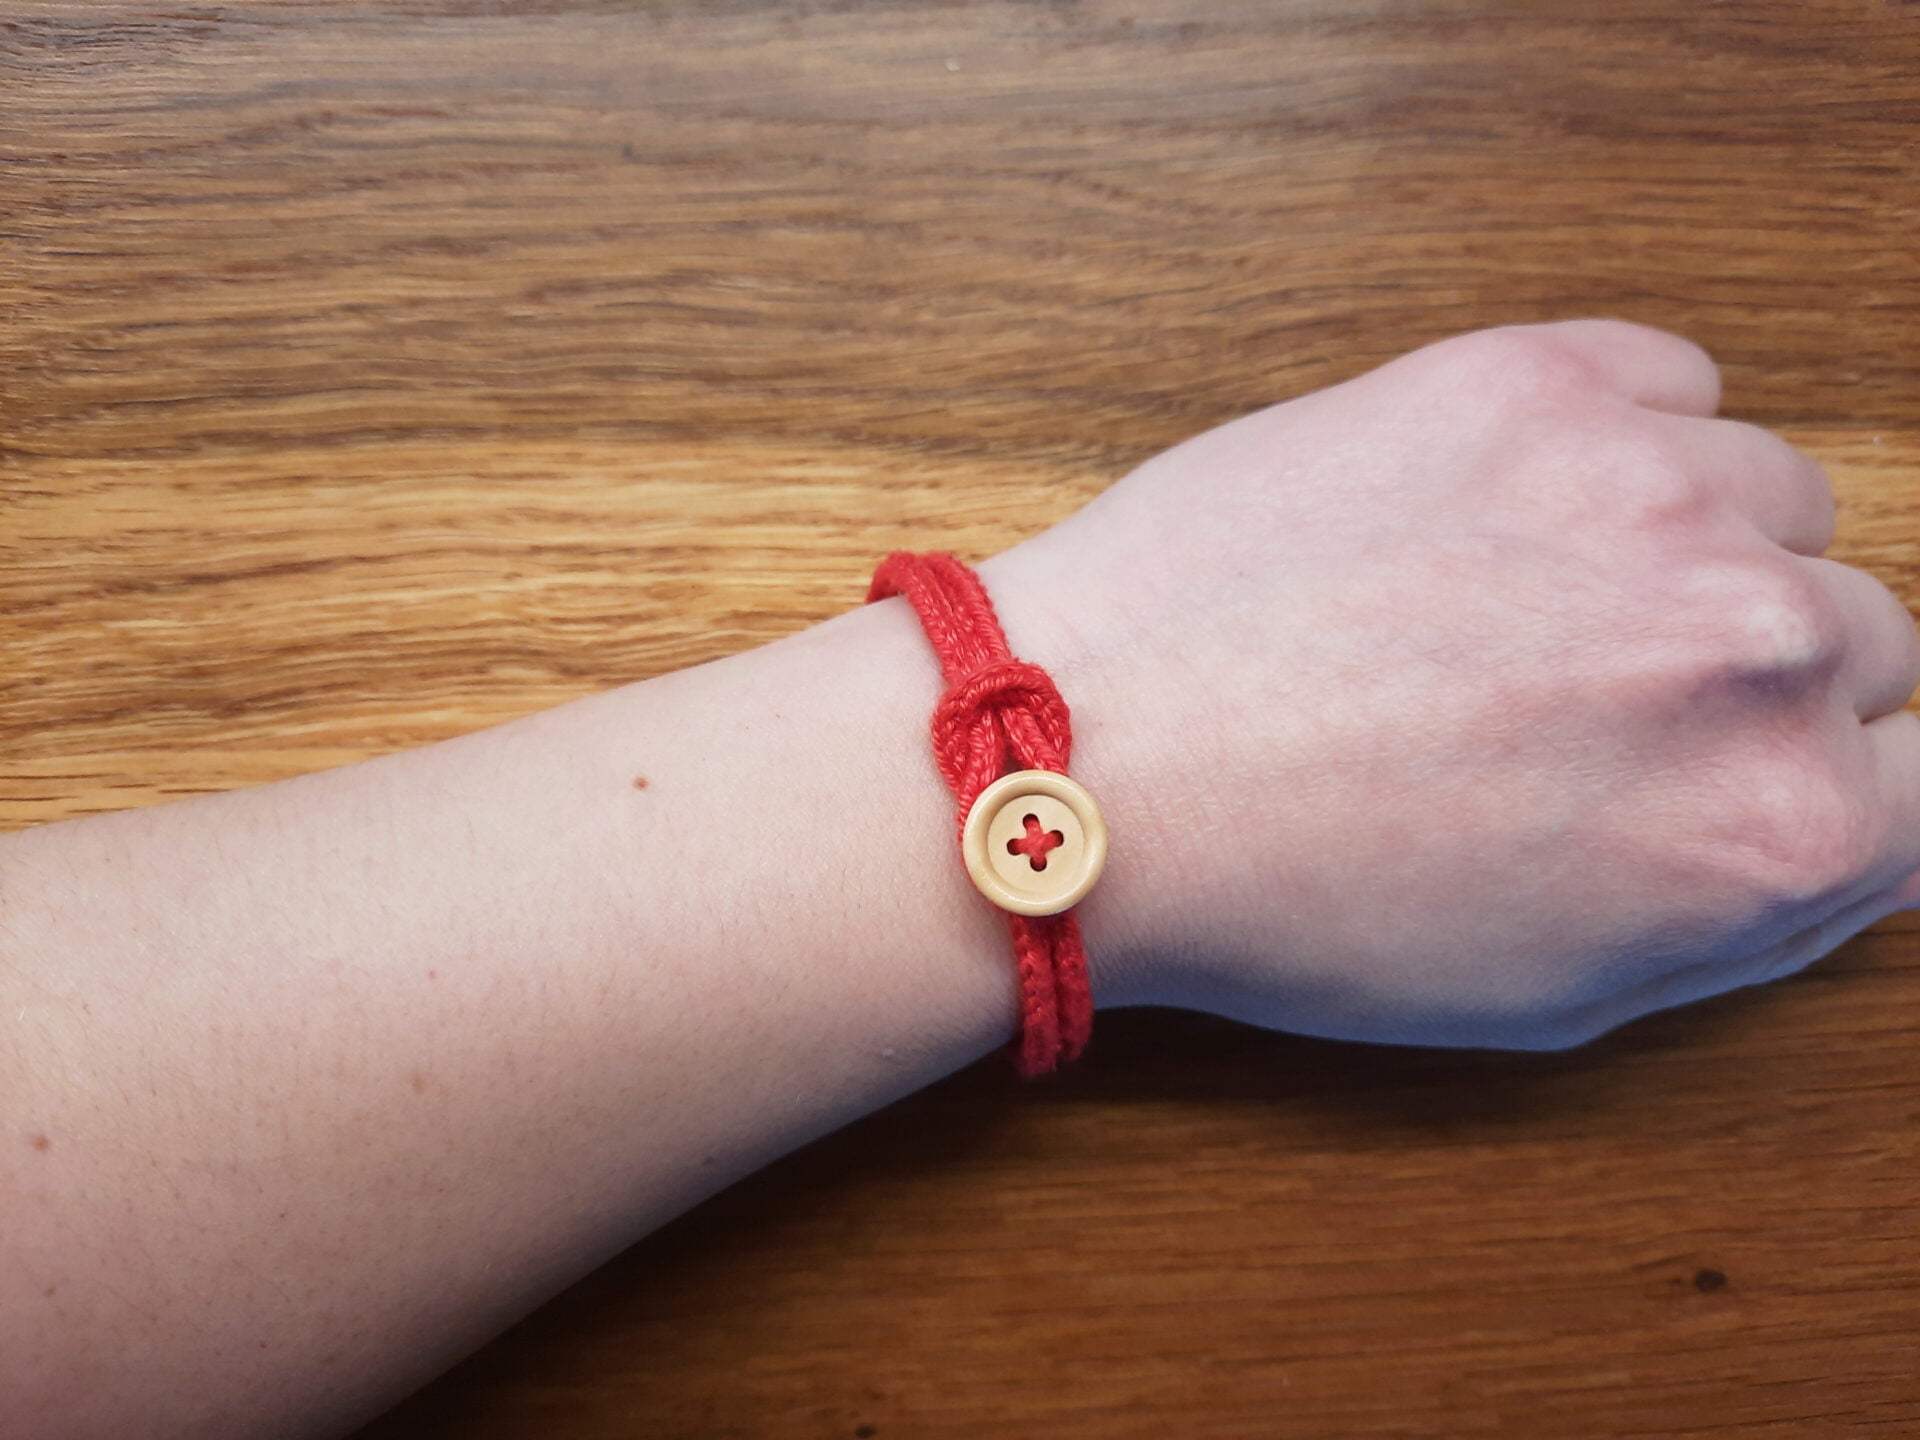
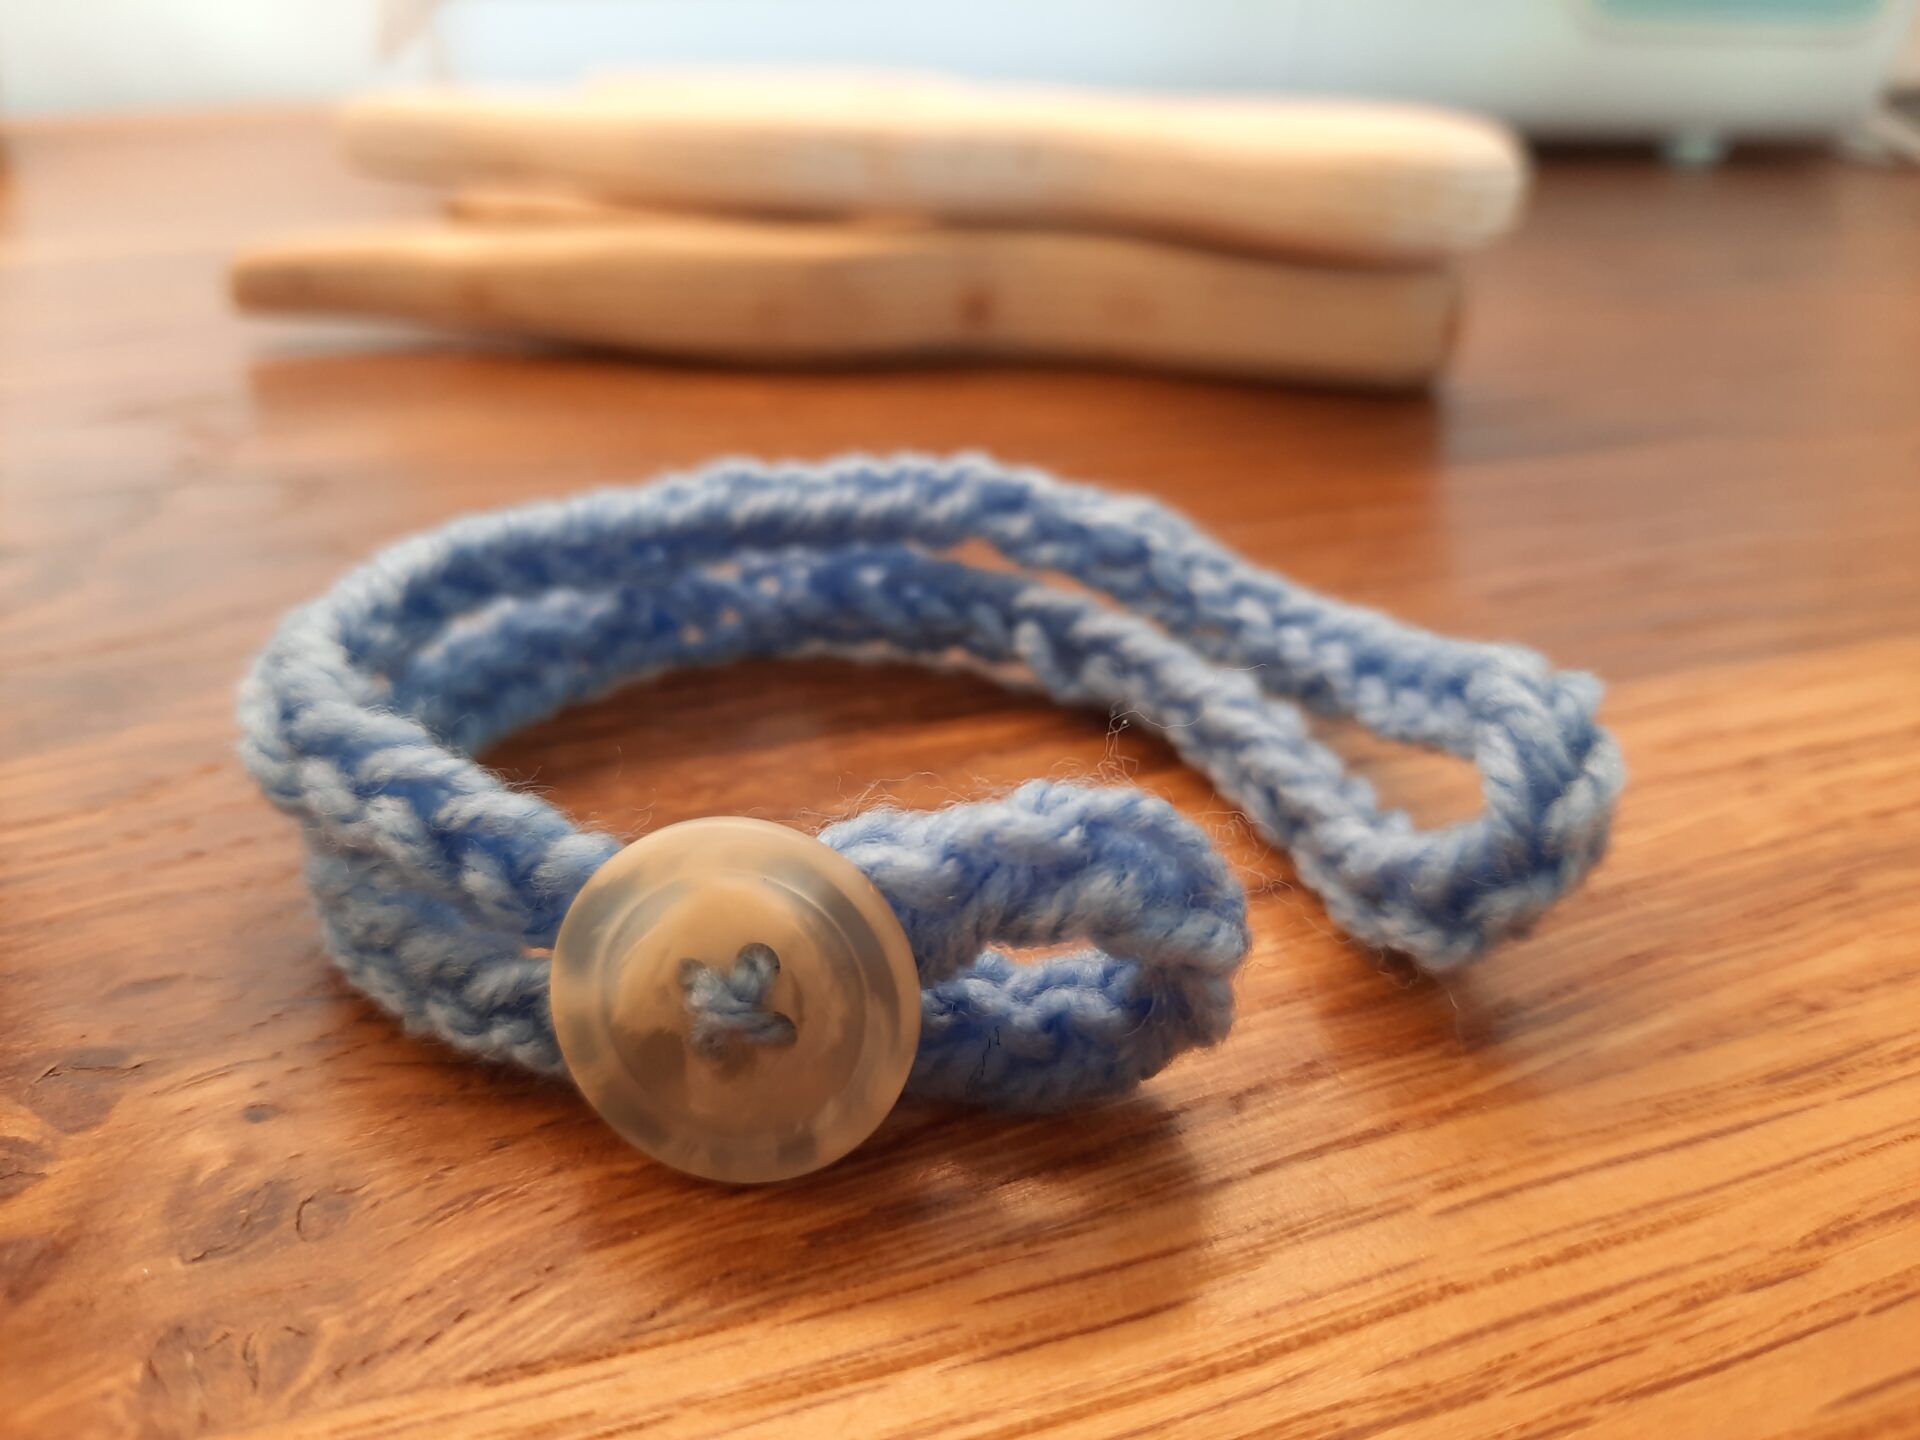
You can wear your bracelet making a decorative knot around the button. Take the far end of your bracelet, the one without the button: pass it inside the buttonhole, then secure it around the button.
You’ll end up with a decorative closure.
Be sure to choose a good-looking button: it will become the most prominent feature of your creation.


Reef-knot bracelet (one or two colors)


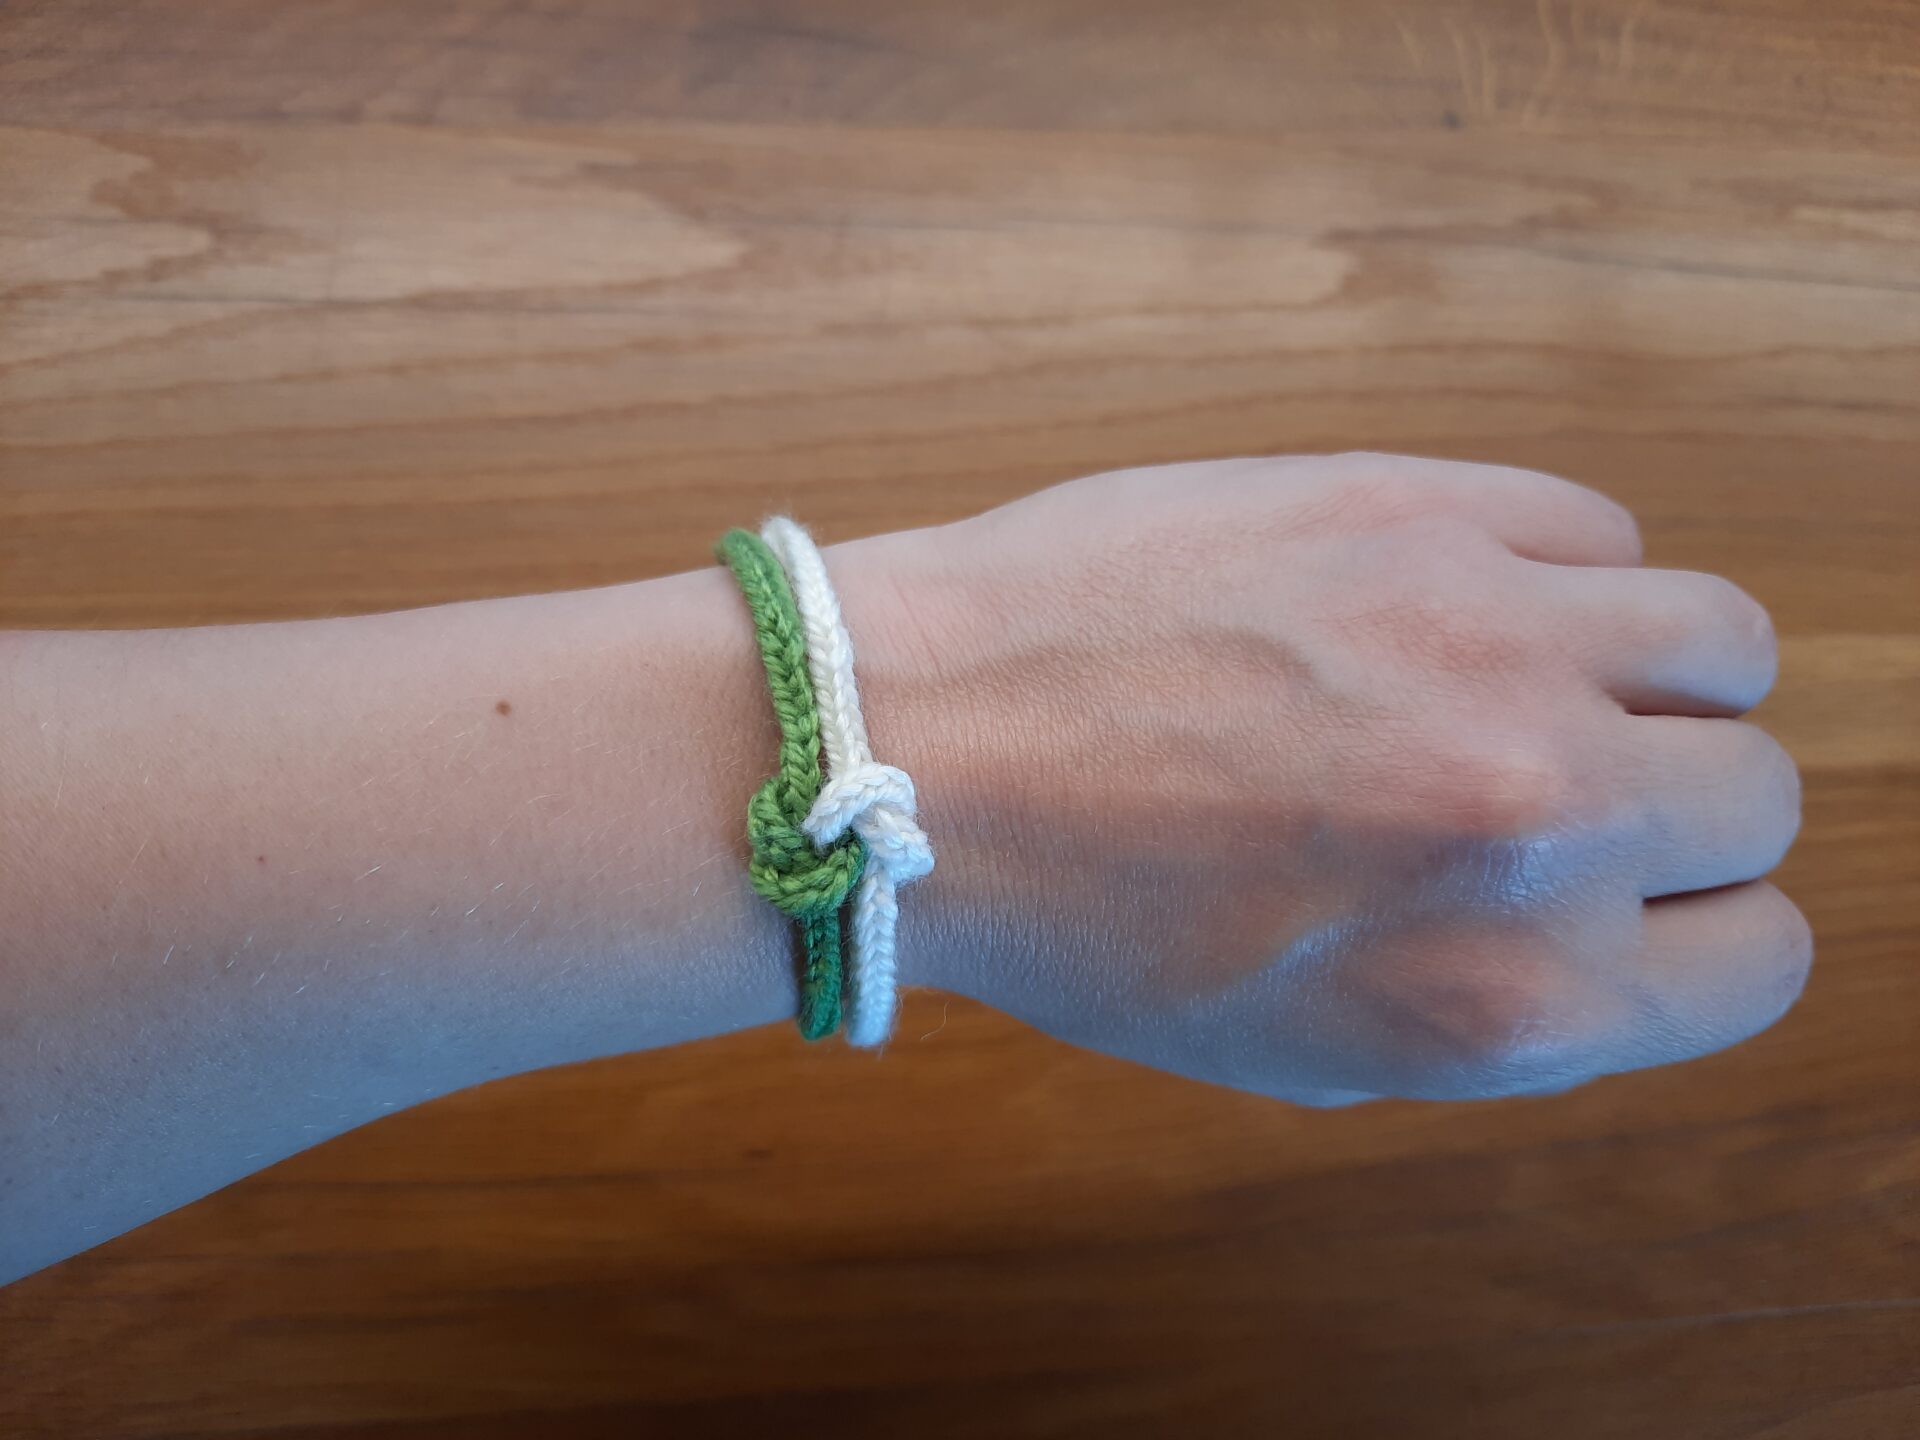
One of my favourite bracelet designs. You can choose a single color or two matching colors, and attach two cords with a decorative knot.
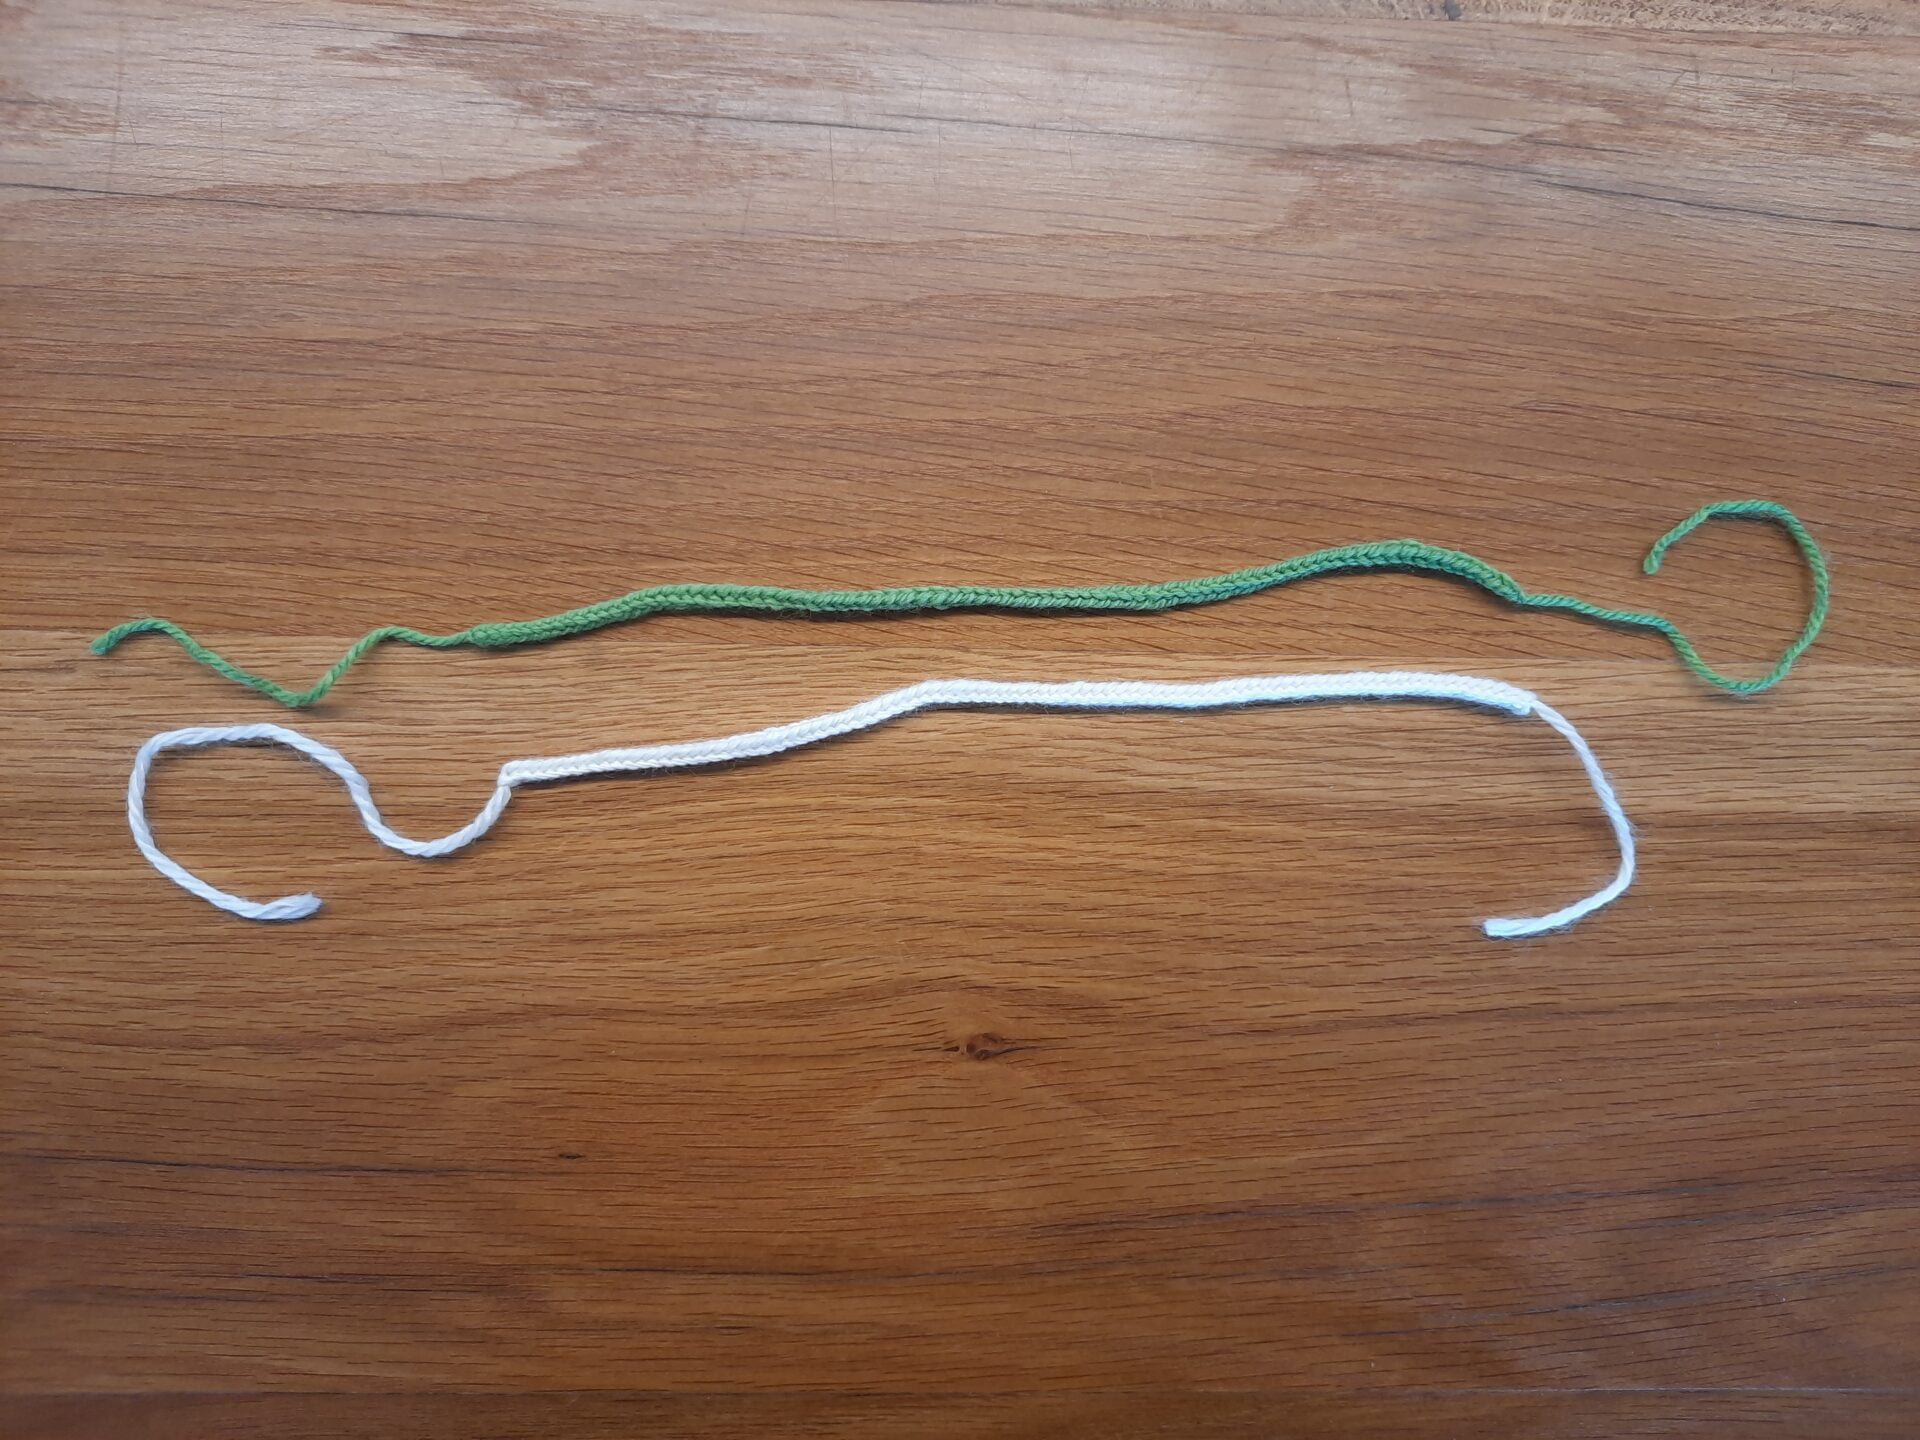
First, braid two cords as long as the circumference of your wrist, plus one cm. That lenght depends on how loose you want your bracelet. Once they are ready, as in the previous tutorial, use the excess yarn on both ends to secure them: make each cord into a closed loop.
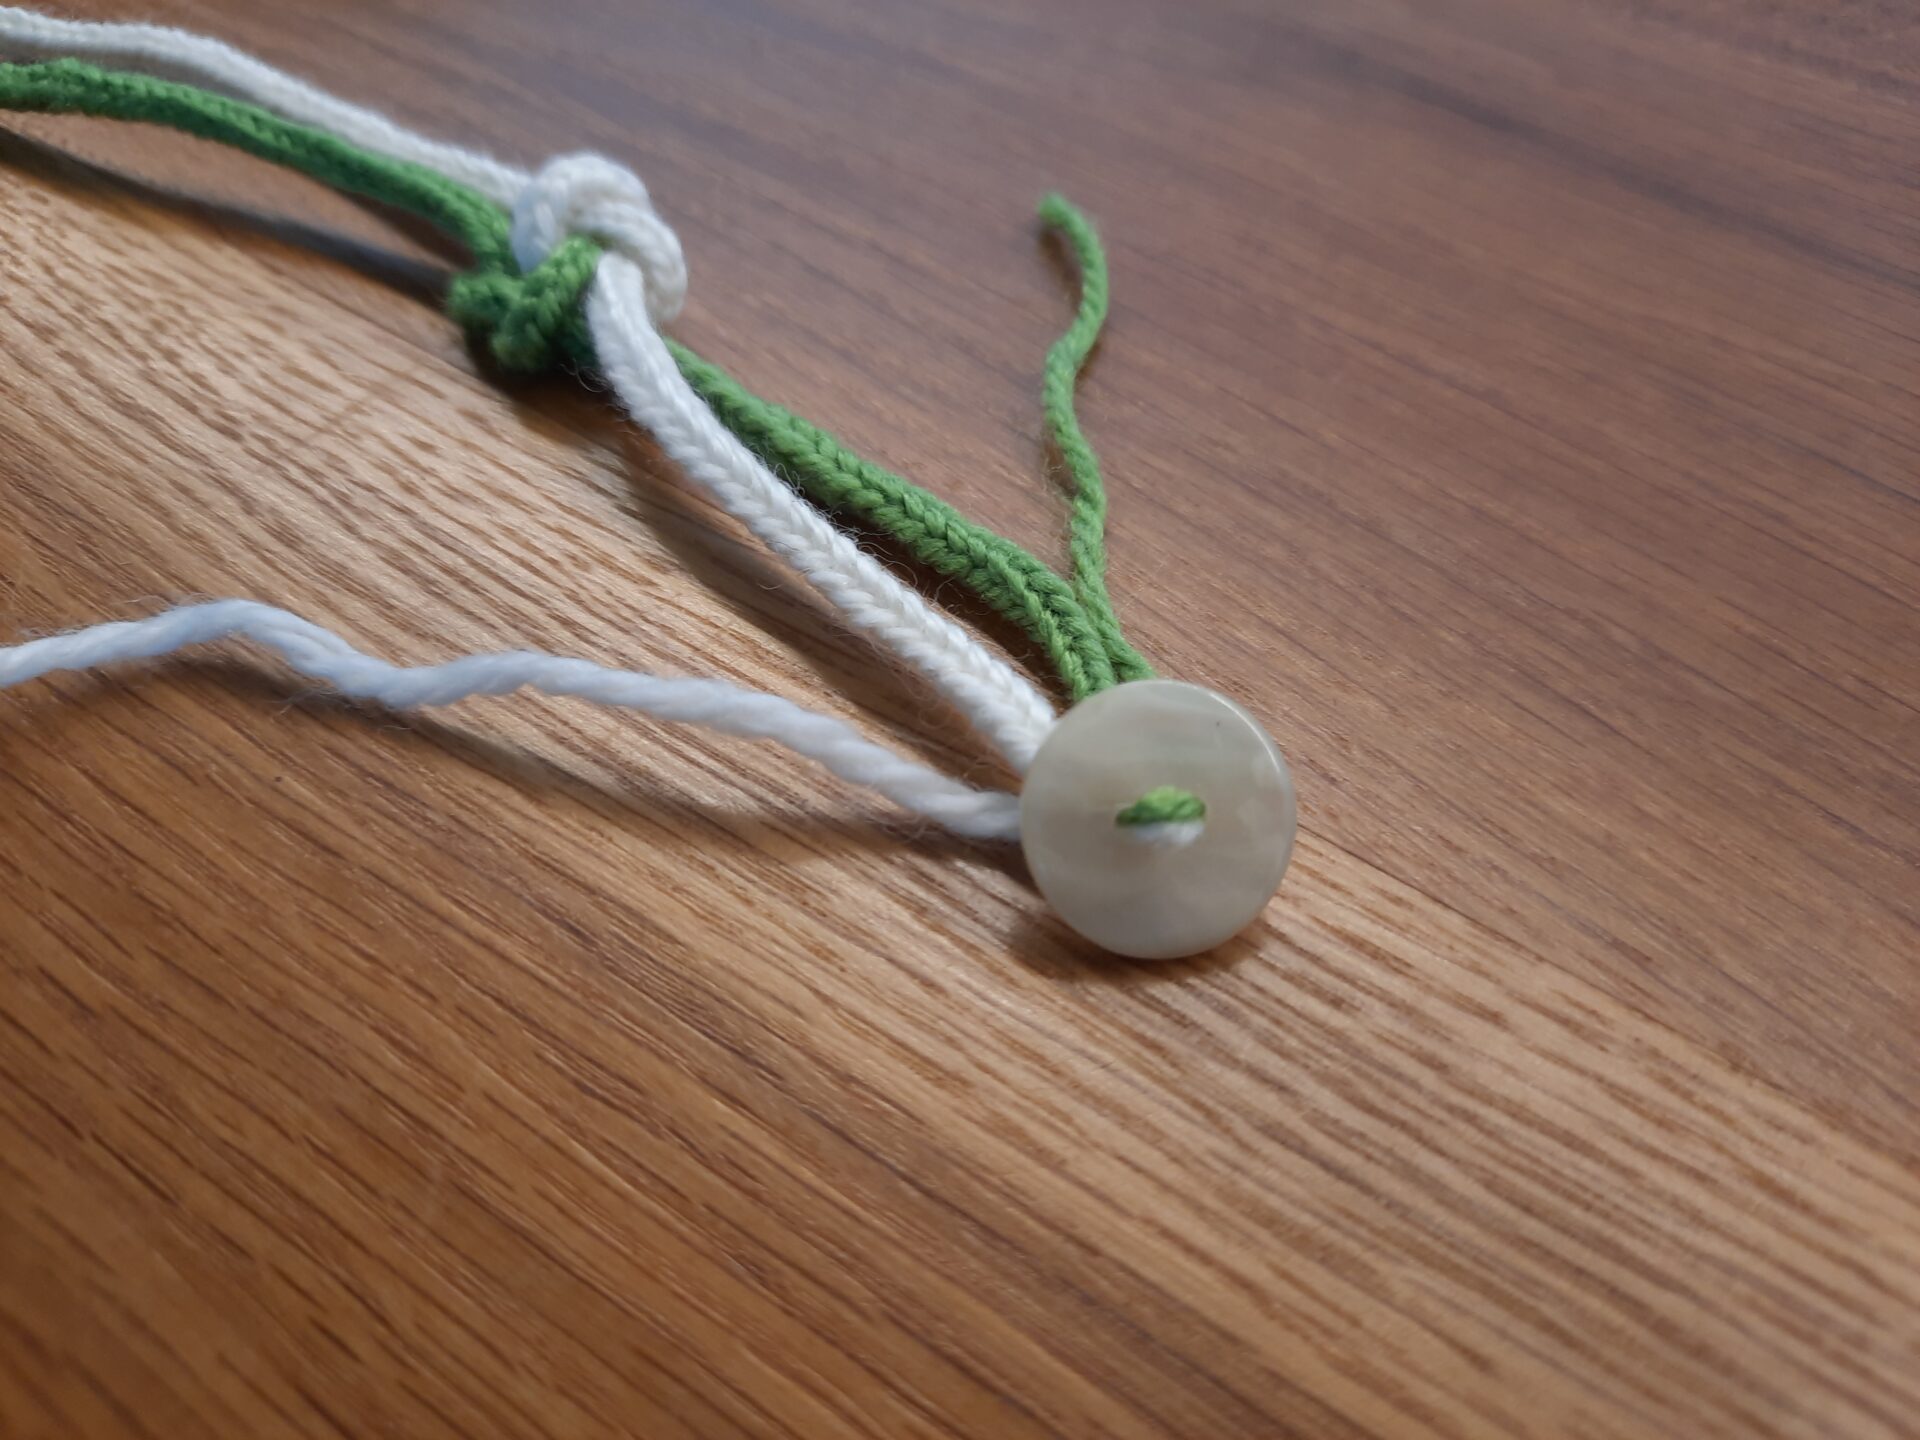
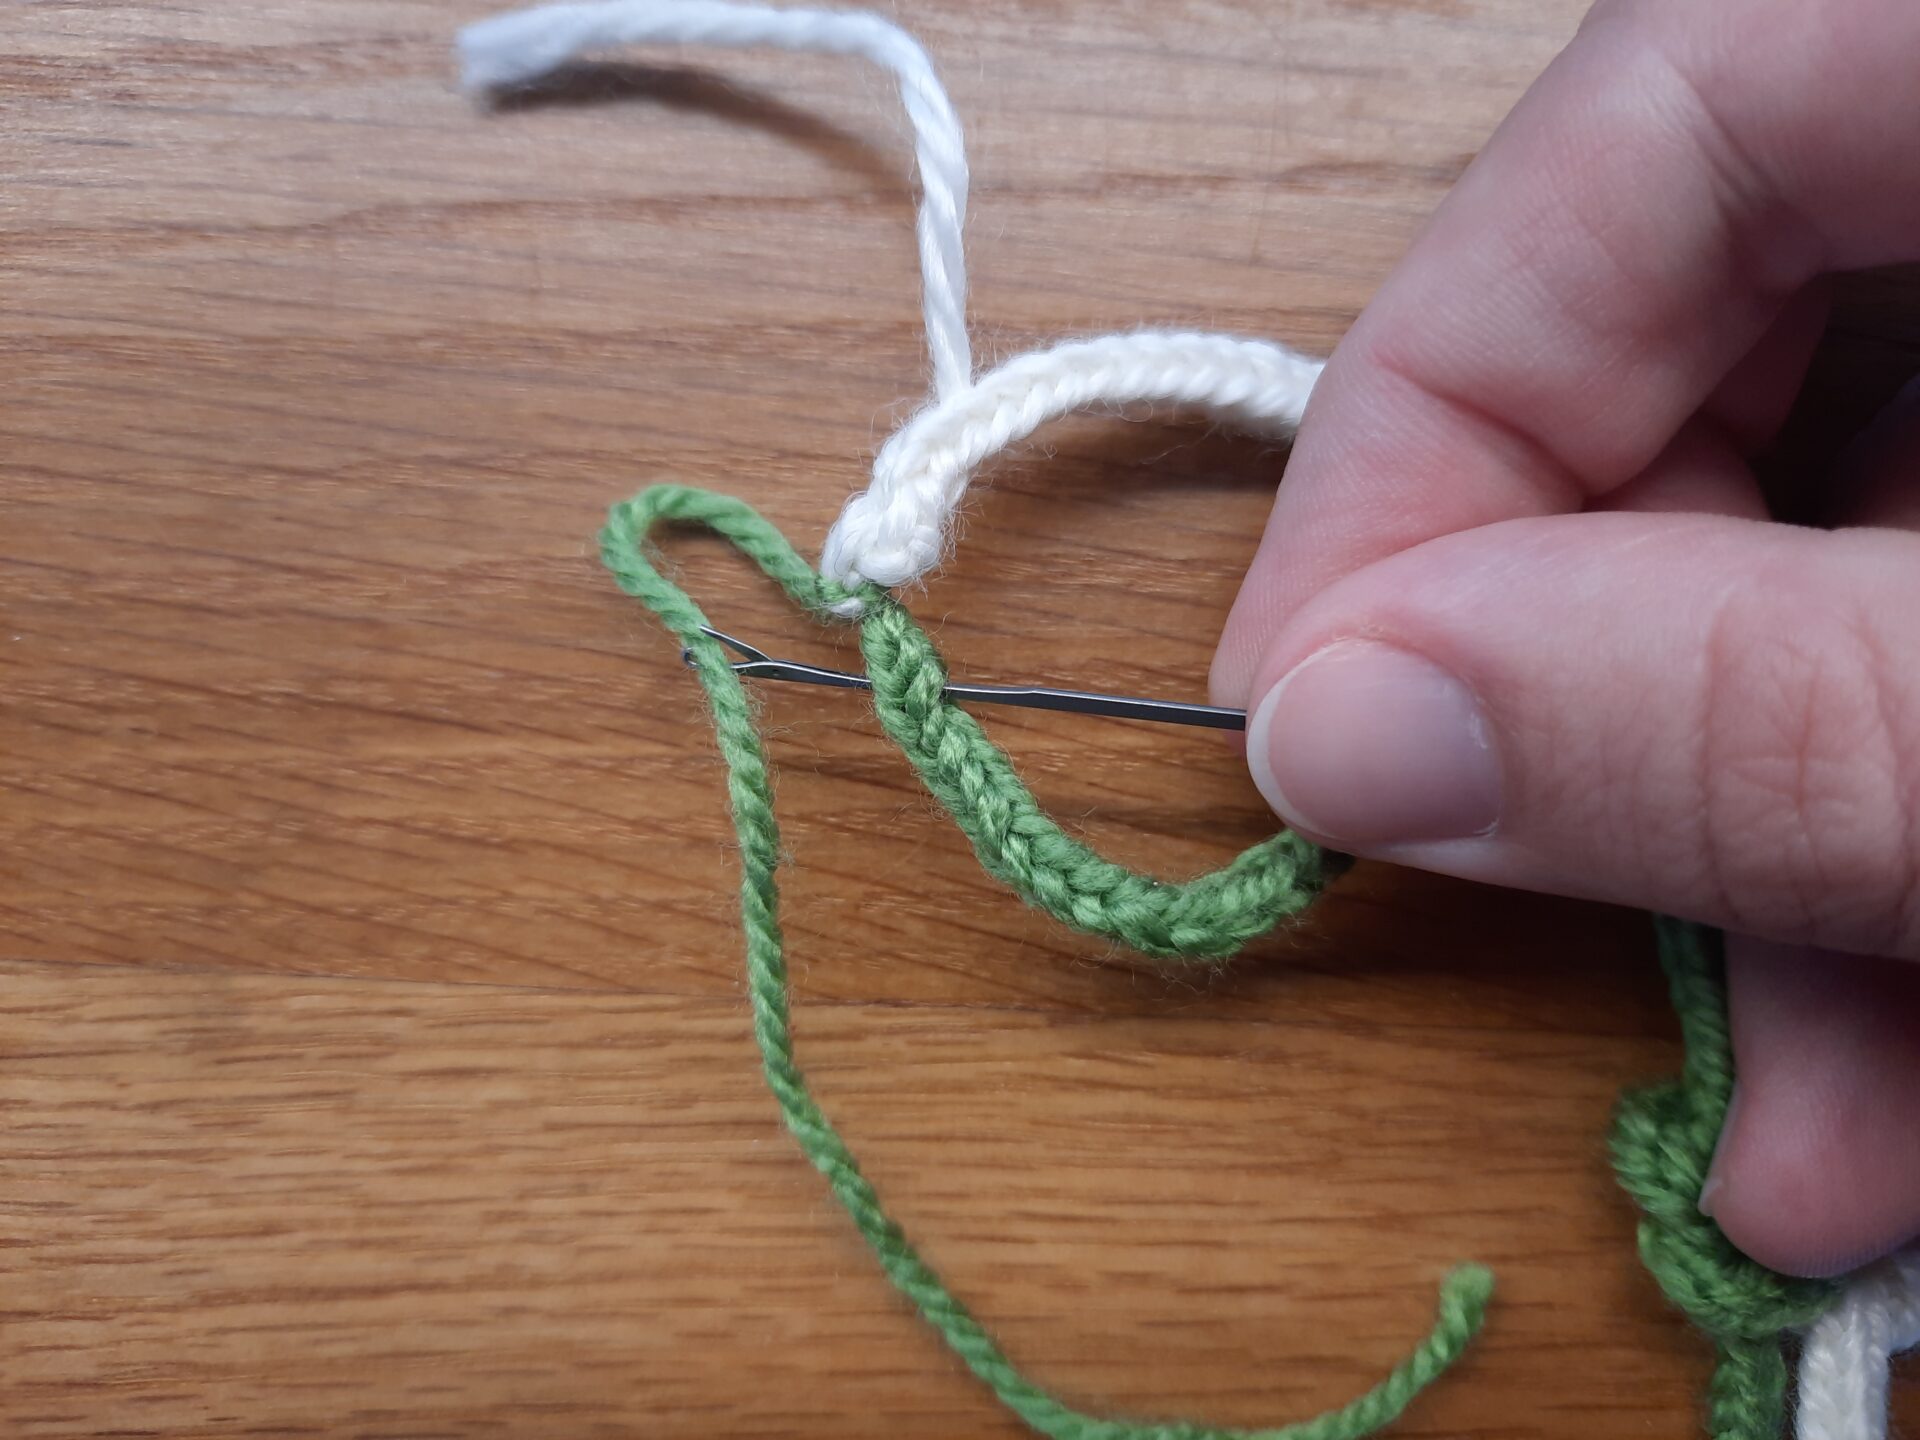
Don’t cut the tails away just yet: you need them to make the buttonhole on one looped cord, and to attach the button on the other. Again, measure the size needed for your chosen button to pass through, wrap the yarn around your cord multiple times, then secure with more than one knot, for improved strenght. On the second looped cord, thread your button with the tails, then secure on the back with multiple knots. Same as in the previous example, but on two different cords.
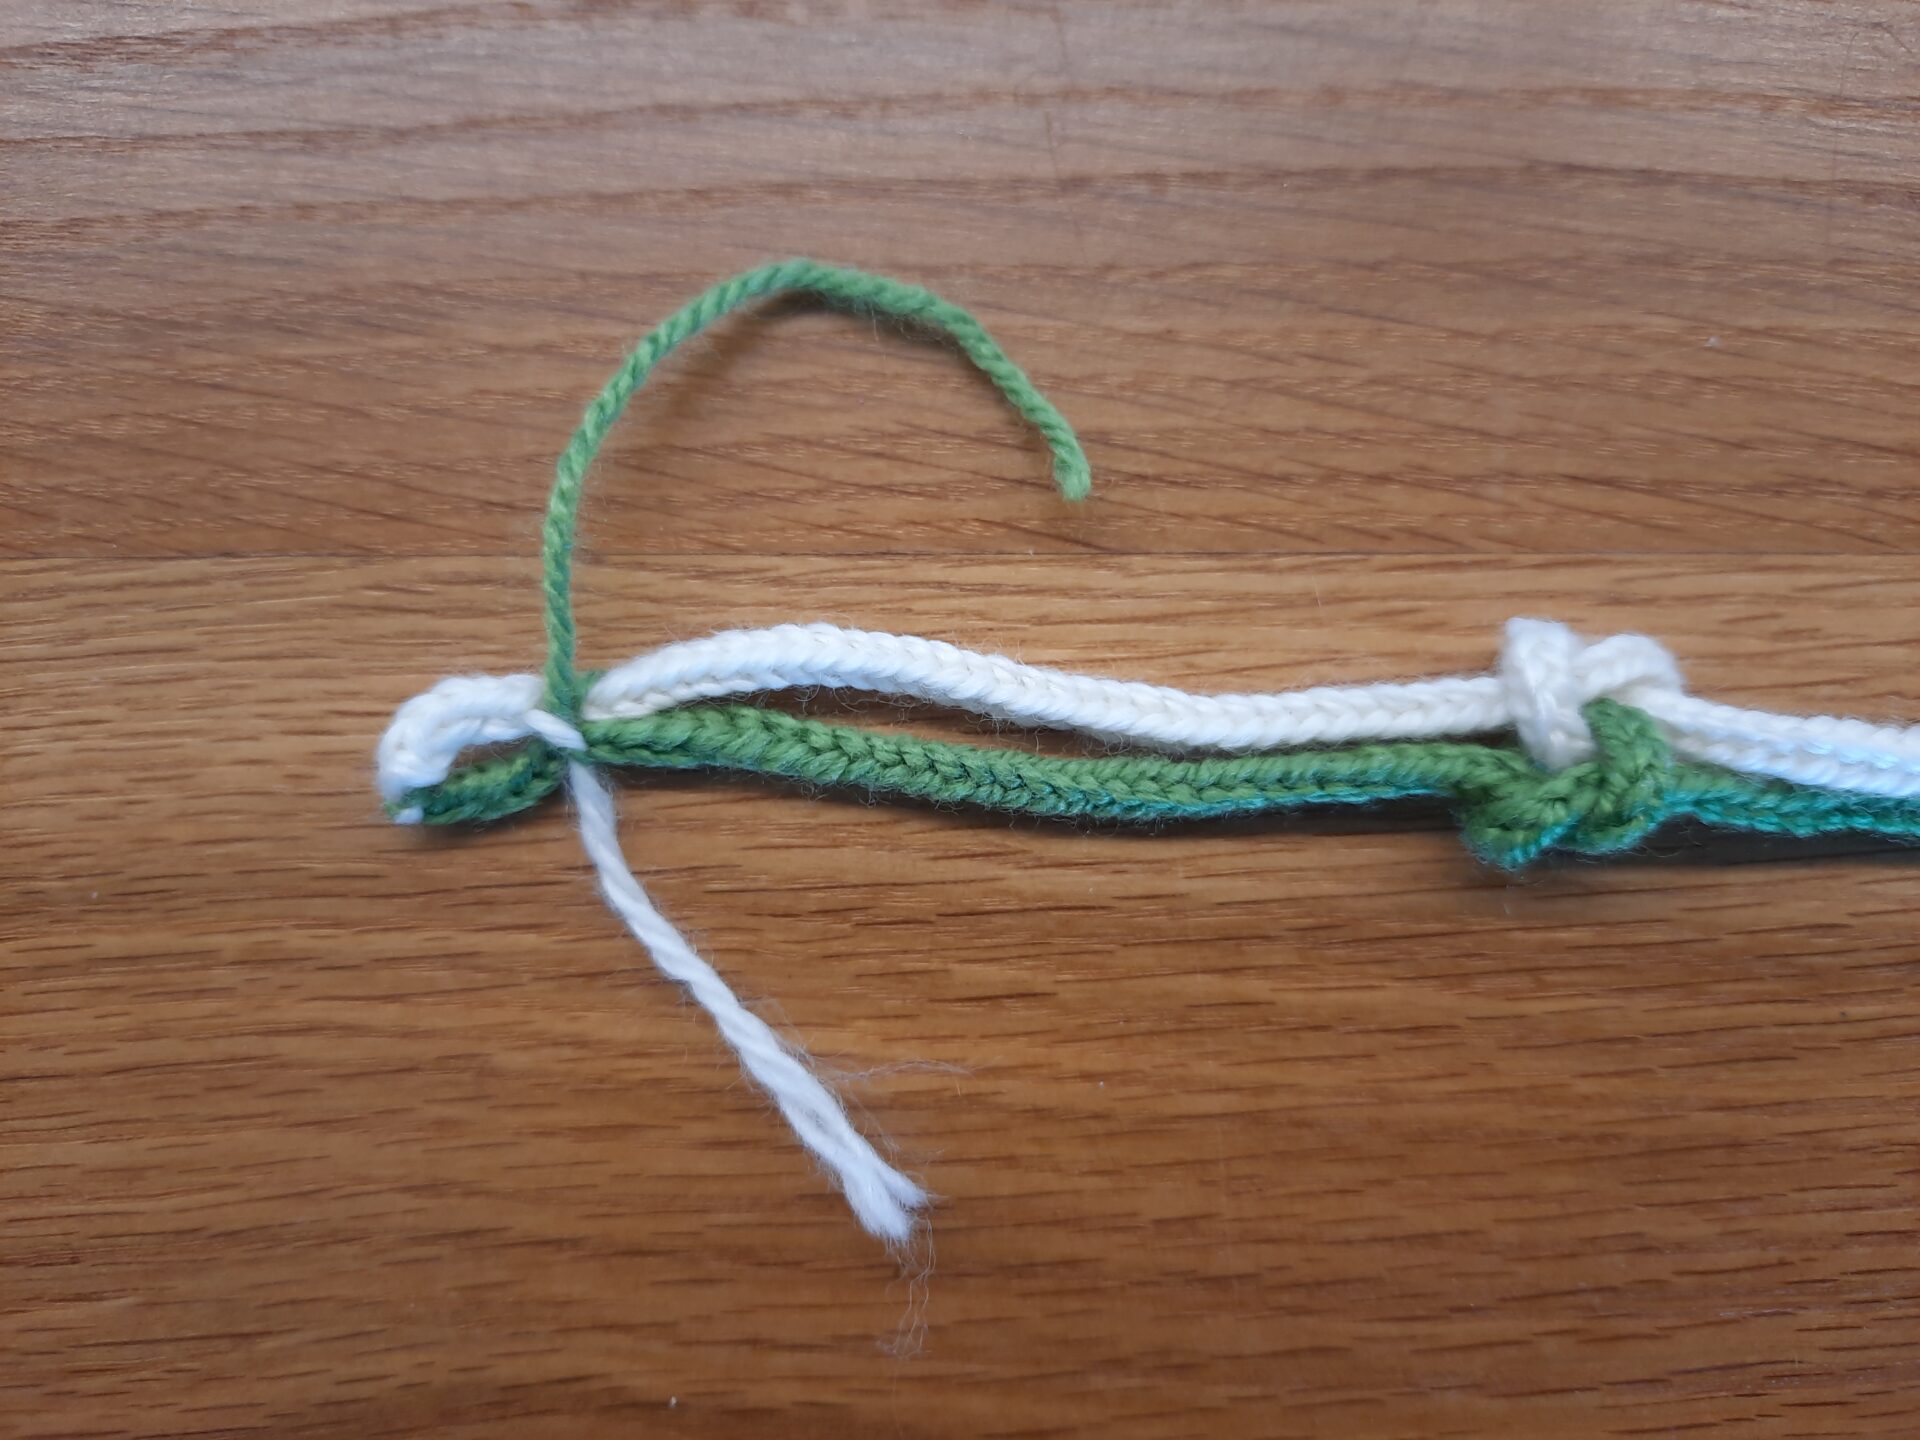
Time now to hide your excess yarn inside the cords and cut away what remains.
You have now two loops that you could fit your wrist into: time to craft a proper knotted bracelet.
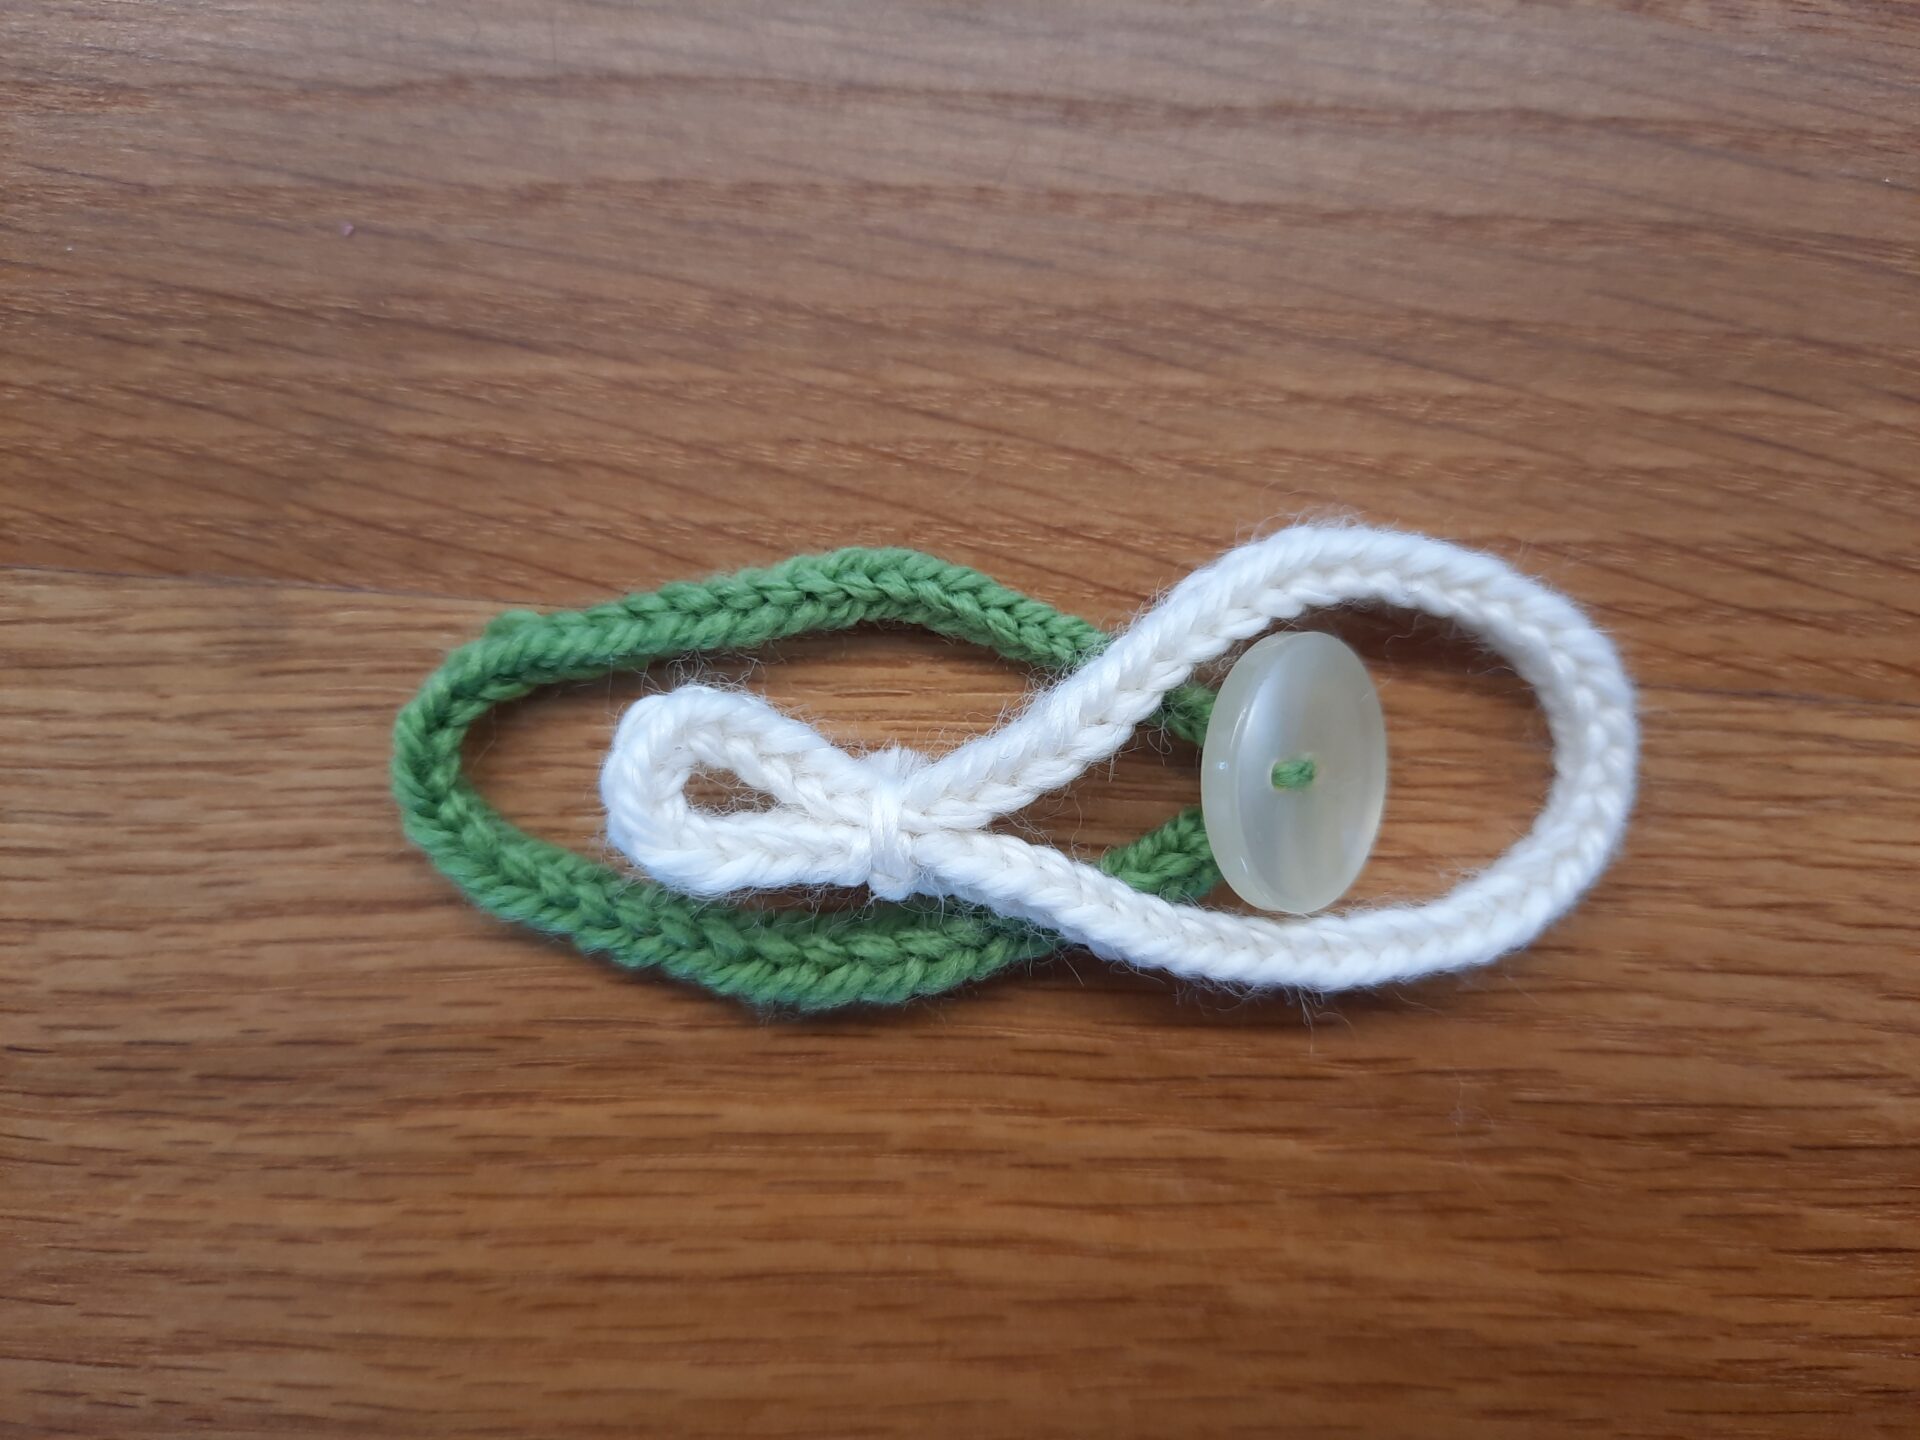
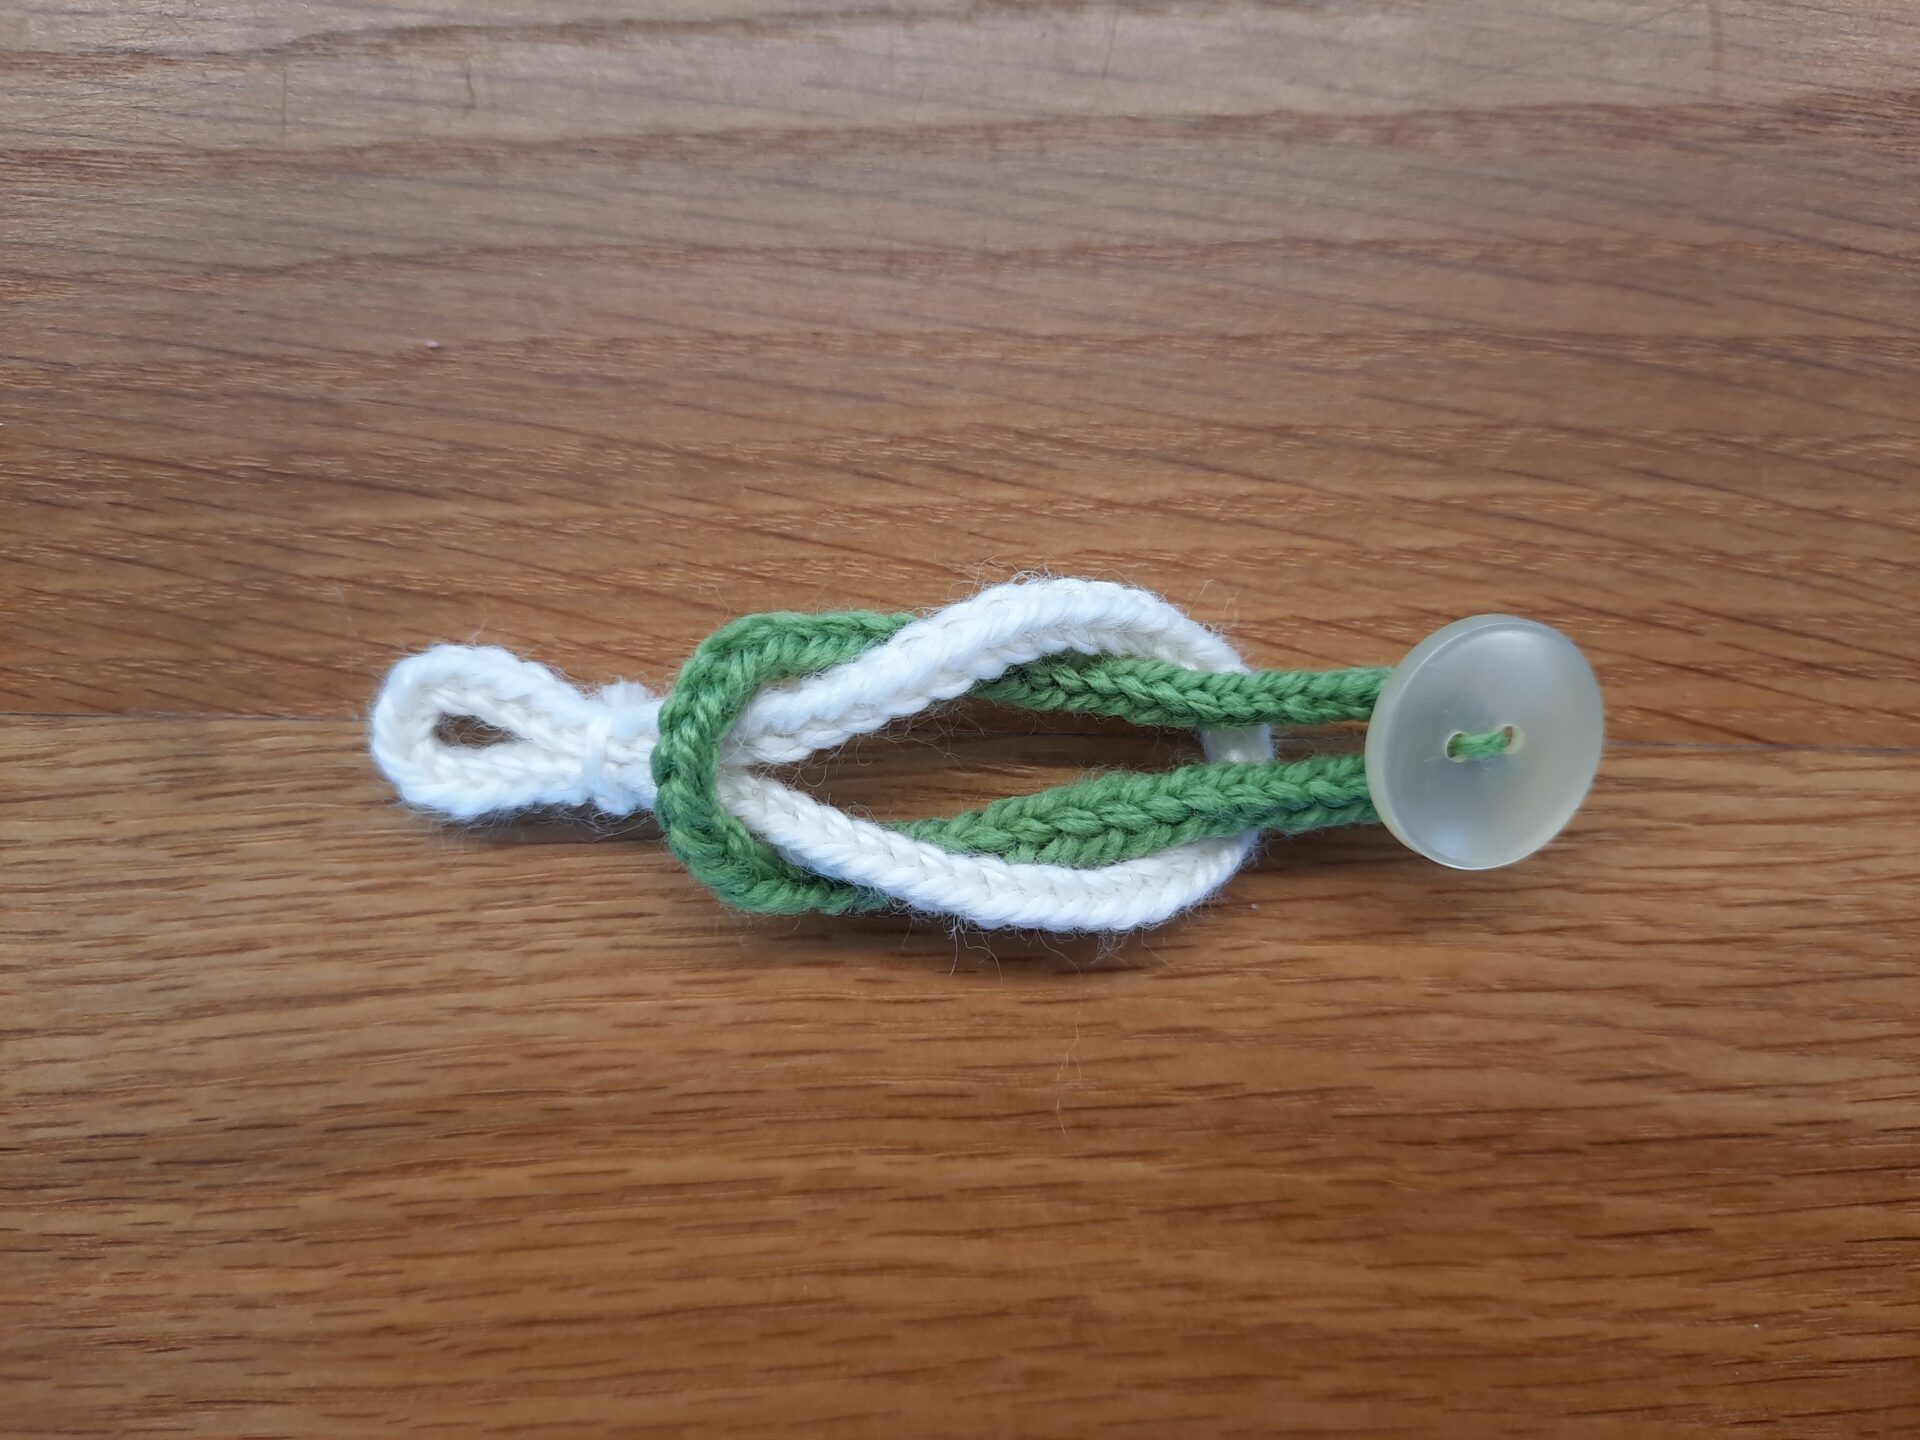
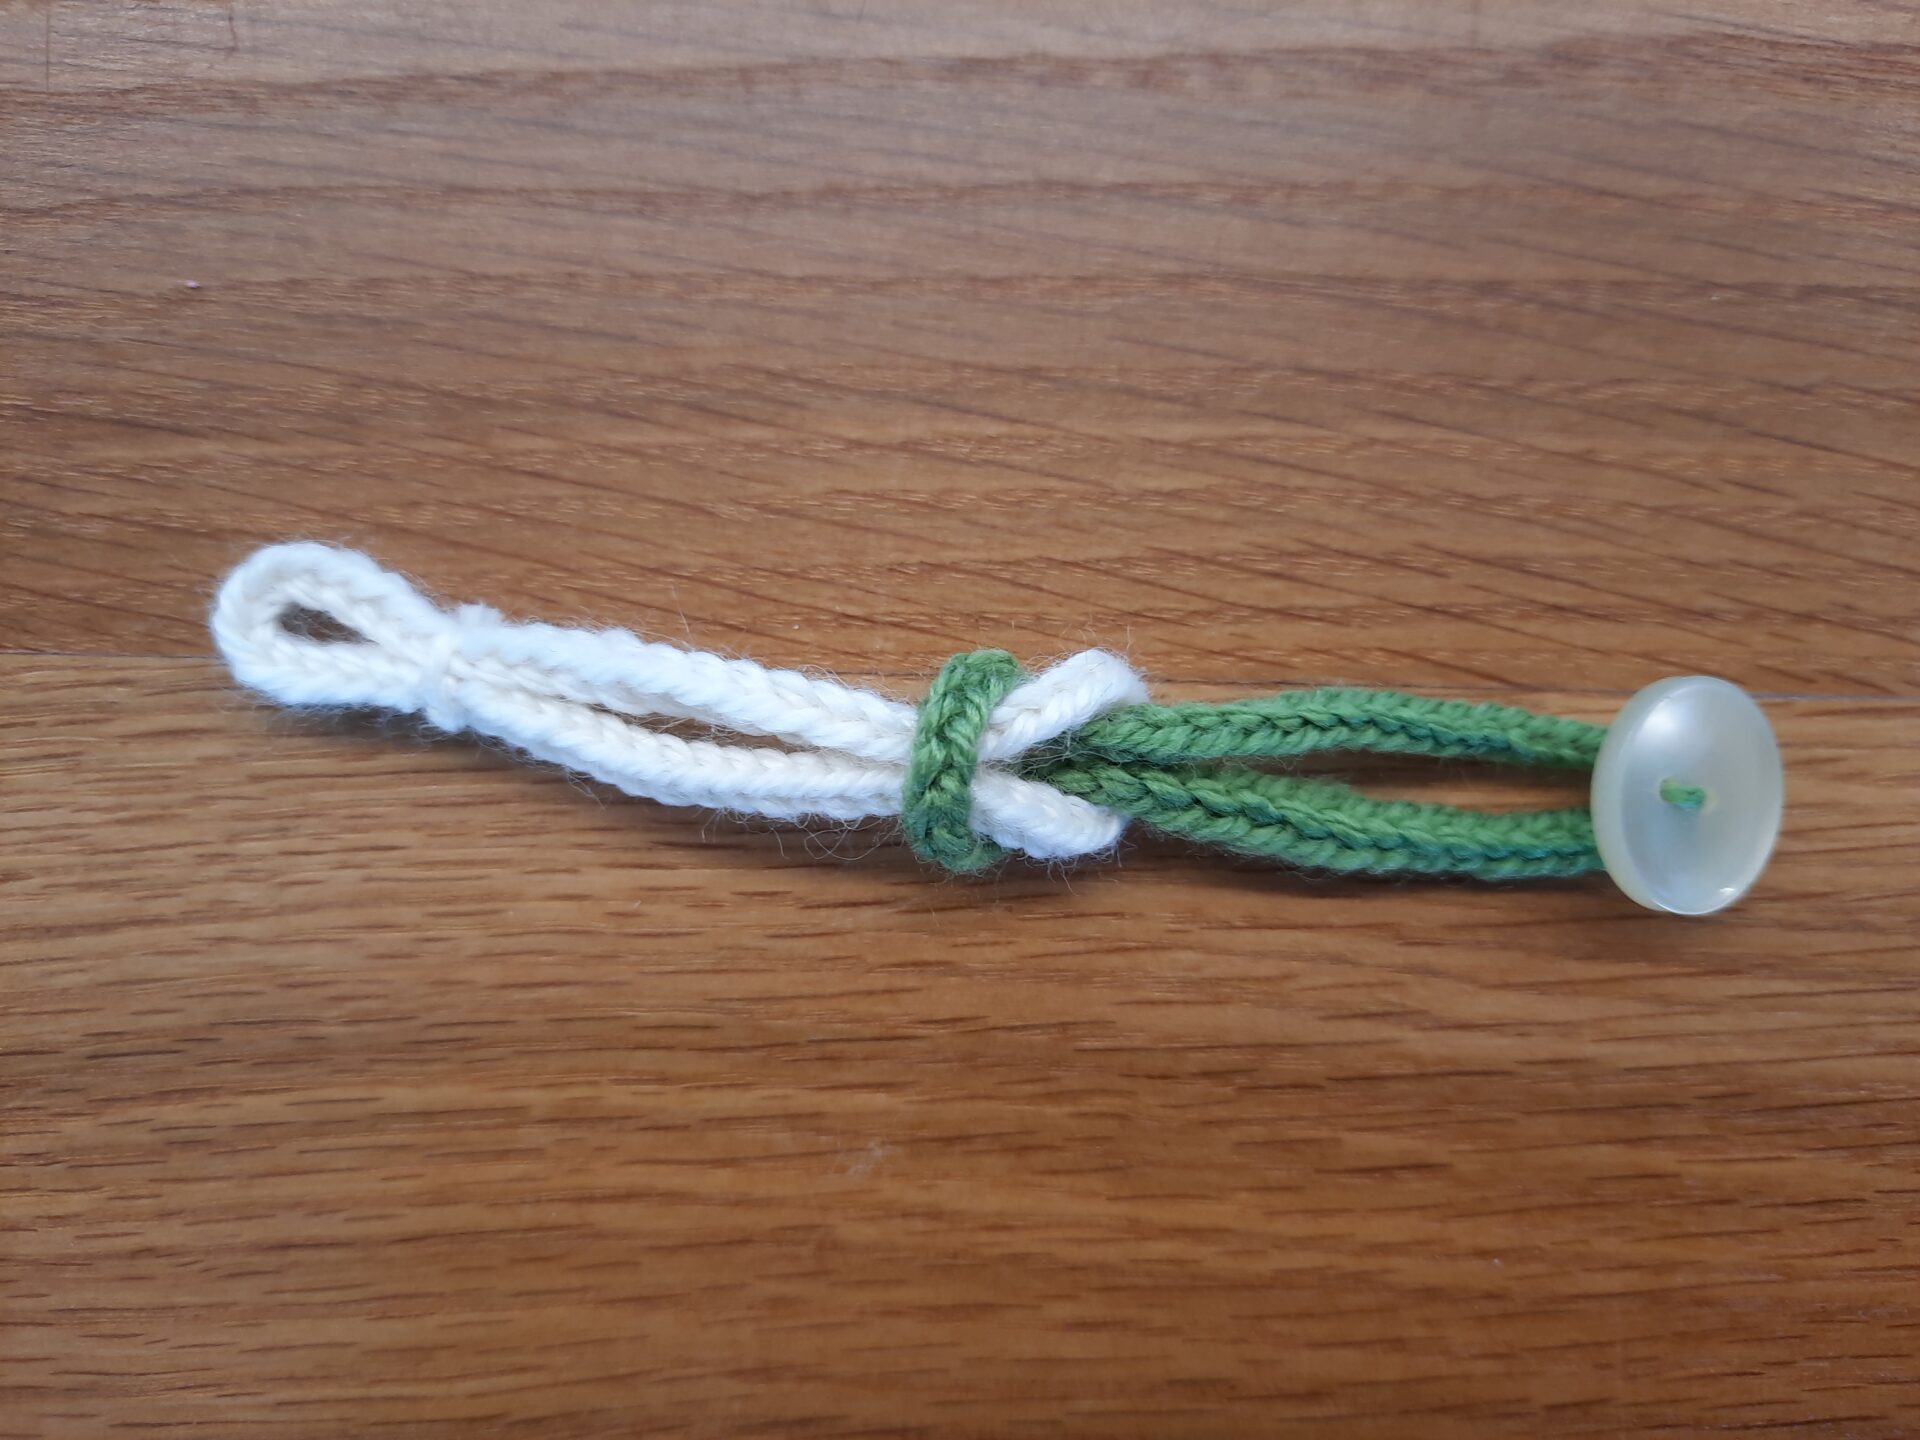
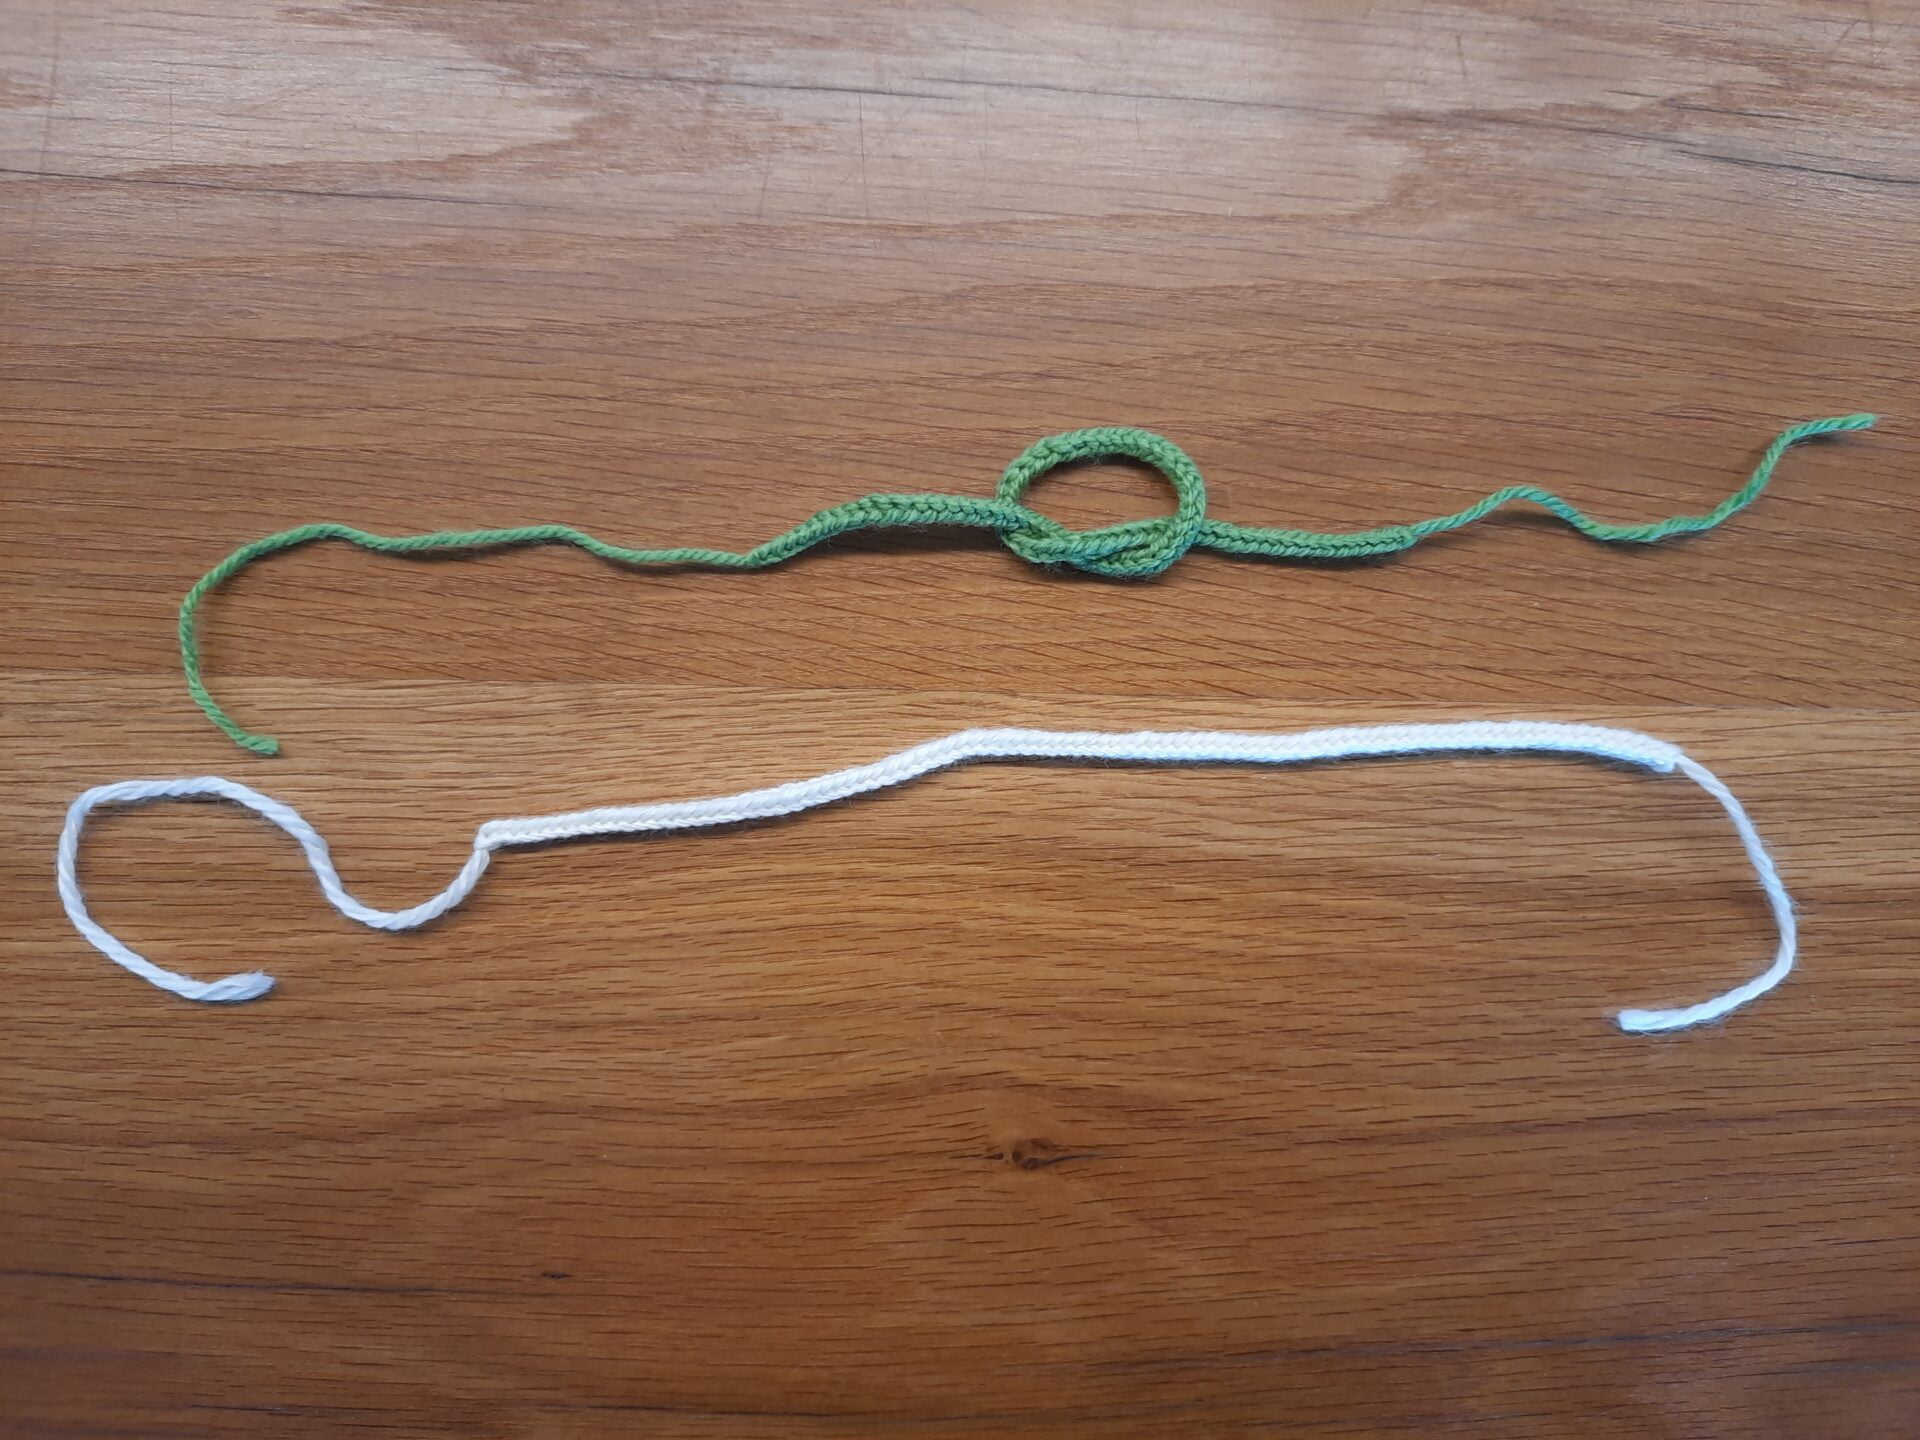
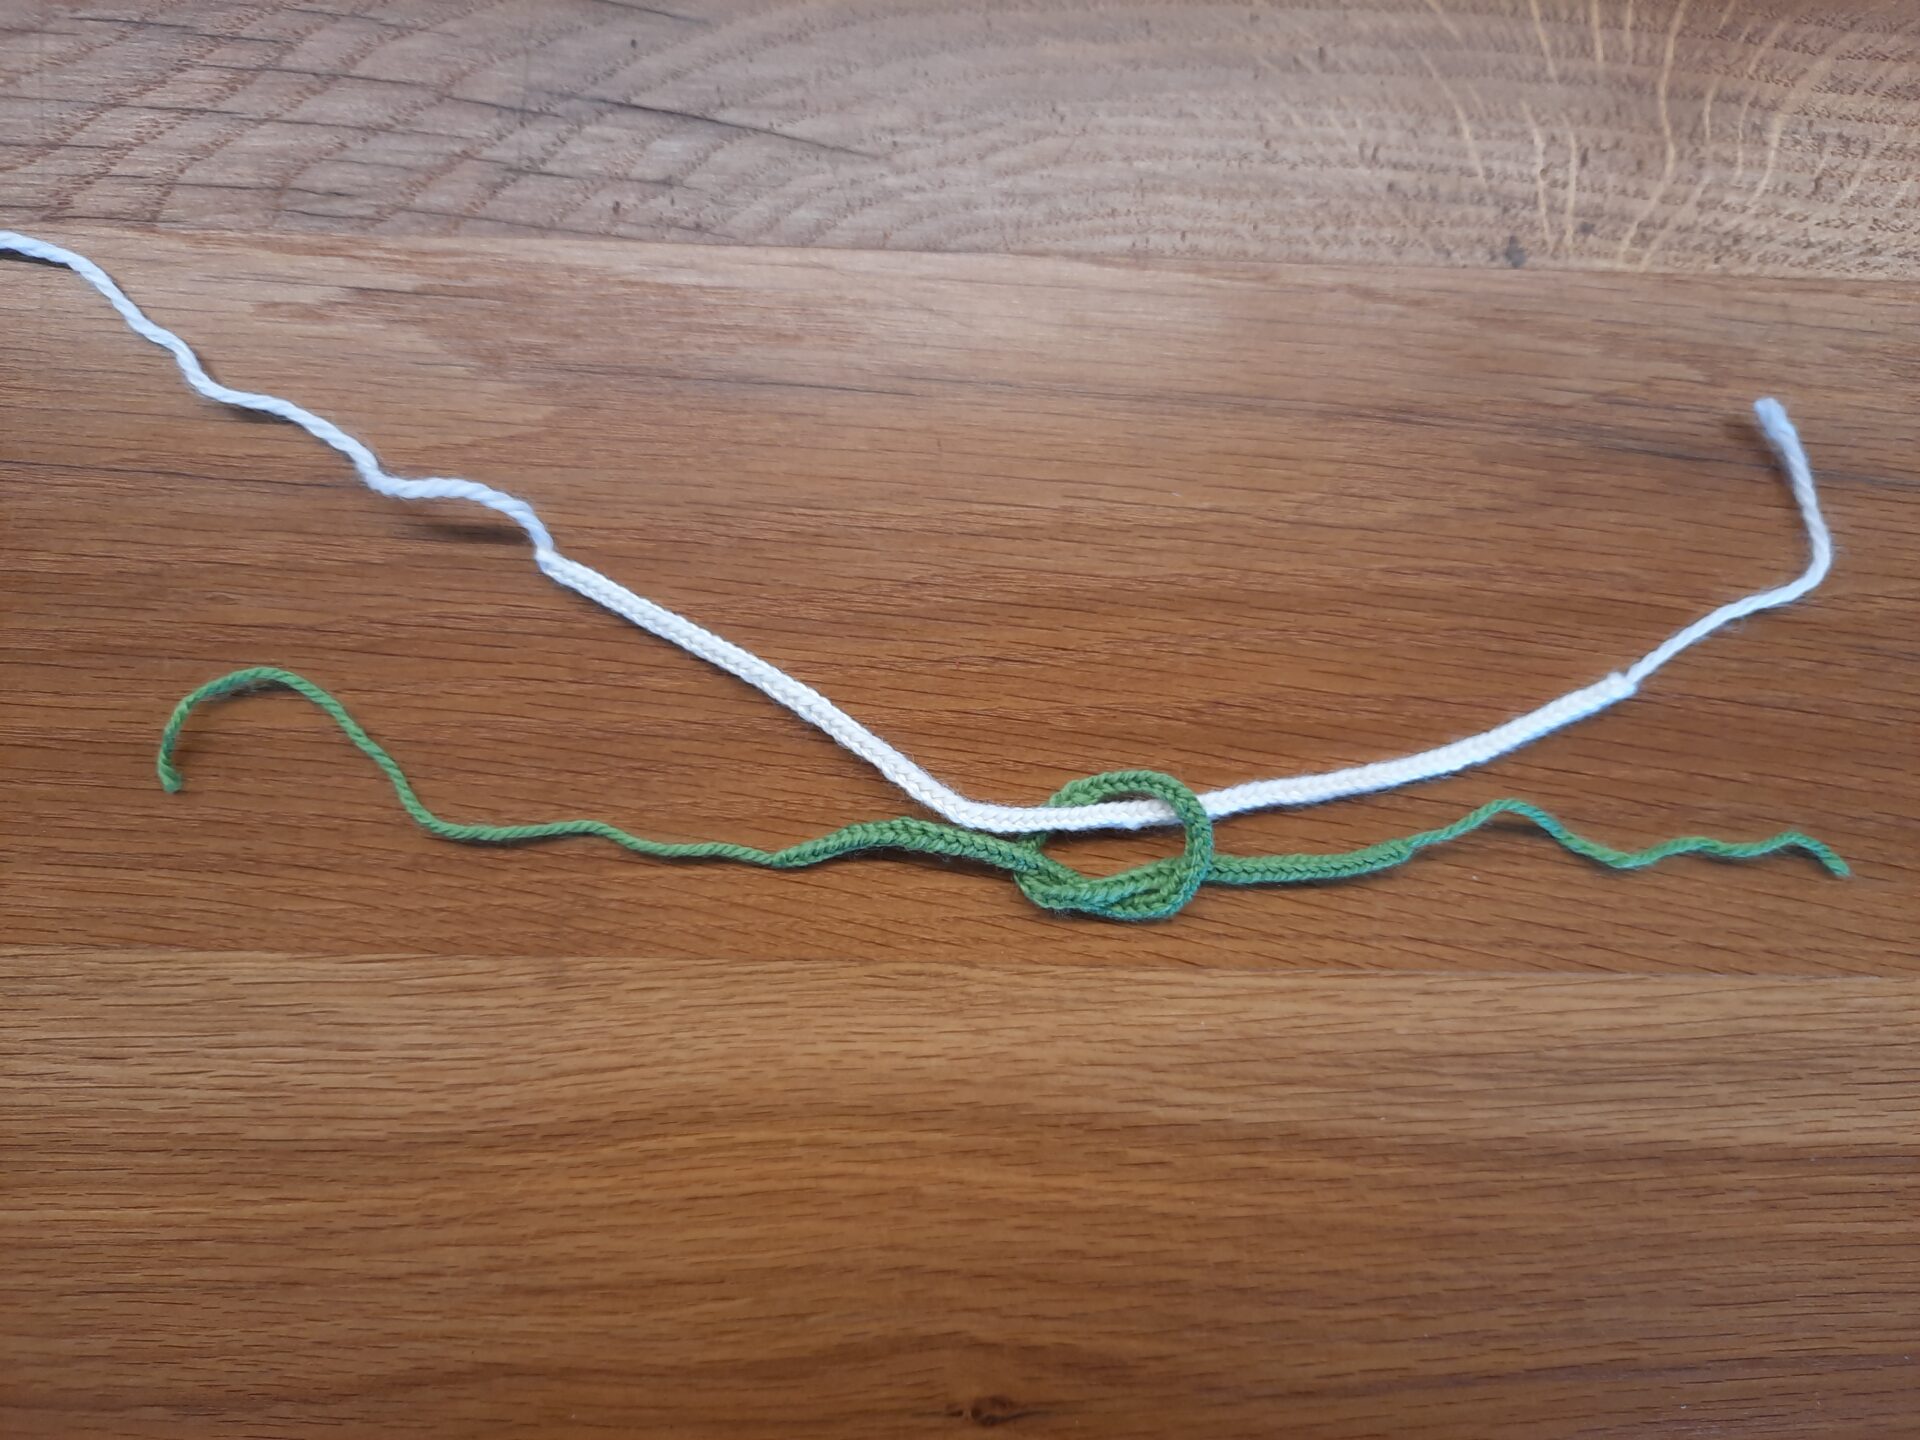
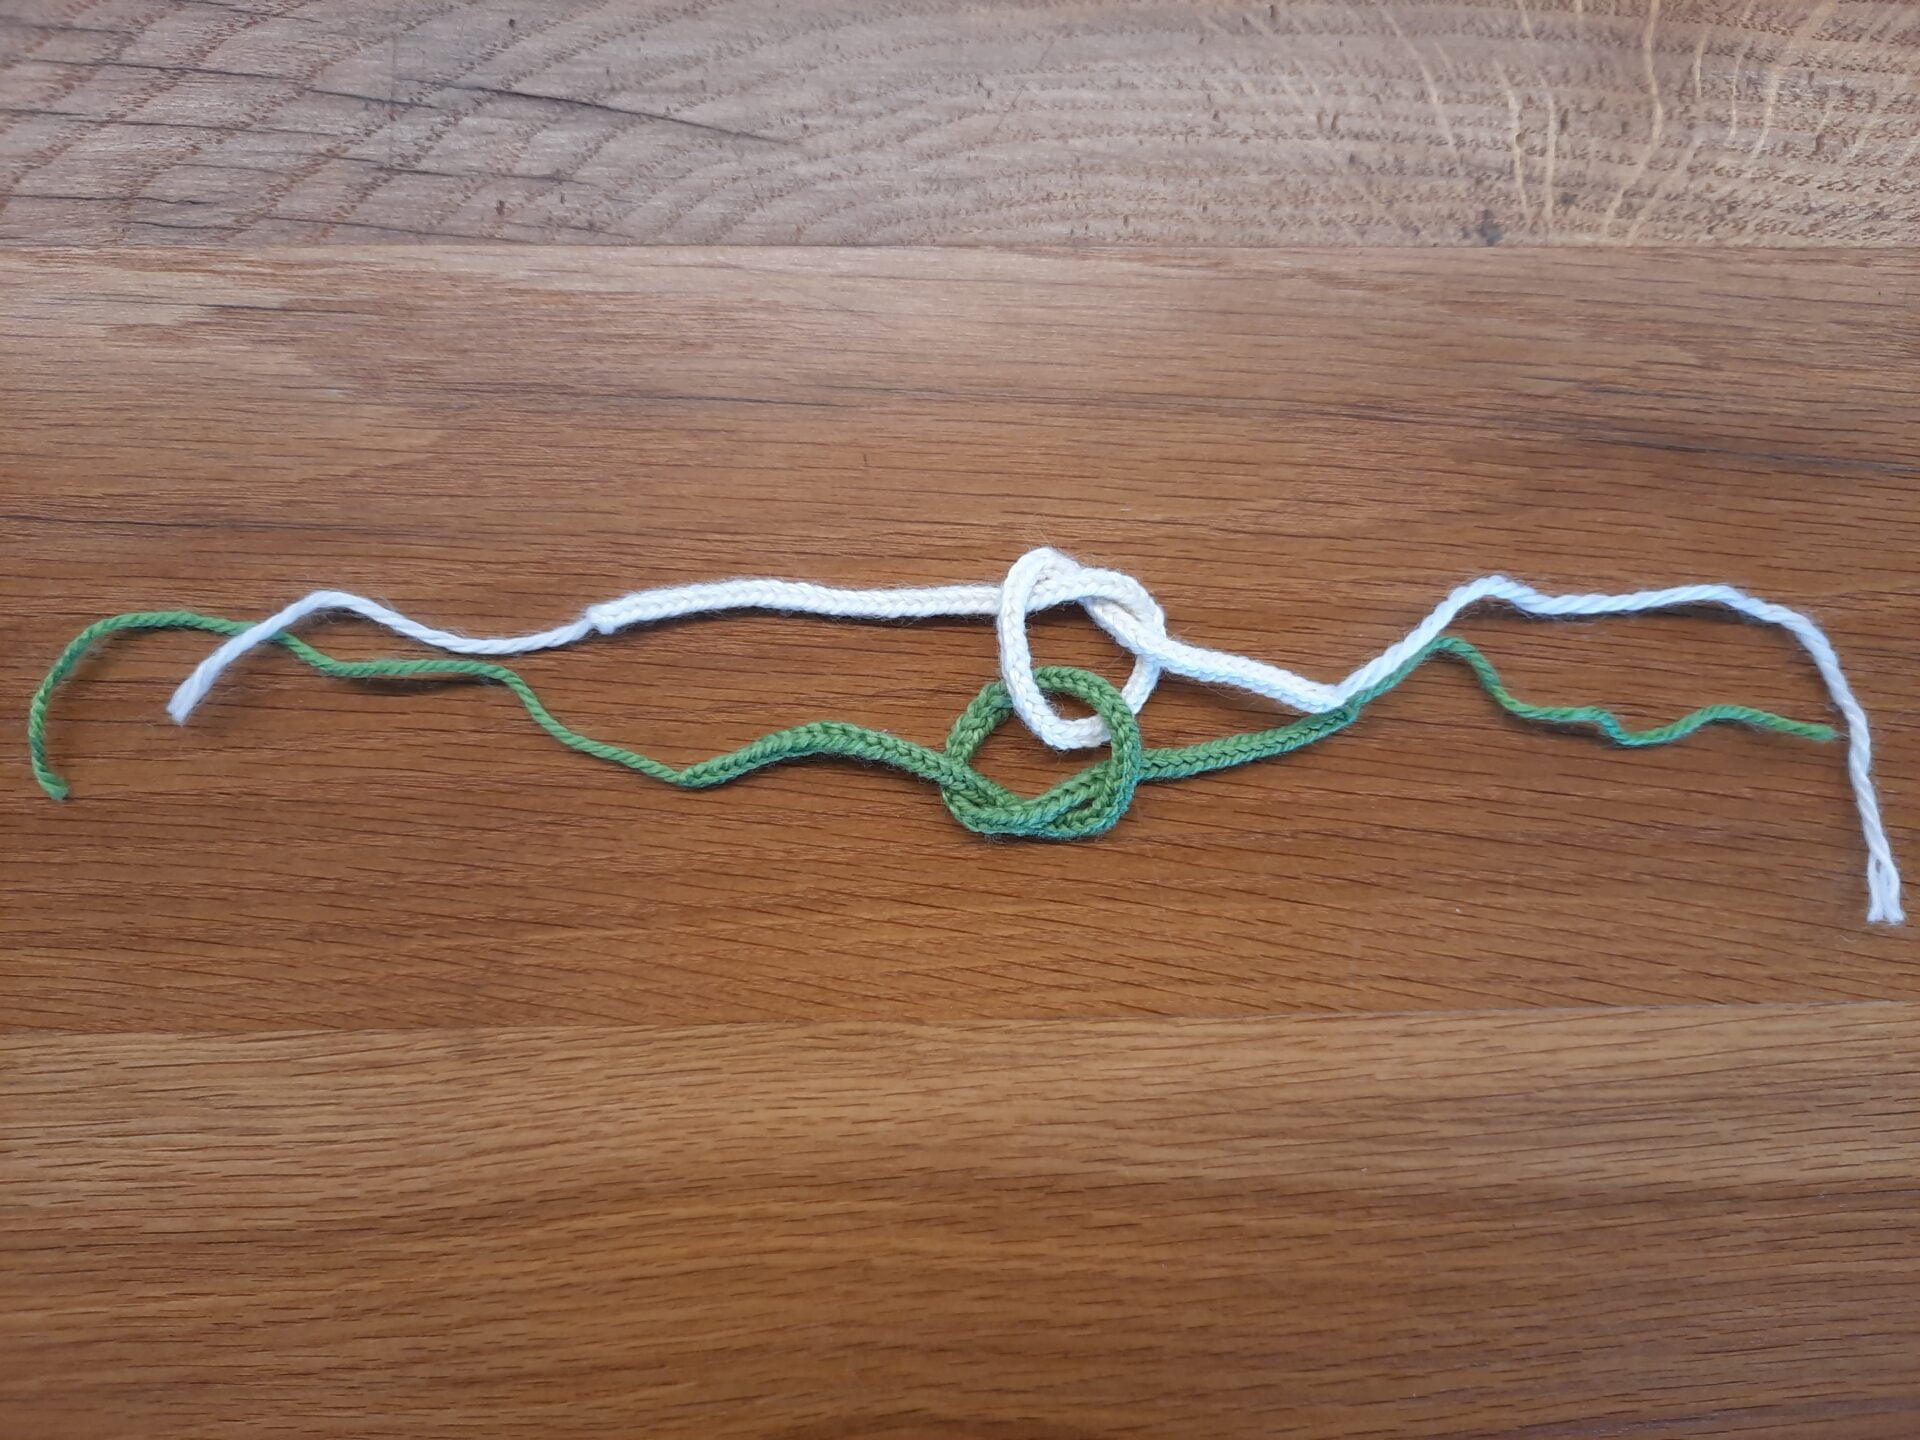
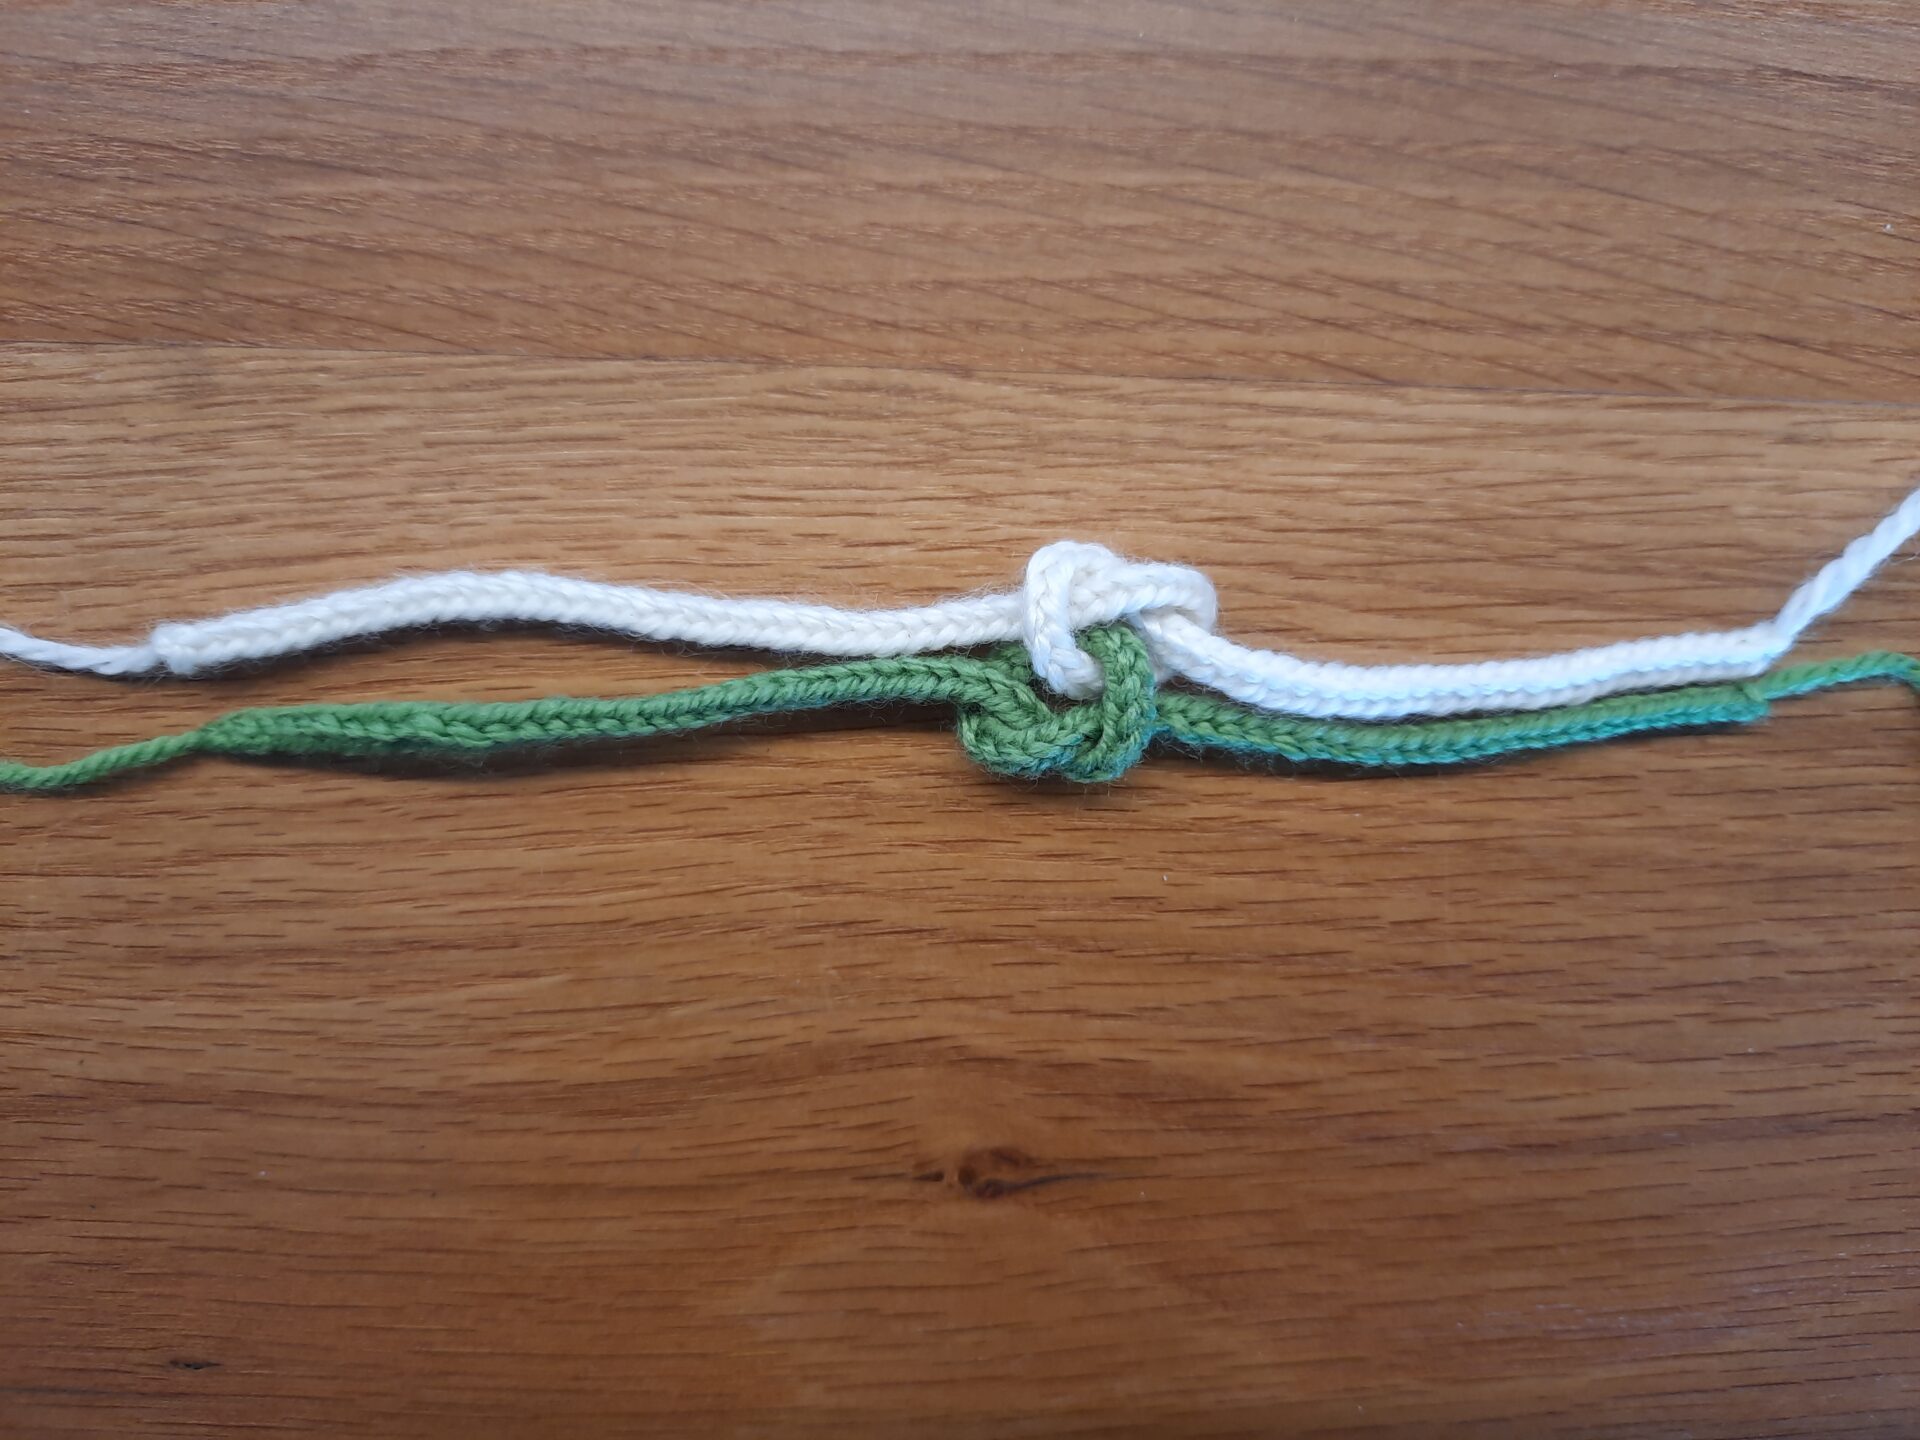
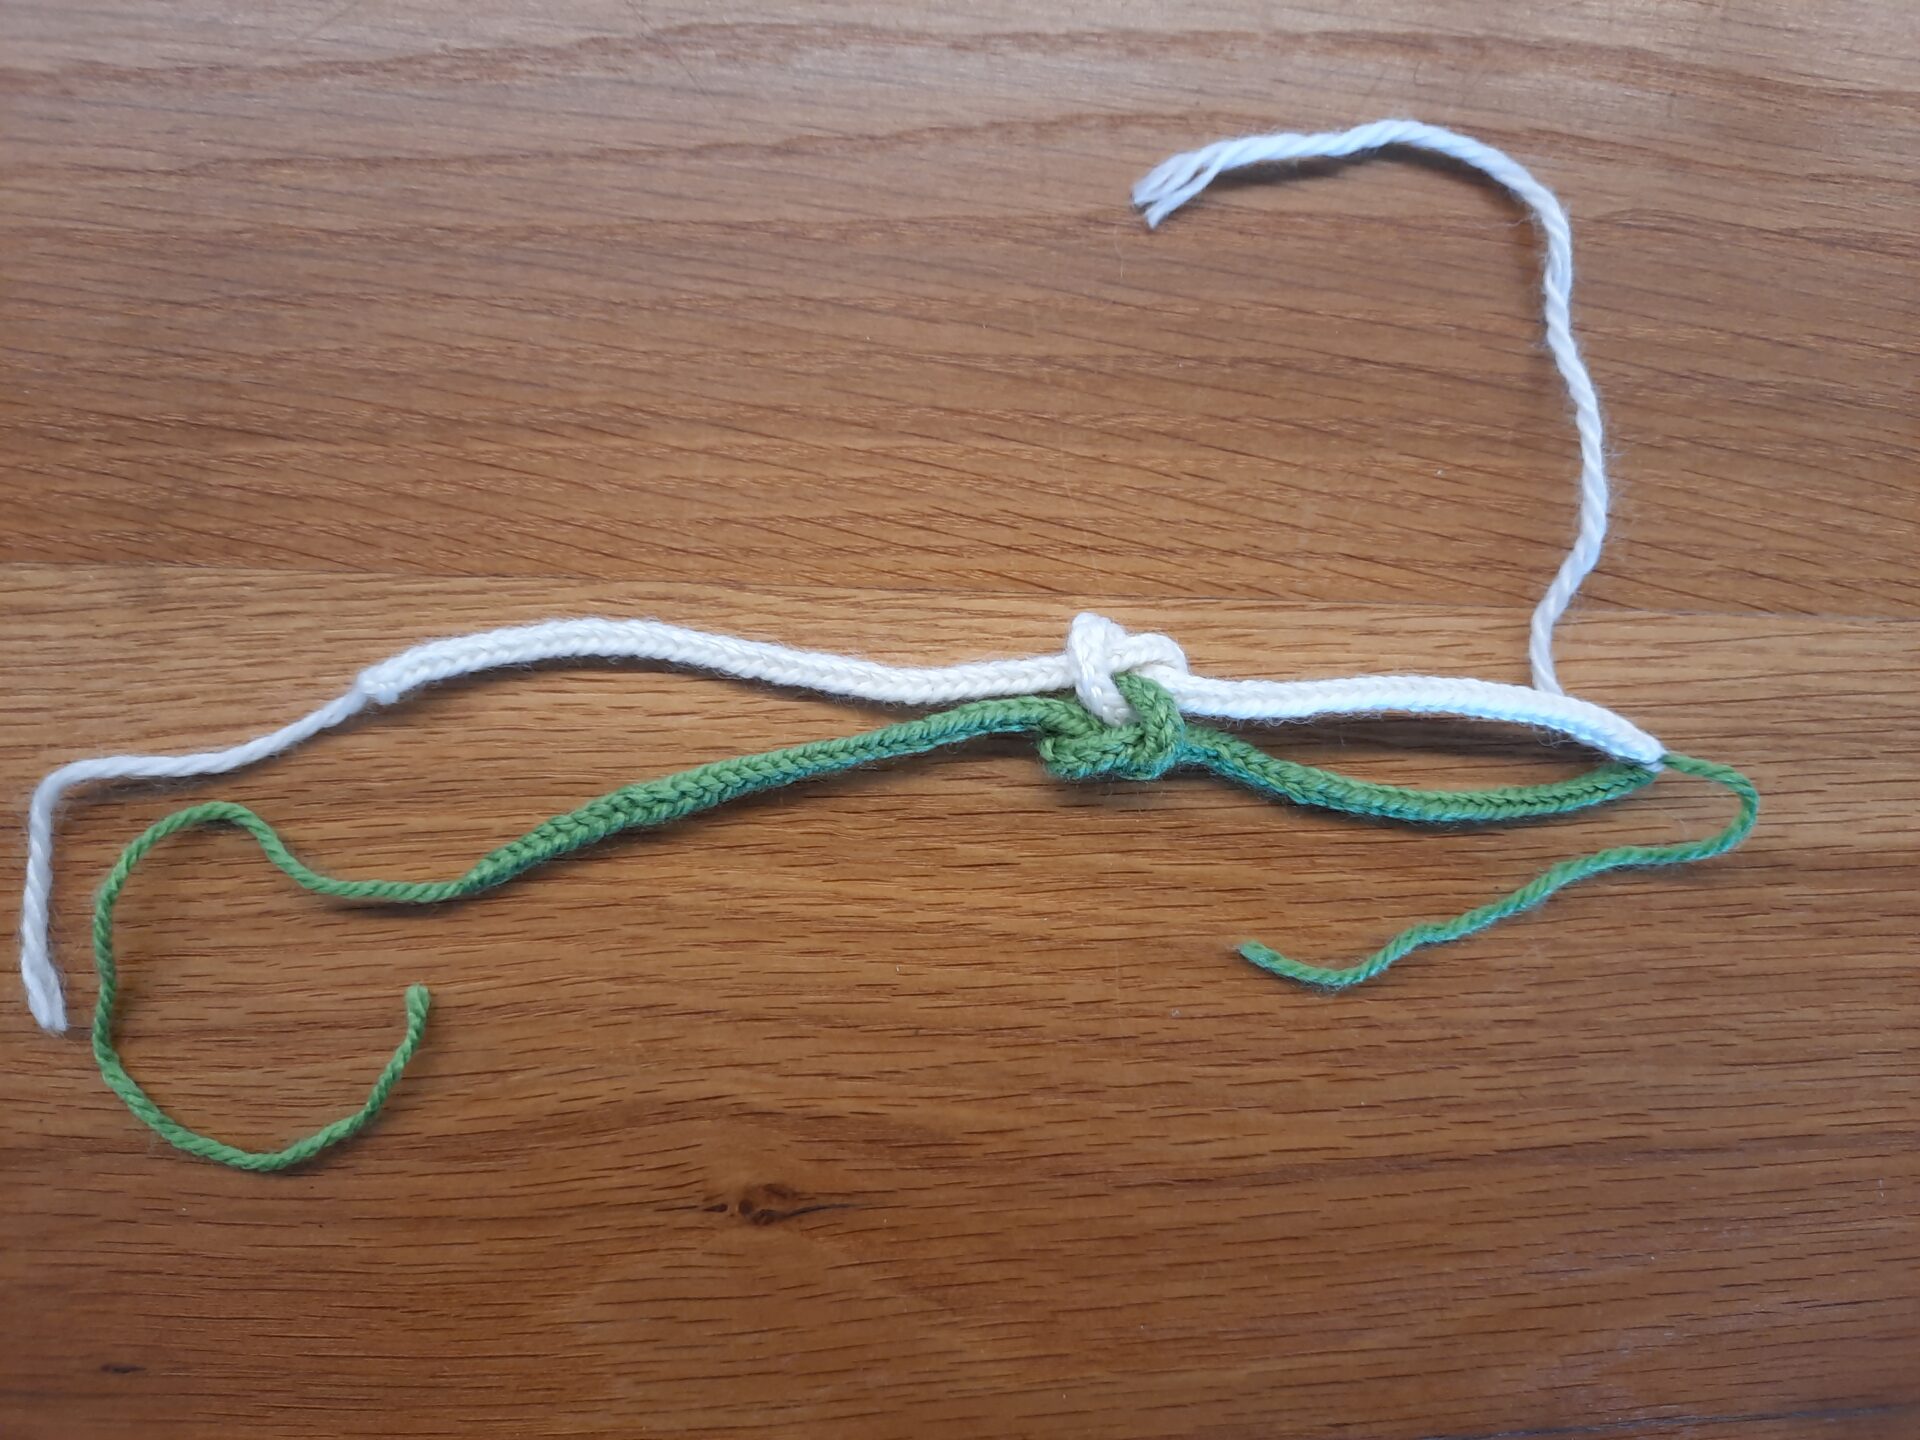
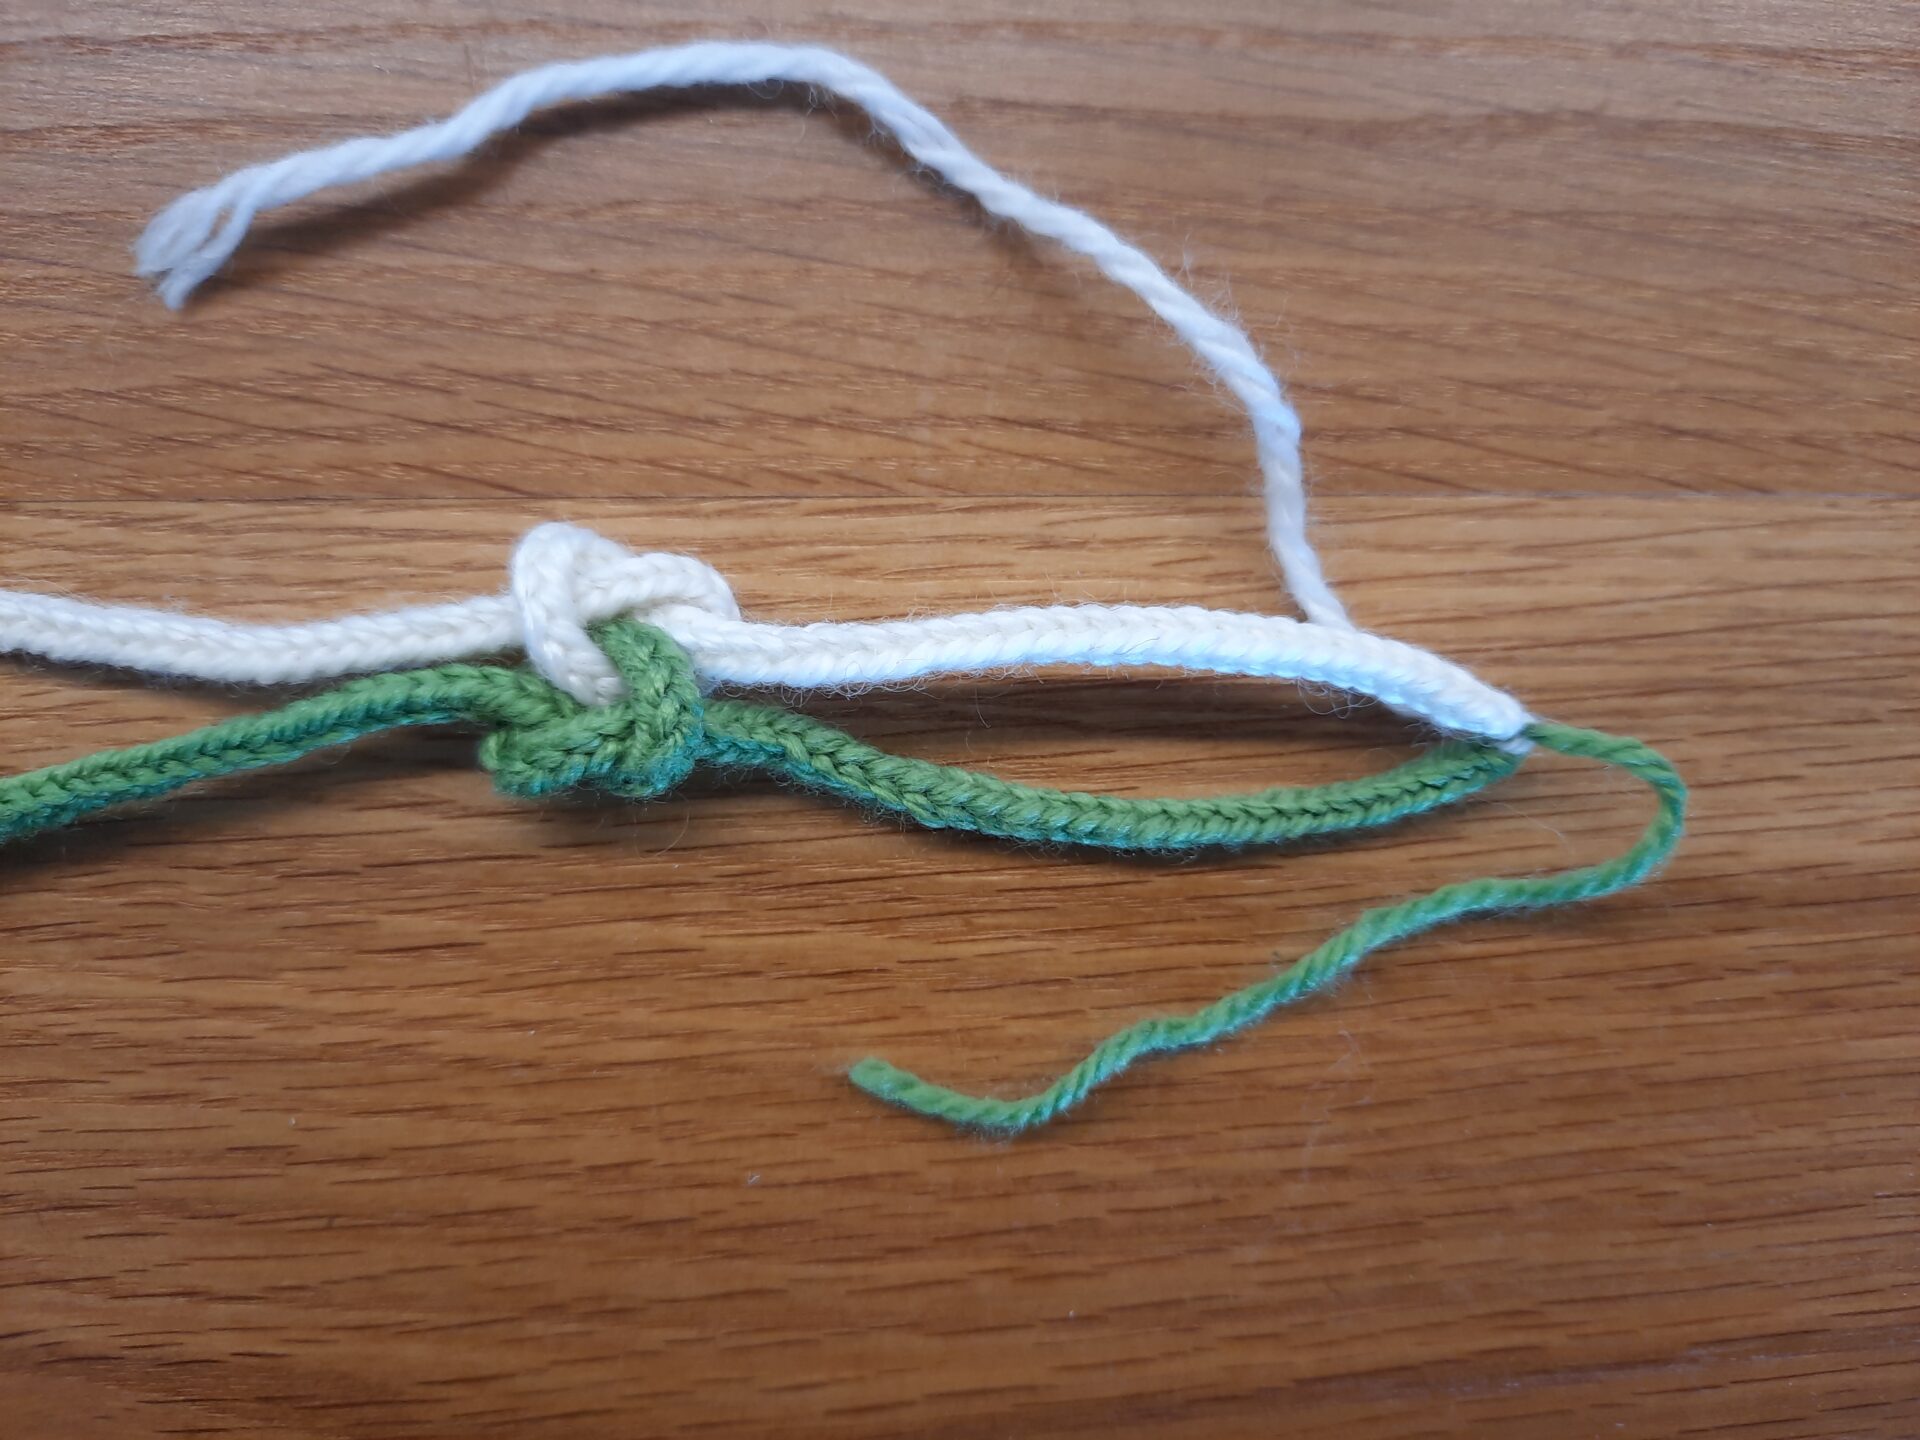
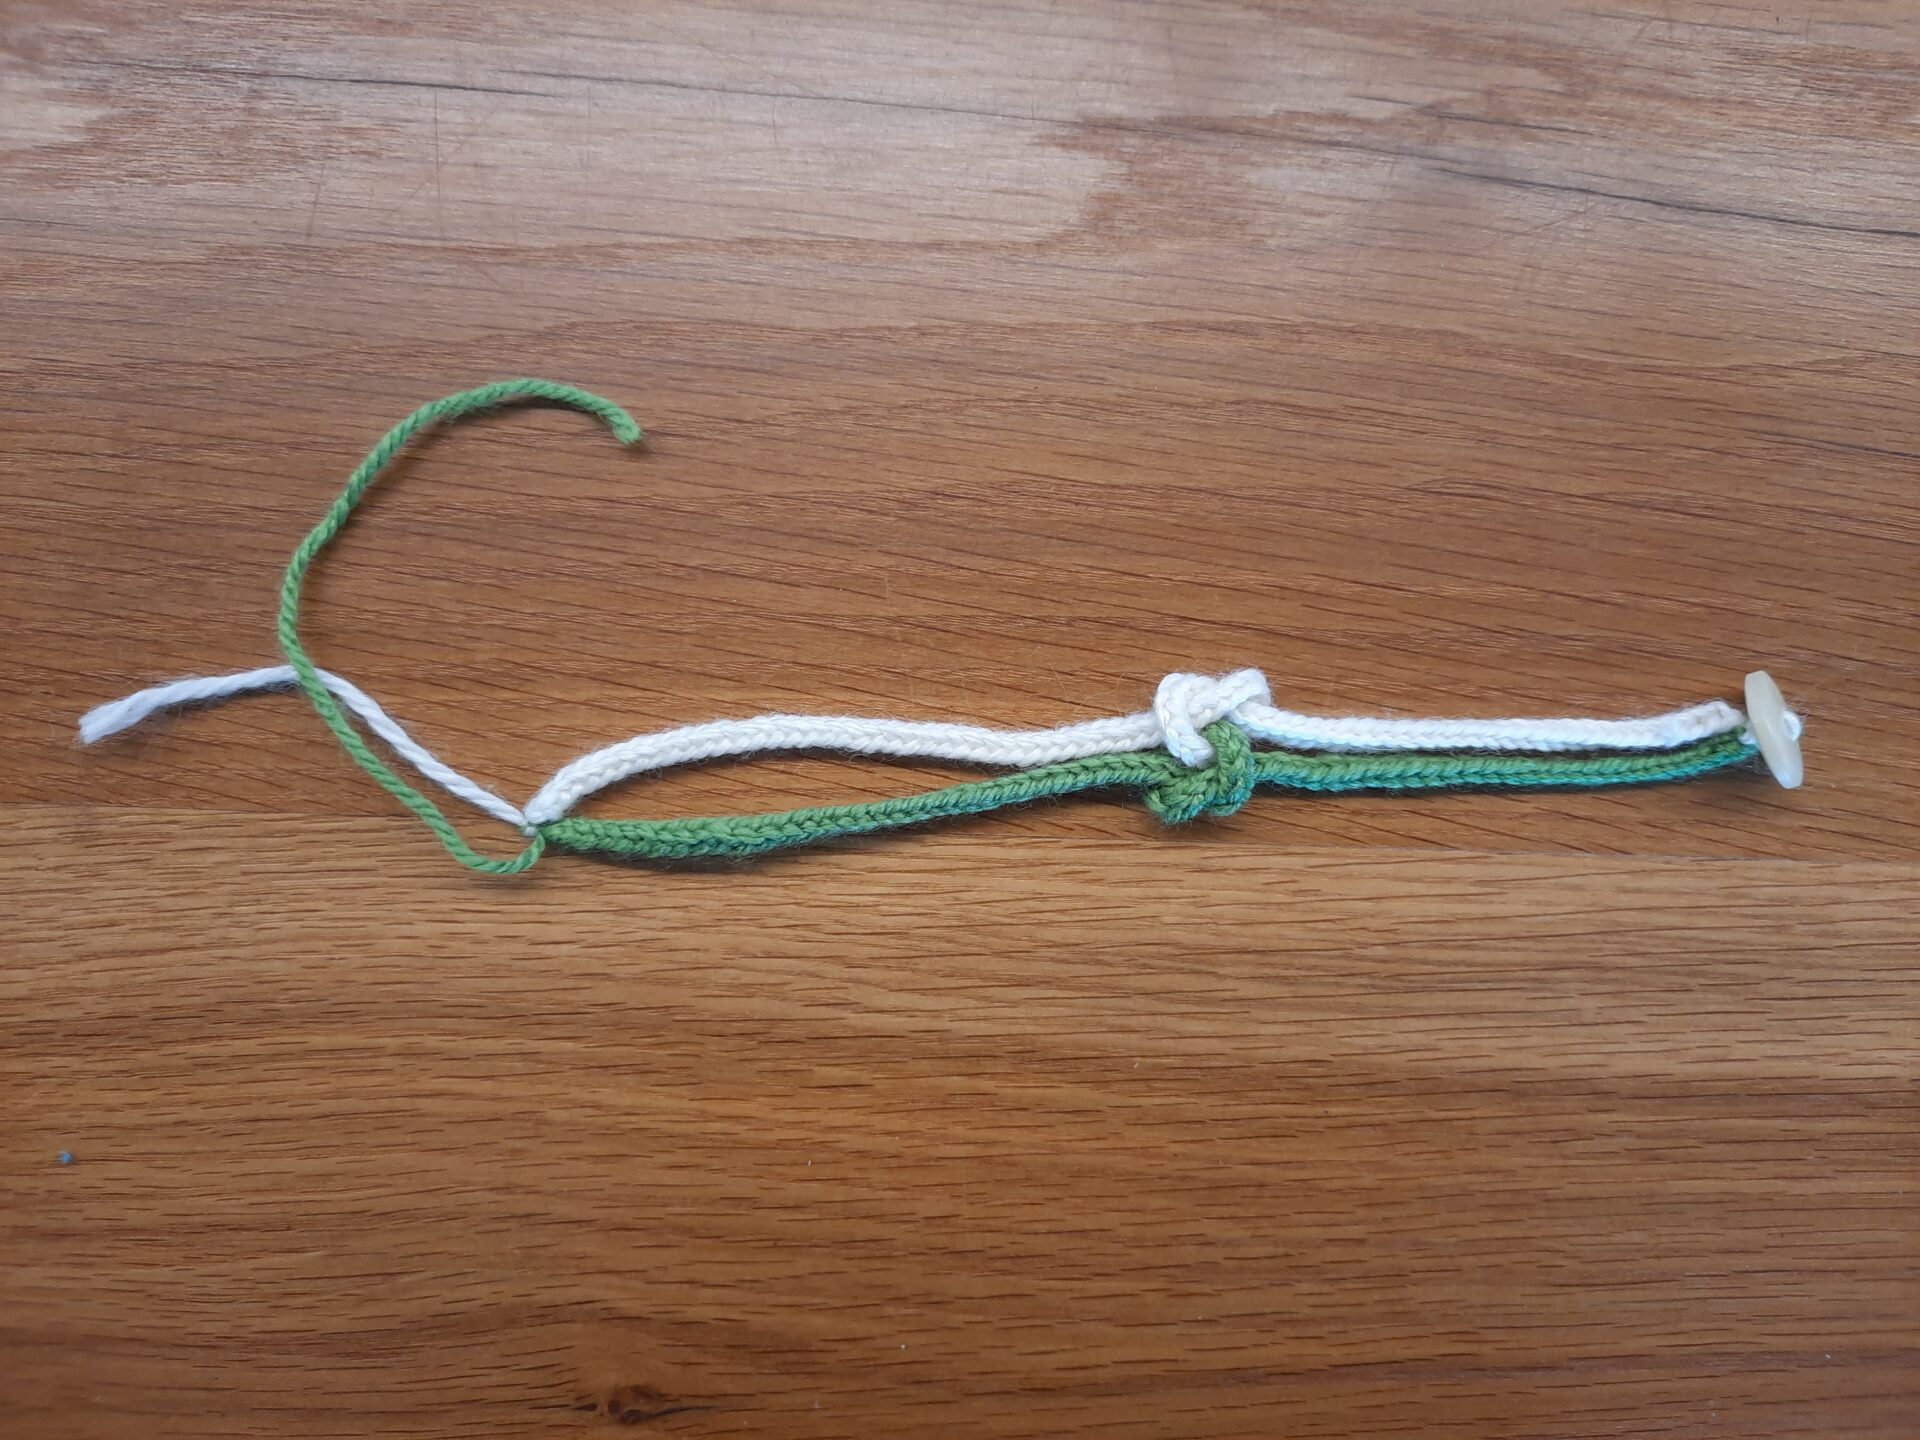
Lay your cords down on the table, one next to the other, button and buttonhole close together. Now you have to pass each loop into the other then pull: put the buttonhole piece on the buttoned one, so that the button is in the middle of the other loop and viceversa as per the buttonhole. Take the button with one hand, the buttonhole with the other. Gently pull each other away, but now pull the button over the other cord and the buttonhole under.
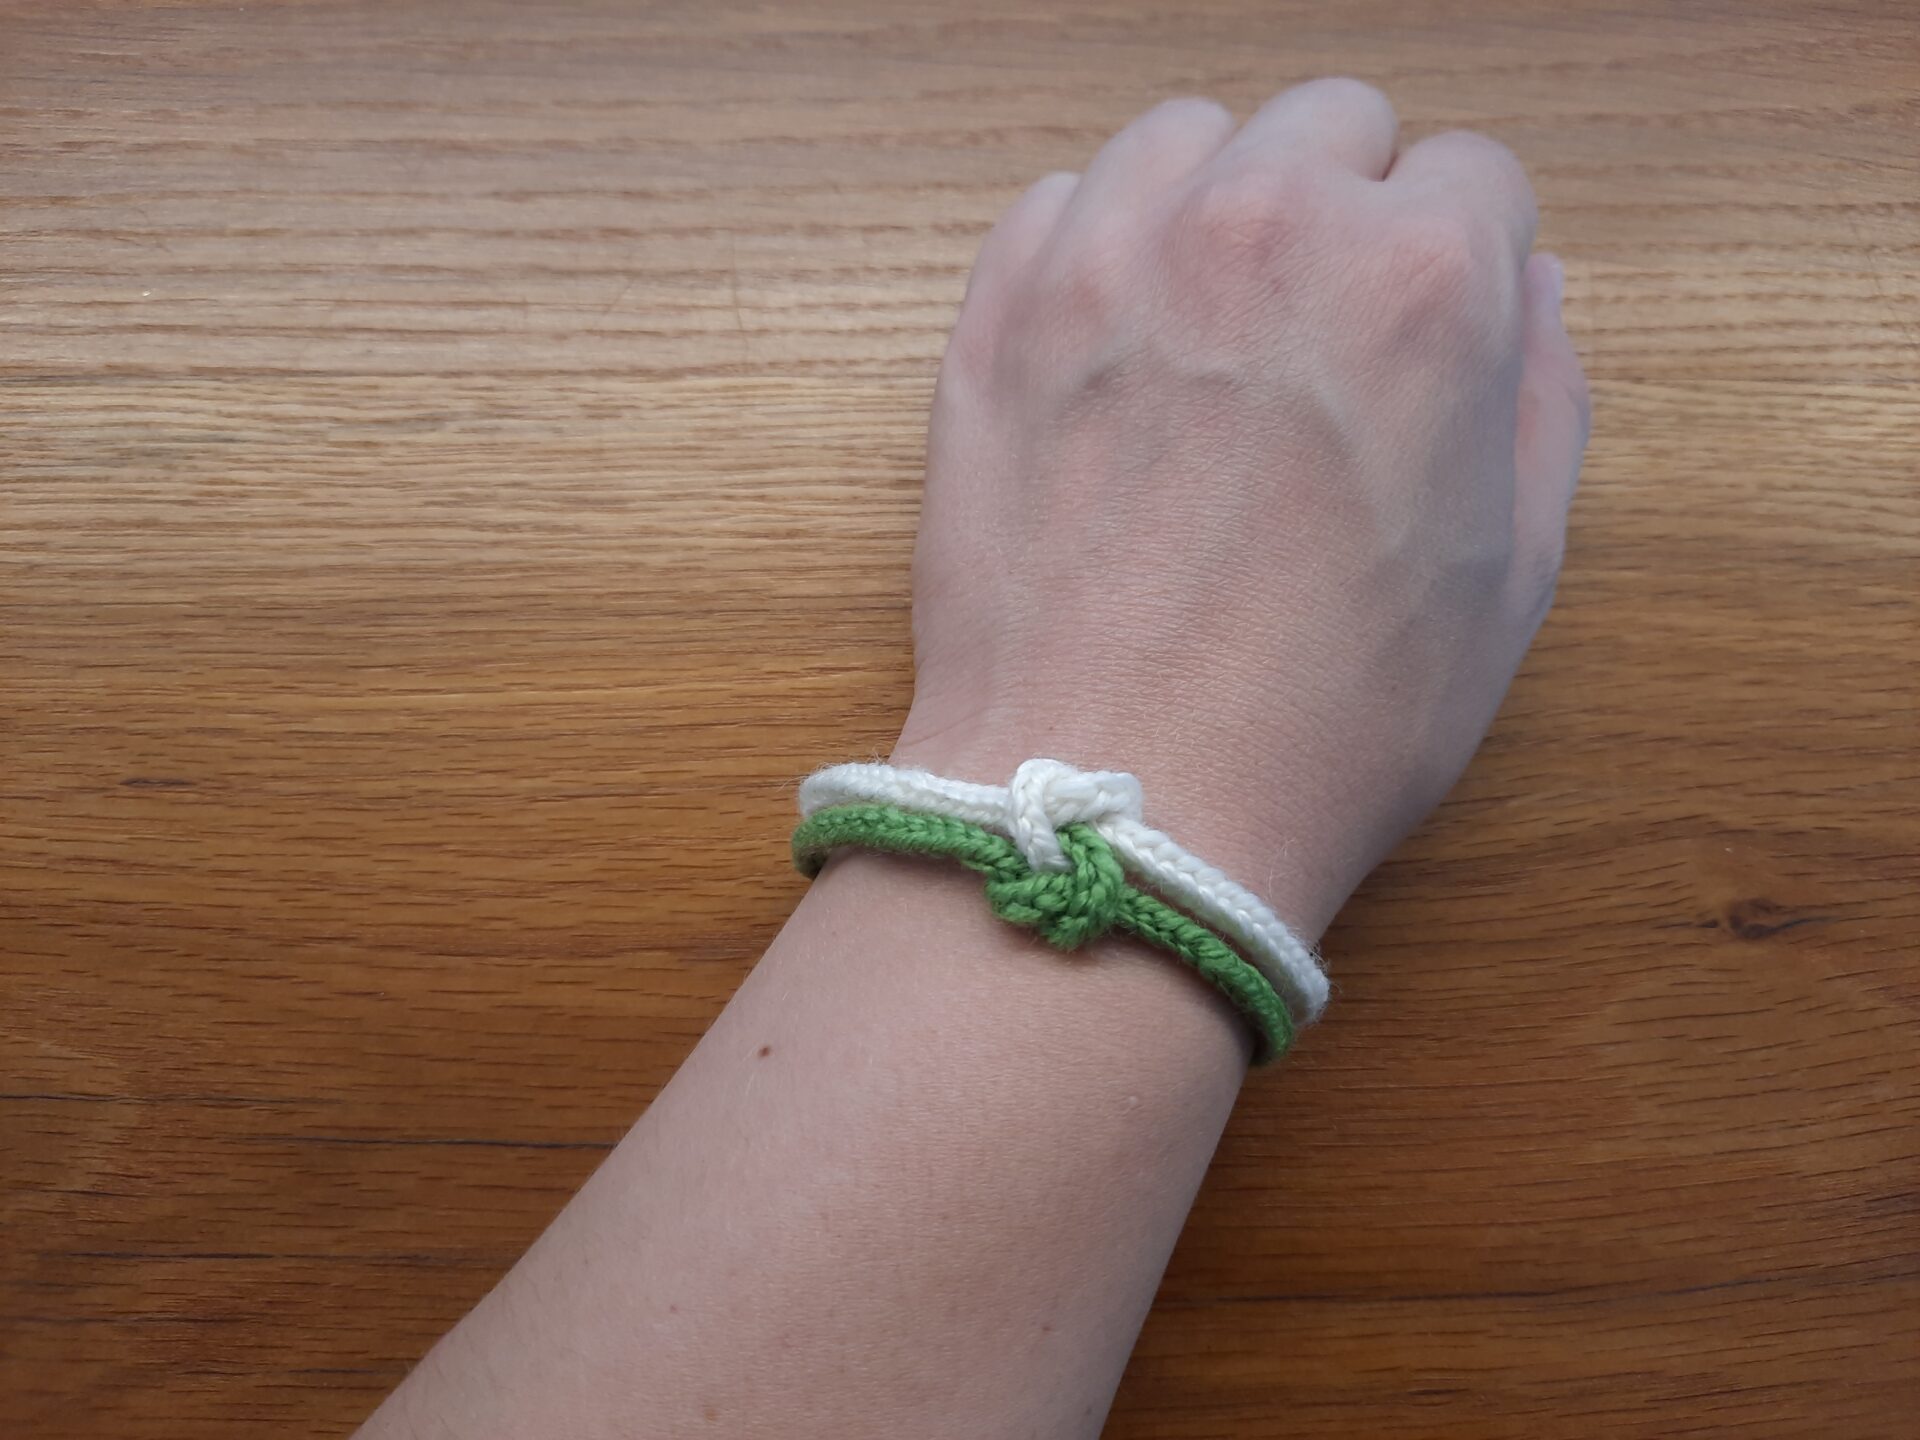
As you pull to the end, you’ll unite the two pieces and make your knot in the middle like magic. Adjust the tension of the know as you like it and assure that button and buttonhole properly stay at the opposite ends of your finished bracelet.


What I really love about this design is its flexibility!
Lucetted cords are elastic by nature, so it could happen that they get loose after some time. If wearing your bracelet you feel it’s become too loose, you can simply… add another knot!
Gently open up the knot, pick one end of the bracelet and twist it around the other: you’ll have another knot easily in no time and your bracelet will be tighter. This is an idea of my engineer husband Locutus: both functional and decorative.
I mean, you could make longer cords from the start just to twist them around multiple times and have a multi-knotted bracelet.
The Reef knot family
The knot used in this bracelet is a variation of the reef knot or square knot.
The true lover's knot (one or two colors)


Another design that’s super easy to make, but that could be a perfect gift for your partner or best friend. Well, since it uses what’s called the true lover’s knot, you know what I mean!
For this bracelet, you need to make two lucetted cords (in the same color or choosing two different colors you like together). Those cords need to be a couple of centimeters or an inch longer than the circumference of your wrist.
Now find the half of the first cord and make a simple knot in the middle, but don’t tight it: leave it loose and open. Insert the second cord through the loop created by the first knot, find the middle of the second cord and tie a second knot which interlocks with the first one.
Adjust the knots together and check that they are in the middle.
Time to finish the bracelet with a button as a closure, as in the previous examples. Knot together the loose tails of your cords: you’ll end up having on the opposite sides of the bracelet one end from each cord.
On one end, knot the tails together and attach a button. On the other end, make a buttonhole. Pick both tails, make them pass inside their lucetted cord for a few stitches, just as long as the diameter of your chosen button. Where the tails come out, wrap them around both cords, secure with multiple knots, then hide them again inside the lucetted braids for additional strenght, cutting off the excess.
Your true lover’s knot bracelet is now ready!


The True Lover’s knot family
Did you know that many British folk songs refer to this knot? Well, the association of knots with love, friendship and affection is an old one! The term true lover’s knot, or true love knot, refers to a series of distinct knots.
And those are just a few examples of many different combinations you can make. Exploring how to tie knots, you have endless possibilities!
Yes, you could also make all of those bracelets with a I-cord, knitted or crochetted as you like. Since I love working with the lucet, I make them all with the tool that suits me most.
What about your own bracelets? Show us what you made in the comments below or tagging us on social media!
What if I don’t have a lucet?
If you don’t want to buy a lucet, you could make one, like we did out of scrap wood. But if you don’t have the tools, materials or skills to make your own, don’t worry. You can find lucet-like tools in everyday items! You could use a fork with just two prongs, a camping fork, even a Swiffer duster. Any two-pronged item would work!





2 Comments. Leave new
heads up, this page seems to have lost the majority of its images. Please edit so that I can see examples of what the text is talking about since I don’t have a clear mental picture from the text alone. I organize medieval activities with children and would like to share some of the options you present here as pre-kitted activities in ziplock bags (I’ve been making 3D printed lucets to use up last bits of filament rolls already).
Oh no, I’ll check right away! Thank you!
Please when referring to those bracelets, also share a link to the website. Thank you so much!
3D printed lucets? How lovely! Could we talk about them? I’d love to know more!