I love sewing projects for my daughter. Is there a sewist mother who wouldn’t?
I set myself the goal of sewing all of her costumes for Halloween or Carnival, since the very first ones I made for her, the bunny sweatshirt and rocket costume.
Now she’s growing fast and she’s almost ready to begin her new adventure in kindergarten. I hope she’ll like the school! They asked us to bring a little bag to keep all the child’s things. As soon as they requested that, I figured a special sewing project.
My daughter loves cats, as much as I do actually, and the first drawing she asked me to make for her was a cat. Well, not just one, I have to say. Every time we get paper and pencils, she asks me to make her the very same cat, with the blue pencil, and I draw as she names all the body parts, one by one.
From here, comes my kindergarten sewing project: a bag in the shape of that special cat we draw together.

Click for the finished project detailed photos


Well, the plan for my project was already on paper, wasn’t it? I had plenty of cat drawings to choose from!
As for the materials, in my stash I have a lot of fabric that my grand-aunt gave a while ago: the one I used for the first dress I made for my daughter as a baby was the perfect color and fiber. I also had enough felt leftovers from the rocket costume project I could use to add all the cat’s features. I even found a pair of googly eyes to add a bit of movement.
So step one was cutting four equal rectangles of fabric, two for the lining and two for the external panels of the bag. I chose to keep the selvedges on all the panels to avoid sewing an edge on top, where I wanted a slit for the closing laces. That’s something my husband doesn’t like, but that came out useful in this project.
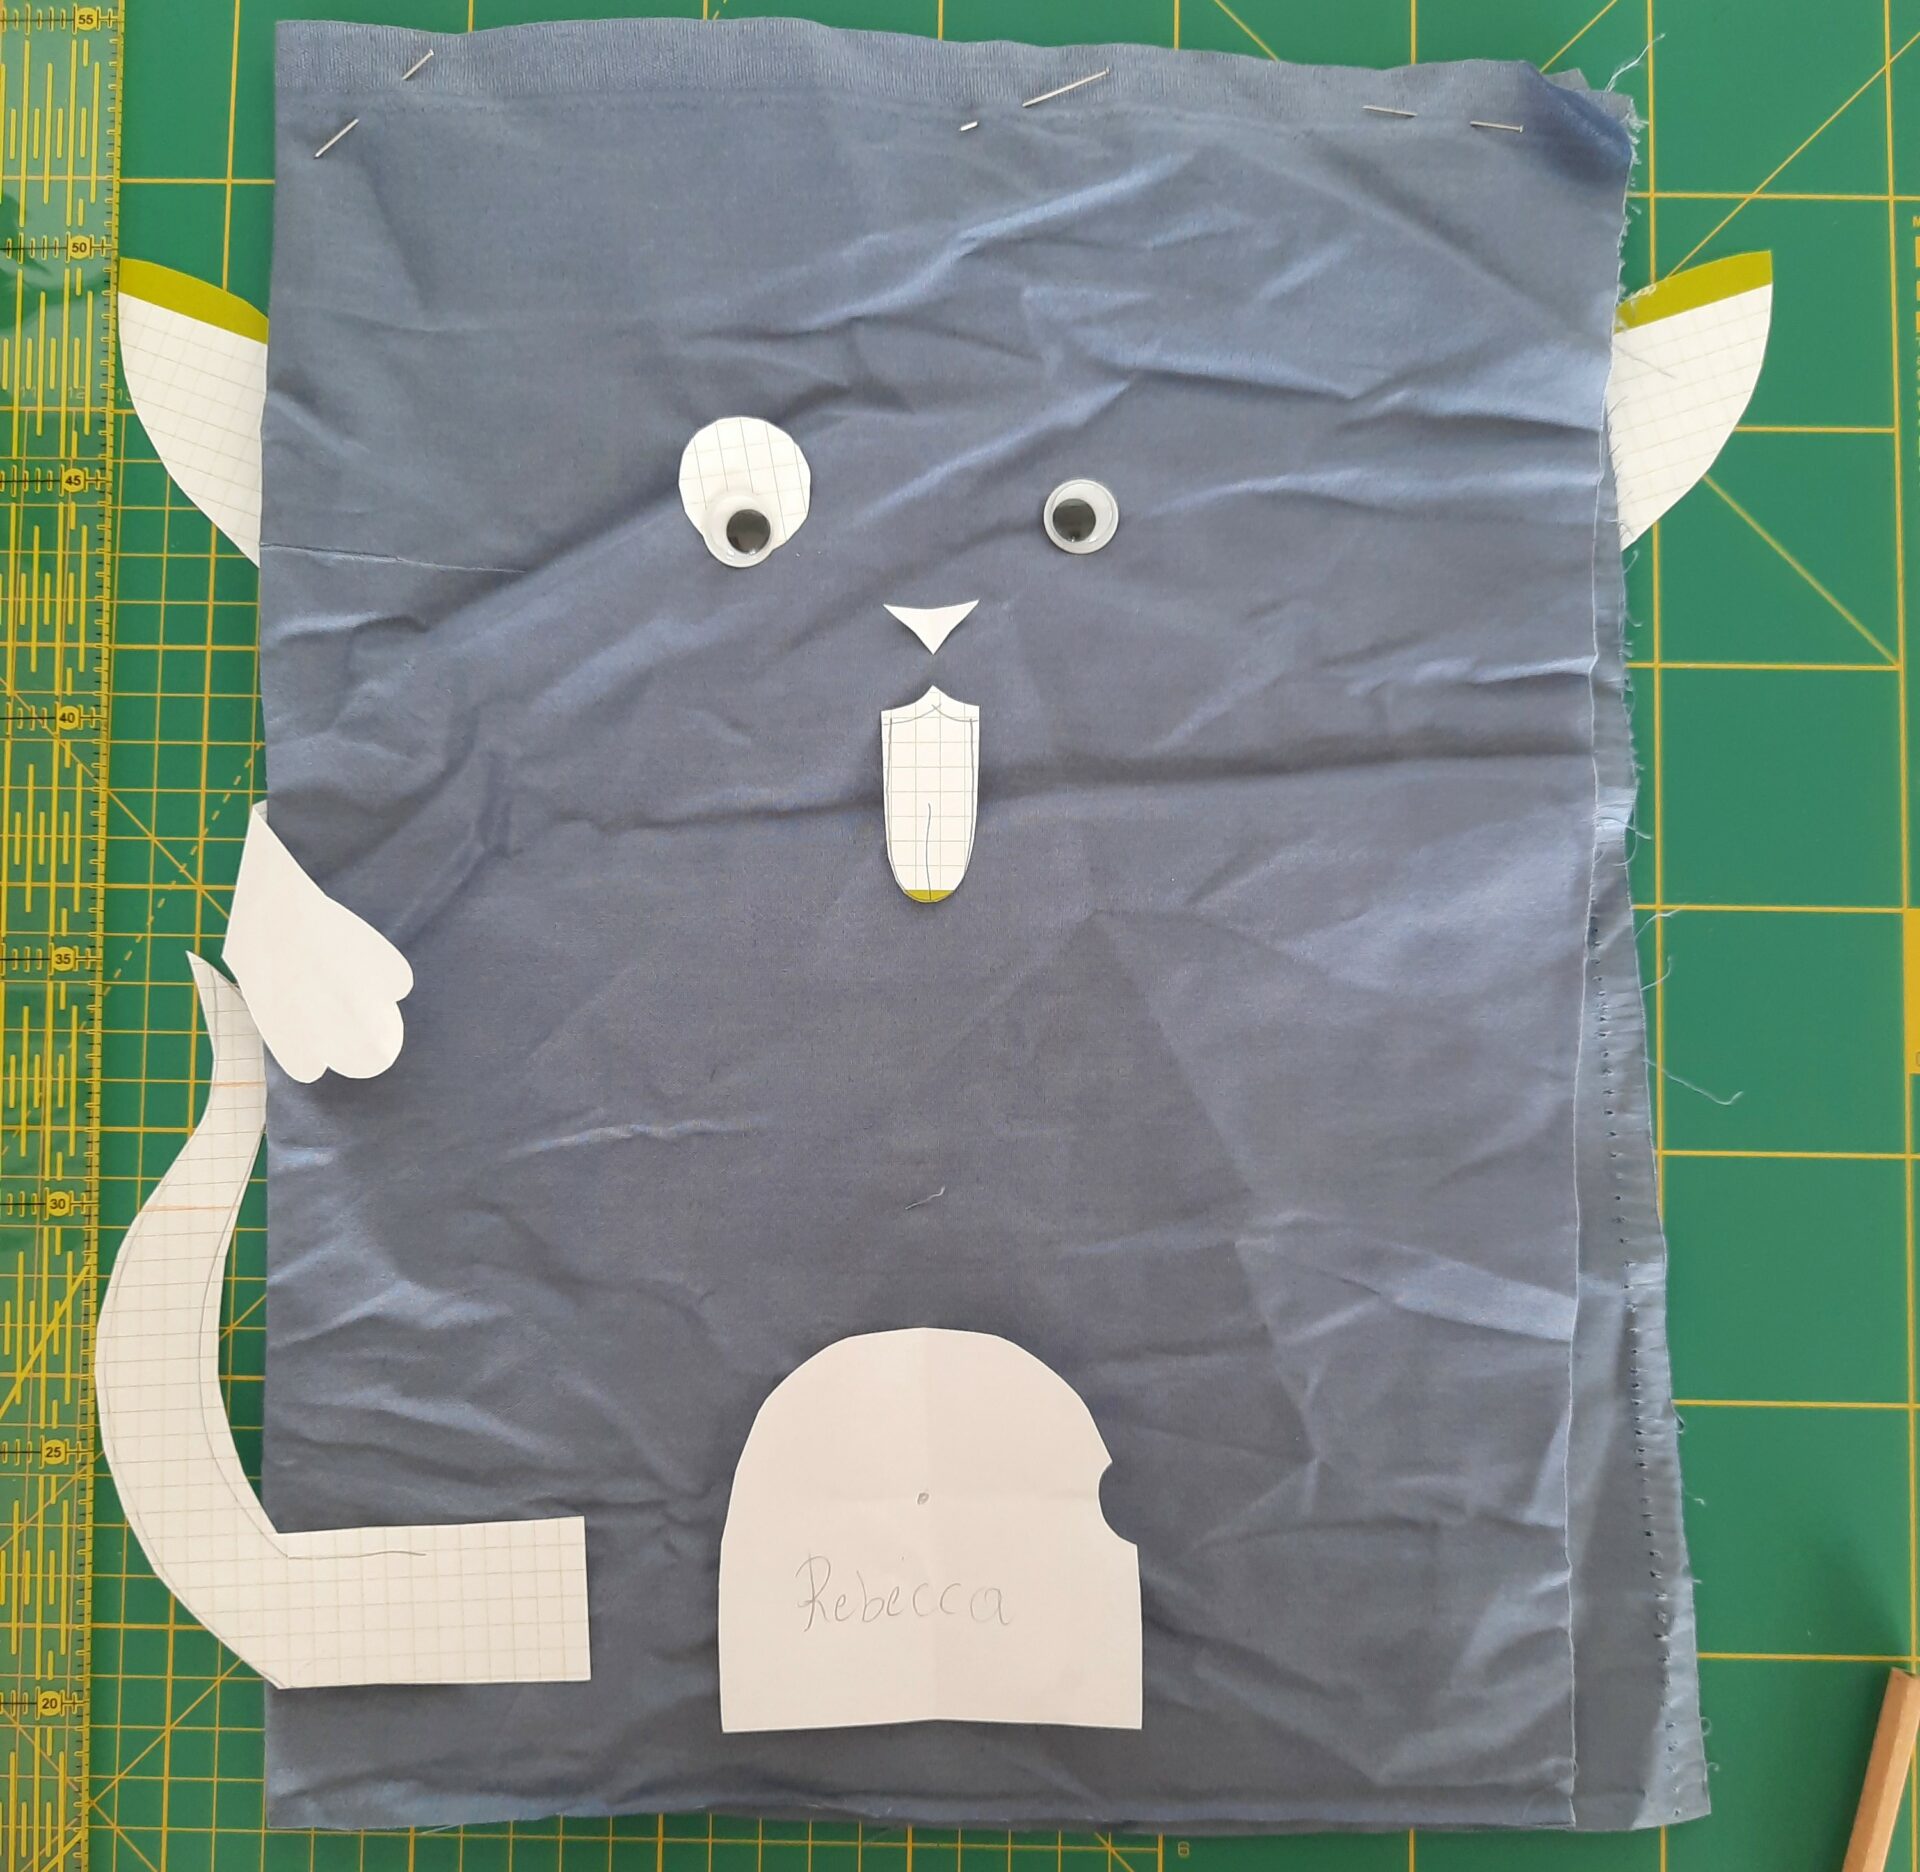
Next, I traced paper mockups of everything I had to cut in felt: ears, nose, tongue, paws, tail and belly. Yes, we always draw our cat with her tongue out and with a belly and belly button. That was necessary to check the sizes and proportions.
I also planned to embroider the cat’s mouth and whiskers and also my daughter’s name on the belly. Oh, and the bow! I couldn’t forget to add a bow on the cat’s head!
I have to say I made this project in a hurry, and that led to a few mistakes. But I had to take advantage of some time my child was spending with her grandparents, I didn’t want her to see the finished project before the beginning of her school year!
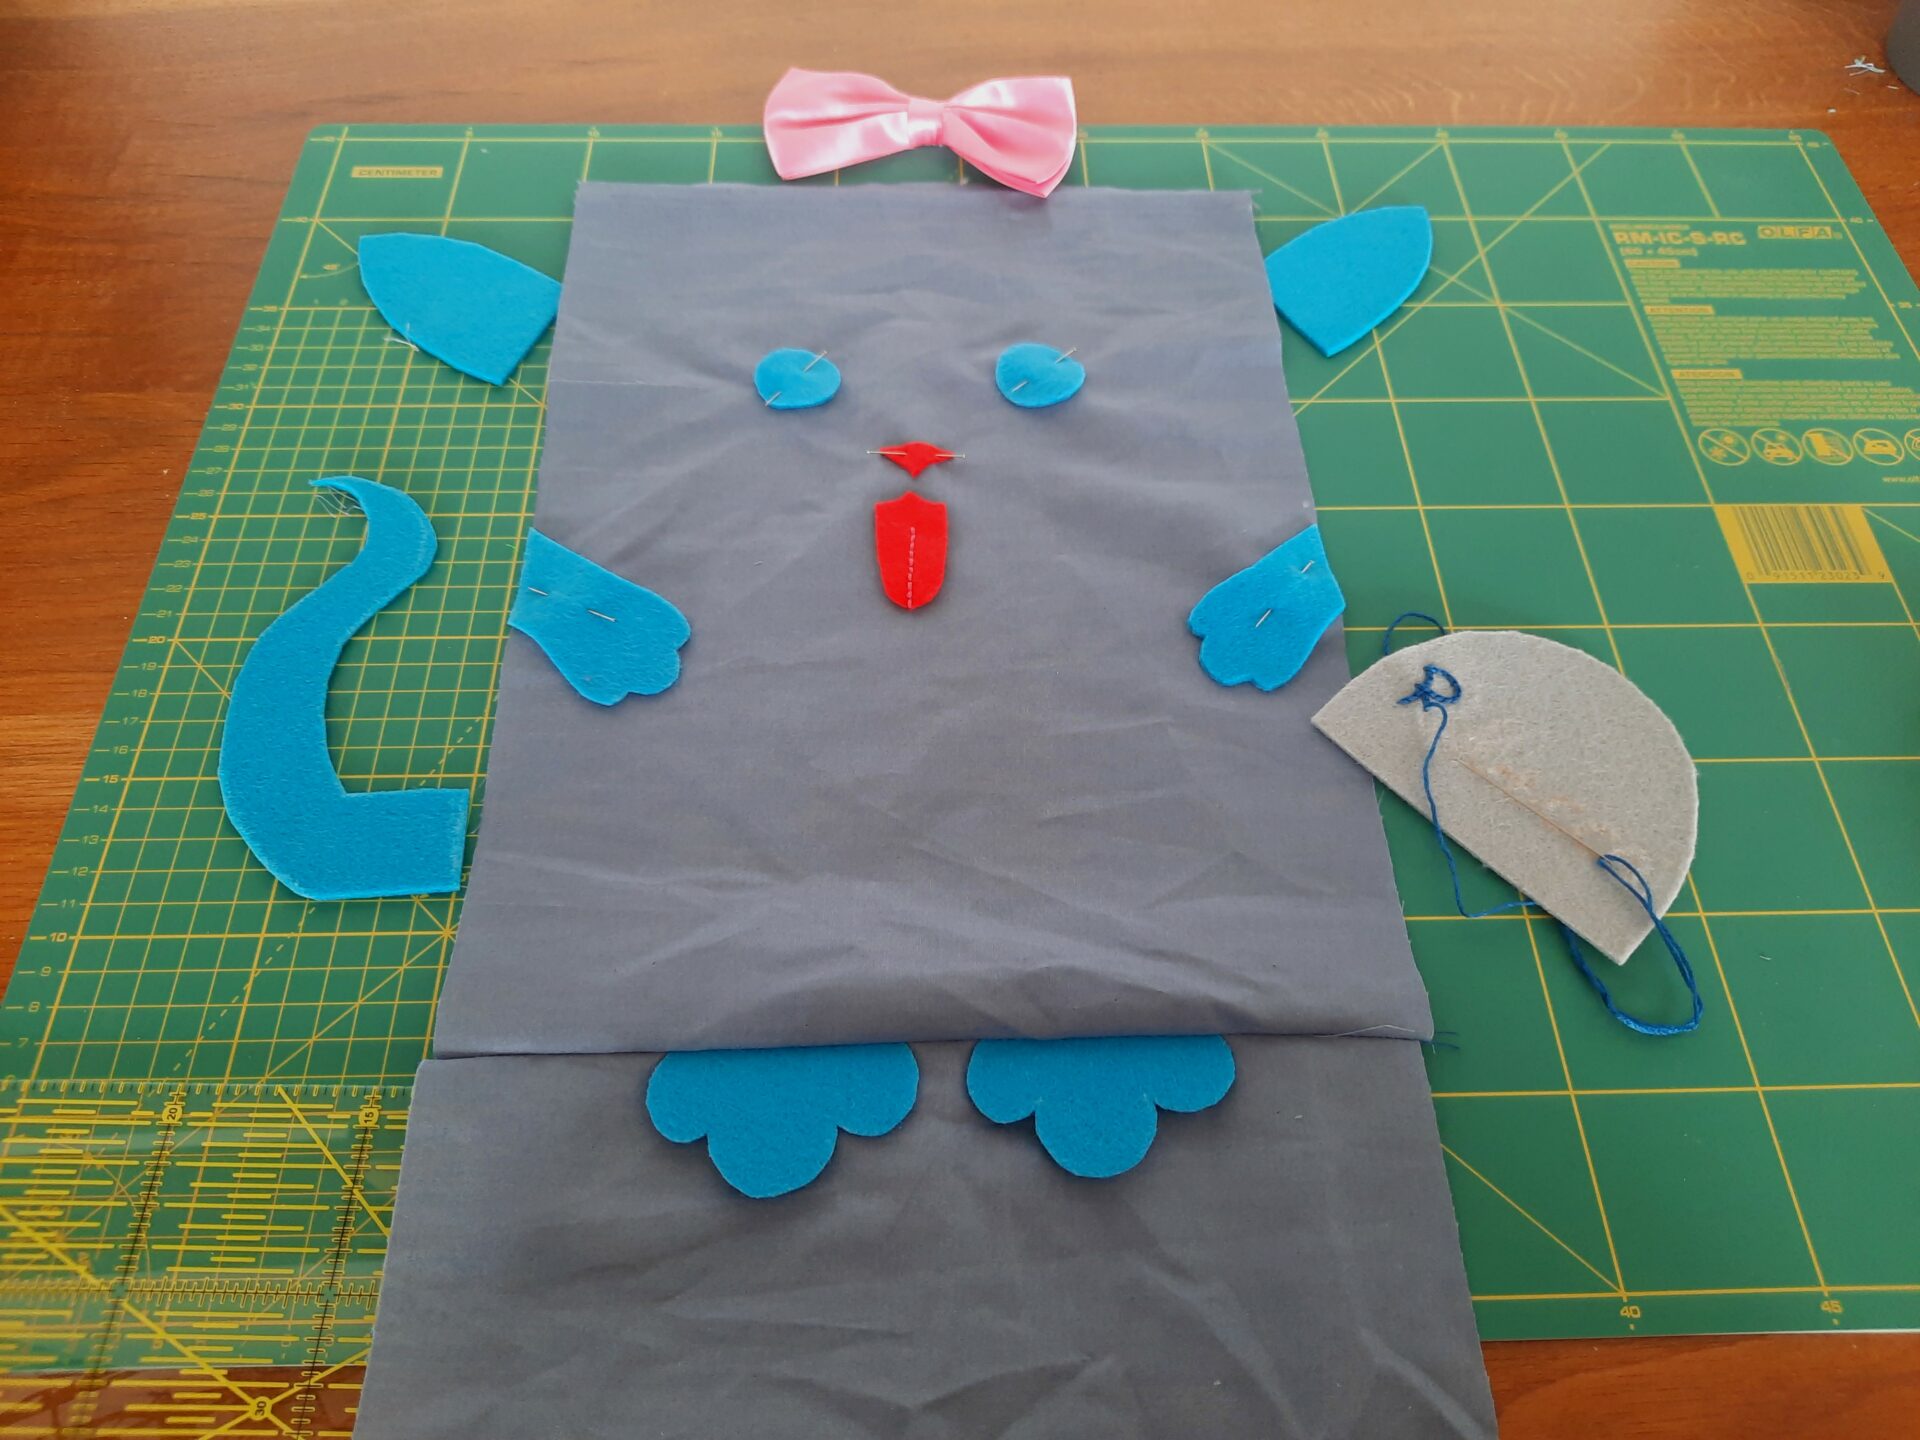
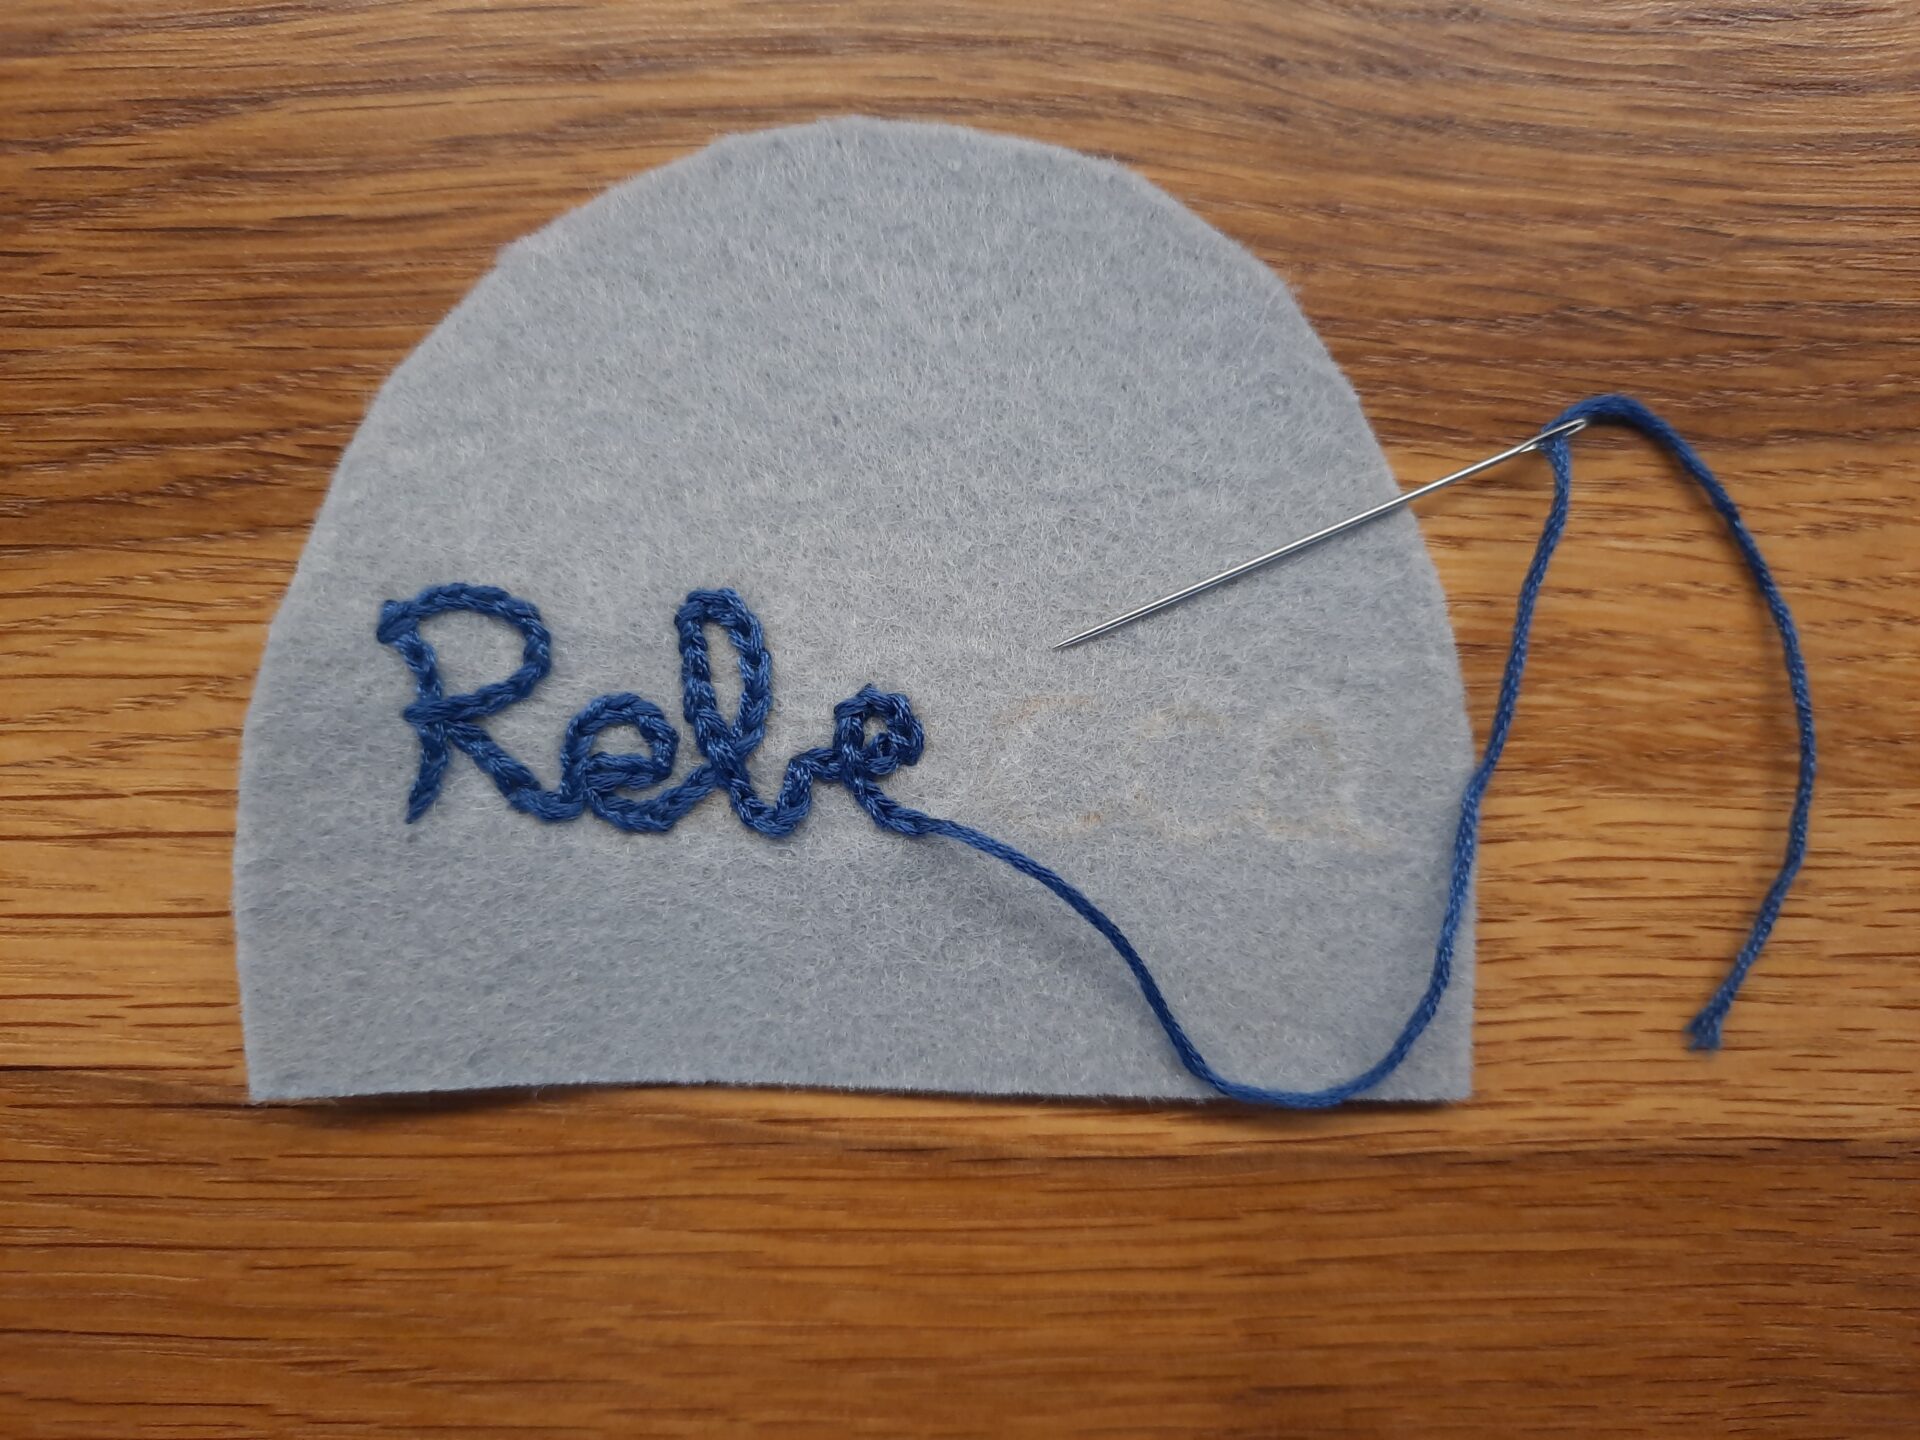
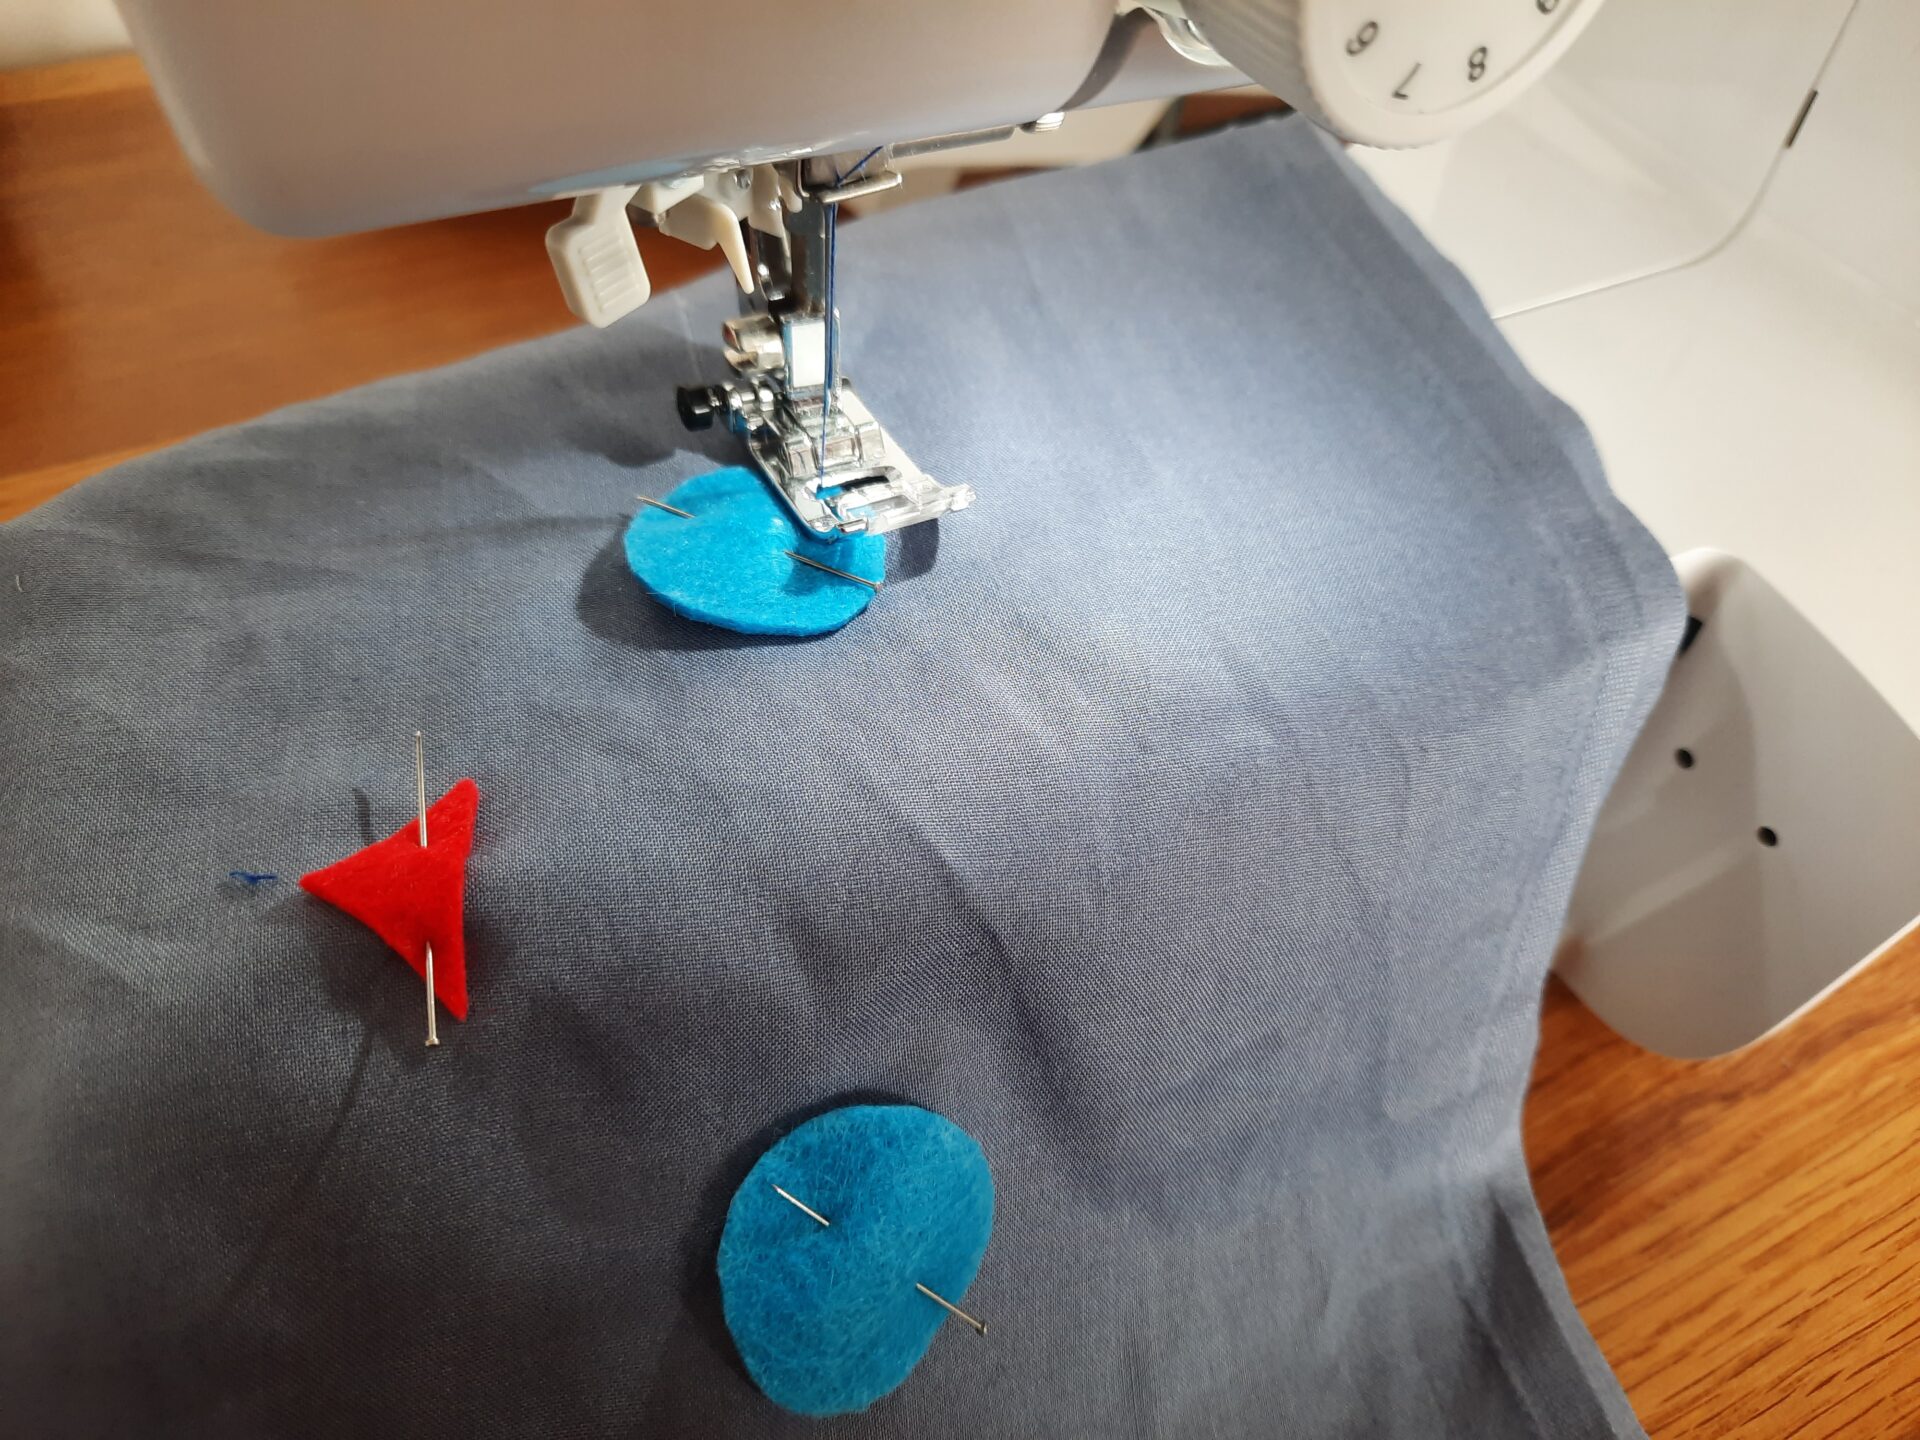
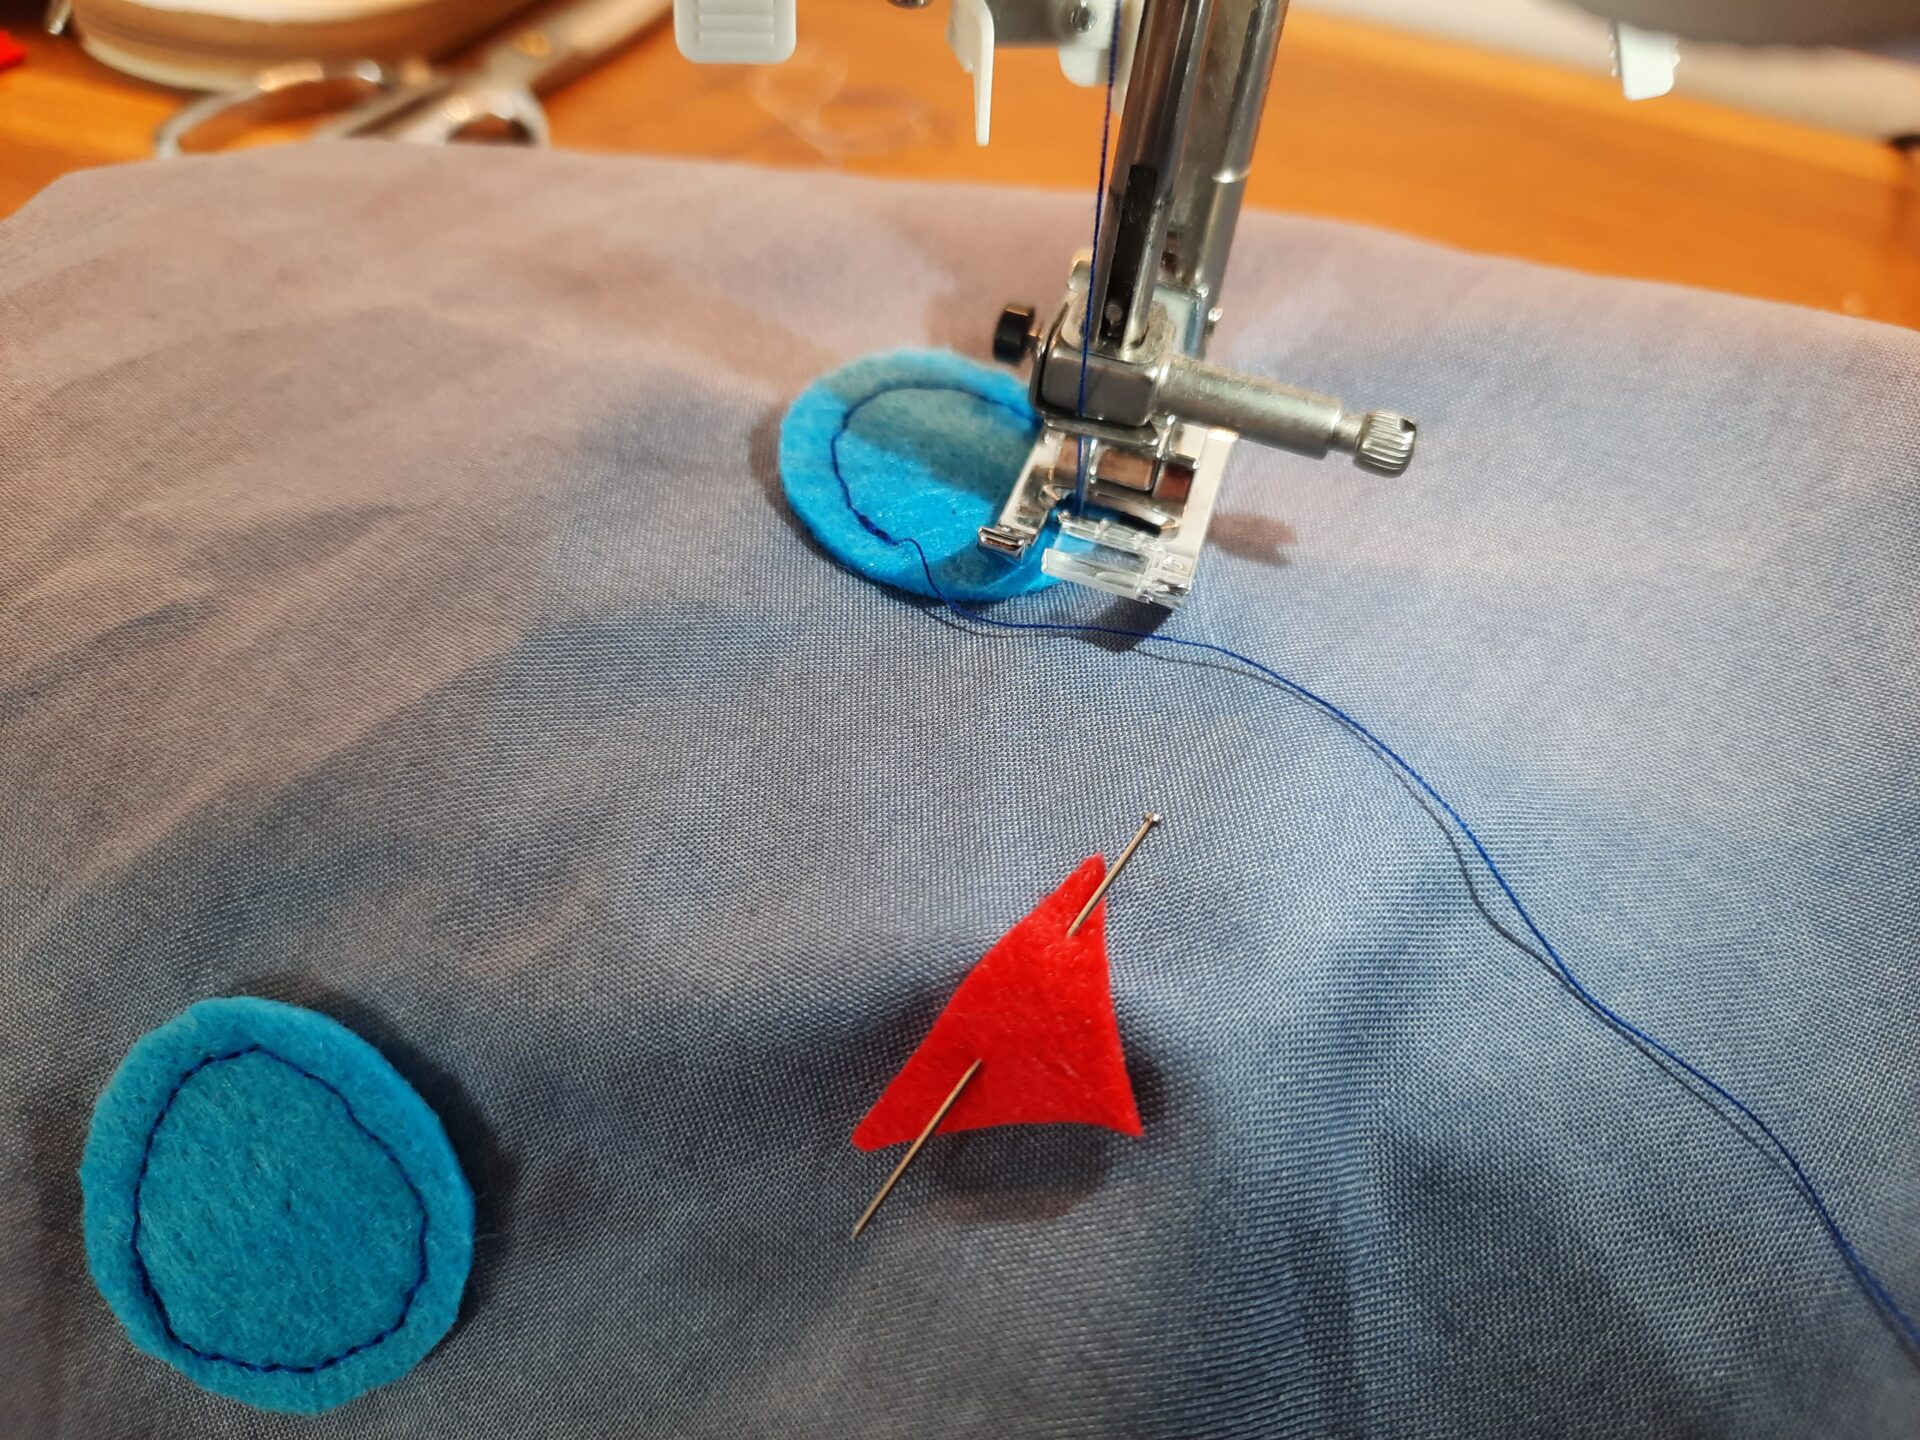
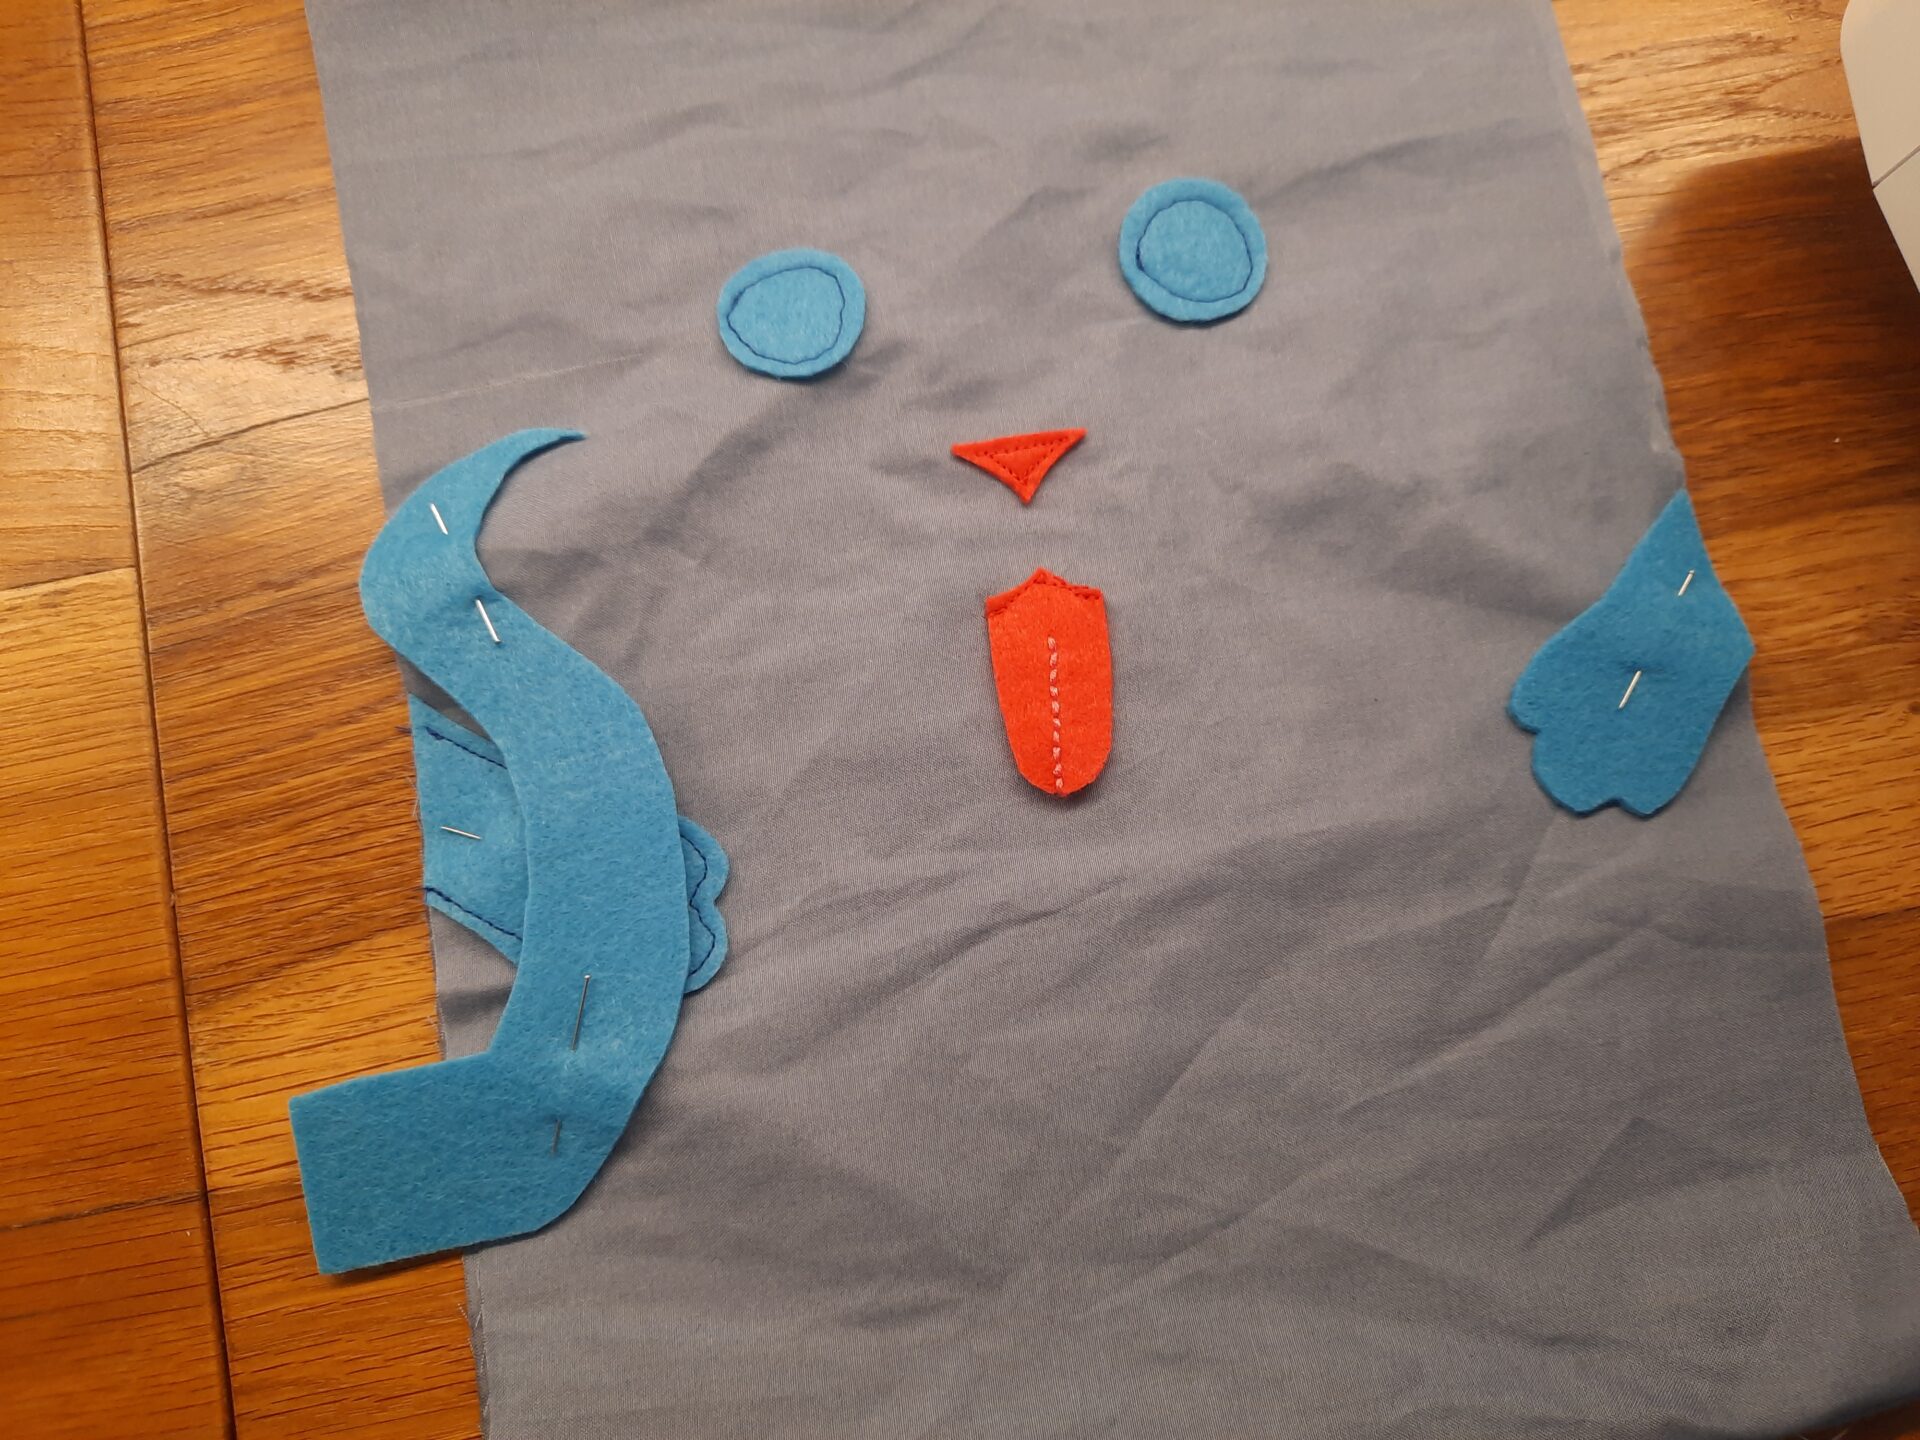
With all my pieces ready, I started the assembly. I first sewed the eyes, nose and tongue on the front panel of the bag. Then I started embroiderying the belly with my daughter’s name.
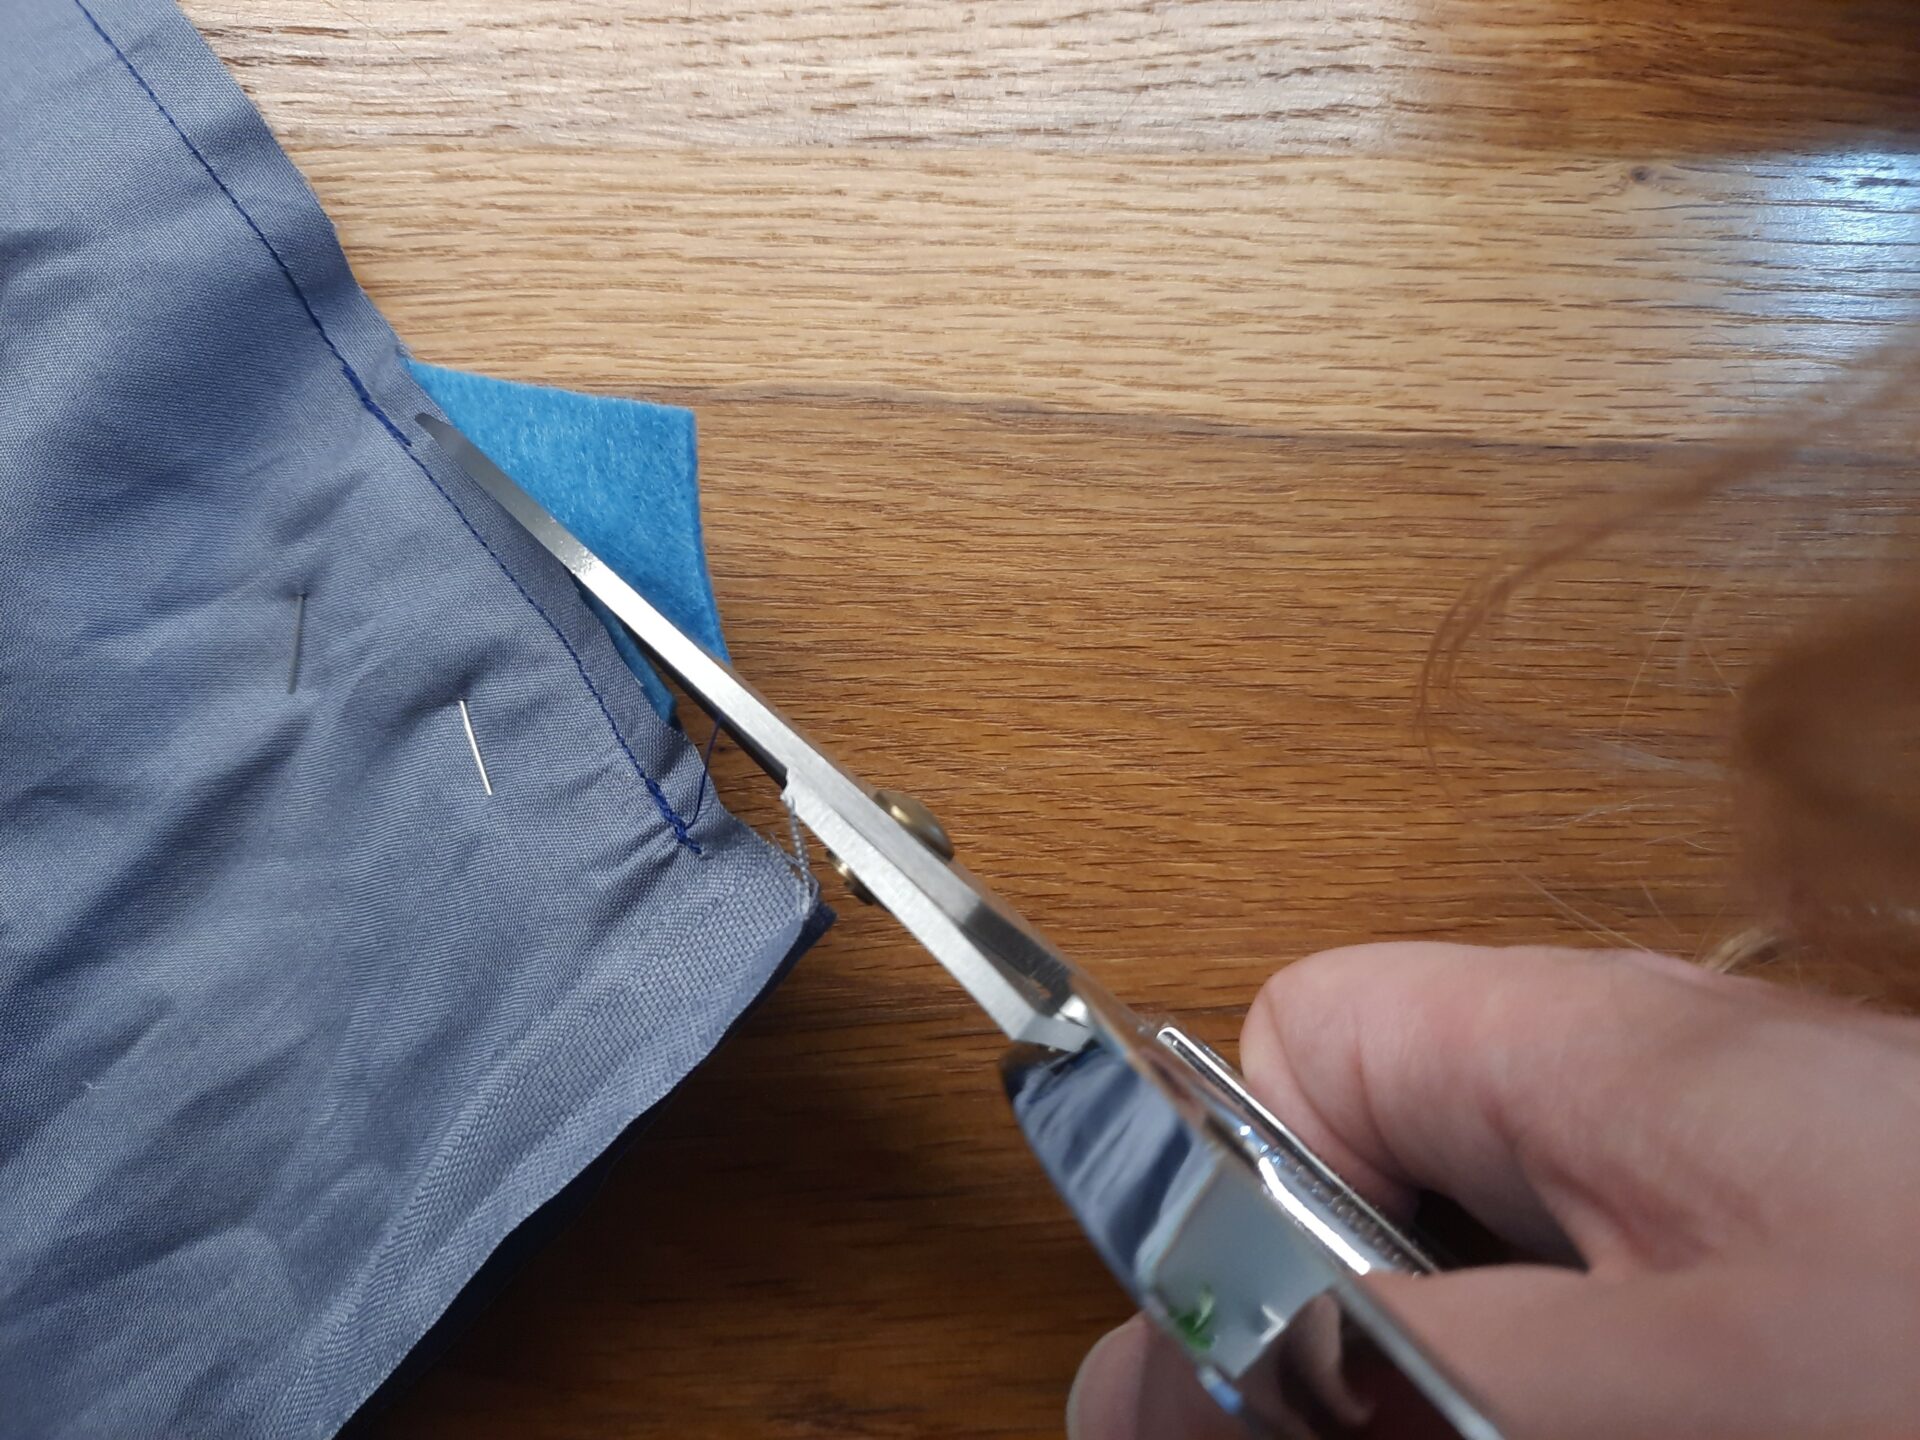
All the other felt cutouts needed to come out of the bag’s side seams. I started with the bottom paws, the easiest items to place. With the experience gained from the rocket costume, I left small rectangles while cutting out all those felt pieces, so I had material to stitch inside the seams for strenght. About the tail, for example, I purposely made it larger towards the top, so it had two attaching points, one at the base and one further up. I then cut away the excess felt coming out of the seams.
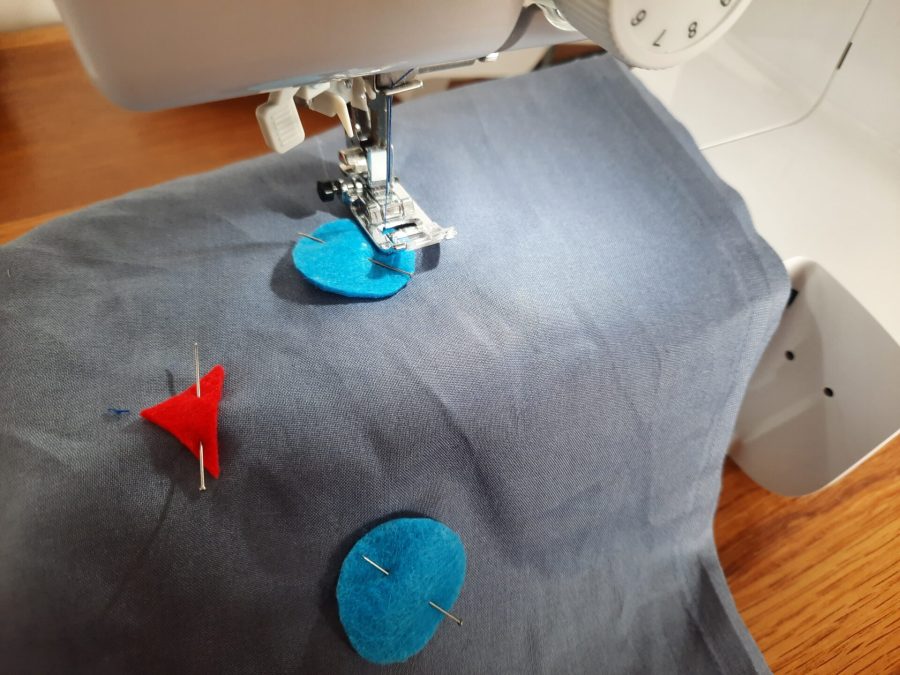
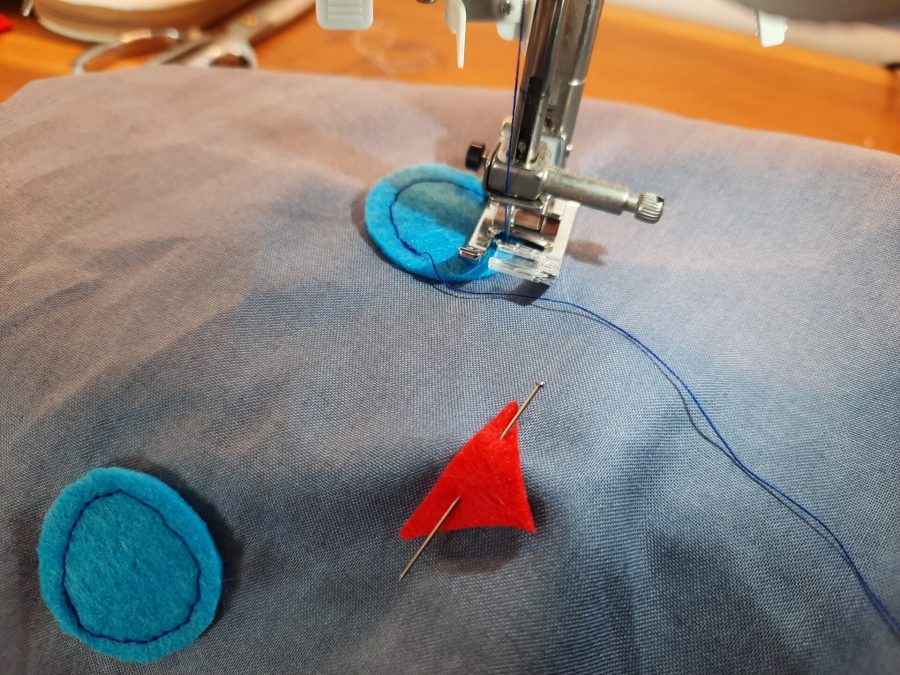
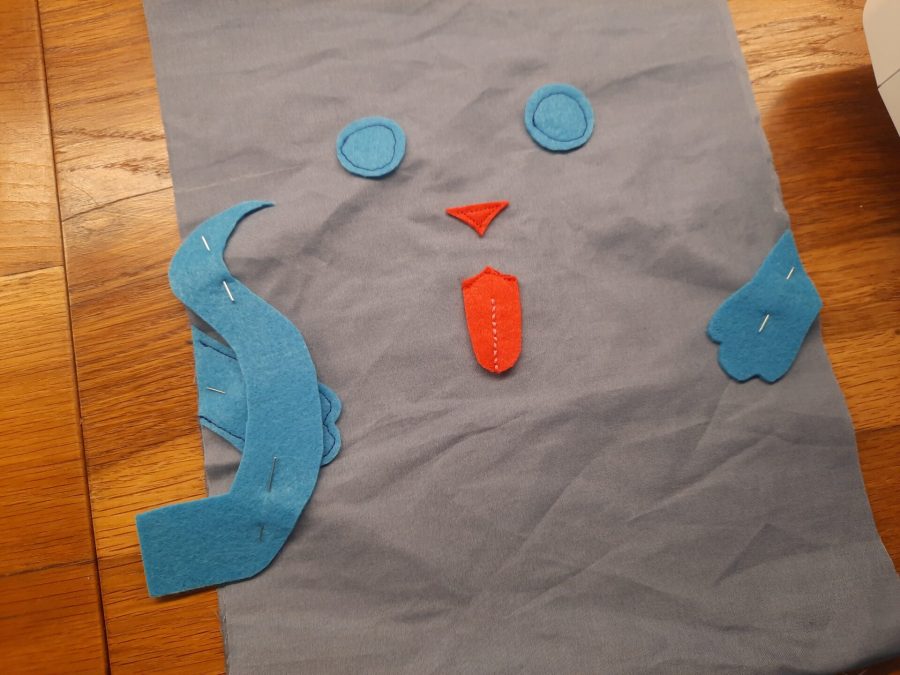

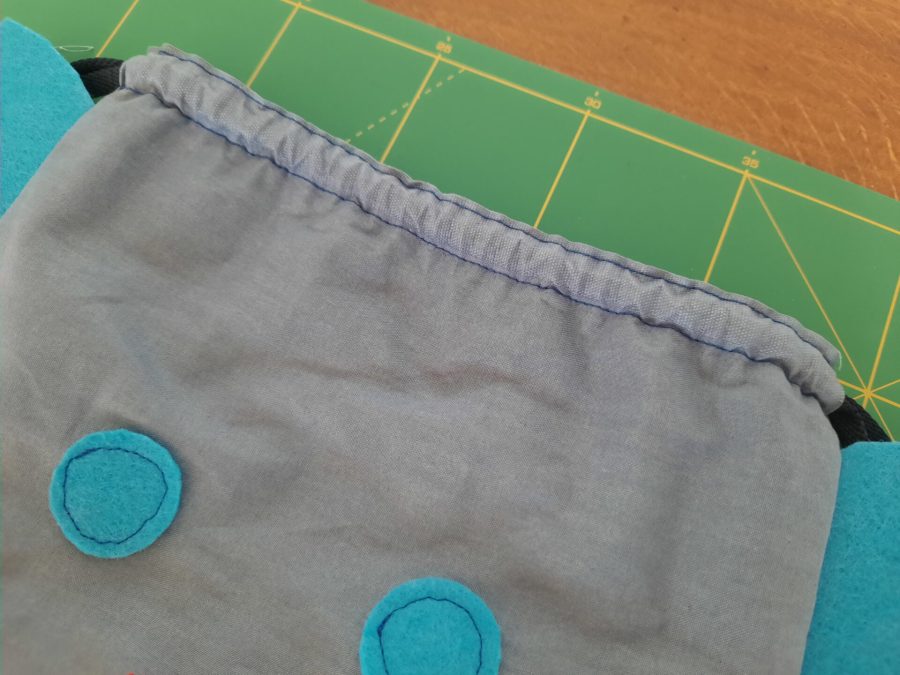

After sewing all the remaining felt items, I had the exterior of the bag ready. I then sewed the two lining panels together. I could use another technique and stitch together each lining panel with the external one from the top sides, then sewing the sides, as I did for example for my brick stitch Medieval purse, but having to add all the felt pieces inside the seams (and in a hurry) I chose to sew bag and lining separately. This is when the selvedges on top came in handy, preventing a bulky seam.
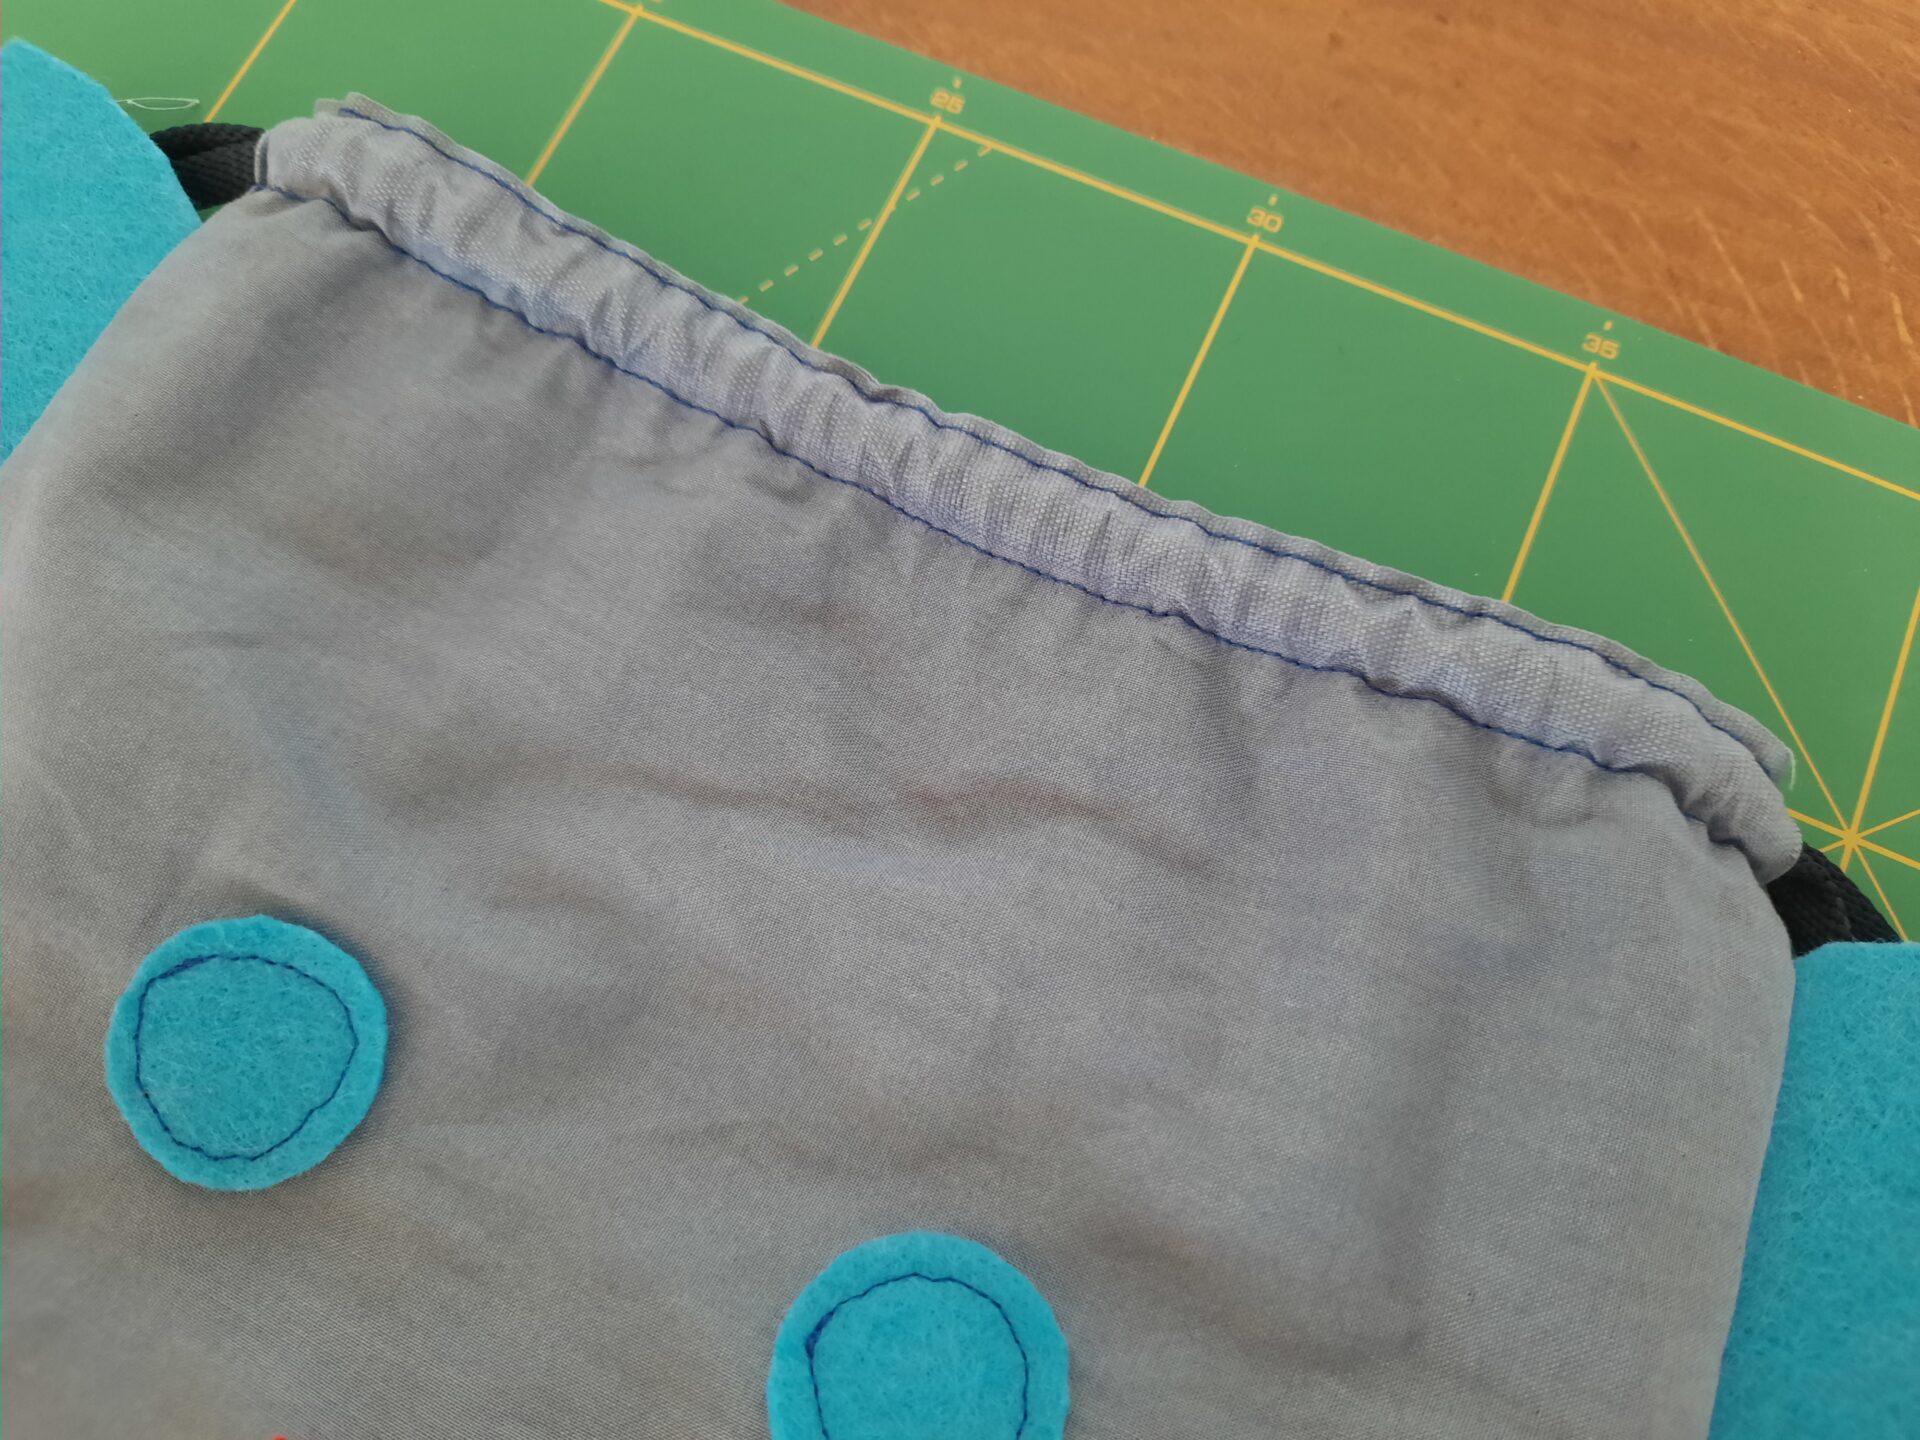
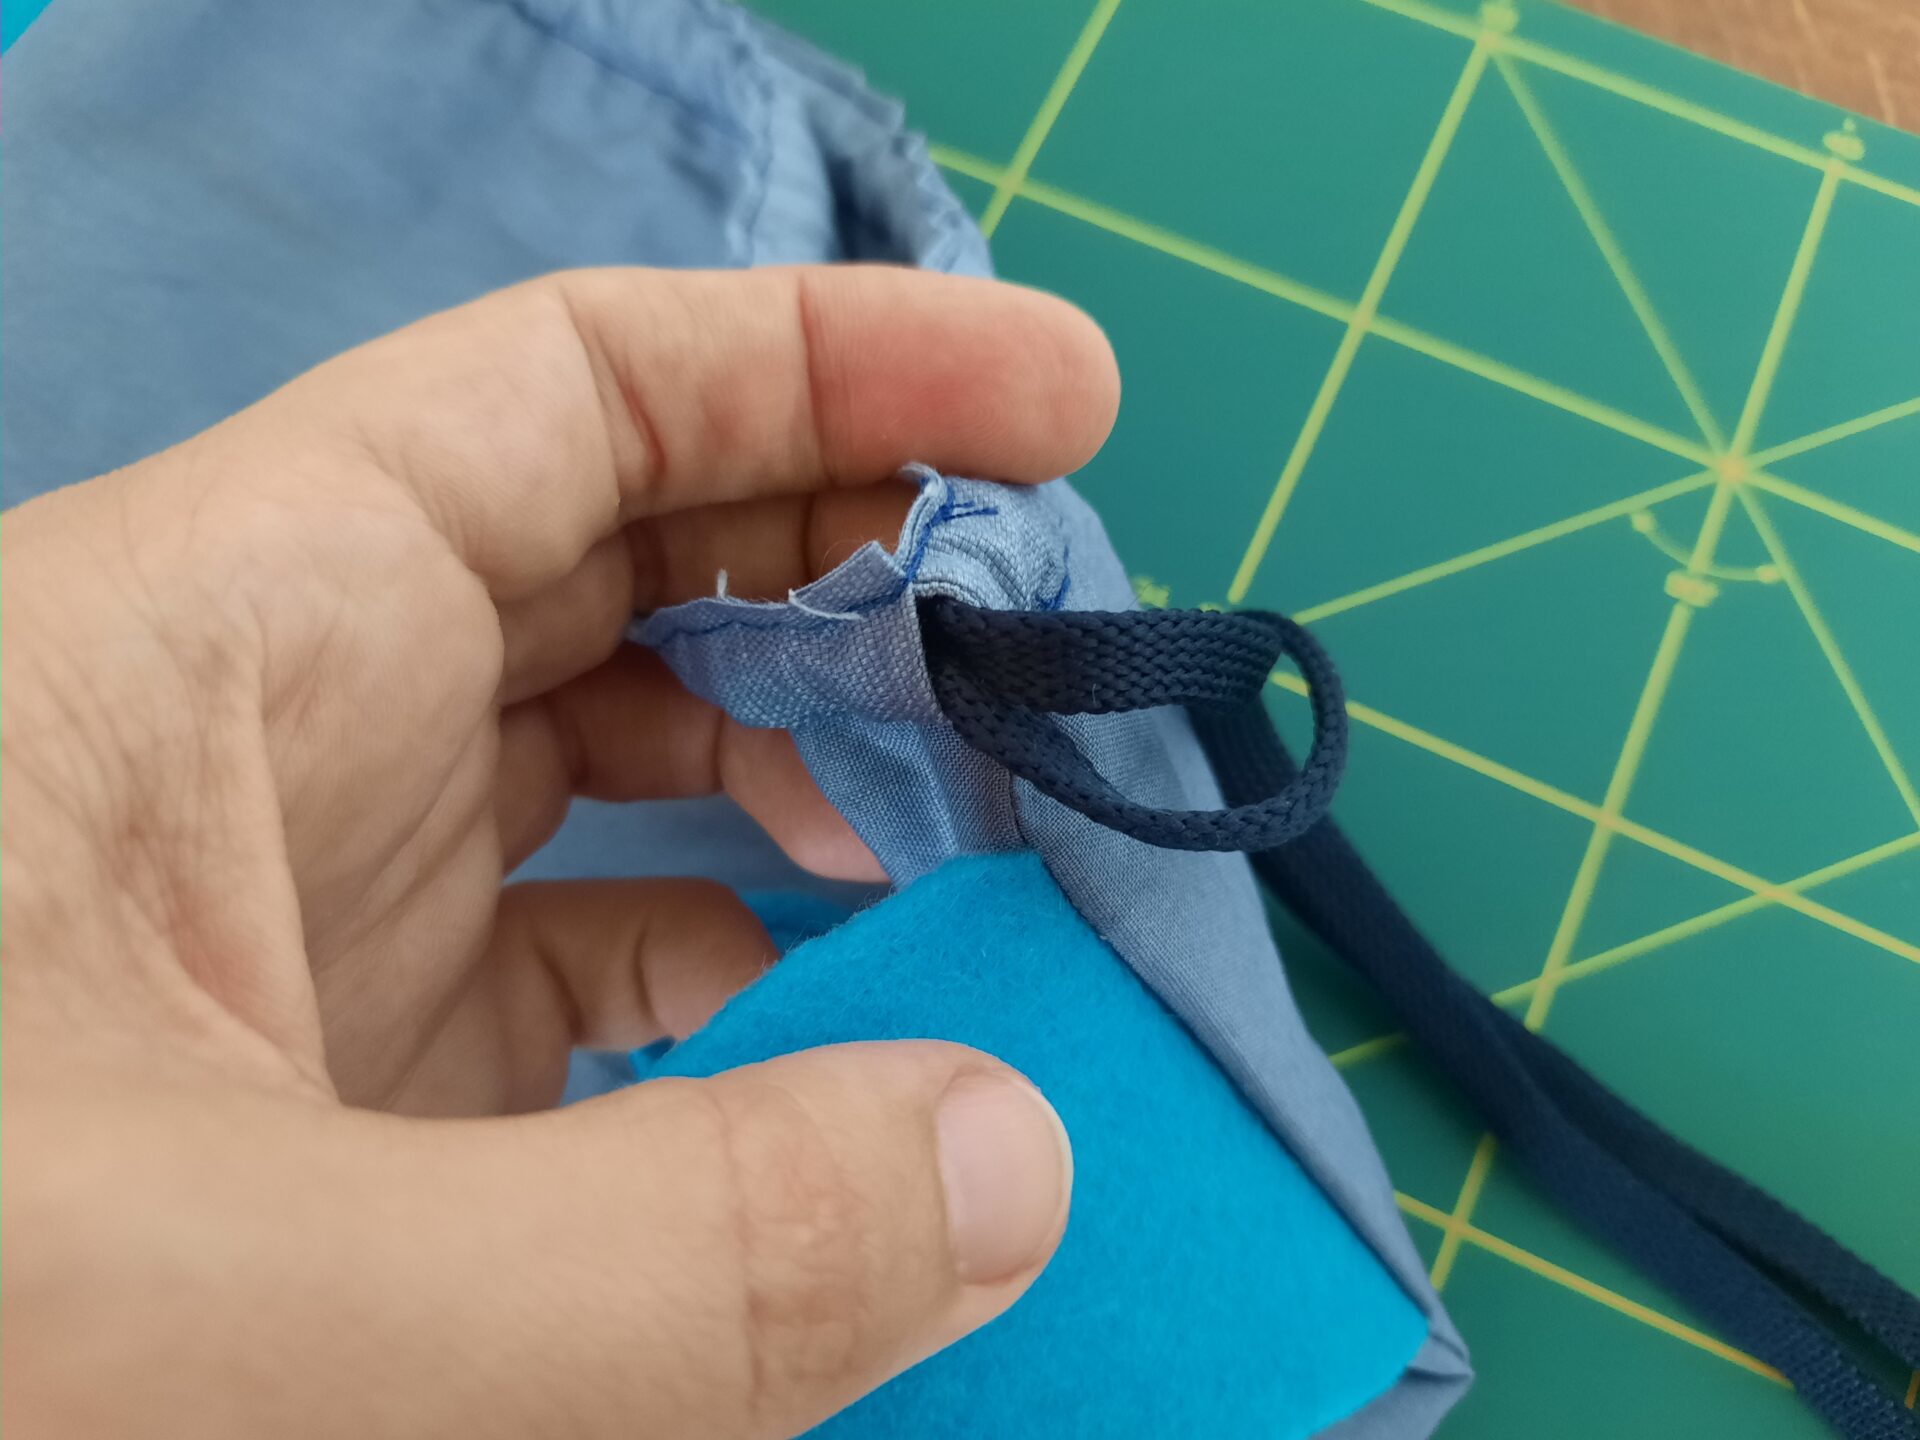
Also, the hurry was no good companion. I had to speed up to finish, so I wasn’t able to shoot some pictures. To join lining and bag, I put the lining inside then sewed the top, being careful to keep really close to the edge: with all the felt decorations, I happened to have little room for the closing lace, so I coudn’t waste millimeters.
I then added another stitch line about one centimeter further down, as down as I was able, to make a pocket for the closing lace. It happened that this pocket occupied the exact space of the selvedge: an unwanted feature!
Well at this point I realised I forgot something: the mouth and whiskers!
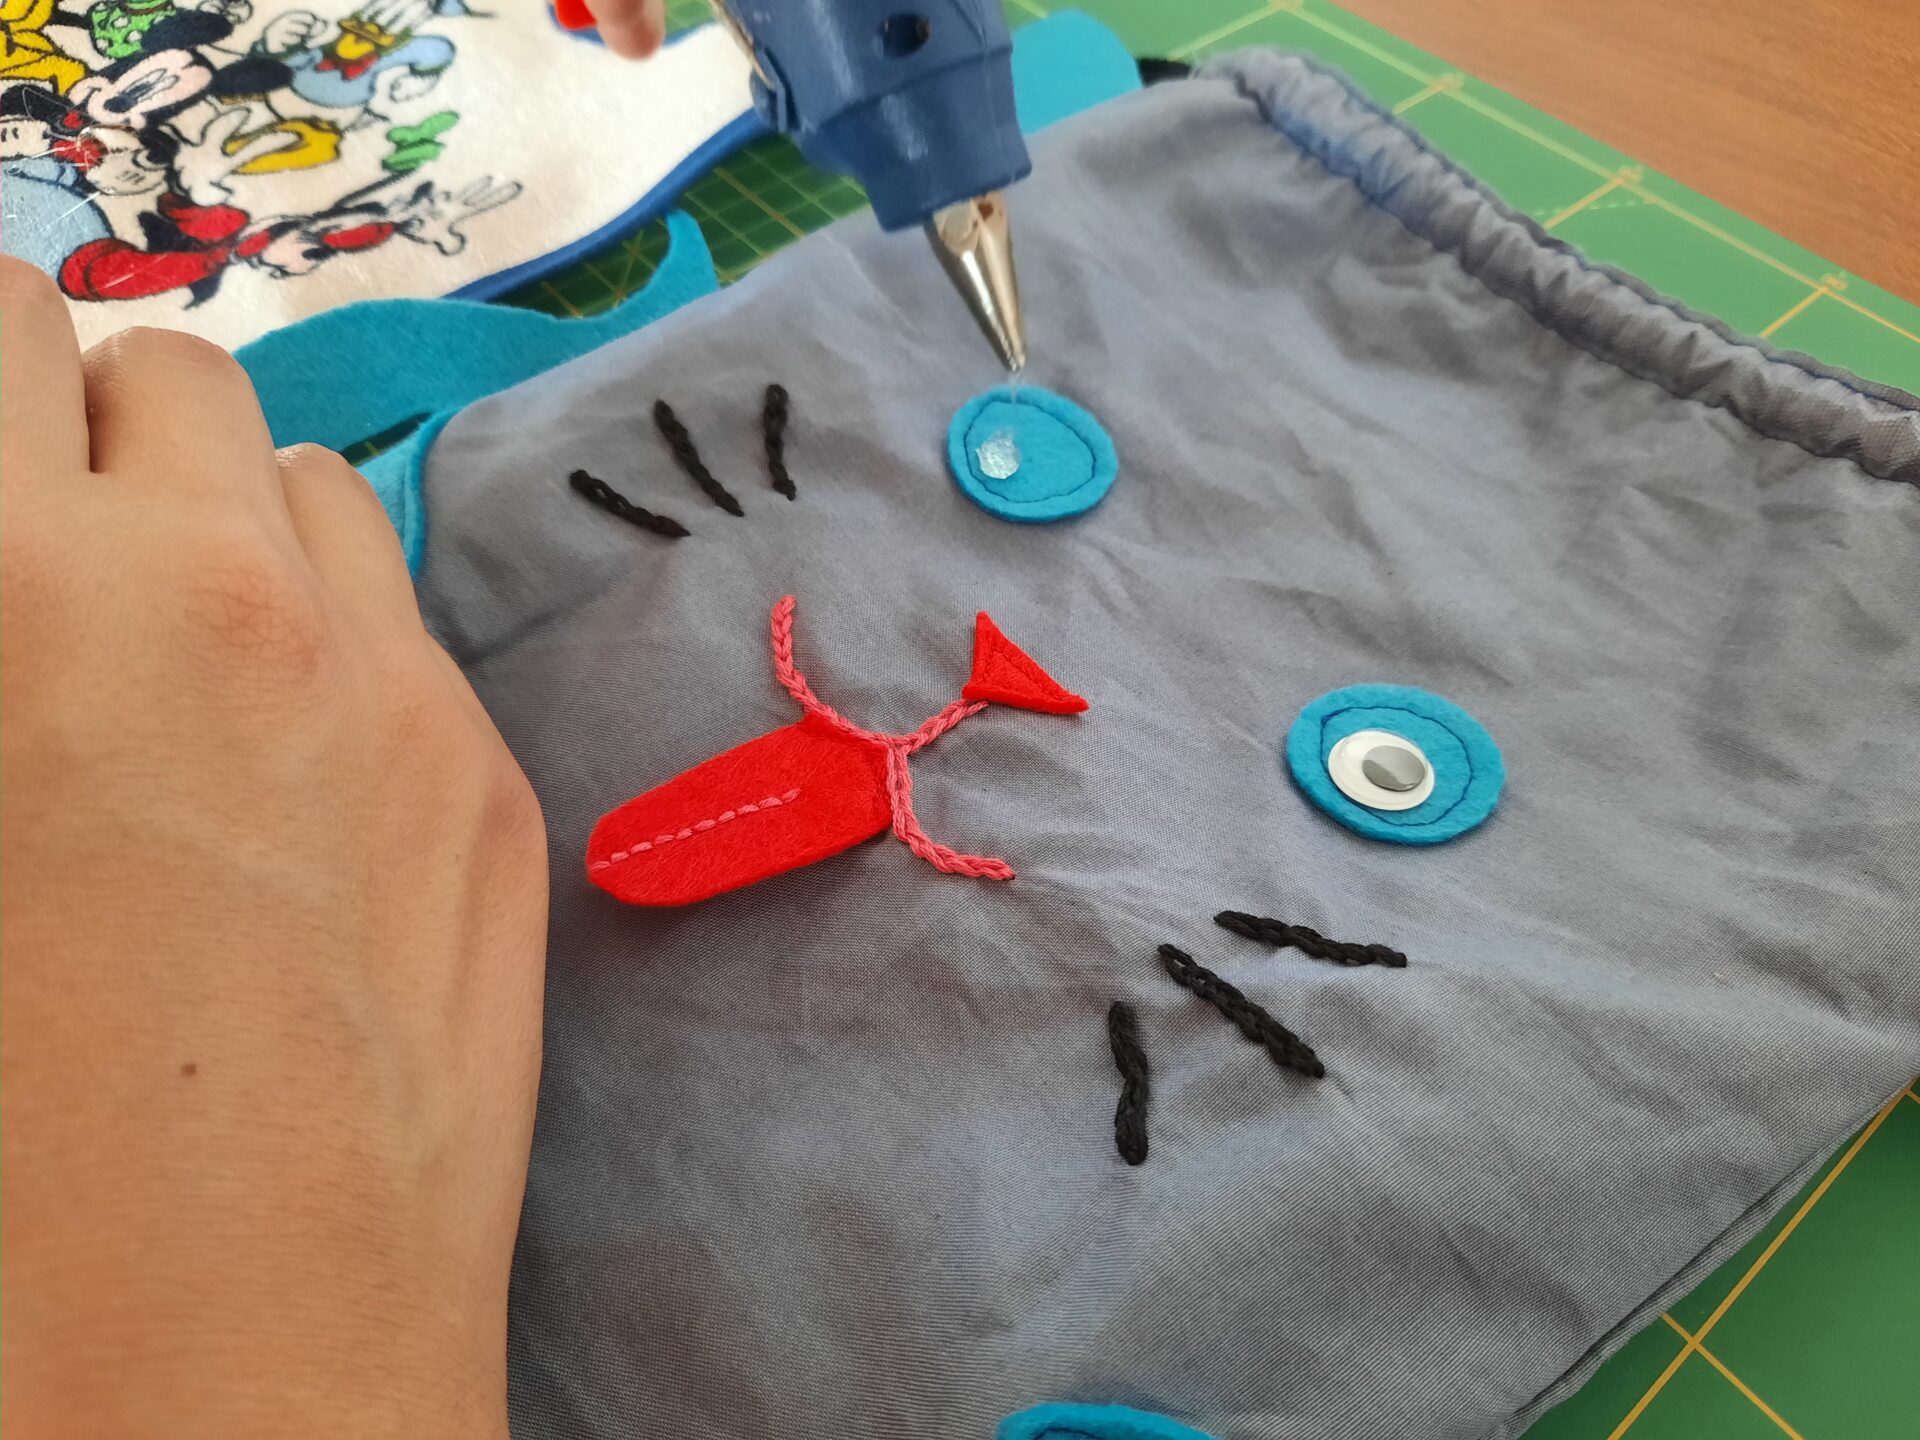
No bother, I could embroider them and avoid the back of the stitching from showing up inside the bag, but it would have been a lot easier if I remembered about them beforehand! As always, careful planning is the best companion to a successful craft project!
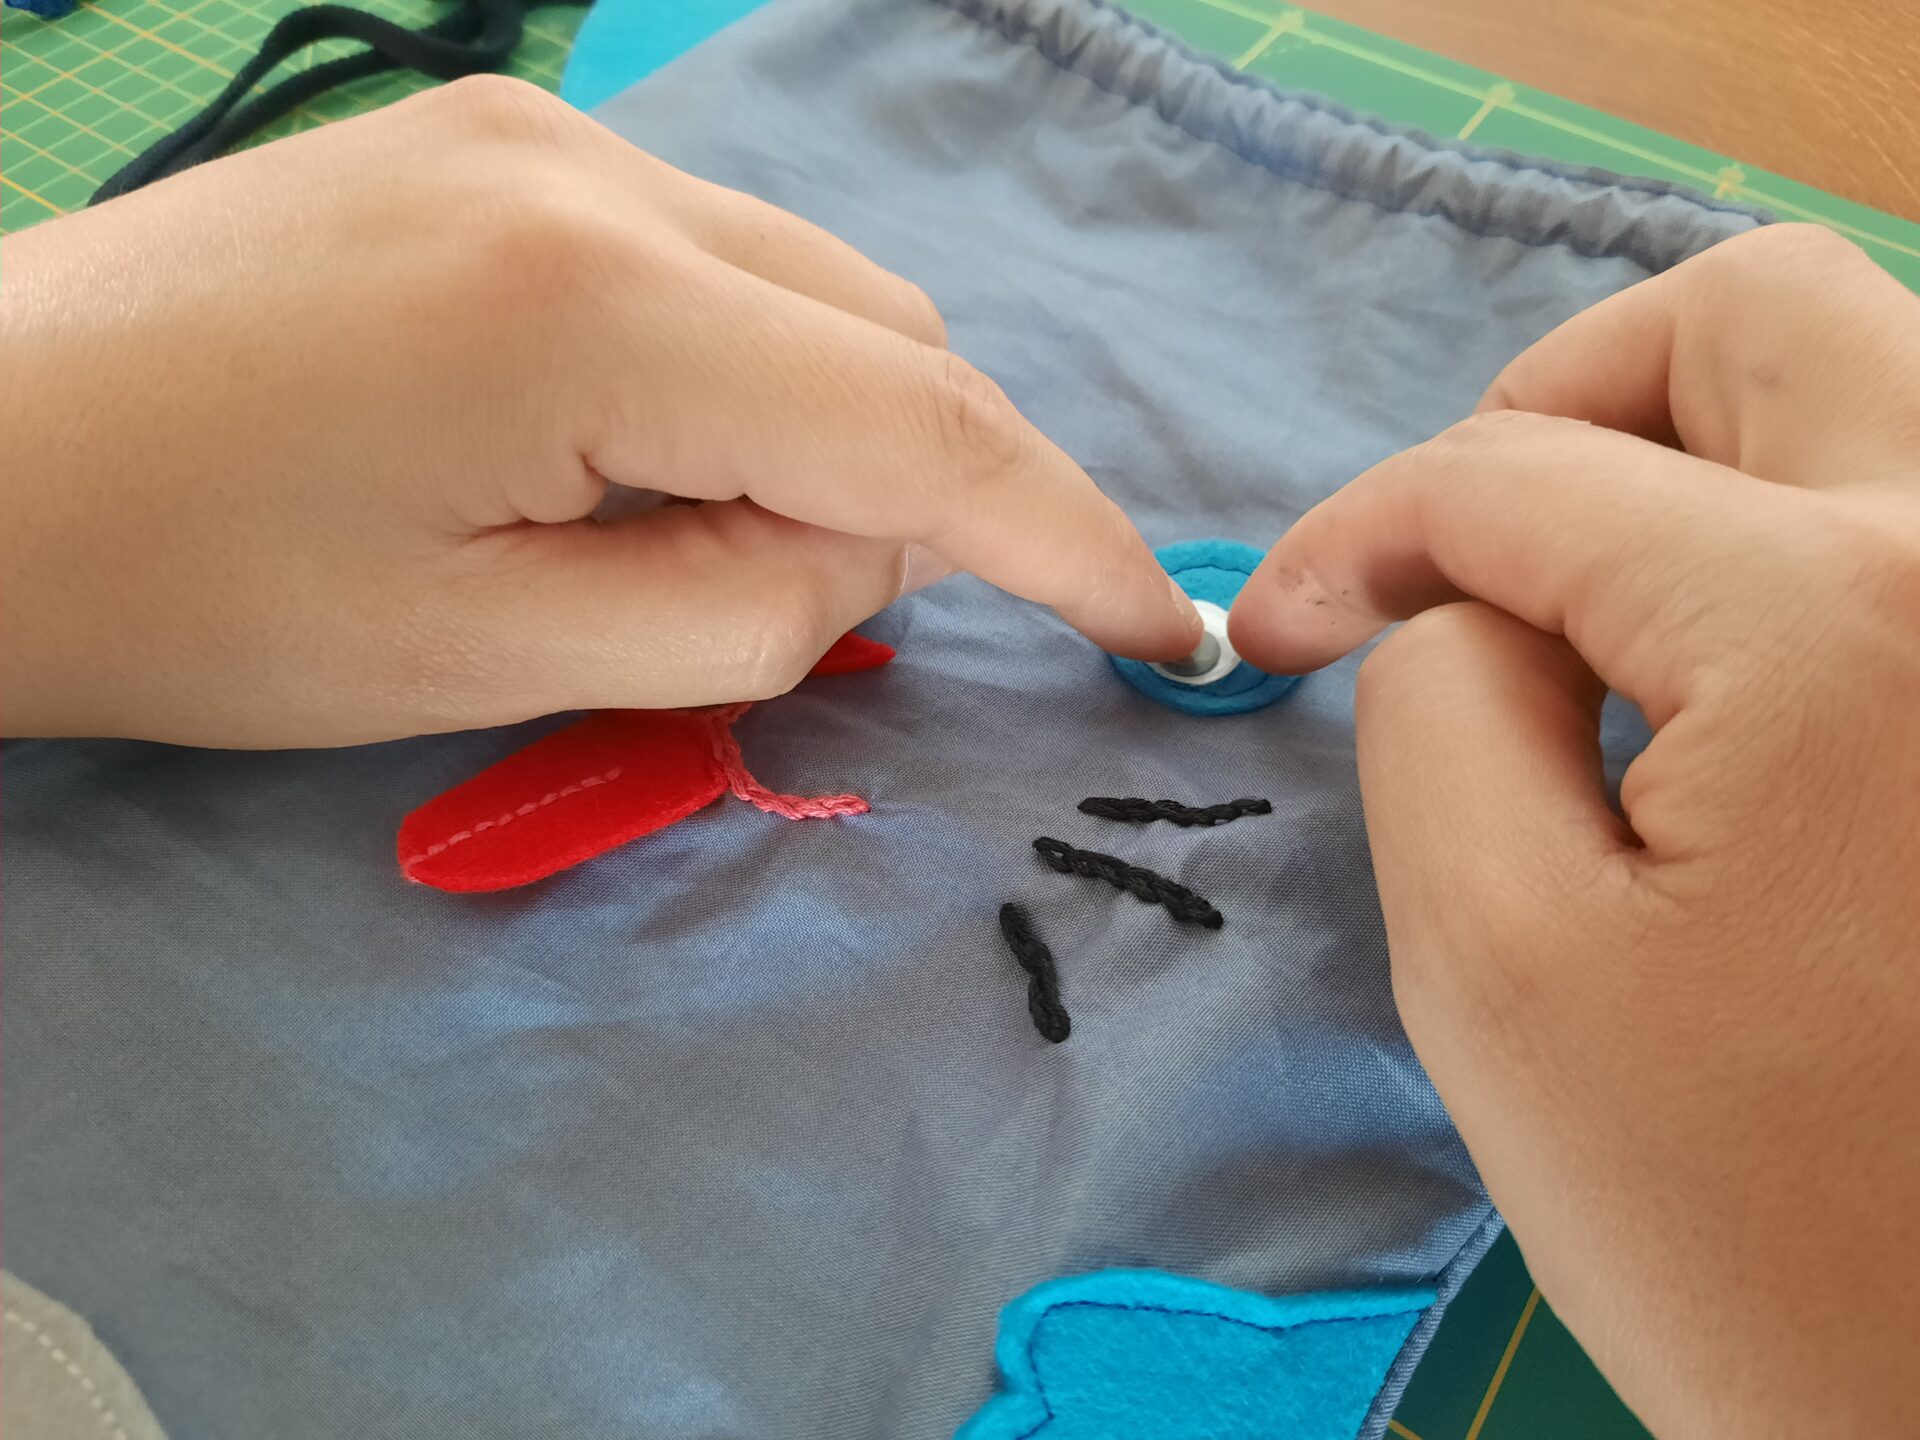
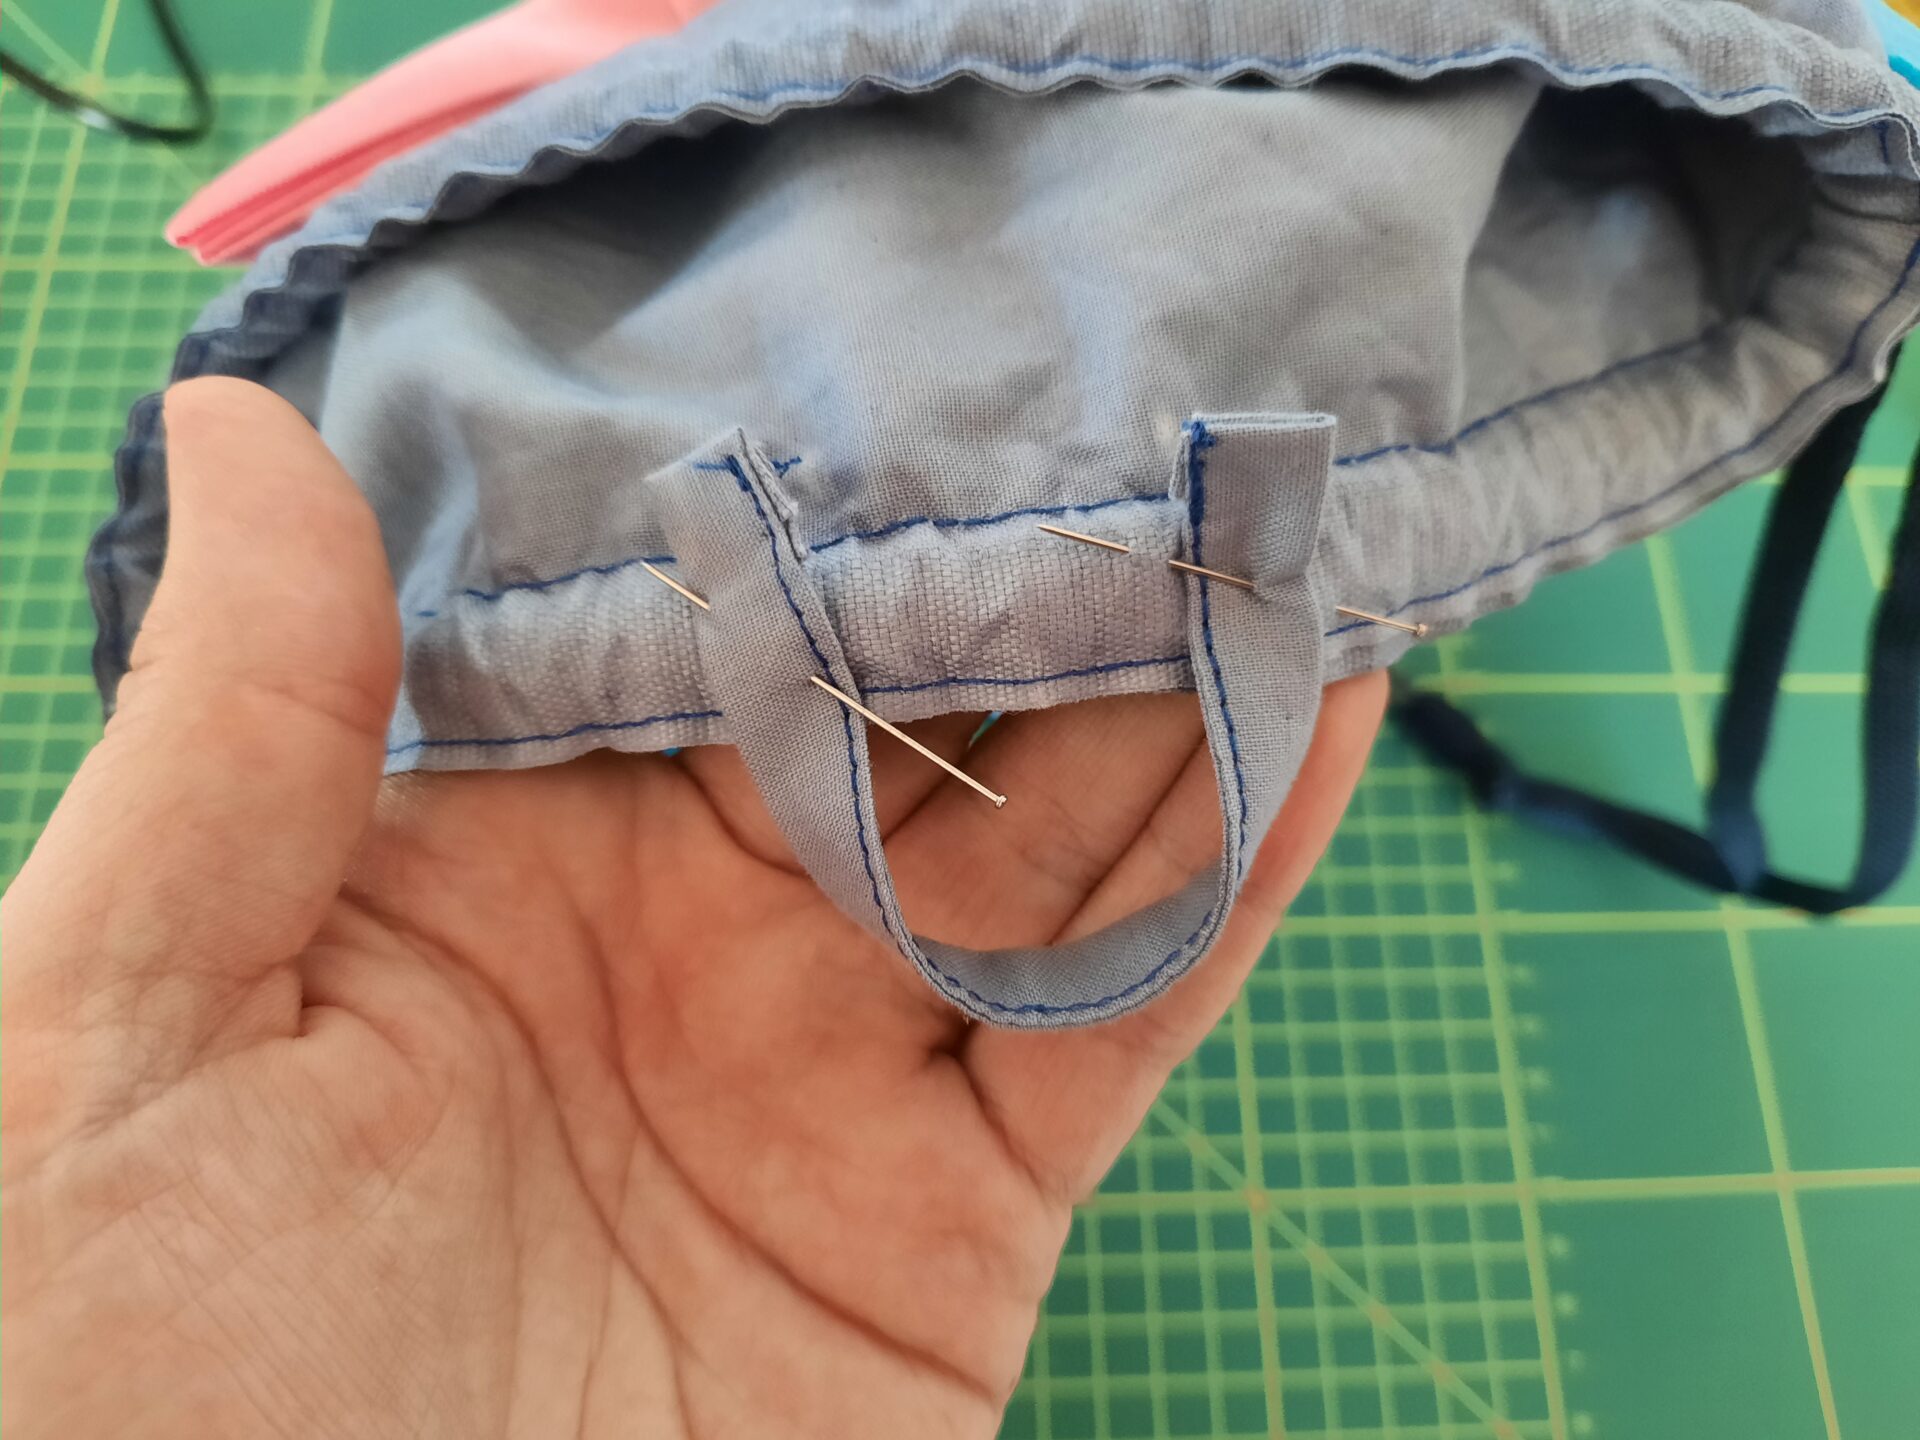
Well, after I took care of the final embroideries, I could add the final touches. My husband glued a pair of googly eyes and I sewed a hanging hook on the back, inside the bag, stitiching over the lace pocket seams.
With that, my cat bag was ready on time: I was just able to hide it from view a little before my daughter came back home! I can’t wait now to see her face when, at her first kindergarten day, I give her the cat bag!


This project for me was important, a crafty way to connect to my little one. I really love when she asks me to make her something or when she asks her dad to repair her toys. Showing her that you can make what you need and repair what’s broken are very important lessons we care to teach her.
I can’t wait for the next project I have to make for her! Or, even better, with her.