My daughter, at one year of age, doesn’t like to dress. Like, at all! She would always wear the same clothes just to avoid the changing moment. And without socks, like her dad! The day will come when she’ll dress up just for fun, whe she’ll choose her clothes herself… In the meantime, I just have to stick with it.
One day her childcare director said “In a week we’ll have the Carnival party! Come with your costume!”
Costume? As soon as I got the news, I was torn between the parent excitement of my daughter’s first party and the “oh my gosh, such a short time to get ready!”.
Of course I wanted to make her first costume myself, but I had to manage between the short time notice and the fact that I needed something comfortable, not too far from her everyday clothes habits, without complicated accessories. I did a test, I tried to put her on a headband: a disaster, she couldn’t bear it for more than five seconds!

Click for the finished project detailed photos
Browsing my faithful Pinterest for inspiration I found lovely but unnecessarily complicated costumes (Pin for later use!), but when I saw a child dressed as a bunny I had the illumination: I can make an easy and quick bunny costume that she won’t even notice! And that’s what I did, in the space of a couple of hours while she had her nap during the weekend.
Want a free pattern?
Want to make one yourself? I prepared a quick pattern to print, ready to cut and sew the needed fabric to make the bunny ears.
Complete with quick handy instructions, photos and the QR code and URL of this post you are reading just now. So you can access to the detailed instructions anywhere anytime.

What you need is:
- Fabric of your choice in two colors (I chose grey and white, but could be cream and pink)
- Stuffing material (what works best is a flat polyester stuffing for upholstery)
- White yarn (for the tail)
- Needle and thread
- Scissors
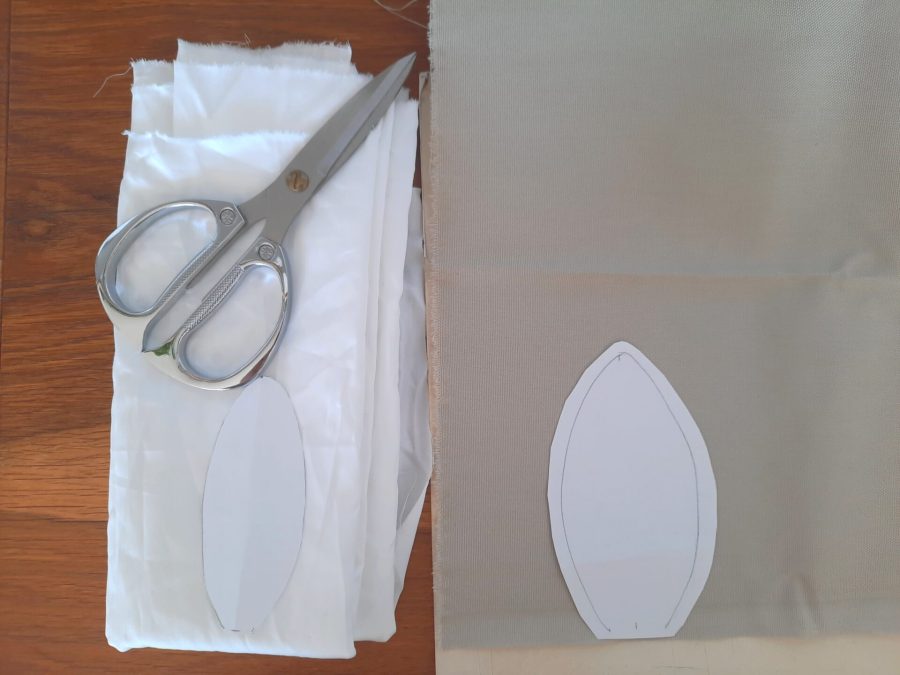
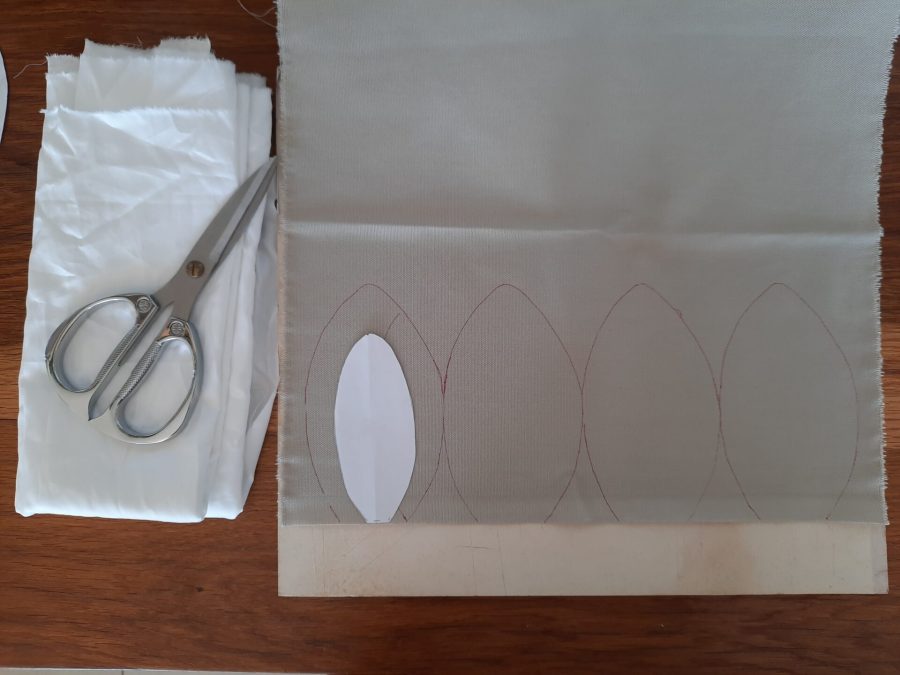
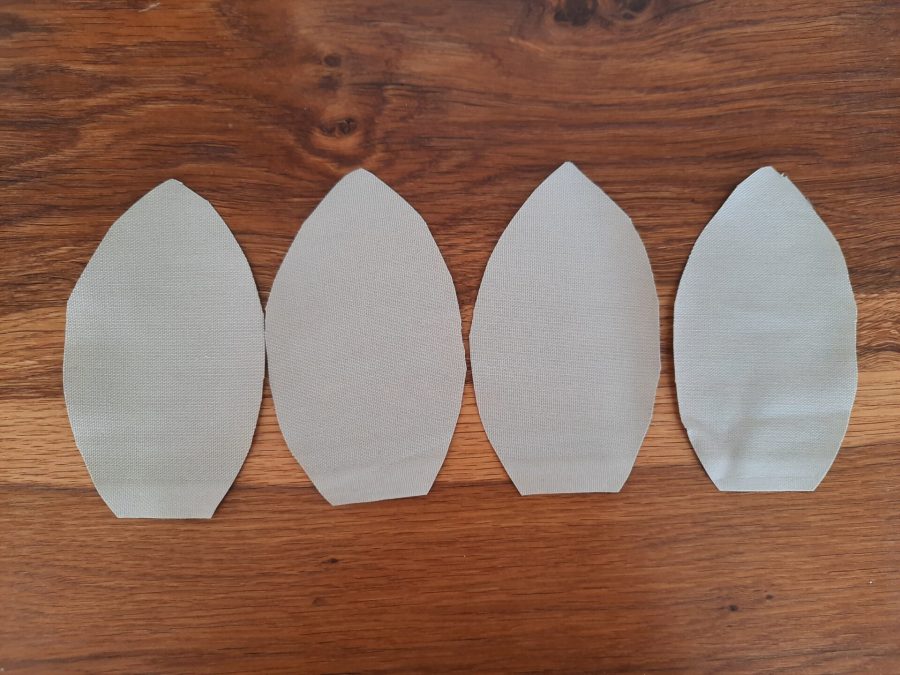
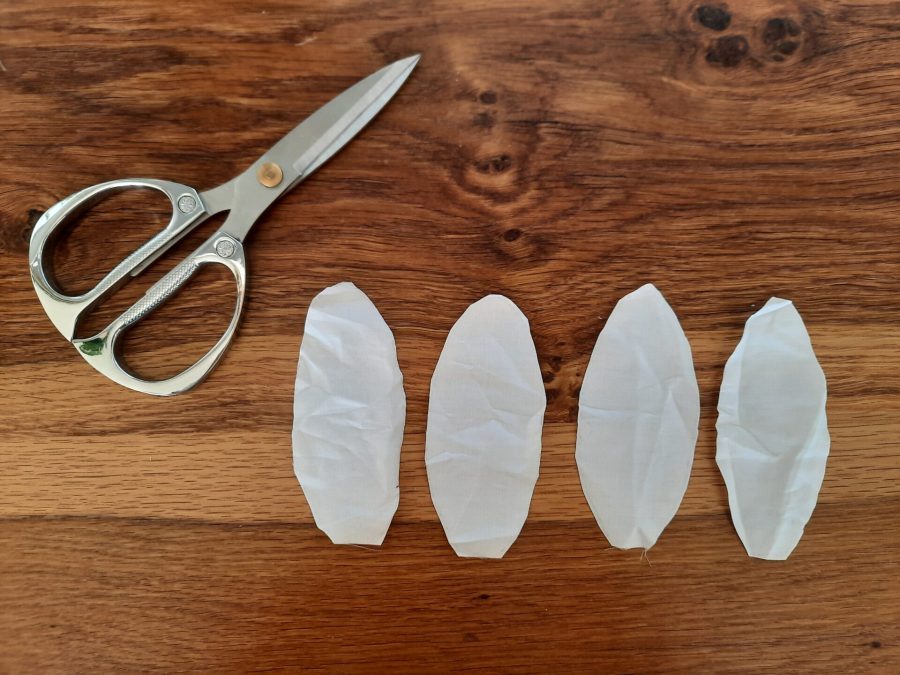
Now, to begin you have to cut your fabric first. You’ll need two pieces in dark fabric and two in lighter fabric for each ear. Those are quite similar to the slices you have to cut to make Halloween pumpkins: if you’re familiar with that tutorial, you’ll find this one pretty easy!
Be sure to leave at least one cm of seam allowance.
The darker fabric pieces must be bigger that the lighter fabric ones, to obtain a bunny ear.
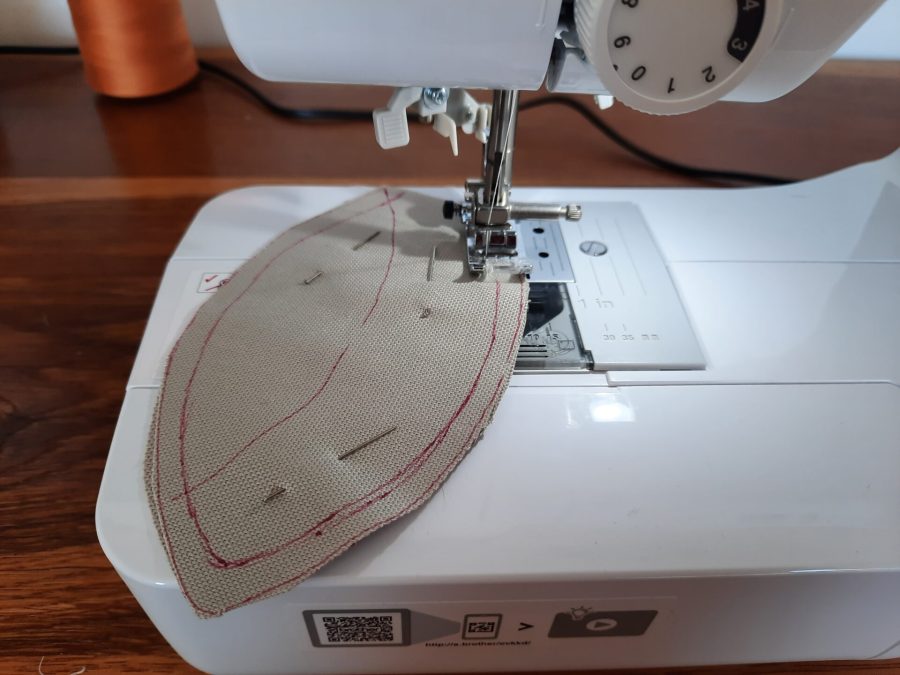
After cutting the fabric, pick two pieces of the same color and pin them one on top of the other. Be sure to keep the right side of your fabric inside, so you face the wrong side: you’ll have to sew and flip.
Moreover, check that, after marking your sewing lines on the bigger slices, you are still able to fit one of your fingers or a pen inside the hole at the bottom of the ear. You’ll use that hole to flip and stuff your bunny ear. Also your smaller ears will be flipped, even though you’ll not need to stuff them: be sure you’re able to flip them as well.


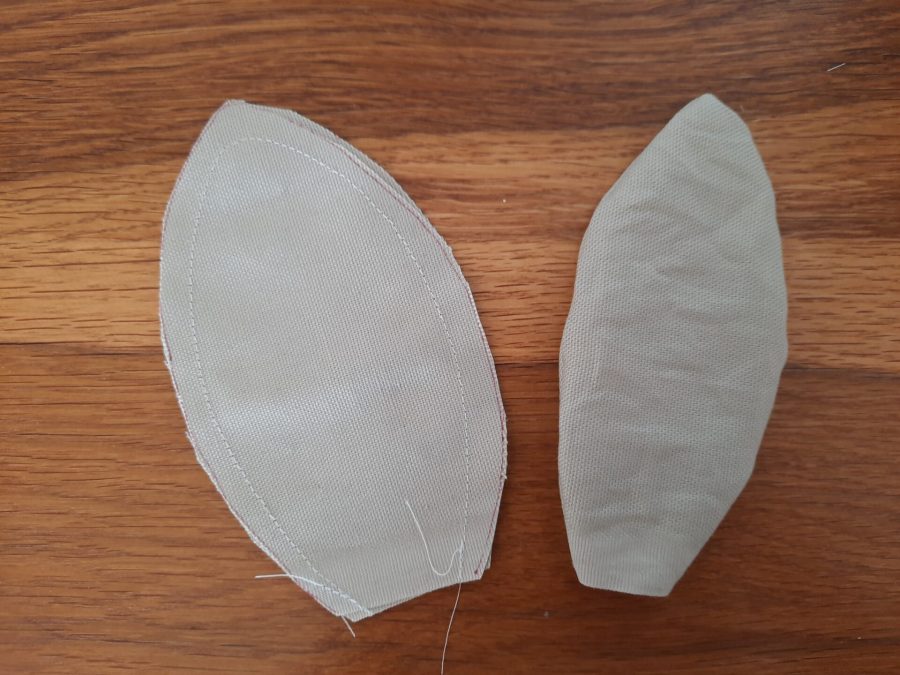
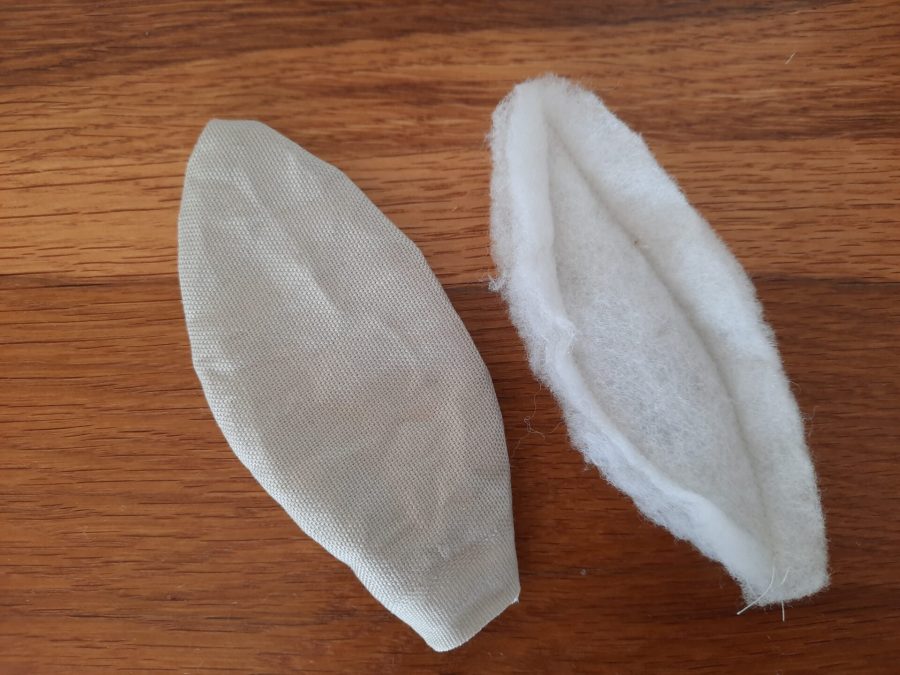
After sewing together your pieces two by two, you’ll have two ears in darker fabric and two smaller ears in lighter fabric. Time to put them together to have your two-colored couple of final ears.
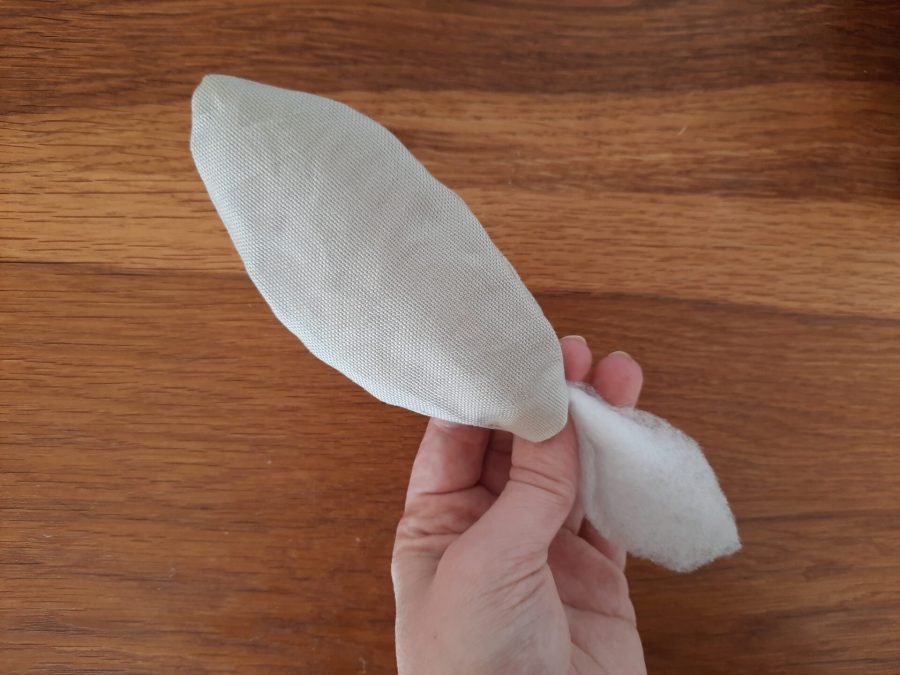
First, you have to flip the fabric.
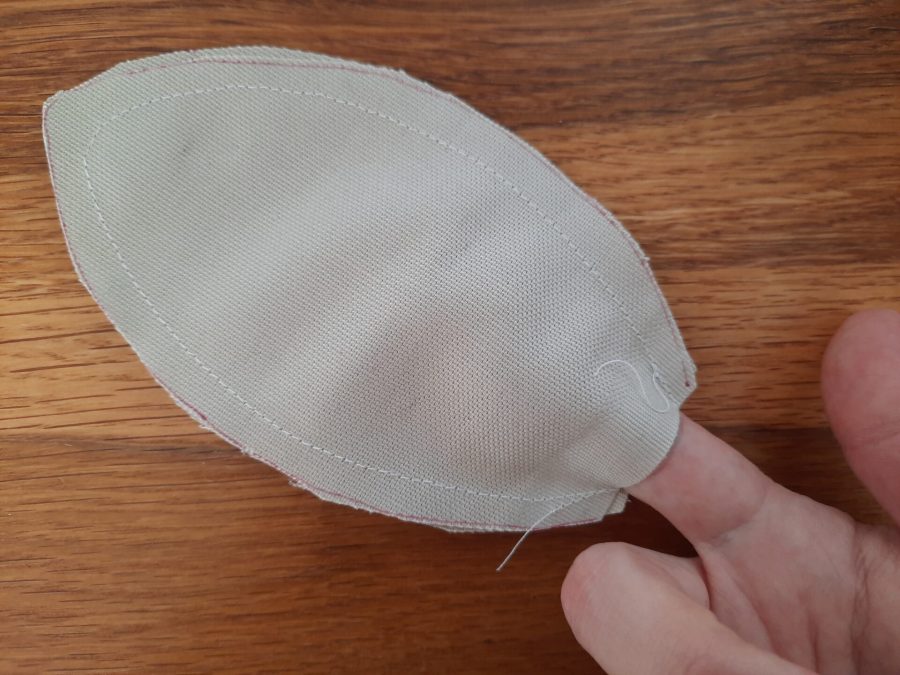
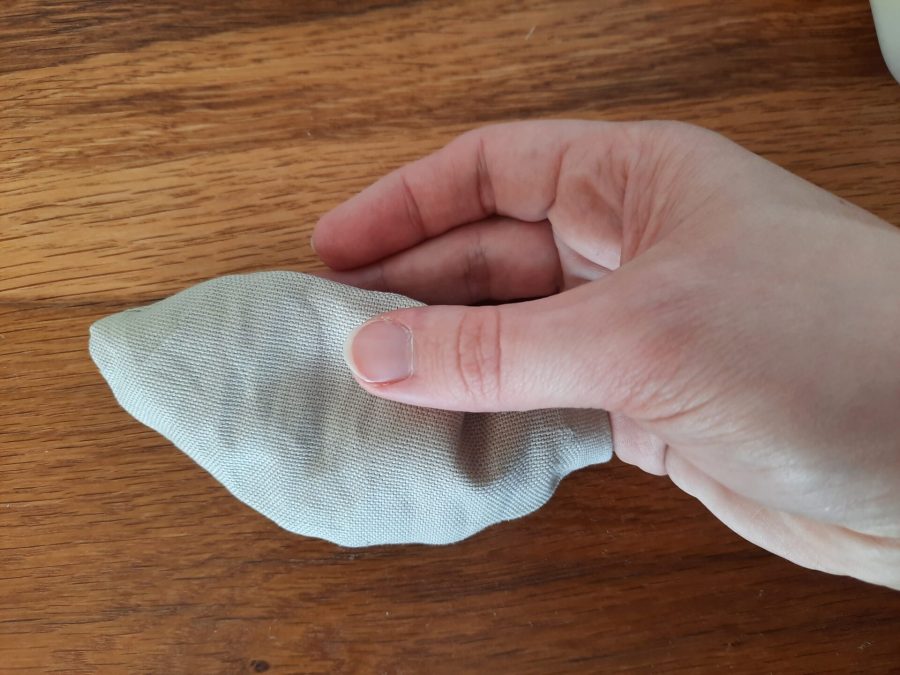
This could be the trickiest part of the process. To do it, I put a finger inside the hole at the bottom of each piece, then helped me with the other hand from the outside to push the top of the ear towards the hole. When I managed to see the other end of the ear coming out from the hole, I started to gently pull out. I didn’t need to use tweezers, but you could find them handy.
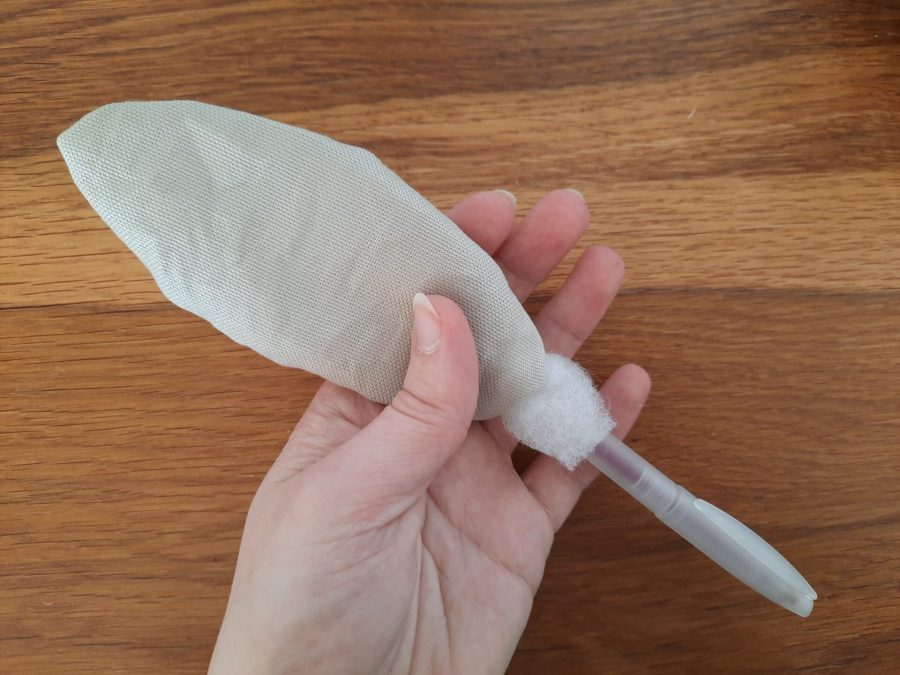
As I had all my ear flipped, I used a pen to flatten the seams from the inside: I put it through the hole and gently pushed all the seams from the inside.
About flipping your ear parts
To flip fabric tubes, similar to the ears needed for this bunny costume, you could also use a quick turn tool. It’s like a tube you push inside your fabric tube, with a smaller stick that you can use from the outside to push your fabric inside-out. Another useful tool could be a loop turner, a long crochet that has a catch at one end: you poke the needle through your tube, then catch a bit of the fabric on the pointed end of the catch and pull out. This could ruin delicate fabric, though, so in my case I decided to use fingers and pen instead to be more delicate.
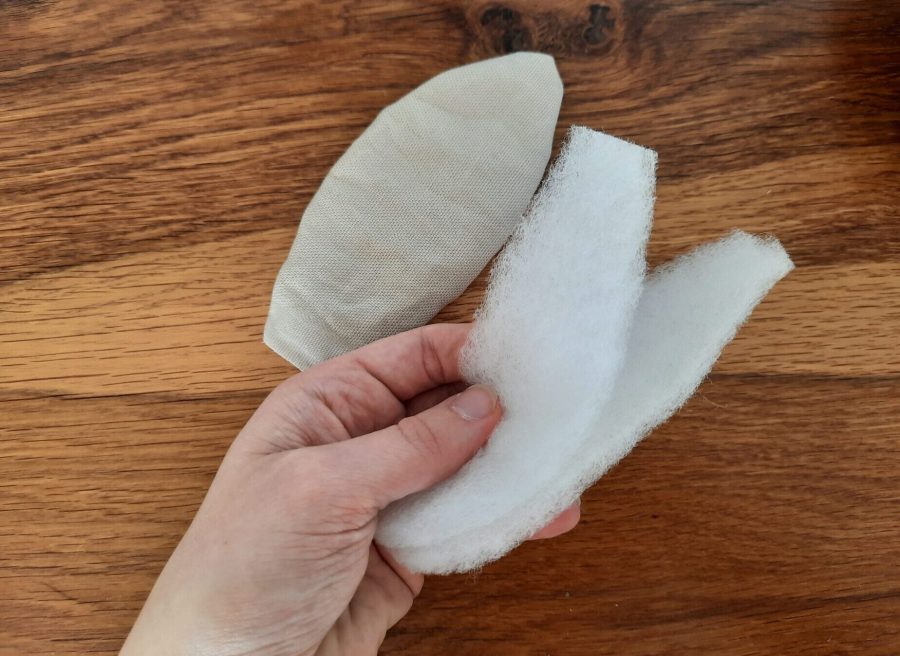
Now you have two pieces for each ear, one for each fabric, you have to stuff the bigger ones.
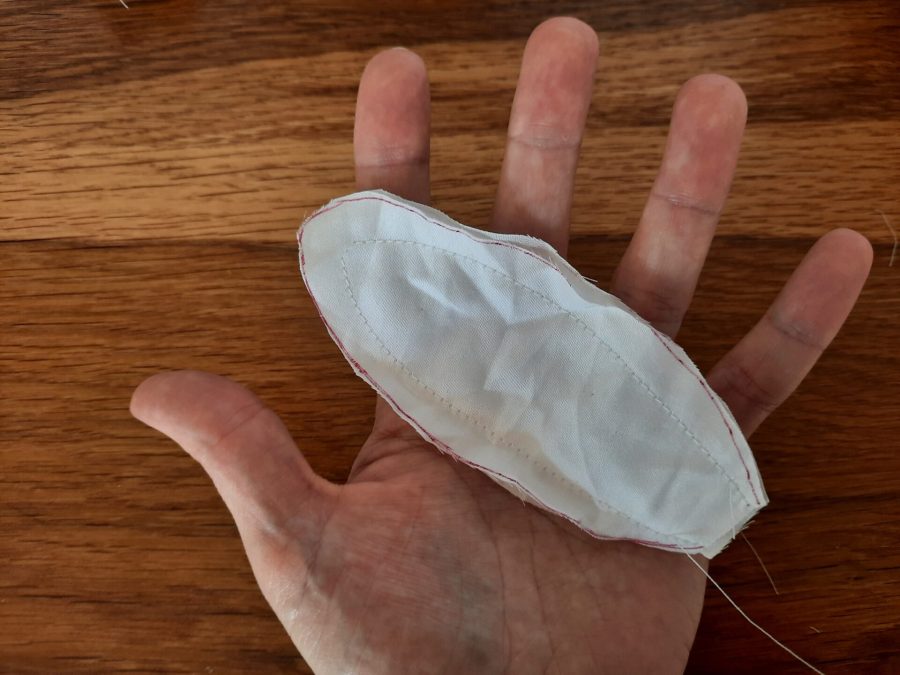
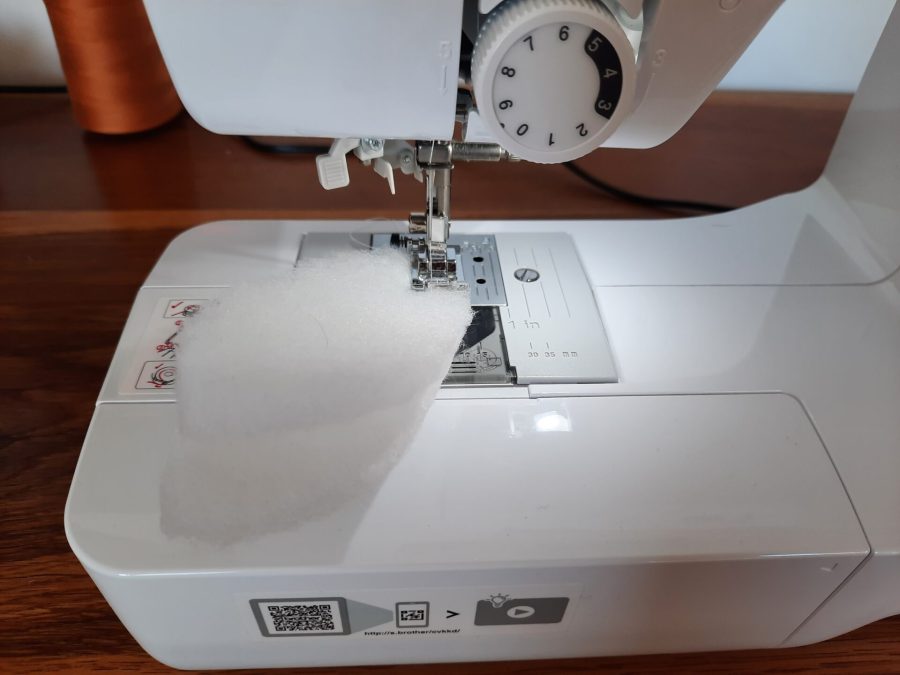
To do this, I chose a flat polyester stuffing, a leftover from a previous upholstery project. I sewed together two pieces to give structure and resistance to the filling. When I tried stuffing with a single piece, it broke in half. With the seams, though, it went perfectly.
I inserted the stuffing material through the same hole used for flipping the fabric, using a pen to push it and fill homogeneously all the available space.


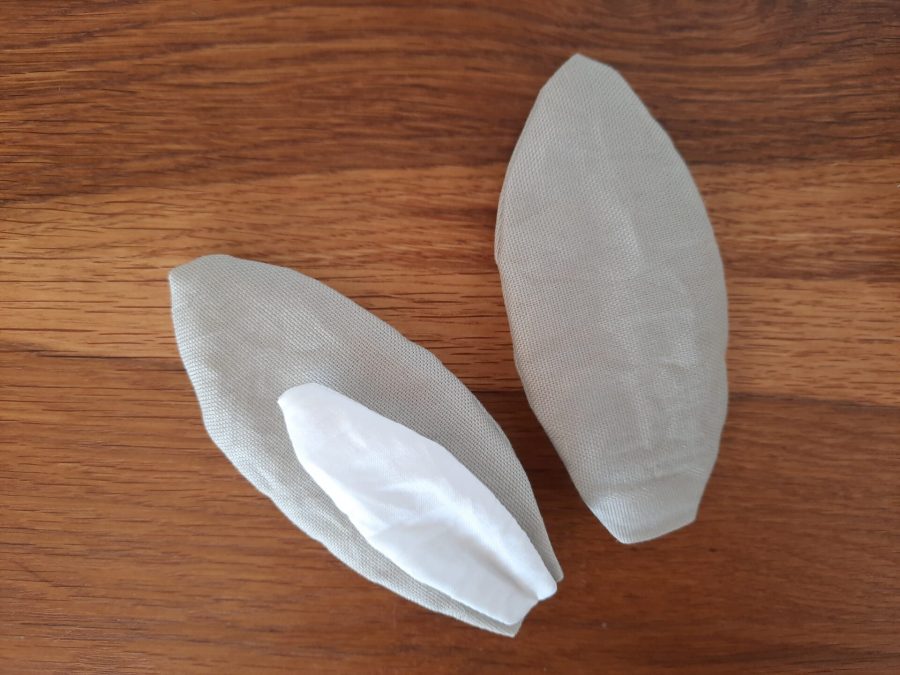
Final part: stitching the two different fabrics together.
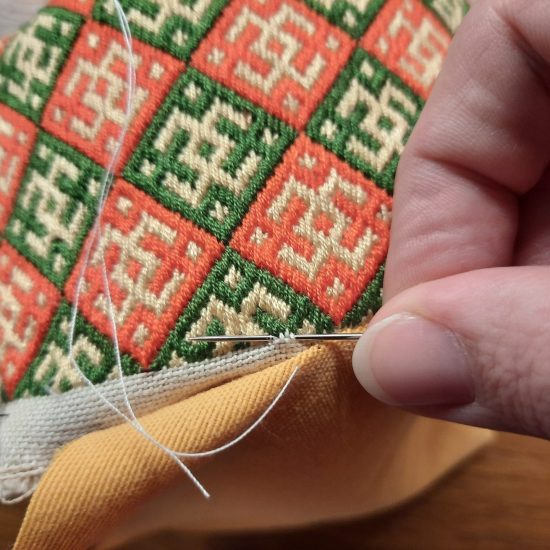
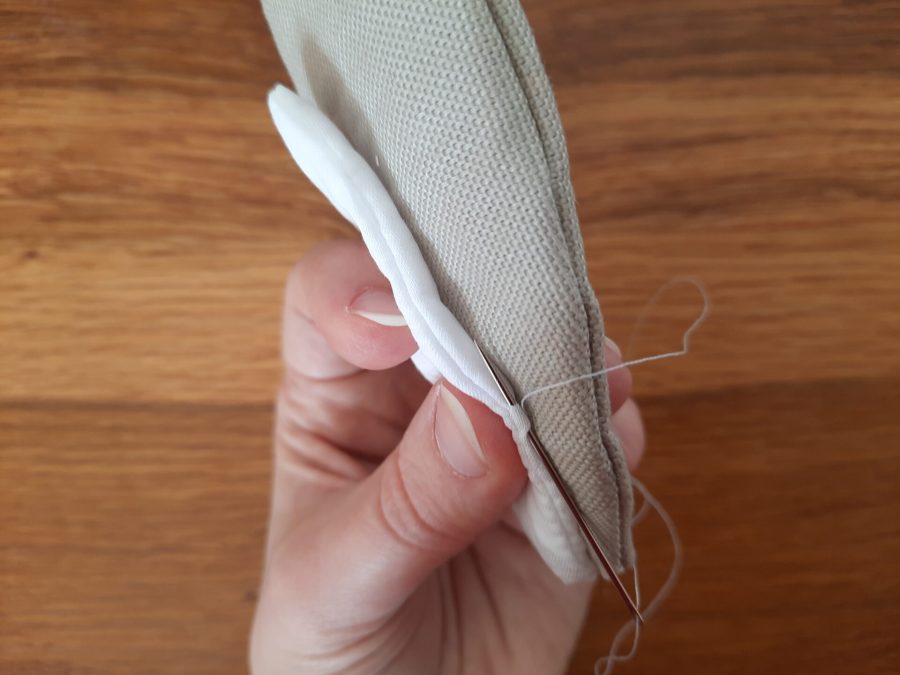
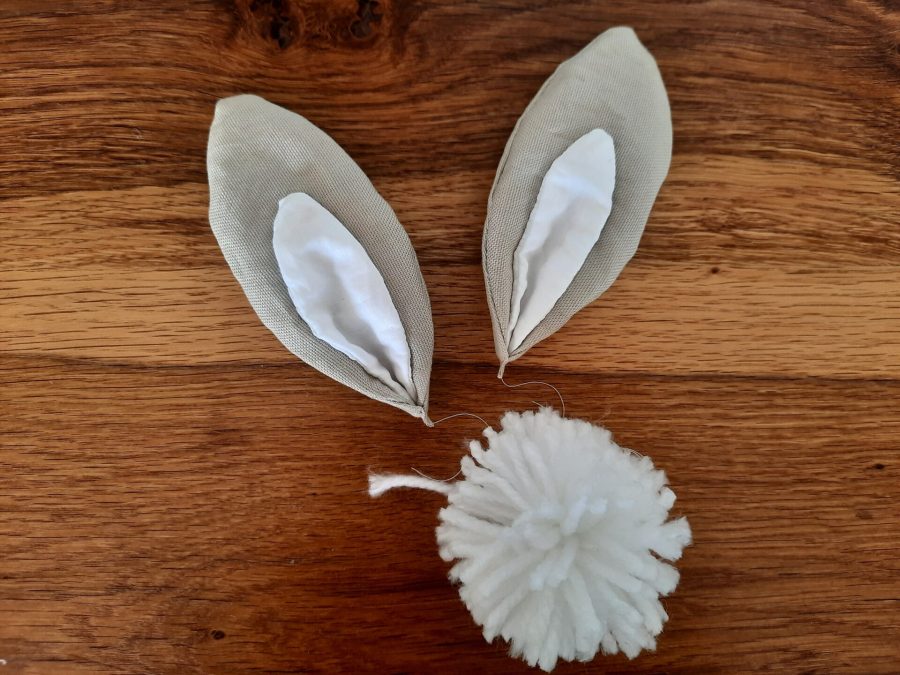
I did this by hand: I pinned the smaller white fabric on the bigger grey one, then stitched with an invisible stitch.
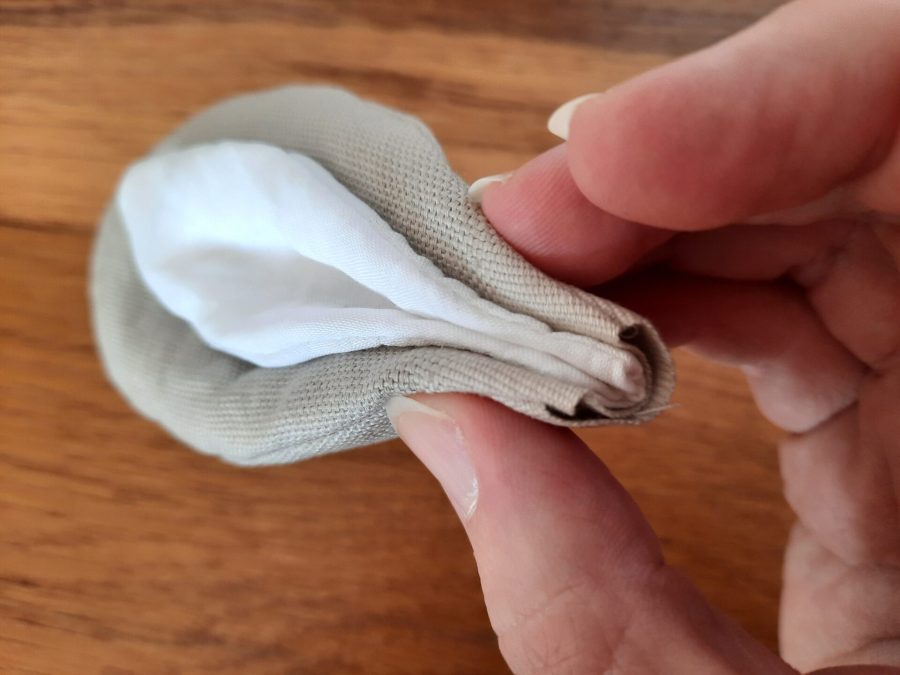
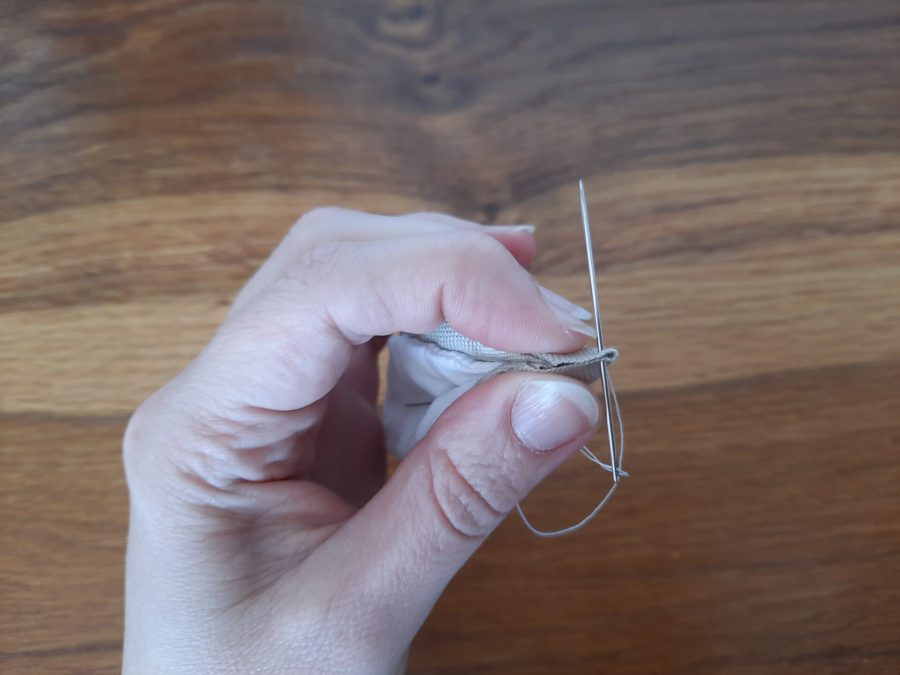
To complete the pieces and give them the final ear shape, I folded in half the bottom on the right side, the only part that still remained open, then sewed. This way I closed the hole at the bottom of the ears. I then used the same thread to attach the ears to the back of my daughter’s sweatshirt.
With the two bunny ears finished, let’s think about the tail.
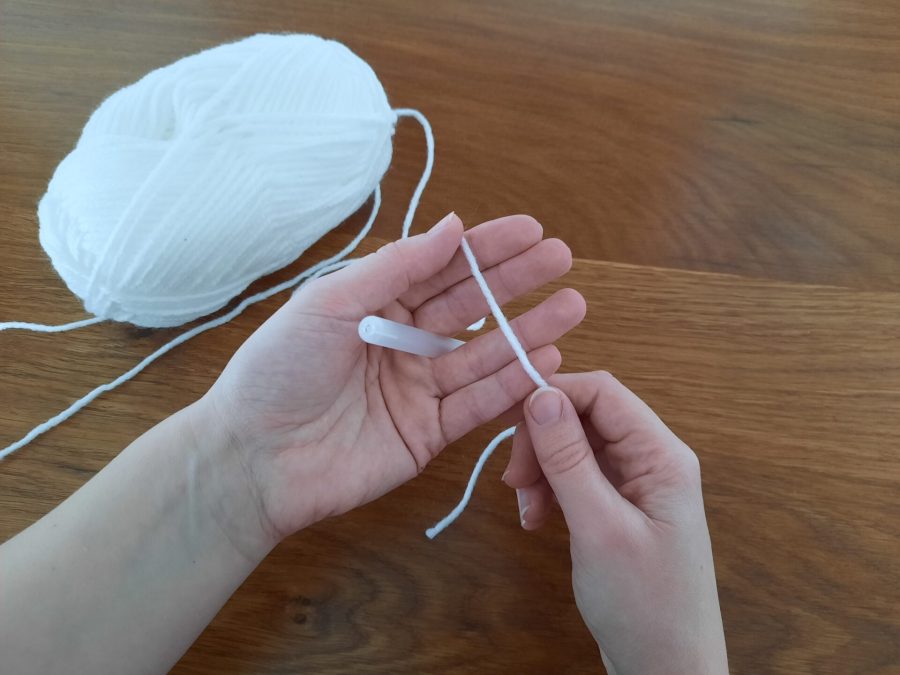
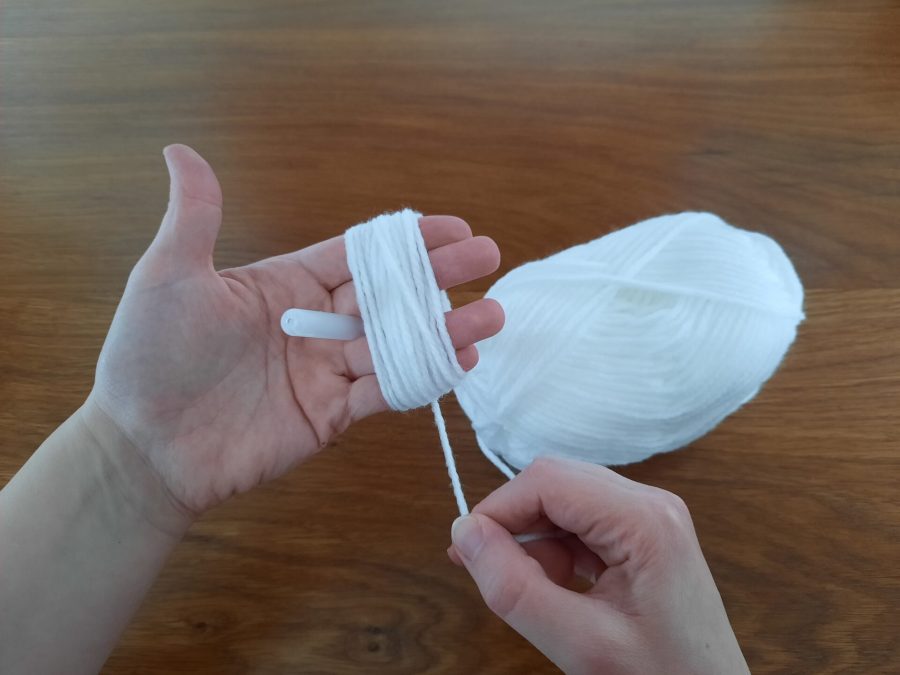
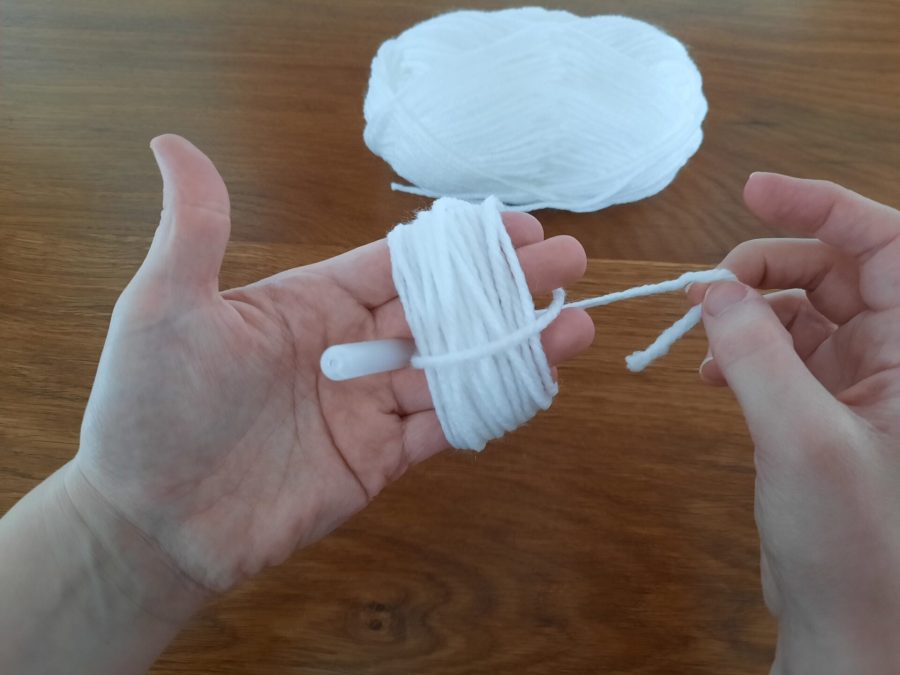
For this, I made a very easy pompon with thick white yarn. I picked one end of the yarn in my left hand, then using the right hand I wrapped the yarn all around my fingers several times. I obtained a sort of yarn ball.
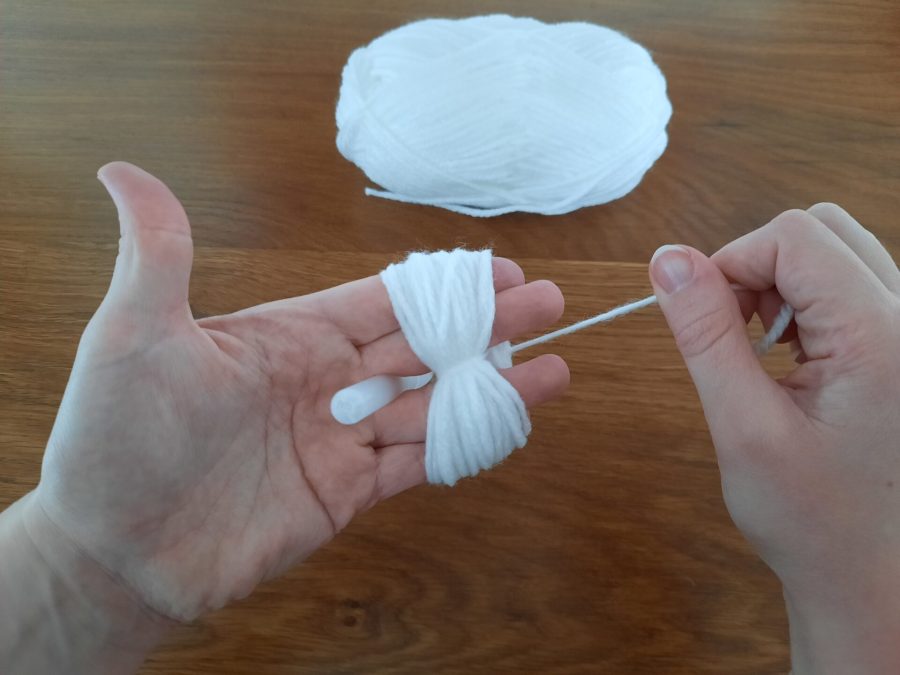
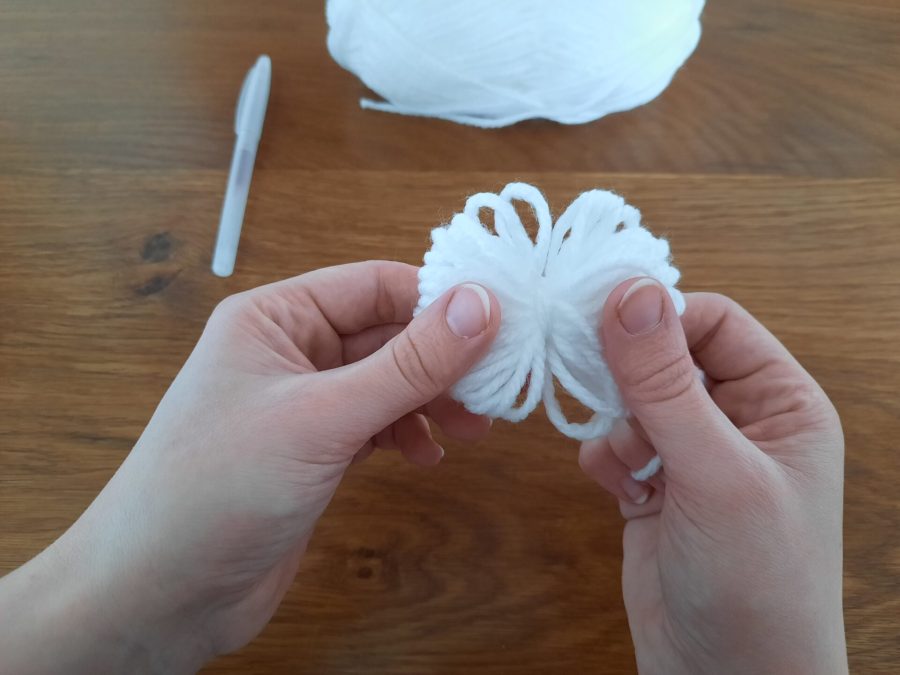
Be sure to keep two of your fingers apart (I put a pen between two fingers to be sure). After cutting the yarn, I passed the loose end through the gap between my fingers, then wrapped it around the yarn ball and secured tightly. This way, I obtained several loops.
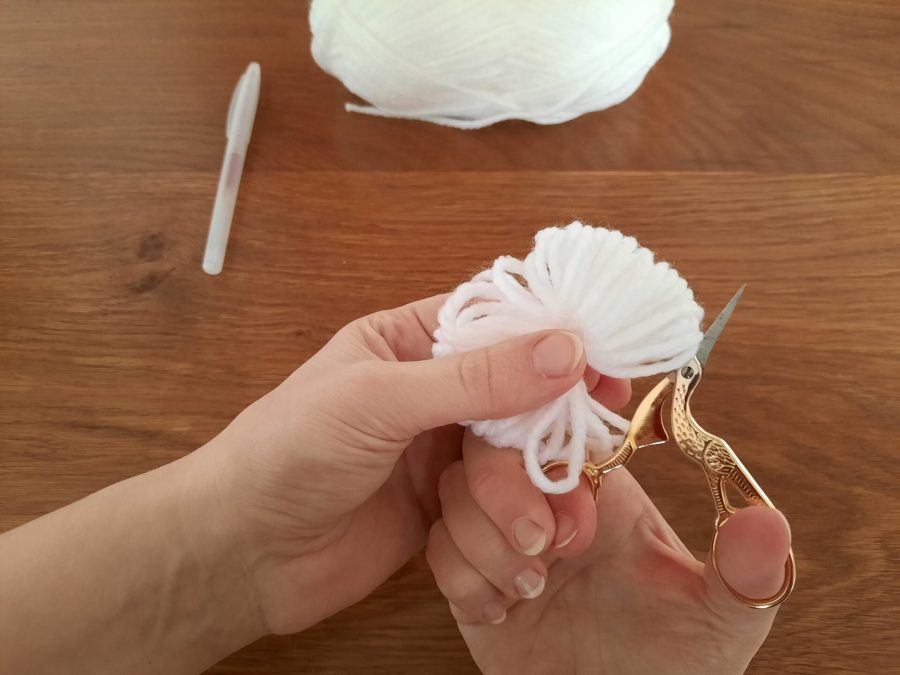
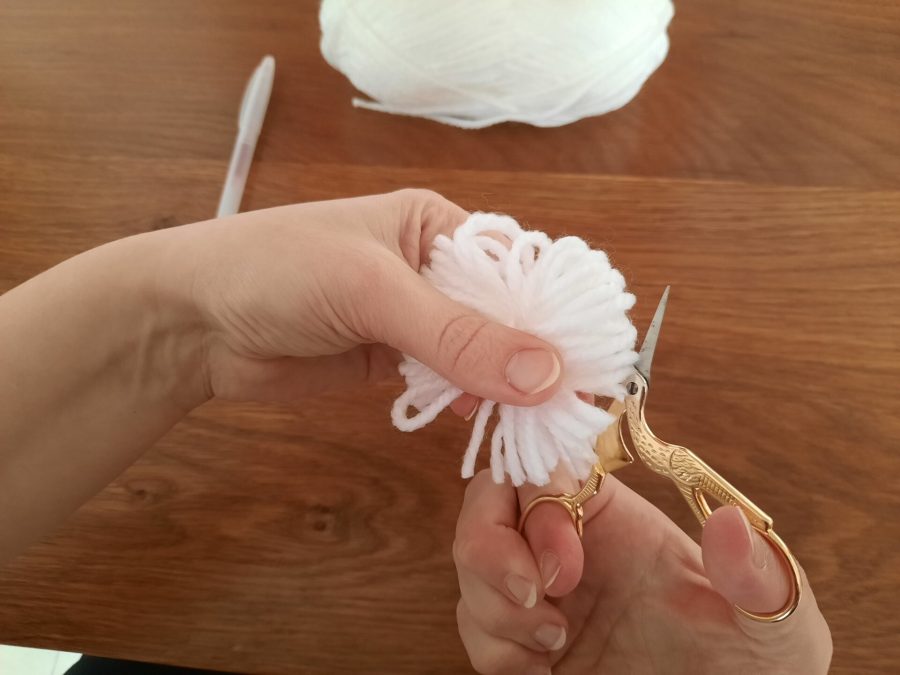
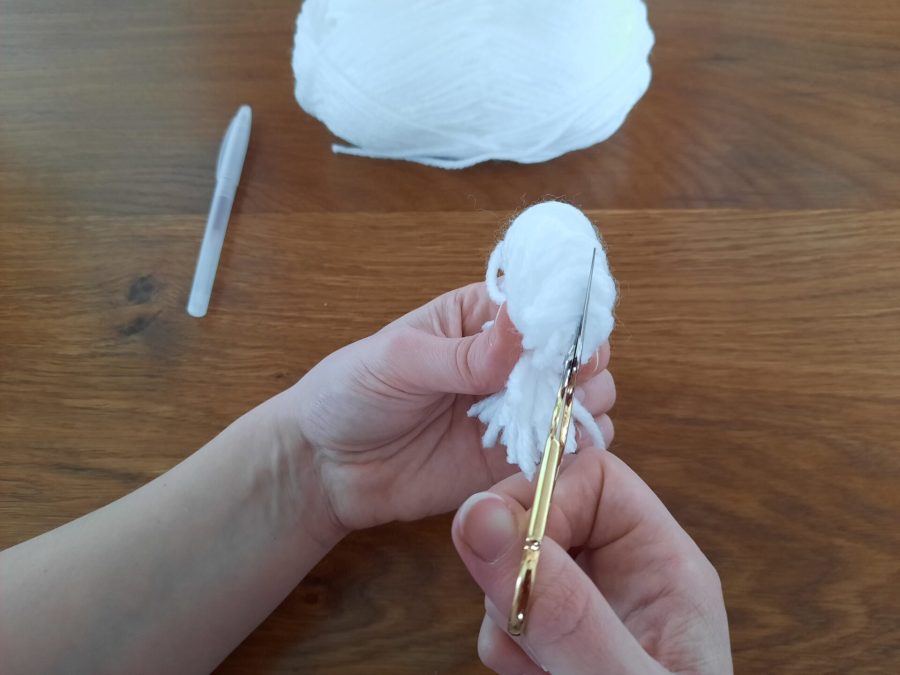
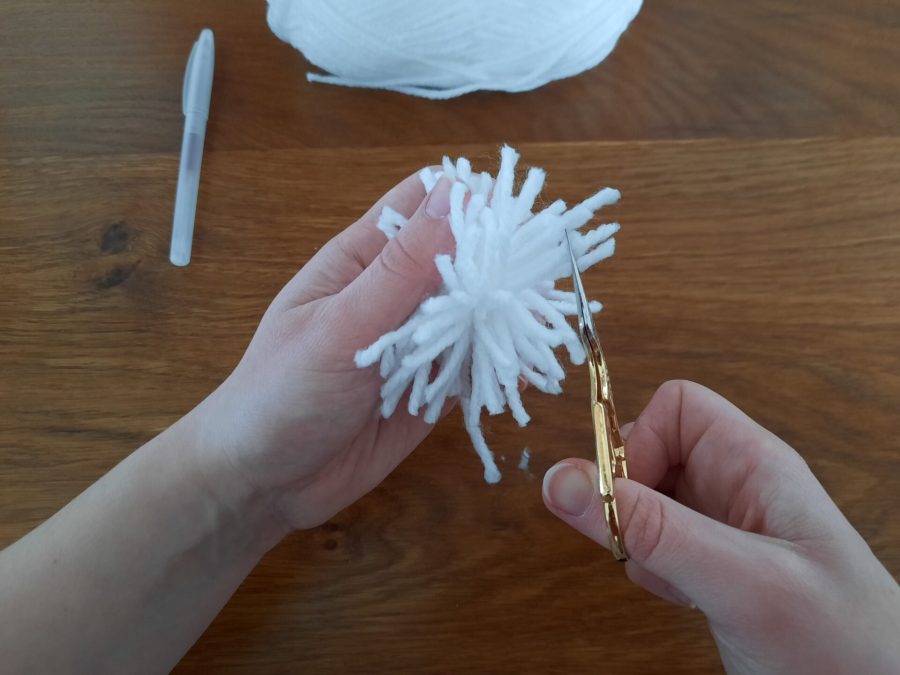
To finish the tail, I slided the yarn off my hand then cut all the looped ends. The ball will be very uneven, you’ll have to trim the ends to give it a rounded shape, but that’s all: your bunny tail is ready! All you have to do is tie it with sewing thread to attach the tail to your costume.

What do you think? Was it quick and easy? For me, it took a couple of hours from start to finish. This bunny costume was such a quick and fun project, perfect for my daughter’s first Carnival party.
This time I decided to decorate the back of a sweatshirt, but I’ll keep ears and tail for the future. I’m already thinking about adding ears and a tail for future costumes or even incorporating them into her everyday accessories, like a backpack or even a headband.
Speaking of personal touches, custom patches are a fantastic way to make costumes and clothing extra special.
Whether it’s a playful bunny design or a patch with your child’s name, these little additions can turn any outfit into something truly unique. You can sew them onto costumes, jackets or backpacks to create a personalized look that’s both charming and meaningful.
When I was a toddler, I used to have a custom patch with a colorful umbrella on every item I brought to the kindergarten with me: towels, bedsheets, table mats… A clever way my mum found for me to recognise my things when I wasn’t able to read, yet!

What about you? Have you tried crafting costumes for your little ones?
Let me know in the comments, and if you’ve used custom patches, I’d love to hear how they turned out and where you added them!