
When you are in the weaning period with your baby, you can sometimes be full of baby food jars. This happened with our daughter, as I said already, so why don’t use those small jars also for crafts.
Among the ideas that came to our minds, you could make tiny paint and glue pots to carry around, candle holders, Advent calendars with candies, Christmas decorations, succulent pots… In many cases, like for my quick pincushion, these crafts are super quick and easy to make!
Yes, they are also good to store small items like screws, nuts or nails, and we experienced they can also be tiny and cute presents.
When we organised the baptism of our daughter, we were right in the middle of weaning, in that period when she at least consumed one baby food jar a day. So we happened to have so many… literally dozens all around the kitchen!
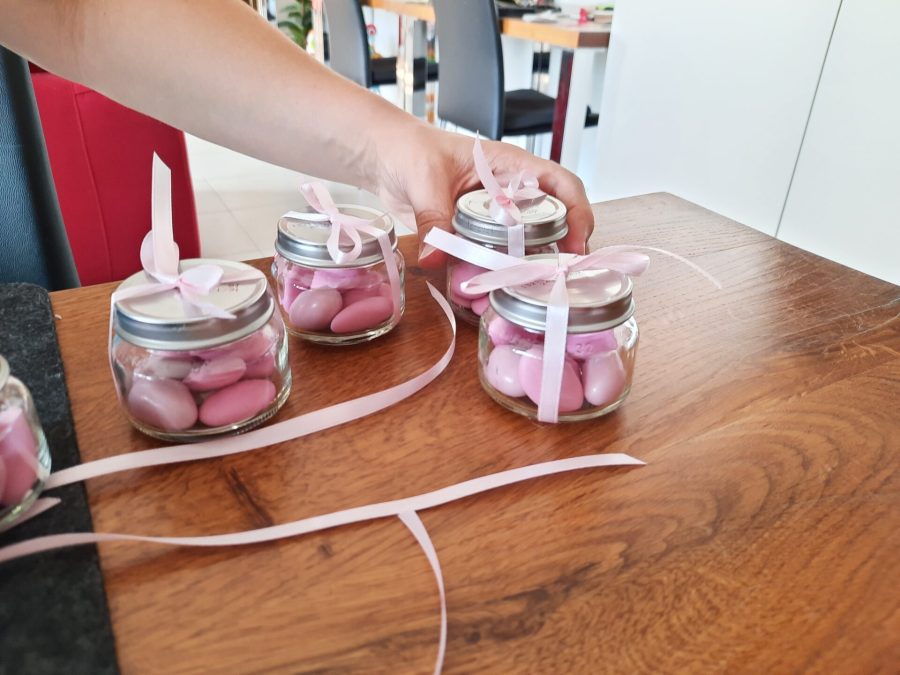
Well, turning them into something useful was a matter of a few hours, all considered: they became cute baptism favors for our kins. We were so quick making them that we decided to use all our jars and give presents also to friends and colleagues.
Here’s how to make those cost effective, quick and cute baptism souvenirs, each one taking no more than a couple of minutes. And they are perfect as party favors, too!

Click for the finished project detailed photos
What you need is:
- Baby food jar with screw-on lid
- Ribbon of your choice
- Hot glue
- What you want to put inside the jar: sugar coated almonds or any candy you like or whatever
- Optional: needle and thread to embroider your ribbon
First things first. Before making each gift, you have to decide if you want to embroider or decorate your ribbons, or of you prefer them as they are.
I hadn’t time to embroider all the souvenirs, between my coming back to work and taking care of the baby, so I decided to decorate just the ones destined to closer kins.
I got my ribbon, choosing a pink satin one that handled a needle well, and to begin I cut all the pieces I needed. I made a first prototype, decided it was good to make a bow around a jar, and used it as a size reference for all the others.
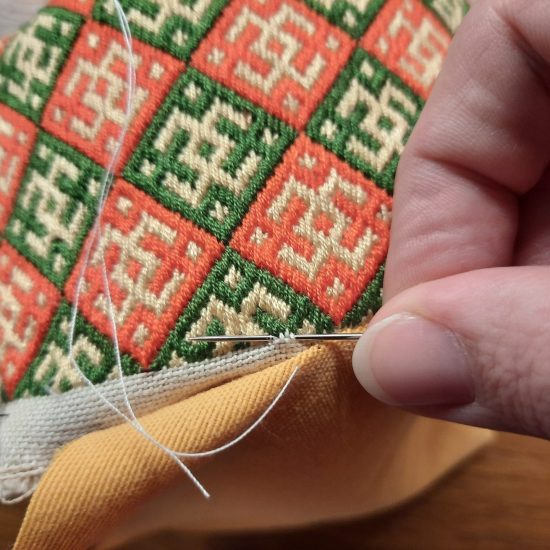
I embroidered my daughter’s name with split stitch, my favourite one when I need to embroider letters. I love it for this purpose, the letters are so smooth and controllable, even if they are really small.

Where to put my decoration on the ribbon?
The best place for your decoration to be seen is the side of the jar. Make a quick test: turn one jar upside down, find the half of your ribbon, place it just in the middle of the bottom, keep it in place while turning the jar upright, then make a bow on top. Now you can mark the part of the ribbon that is visible on the side: your decoration need to stay in that frame. Remove the ribbon from the prototype jar and use it to mark on all your ribbons the part that will receive the embroidery/decoration.

With your ribbons cut to the right size to make a proper bow around the jars (with or without decorations), you are ready to make your first gift!
For a standard baby food jar, like all the main ones you can buy in Italy, we cut the ribbons 50 cm long. This size is super convenient: when you have to buy ribbon by lenght, making calculations on the total needed quantity for number of souvenirs is quick, plus you have no waste!
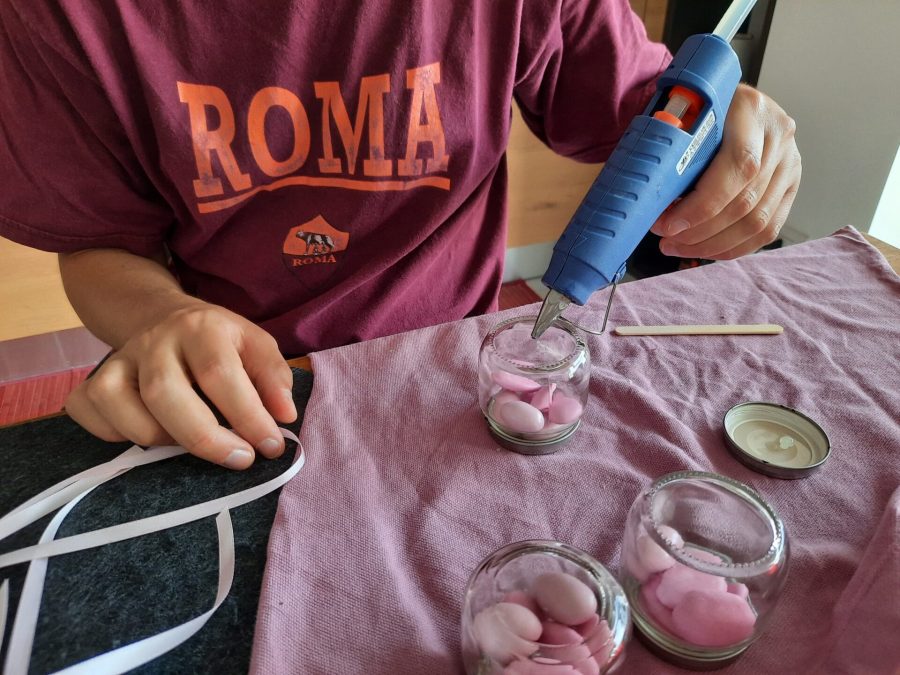
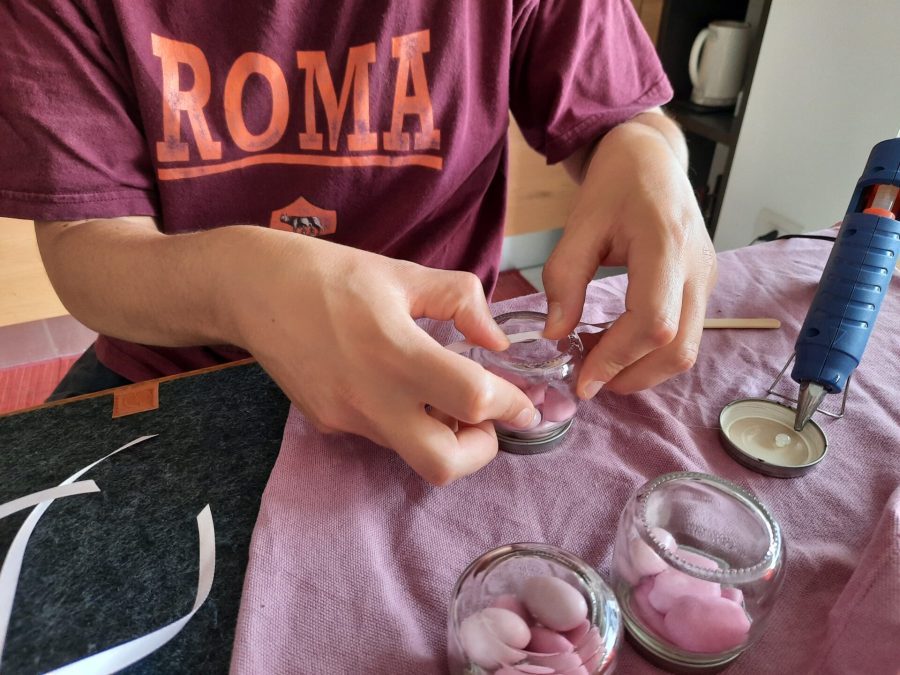
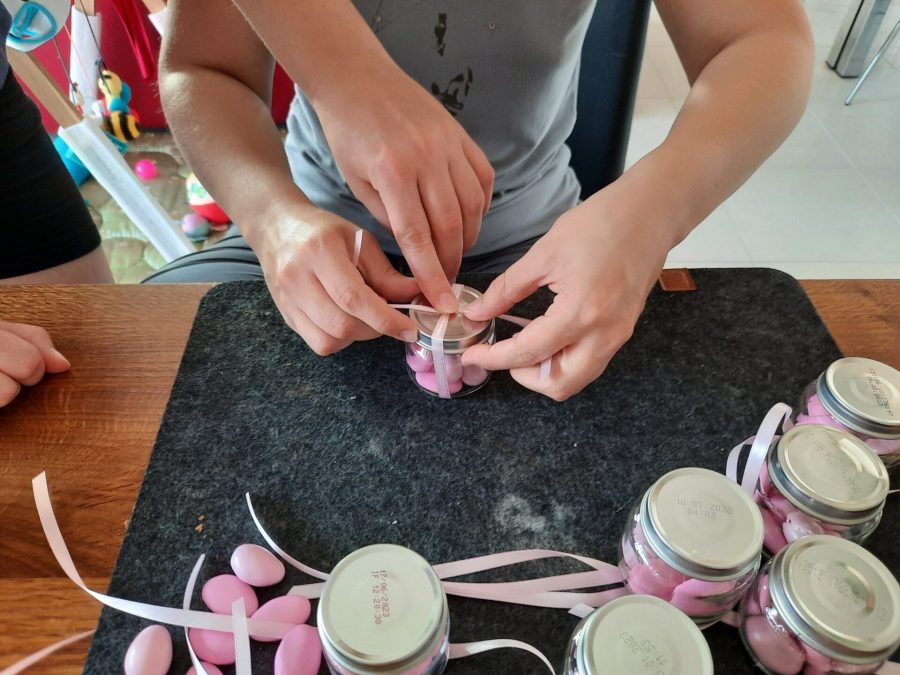
Now, time for hot glue: turn the jar upside down and place a tiny quantity of glue in the middle of the bottom. Then find the half point of your first ribbon and place it right on the glue. Just a few seconds and it’s secured in place.
Final step: making a bow on top of your jar.
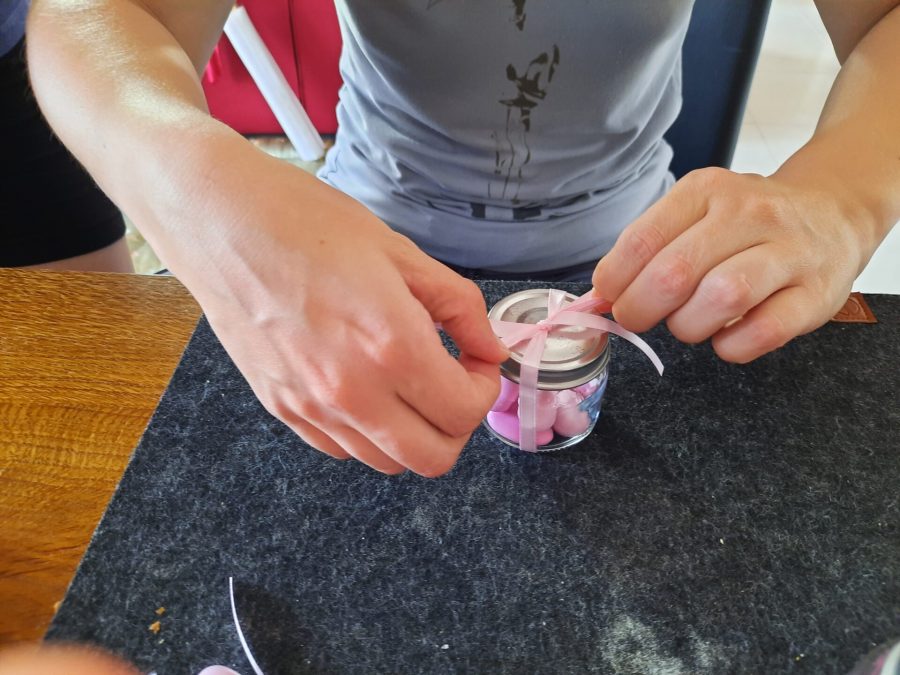
Turn the jar upright and make your bow. I had my sister-in-law helping me with one finger to keep the ribbon in place while I was making my bows: super useful!
I decided to go for a very easy bow, the same I use to lace my shoes. Nothing too fancy or complicated, but the effect was nonetheless pleasant. You could decide to make any kind of bow, adding more ribbons or beads or fastening an applique or decoration.
I always suggest to make a prototype first, just to check if the lenght of ribbon is good for what you want to make, or if to decide where to place any embroidery.

The project is super quick and easy to make, as we made it, but you can decide to be more creative, take your time and improve as you wish.
If you have any improvement or variation ideas, please let me know in the comments below. Show us your projects and let’s discuss together the endless possibilities of making baptism or party favors with baby food jars!




2 Comments. Leave new
Thank you for sharing such an insightful and well-written blog post. Your ability to connect with readers through your writing was impressive. I appreciated the personal touch you added.
Oh wow thanks a million for your kind words!