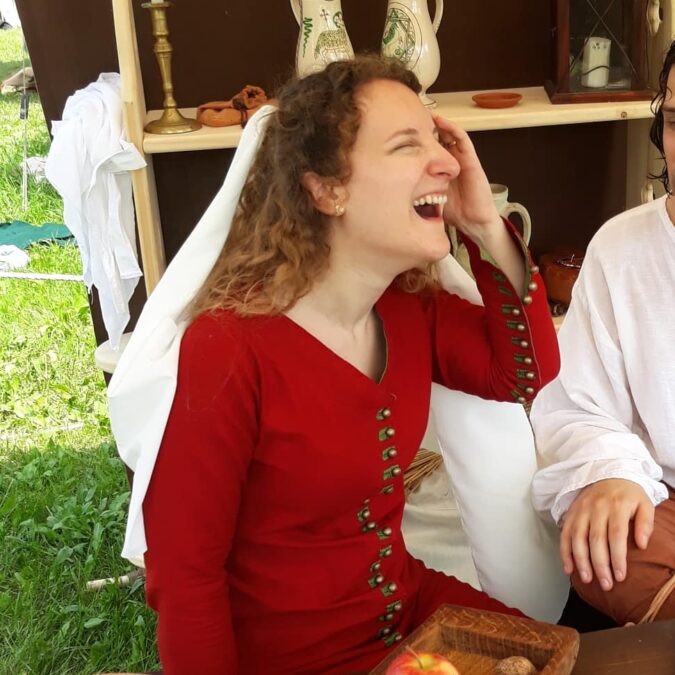
Back in 2018, part of my job was organising Medieval events. It was a tiring and endless task, but full of satisfaction! I began by chance in 2012, but I found myself at ease, so I went on taking care of the organisation. During each event, I had to stay in the middle of the action, so I commissioned a gown to a tailor friend in 2014. It was gorgeous, but too fantasy. Perfect to appear in fantasy movies or theatre plays, not for historical reenactment.
Well, making a proper historical attire for my husband and I is what got me into sewing and embroidery. We began attending historical events with reenactor friends even outside my job, and wanted to feel at ease.
So we went to Medieval fairs to find ideas, we started reading books and talking to more expert people. In about one year, we made a new attire for our Celtic and Medieval reenactments.
Here’s the history of the making of my own Medieval gown, our struggles, what we learnt and the satisfaction of making clothes ourselves.

Click for the finished project detailed photos
Table of contents
The beginning: resources, inspirations and compromises


What we made was the most historically accurate dress I was able to come up to. Since I was just a beginner with sewing, I had to compromise between accuracy and what I supposed I was able to achieve.
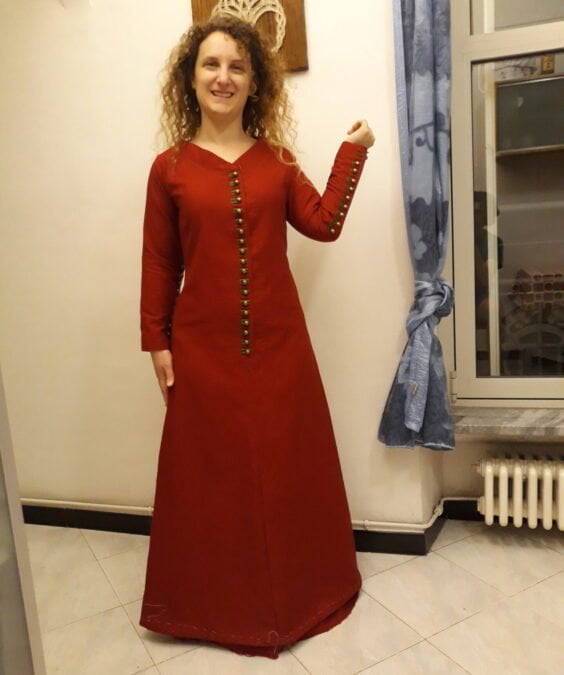
I went for a long front-buttoned red gown with long buttoned sleeves and the simplest neckline. The neckline was kind of tricky to make and it didn’t really come out the way I imagined it, but I like it nonetheless. Also, it’s the less historically accurate part of the dress.
Our faithful companion for this project was “The Medieval Tailor’s Assistant”, a book by Sarah Thursfield on how to make common garments from 1200 to 1500. It is full of resources for any kind of late Medieval dress for men, women and children. It has a great introduction about fabric, stitches and all the basis of Medieval sewing. I highly recommend it to anyone who wants to make a Medieval gown!
I have to say we have sometimes been forced to differ from the precious instructions of this book: first of all, our abilities as tailors made us go for a few compromises, second there was a reenactment event which was our final deadline for the end of the project.
Because of the deadline, we had to use the sewing machine for the non-visible stitches, other way I think I would be hand-stiching even now! With pleasure, I have to add…
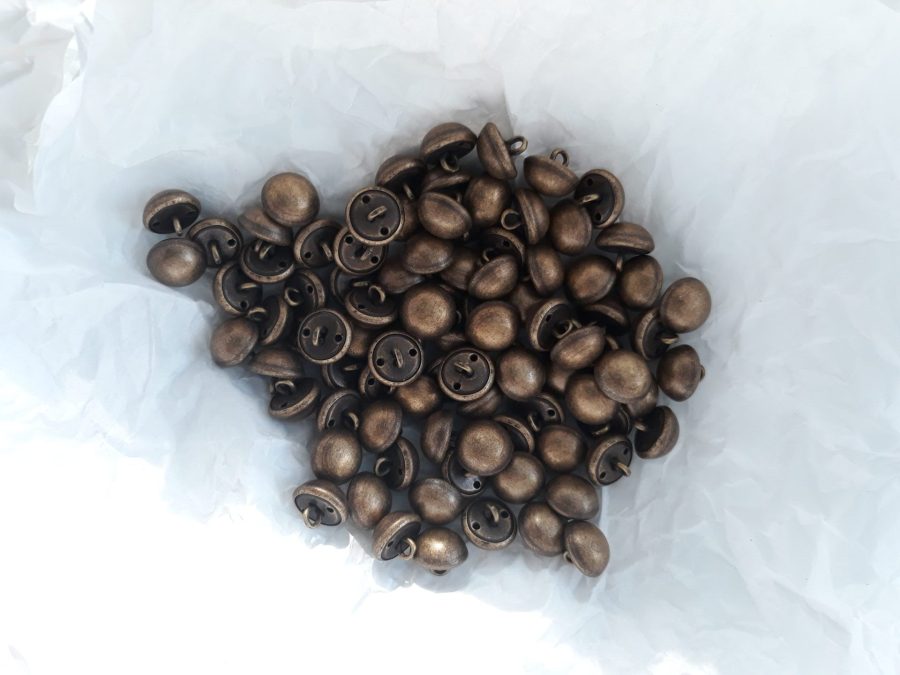
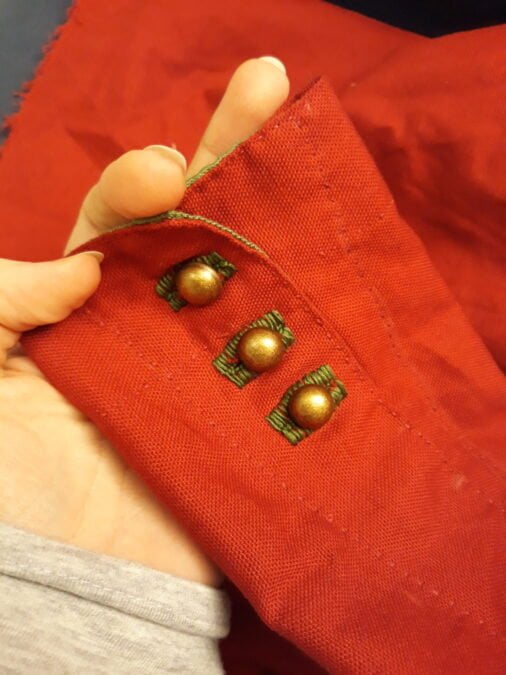
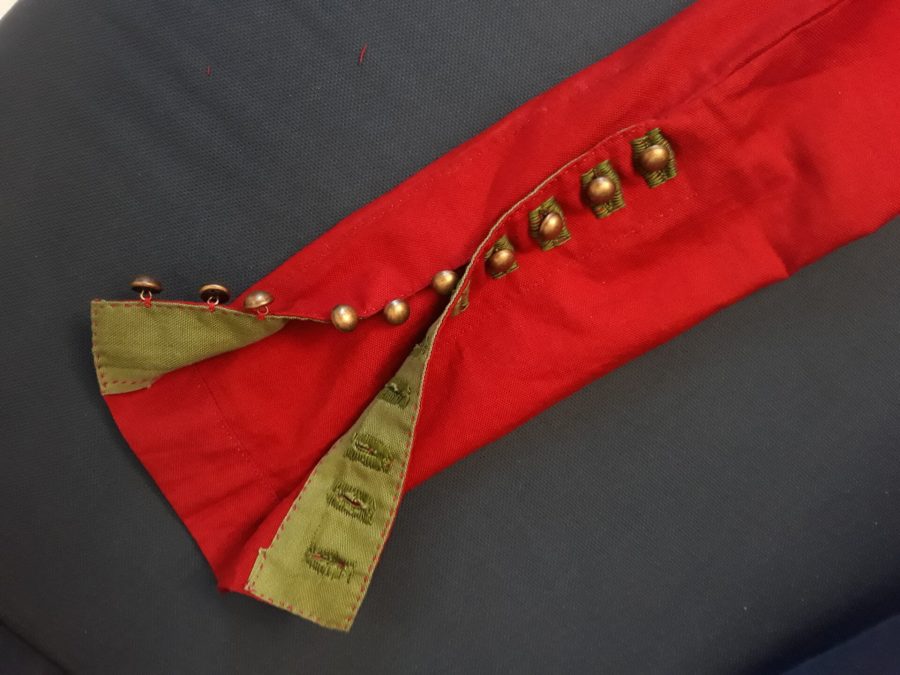
I was also lucky to find a whole set of Medieval-looking metal buttons that saved me the tedious task of making buttons myself with fabric. Another enjoyable task, but too long for my strict deadline. So, those buttons are another compromise.
Updates on “The Medieval tailor’s assistant”
I have an old copy of the book, but I found on the official website that, if you can’t afford to replace your existing copy, you can still download the technical updates. About purchasing a copy of the book, you can find both the printed and the ebook version on Amazon.
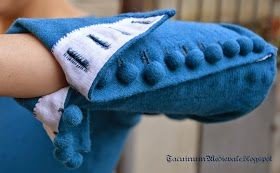
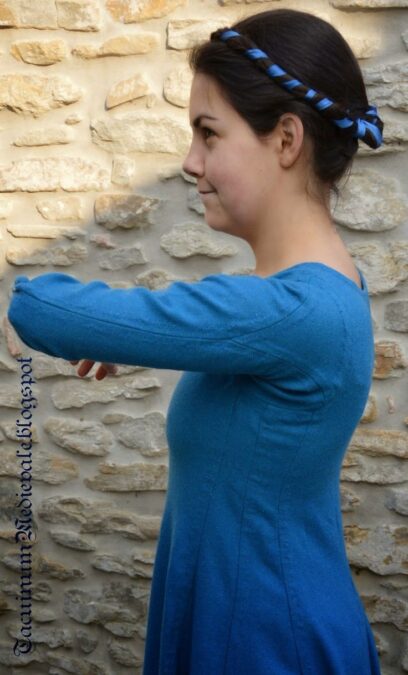
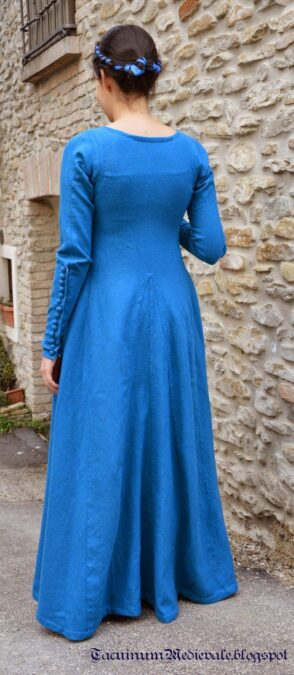
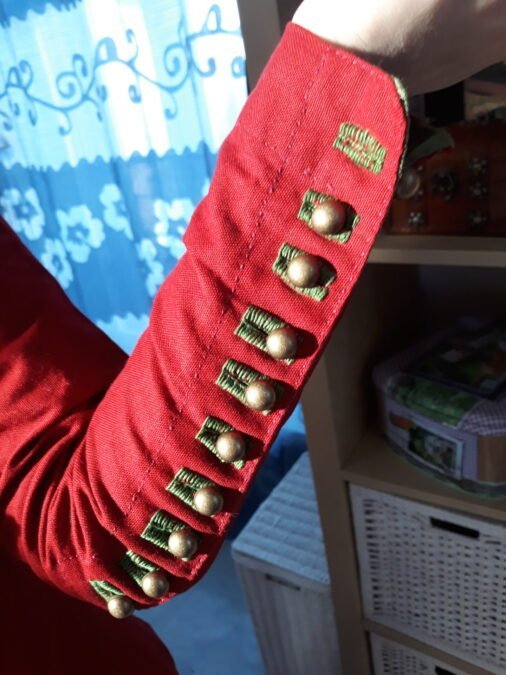
About inspiration, as always Pinterest was my main search engine. Thanks to it, I discovered the lovely Tacuinum Medievale and her Blue Dress from the Tacuinum Sanitatis. I wish I could, one day, make such a historical project myself! The tale about this project was useful mainly about the buttoned sleeves and their making.
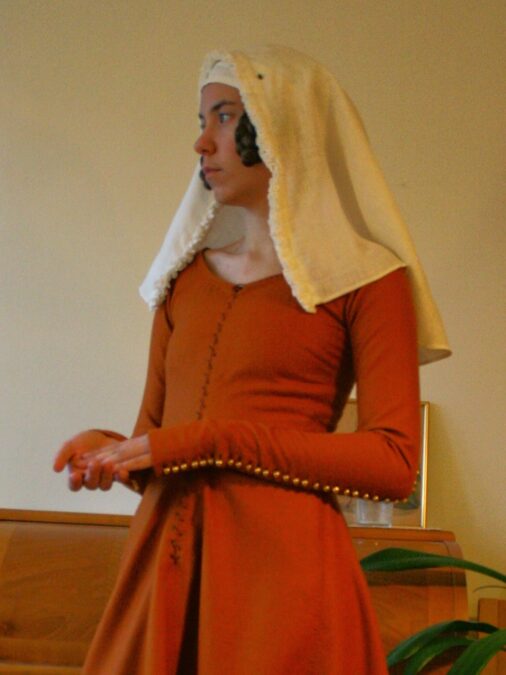
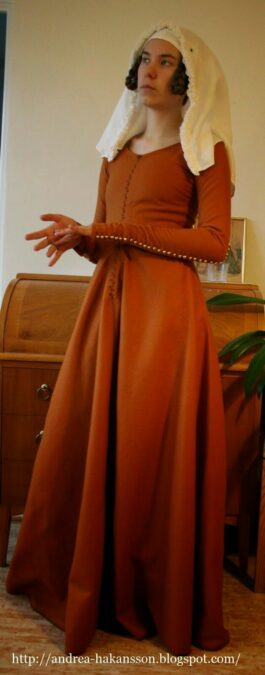
I also got to know Andrea Håkansson, who made a gorgeous amber dress that has a neckline not too dissimilar from the one on my gown. The front is different, though: I wanted to use my lovely metal buttons also there!
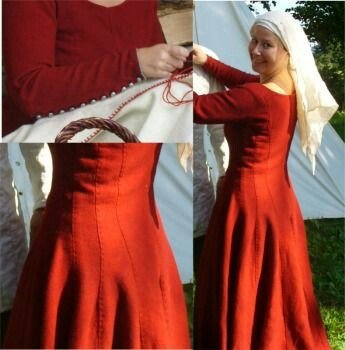
There’s also another lovely red dress, unfortunately by an unknown resource. Pinterest or Google were not able to find the owner of the image (and the dress). If anybody knows it, please get in touch! This dress seems historically accurate, and has metal buttons like mine.

The making of the dress

The whole project was a tough one, 6-months long, and I enjoyed every single step.
Hardest part? The sleeves, no doubt!
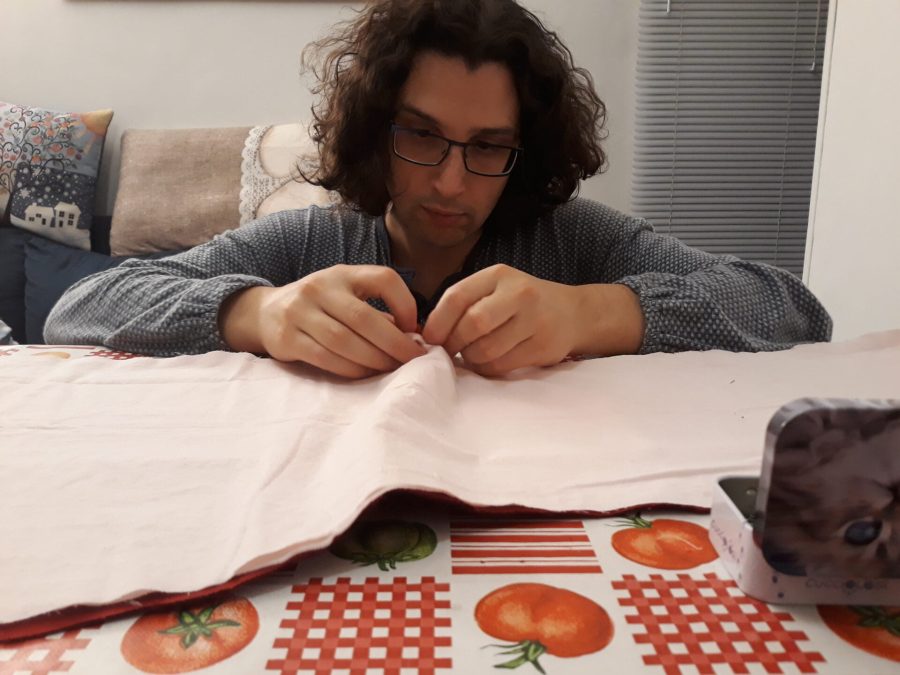
Funniest part? All the handmade stitches, especially the numerous buttonholes (19 on the front plus 10 for each sleeve).
The huge set of Medieval-looking metal buttons I found at my favourite flea marked saved me a lot of time: I was already studying how to make buttons myself with fabric, when I stumbled on those gorgeous ready-made buttons. I fell in love with them at first sight, so I had no doubt: they would fit in the dress and become one of many compromises on accuracy.
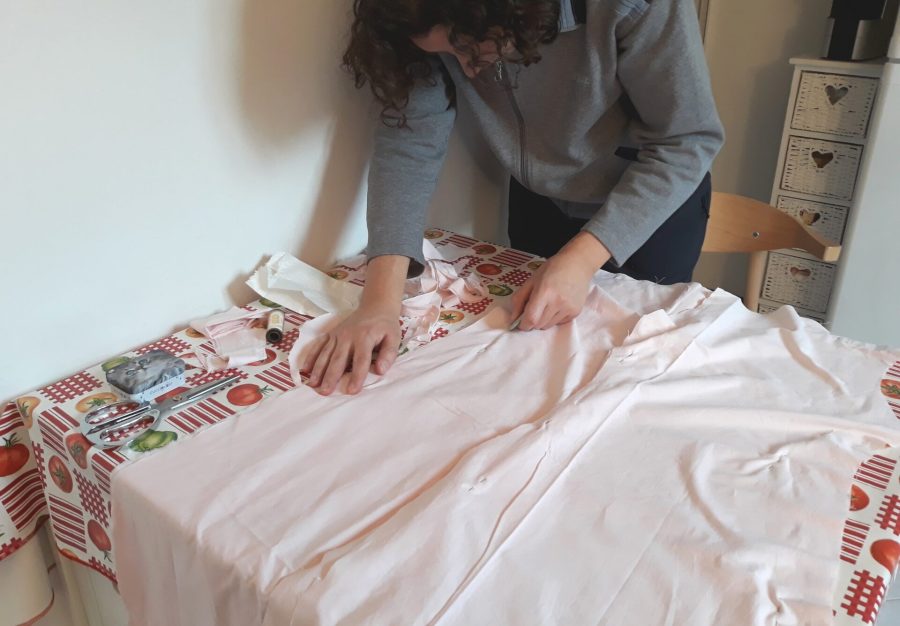
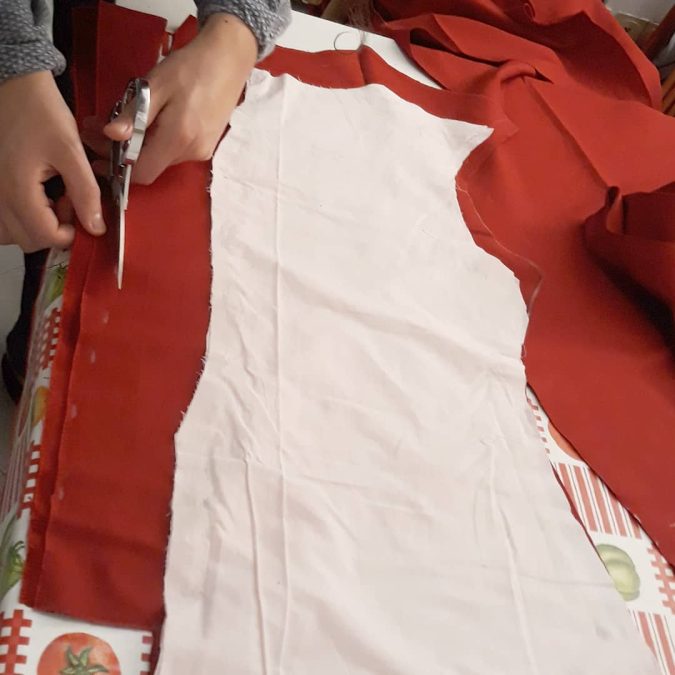
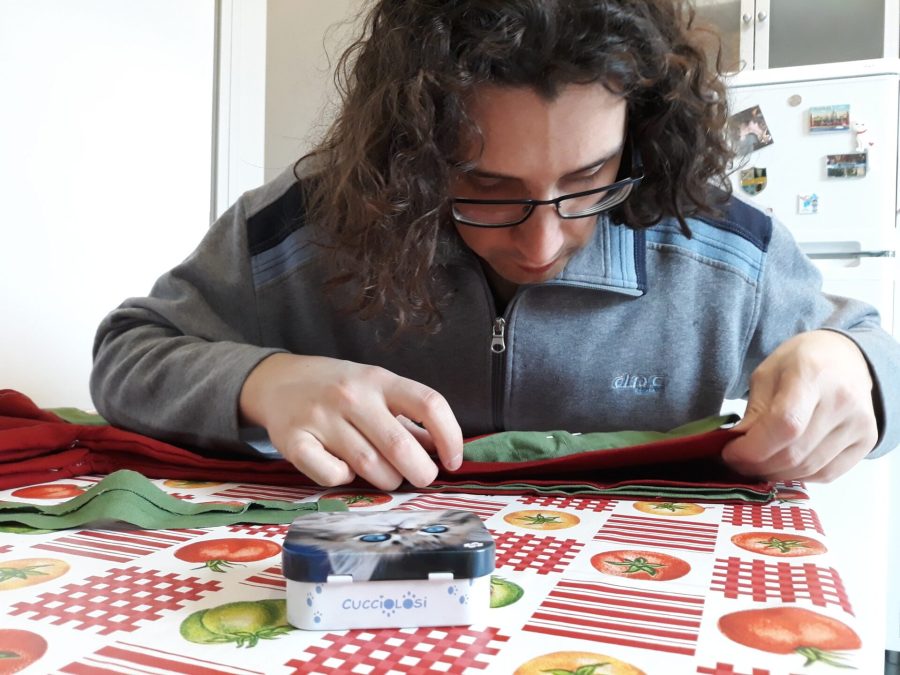
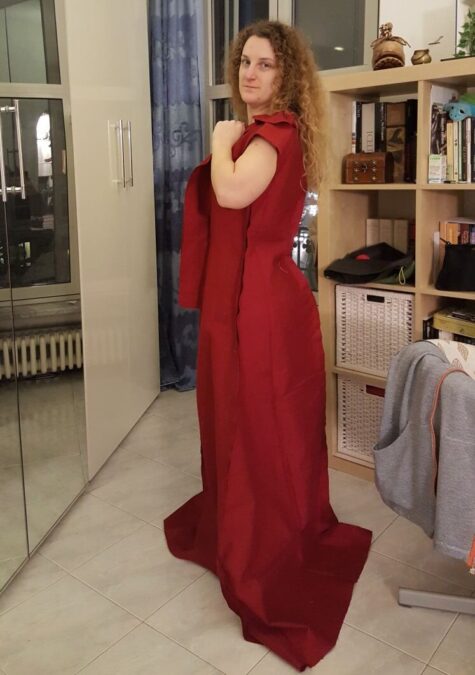
This way I could concentrate on the long planning of the pattern, which my husband and I made on myself with old bed linens. Yes, we were not able to draw a pattern on paper, so we adapted pieces of scrap fabric on my body until it was good enough on me. We then used that to cut the chosen fabric.
And fabric cutting was the scariest part for me!
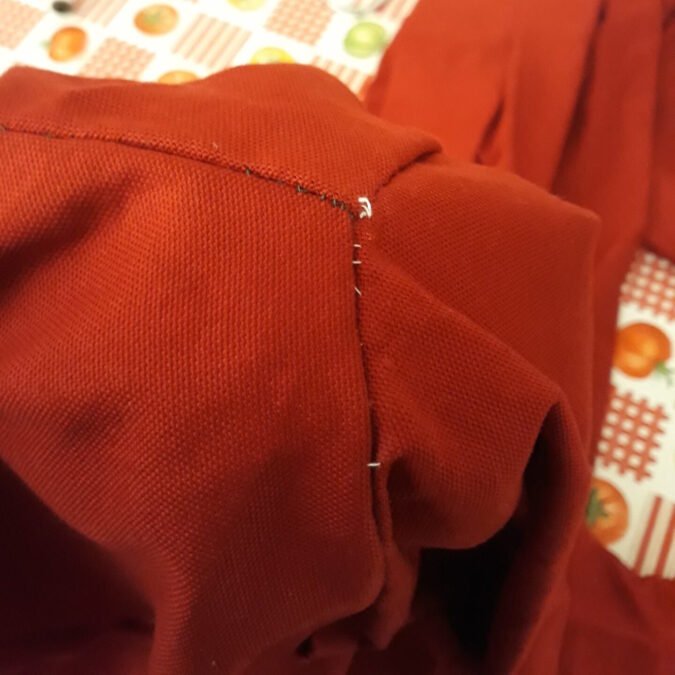
And, as I said before, the hardest part were the sleeves. Mainly, fitting the shoulders.
It’s not the only project where I faced the issue, maybe one day I’ll learn how to make sleeves properly. What made this task harder was the fact that I wanted I tight fitting dress, so we had to re-make one sleeve because it came out too tight on the shoulders!
When the sleeves had a good shape and were attached to the main dress, the funniest part began: buttonholes!
Buttonhole stitch is a controversial one. I love stitching buttonholes! I know it’s kind of unpopular among Medieval reenactors and crafters, I’ve not found yet another one loving this as I do! But I really enjoy this stitch and I was really happy to make all the 39 ones on my Medieval gown.
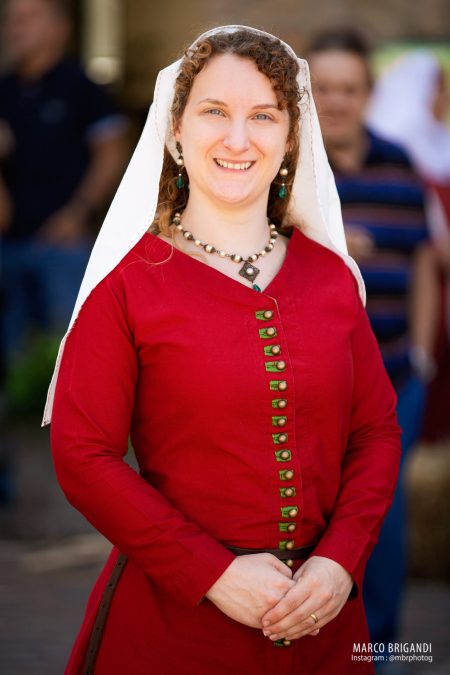
I chose to make them in a contrasting green as a decoration, with an inner lining in green fabric as a reinforcement. Maybe one day I’ll use the same green thread of the buttonholes to make embroideries… I hand-stitched everything here, trying to make small almost invisible stitches using a thread the same red as the dress.


About sewing, I am most scared of cutting fabric. What if I get it wrong and I lack it?
My husband has not the same fear, we usually discuss about where to cut (and I have to admit most of the time he got it right…). Also this time, I was afraid of coming out with a shorter dress and asked him to leave a huge abundance. Too huge, in the end…
Even after the second cutting to remove the too big excess, I decided to leave a big allowance to make the hem: a security fabric, I could call it, to use if the hem gets ruined after a few events.
Well, the first and paramount advice I want to give is: always wash your fabric before sewing! And wash it hard, with the hardest washing machine program that’s allowed not to ruin it. Maybe also wash it twice. You never want your sewing project to shrink after the first wash… Better shrink the fabric before working on it!
Looking at the V-shaped neckline, I now feel I could have done better, here, for historical accuracy. Back then, I wasn’t able to make something different, I didn’t feel I could make it any other way. Nowadays I wish I made it different, maybe asking for help. A lesson for the next time! When I need to be more accurate while wearing this dress, I can think about choosing a veil that covers the neck or wearing a hood, depending on the situation. Compromises, loads of compromises here!
Let's sum up!
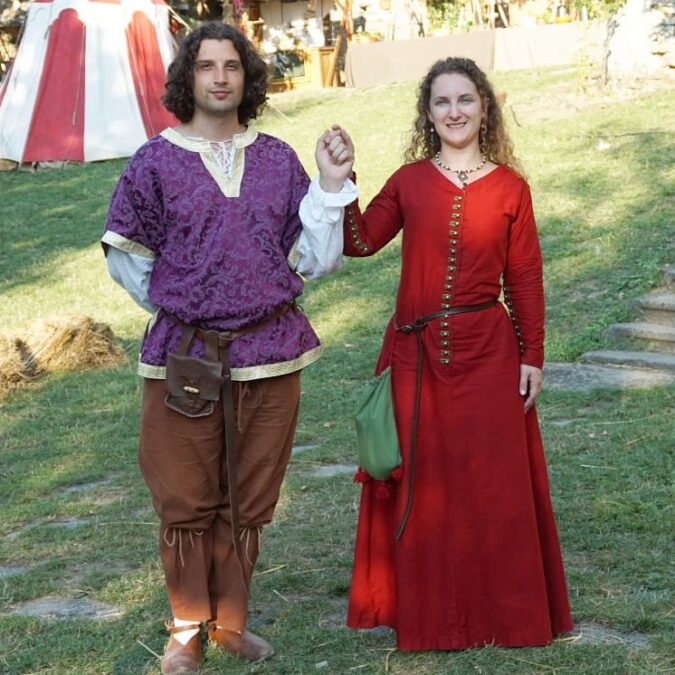
In the end, our six months of learning, planning, designing, sewing, gave their results. I attended my reenactment event with a dress entirely home-made by ourselves. I know it’s not perfect, as I said at lenght, but it’s the best we could make with no previous experience. The most important thing is that I could walk around the camps feeling at ease among the other reenactors.
With the leftover fabric coming from a project for a dance recital, I was even able to make a simple veil. Now I just lack a few accessories.
Just before the end of this gown, I started planning a belt purse and a hood, made with the same fabric. We were able to complete them in a couple of months, just in time for the last historical event of Summer 2018.
Next future steps? Decorations, maybe embroideries, and a few pieces of jewellery.
Any suggestions? How would you improve this Medieval attire? Please feel free to leave your suggestions in the comments section, for me and for others wanting to make their Medieval clothing themselves.