Every reenactor knows the excitement of creating something that feels both authentic and personal. Moreover, I quickly discovered that a reenactor’s kit is never truly complete! When I started building my Medieval outfit, I began by making a gown, and for sure I quickly realized that a gown alone wasn’t enough: it needed the perfect accessories to complete the look.
While browsing the book “The Medieval Tailor’s Assistant” for inspiration, I stumbled upon the perfect project: a hood.
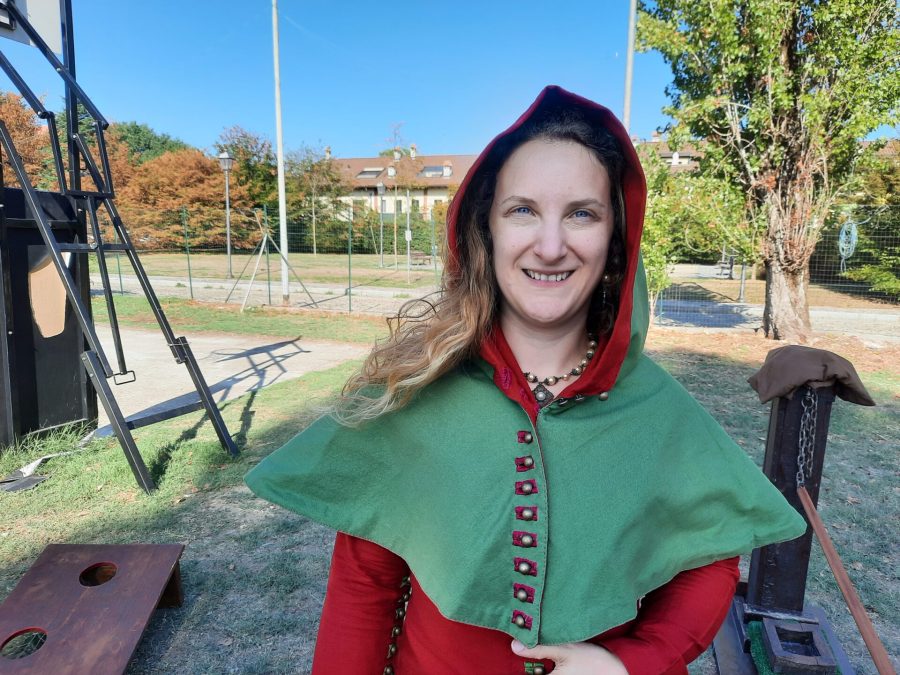
I had the historical pattern there on the page watching me and I already knew how I wanted it. Since my Medieval dress was red with green stitches, I chose green fabric and red stitches for the hood. Moreover, I wanted to add a red lining, using the same fabric of the dress.
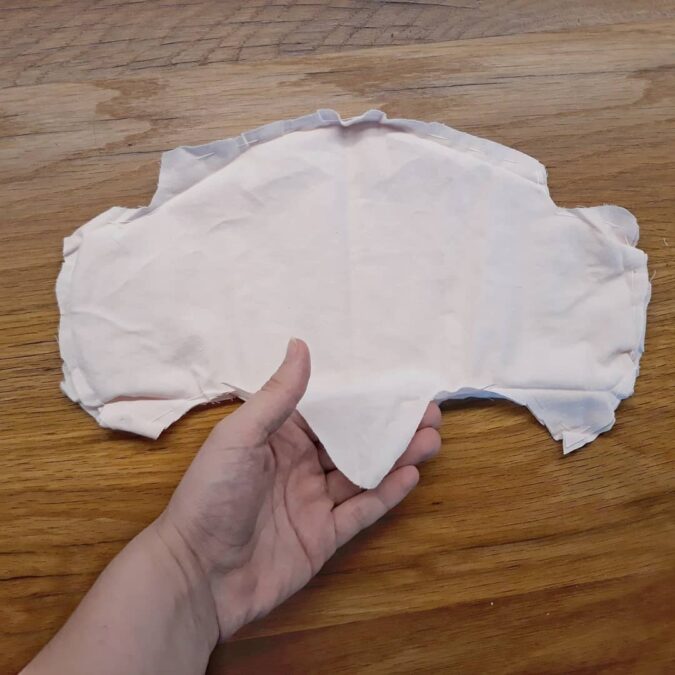
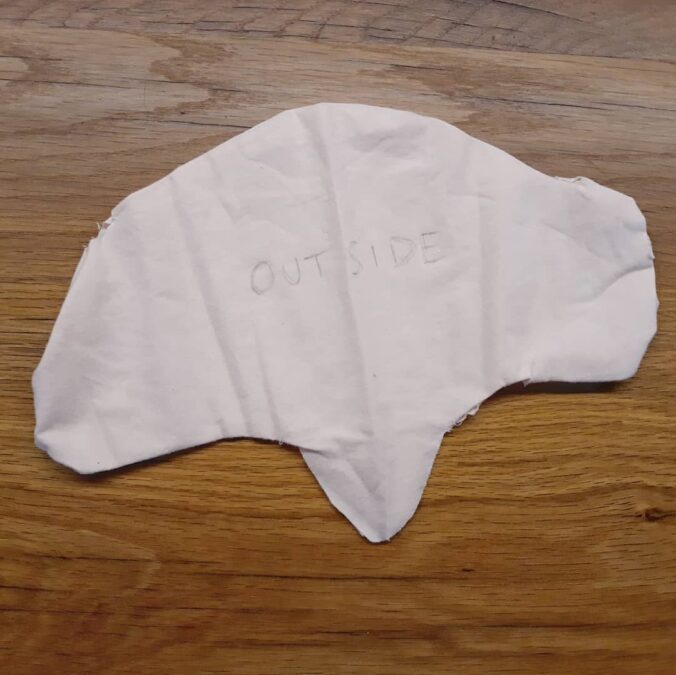
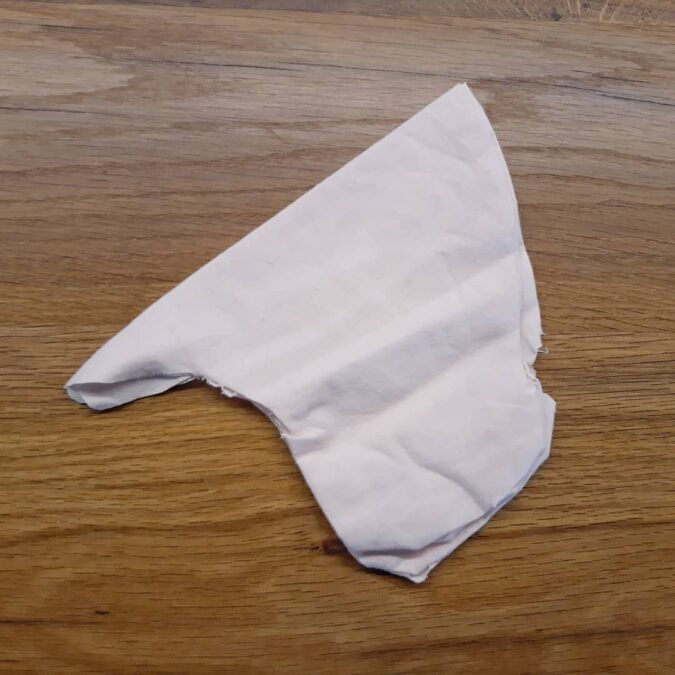
Here my husband intervened with his planning skills: he made a small model with an old fabric scrap to show me how to sew the lining together with the main fabric in one go. I was simply thinking about cutting the two fabrics the same way, then joining them one on top of the other, reversing 1 cm of all the edges inside. A quite historical process, as far as I knew back then, but time consuming. I had an event planned where I needed the hood, so this time I had to prioritize speed over a slow accurate method. So, he placed the fabric pieces together in a way I could sew them all, then overturn and have my finished hood in (almost) no time. Same result, quicker sewing.
Click for the finished project detailed photos
Yes, that wasn’t the most historically accurate way of proceeding, but it allowed me to finish in time for the event, that was just a couple of weeks away when I began working on this project. By prioritizing efficiency over strict historical accuracy, I still achieved a result that looked period-appropriate, with visible hand stitches and decorative details that simulated the authentic process.
Download our pattern
Following the instructions and drawings on “The Medieval Tailor’s Assistant” and Rosalie’s Medieval Woman website, we drafted our own hood pattern. It’s 1:10 scale, so each cm on the page corresponds to 10cm in real size. You can download our ready-to-print PDF for free.
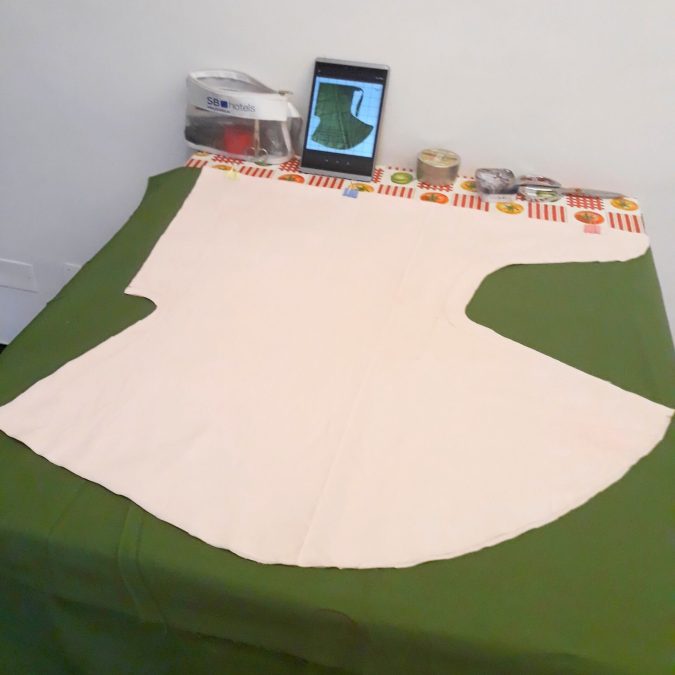
About the pattern, I followed both “The Medieval Tailor’s Assistant” and another great source, Rosalie’s Medieval Woman with her easy hood pattern (if you don’t know her, worth checking out!). I found it on Pinterest and saved, but I didn’t pay enough attention at the time: there’s also an easy tutorial. Well, I wanted a lined hood, so I needed more instructions to follow.
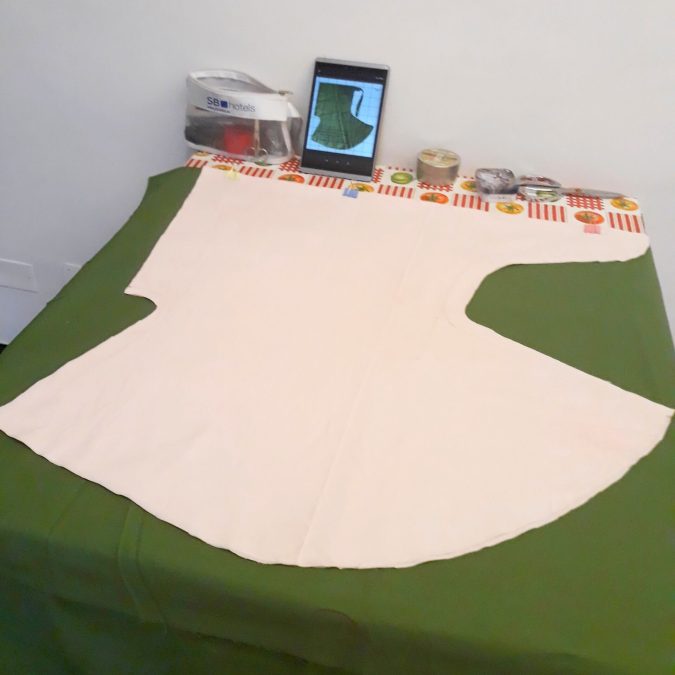
What my husband suggested for working with two different fabrics was this. He folded each fabric in half, placed the pattern along the top fold, being careful to have the top line touch the fold, then traced and cut. This way we had two hoods like the one that Rosalie’s Medieval woman shows in her tutorial, step 5.
Here, instead of stitching each fabric separately into one hood, Locutus opened the fabrics flat on top of each other and sewed them along the perimeter, leaving just a small opening. He chose to leave the opening on the back, where the pointed end of the hood is. Then, he used the opening to reverse the hood inside out, and voilà: an almost finished hood! I just had to hand-stitch the opening. Like sewing a closed pillowcase.
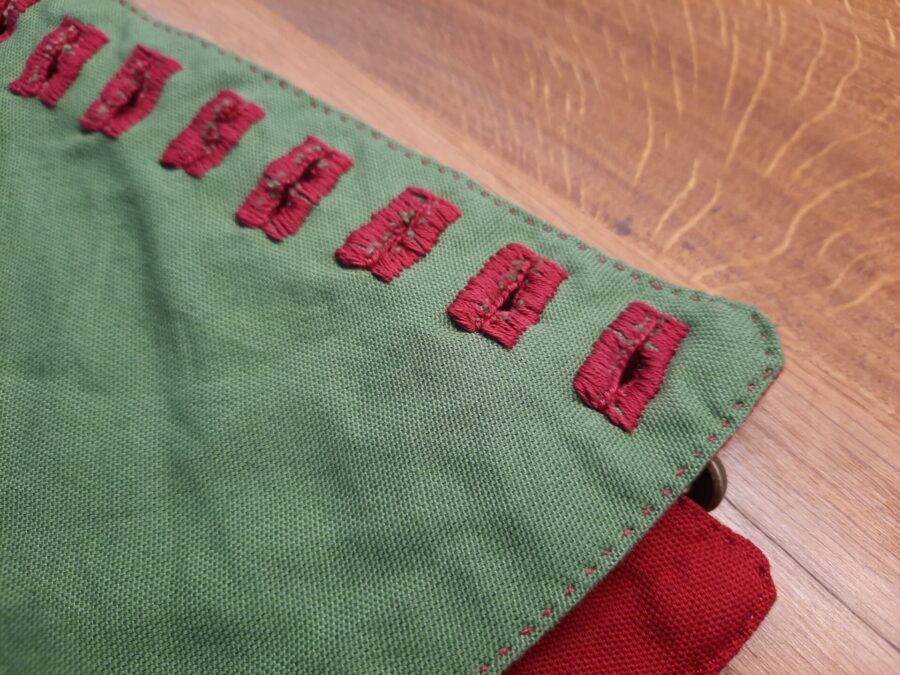
Well, next came the part I enjoyed most: all the hand stitches for buttonholes and seams.
I made them in red, a color matching both the lining of this hood and the main fabric of my Medieval dress. I was really careful in the stitching process, so in the end I obtained not just one hood, but actually two hoods: thanks to accurate stitches, the green hood is reversible, and can become red anytime.
First, I top stitched along the seams, with running stitches, that are easy and fast to make by hand. With the structural stitches hidden inside, I could embroider the edges with decorative “fake stitching” and simulate the historical sewing method. I chose to proceed this way because, at first, I thought I had not enough time to hand stitch all from the beginning and have the hood ready in two weeks. In the end, I did manage to finish everything on time.
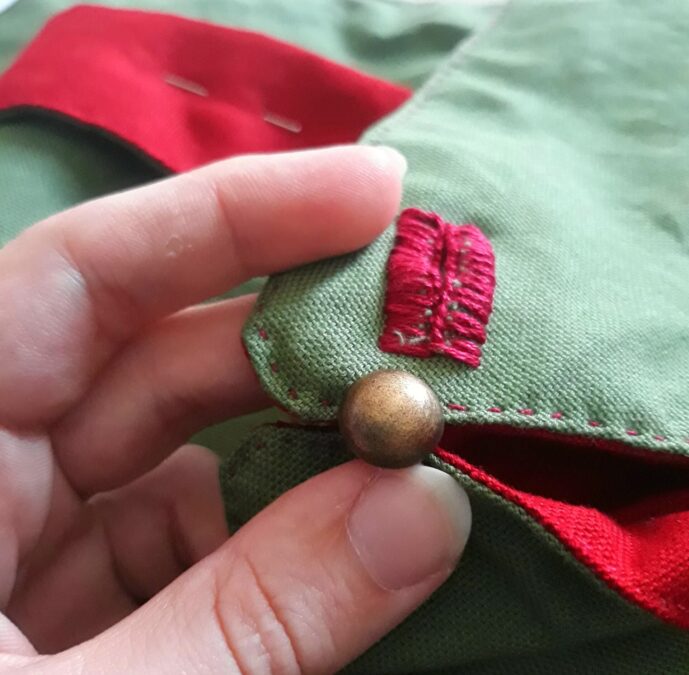
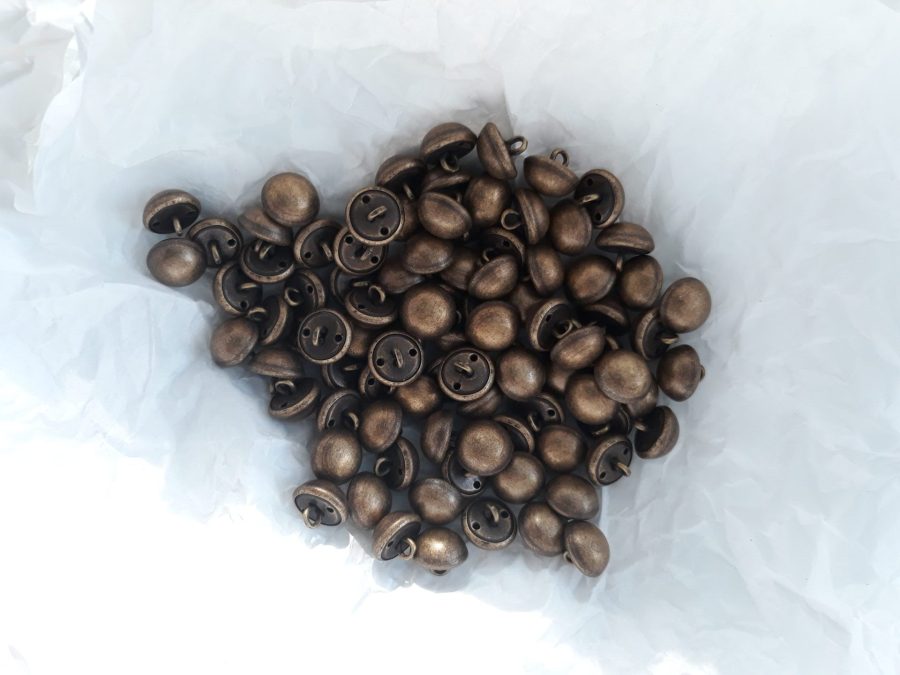
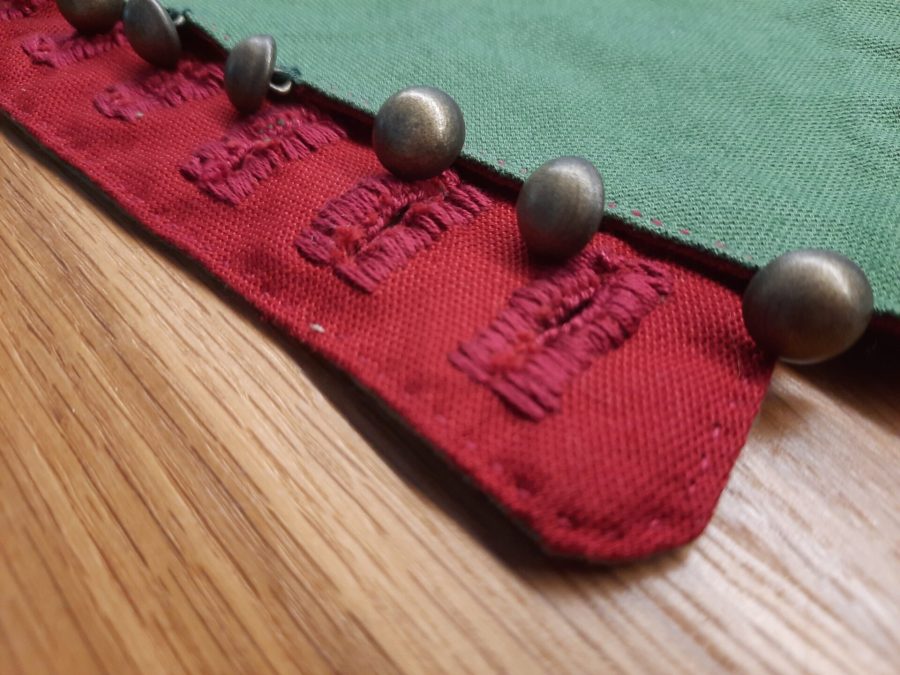
Step two, my beloved buttonholes. Do you remember the bunch of metal buttons I bought at a flea market for my red gown? Well, I had plenty of them left for the hood. I took my time, enjoyed the process and carefully stitched the buttonholes to make them goodlooking on both sides.

By prioritizing efficiency over strict historical accuracy, I still achieved a result that looked period-appropriate, with visible hand stitches and decorative details that simulated the authentic process.
Not just a perfect match for my red gown, but also a stylish addition to the whole outfit, that felt more complete. The following accessory I made to add to my outfit was a green purse with red lining, but “that’s another story and shall be told another time“.
Have you ever made a hood or another accessory for your historical outfit? Share your stories, questions, even photos: I’d love to connect with fellow crafters and reenactors!
“The Medieval tailor’s assistant”
Check the book, it’s awesome for historical sewing projects! I have an old copy, but the author says on the official website that, if you can’t afford to replace your existing copy, you can still download the technical updates. About purchasing a copy of the book, you can find both the printed and the ebook version on Amazon, all the info from the official sources.