
Many of you may remember our multi-year Christmas project: turning our an antique steamer trunk into a detailed Nativity diorama.
As a quick recap, our journey began with an old family trunk we happened to find in an attic. Over the years, we’ve restored the trunk, shaped the terrain and started building the town of Bethlehem.
We left our tale when Bethlehem had finally begun to rise inside our steamer trunk: white foam buildings took the place of cardboard placeholders, a Roman road curved through the sand-colored terrain, and glowing LED lights lit up the miniature town from within.
Now, in part four of our Nativity diorama journey, it’s time to bring those buildings to life.
This was all about the details. We built the stable that’s heart of the scene, hosting the holy manger. Next we crafted a town square with a central well, furnished the passageways, and finished each rooftop, terrace, and room with small touches of daily life. From wooden furniture to clay jars, from floor tiles to curtains, every addition helped make the city feel more lived-in.
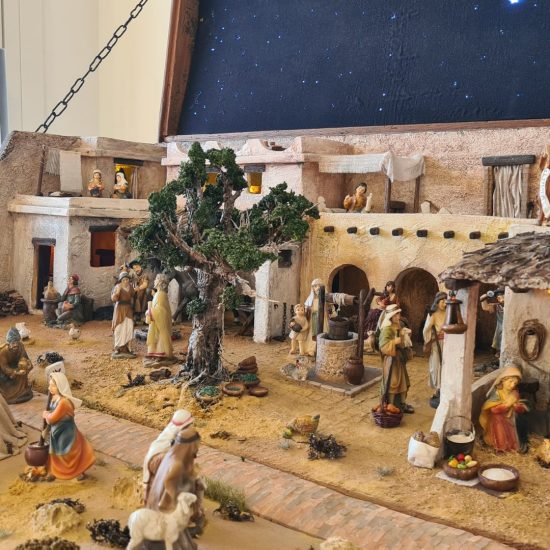
And, of course, we also brought in the people! We carefully chose where to place the statues, each figure adding its own little story. In the end, it all became what we’ve been longing for, during long years of planning and making: Bethlehem no longer looked like a construction site, but like a proper town.
Let me show you how it all came together.
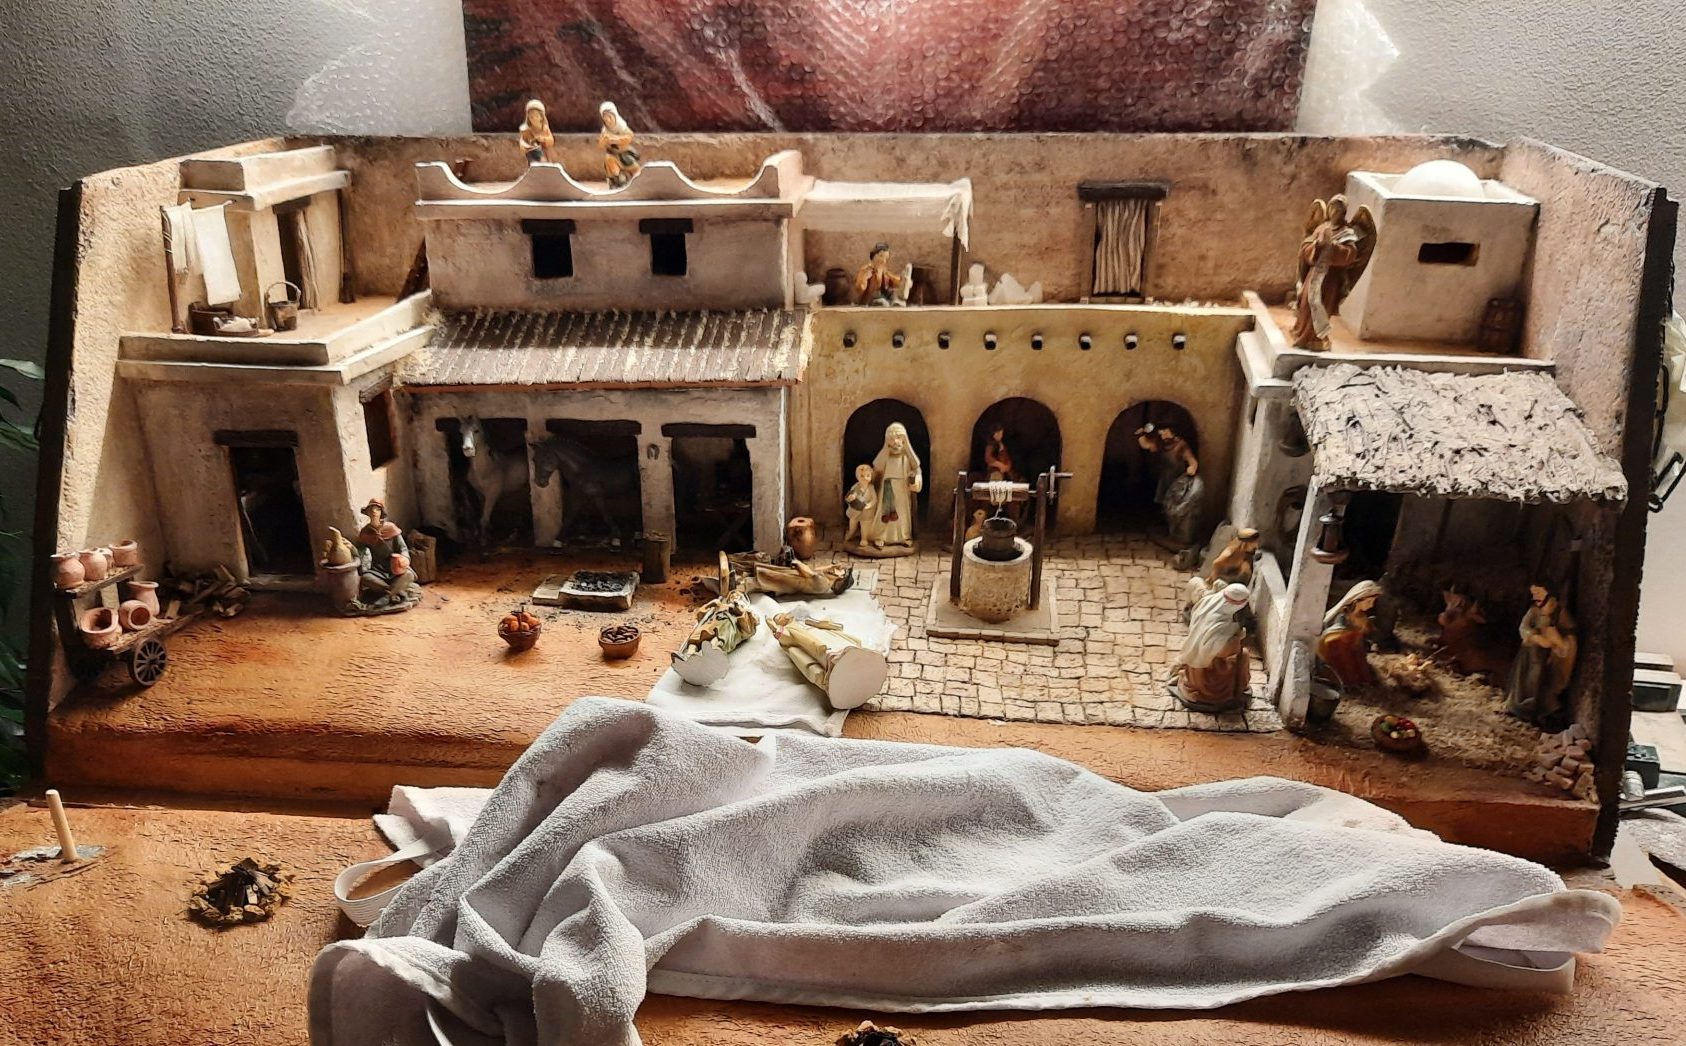
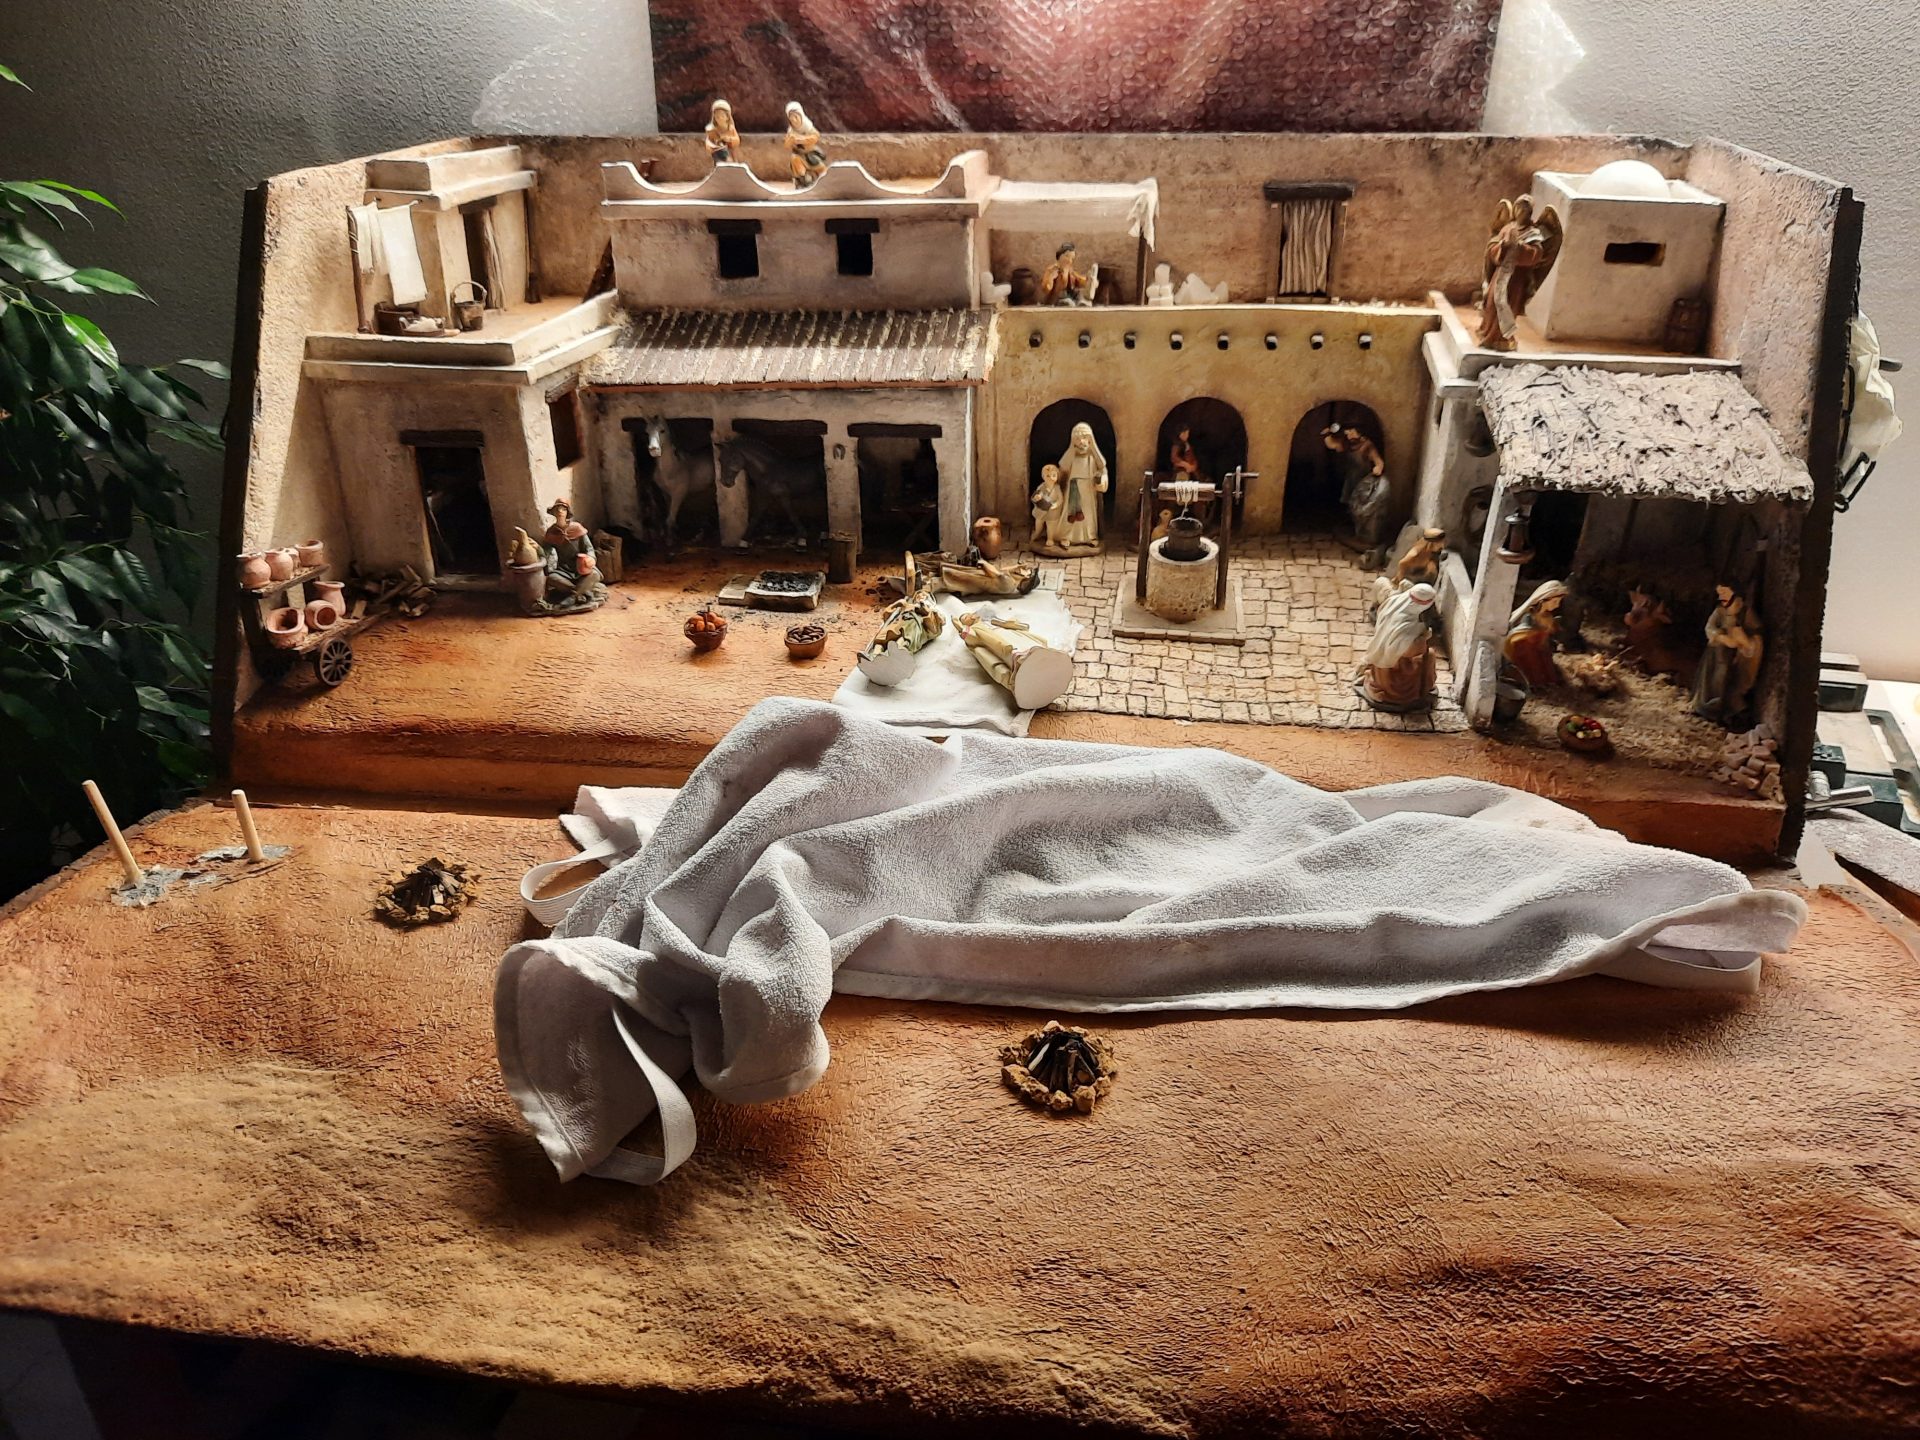
The town of Bethlehem with all its buildings and people, ready to receive the final details.
Table of contents
Painting the town into life


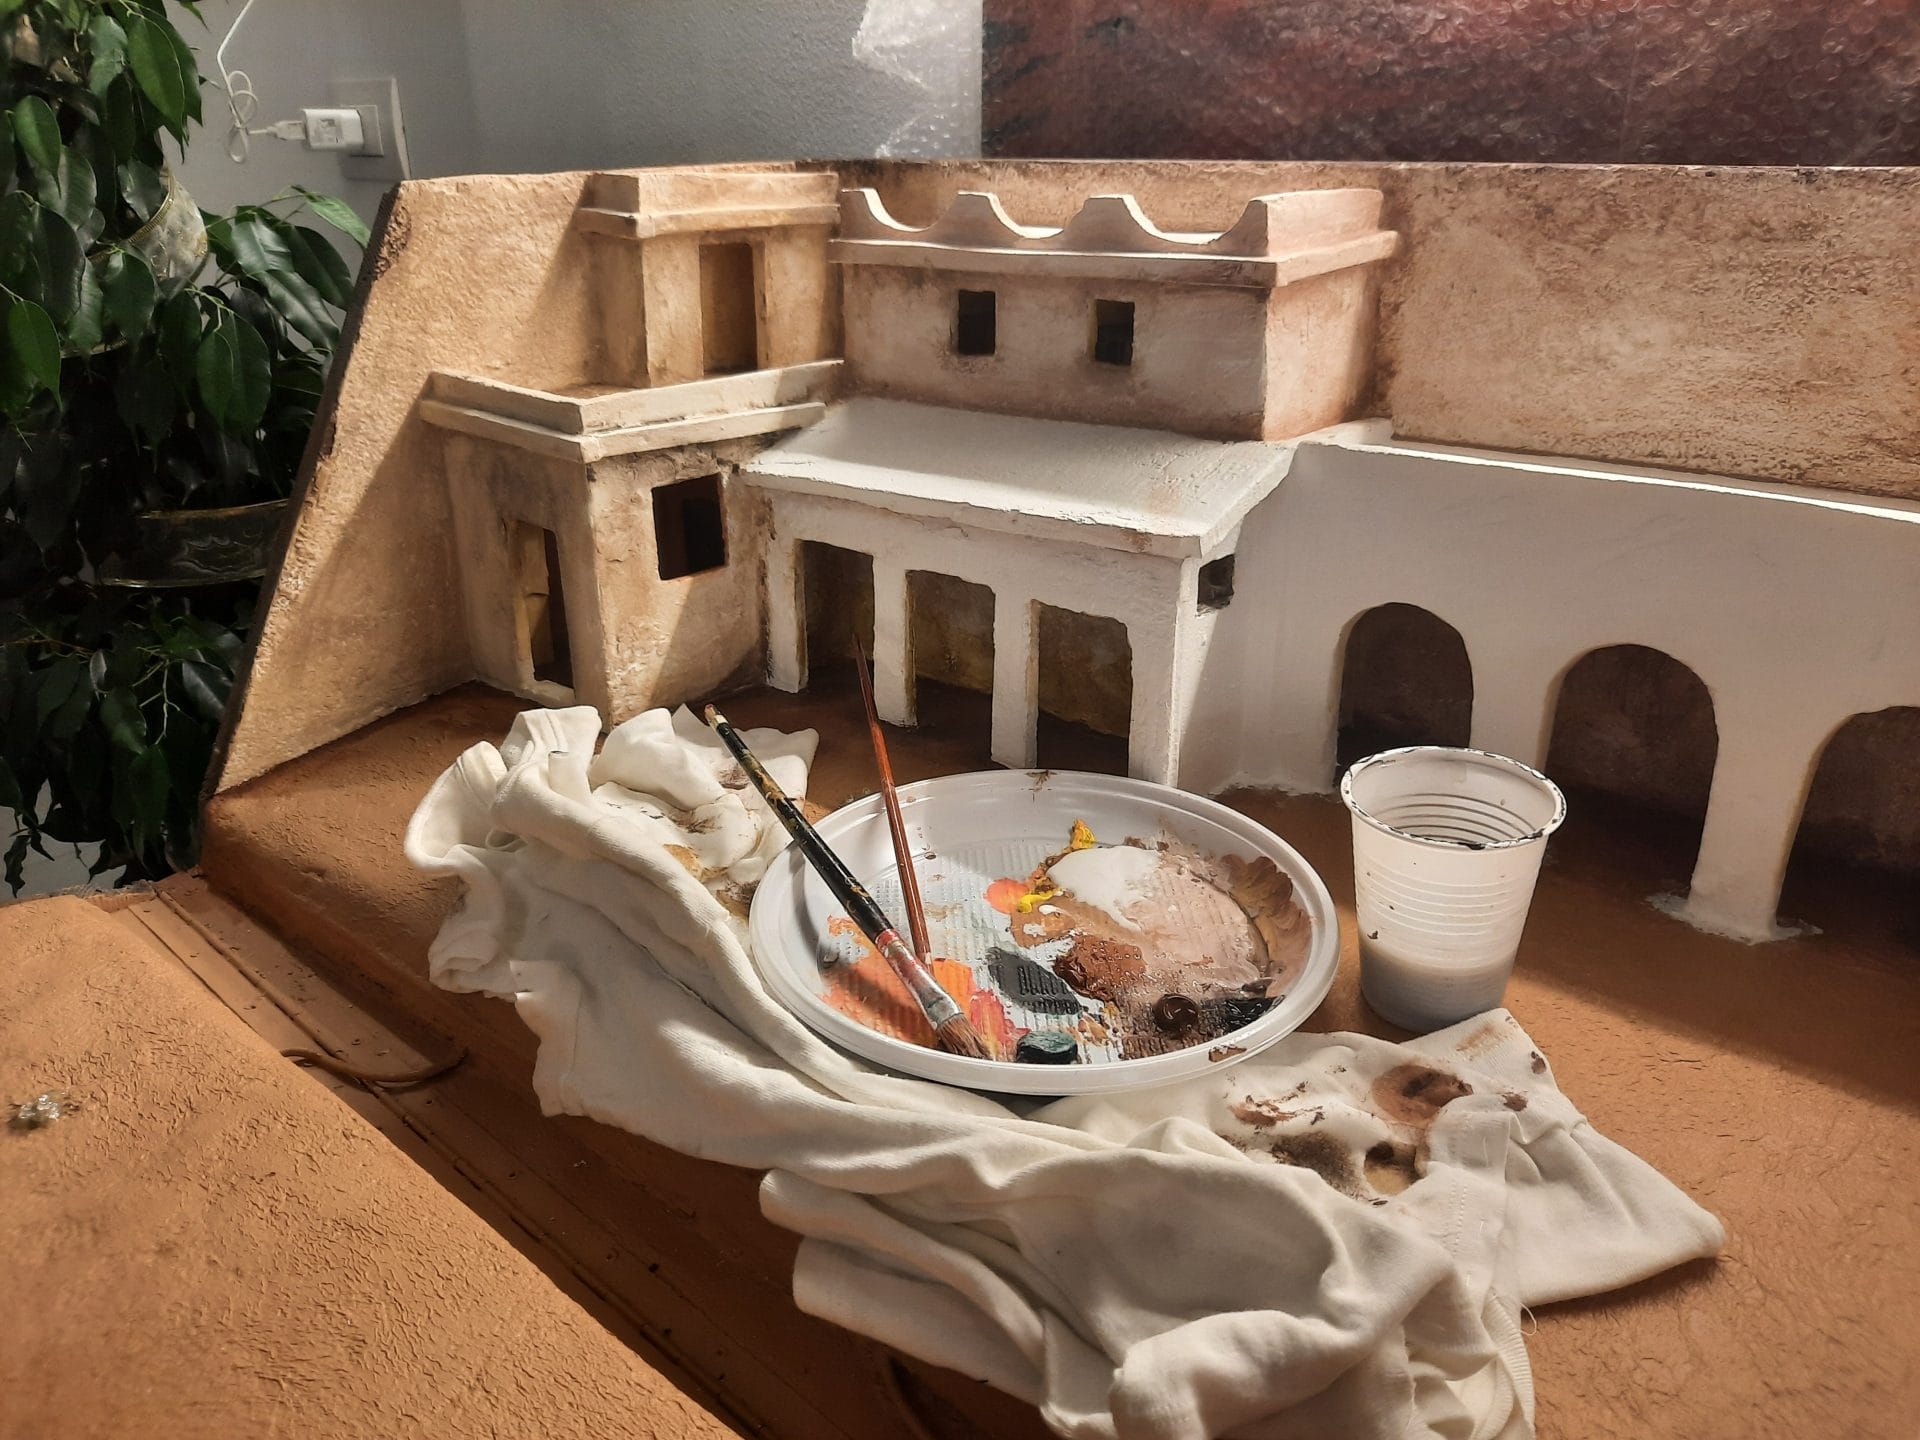
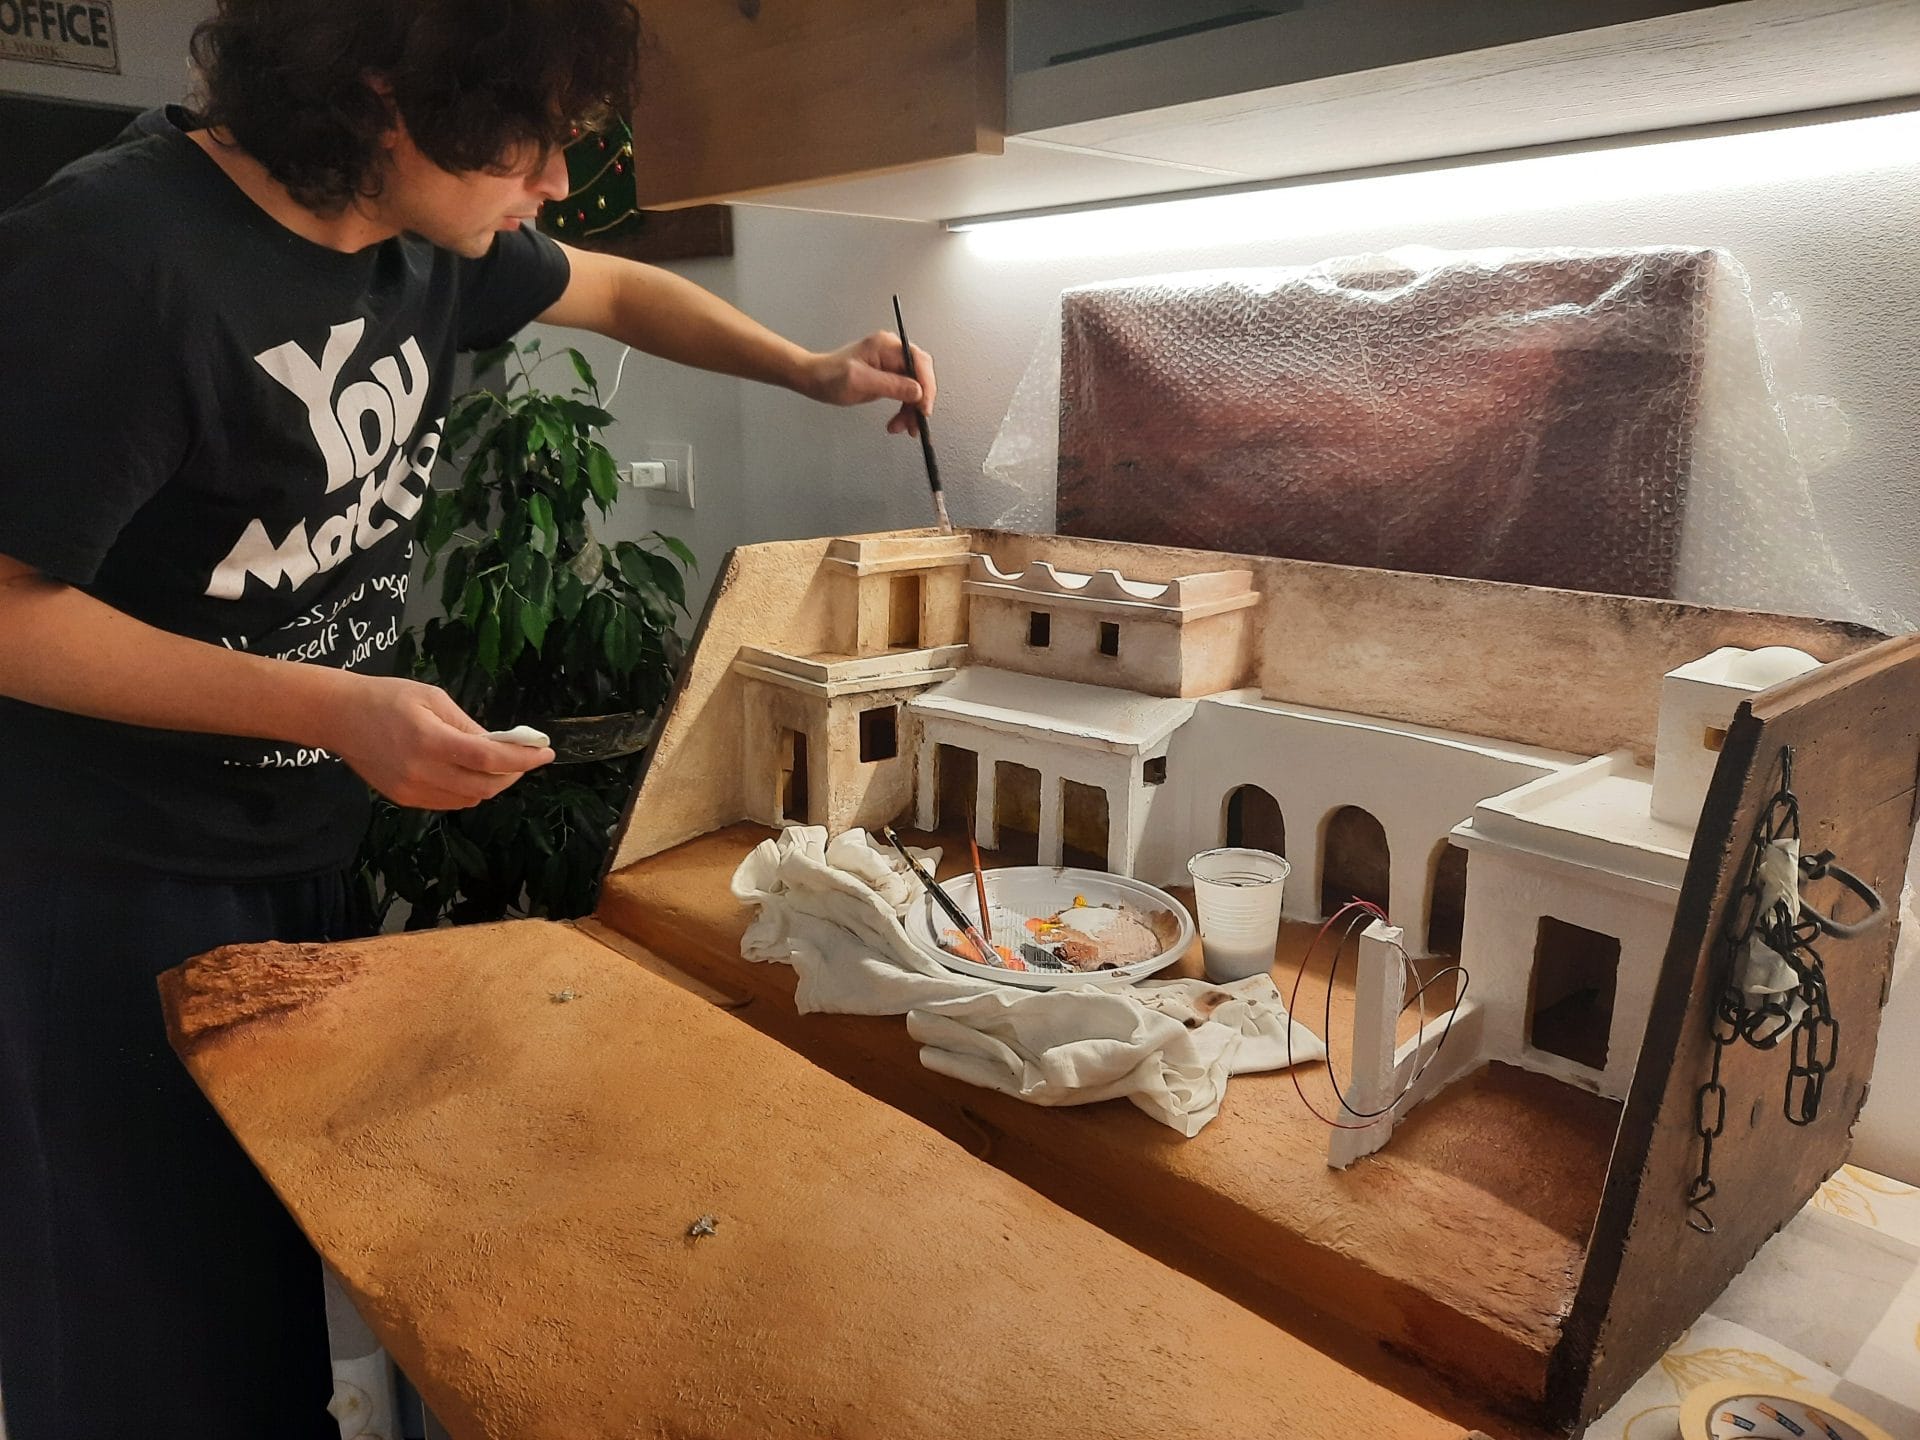
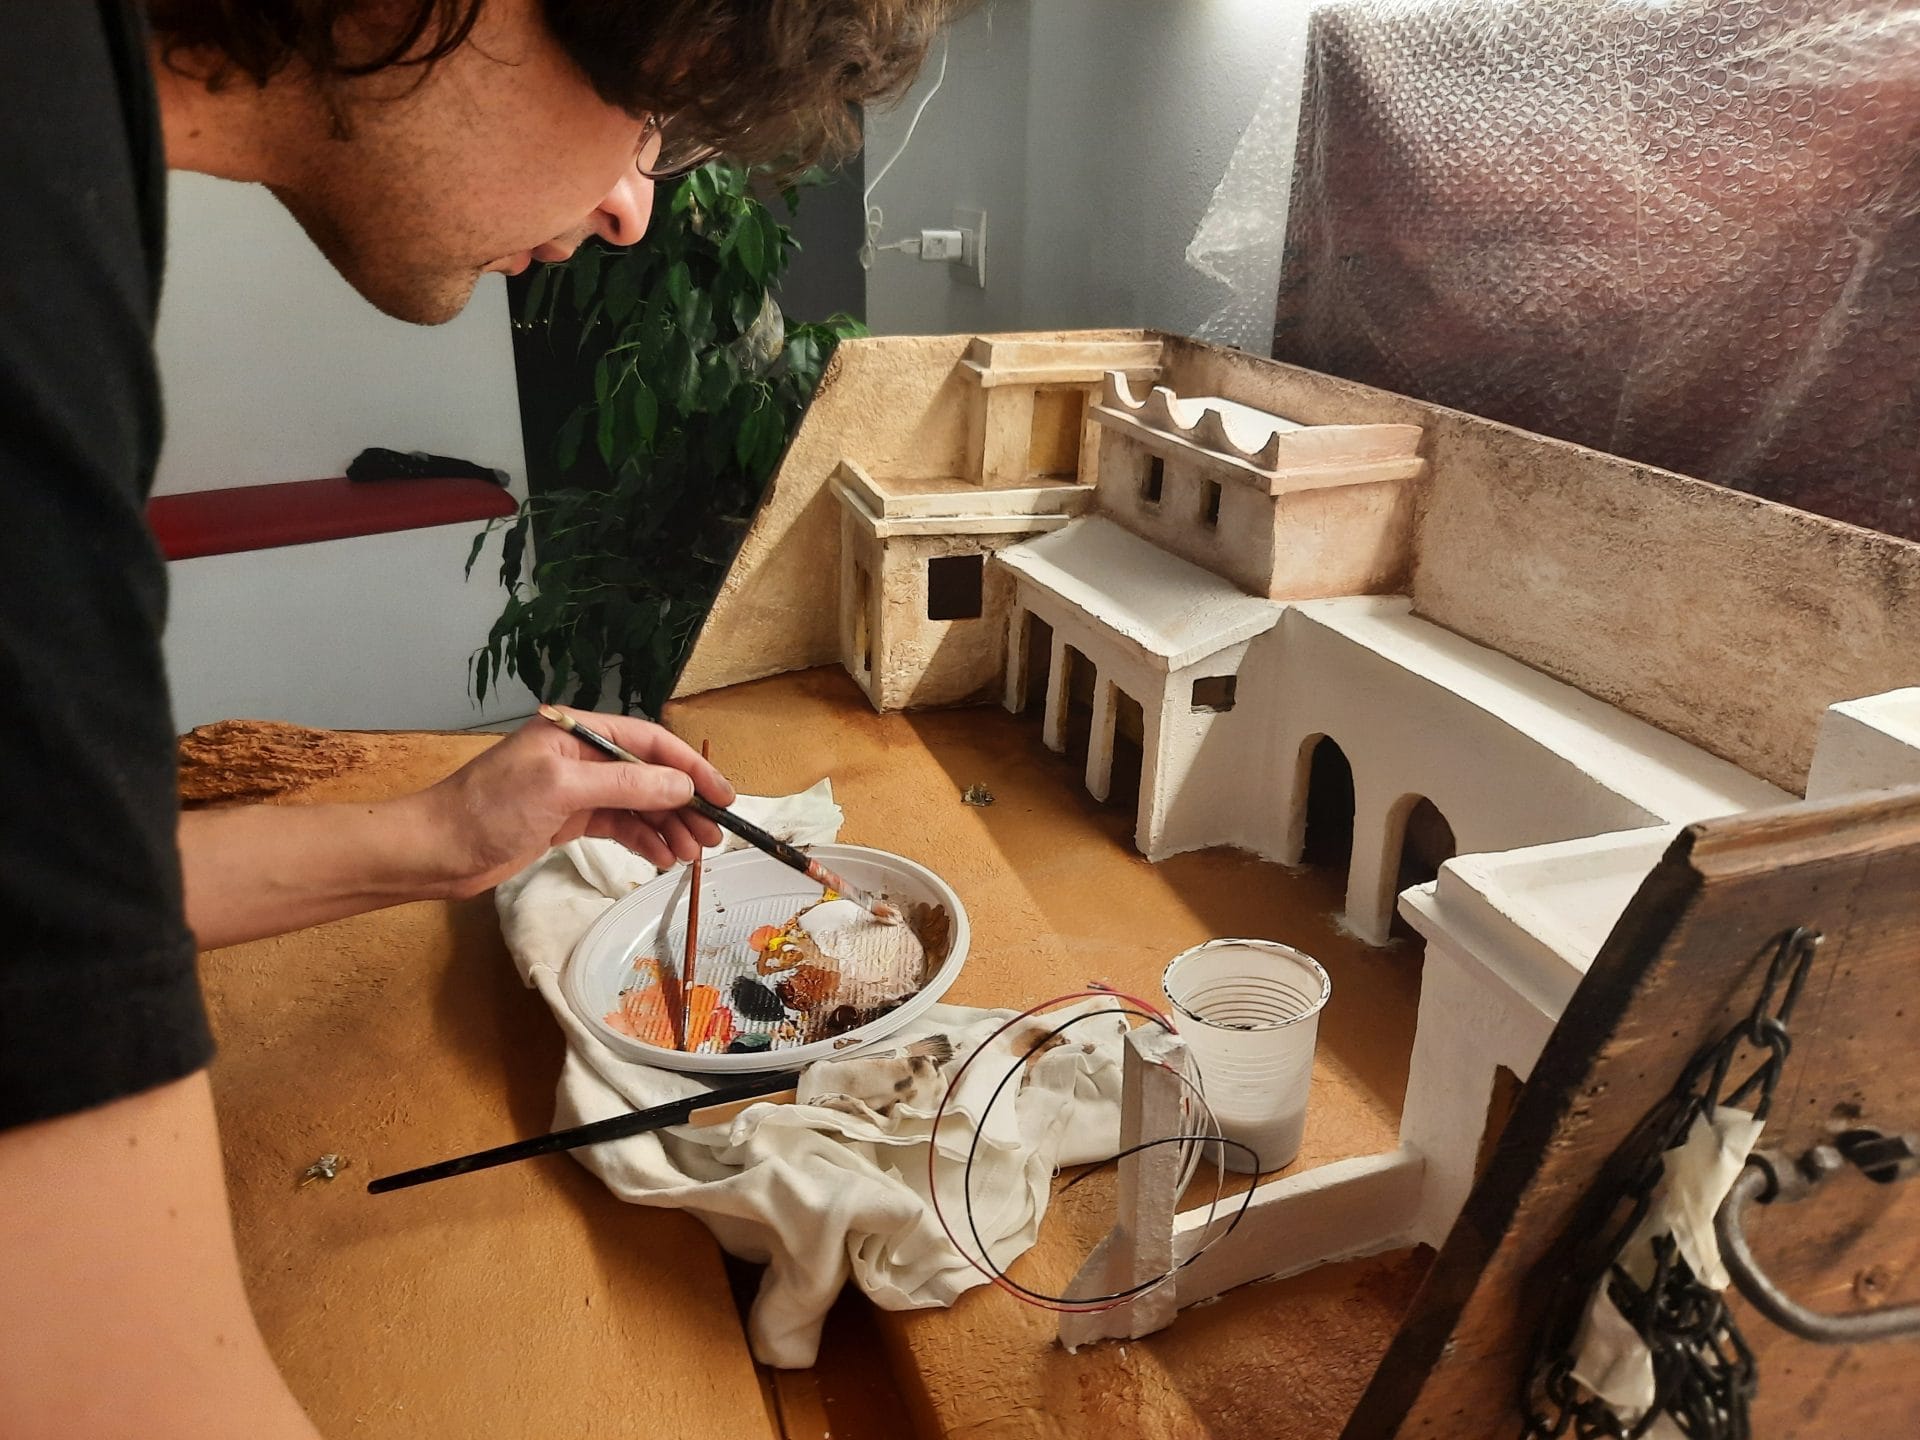
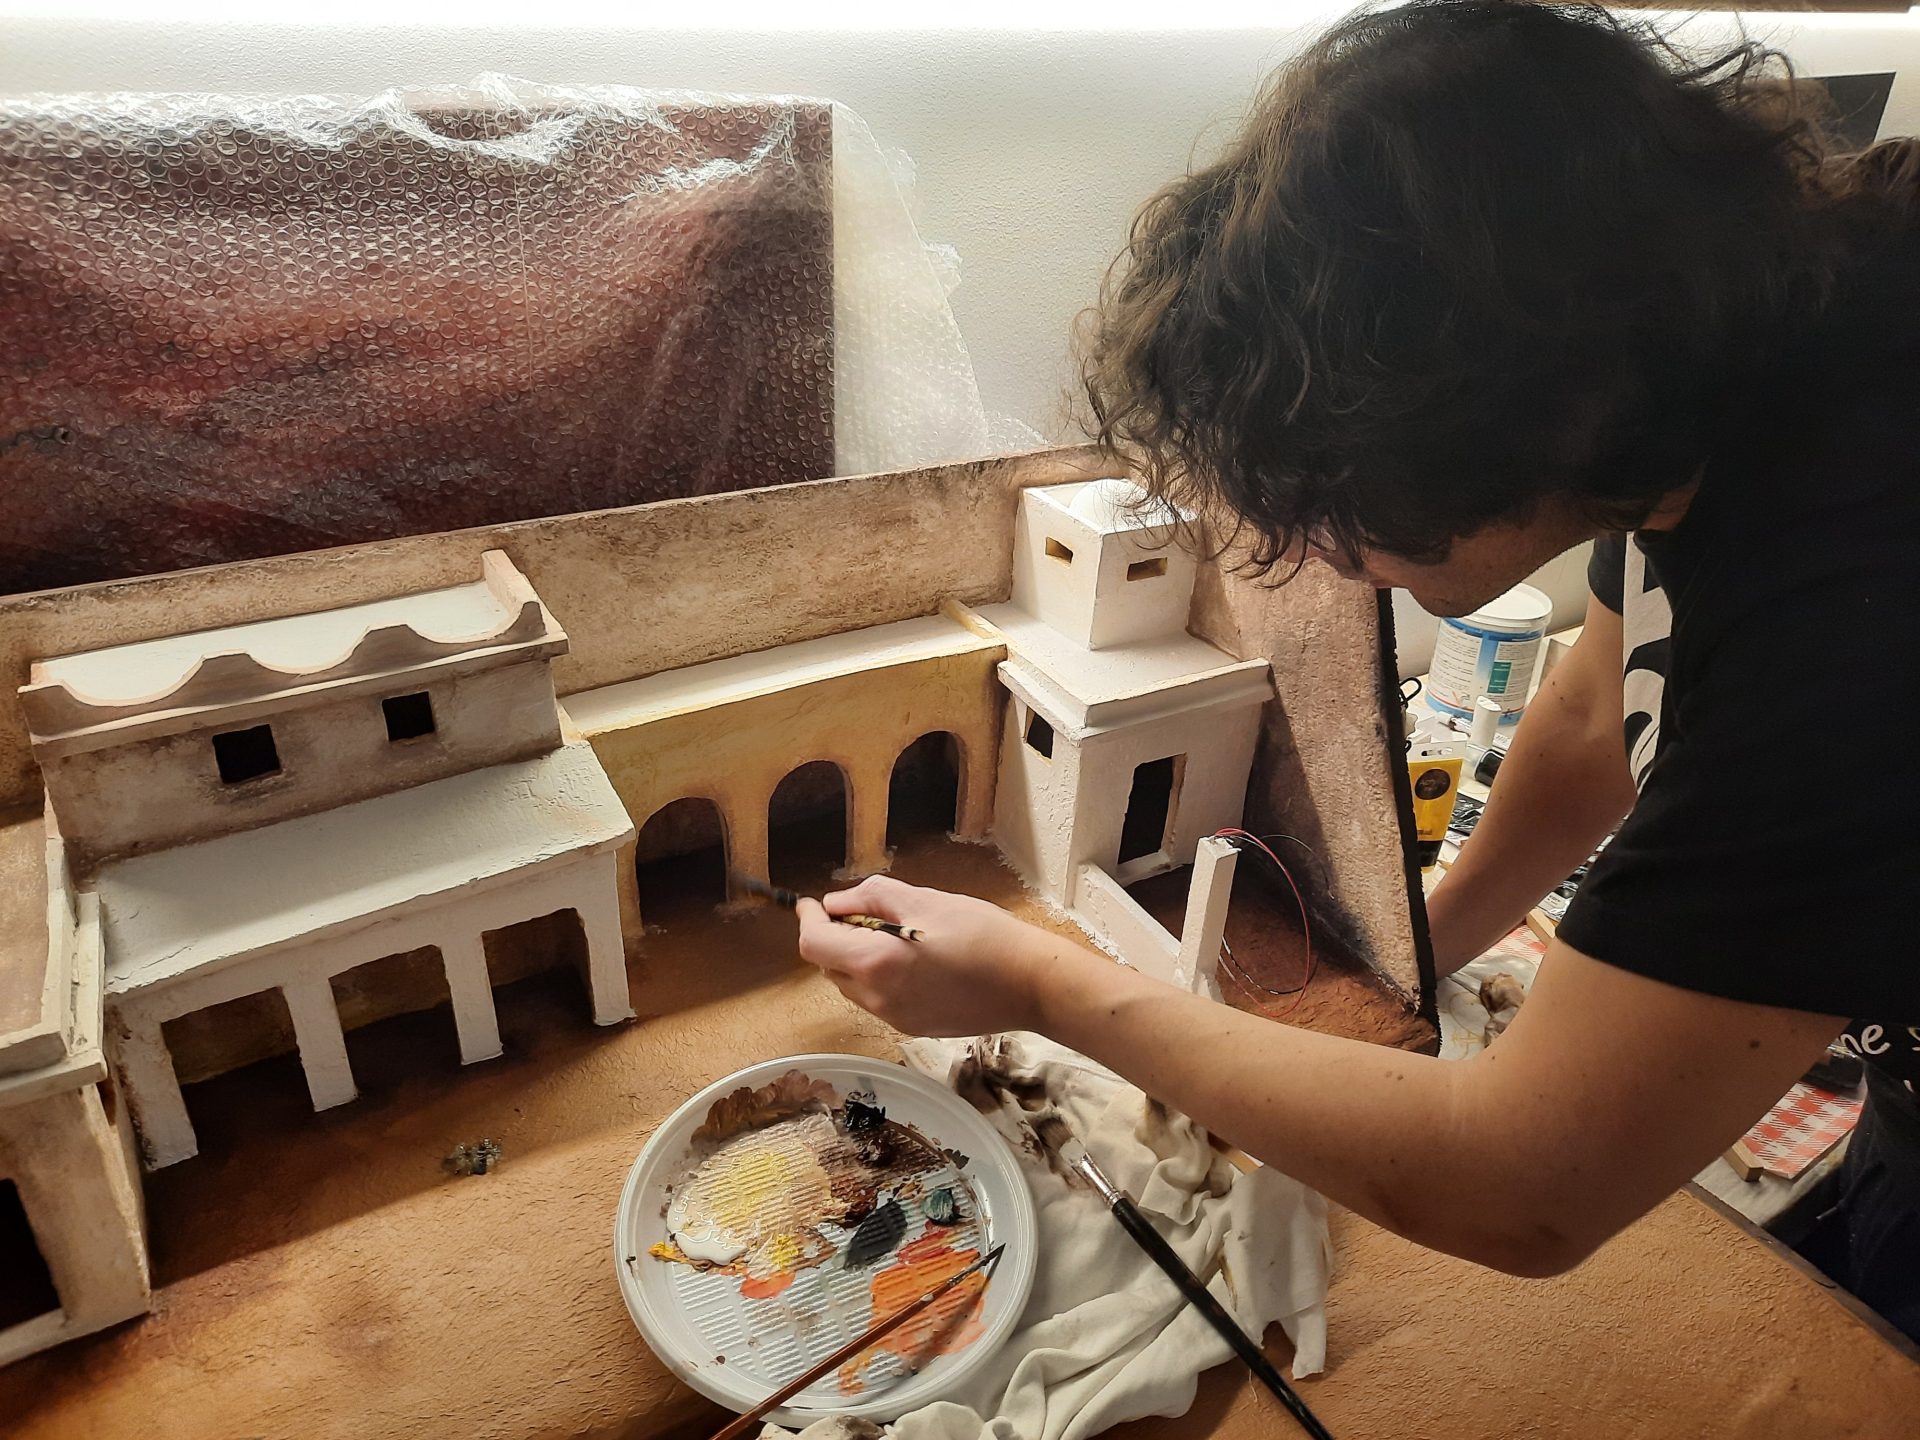
With all the buildings finally fixed in place, it was time to bring color and texture to our miniature Bethlehem. A step of the process my husband longed for.
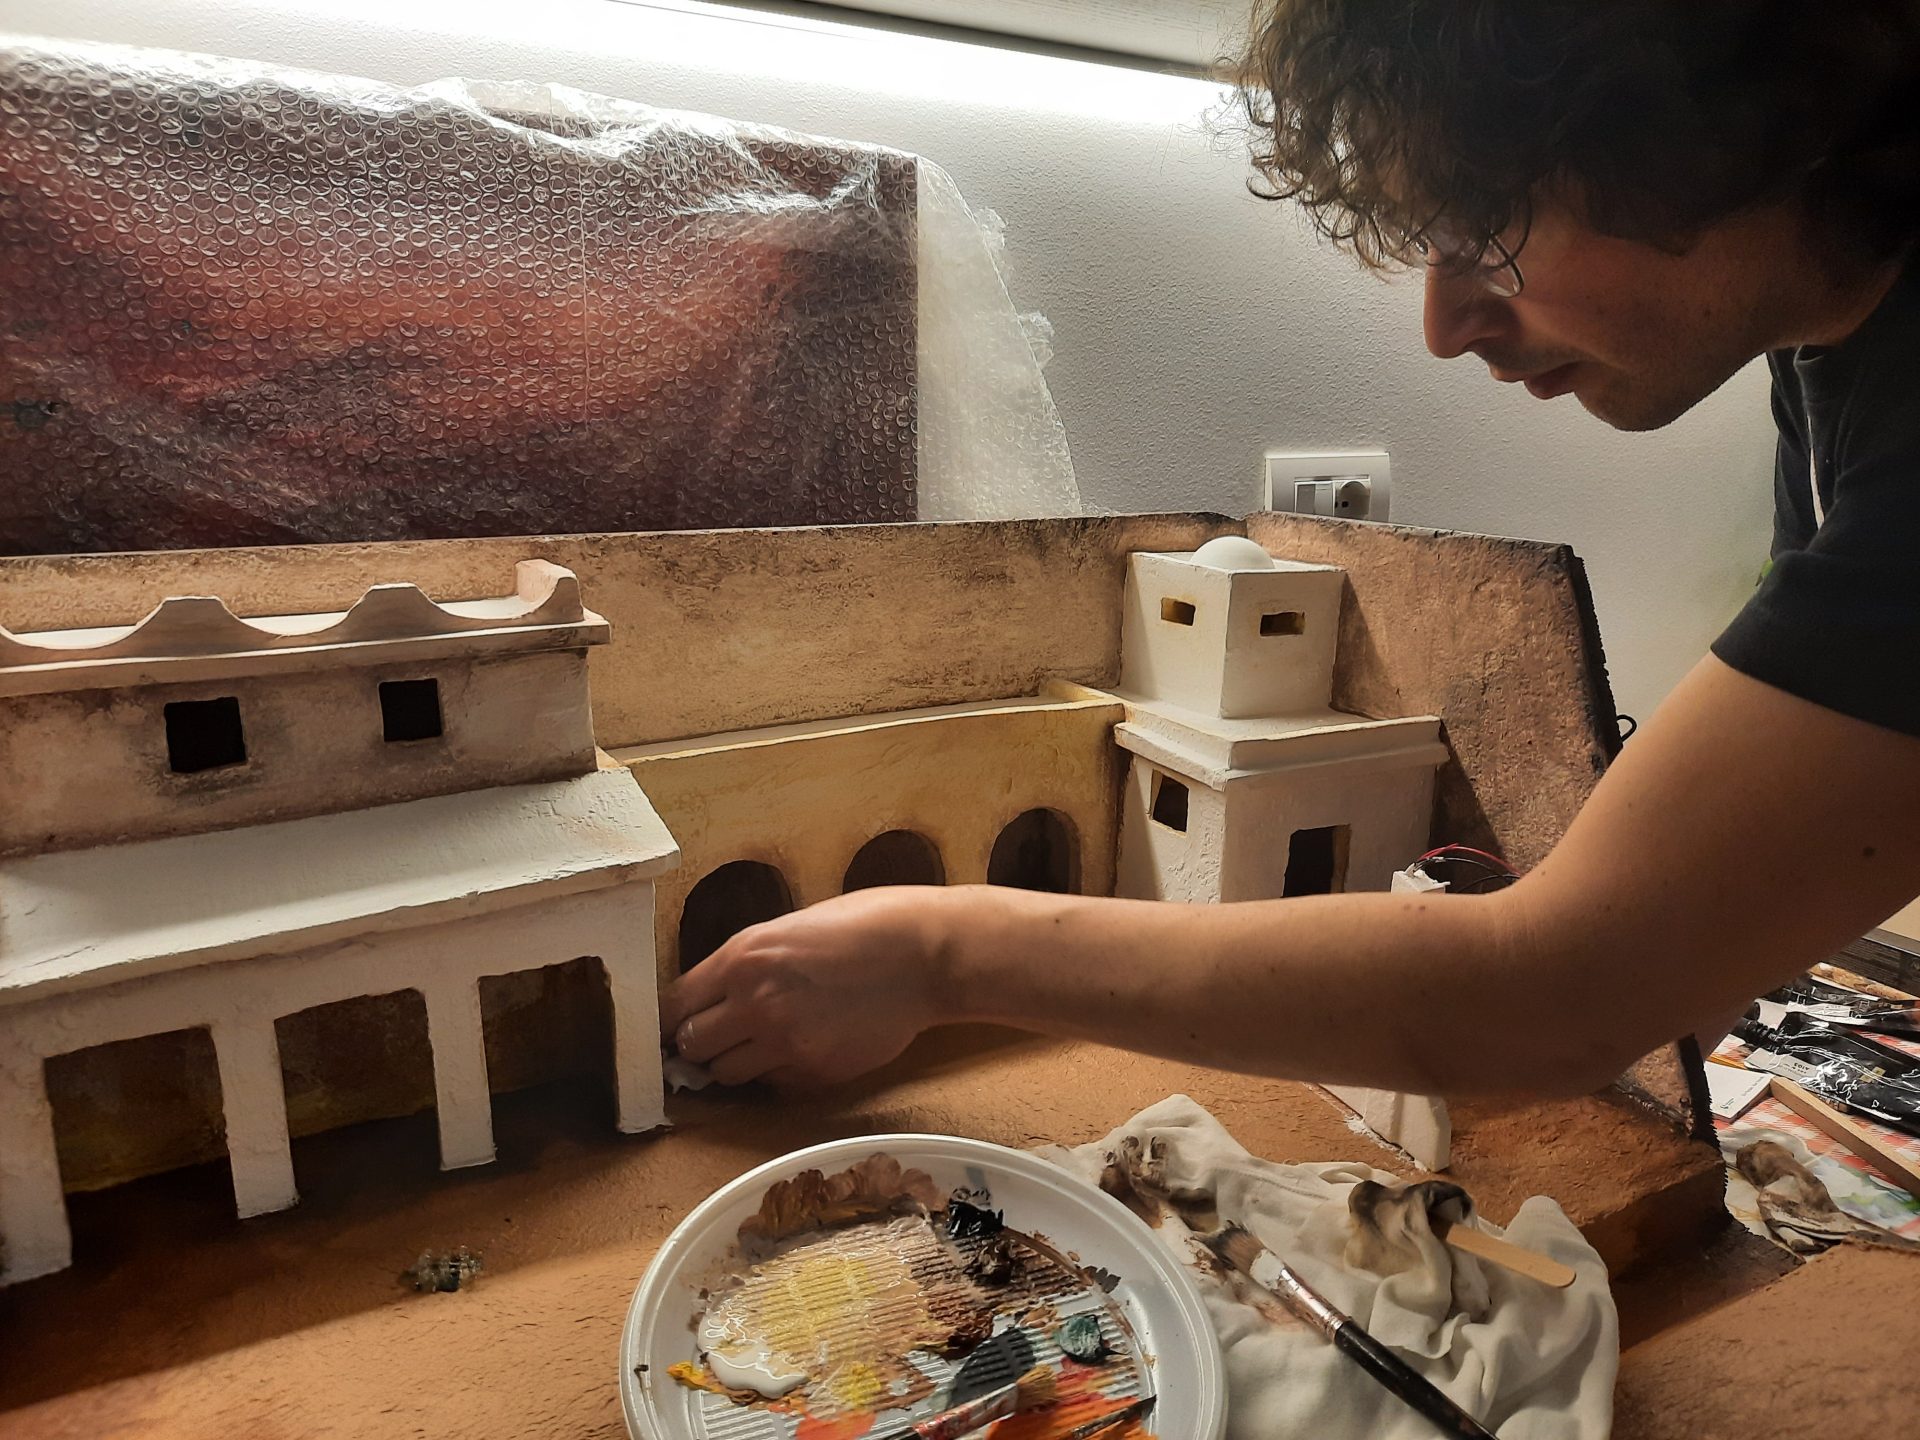
Locutus began by giving each house a base coat in earthy, sunbaked tones: soft beiges, warm ochres. This palette immediately evoked the feel of ancient clay and natural materials, with each building looking just a little different from its neighbor.
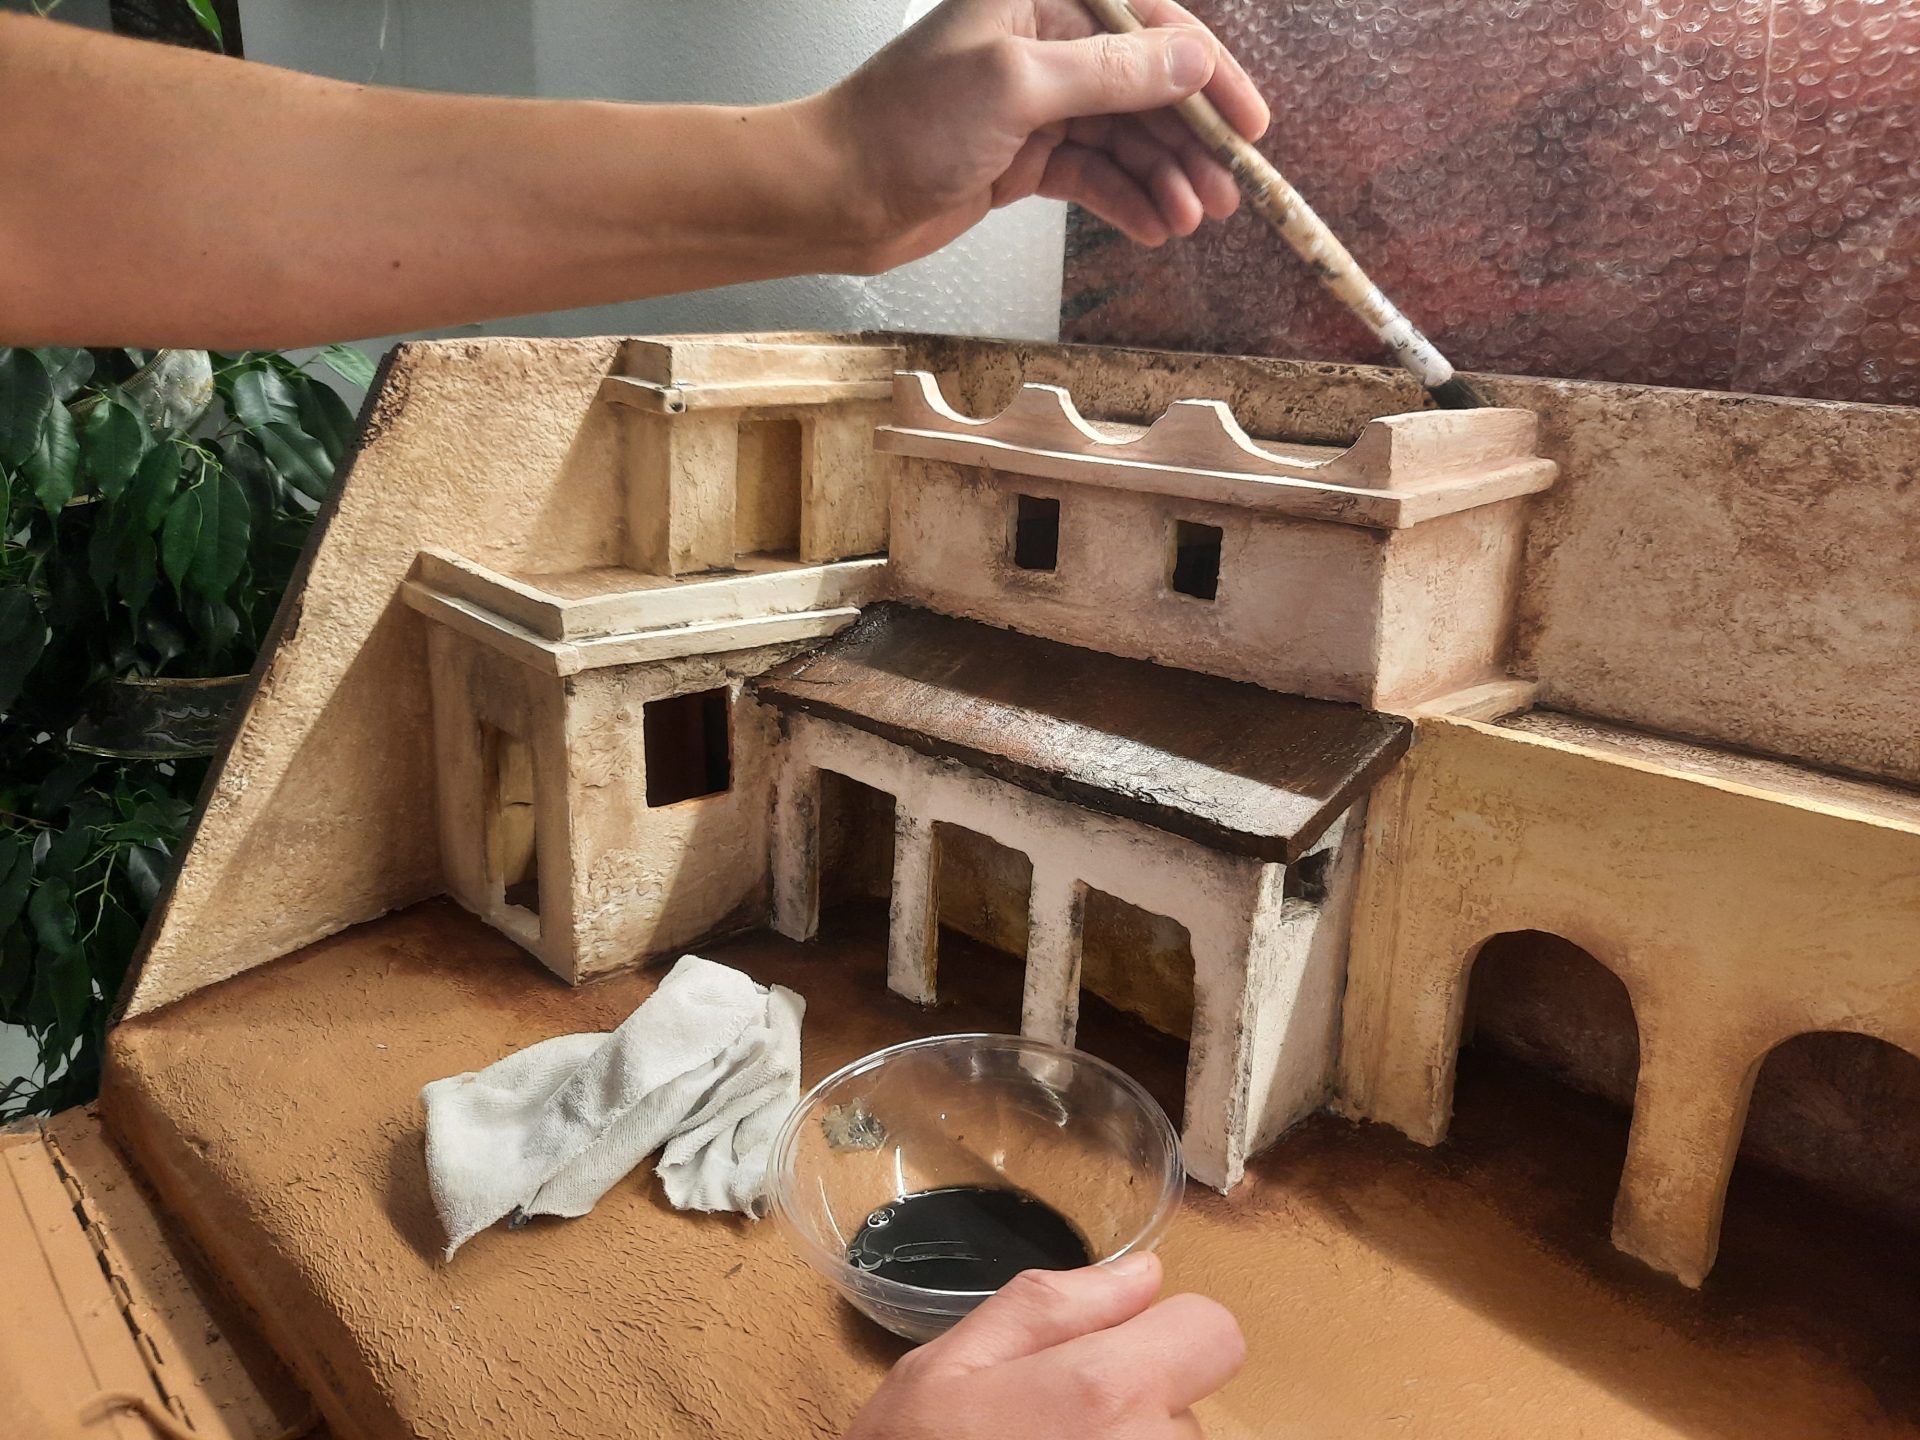
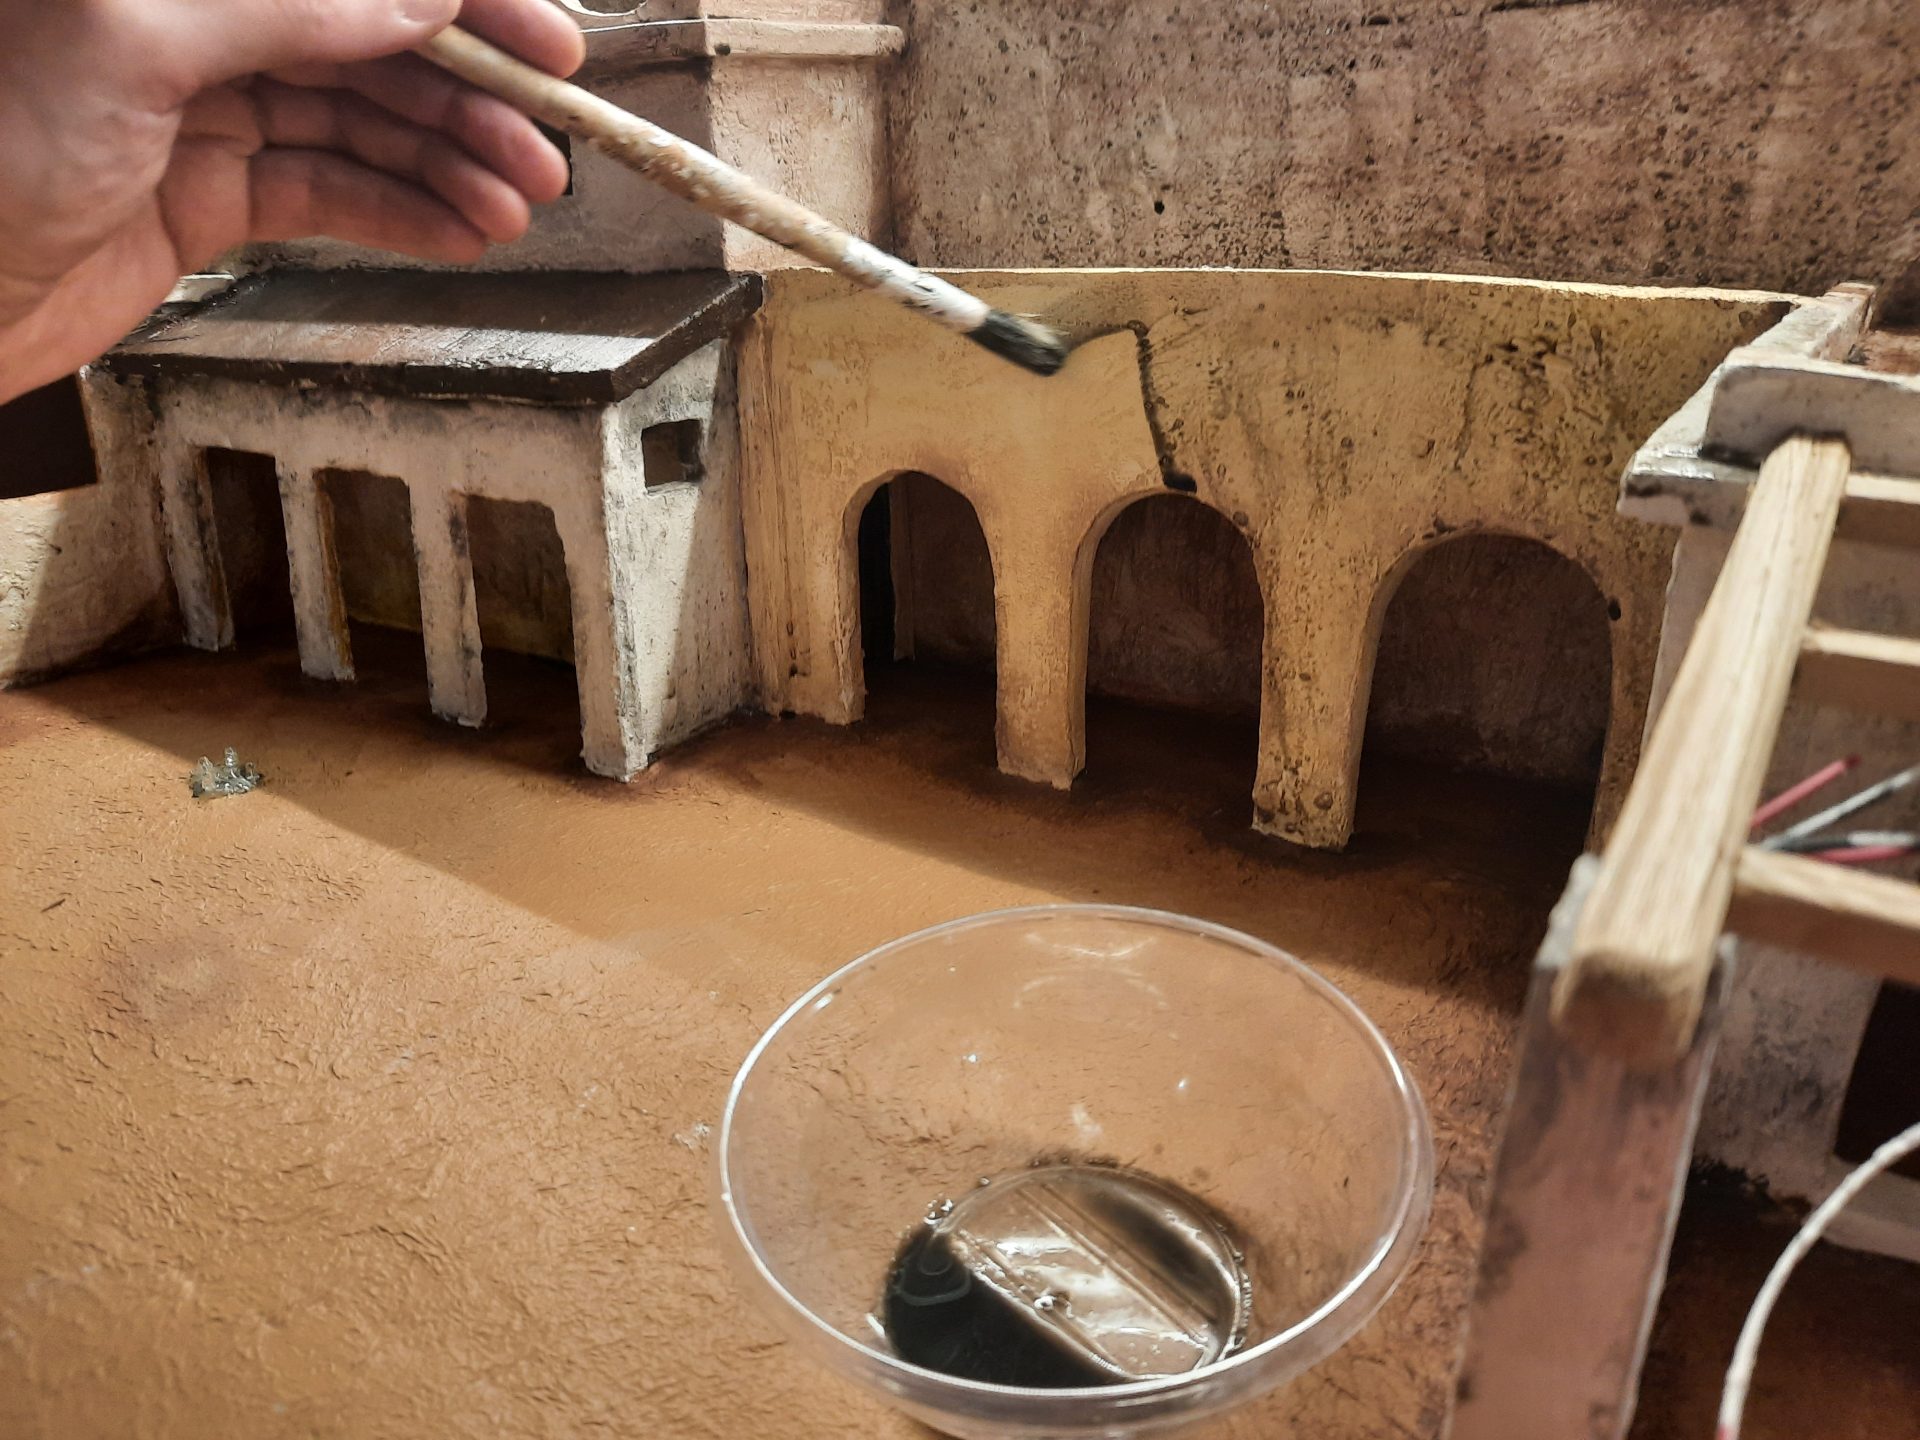
Once the first layer dried, he returned with darker washes, carefully working shadows into any recesse and around architectural details. This subtle step added depth and realism, breaking up the flat surfaces and helping each structure stand out. The result was a village that felt organic and varied, like a real town with its mix of old and new houses, some well-kept and others weathered by time.
With the town now bathed in warm, natural tones, it finally began to feel less like a collection of foam blocks and more like a lived-in village.
Crafting the main structure of the stable
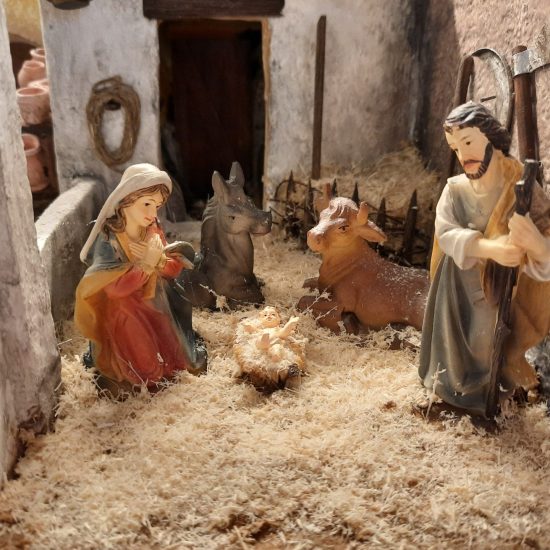
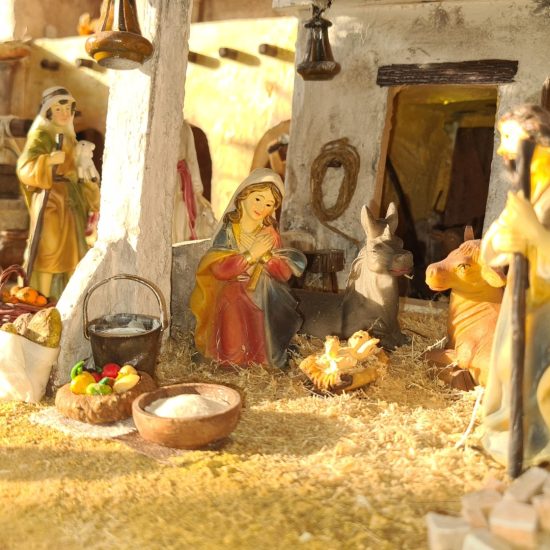
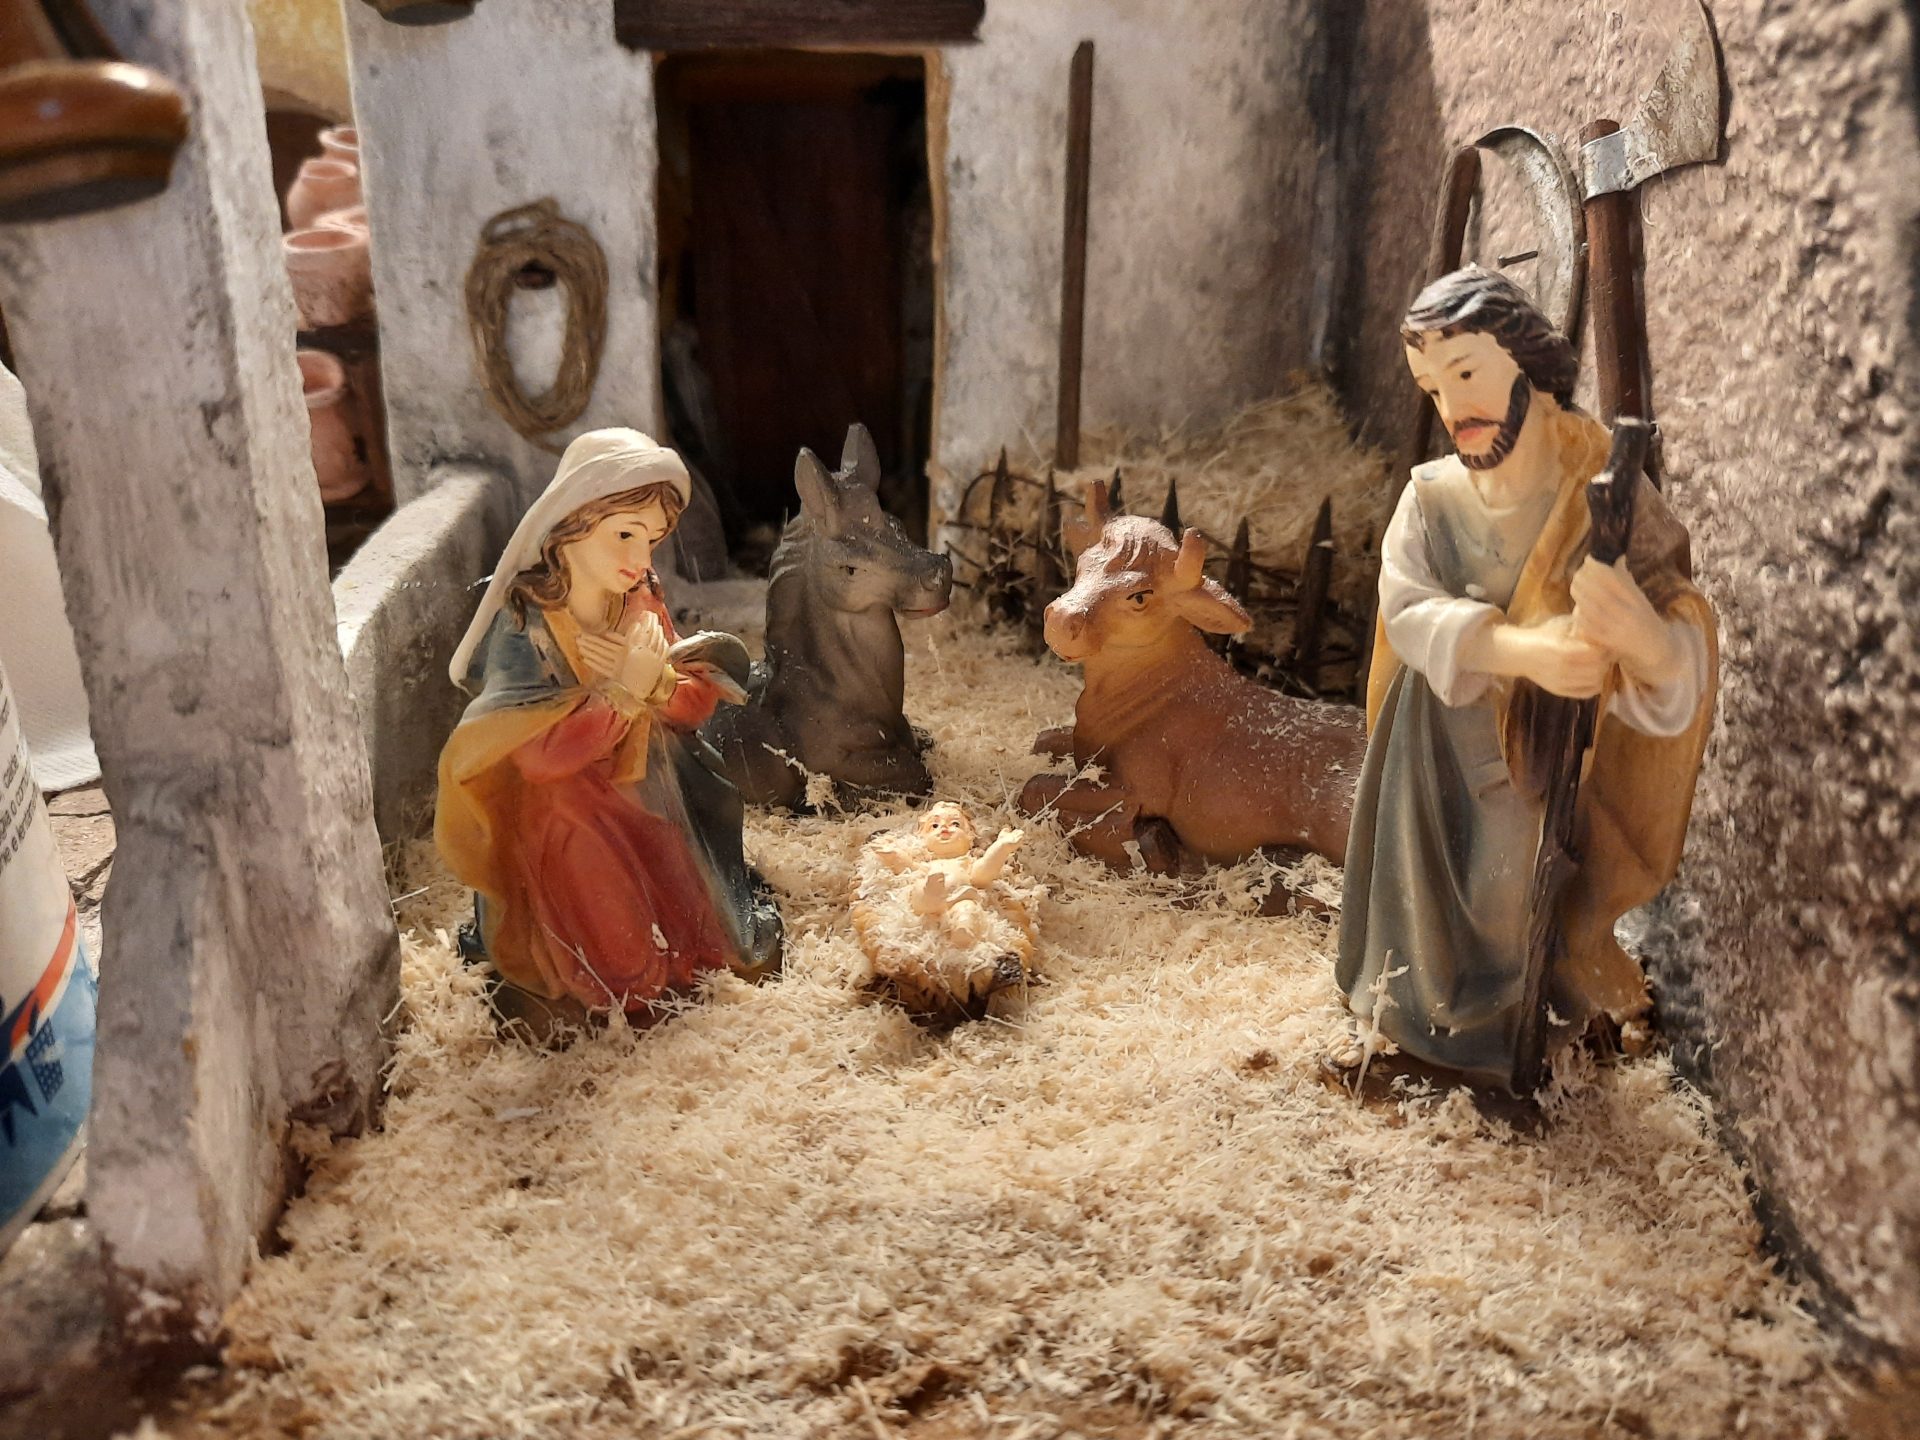
We then turned our attention to the most important spot in the diorama: the stable that was to host the Holy manger.
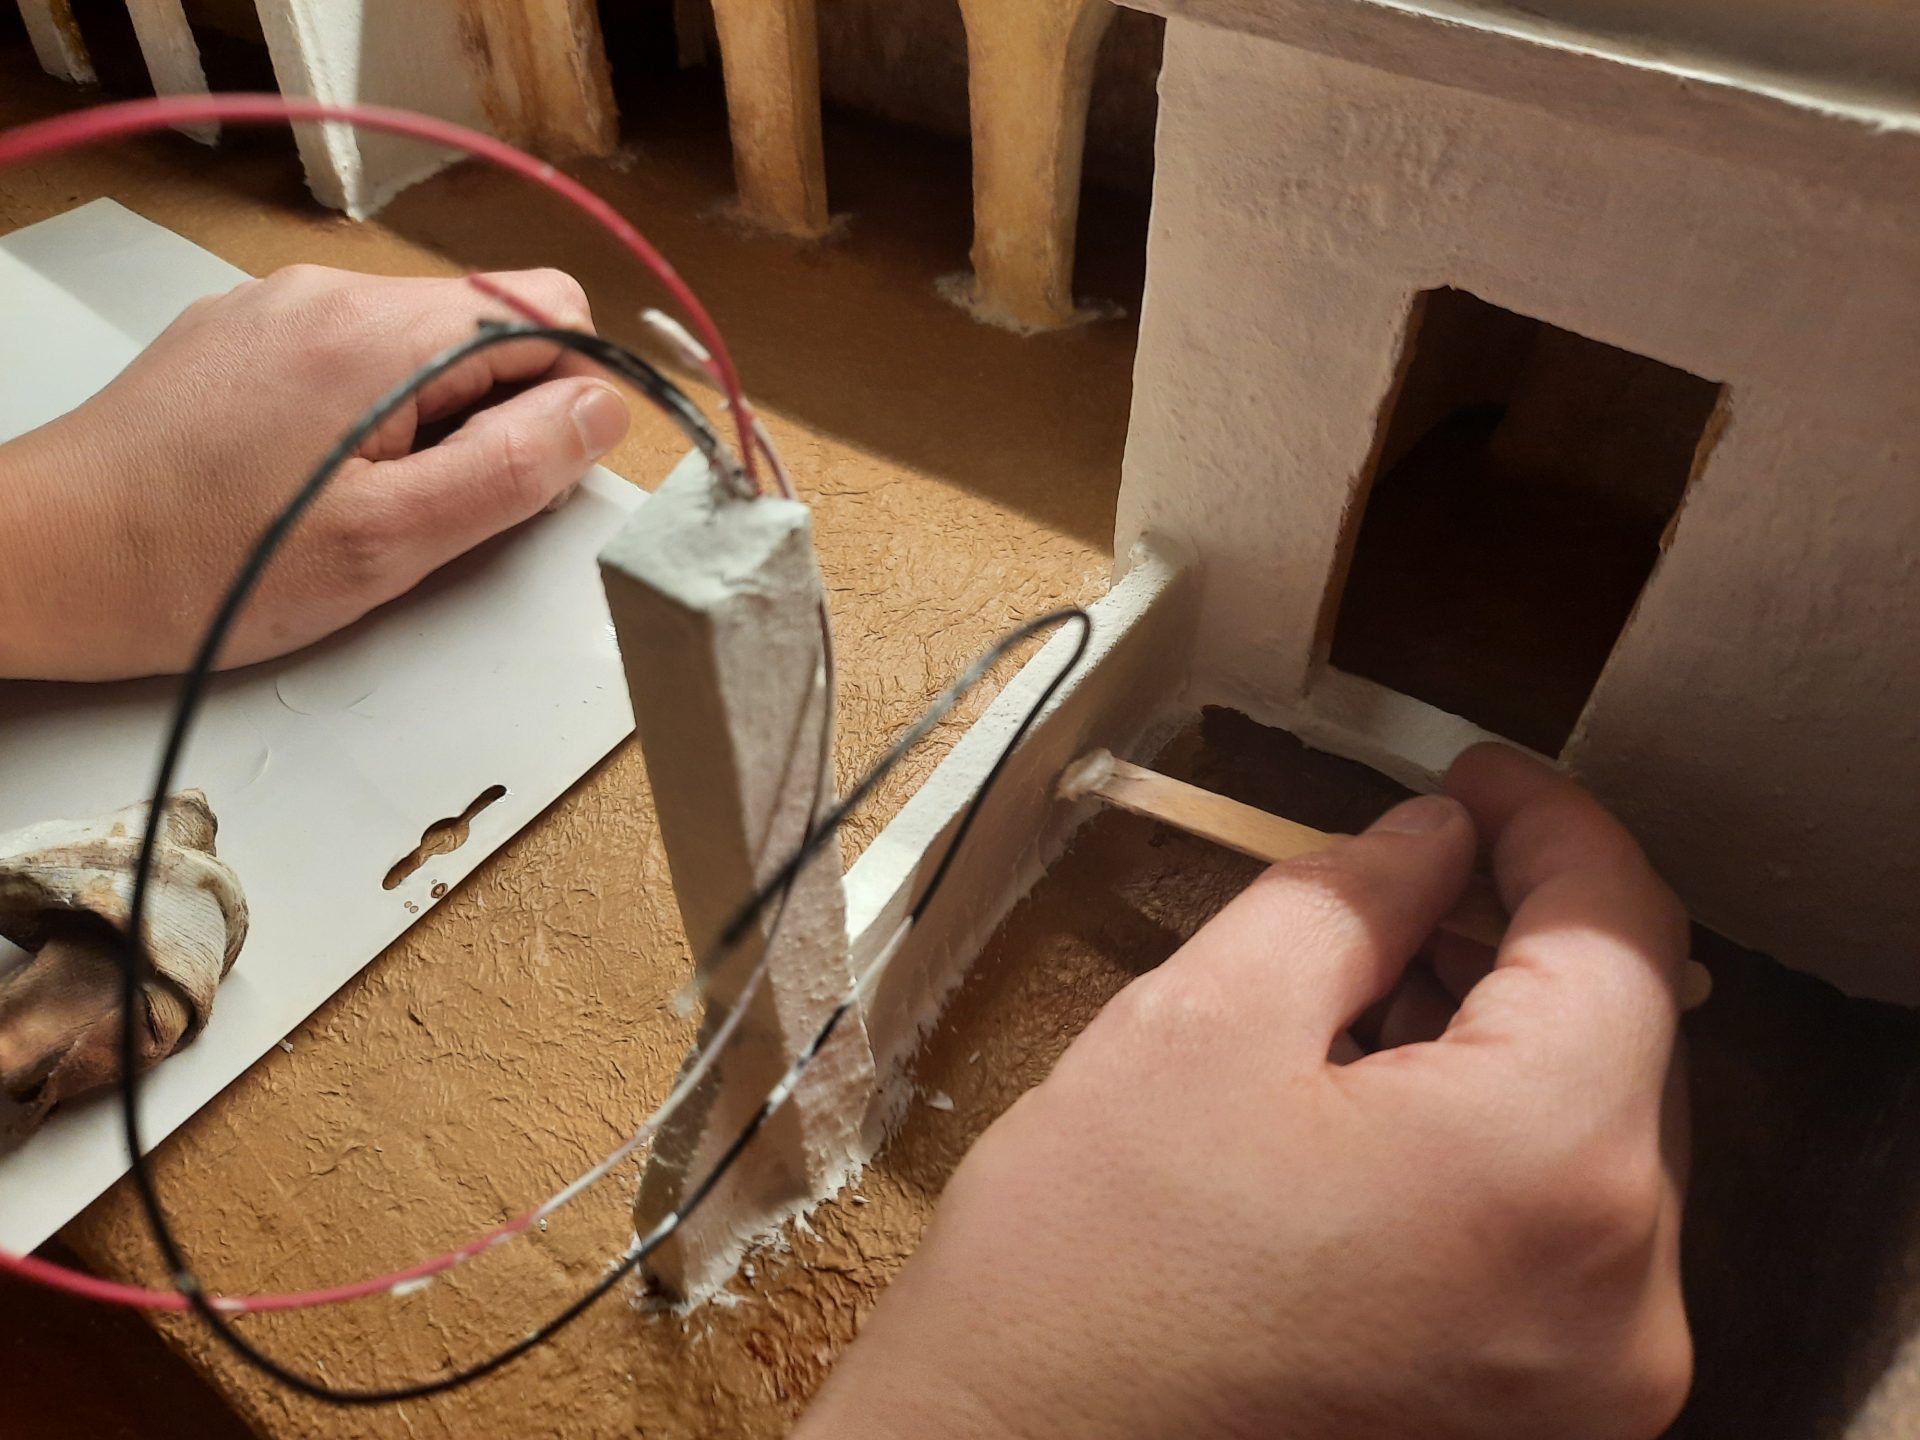
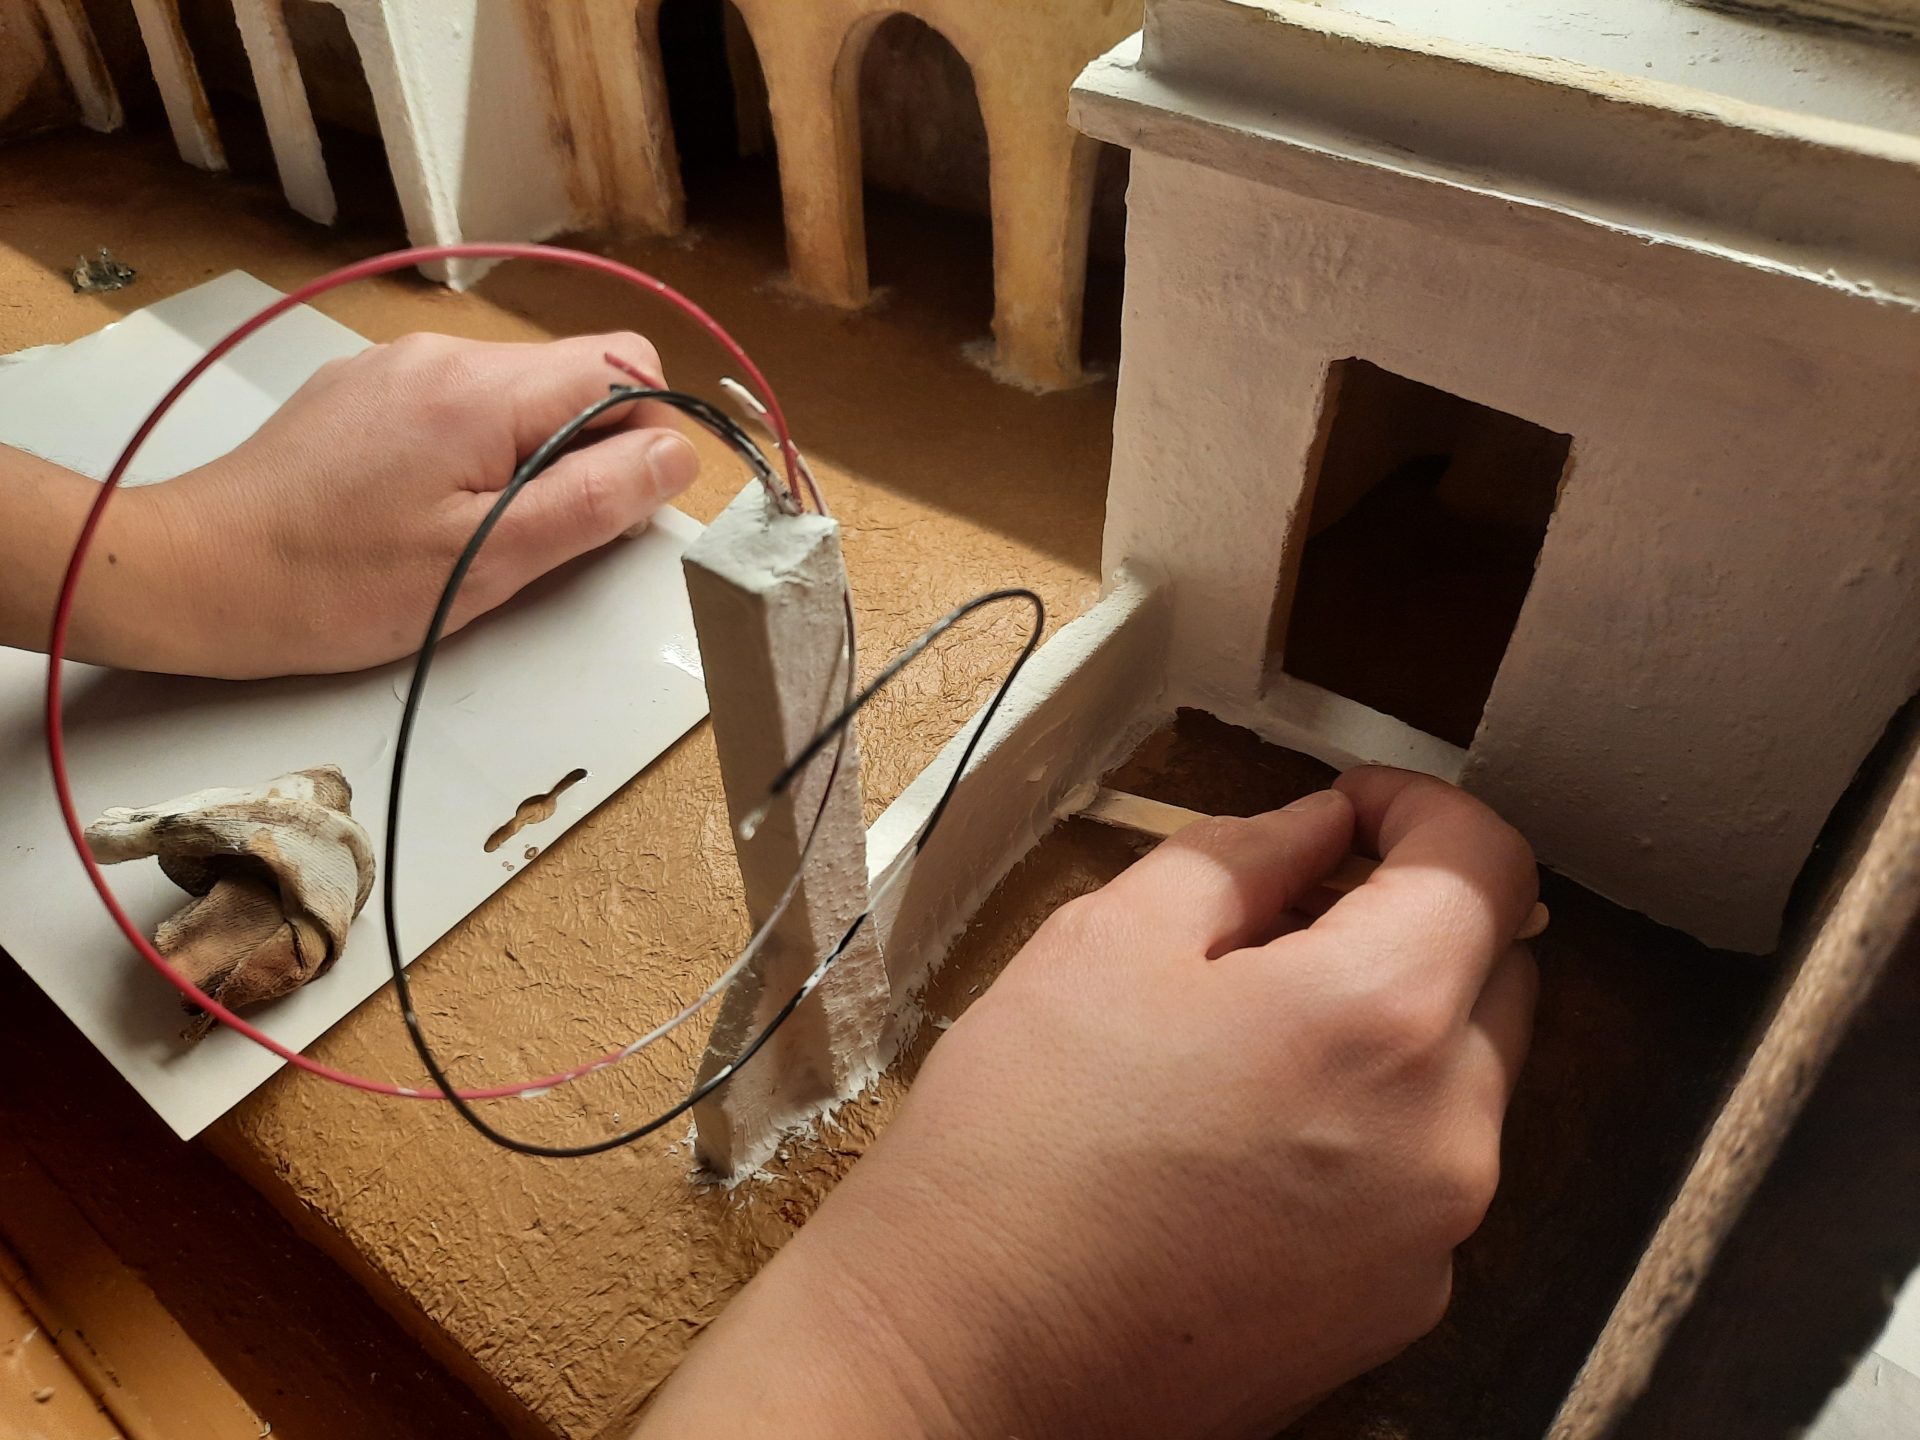
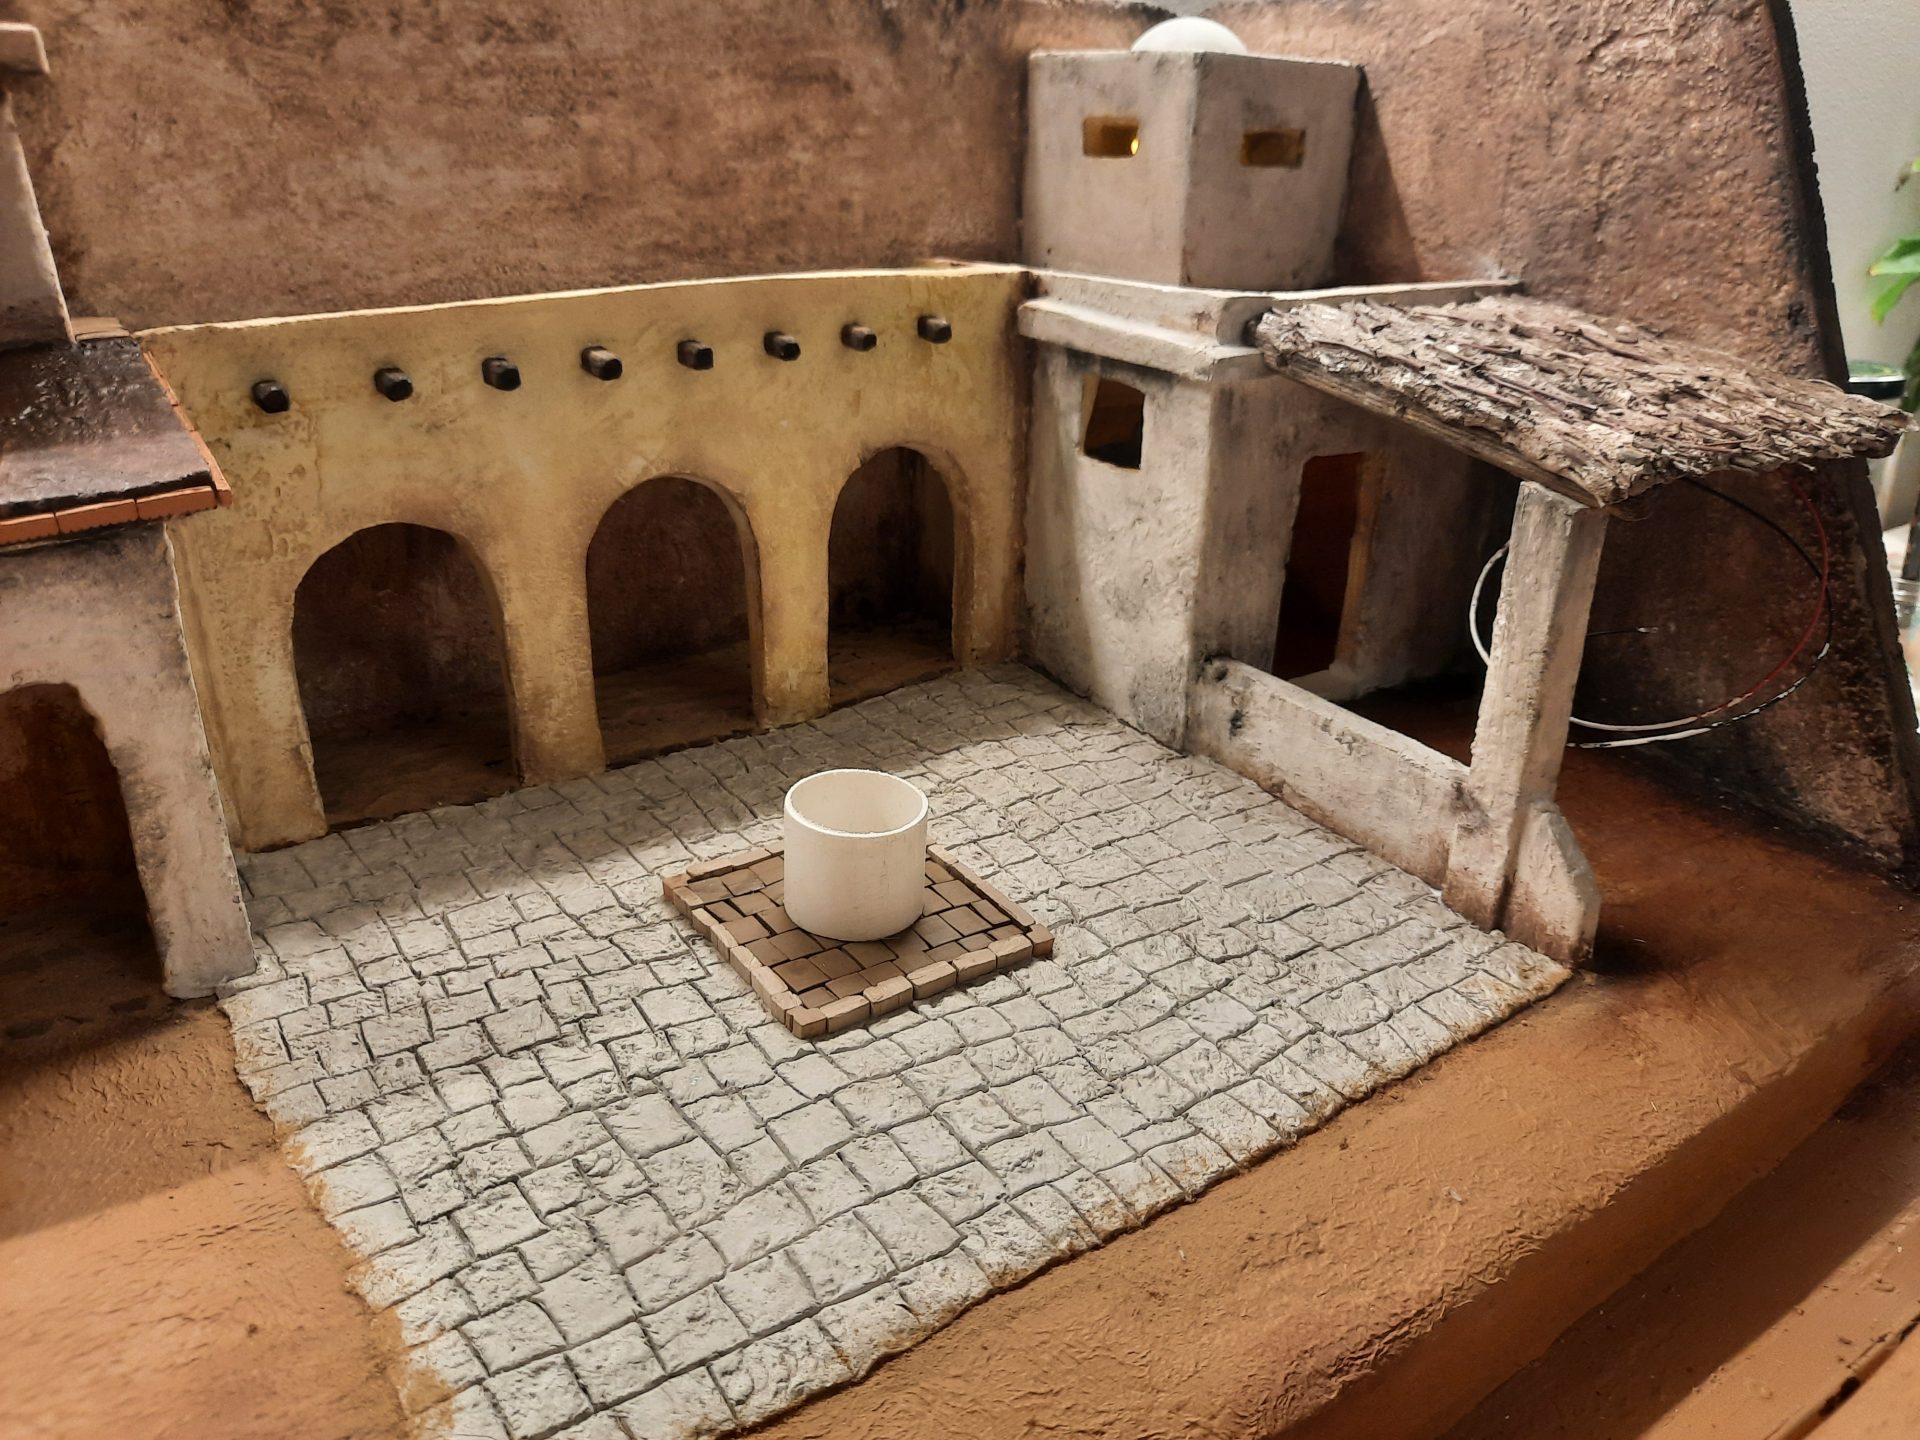
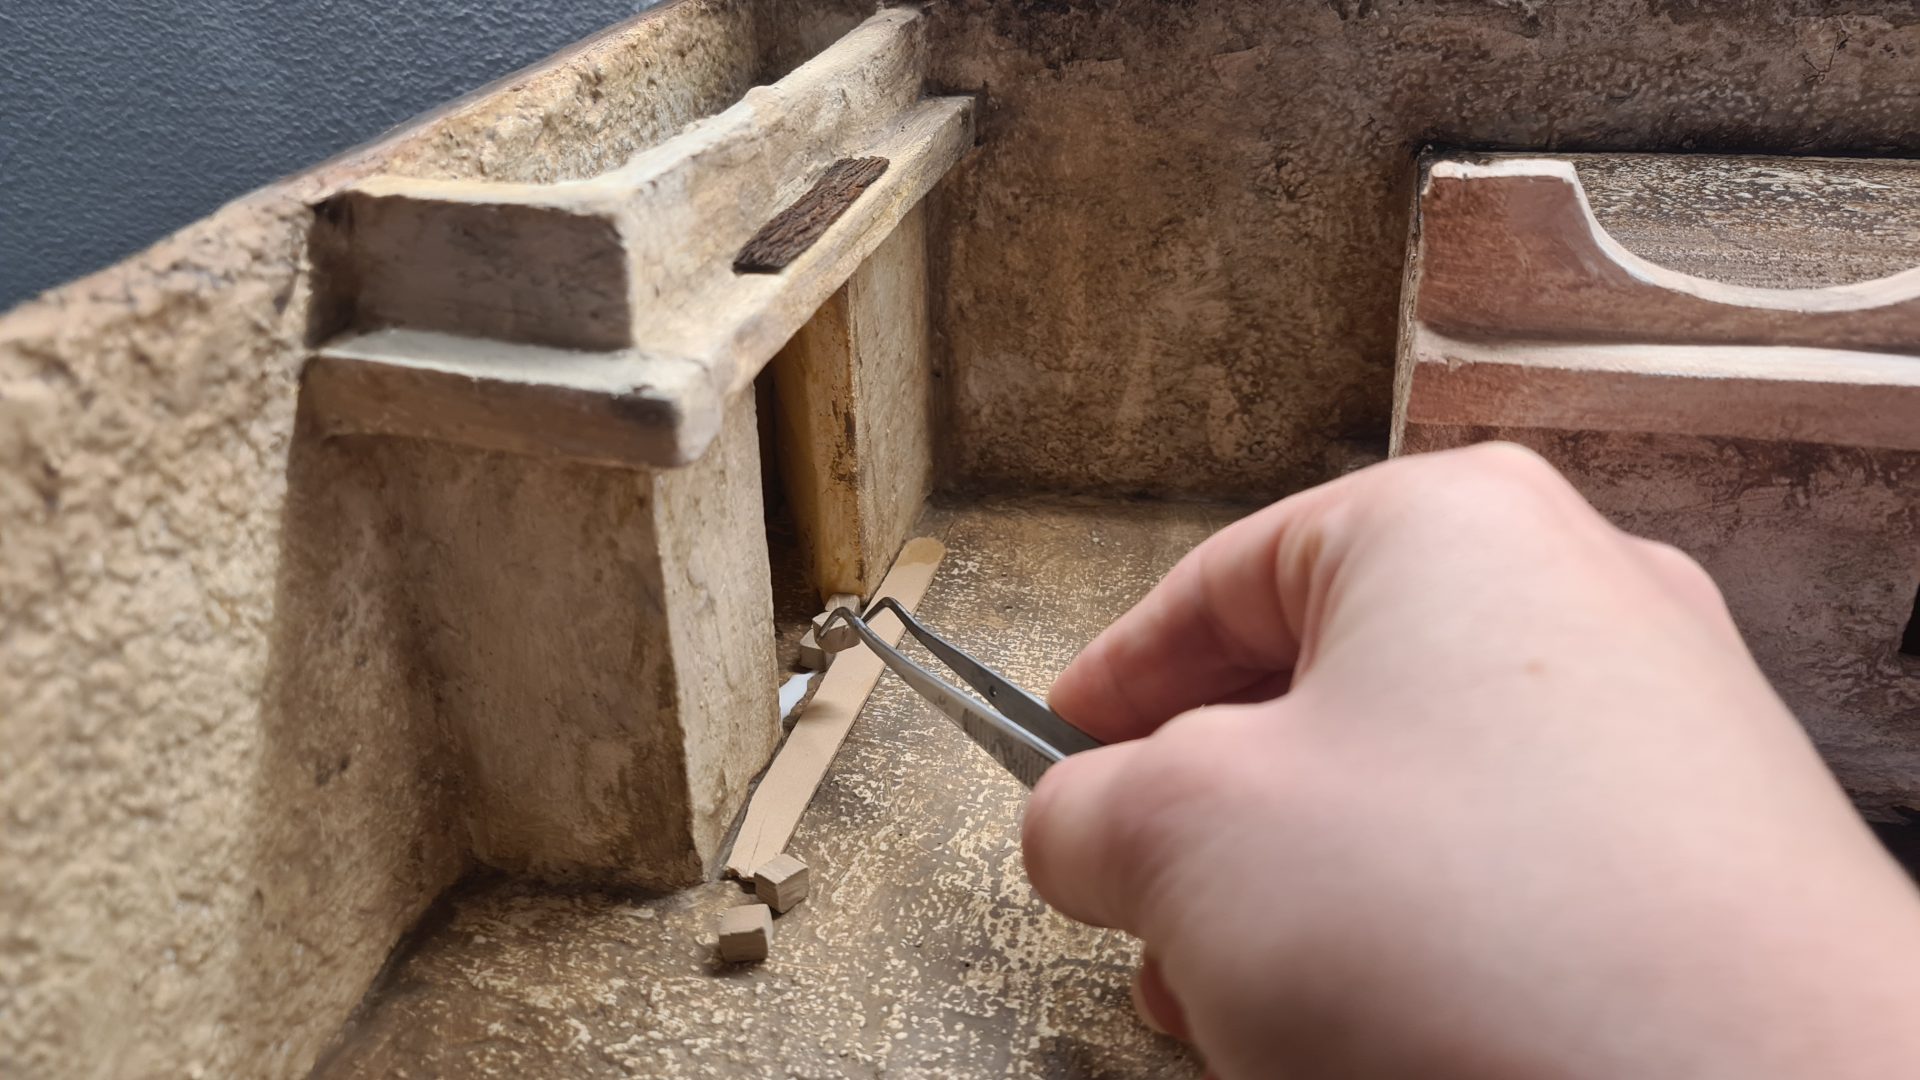
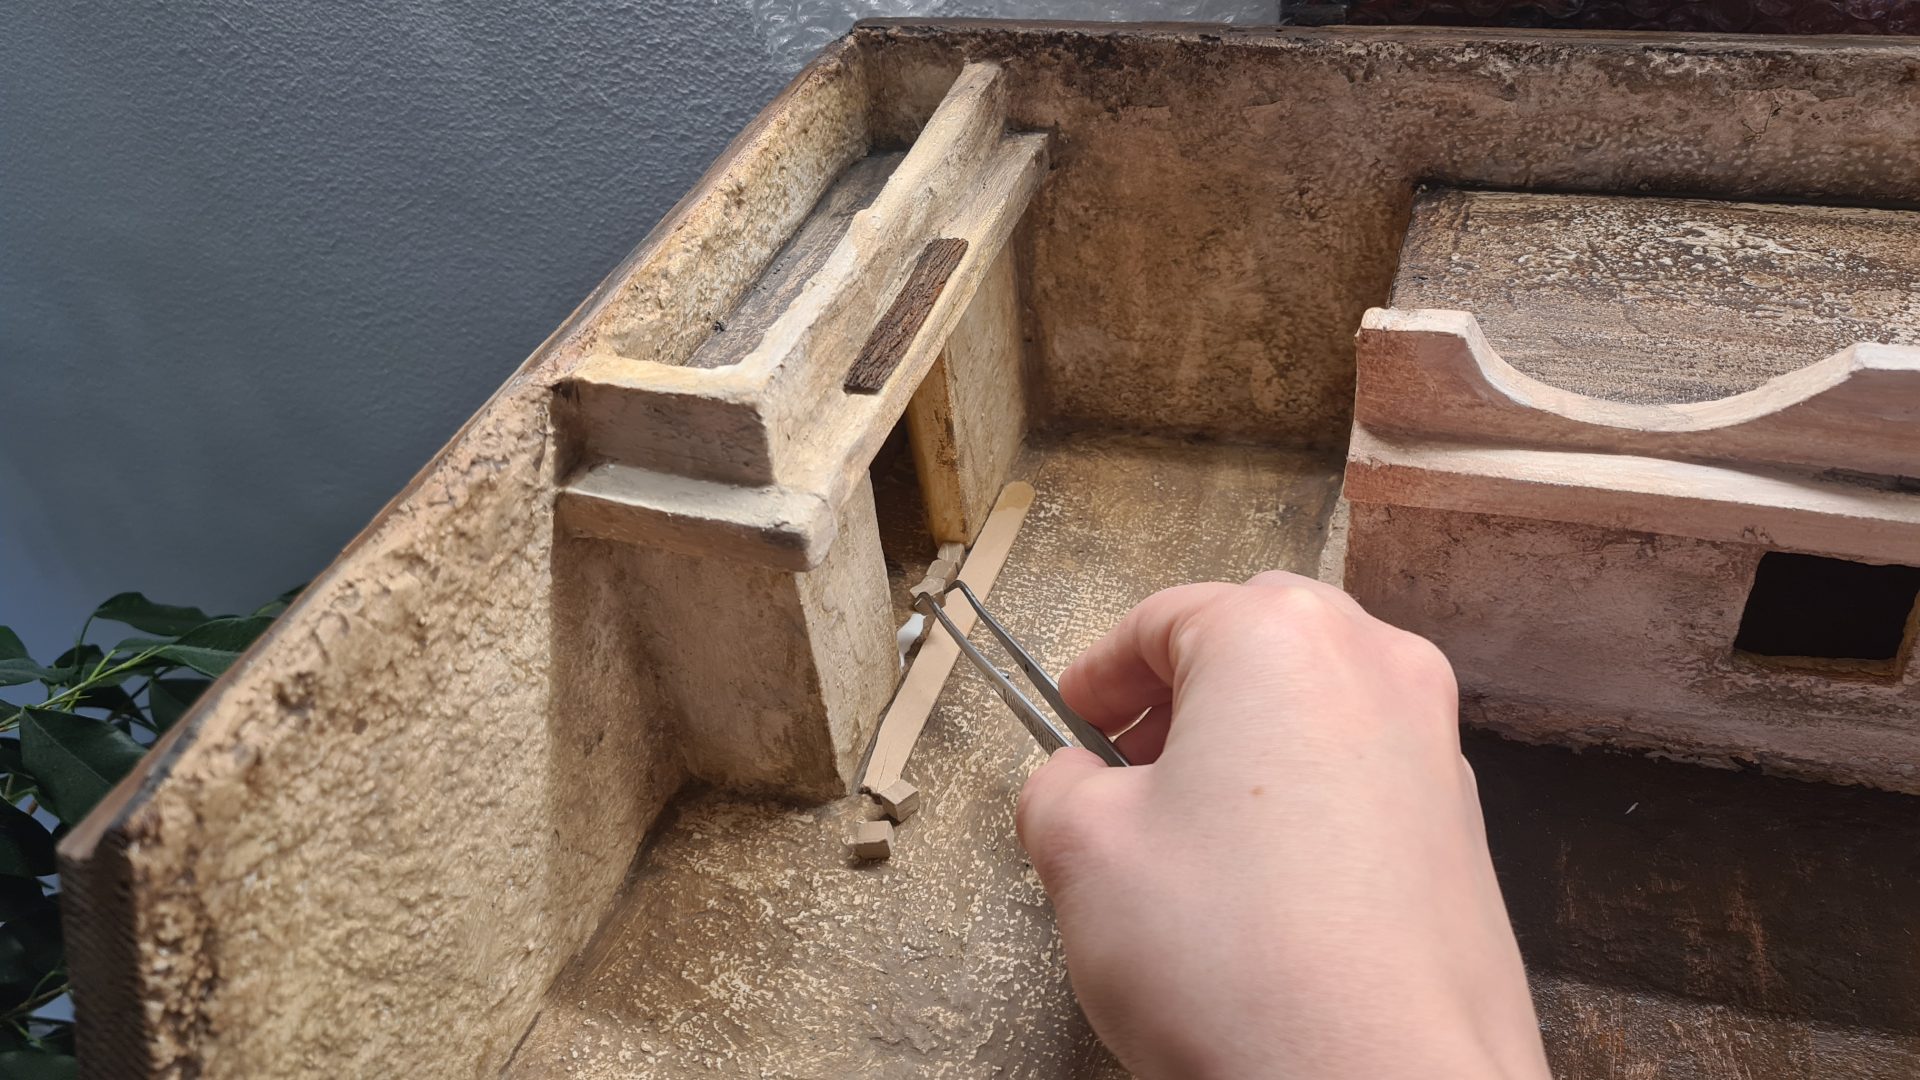
To mark out the space for the stable, which sat on the right side of the trunk, my husband first built a low dividing wall with clay. It separated the shelter from the open square beside it and ended with a sturdy pole, designed to support the future roof.
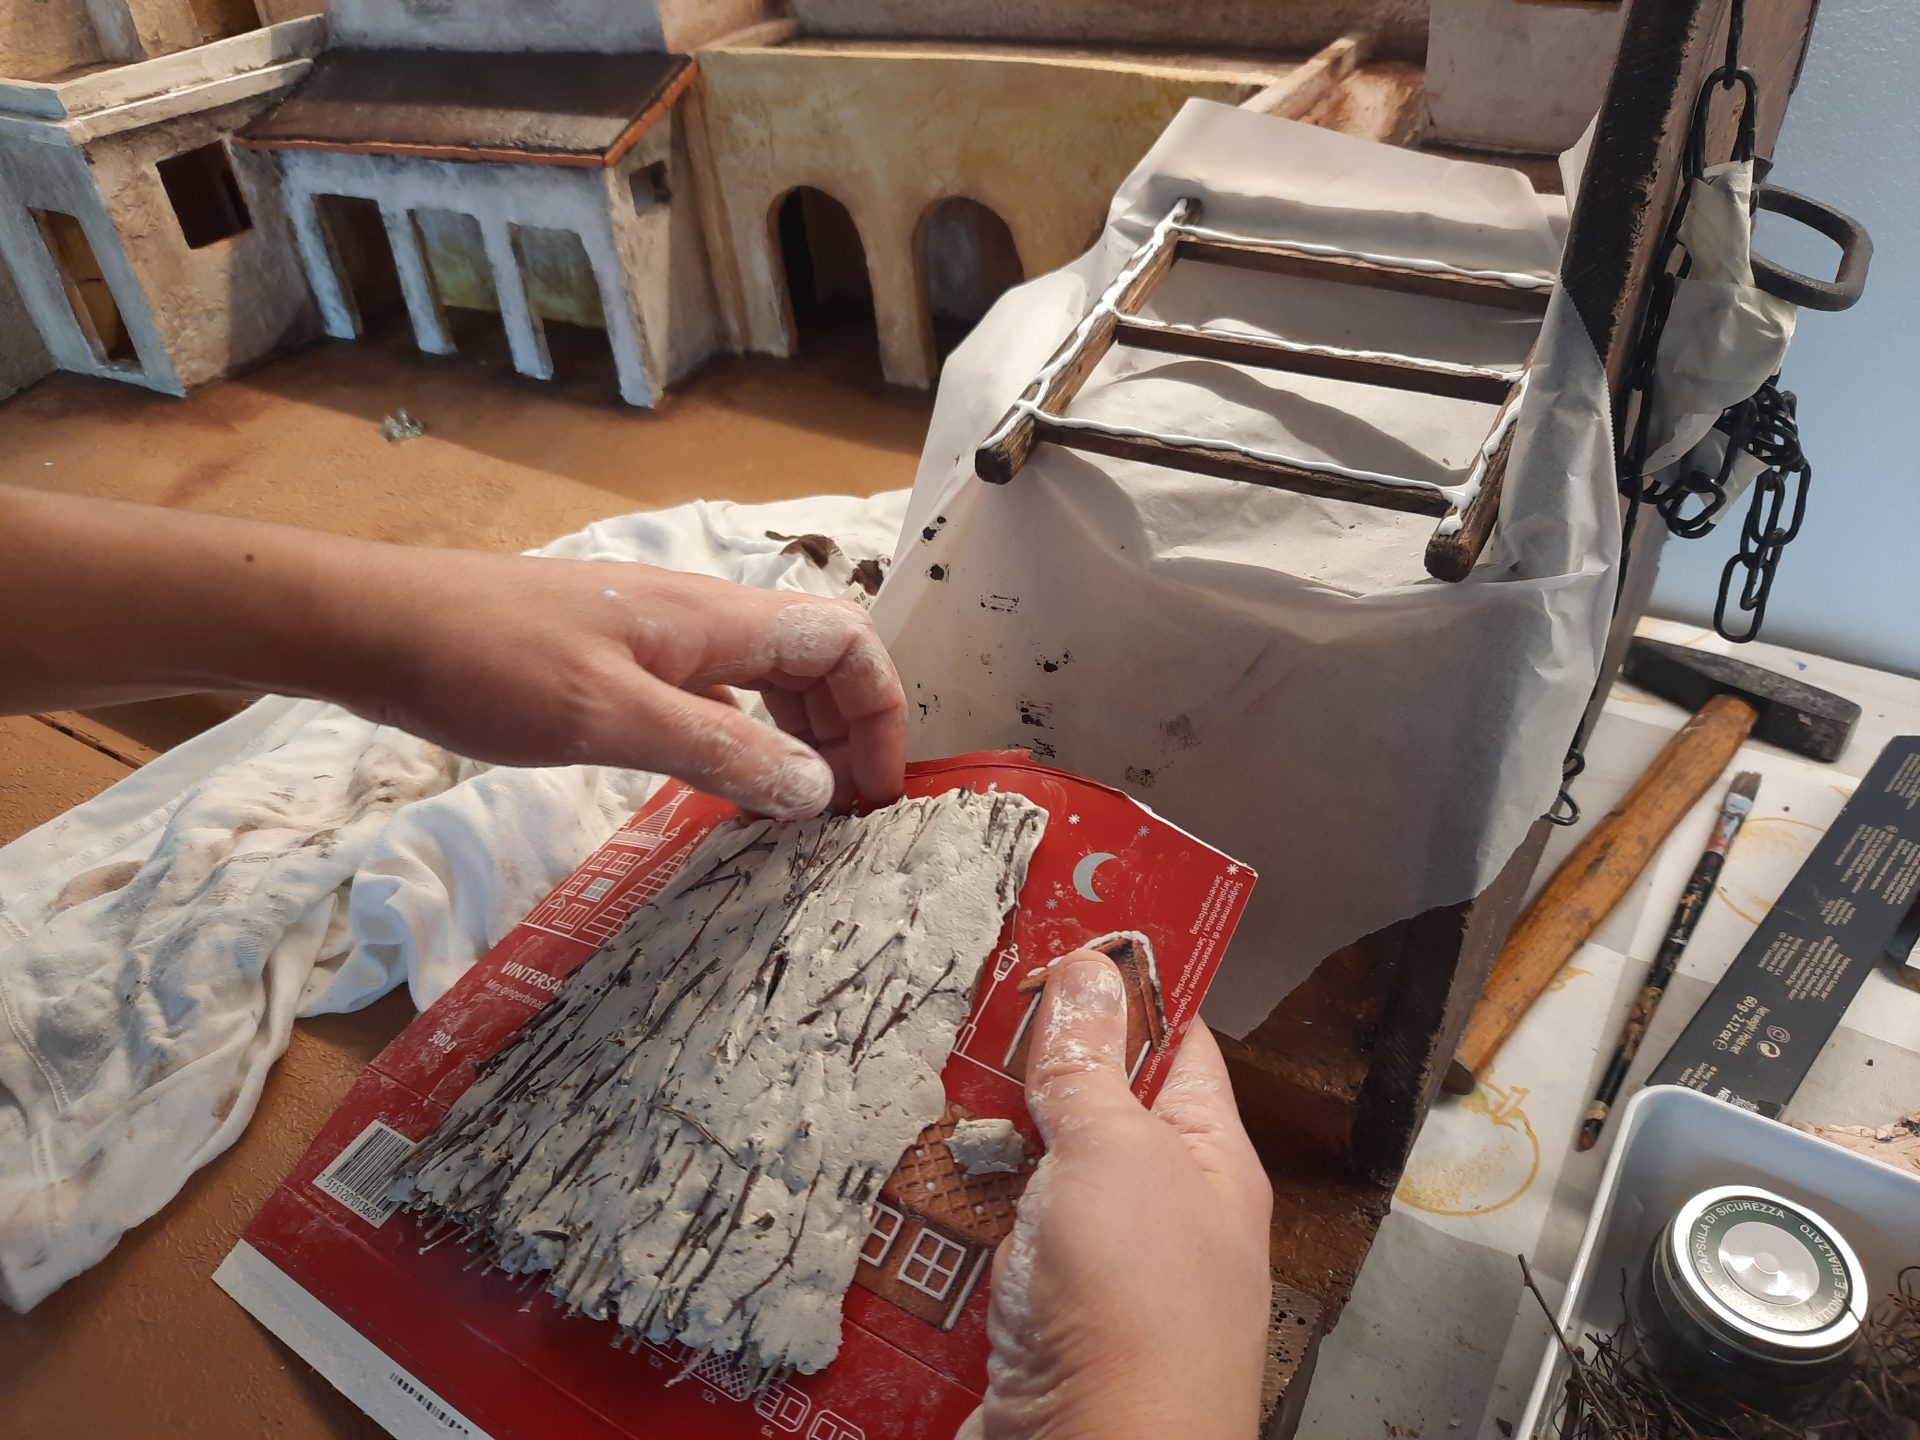
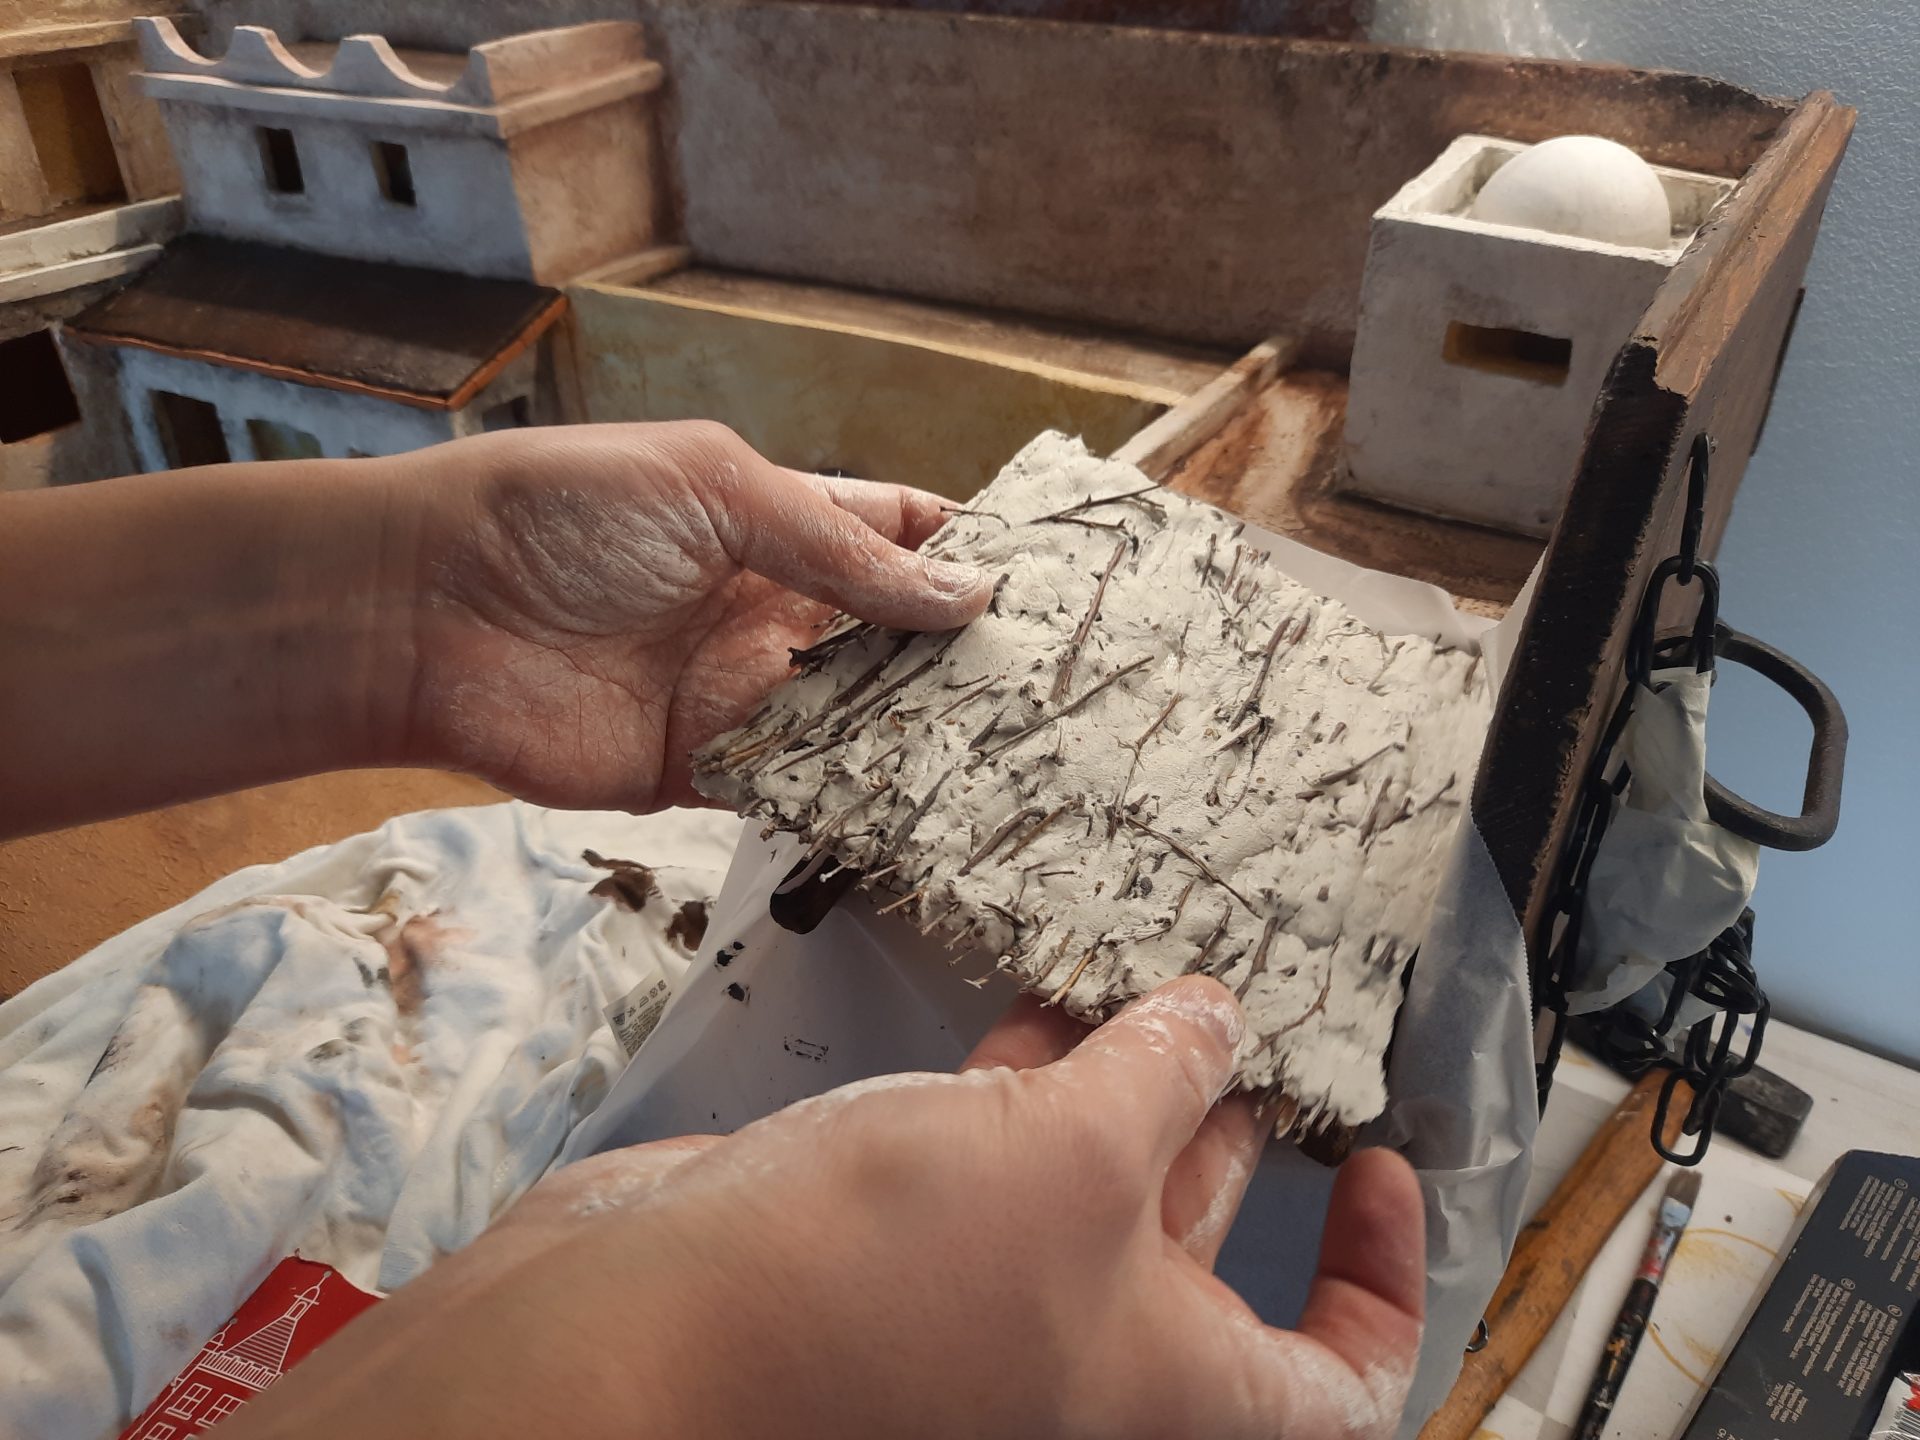
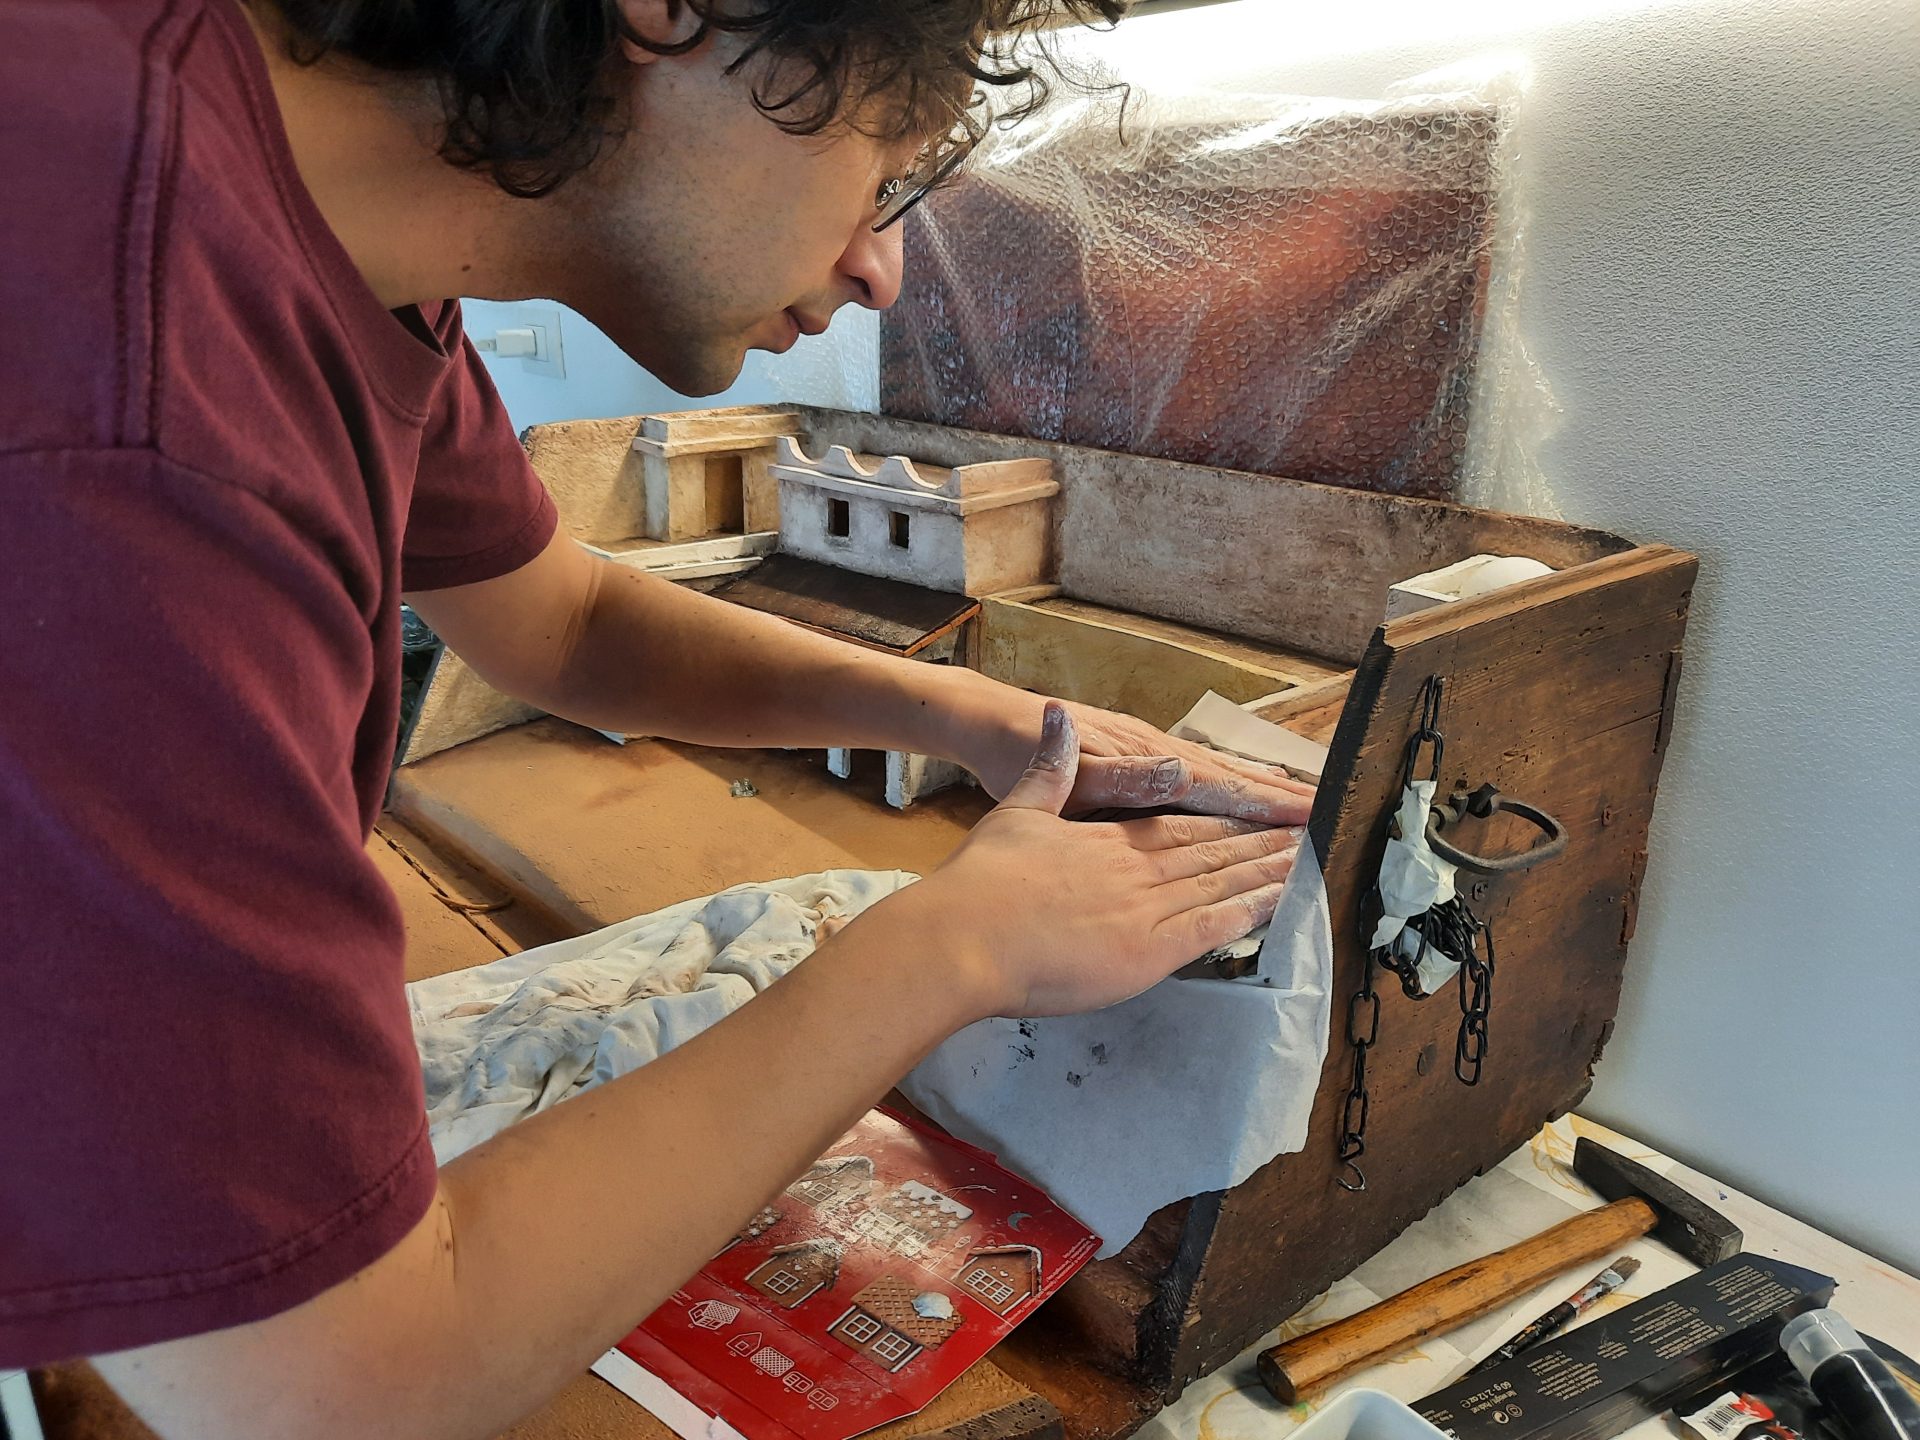
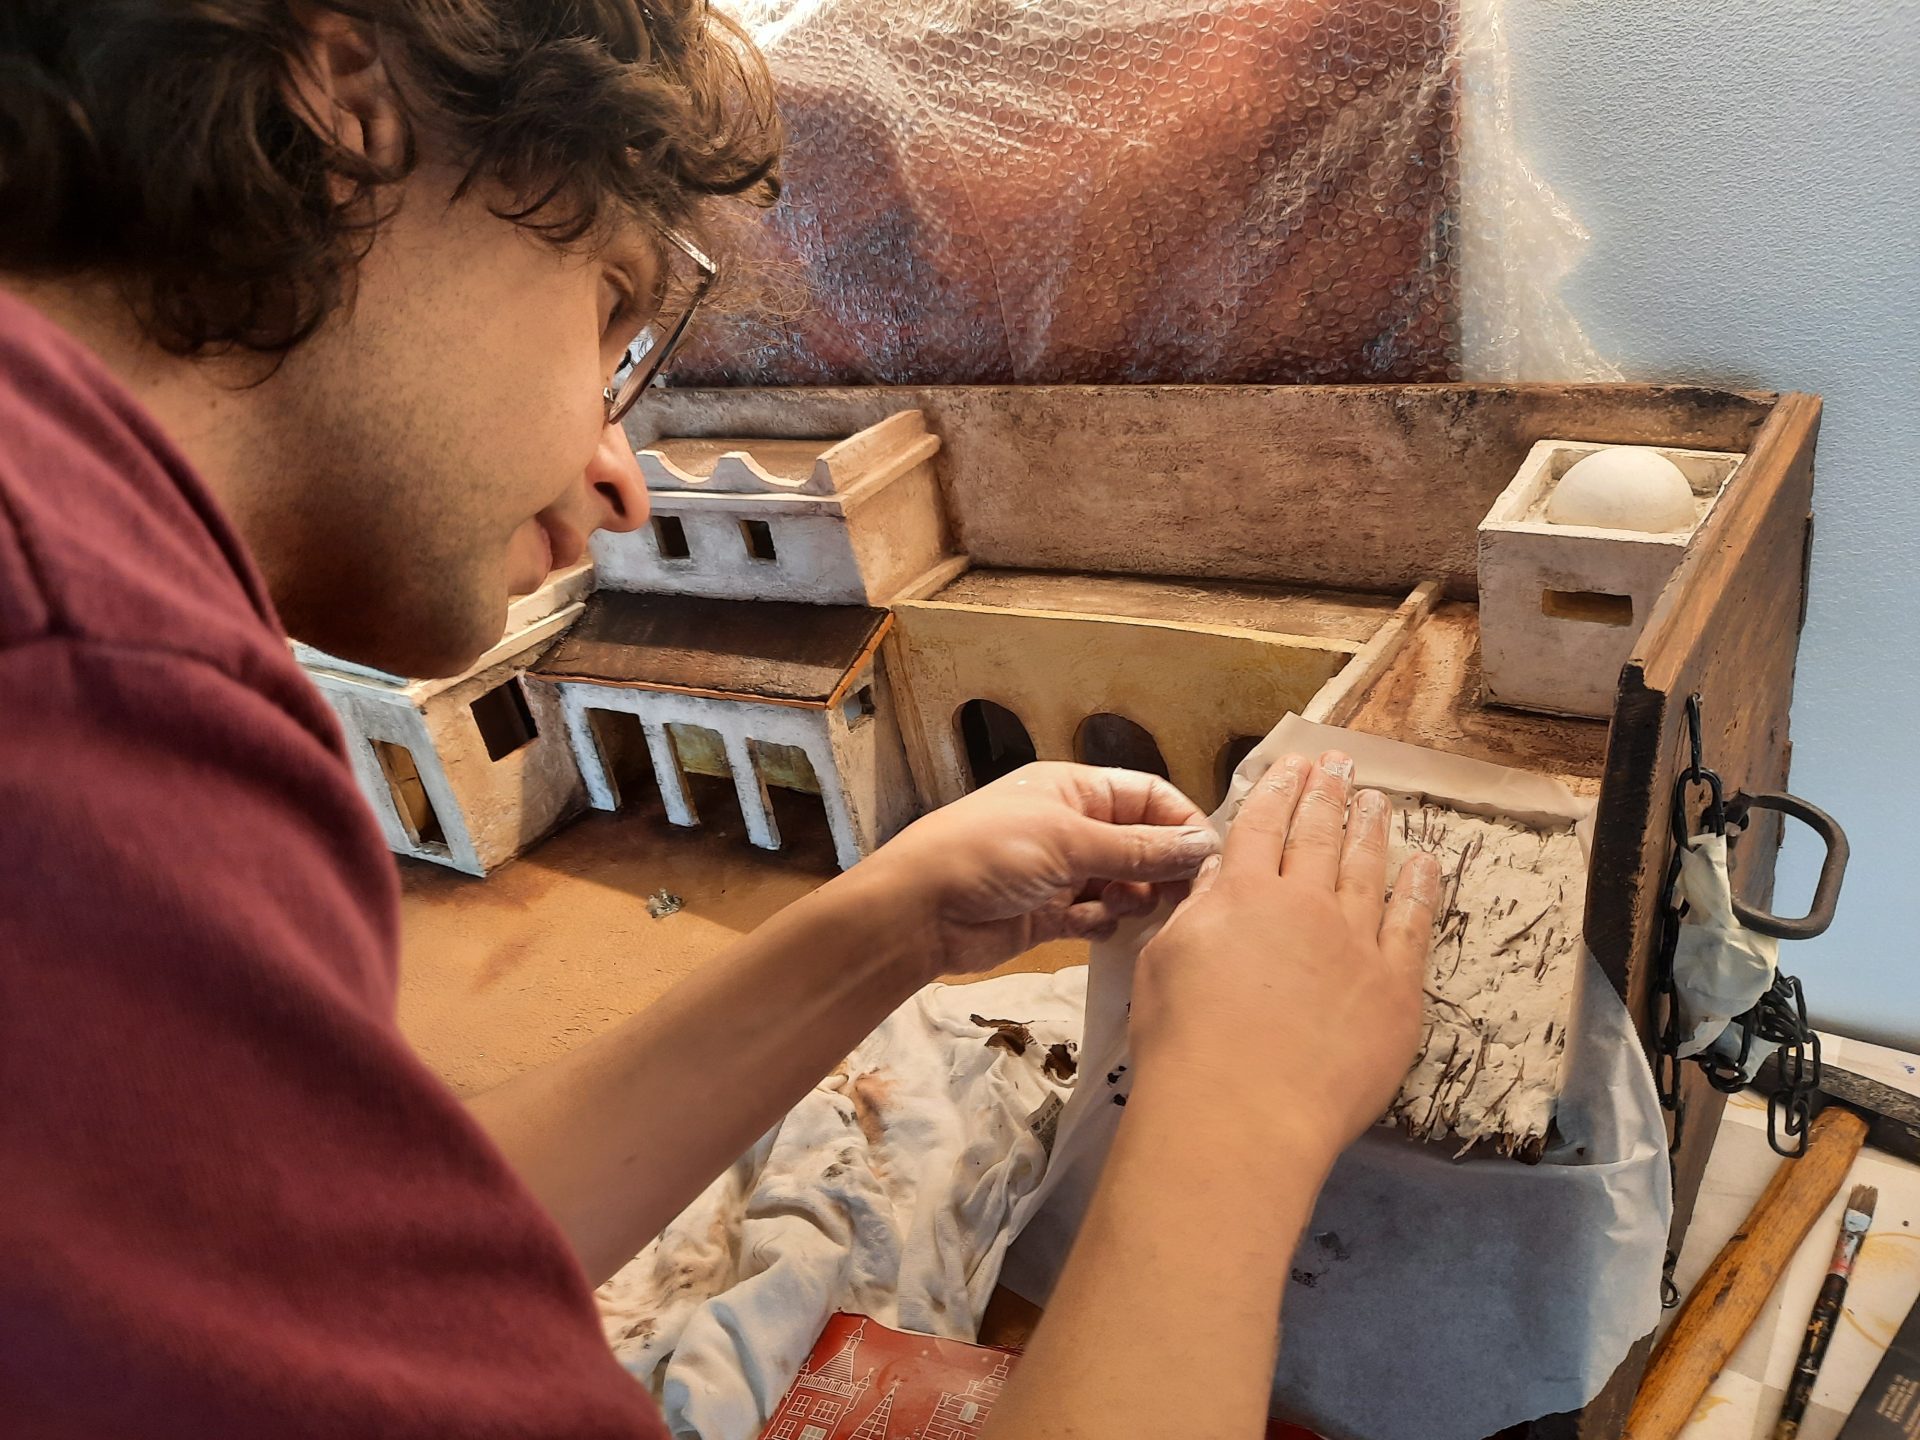
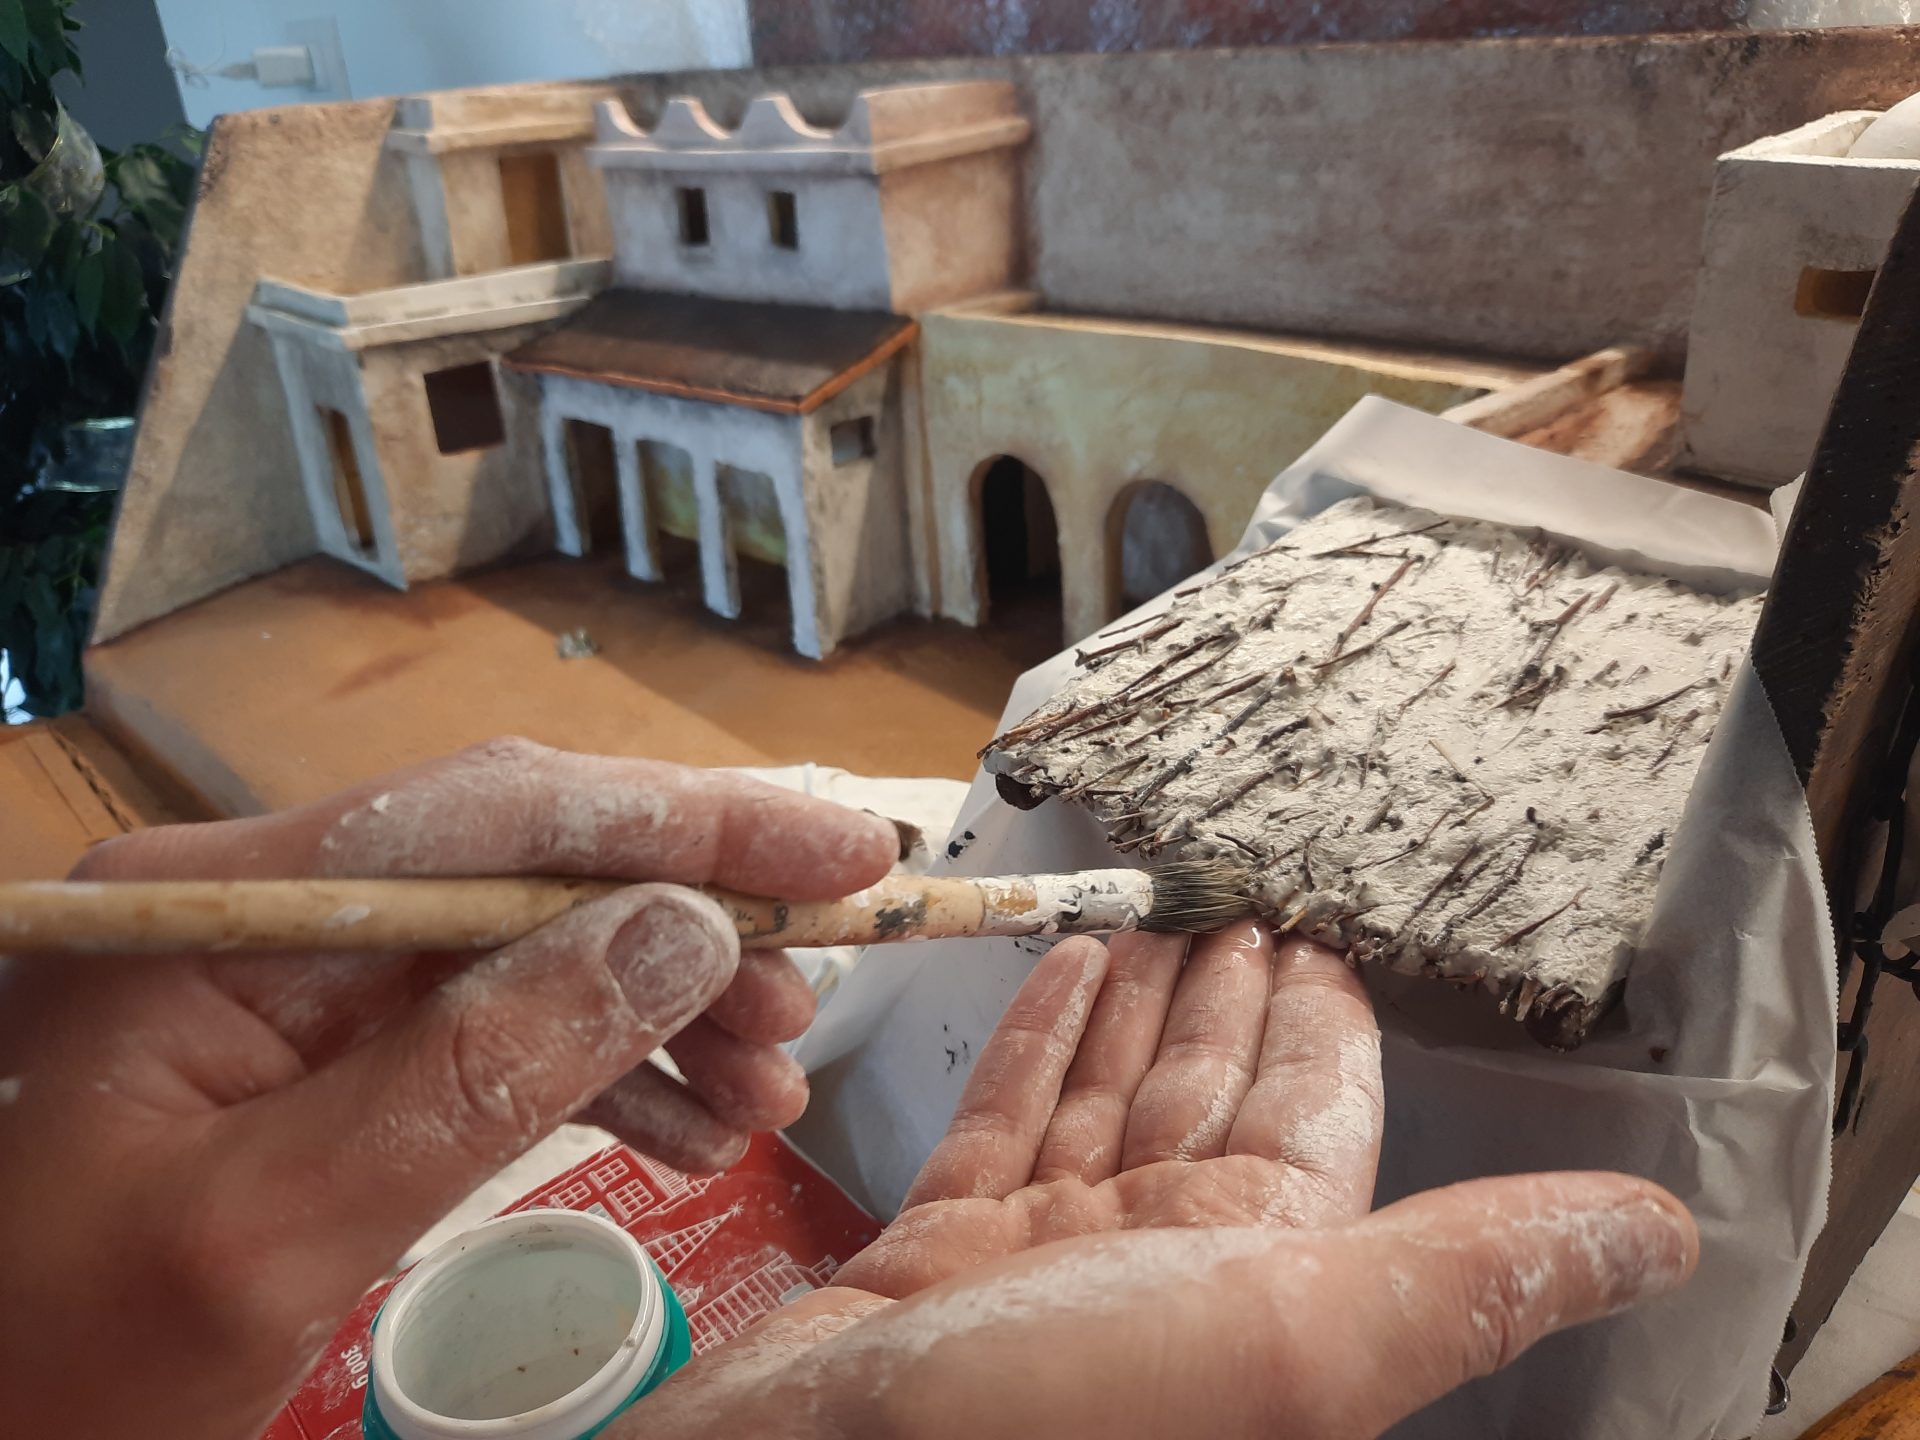
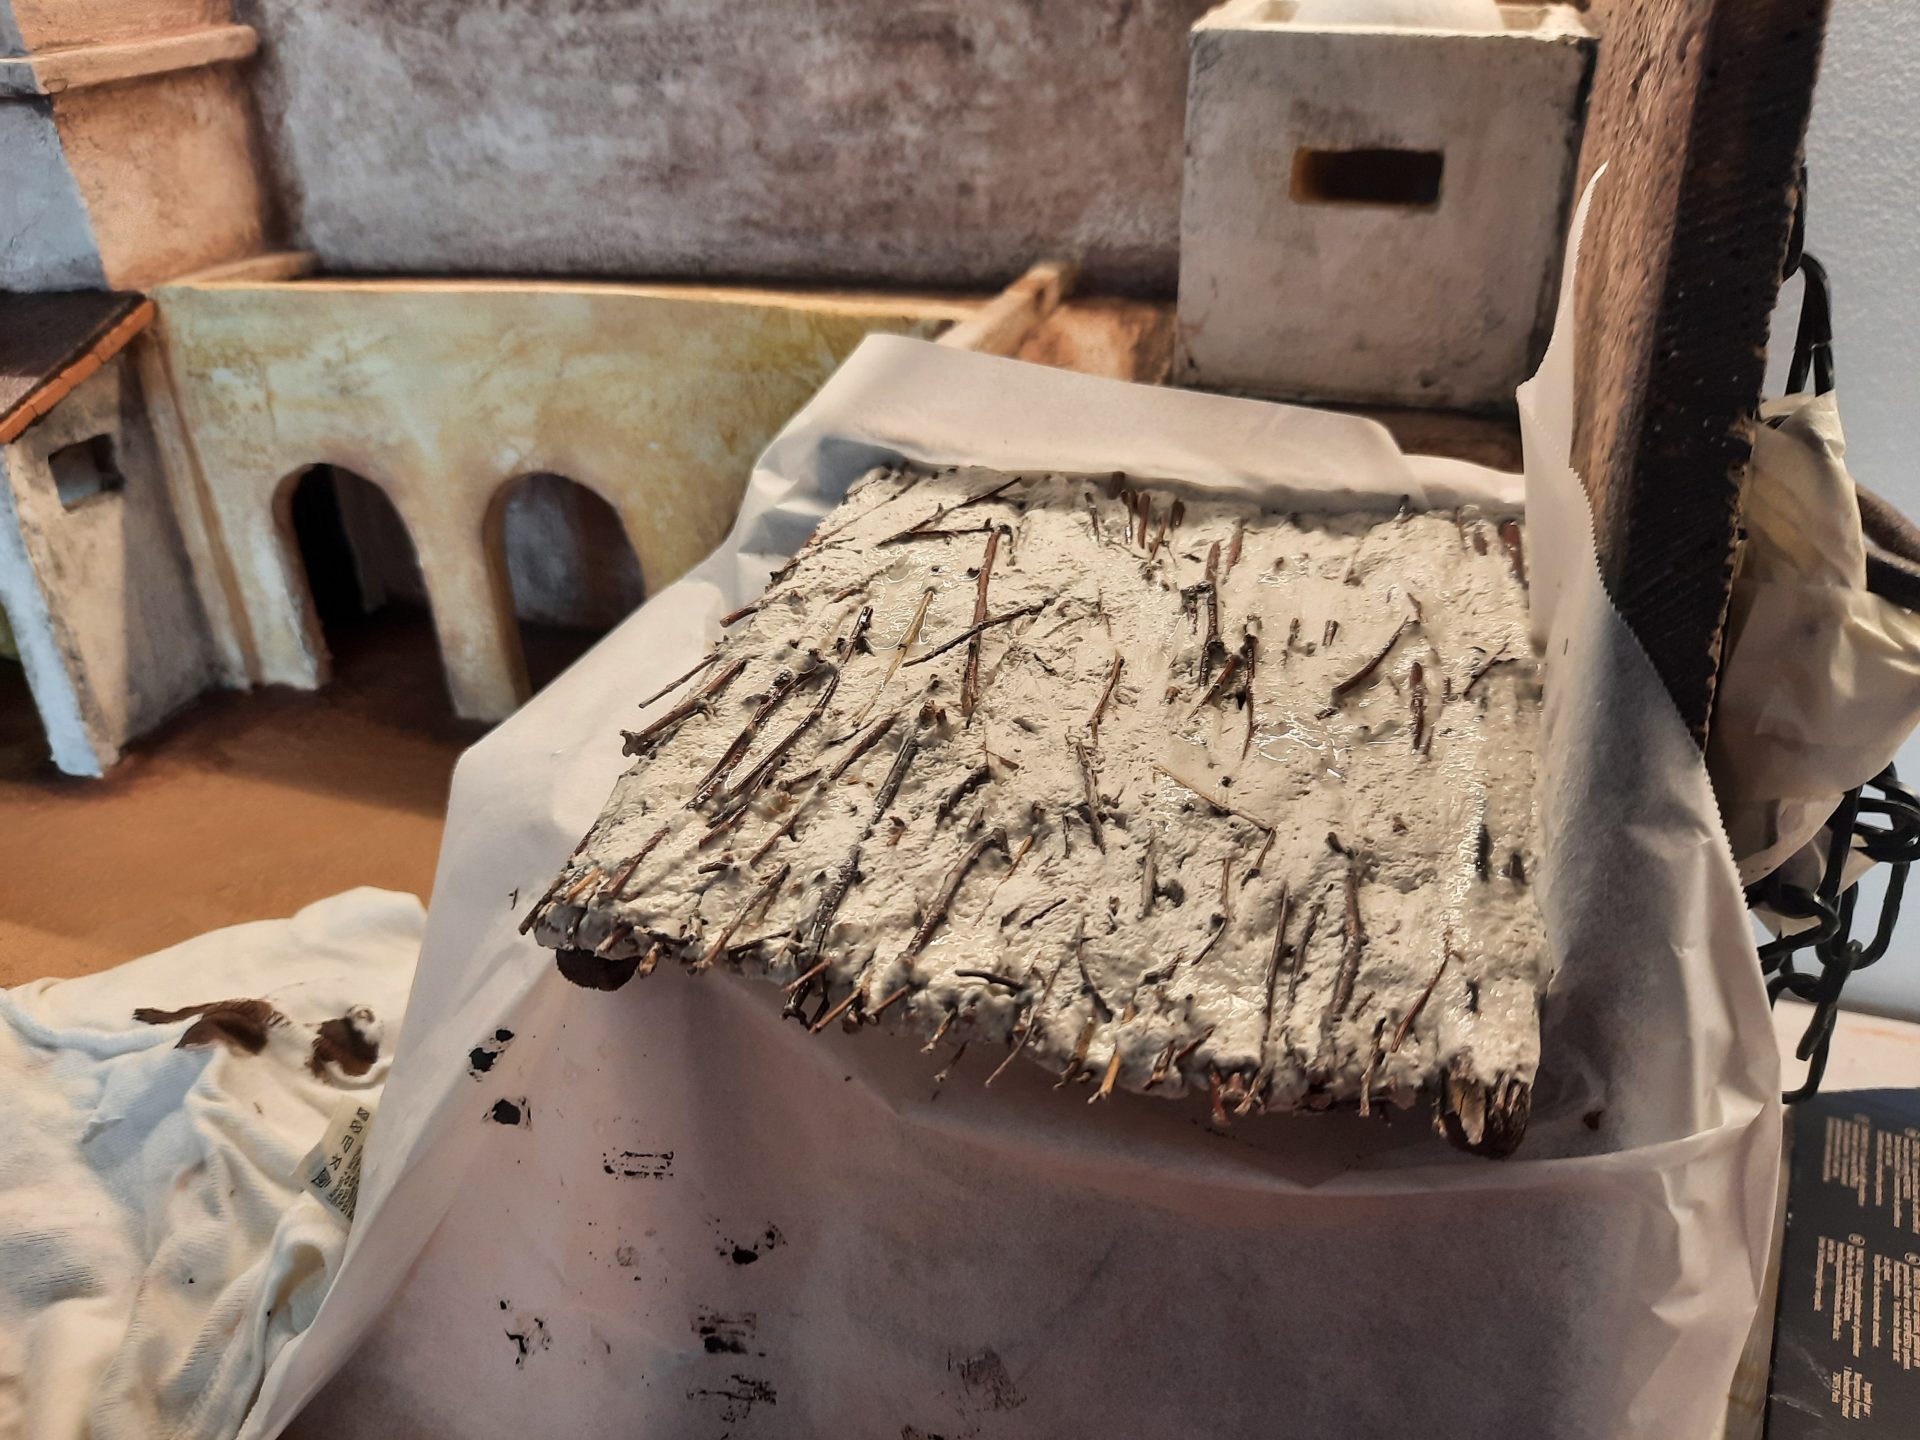
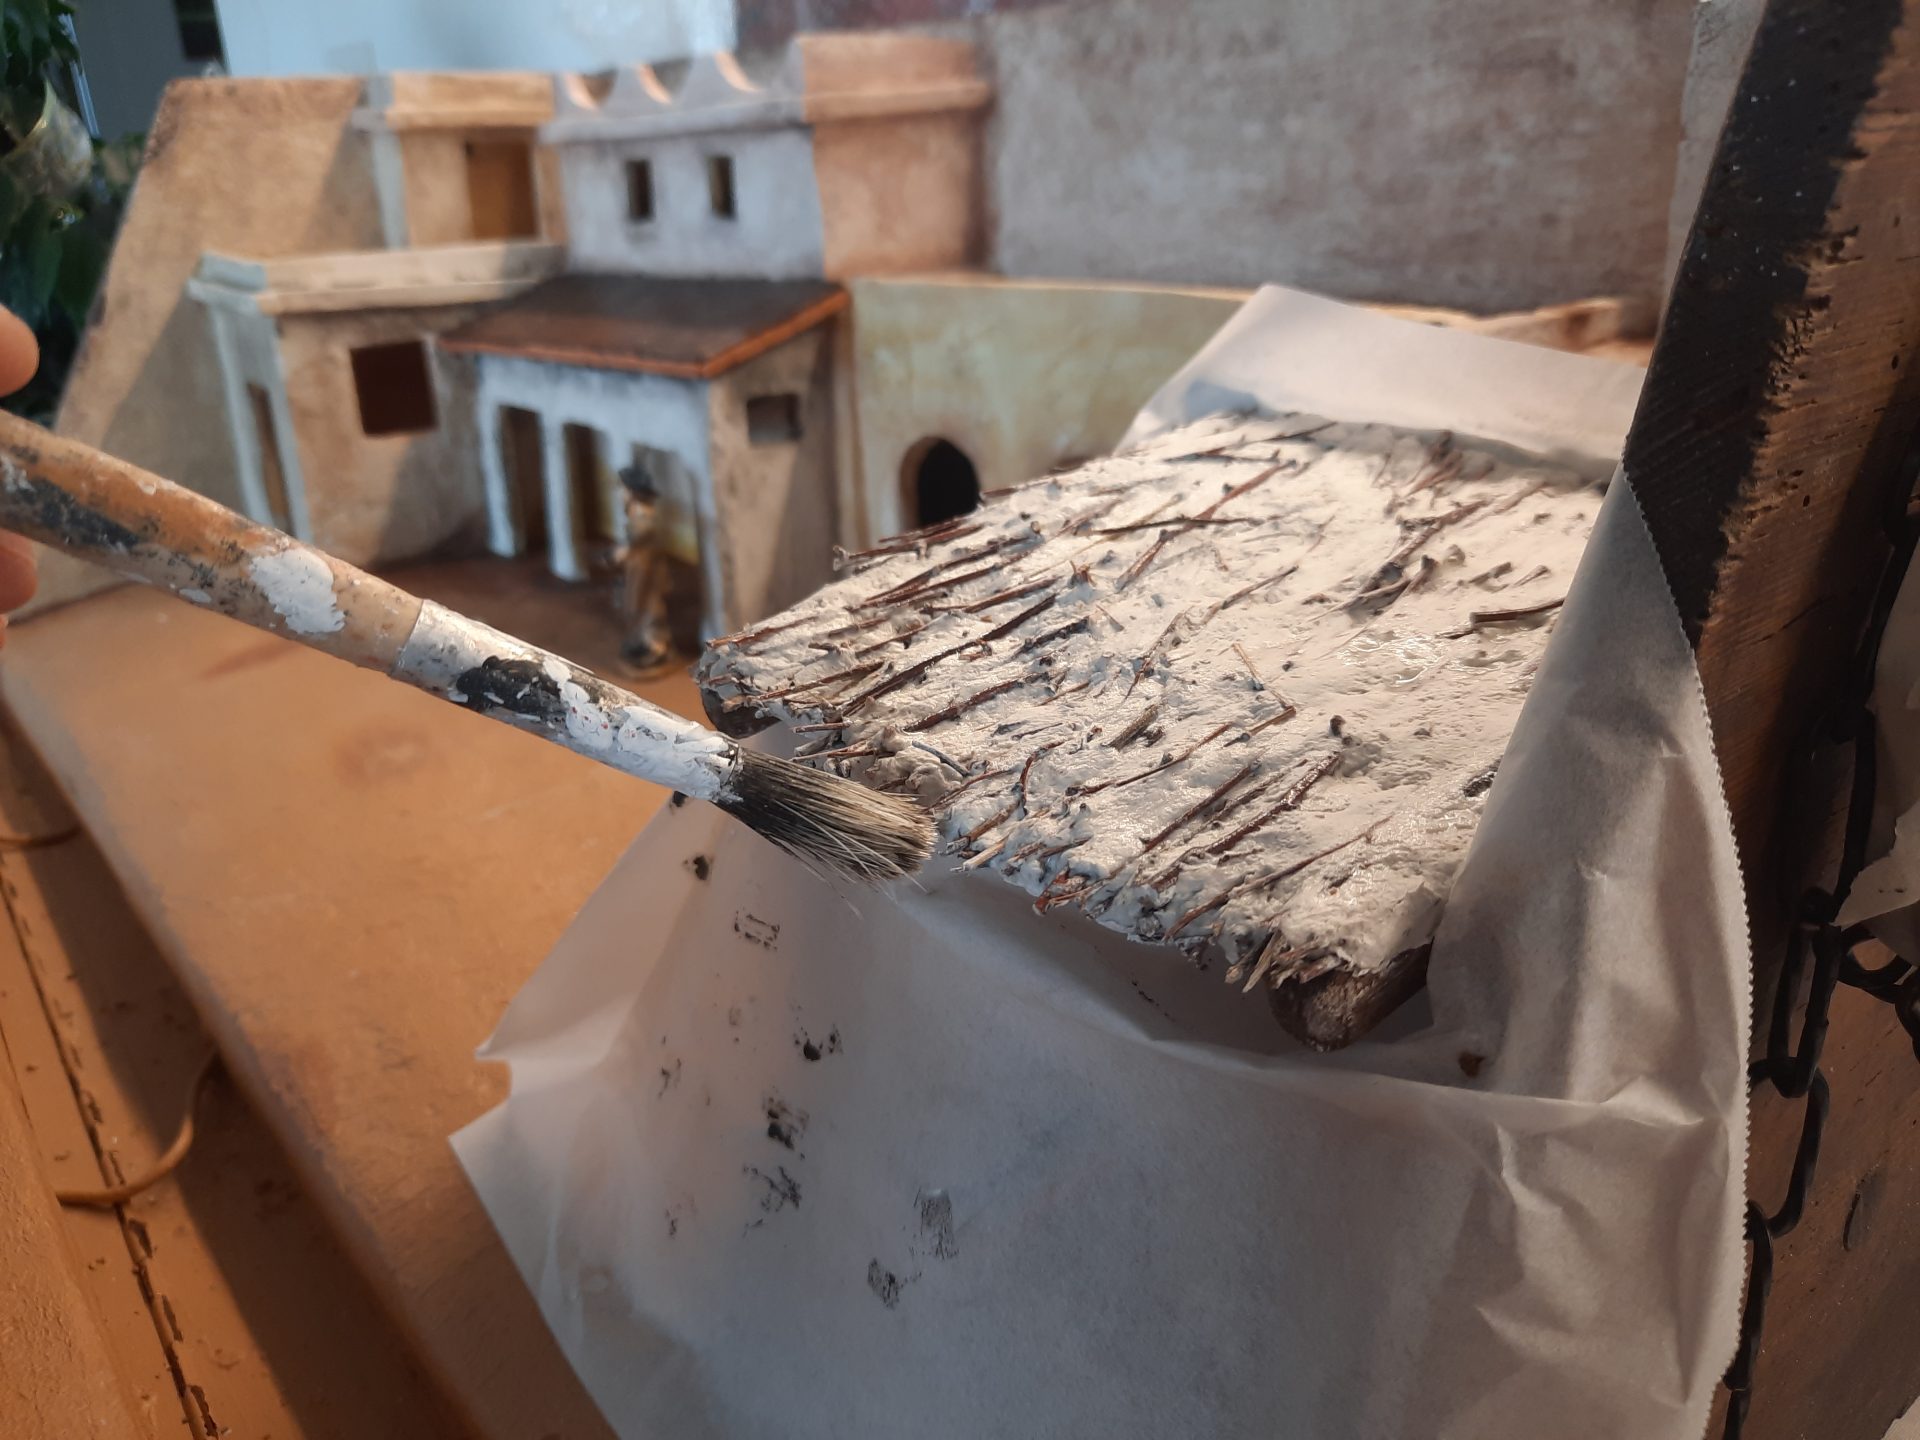
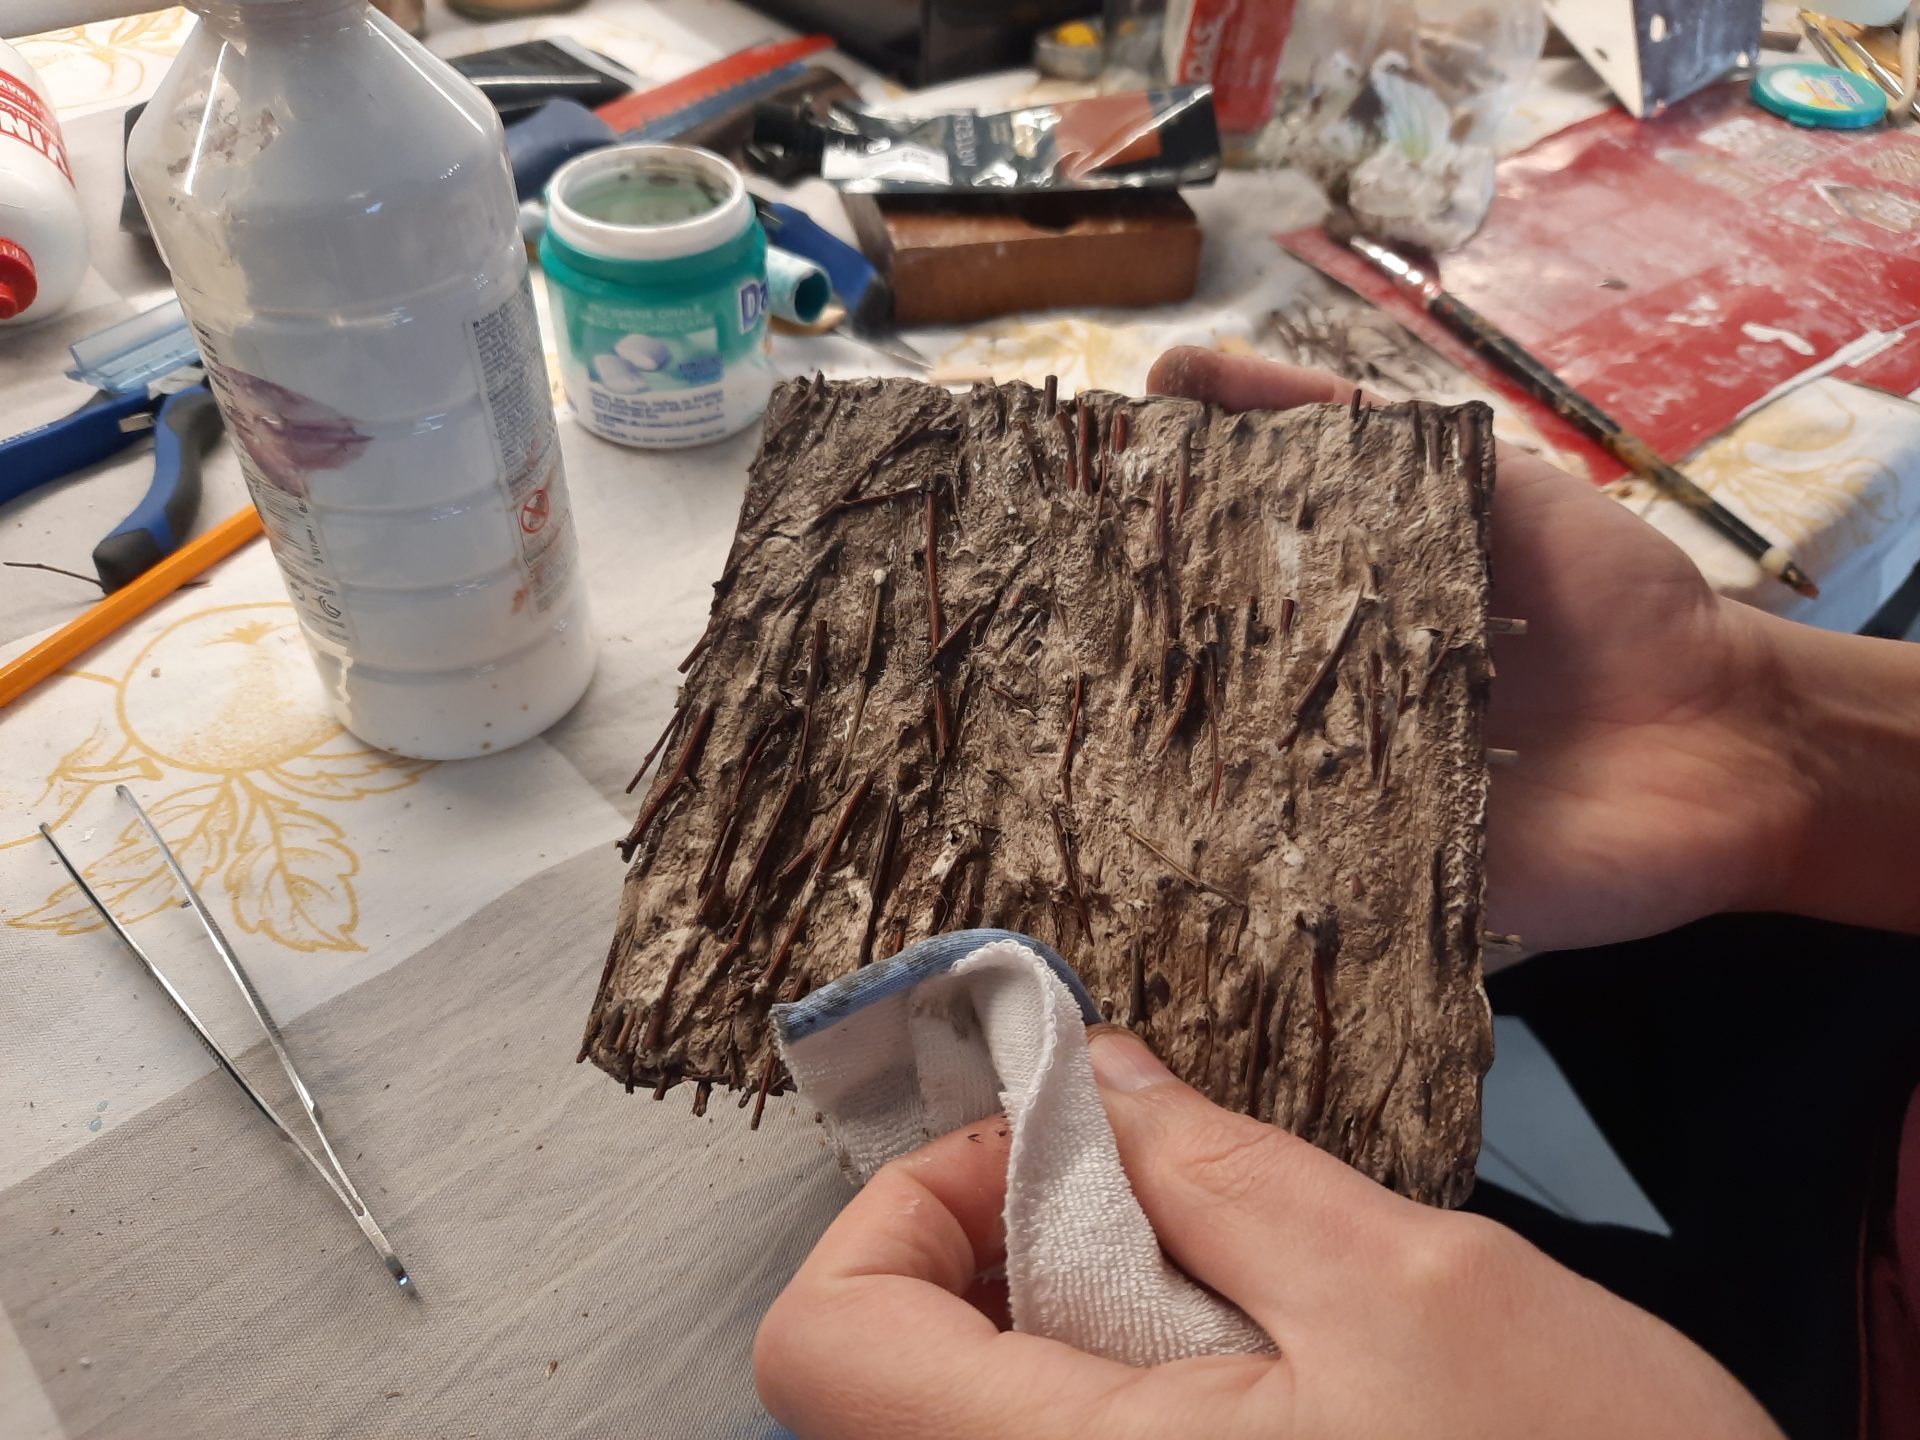
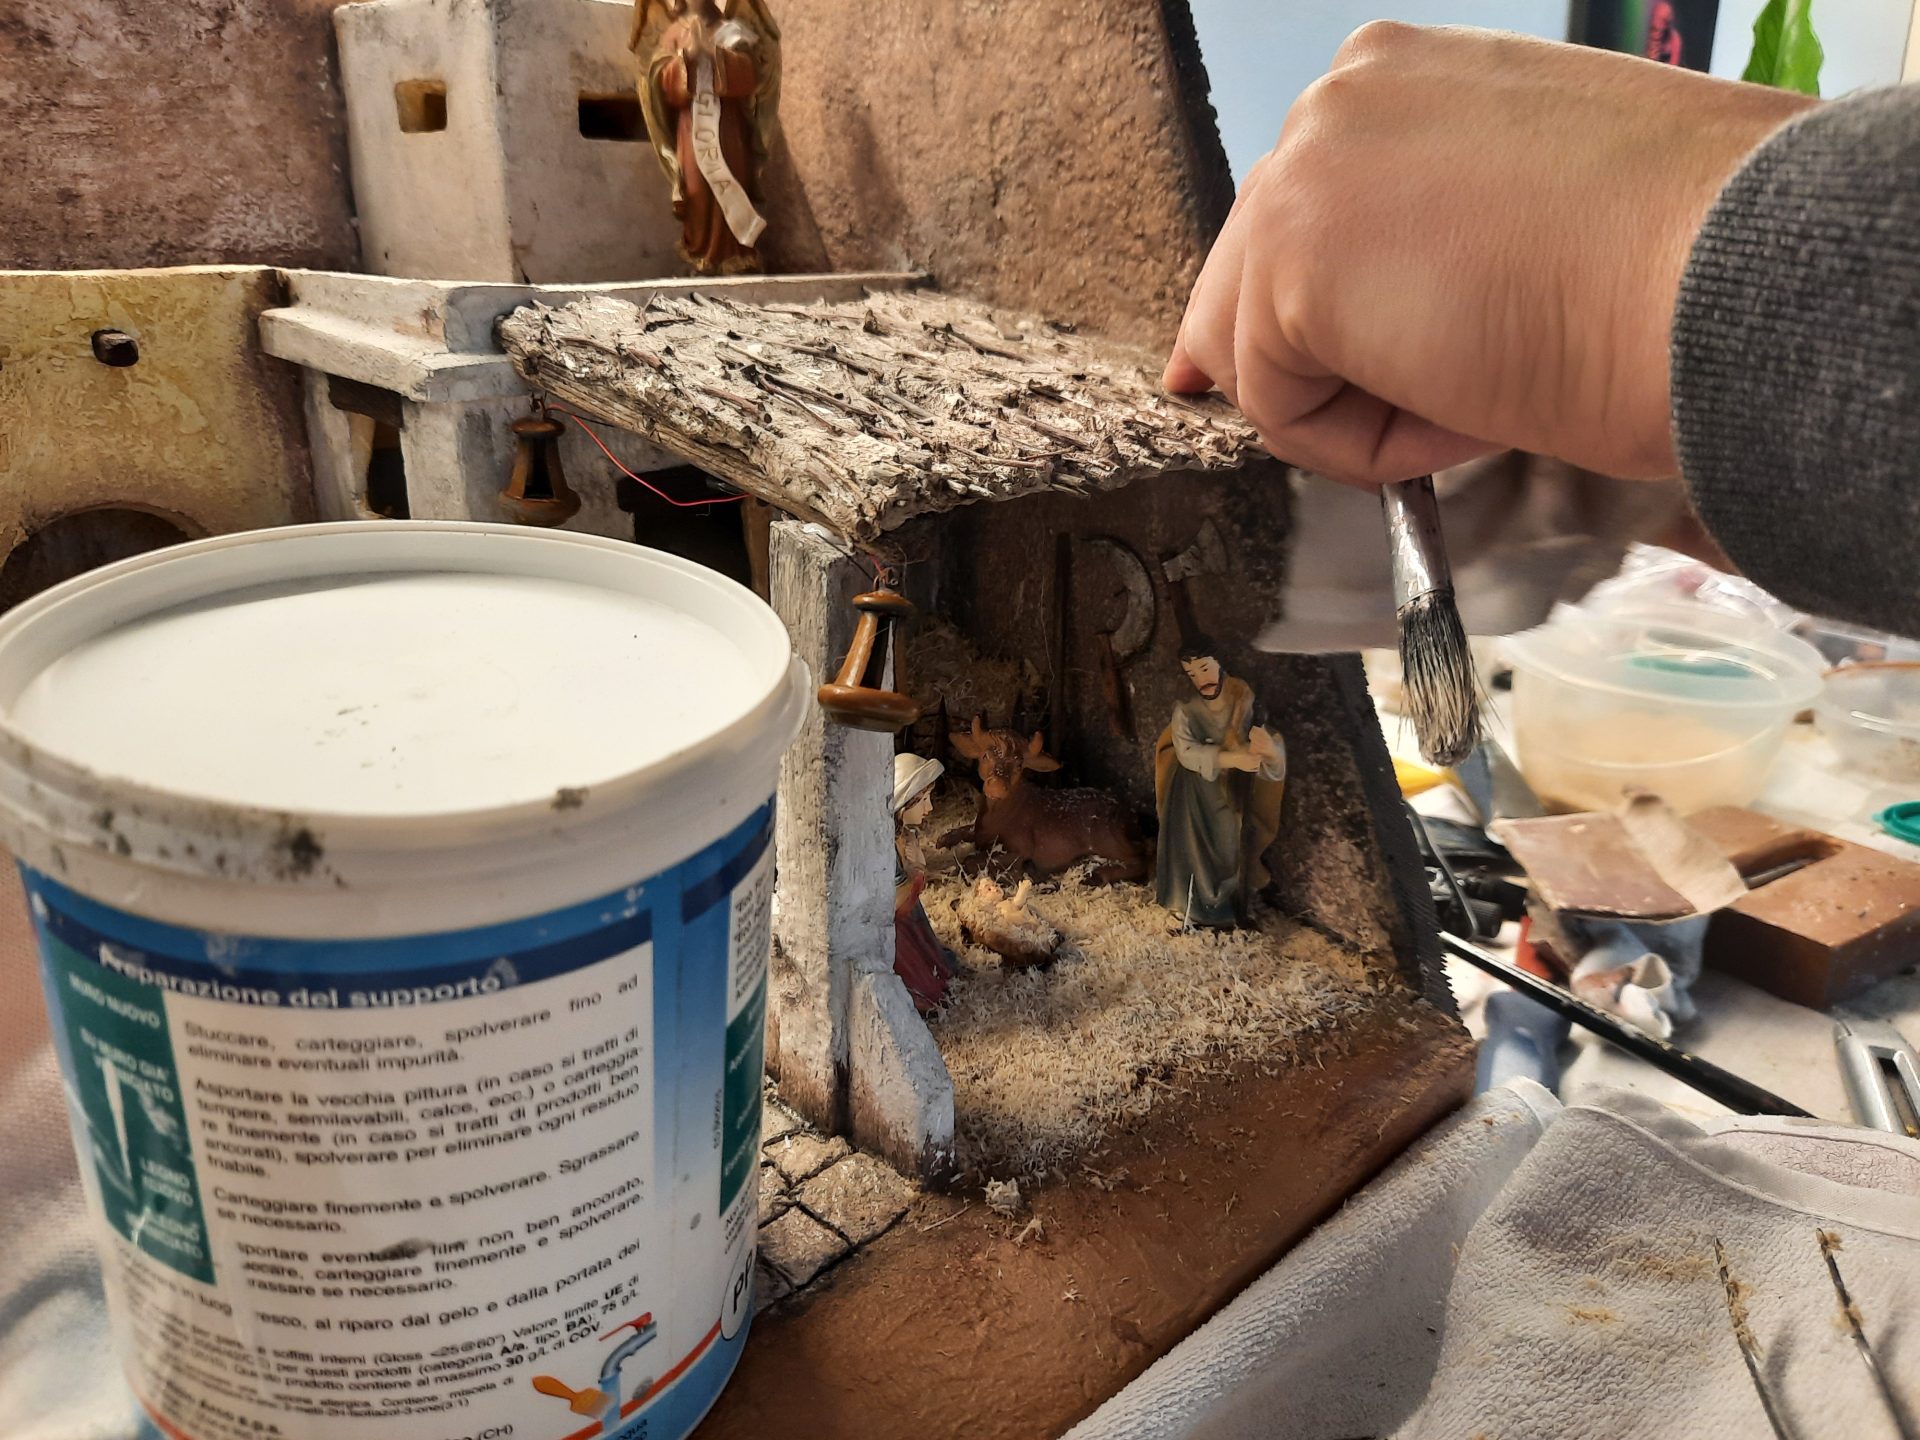
My husband and I designed the roof to resemble what you might have seen in that part of the world two thousand years ago. We researched a little how Palestine built its roofs in the first century. They used to be flat, the simplest form made of wooden beams topped with layers of brushwood, then packed with a mixture of straw, clay and mud. That’s the kind of look we wanted to achieve.




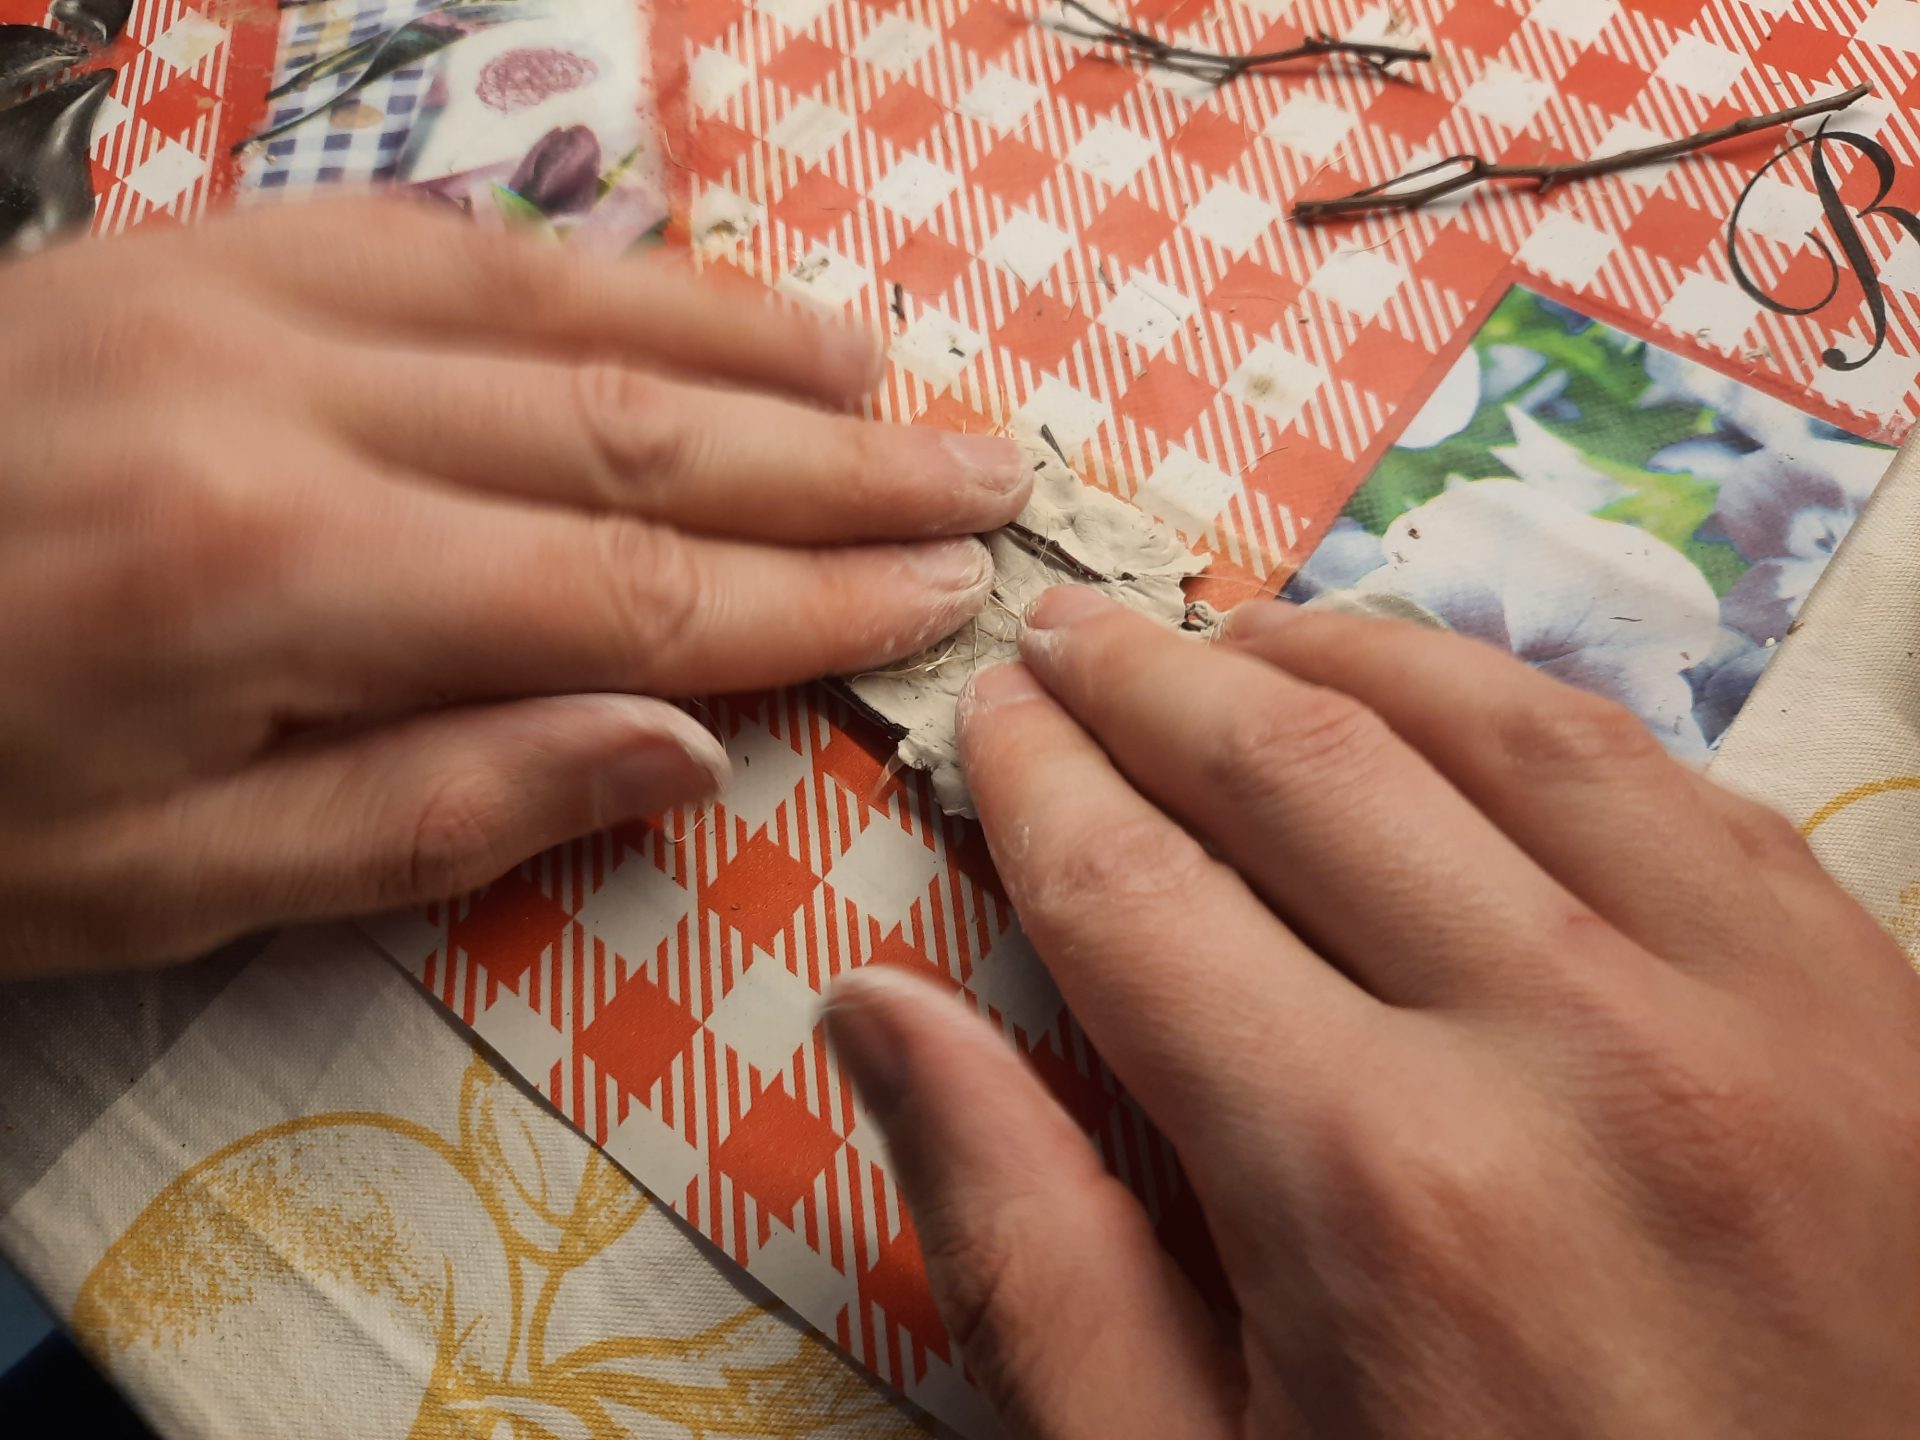
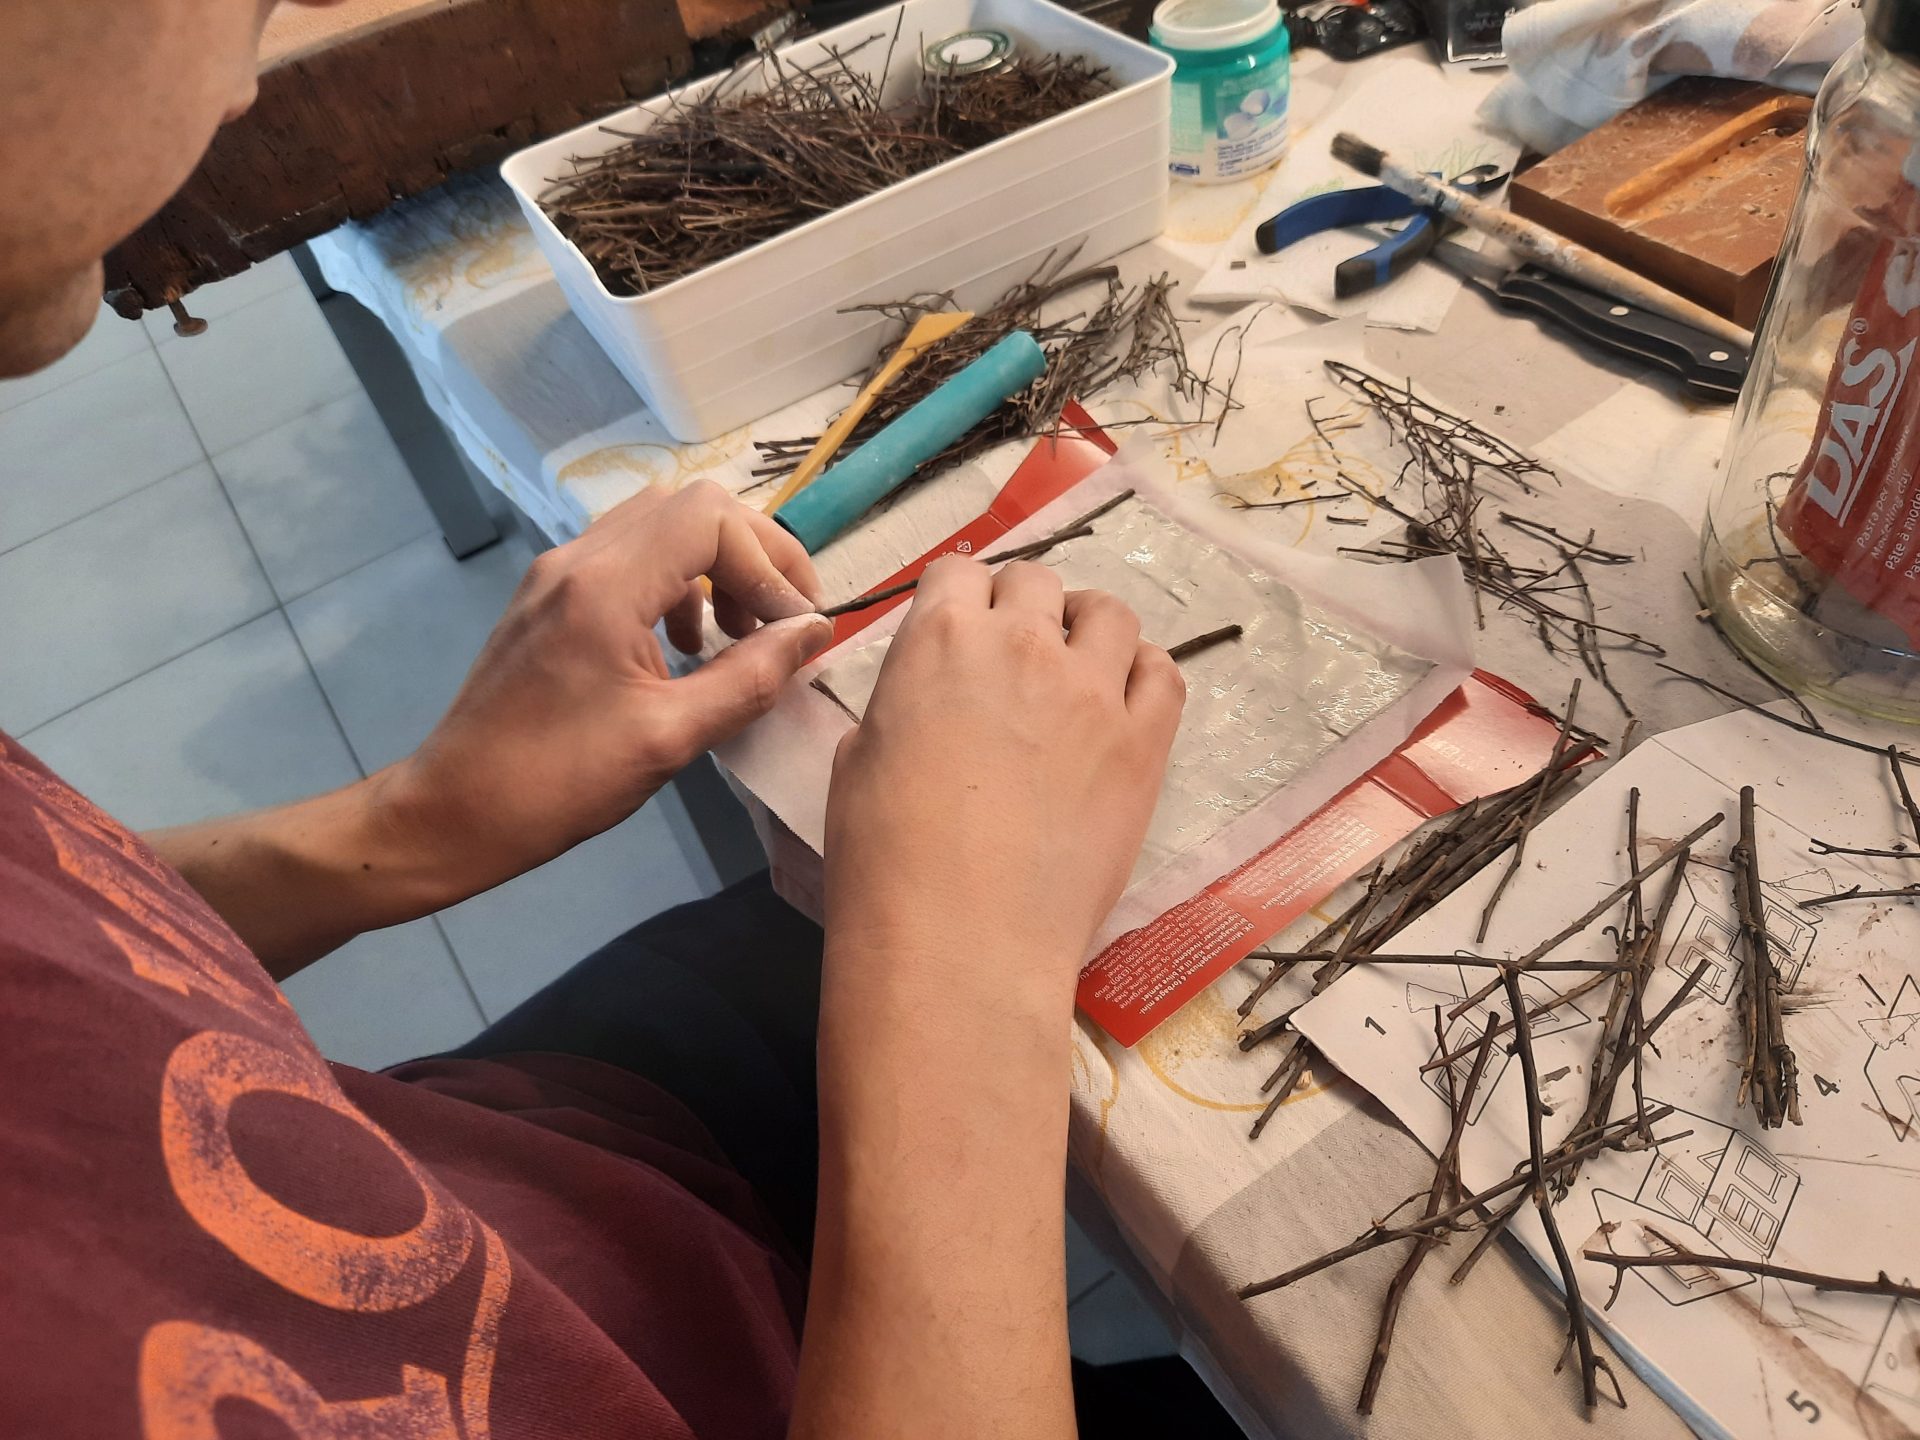
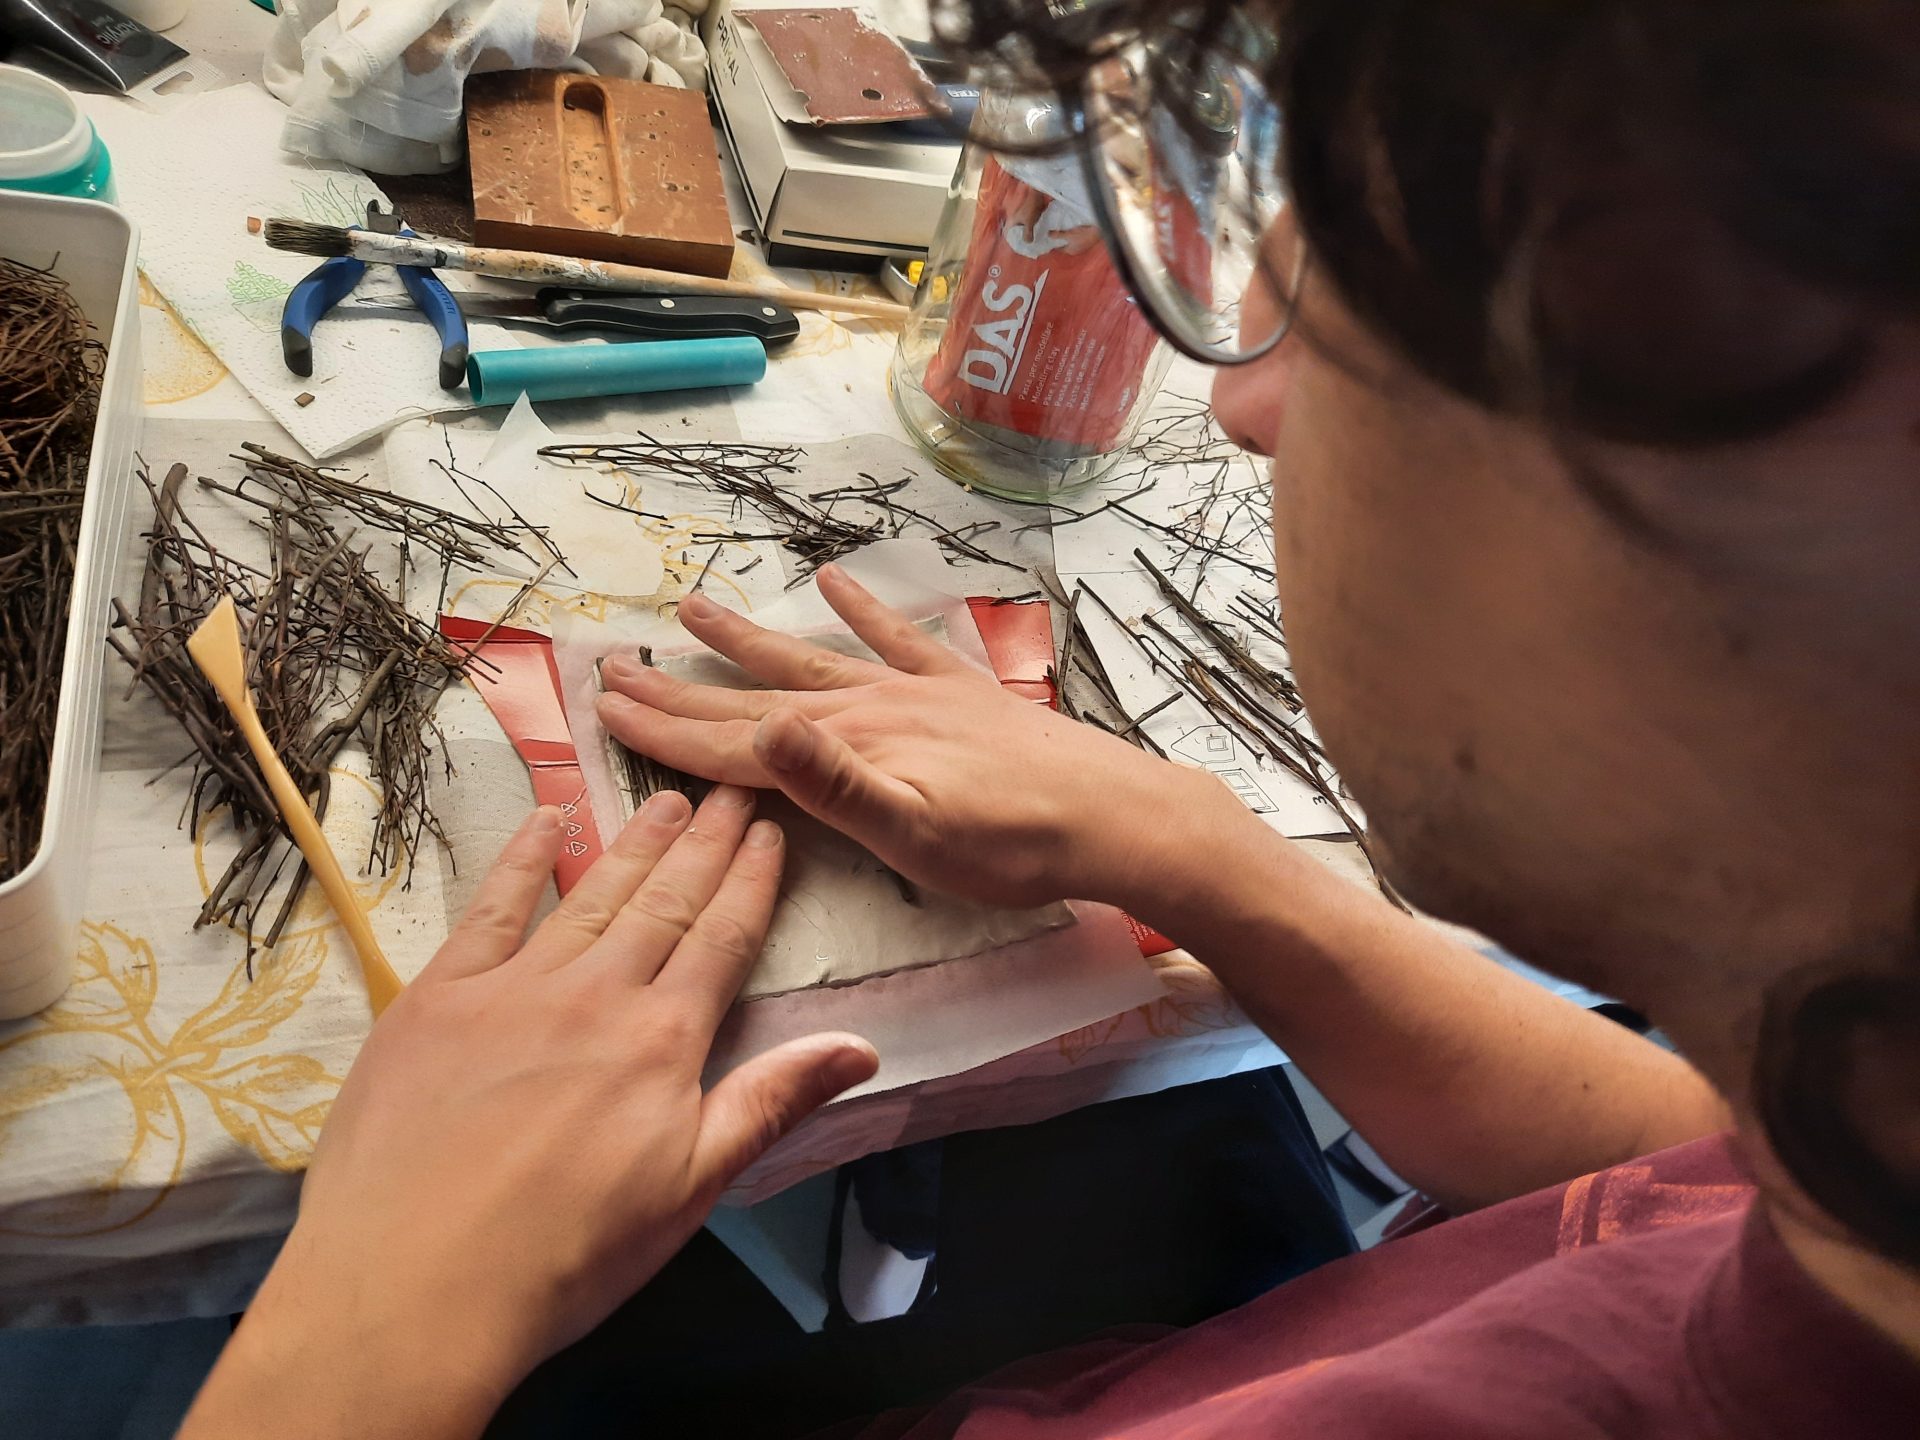
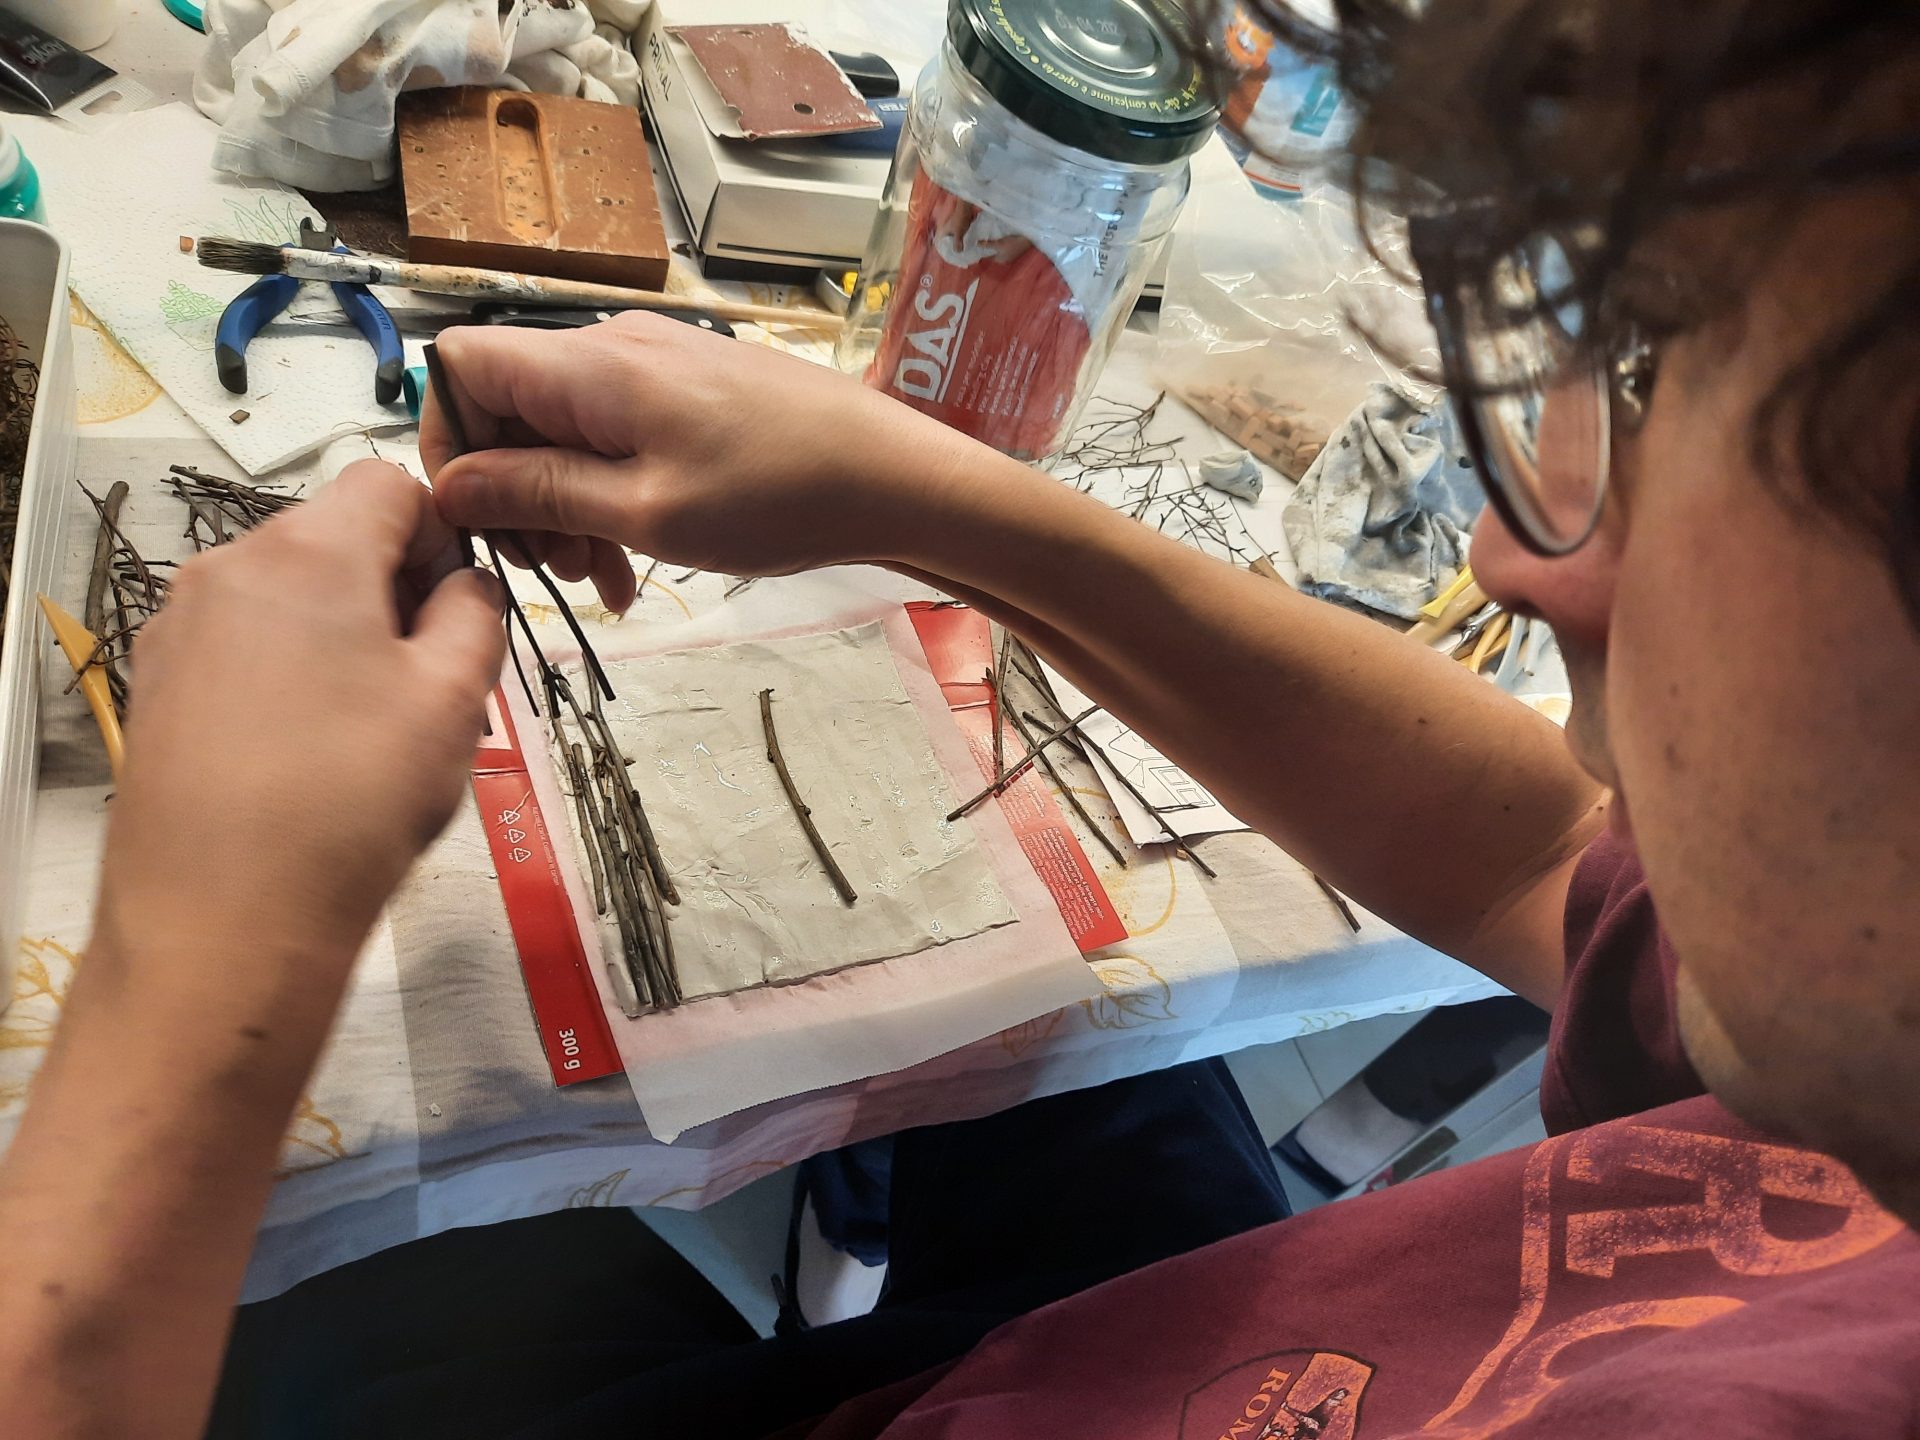
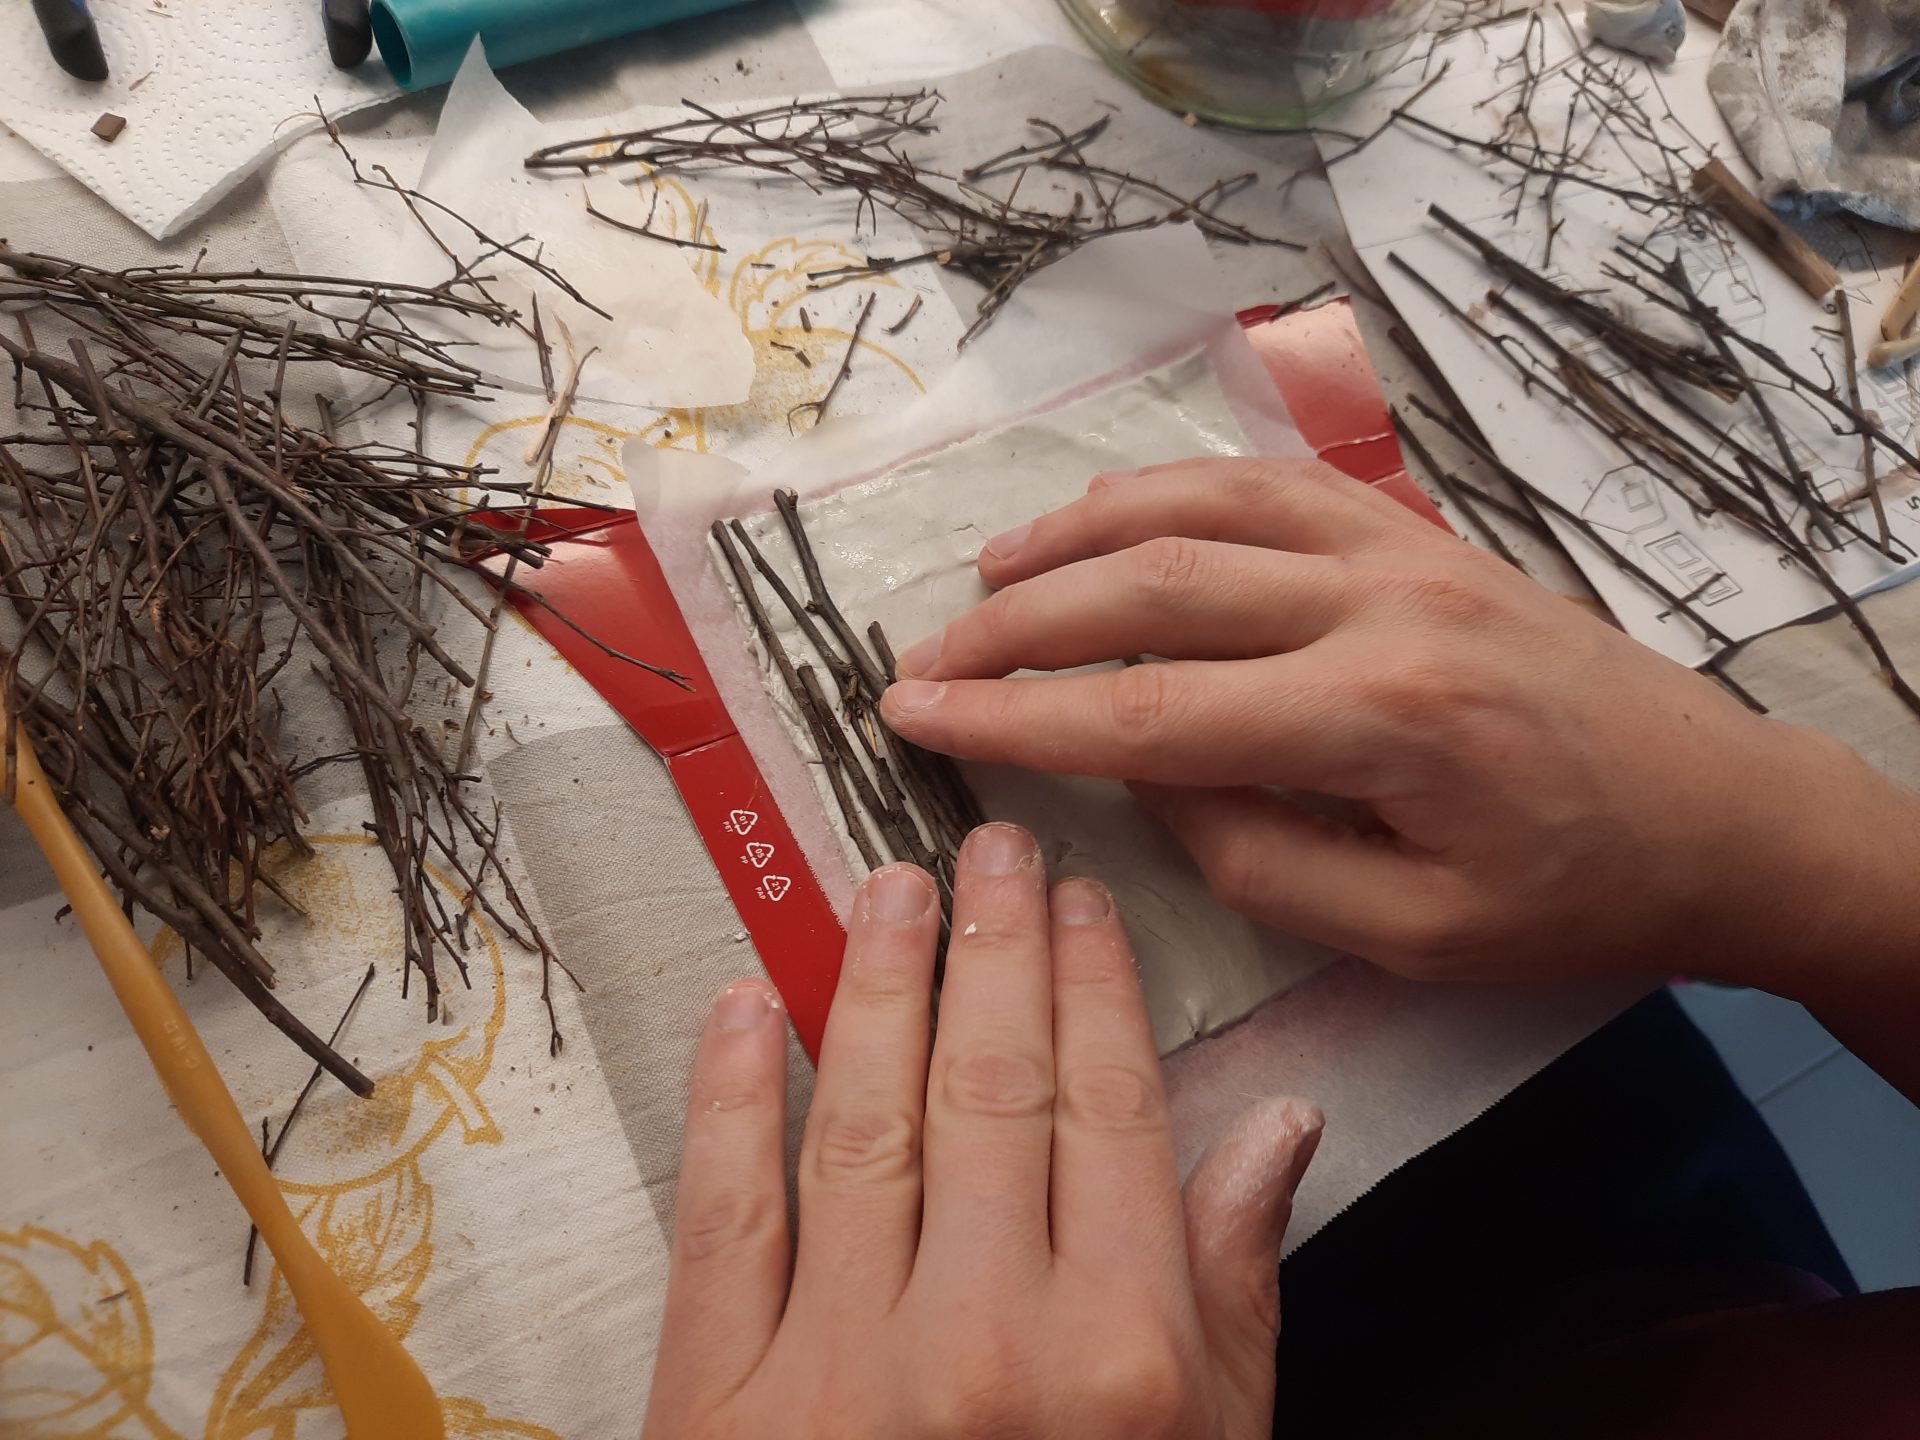
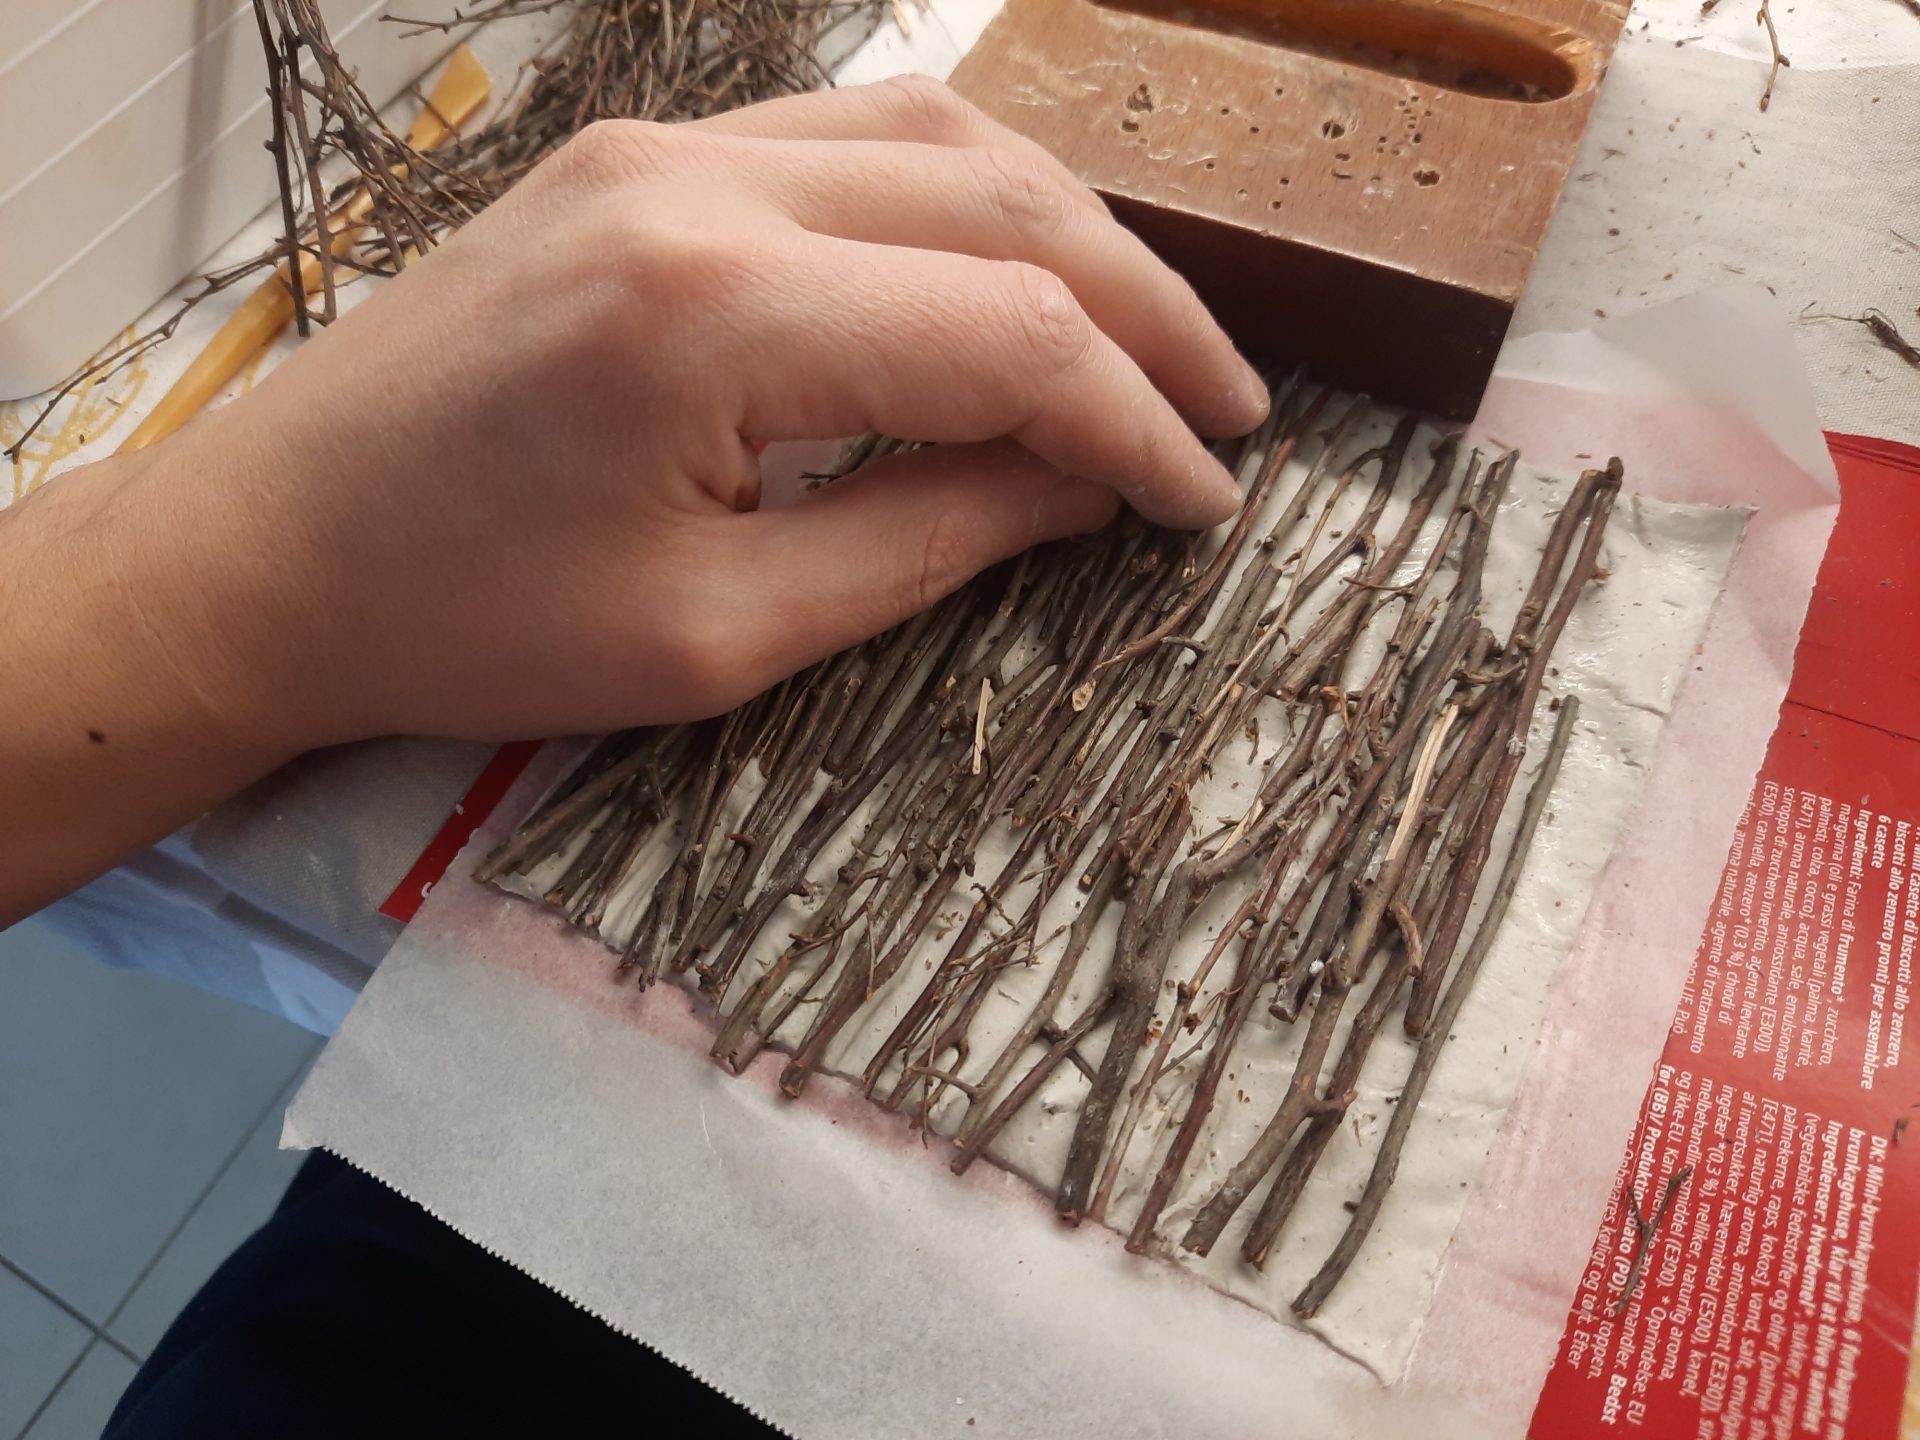
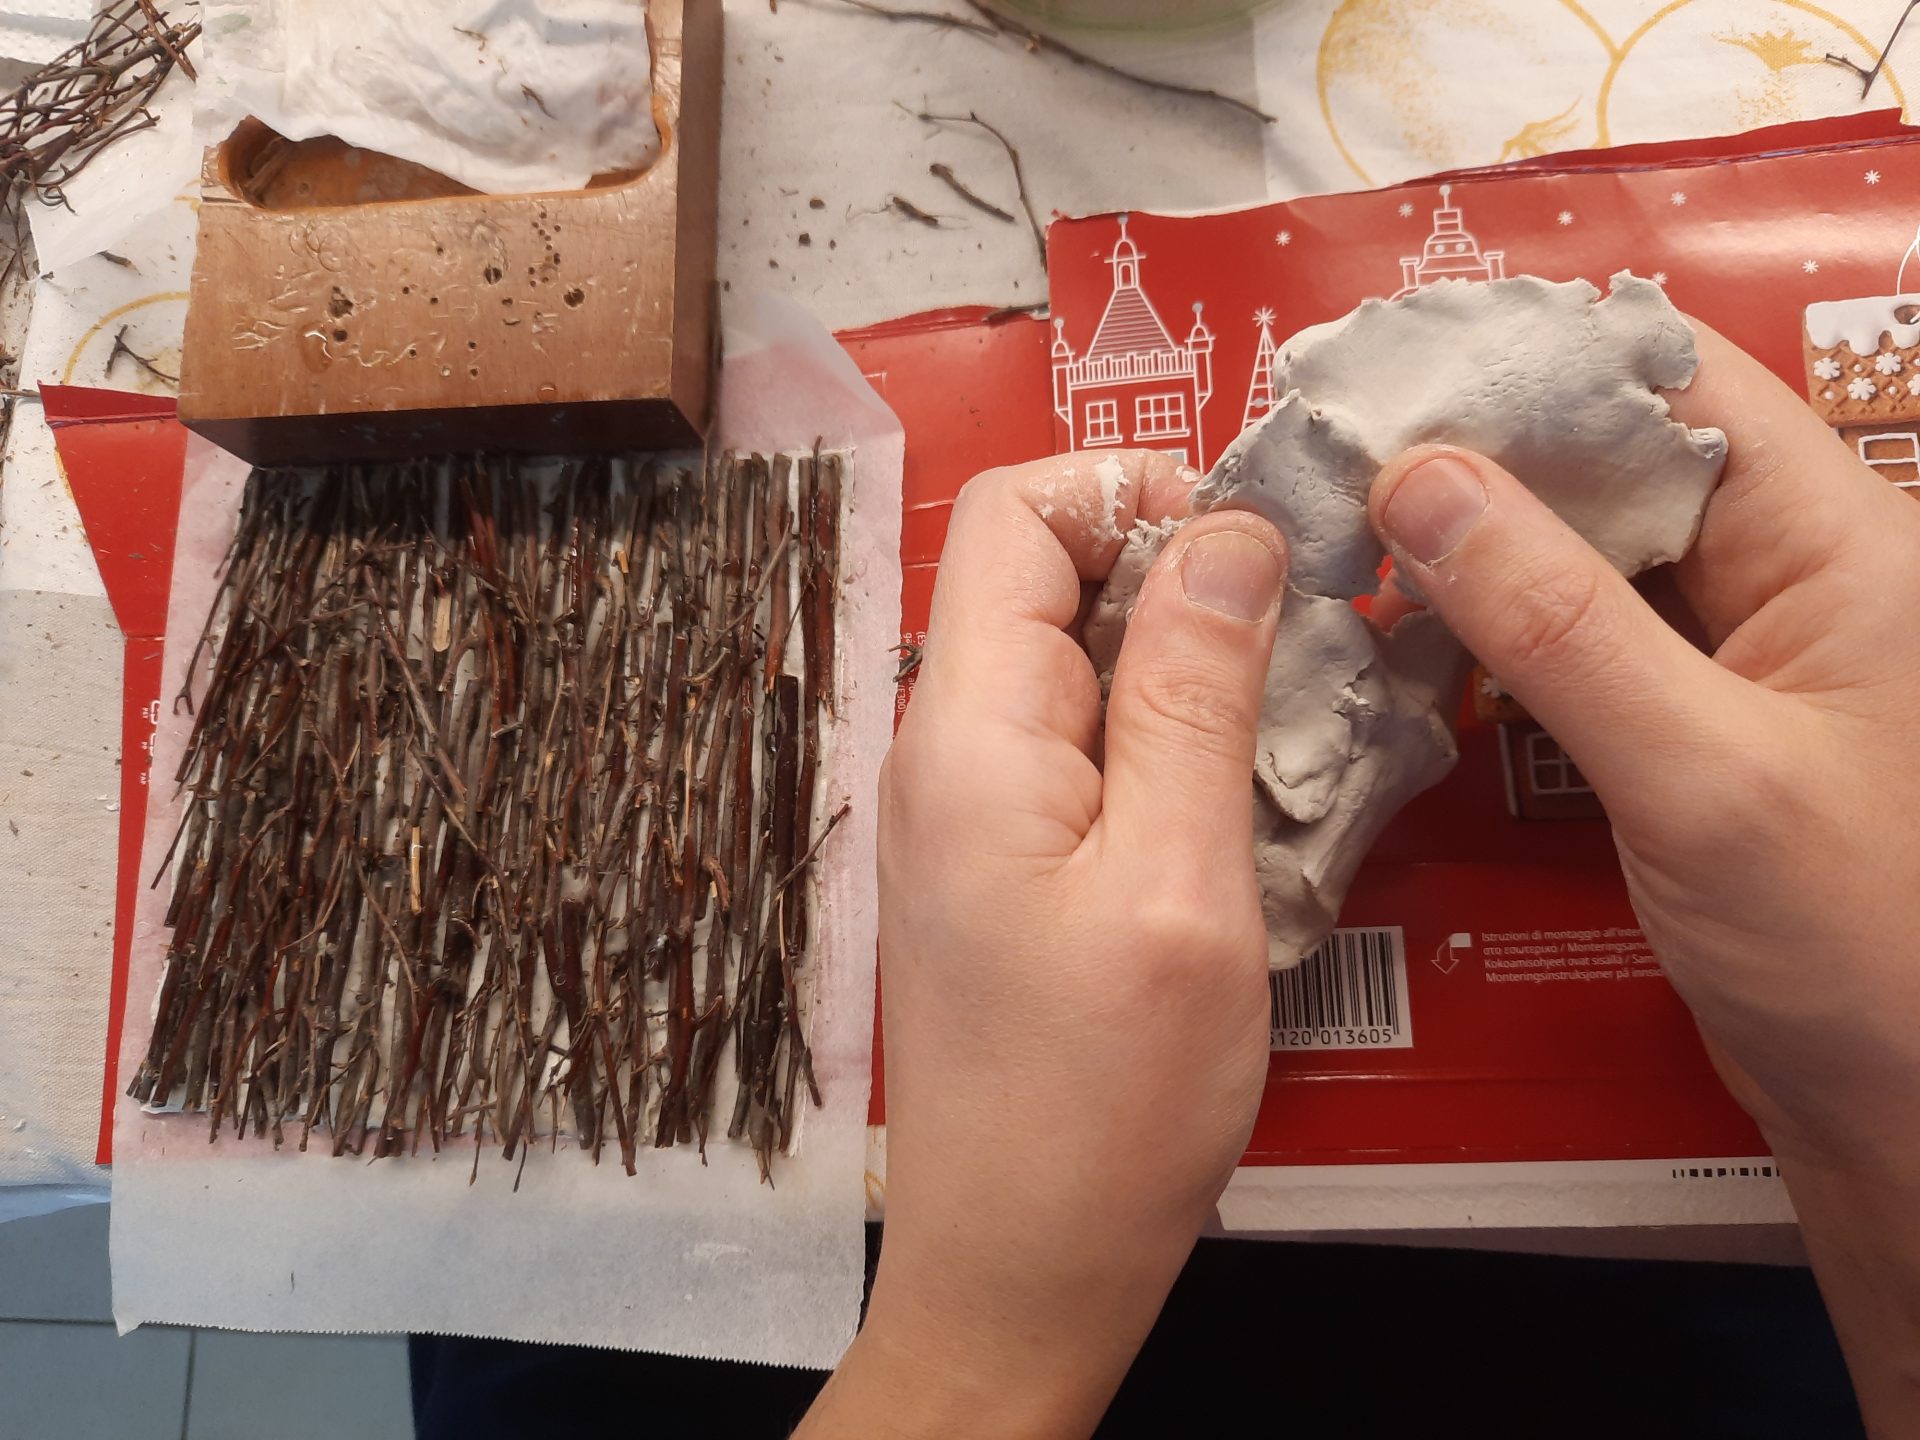
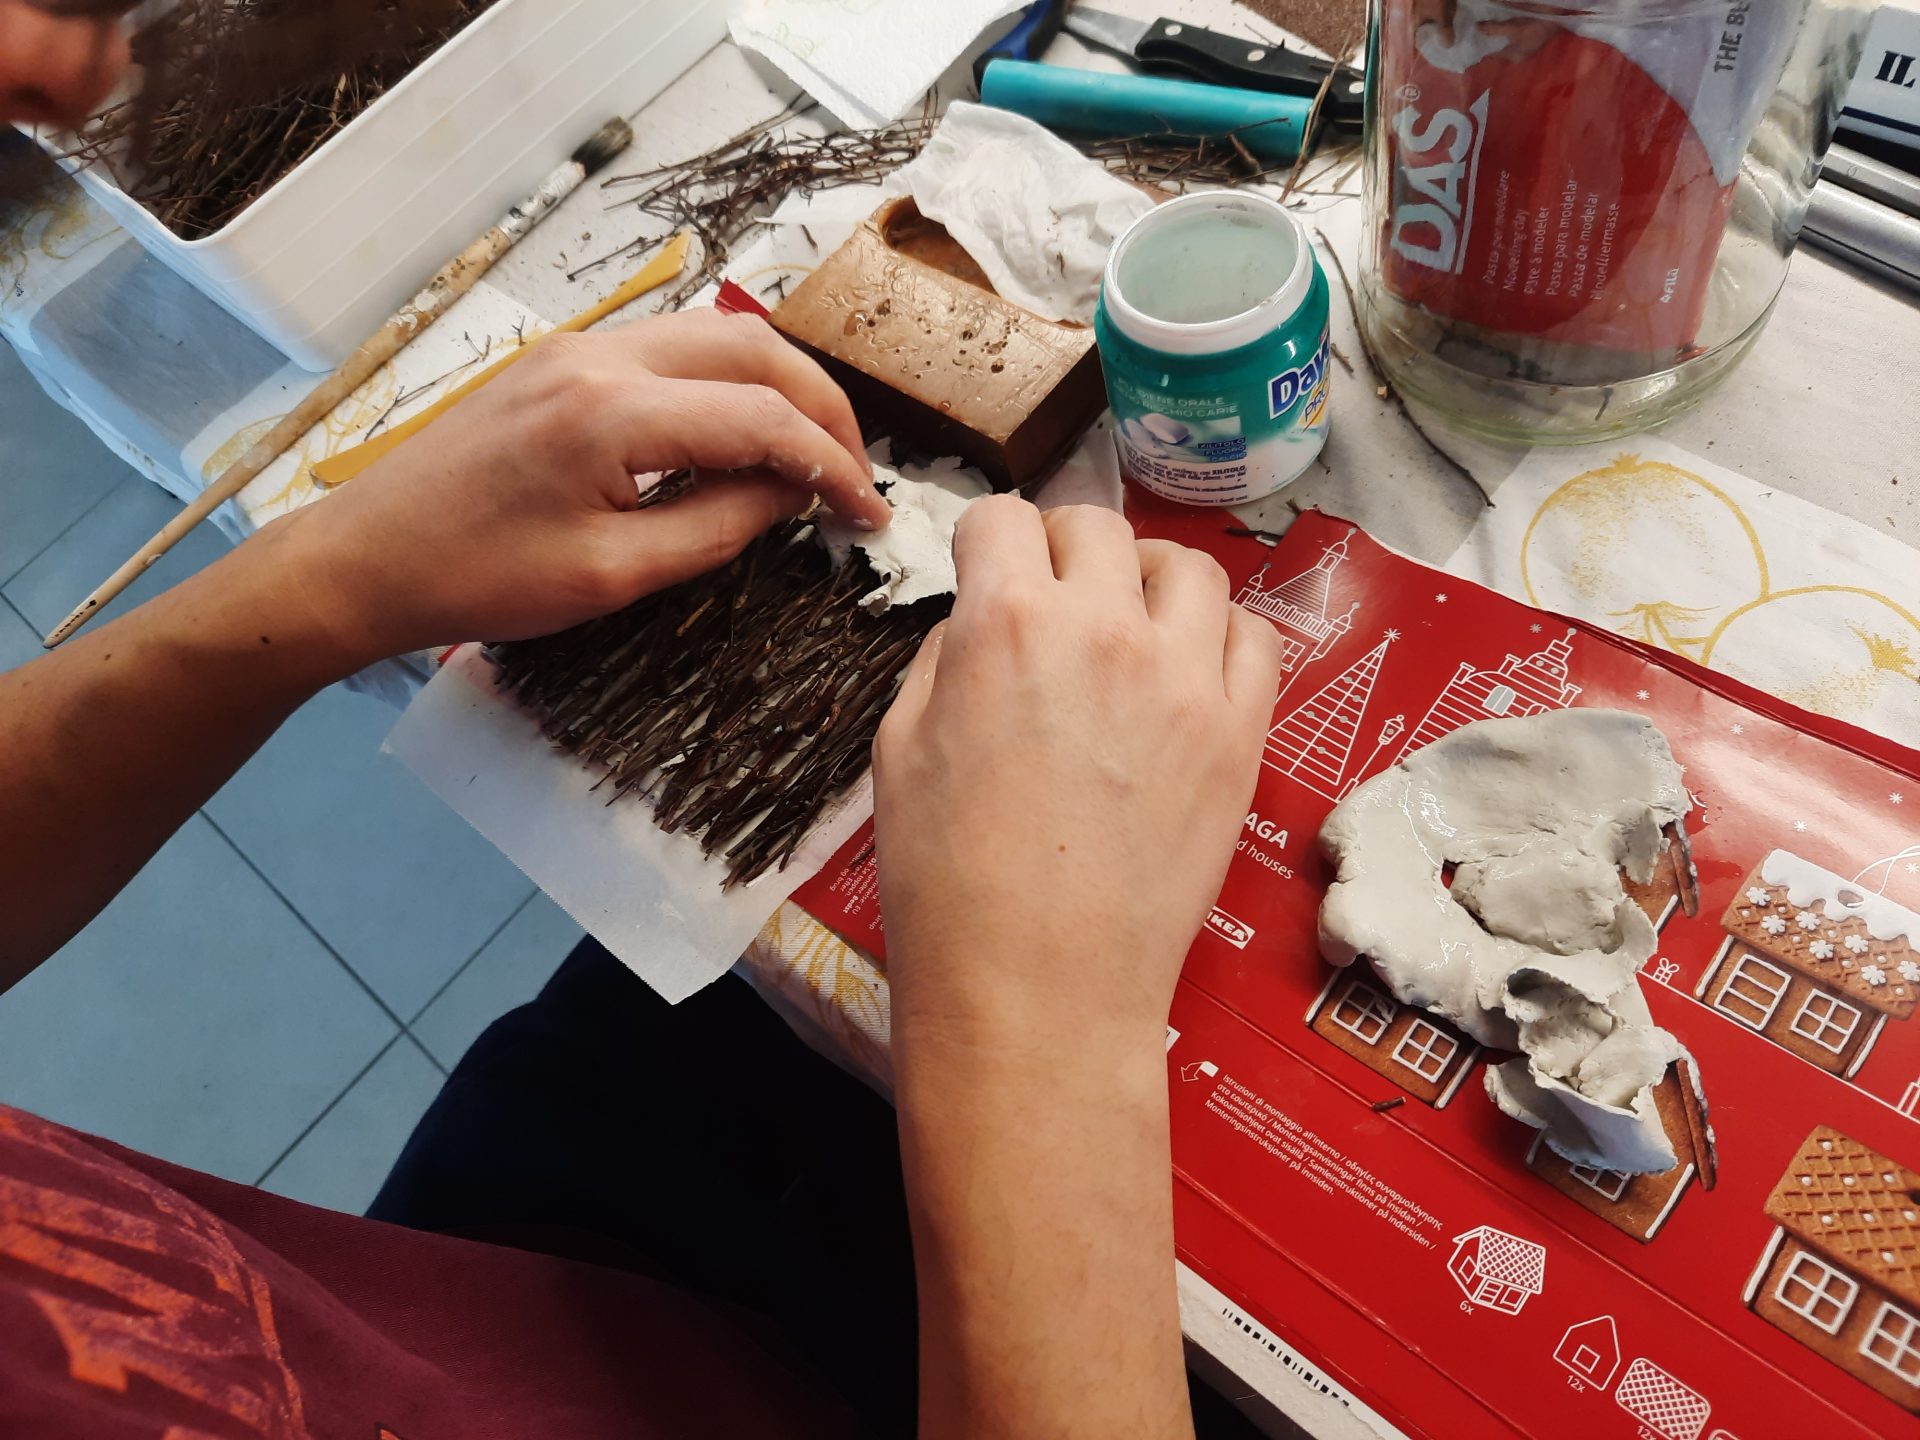
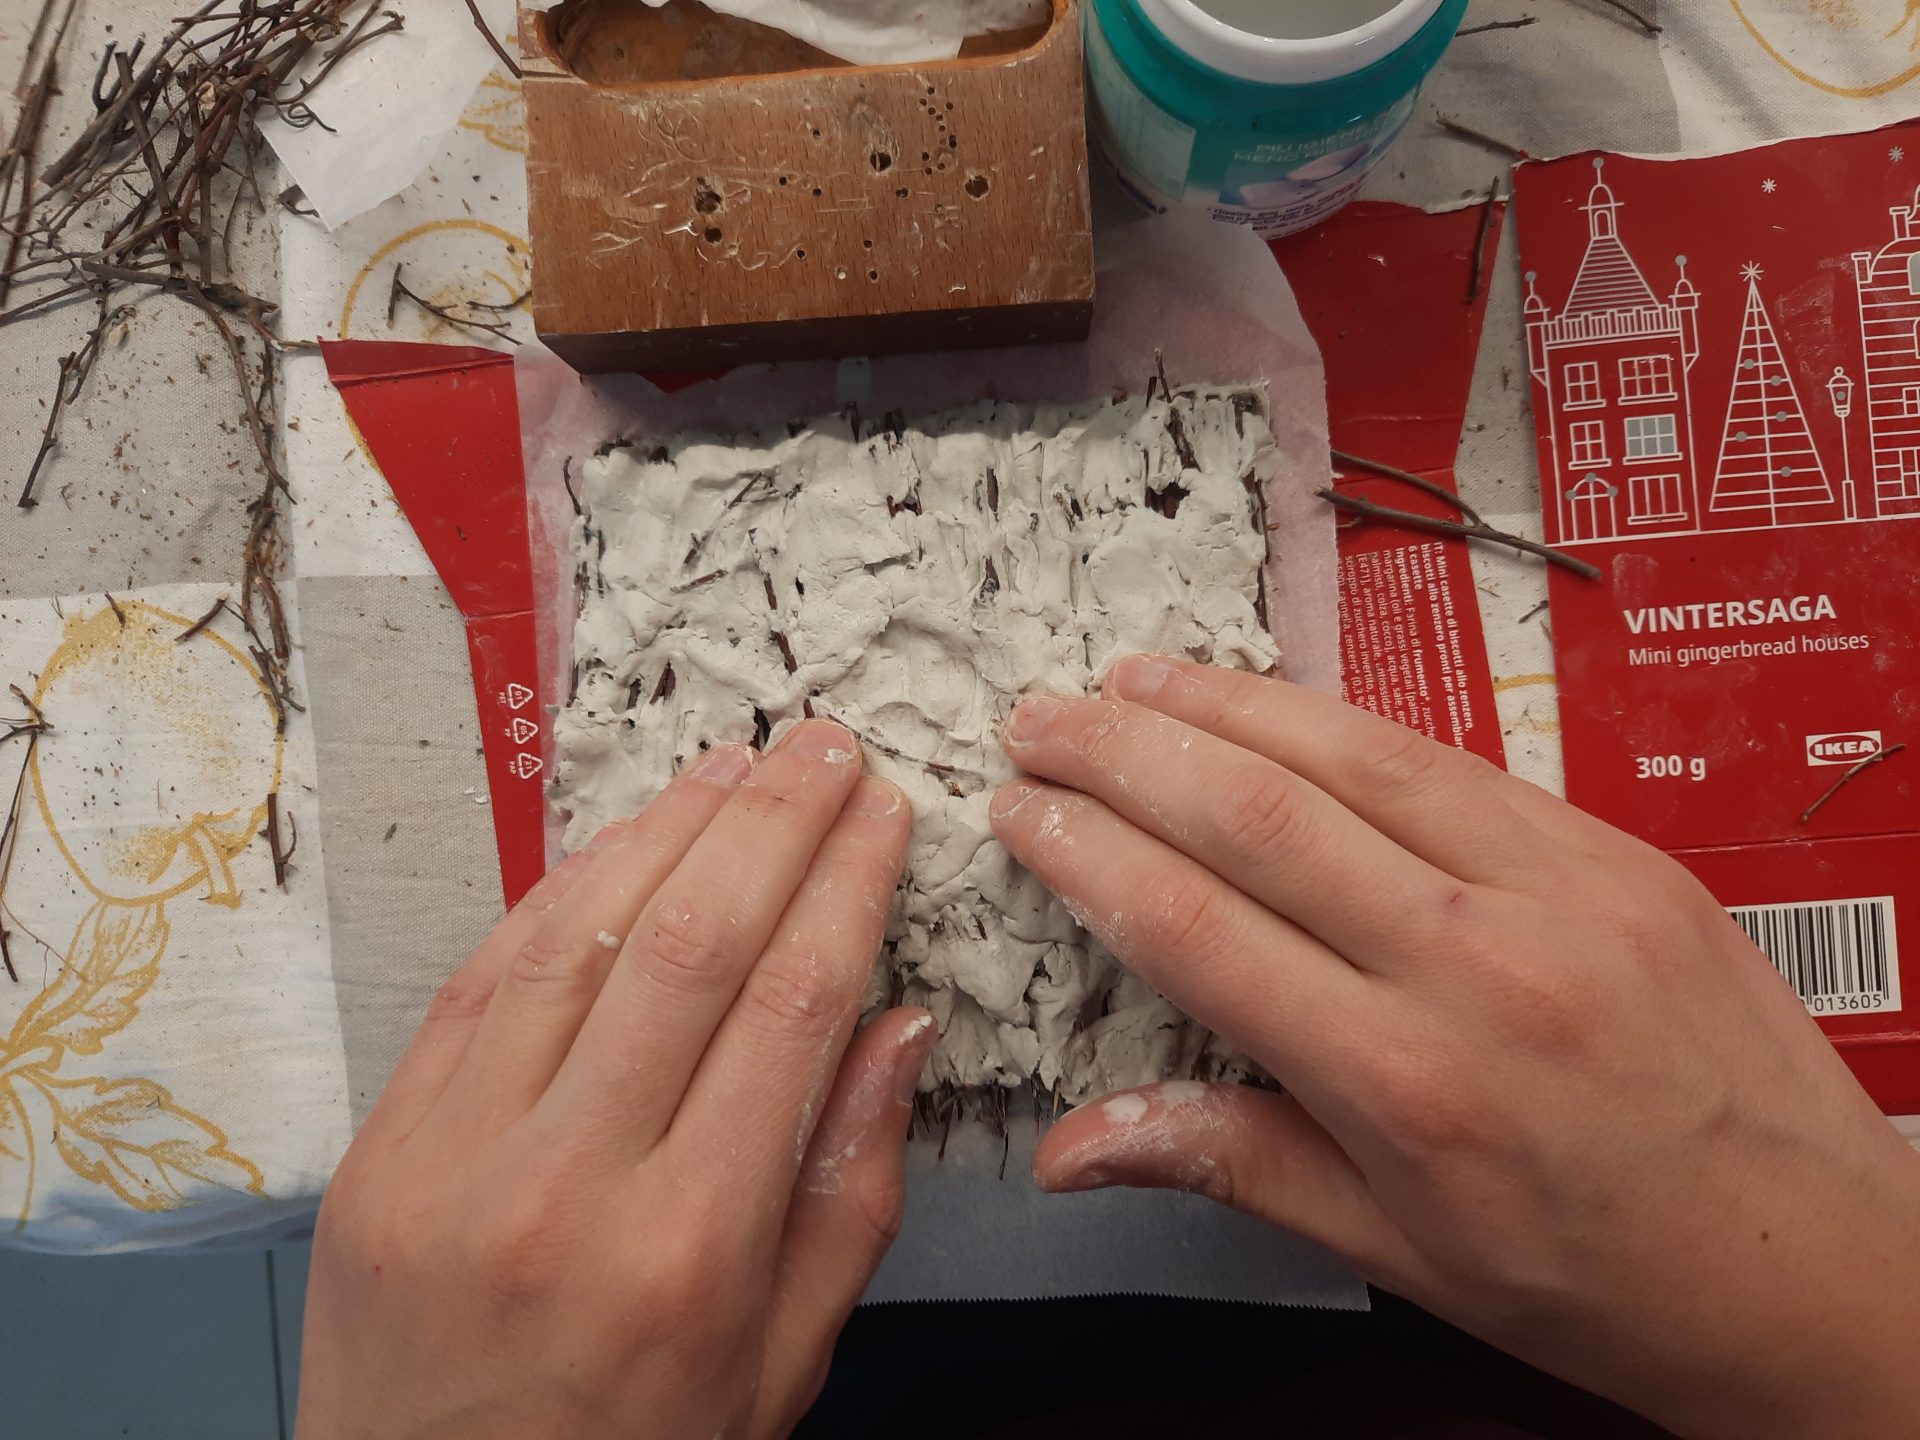
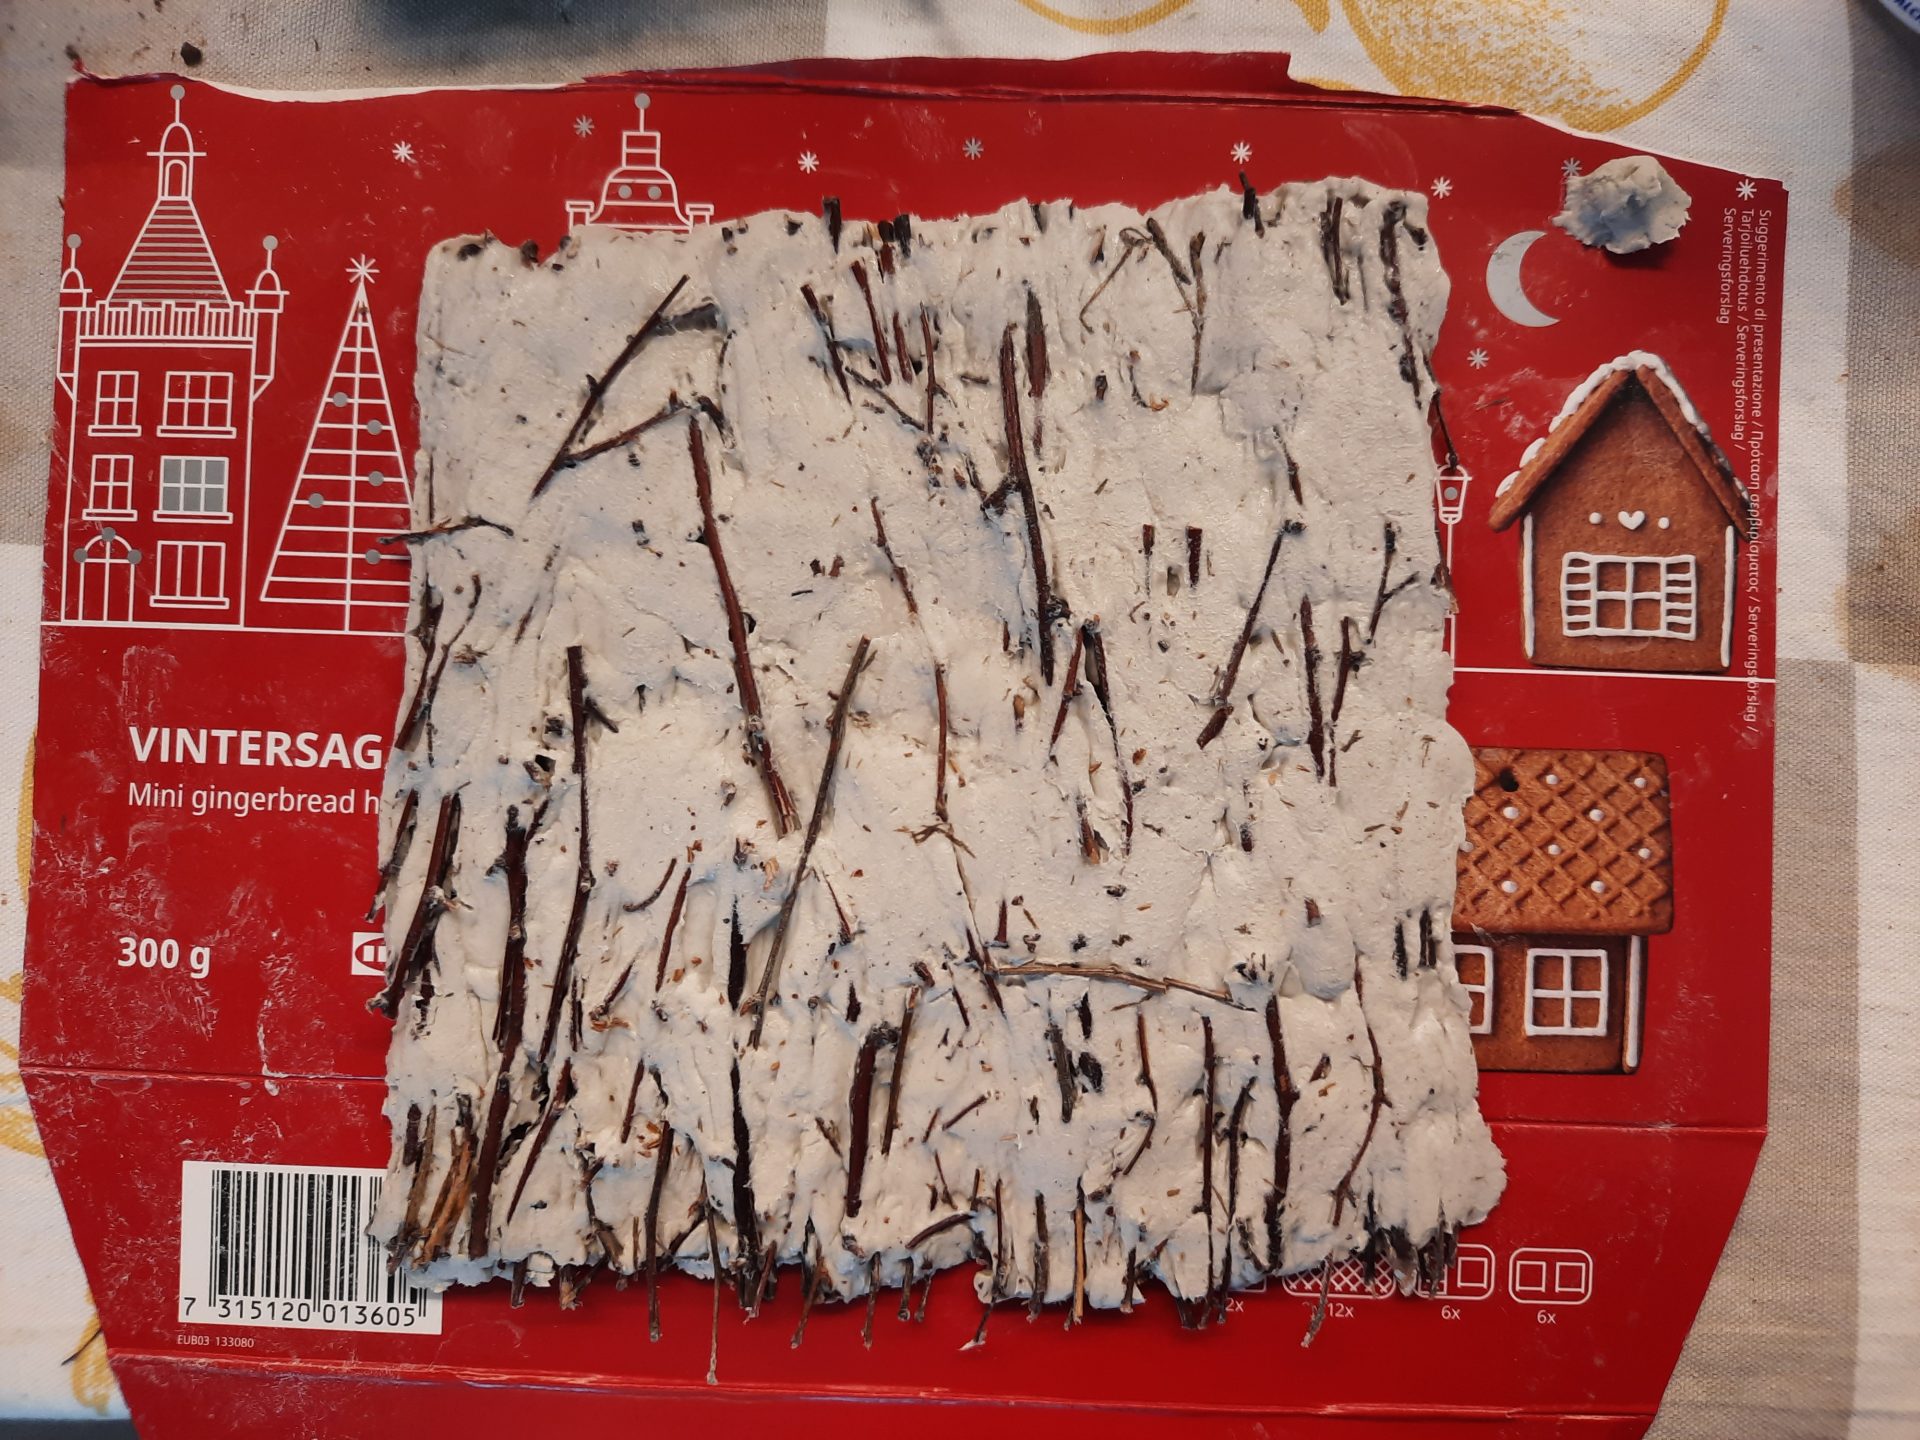
He built a simple wooden frame, then layered it with thin twigs and coated it with a mix of clay and hay, mimicking the ancient technique. Once dry, he painted it in heartly tones to suggest mud. To complete the structure, my husband also crafted small wooden beam terminals to tuck under the roof’s edge.
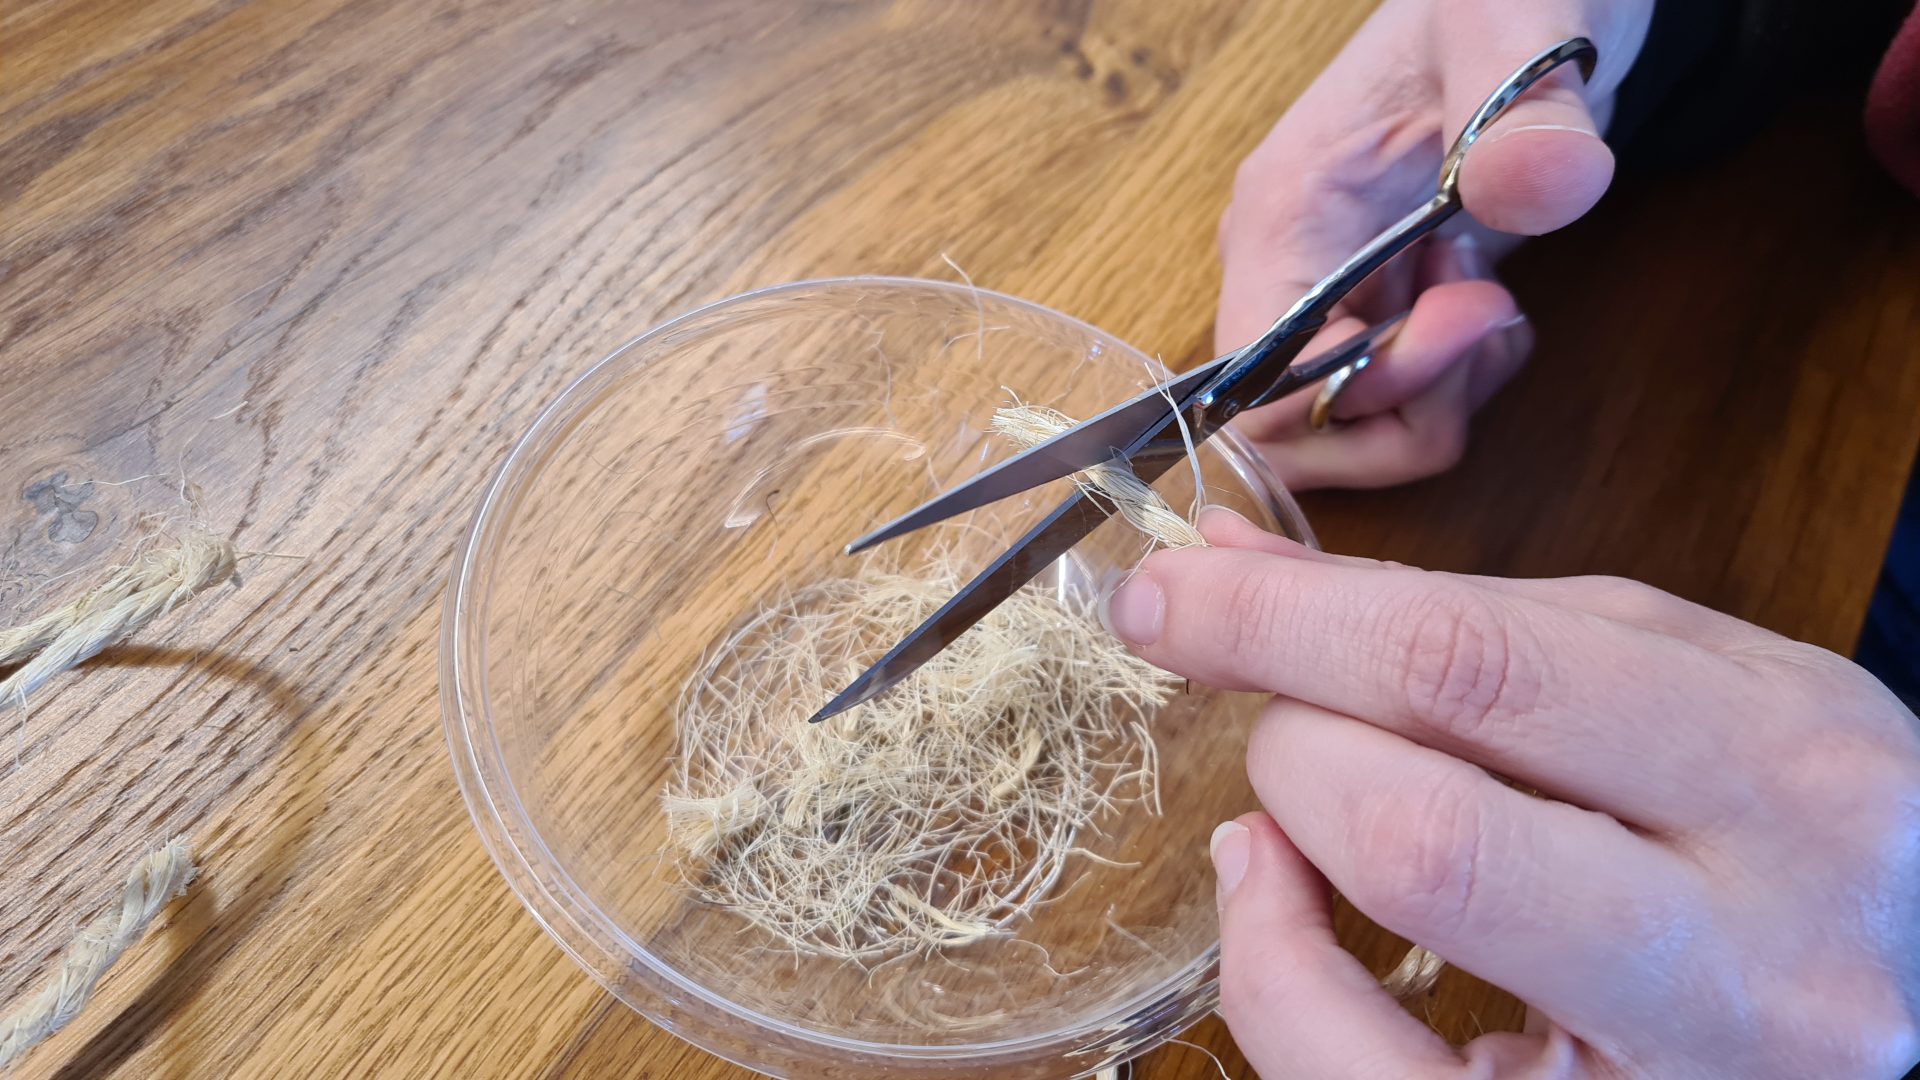
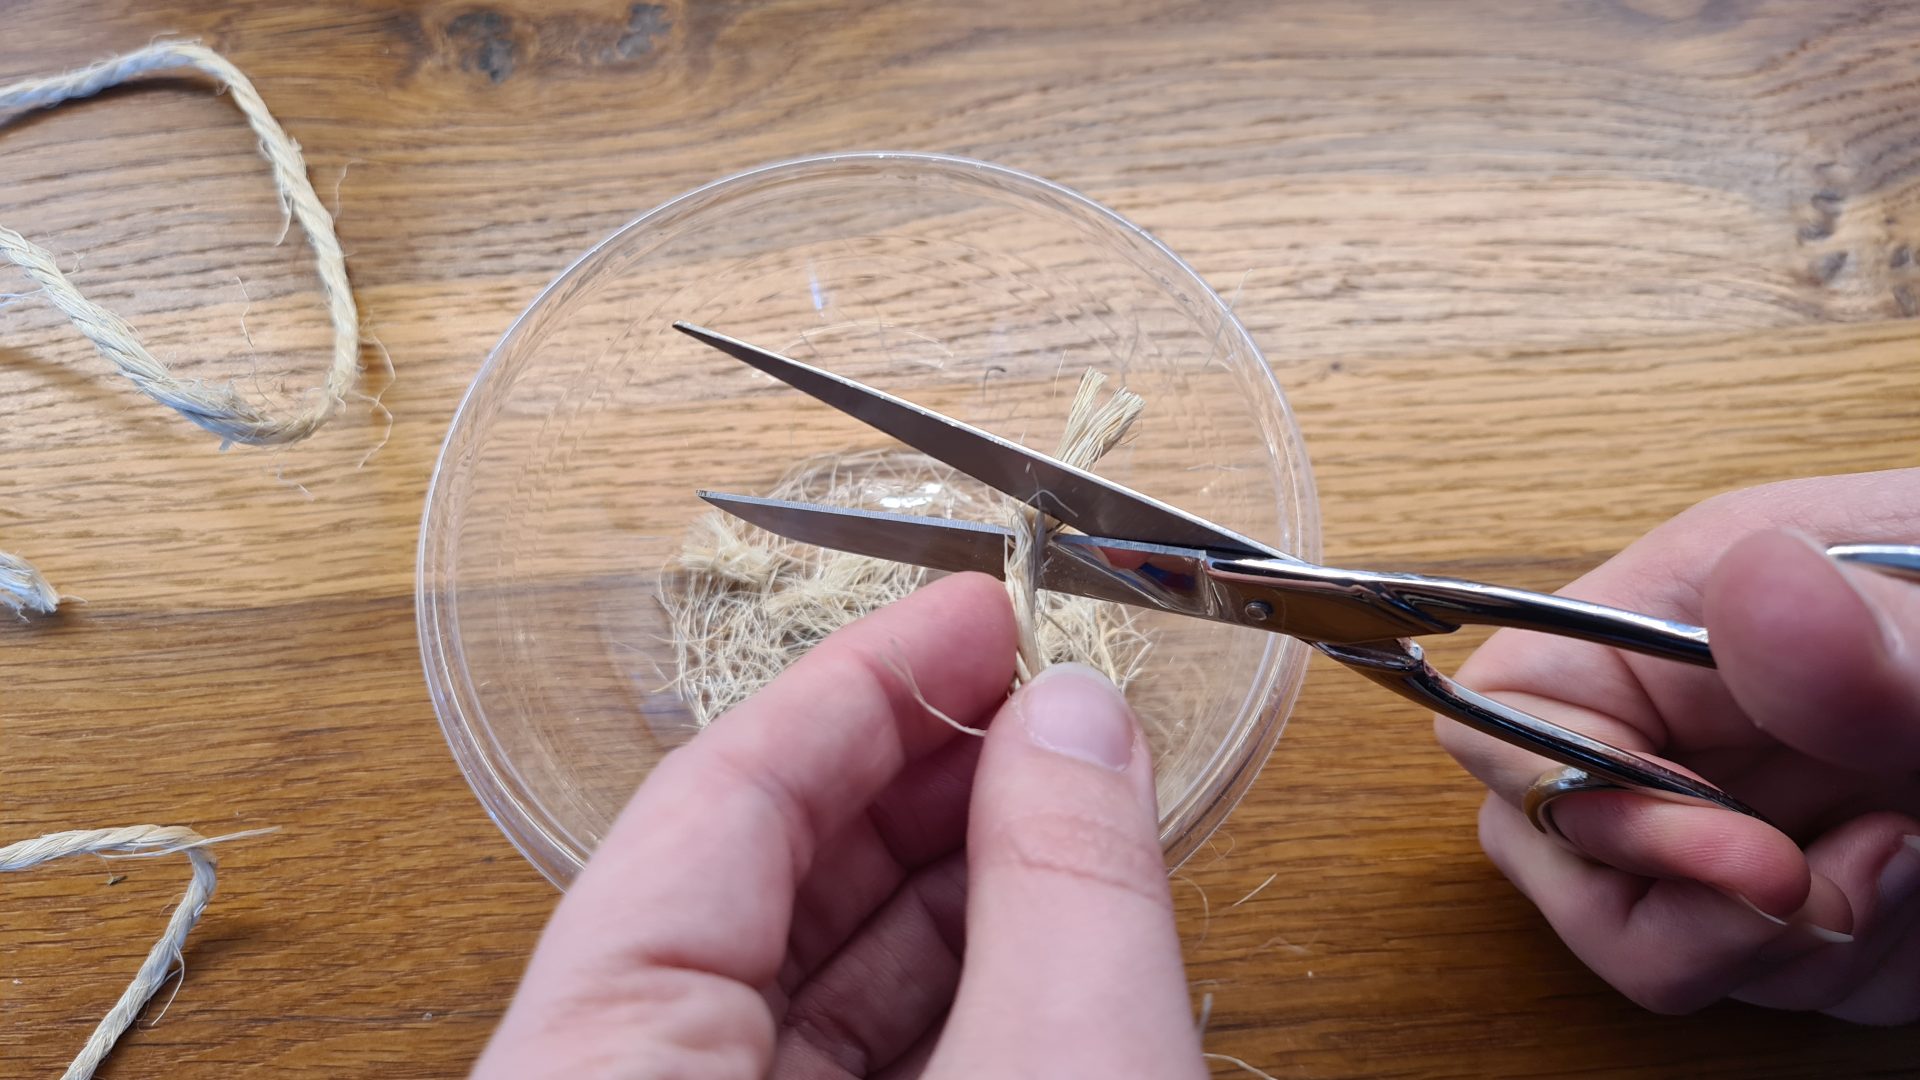
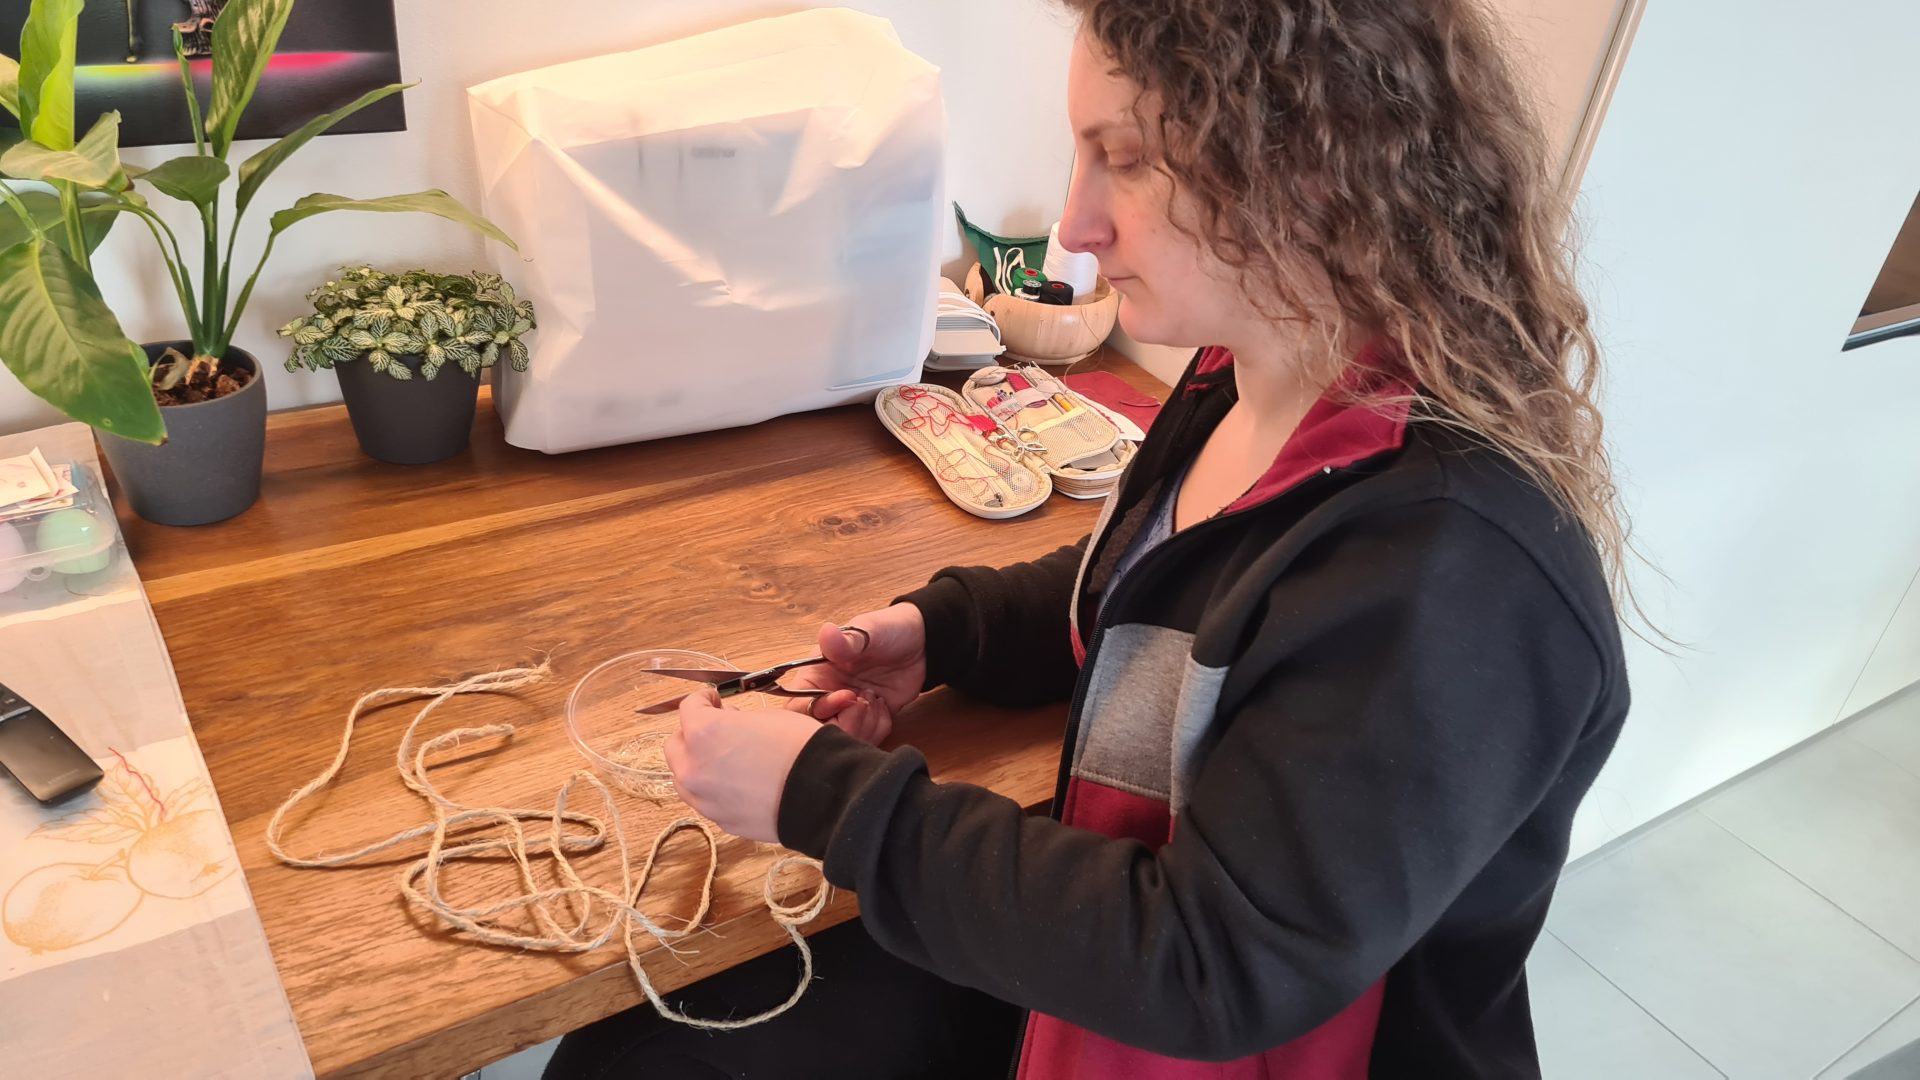
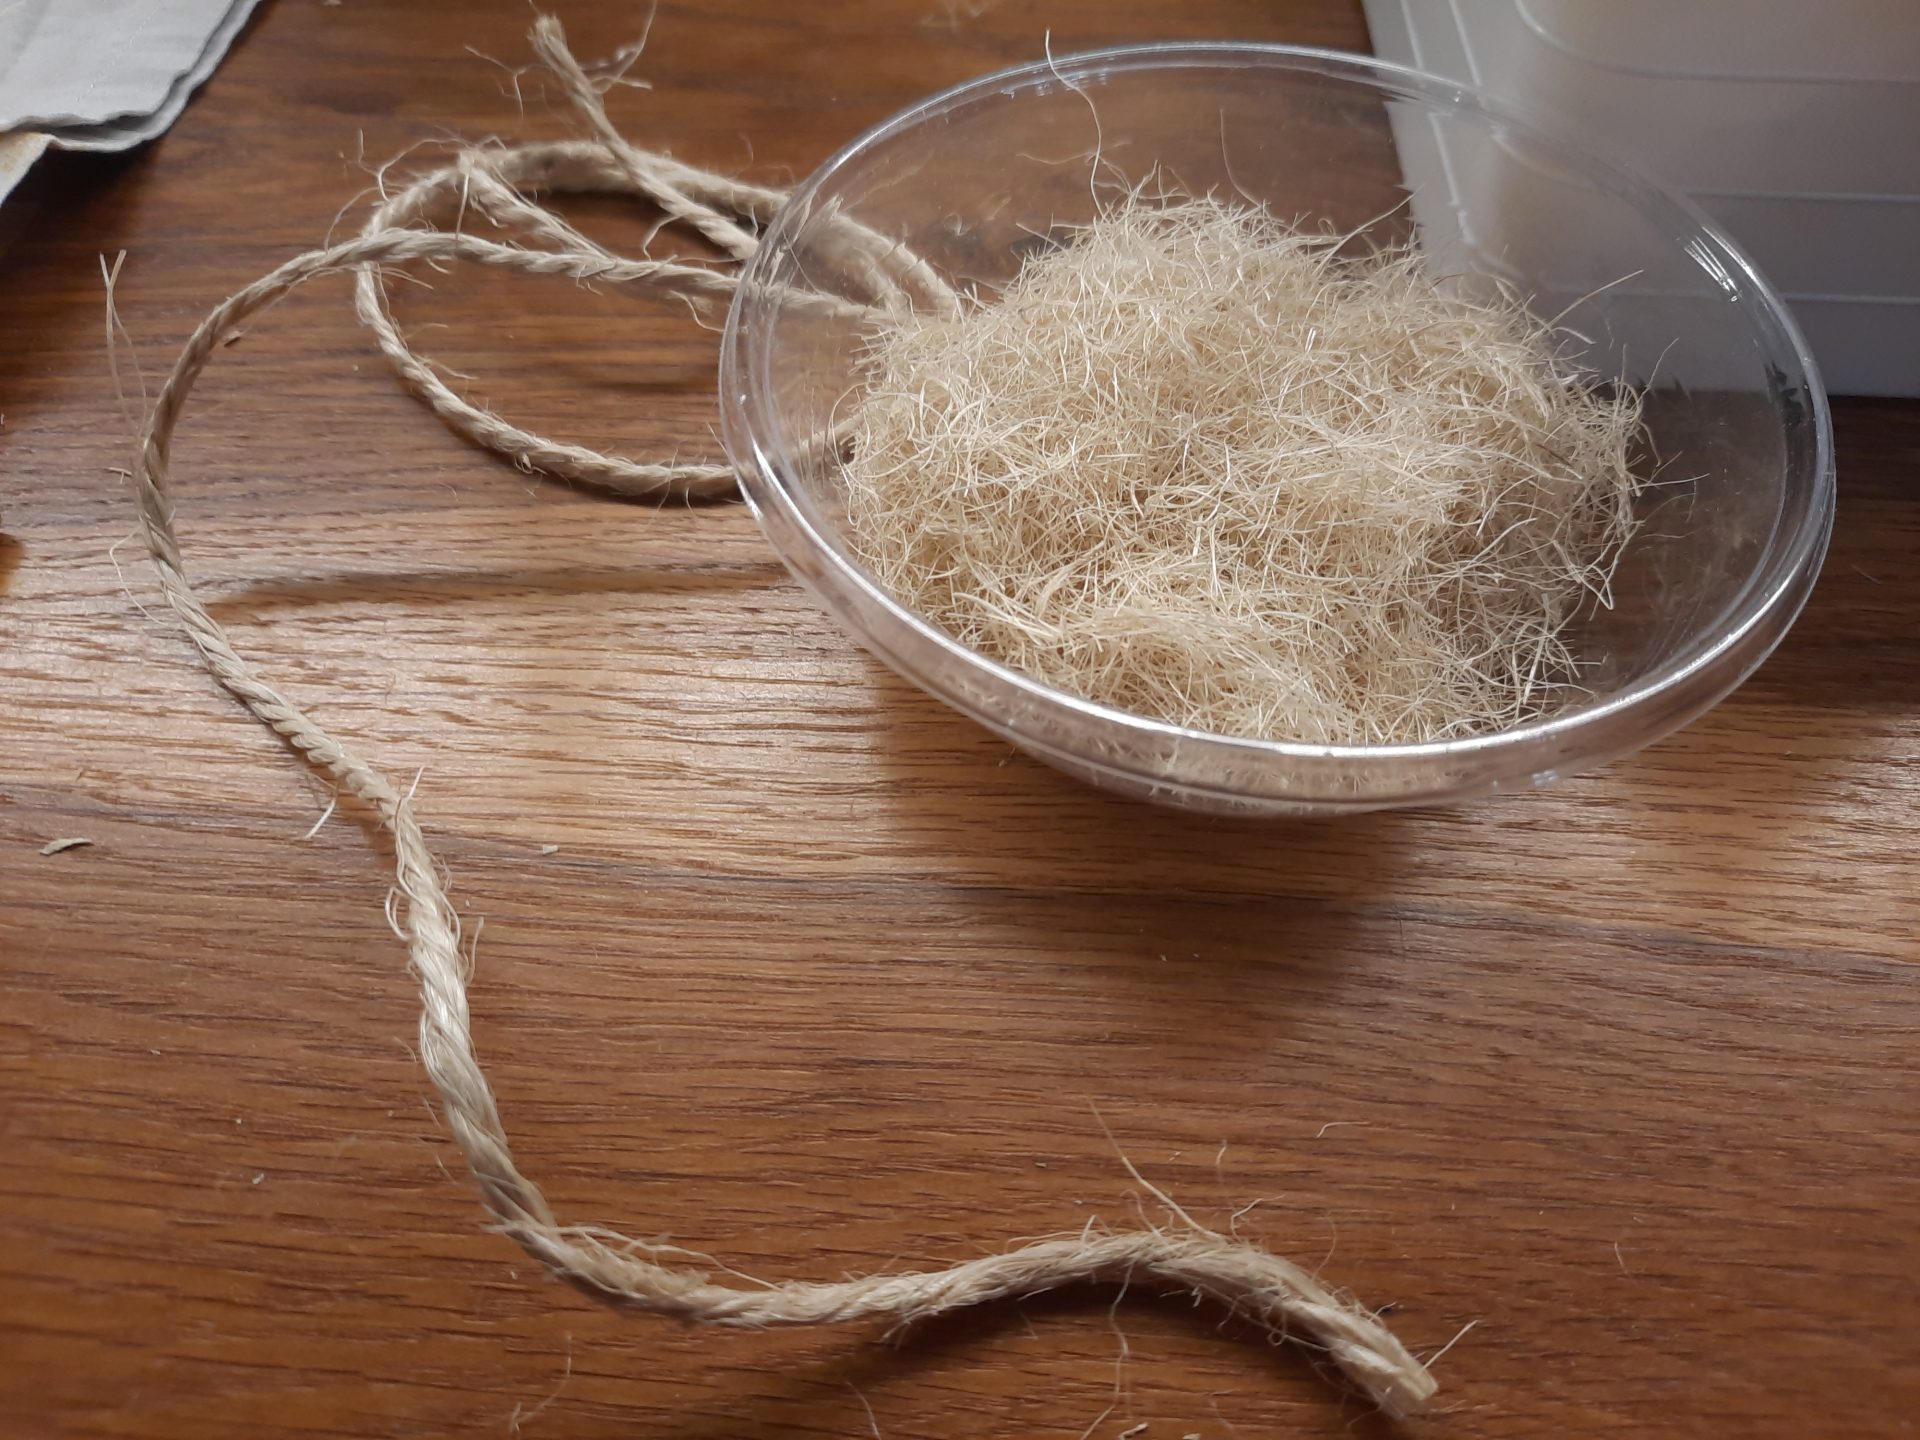
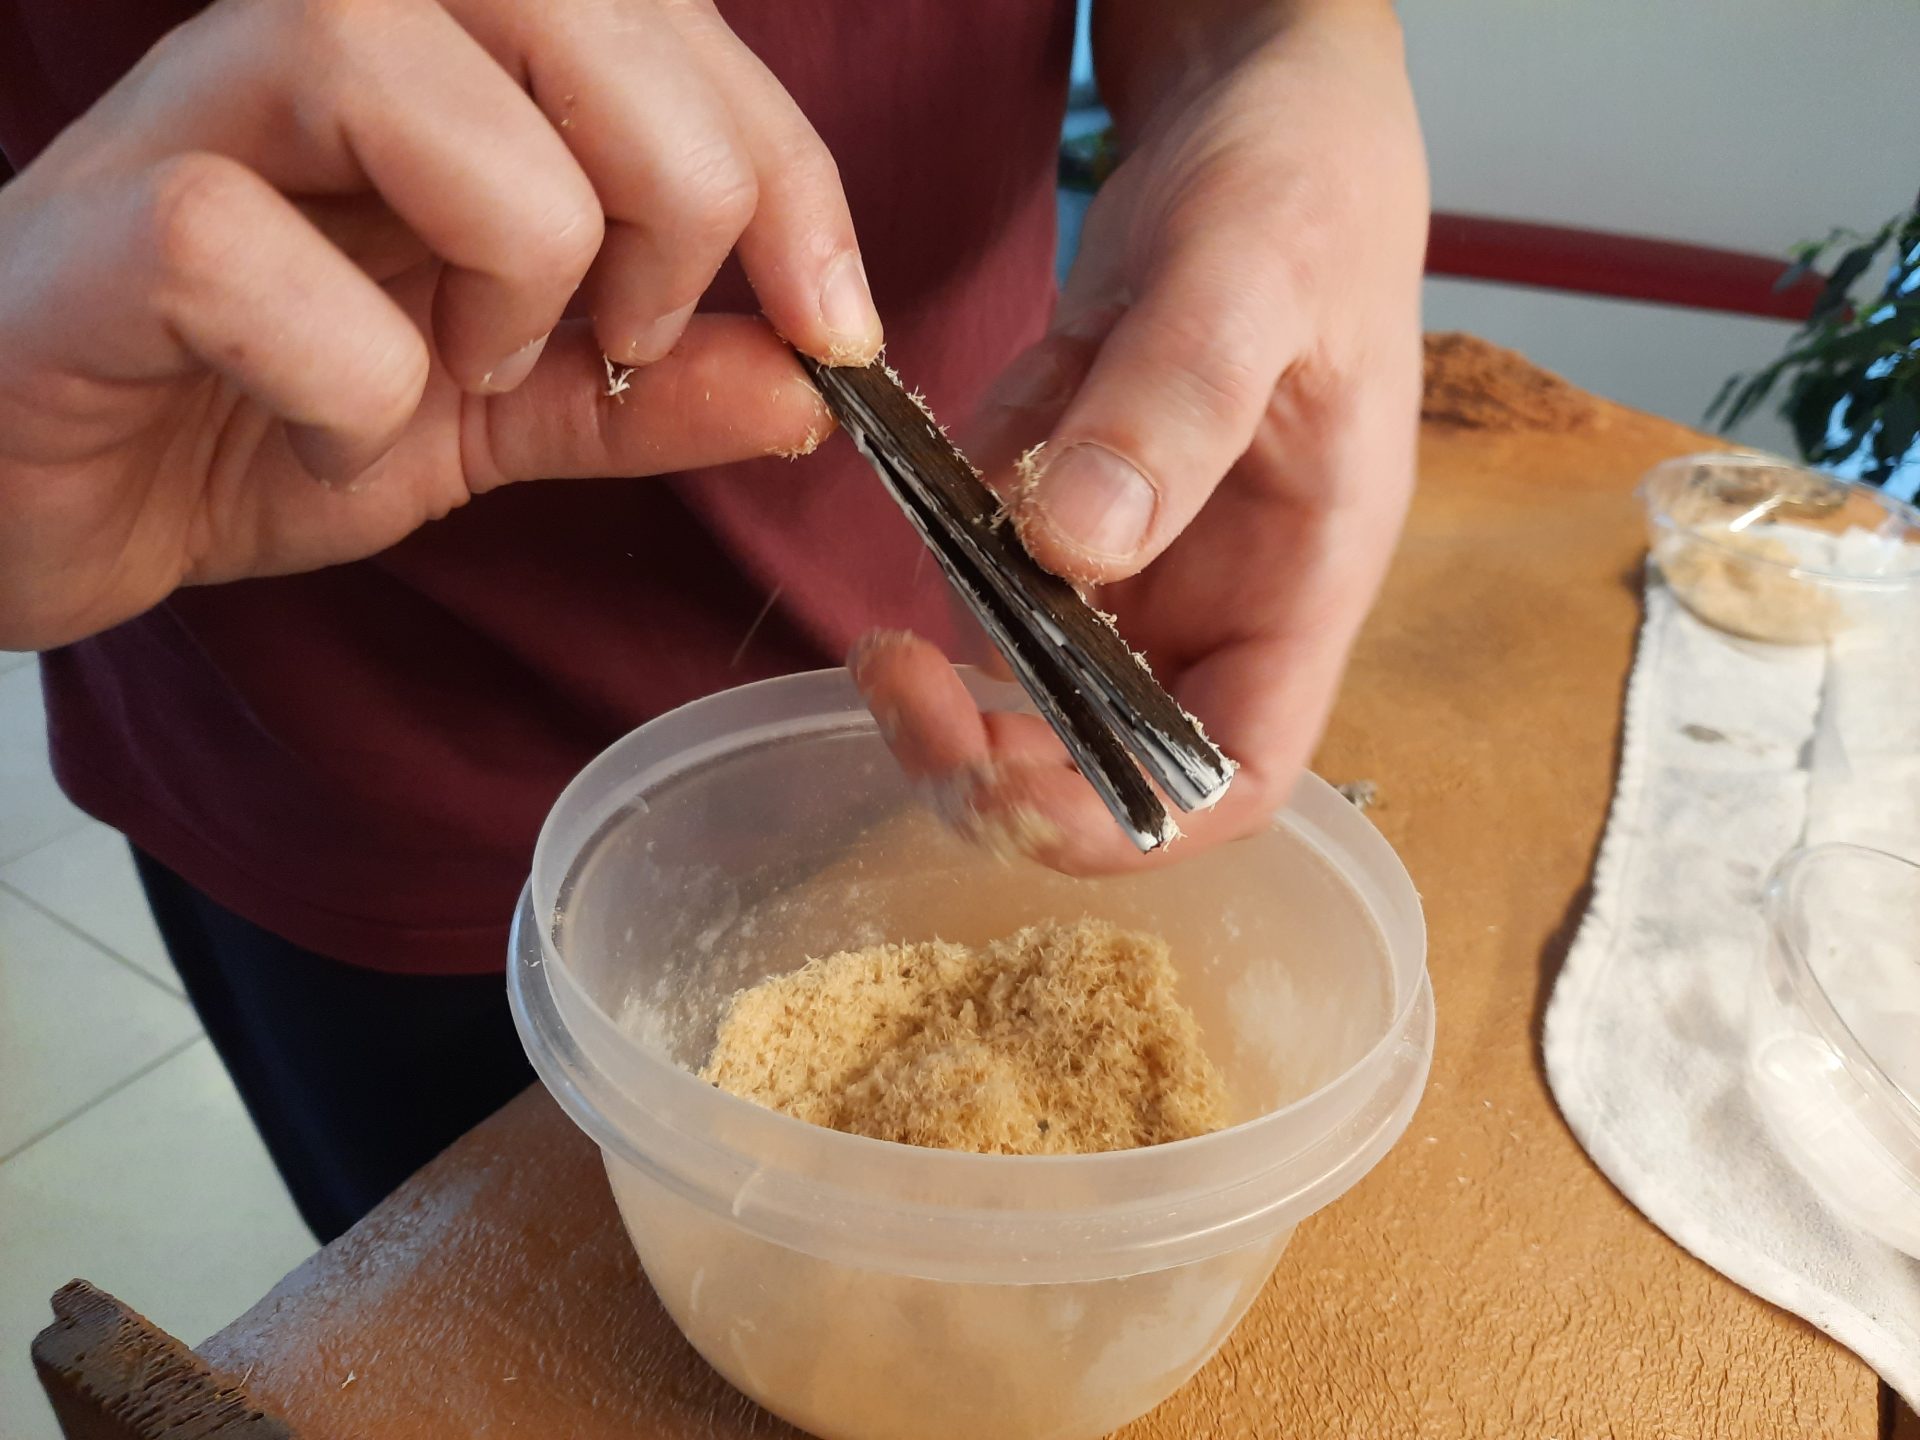
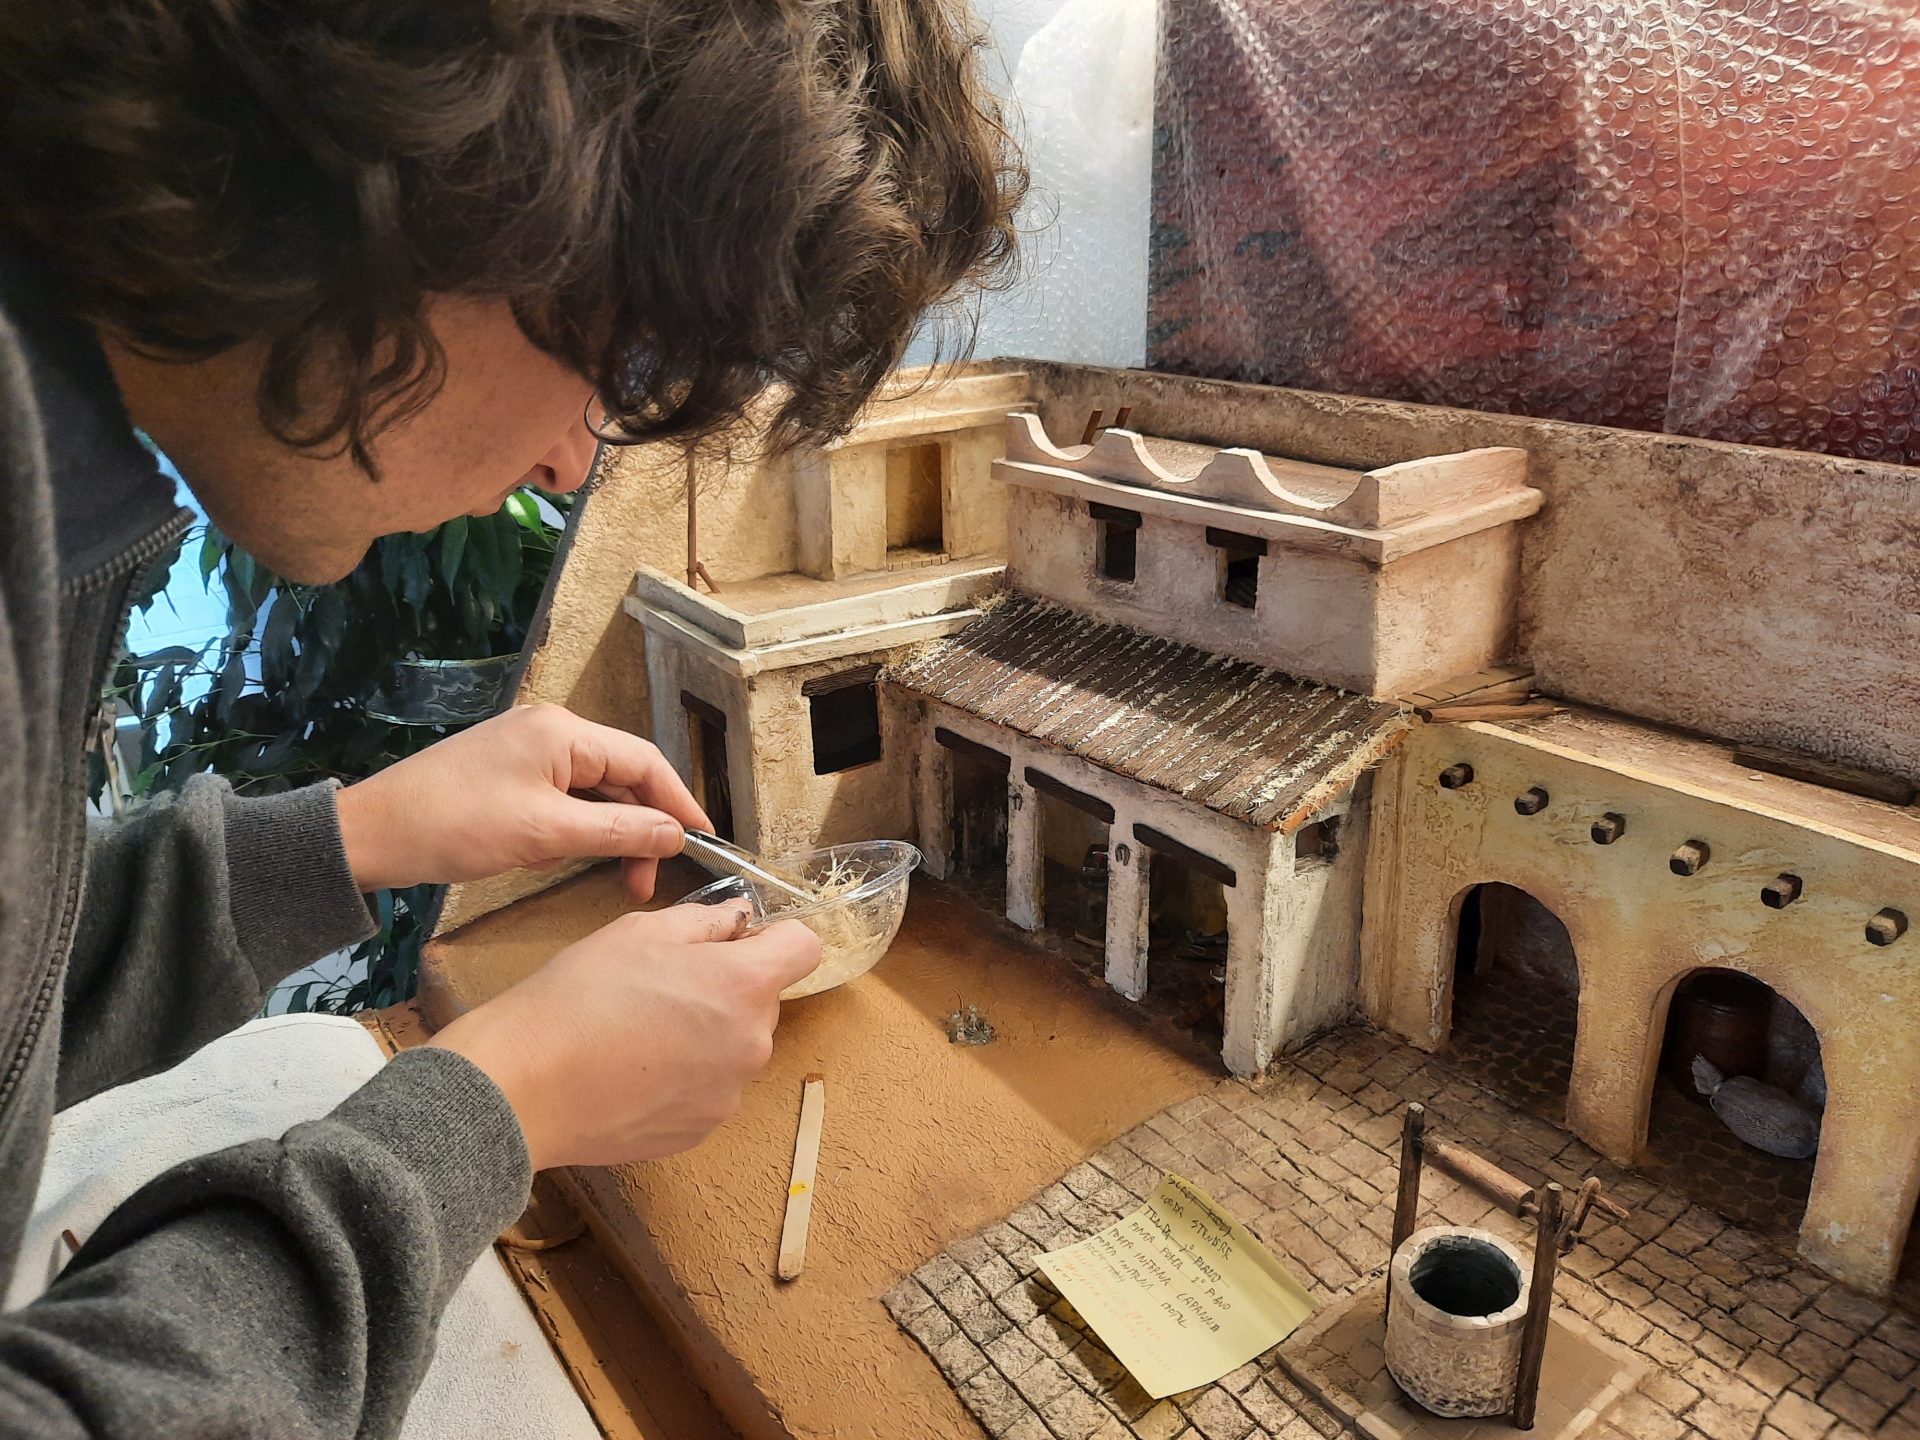
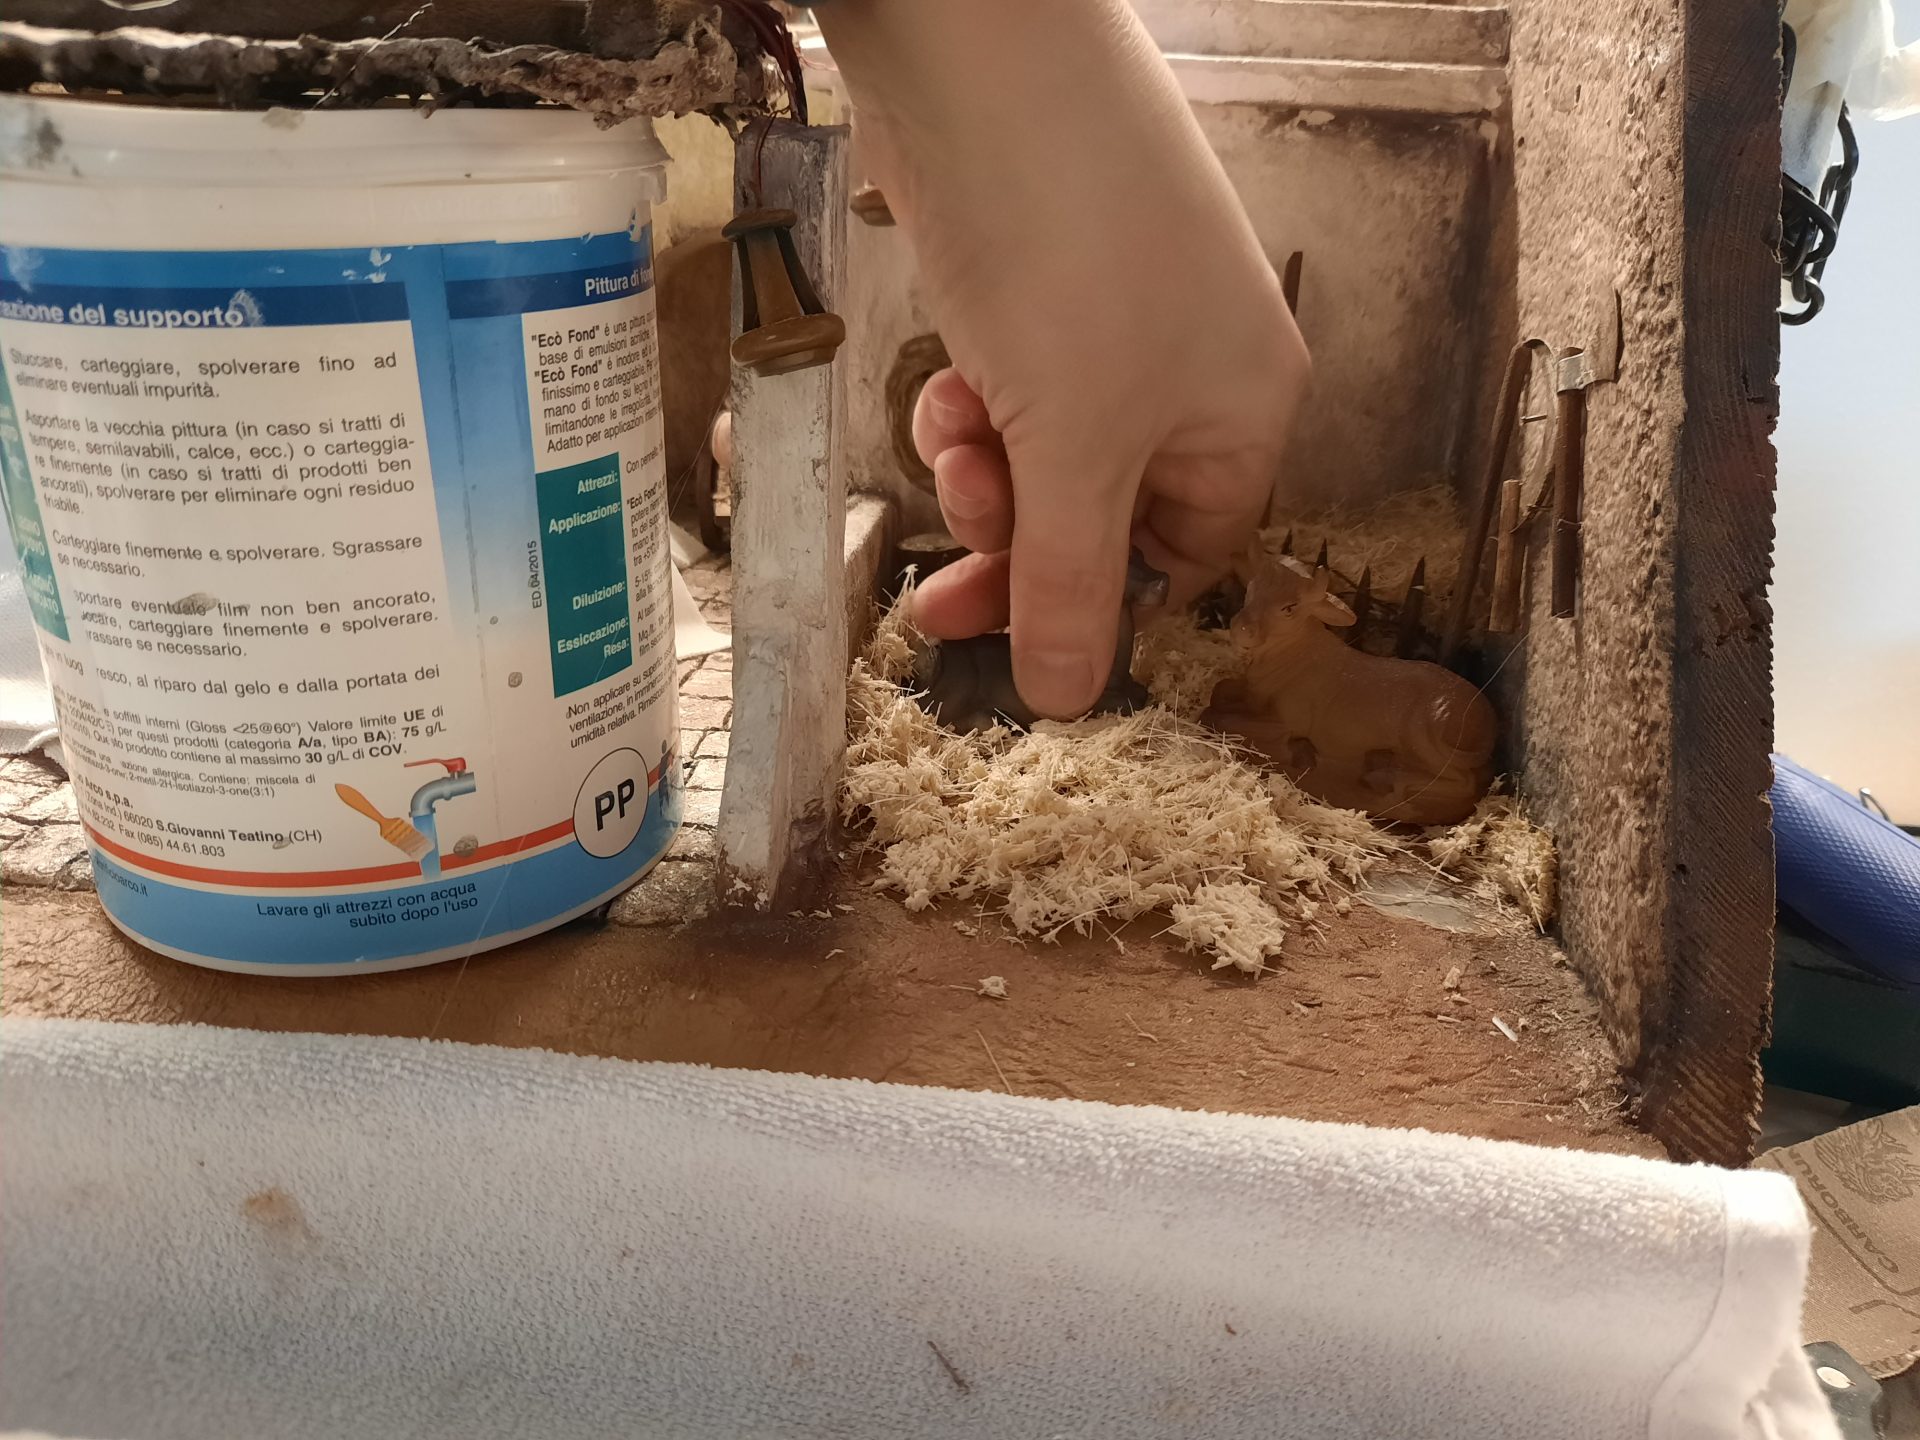
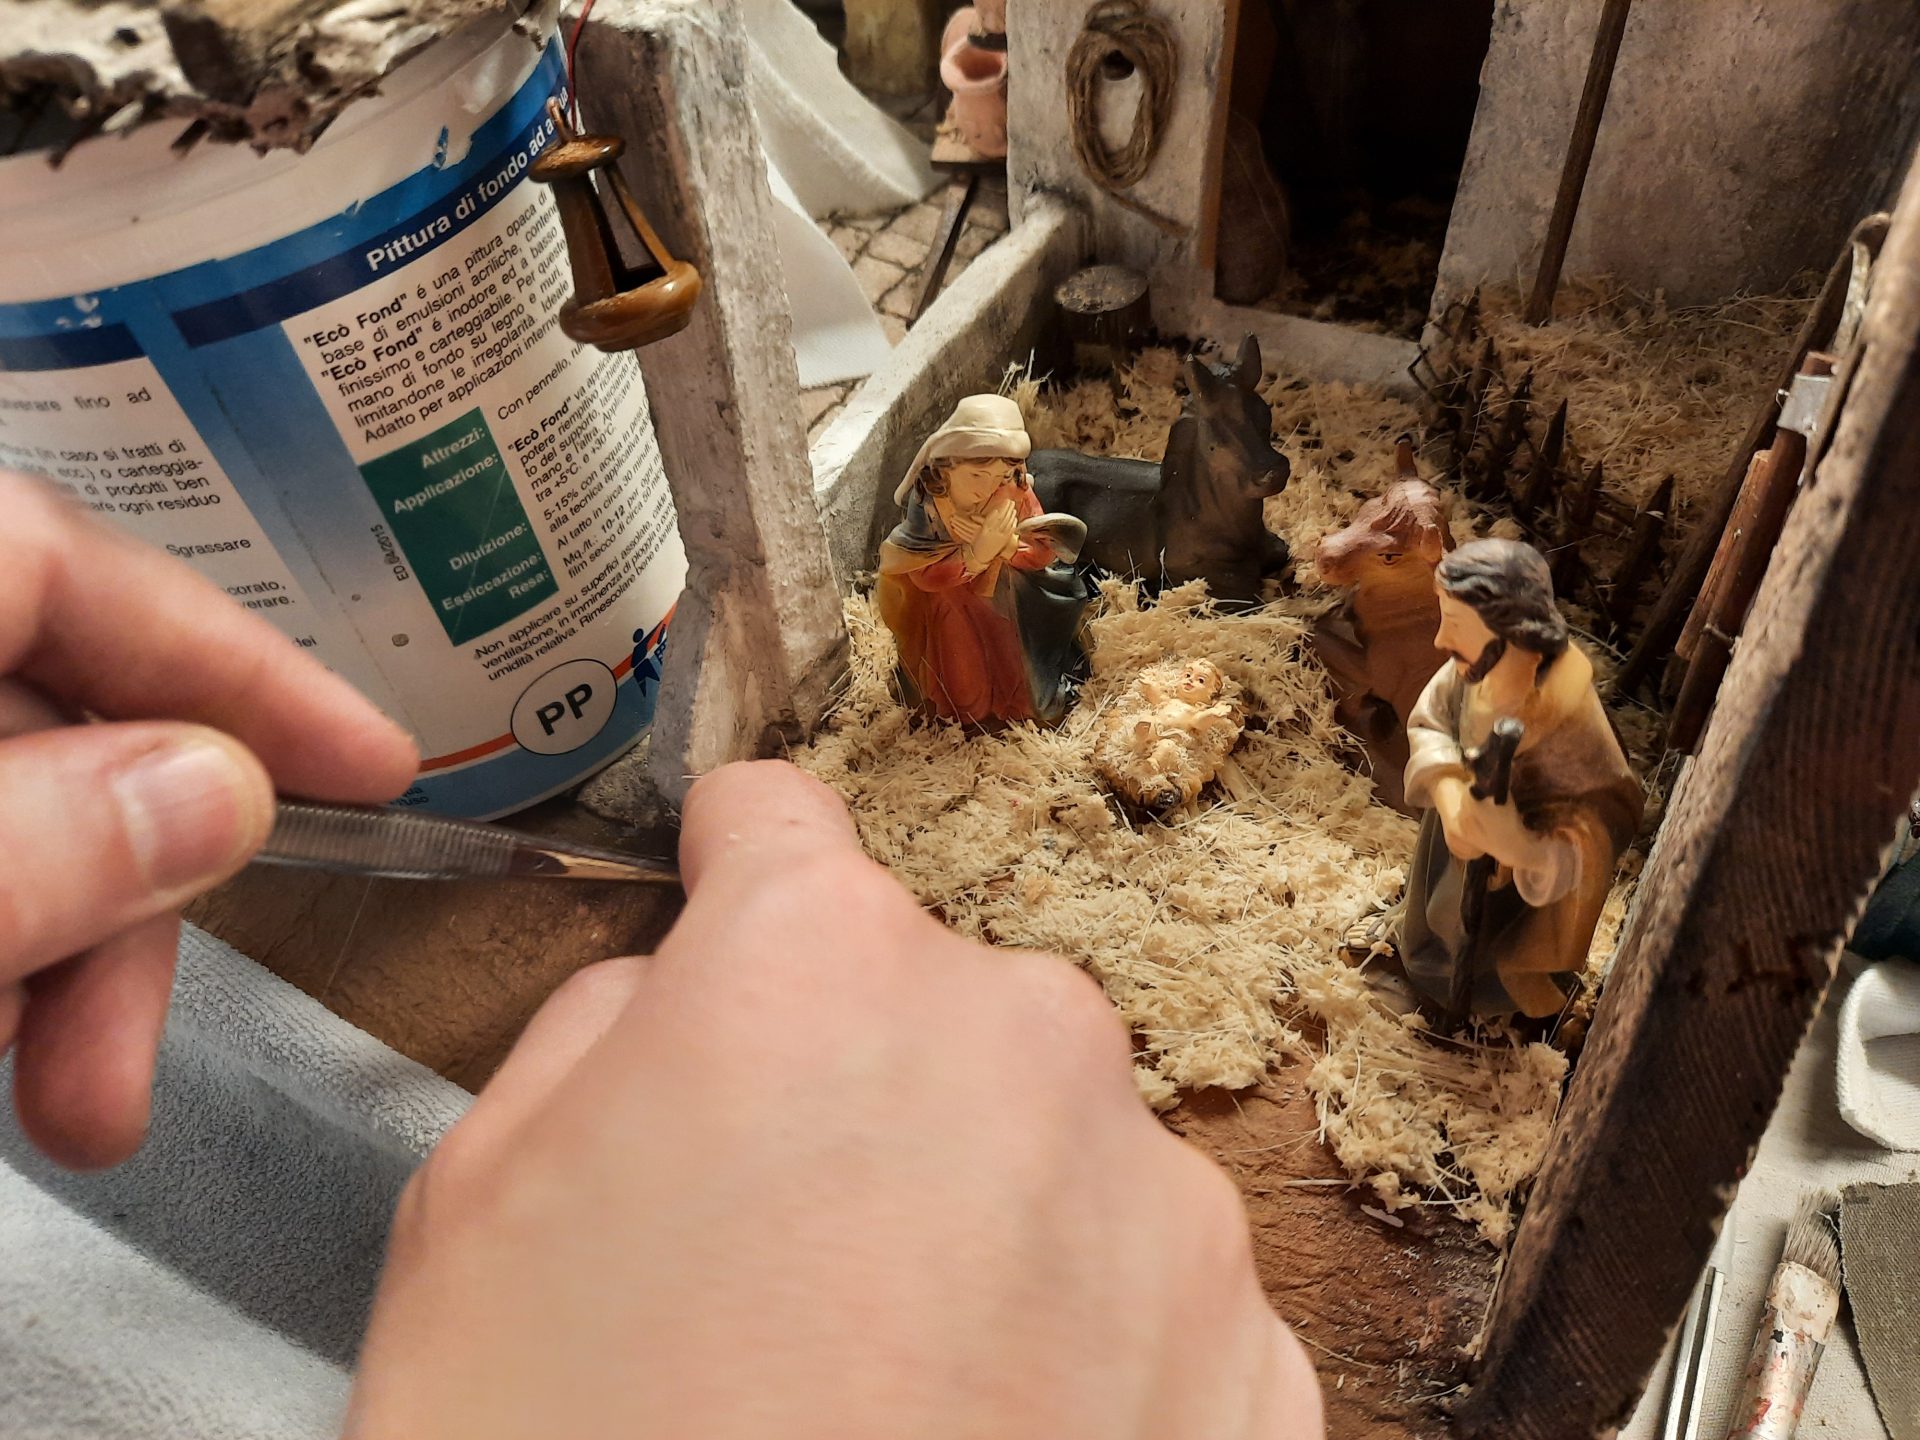
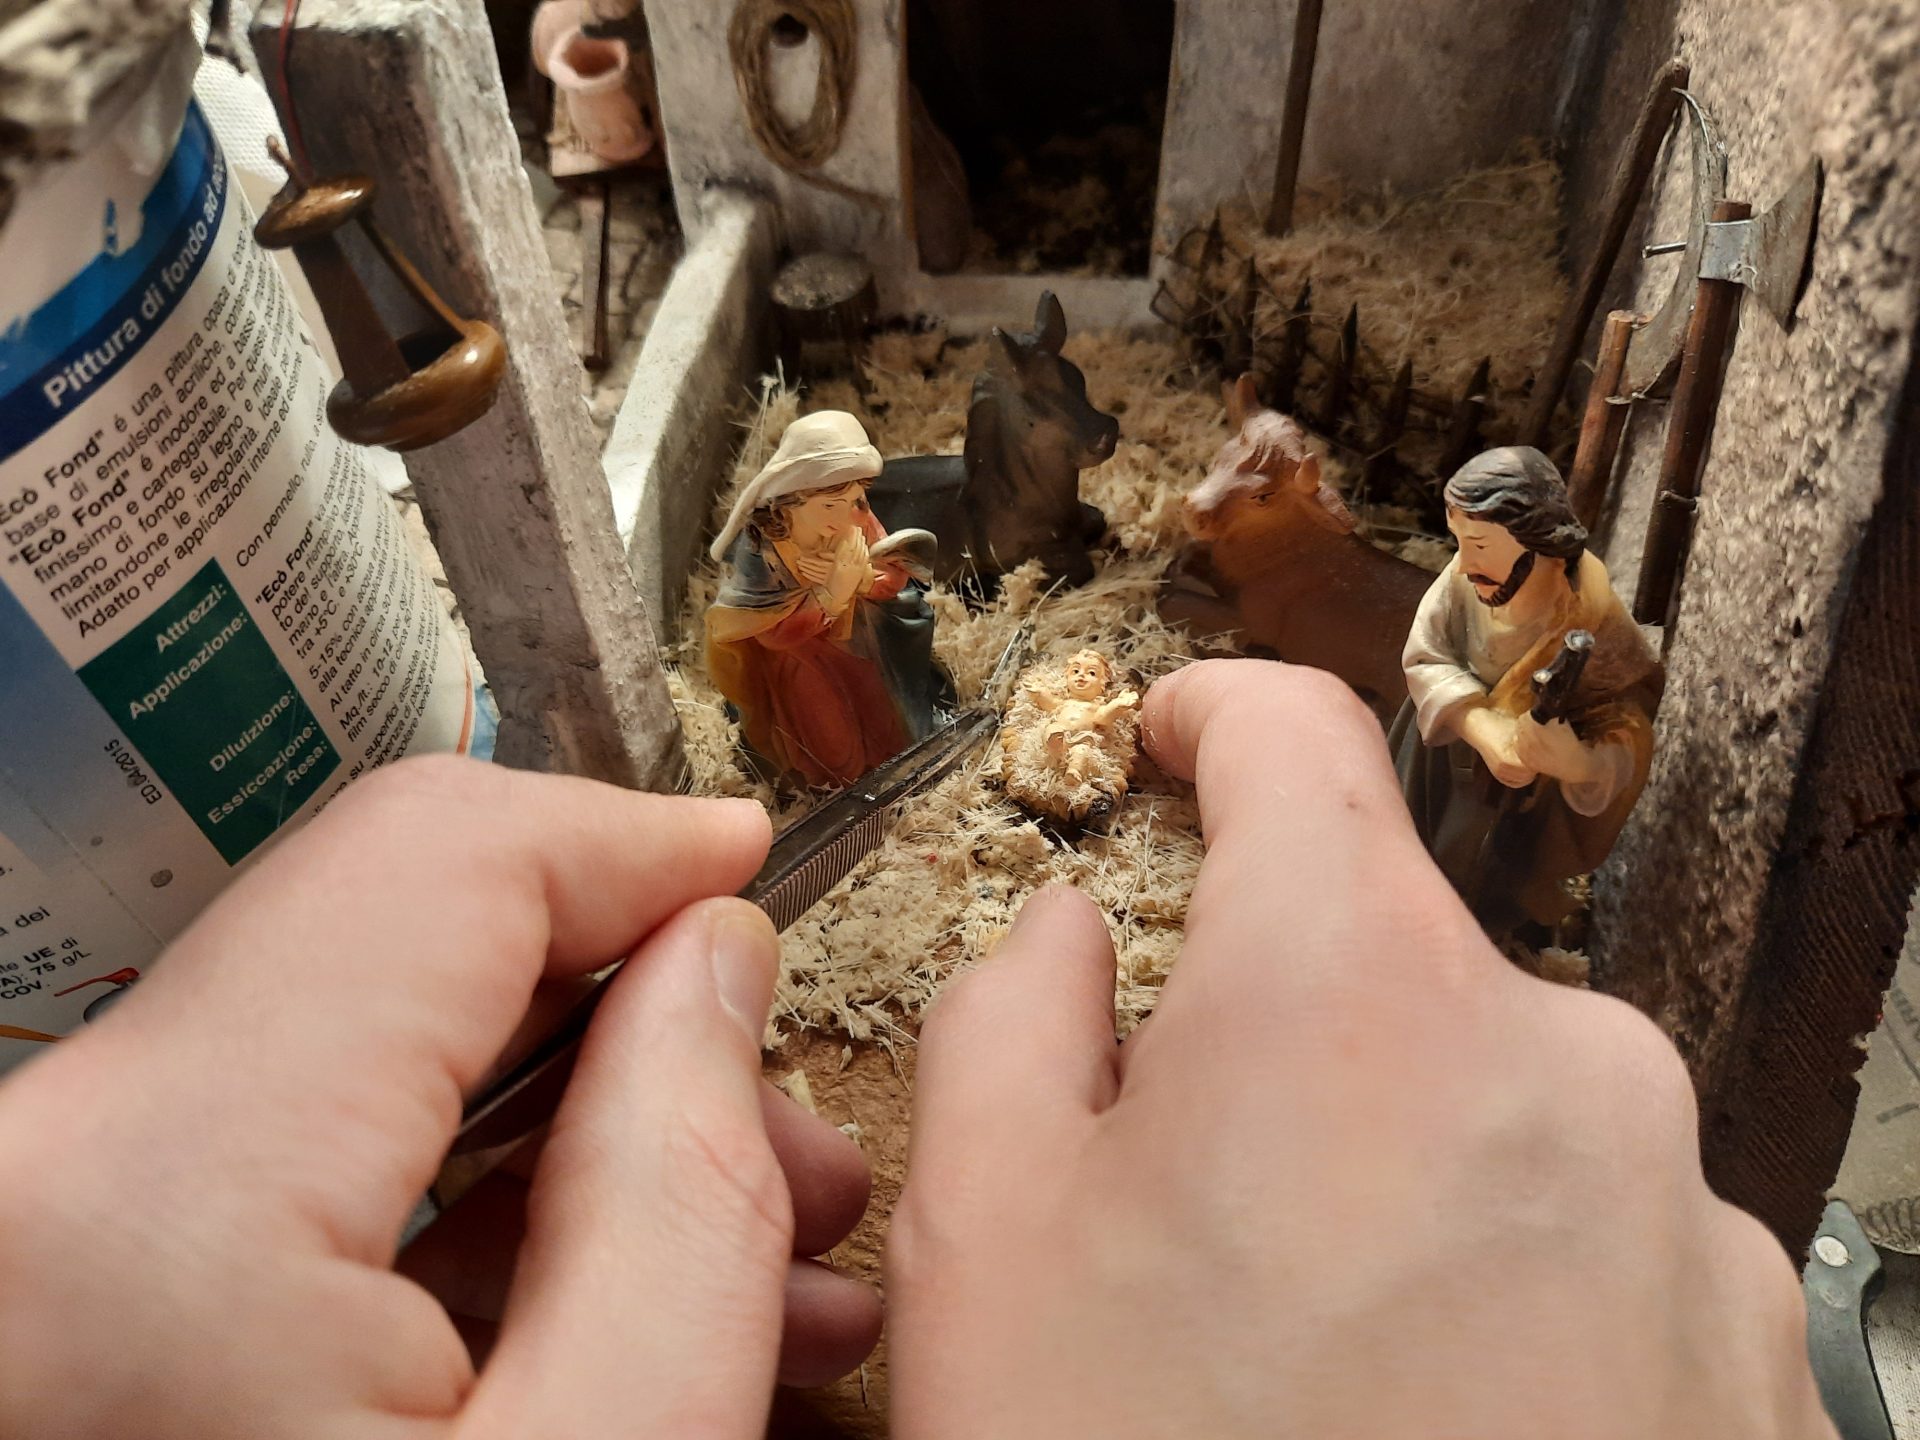
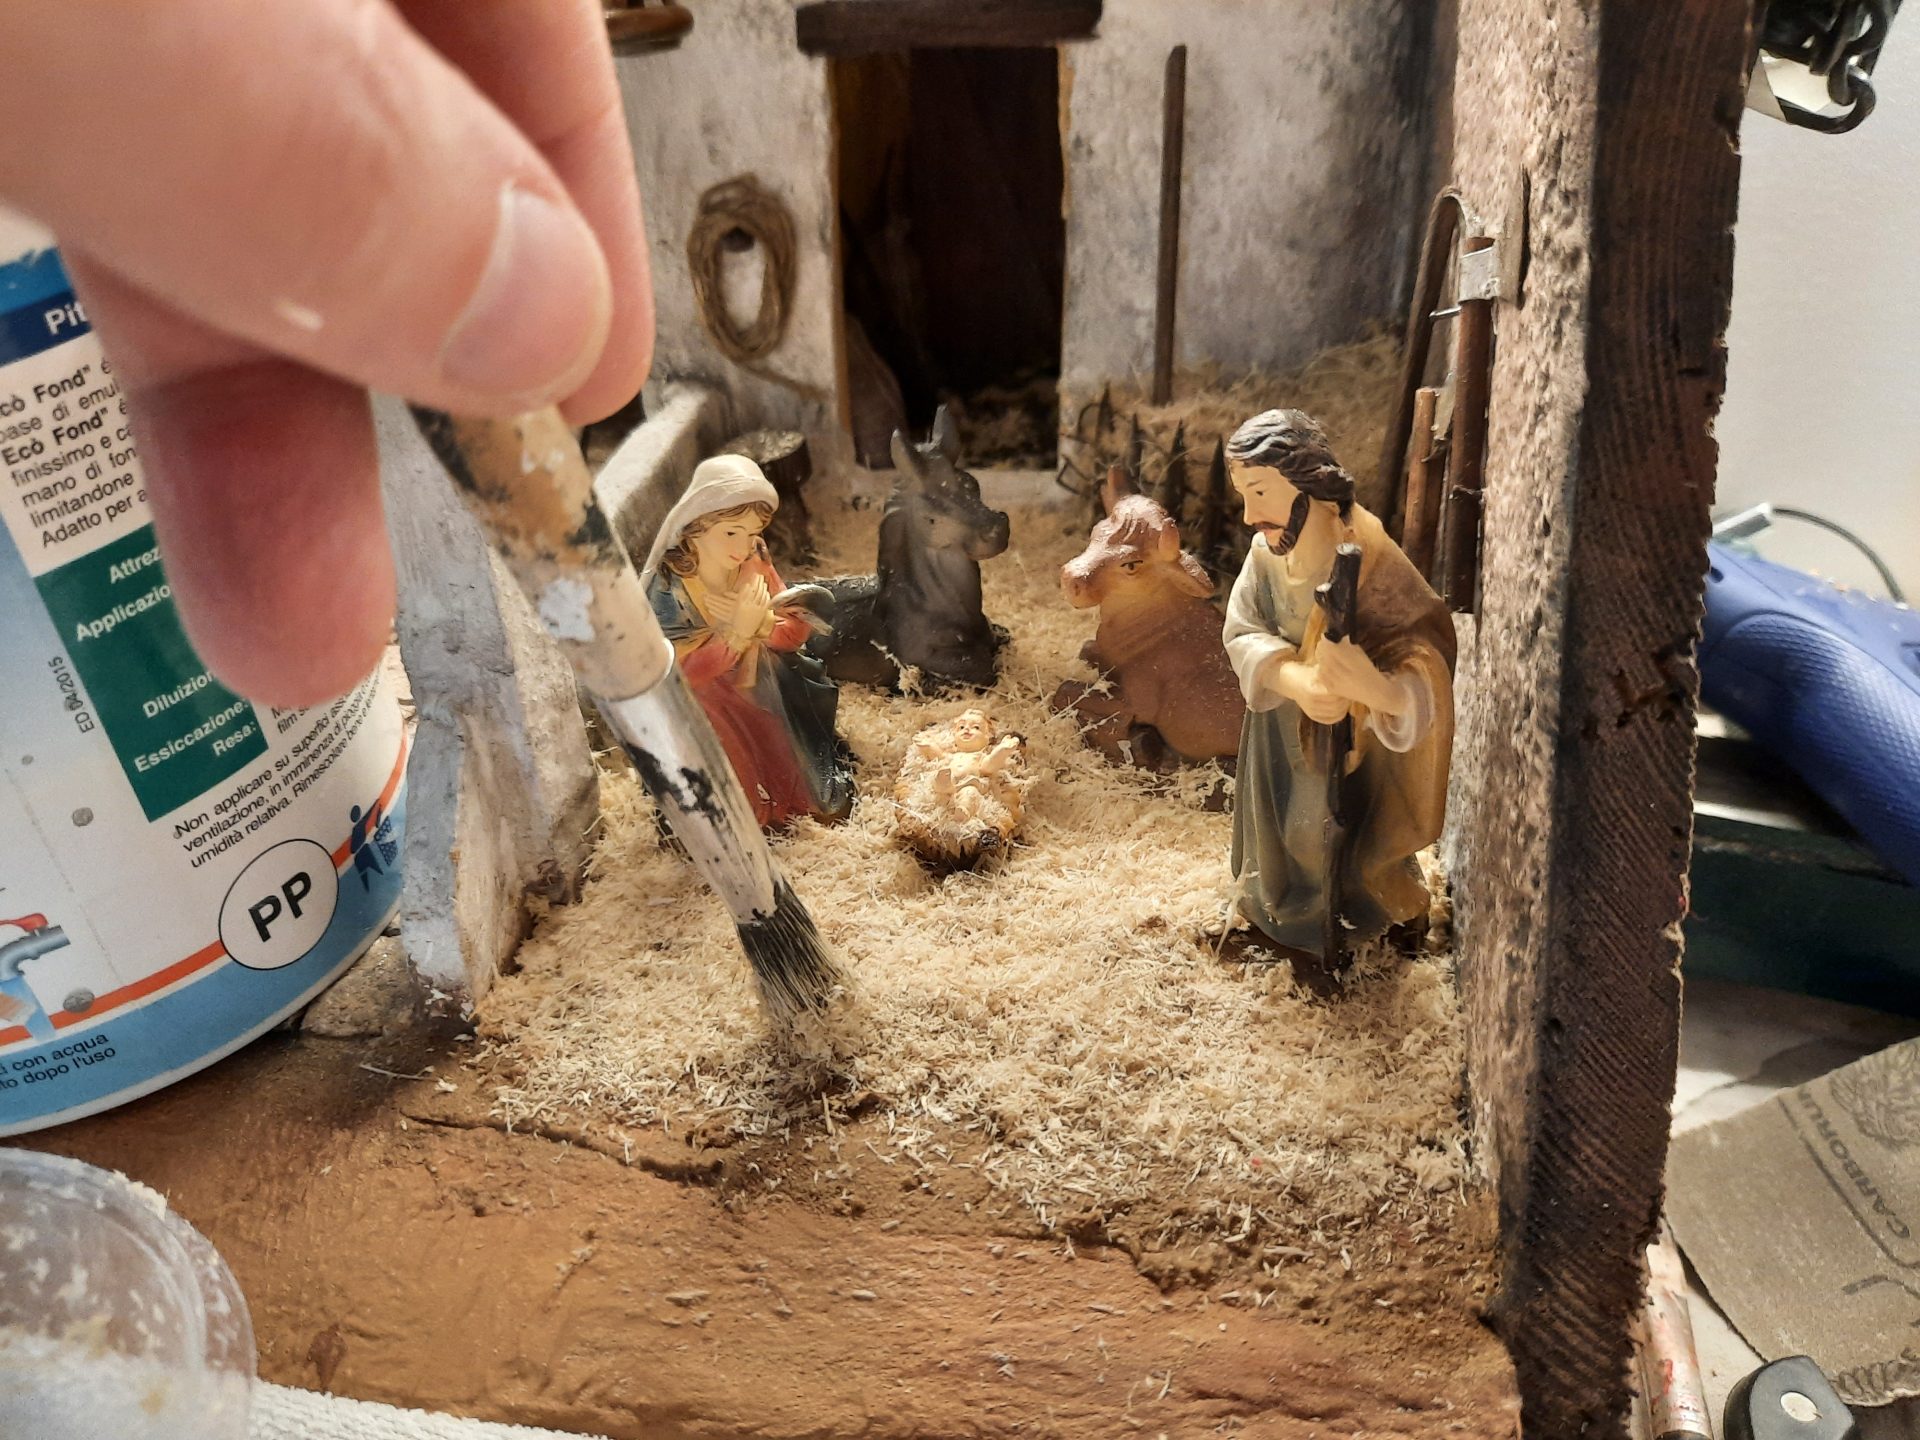
While he worked on the structure, I took care of making the hay, the same material Locutus used for the roof. We were lucky to have an old rope made of a fibrous material similar to raffia. I cut it into tiny chunks, and it looked just like miniature hay. It was a perfect finishing touch for the manger scene to come. I had to make a lot, so it was a long and repetitive task, but rewarding in the end.
Adding details to the building exteriors
A wooden roof
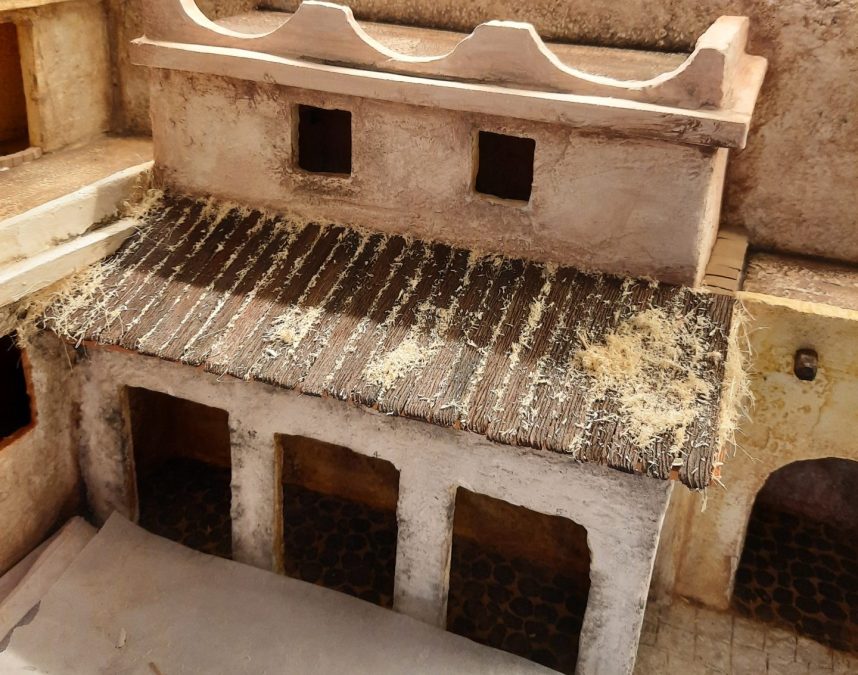
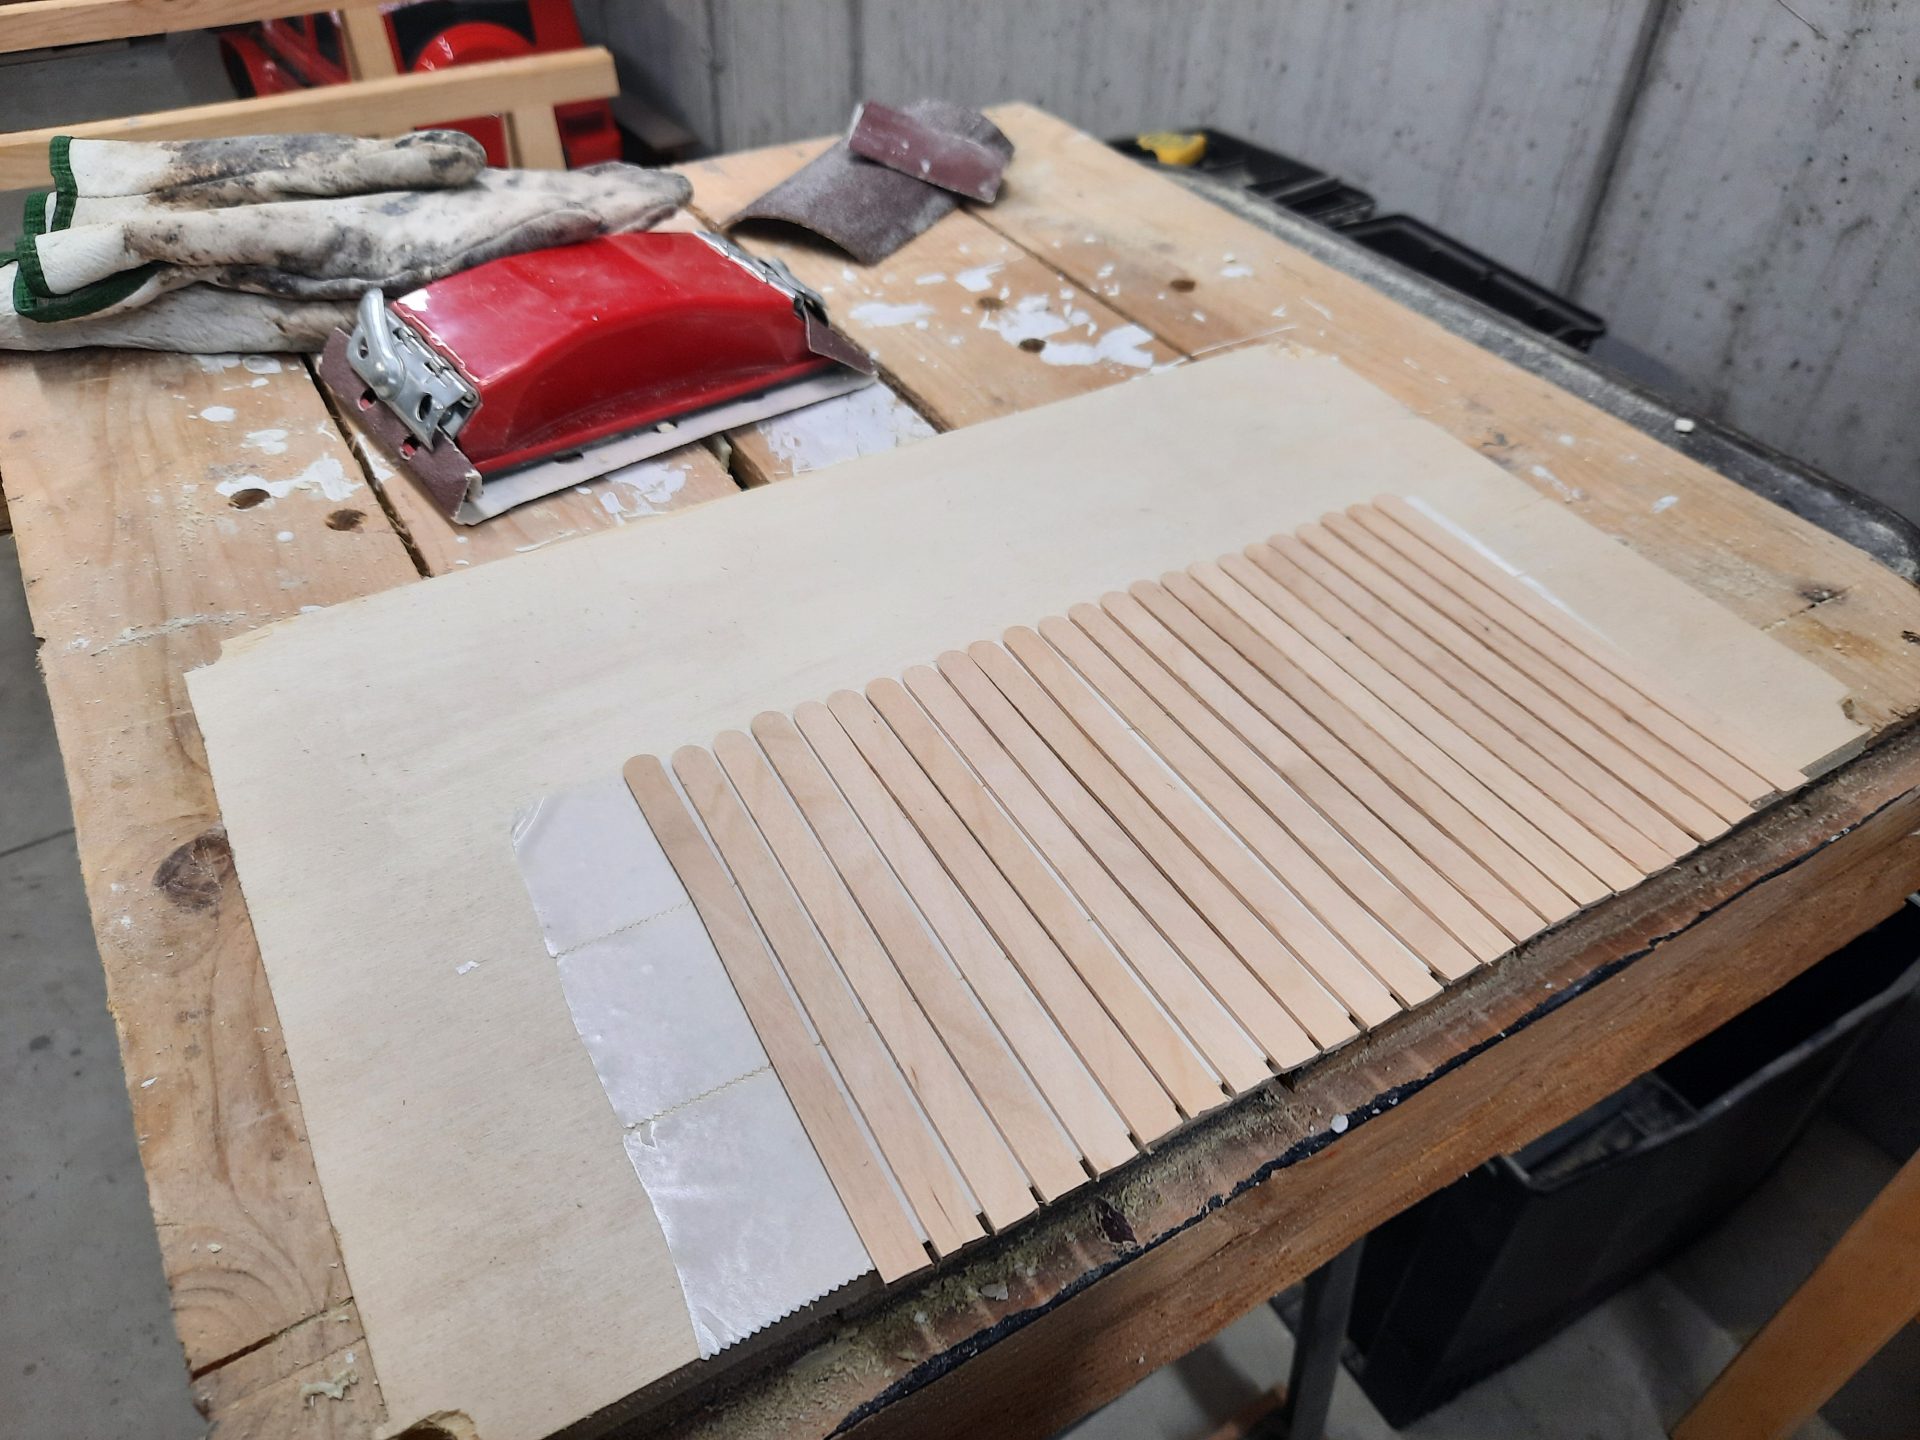
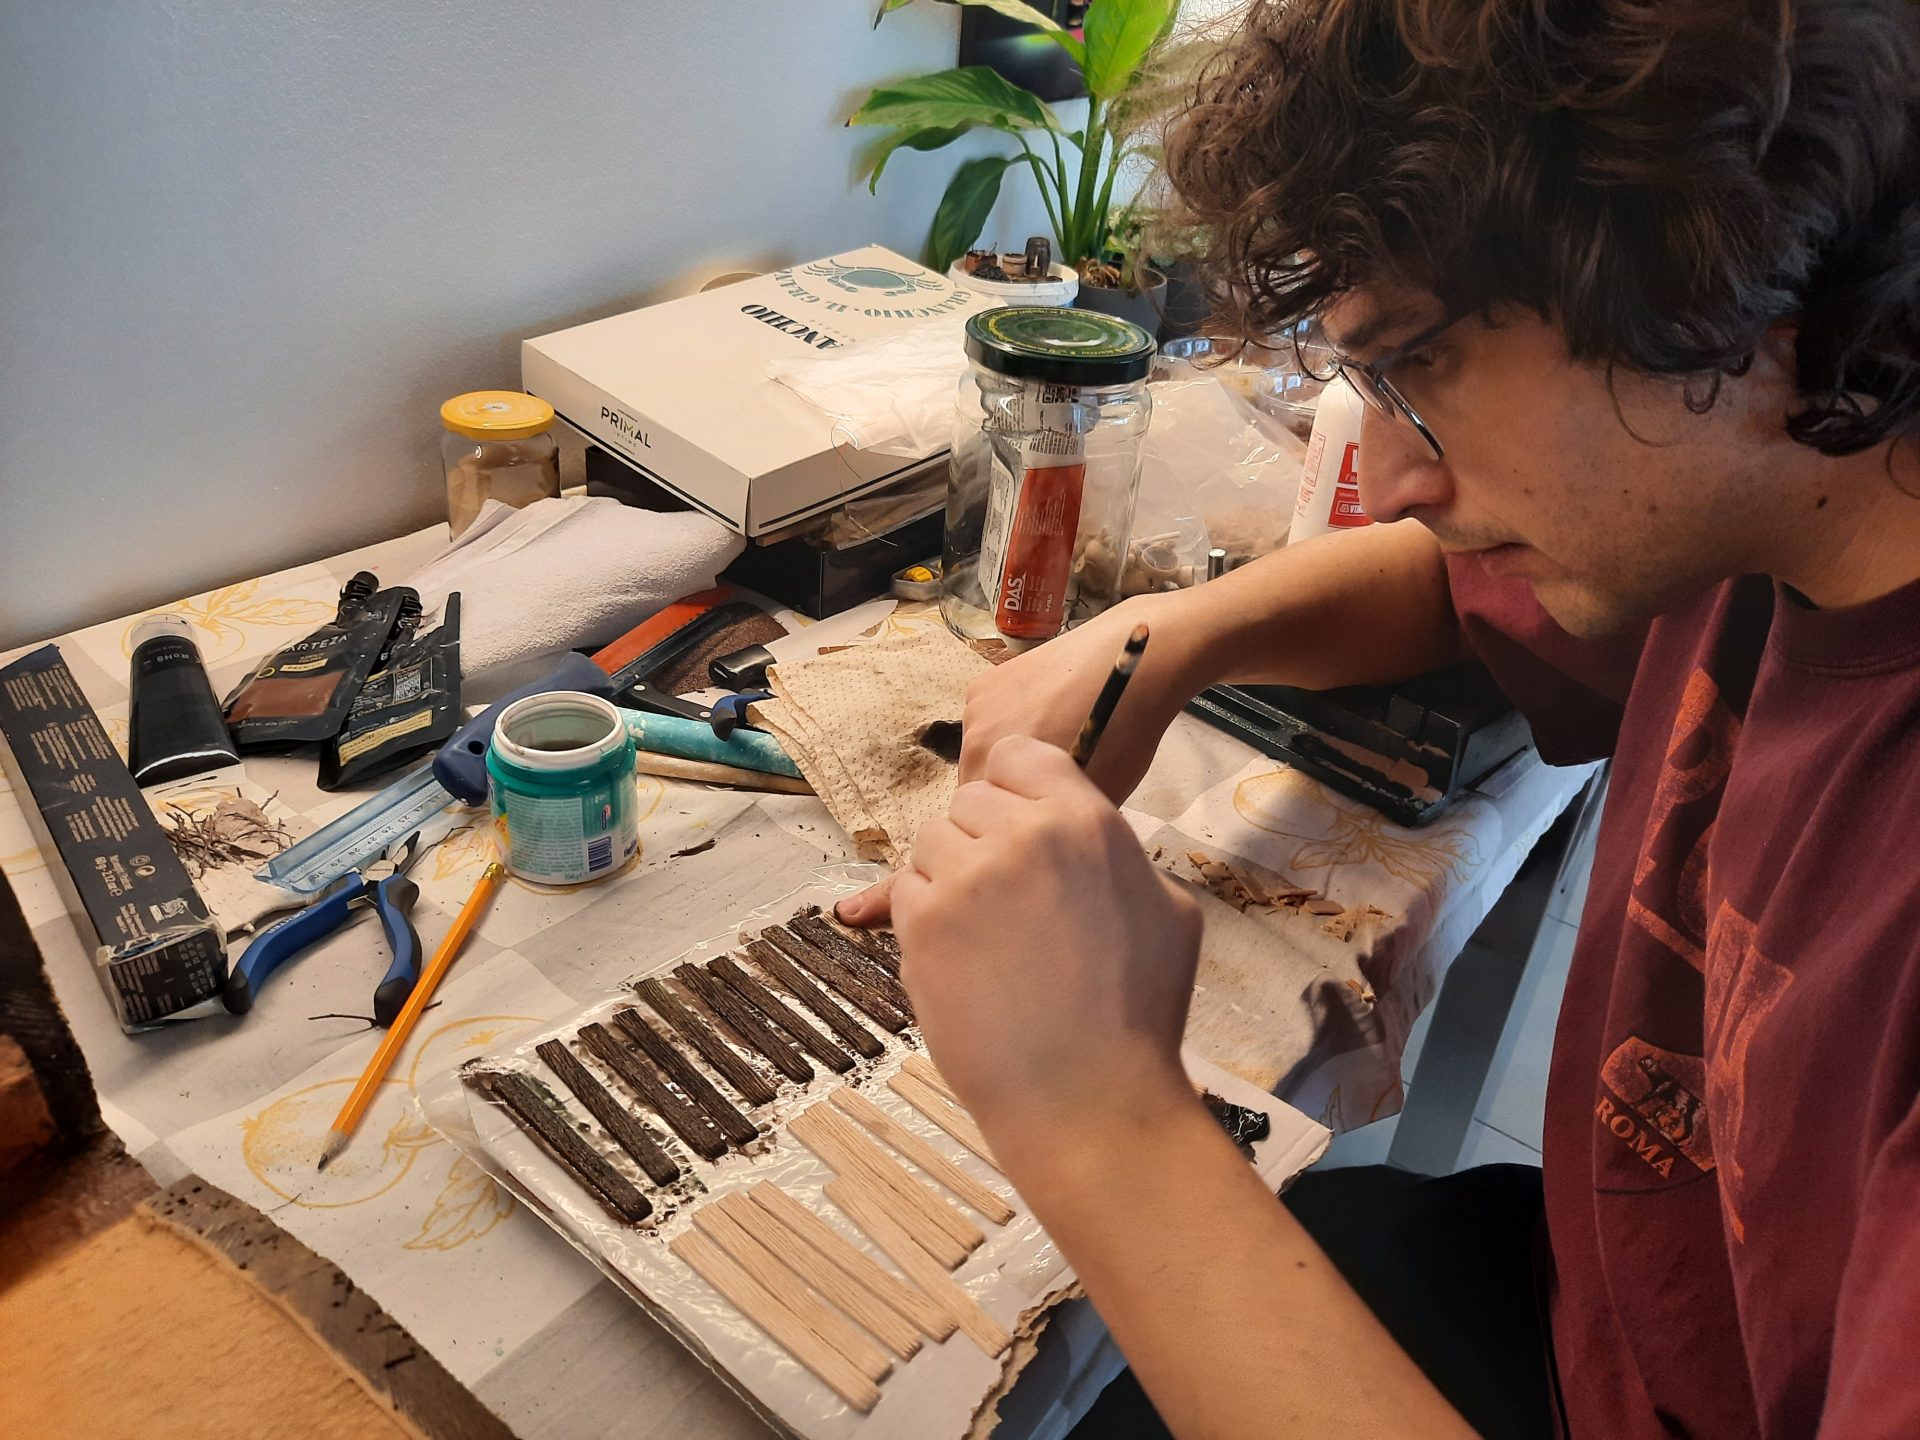
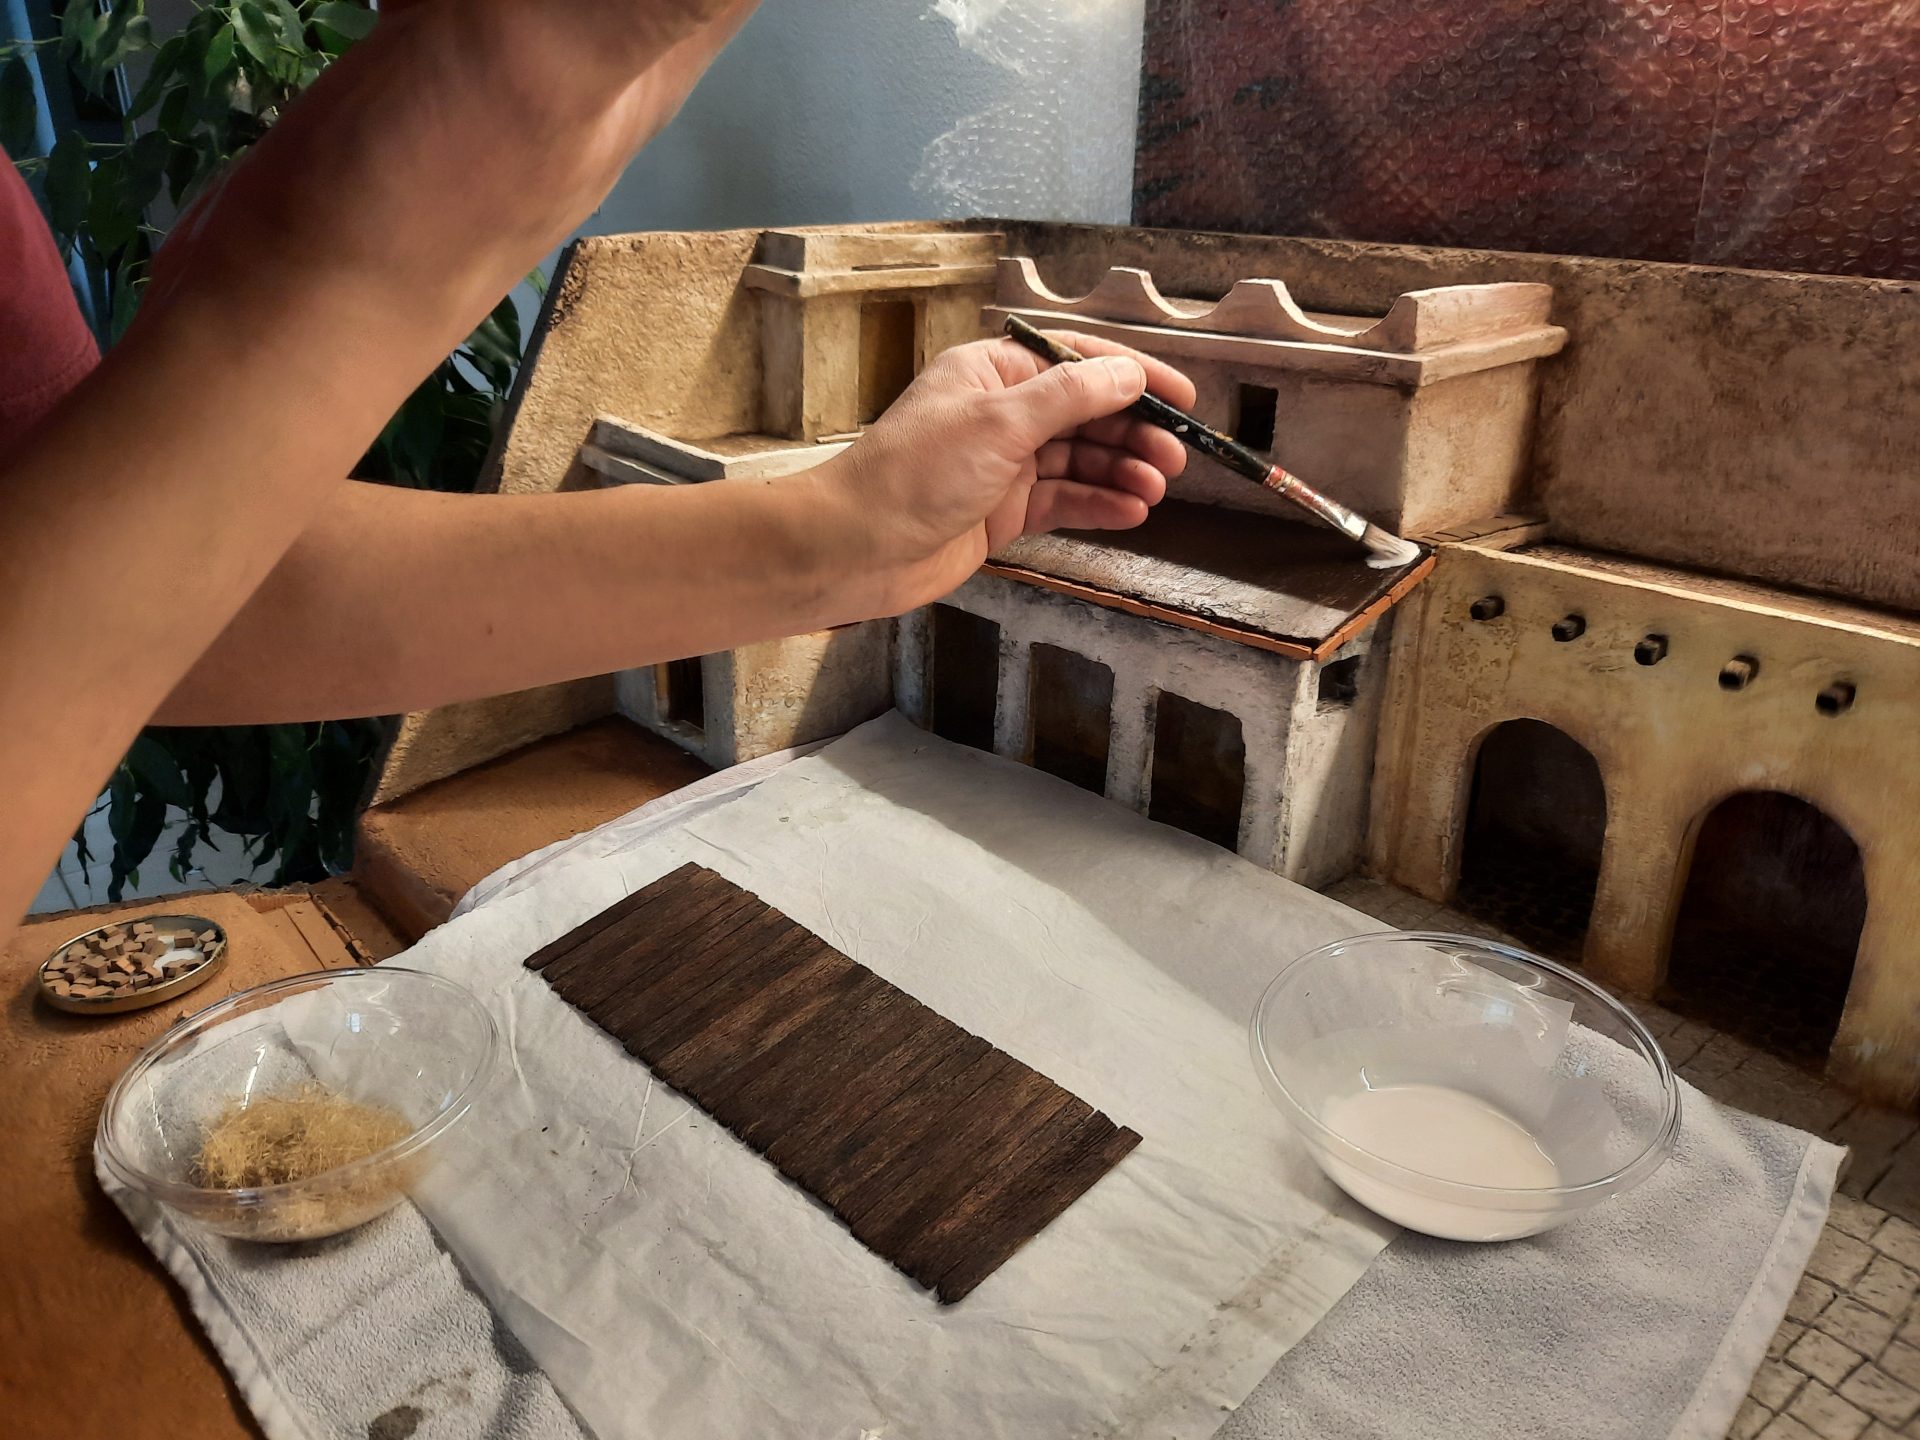
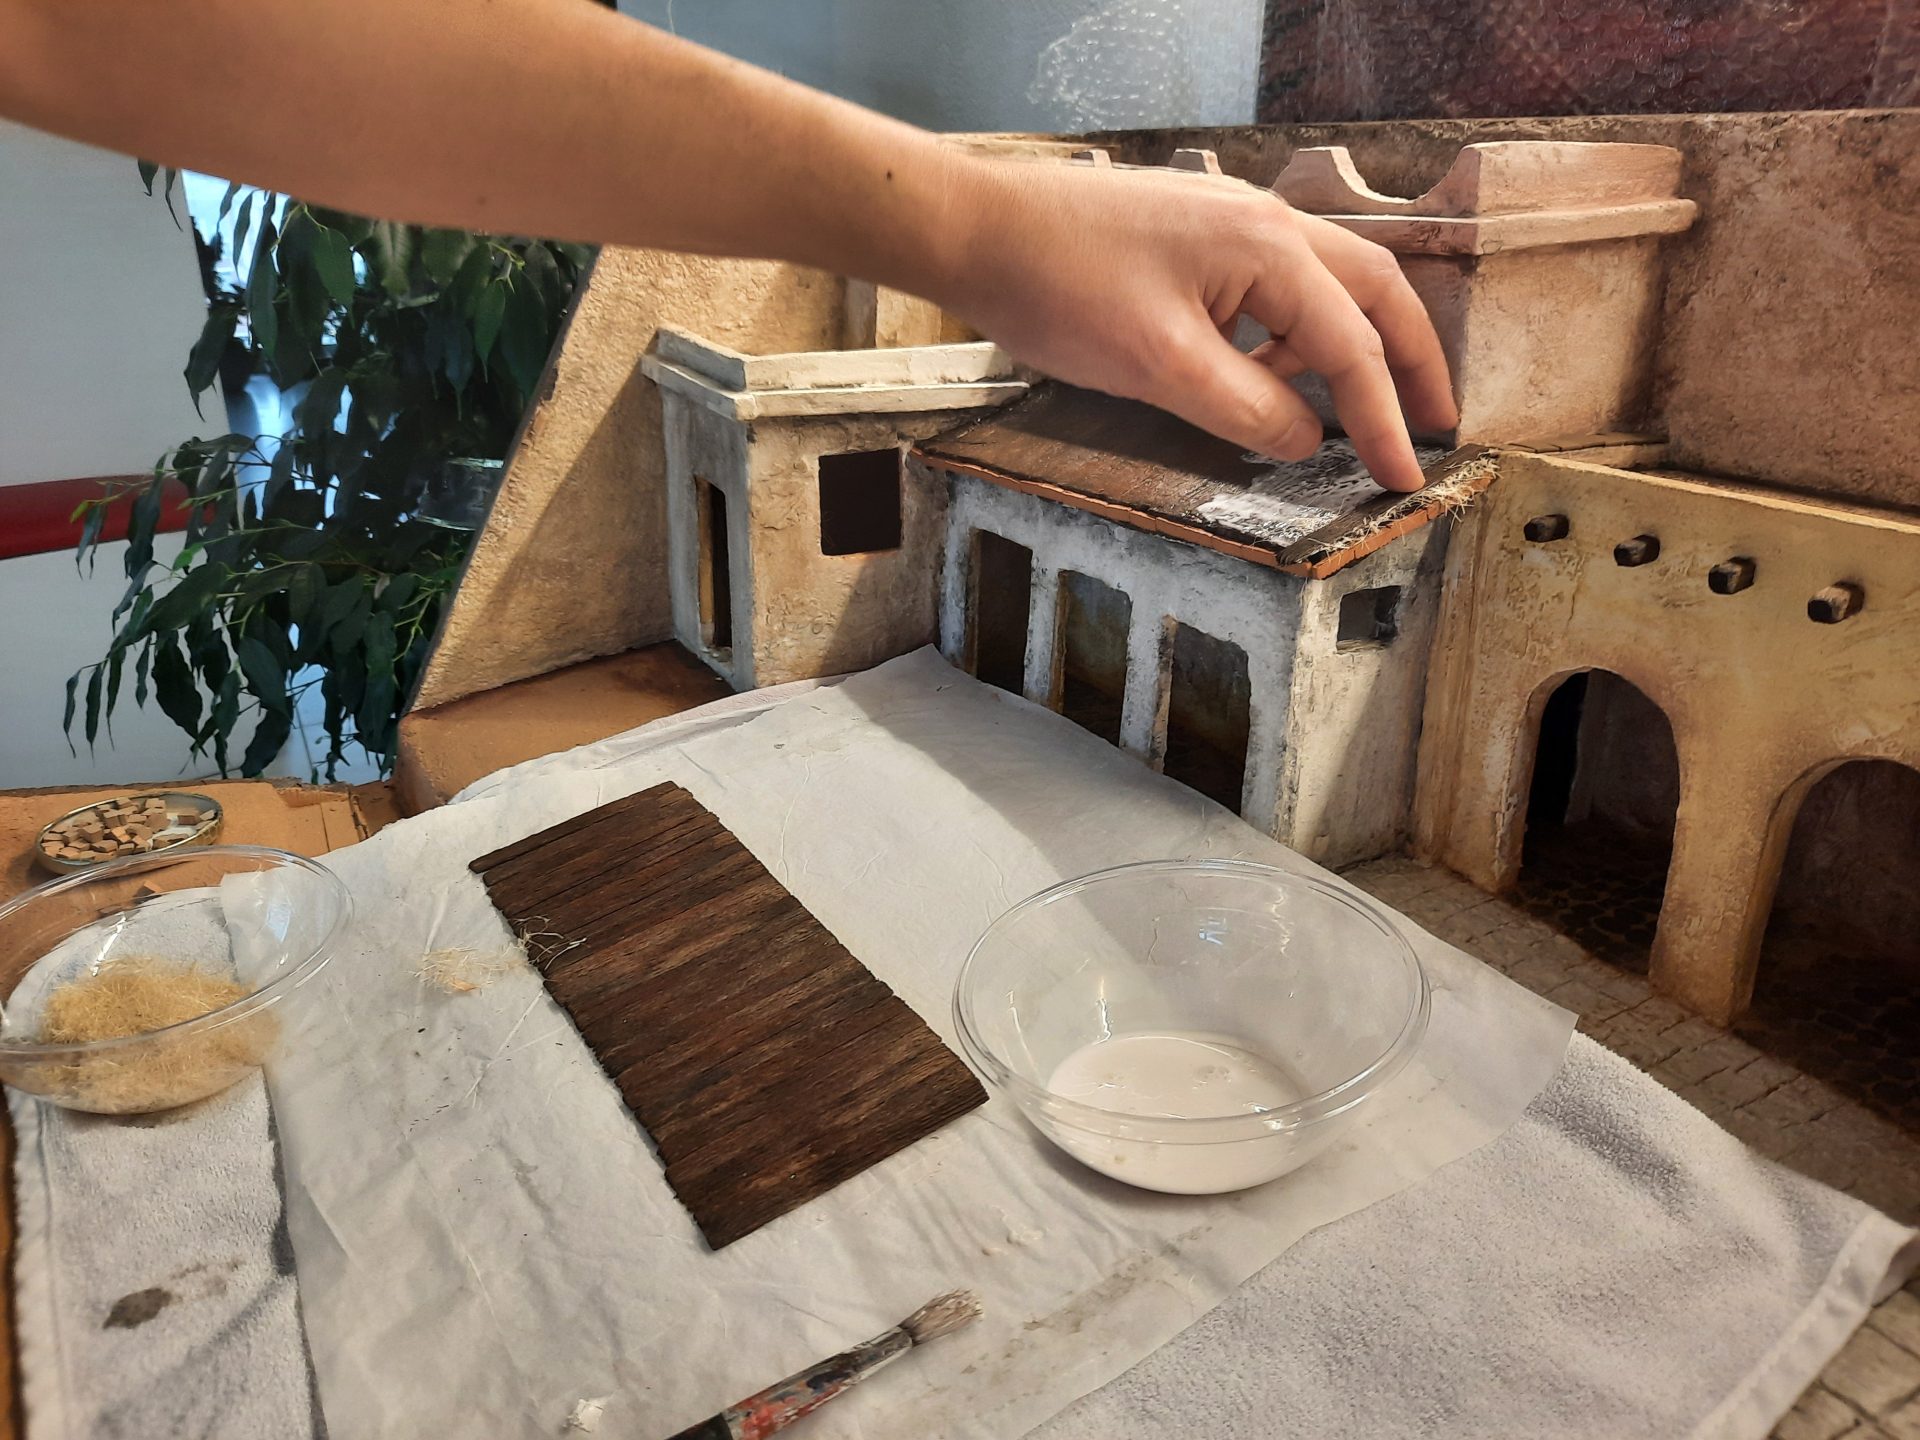
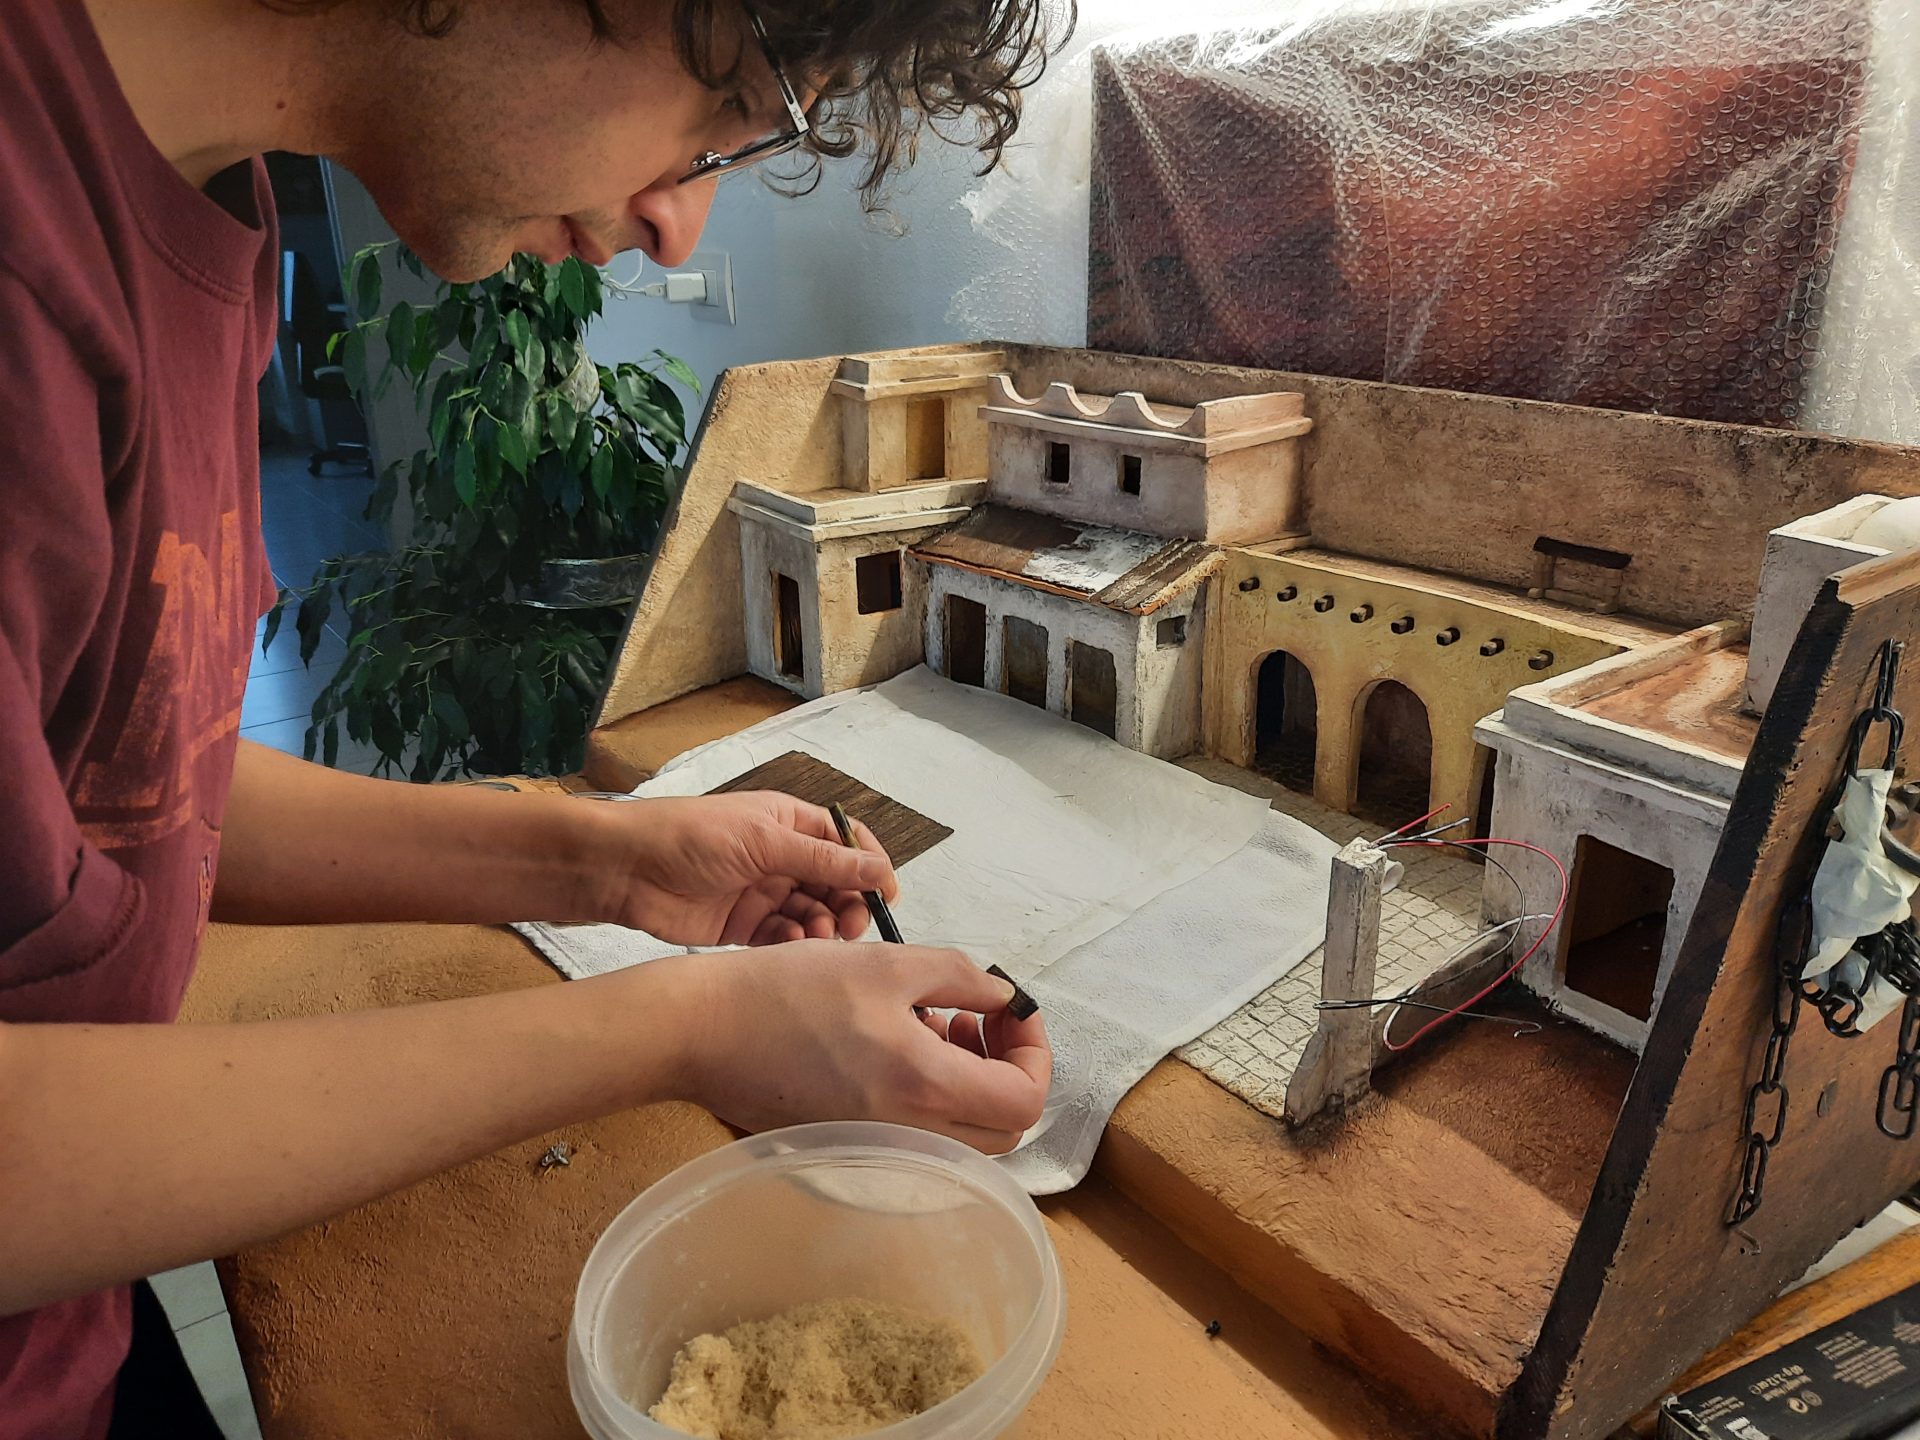
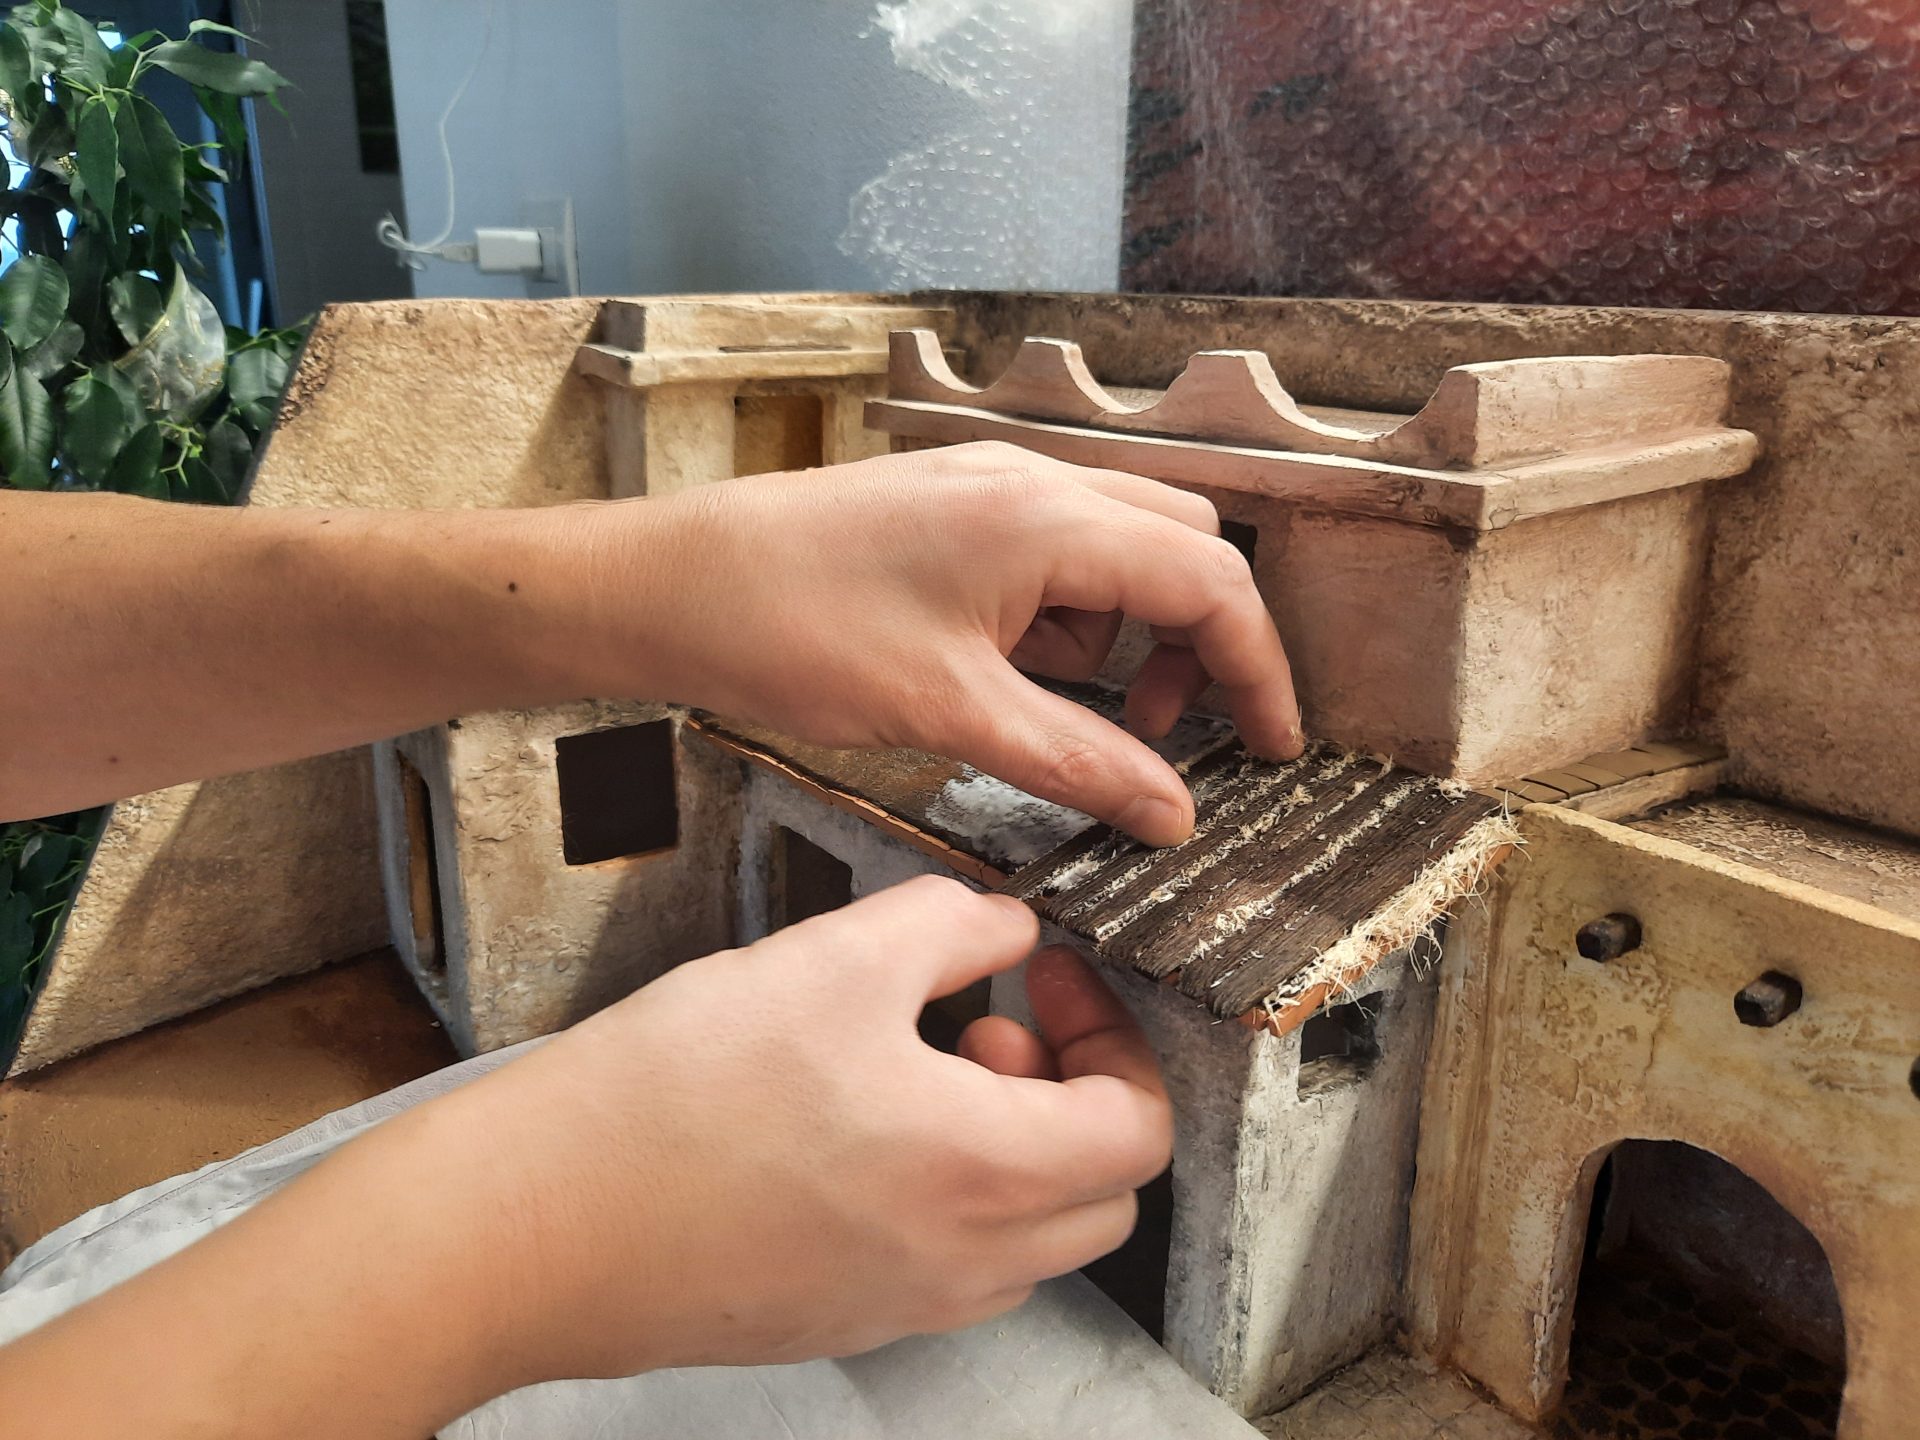
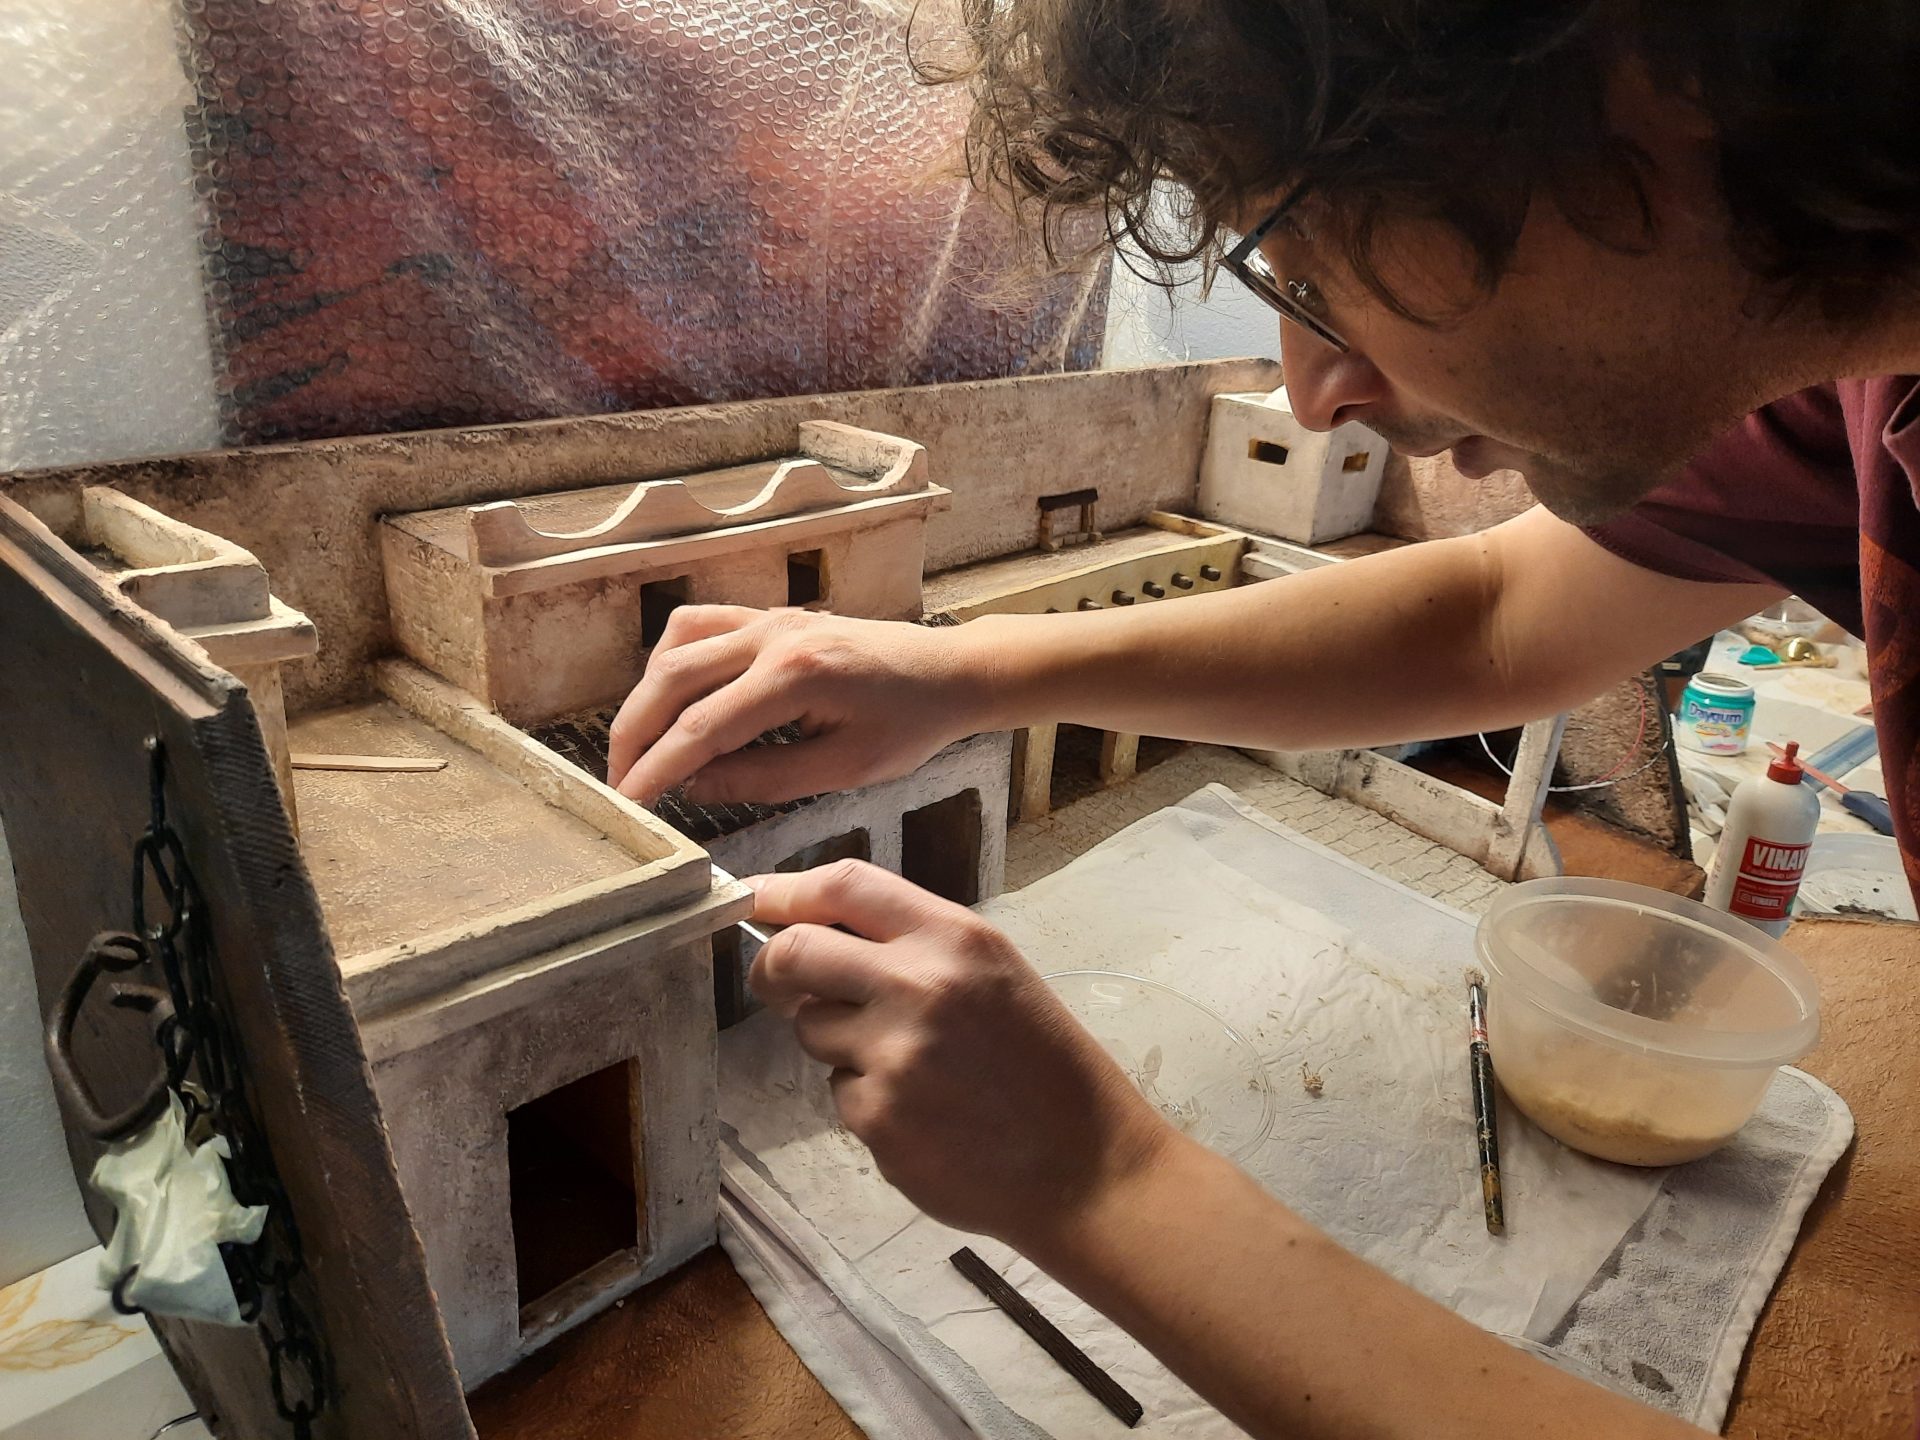
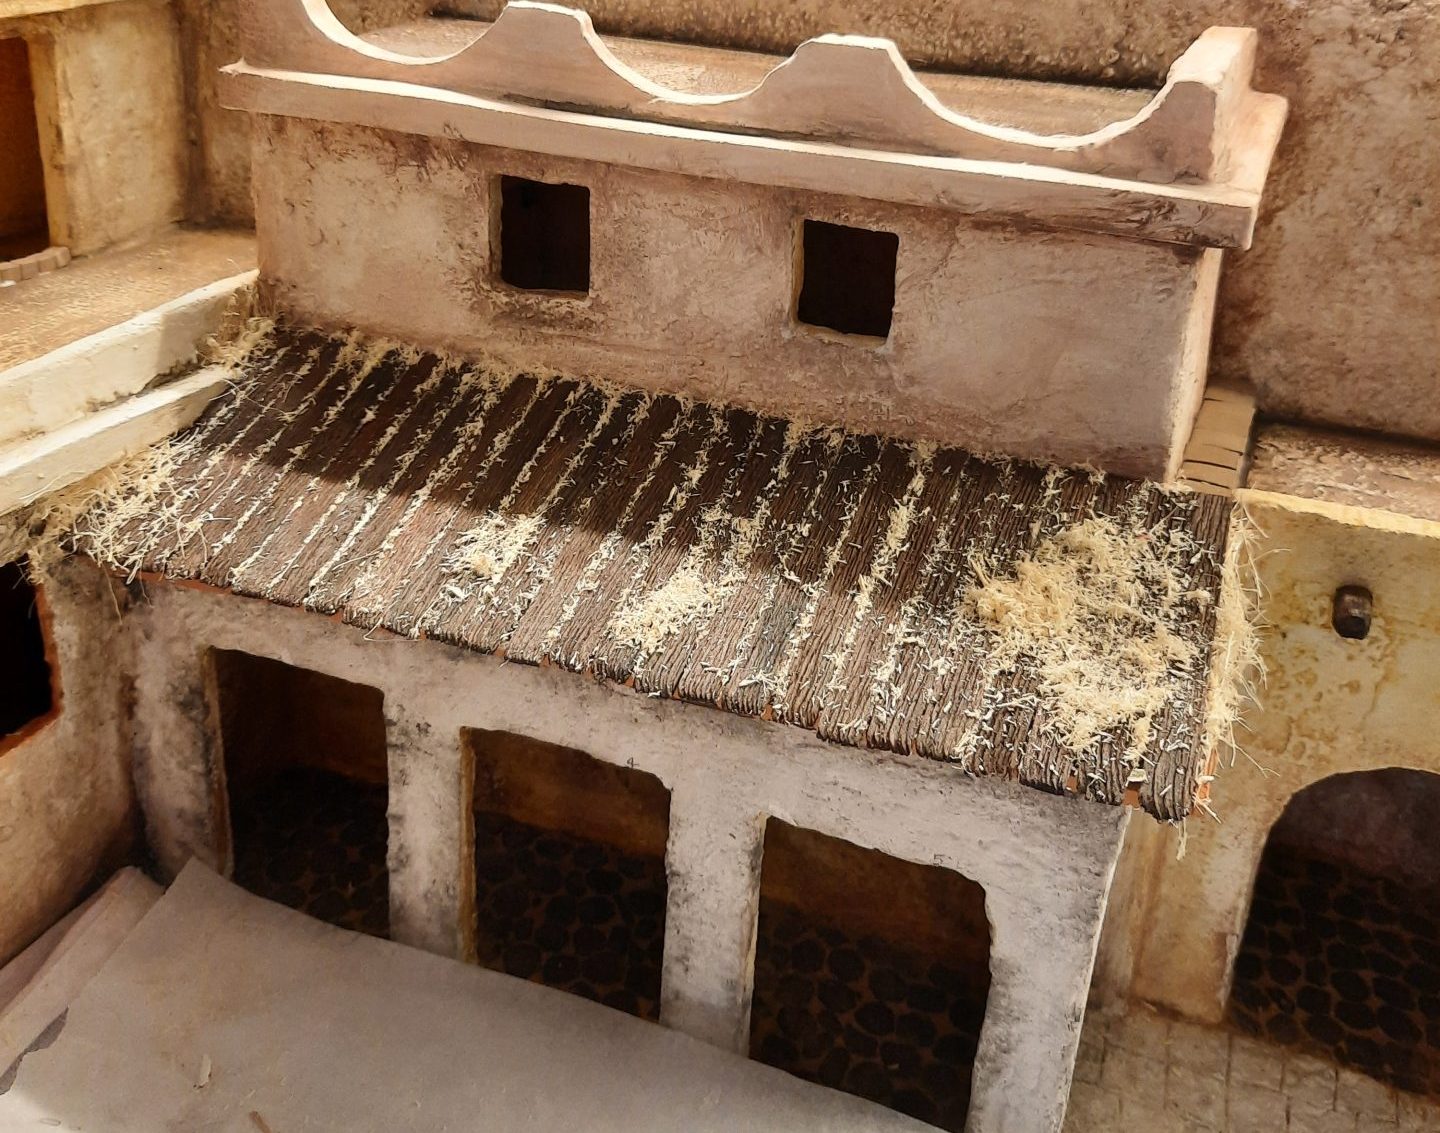
Next, my husband began working on another roof. This time, it was entirely wooden, meant to cover the horse stable at the ground floor of a two-storey house: a more “noble” stable, reserved for horses and with space for a smith.
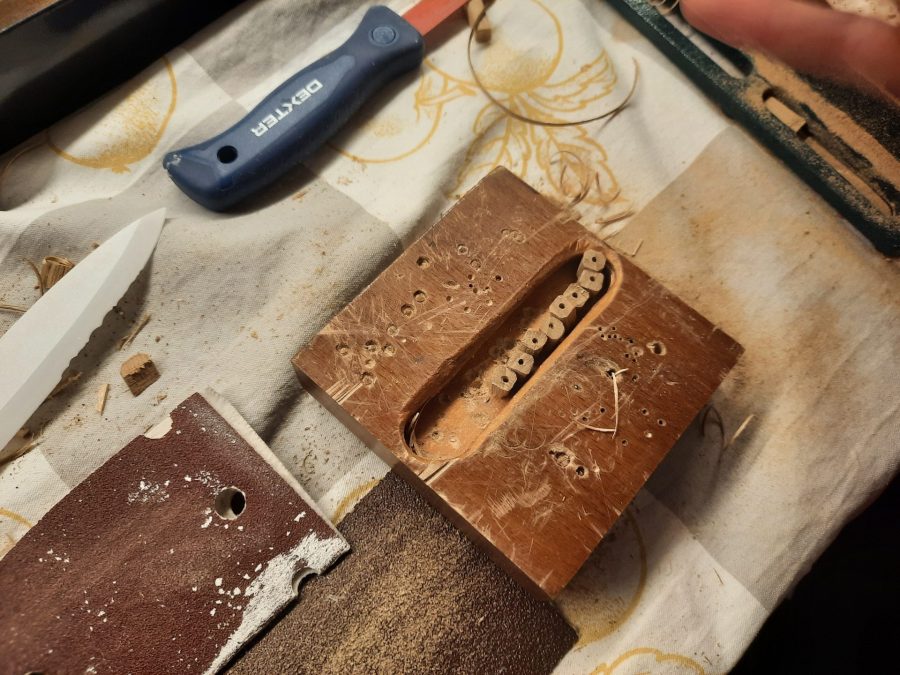
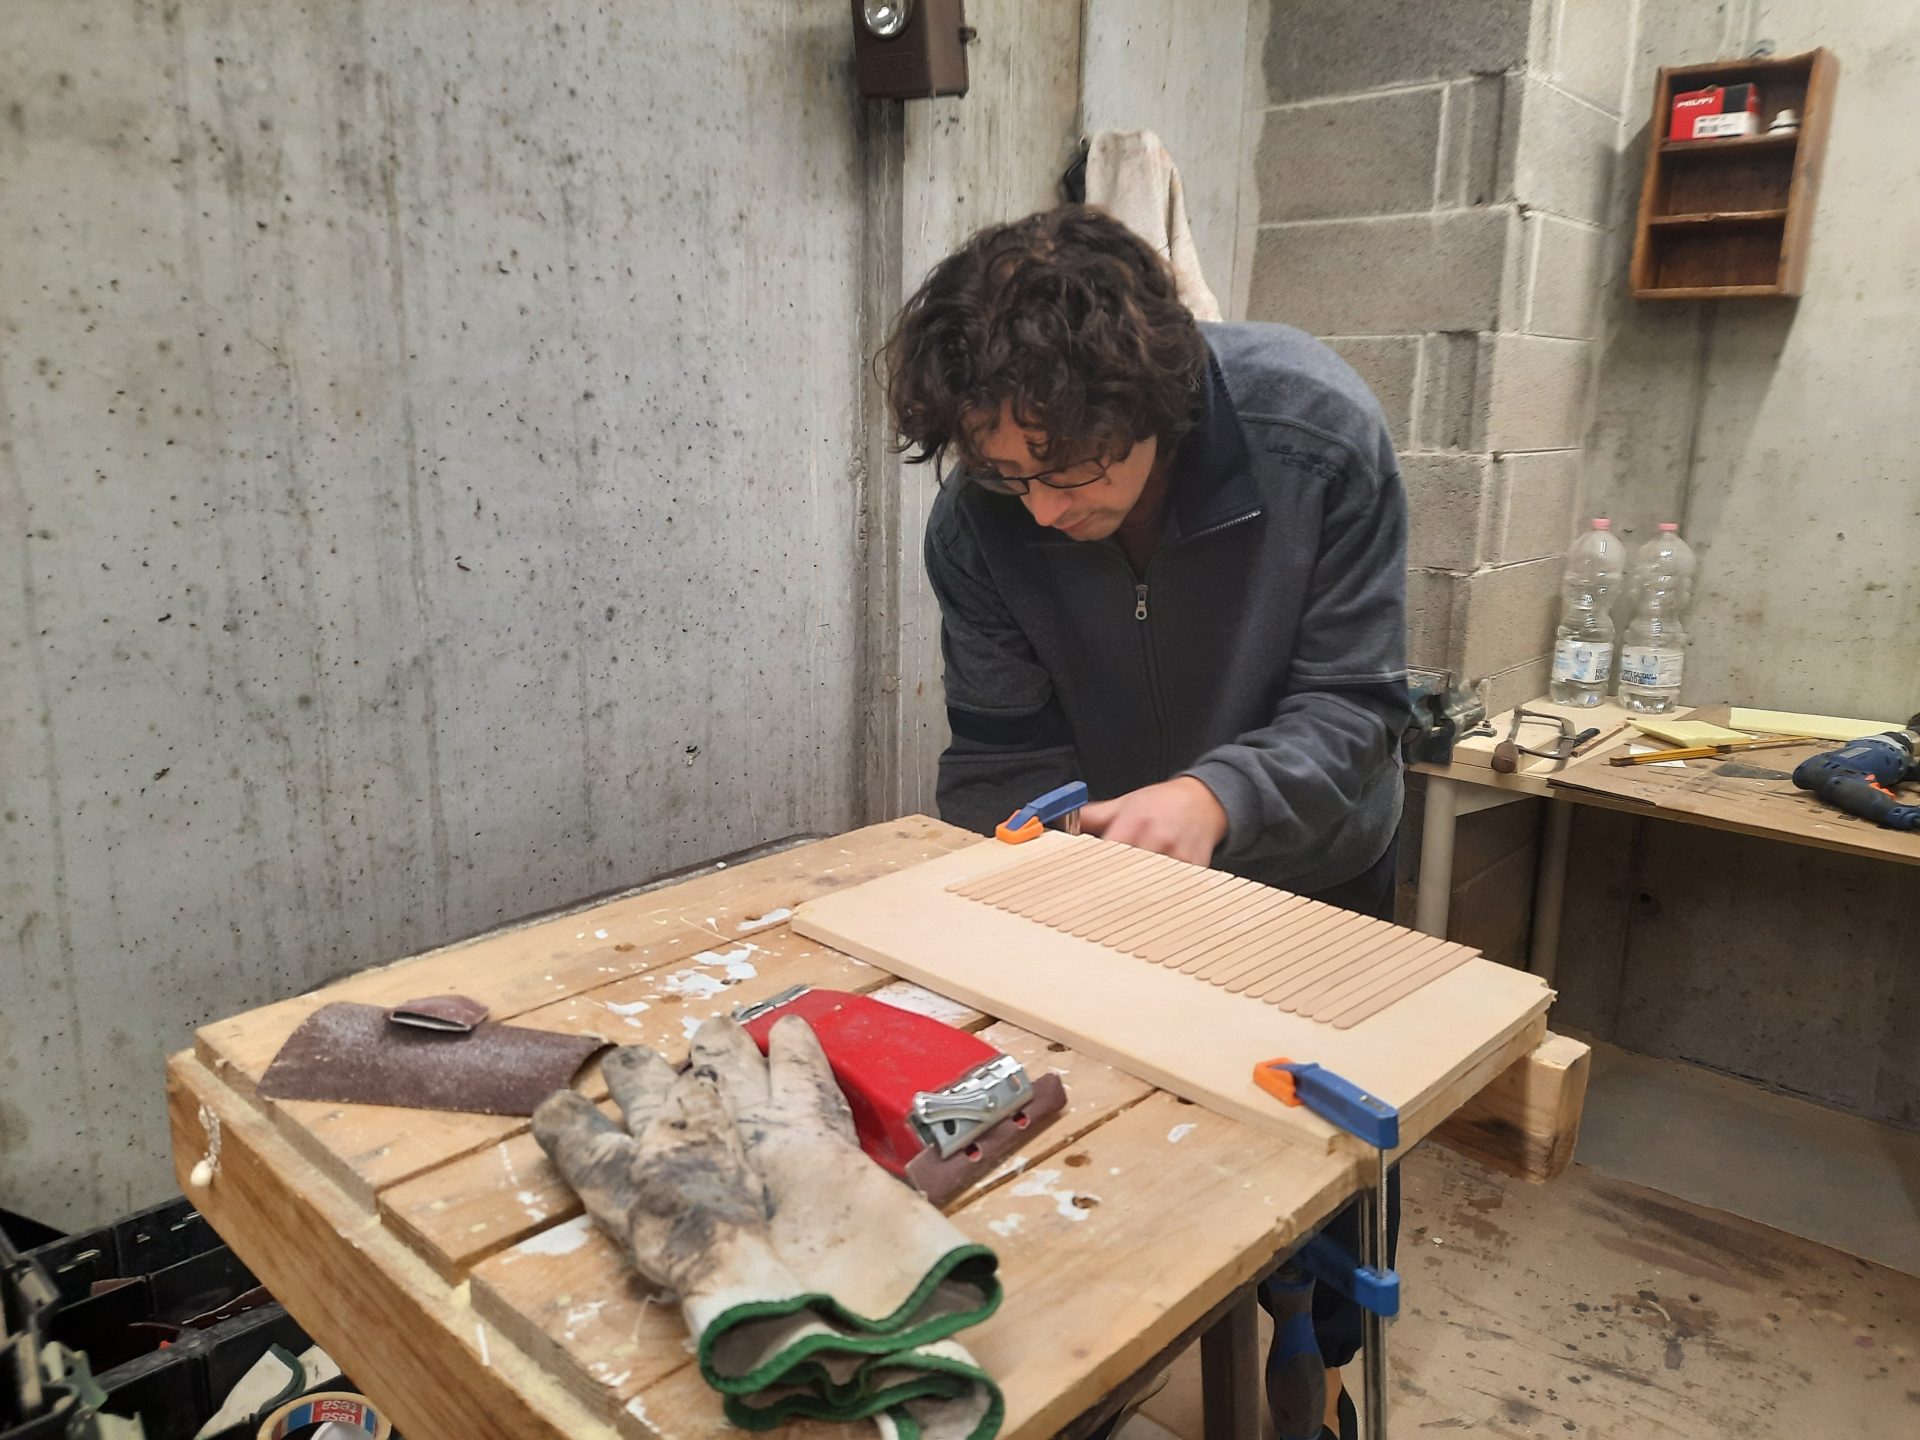
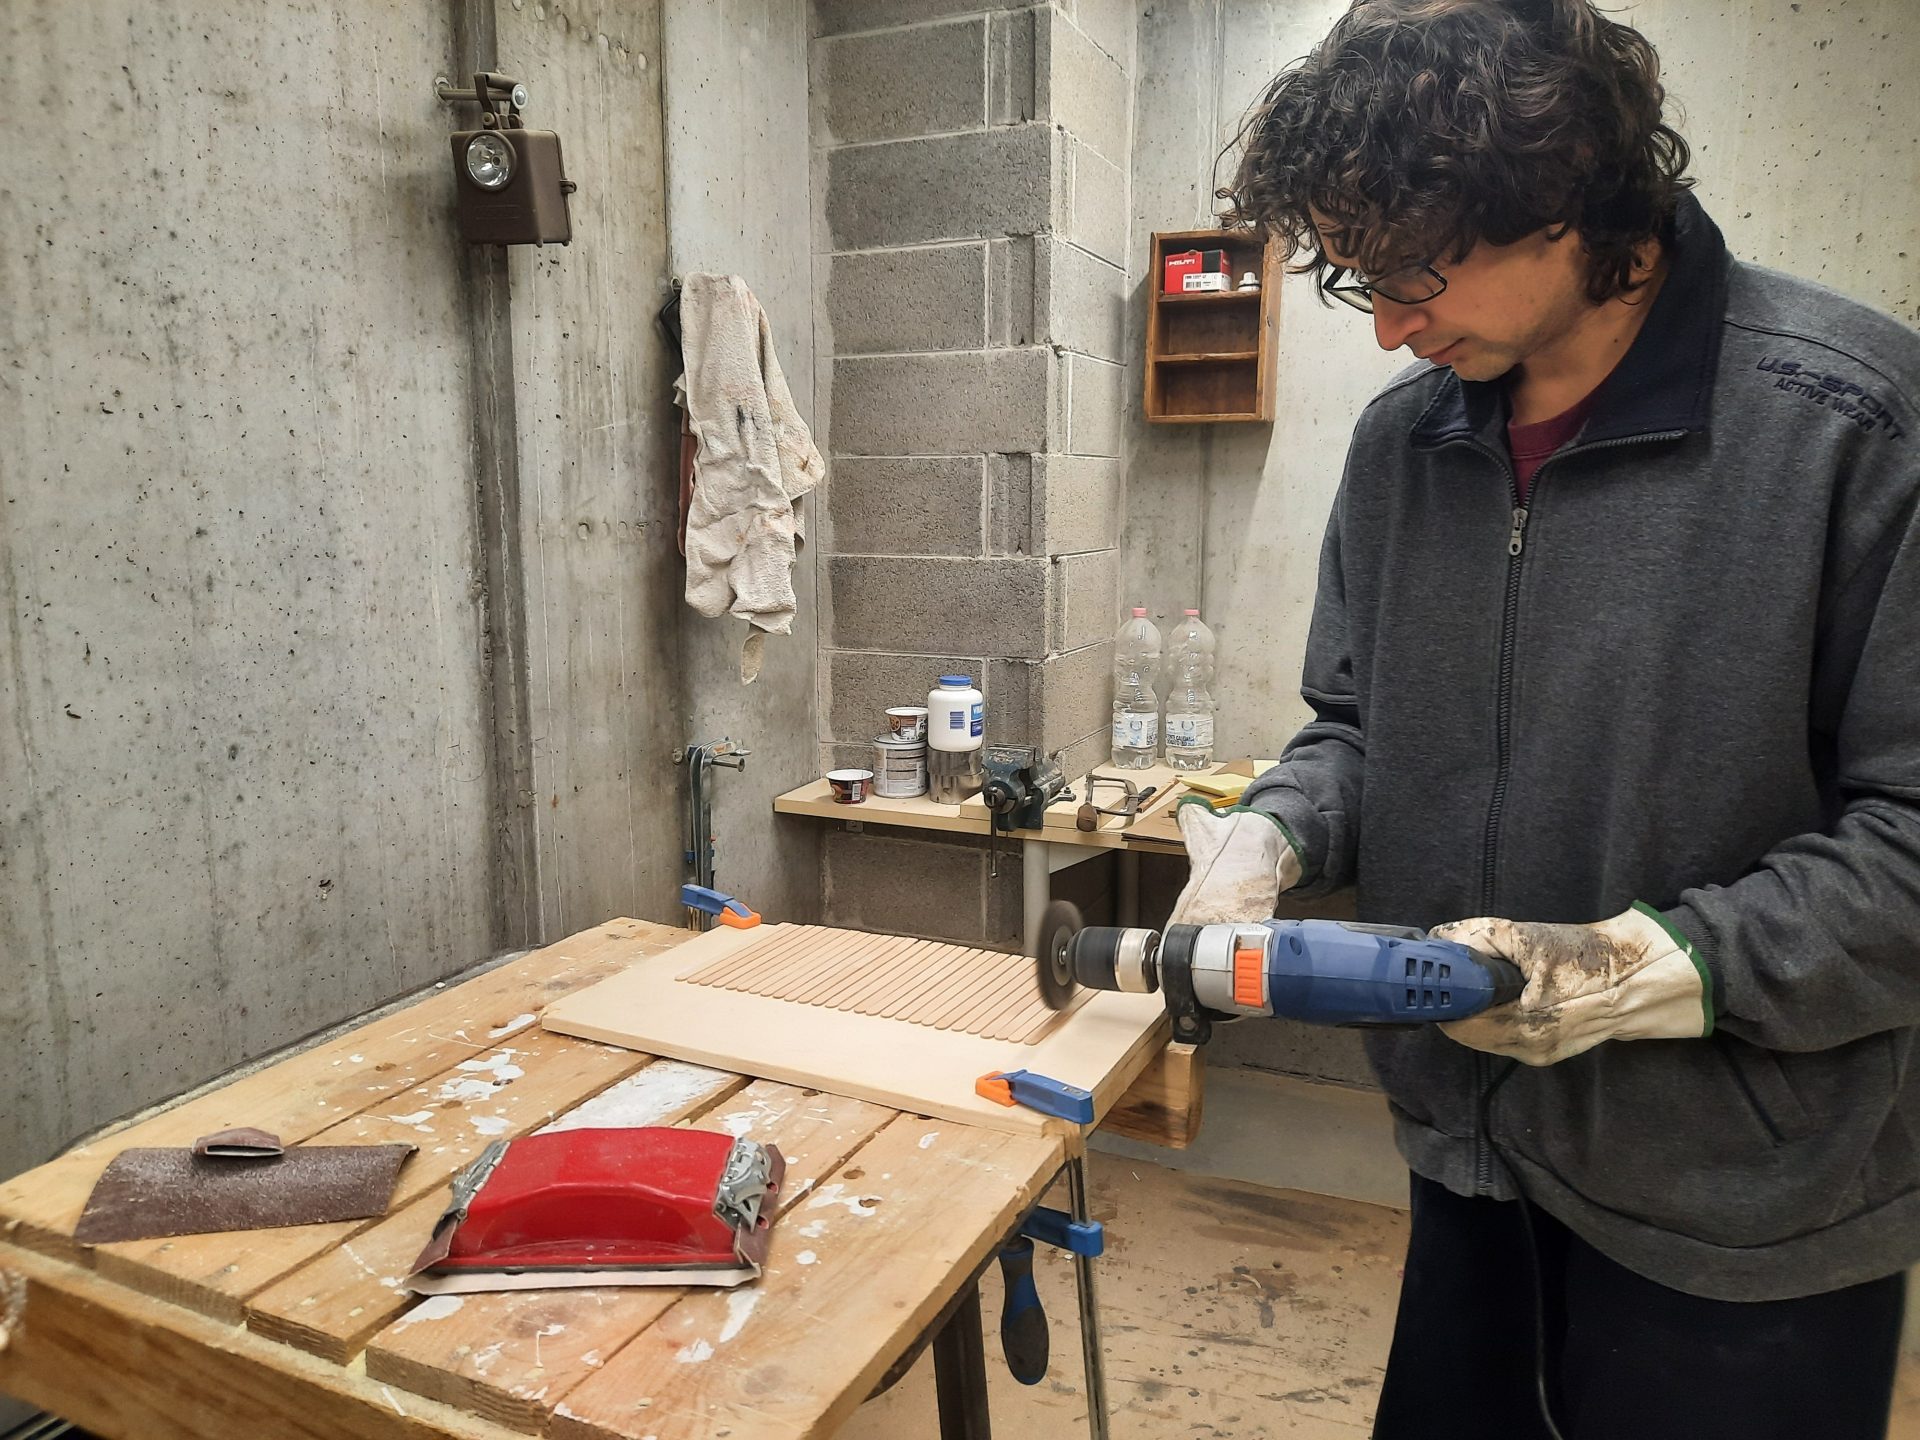
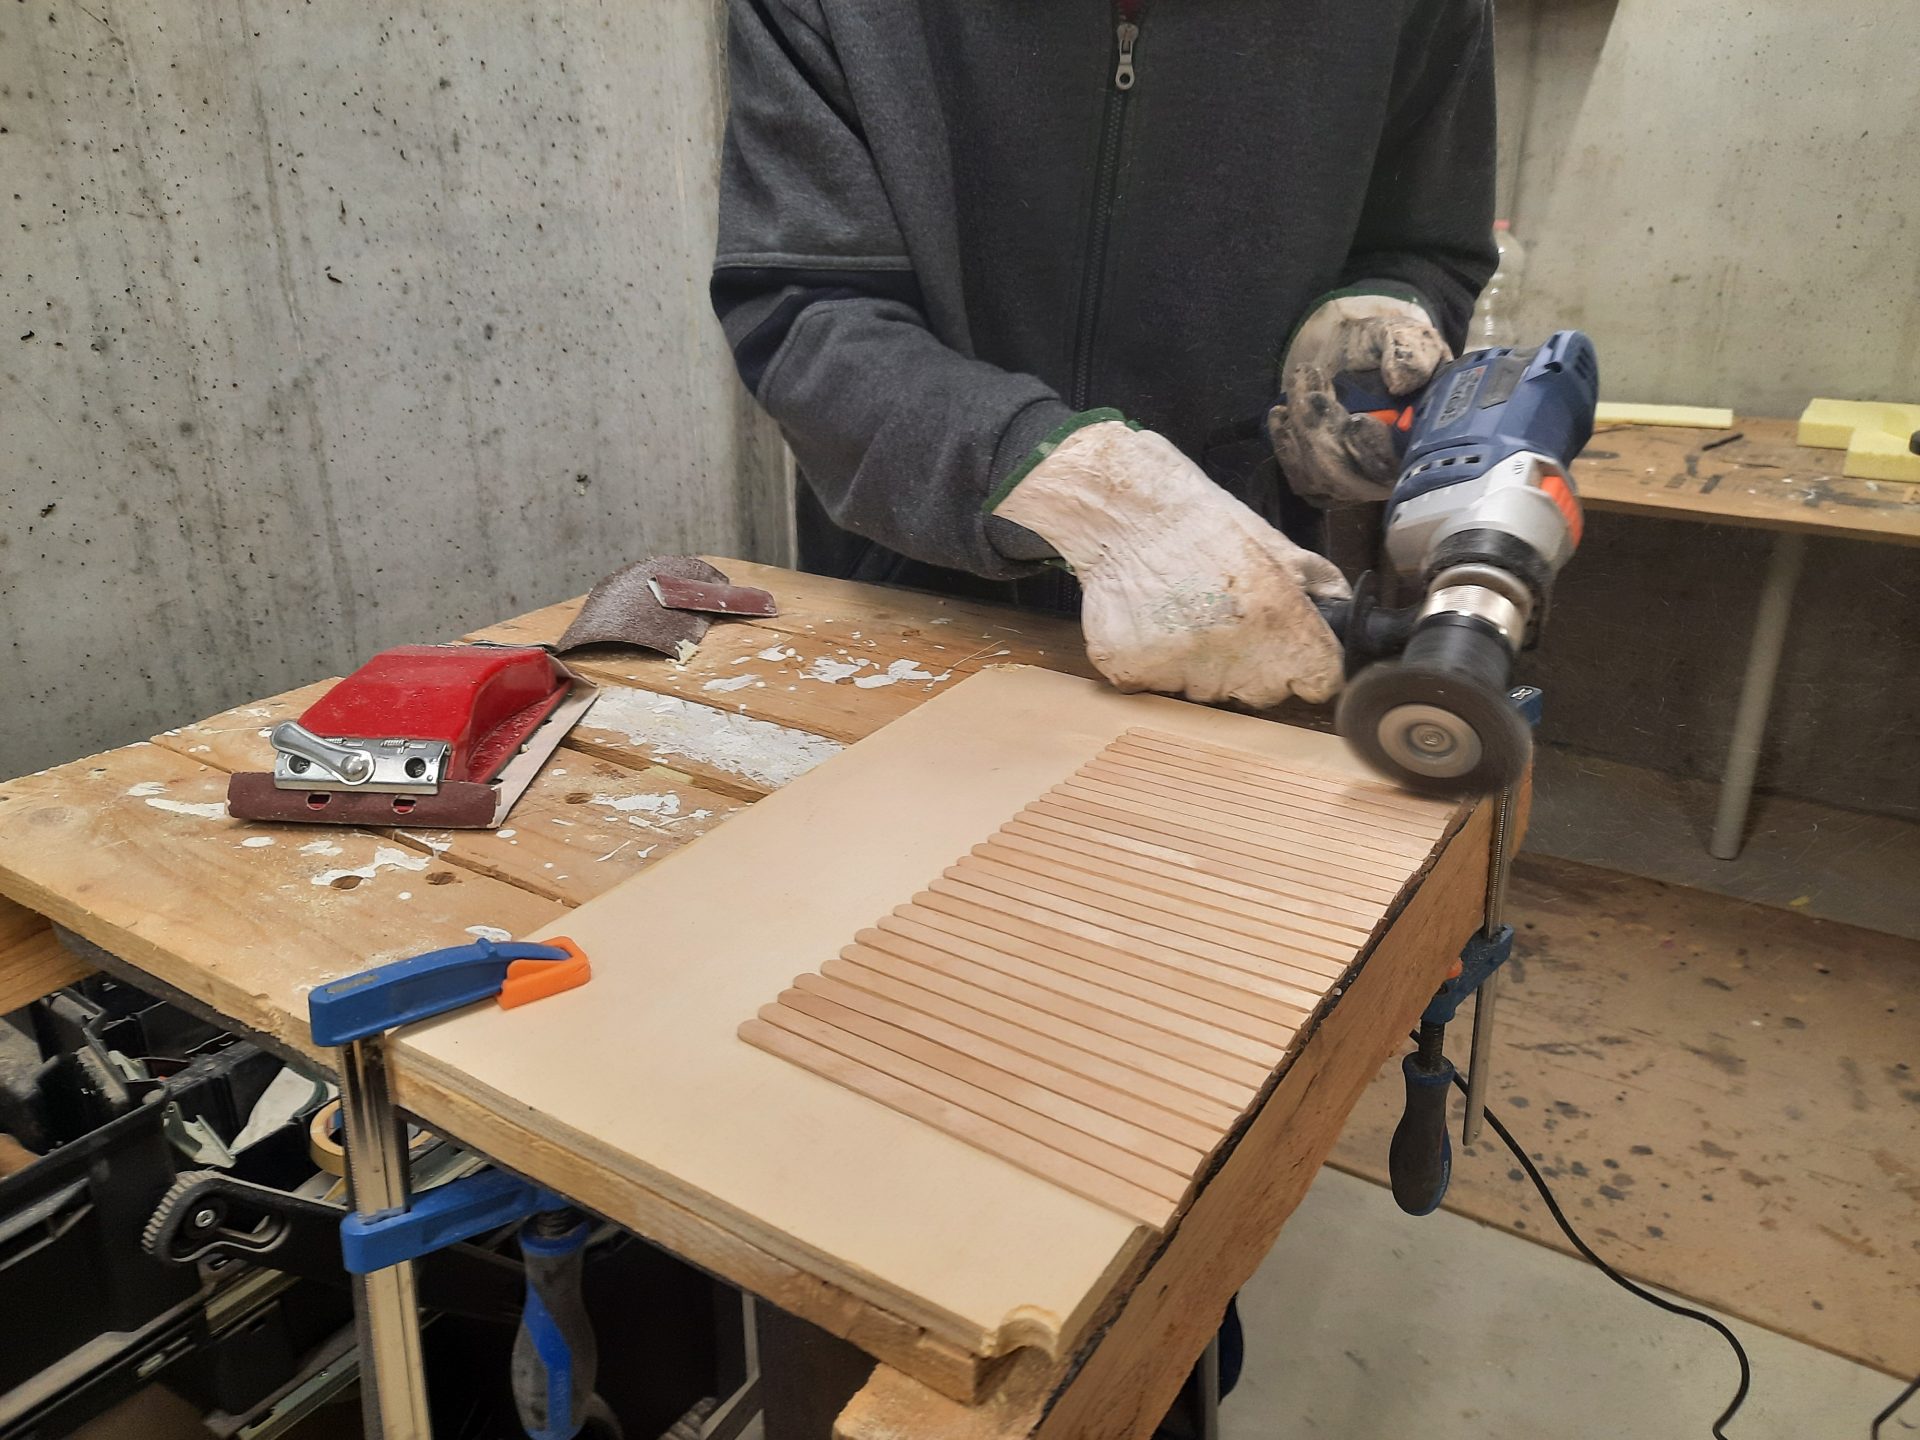
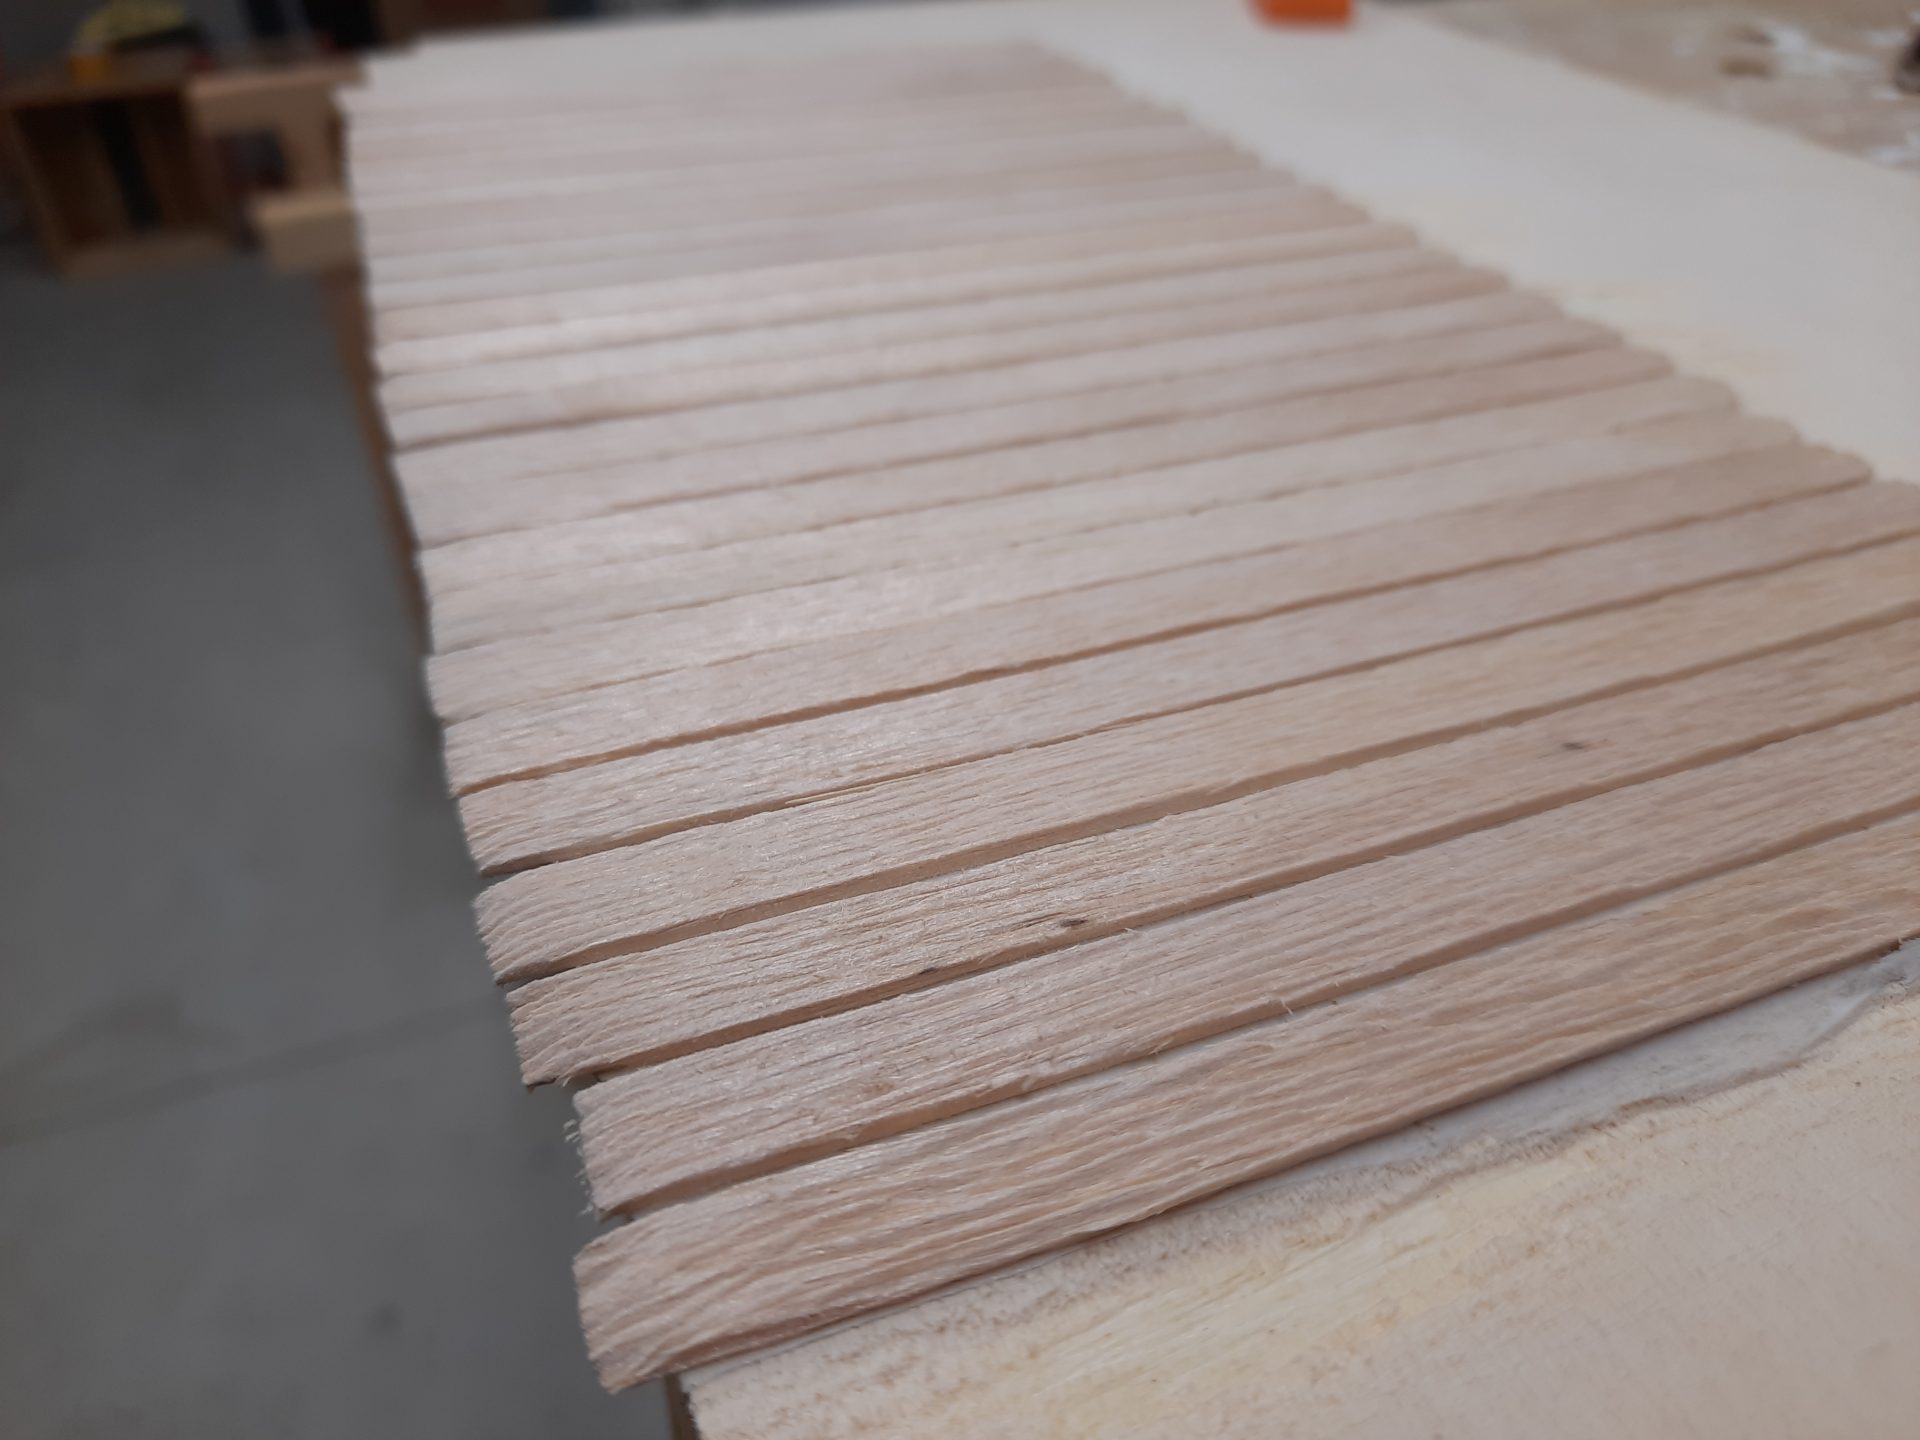
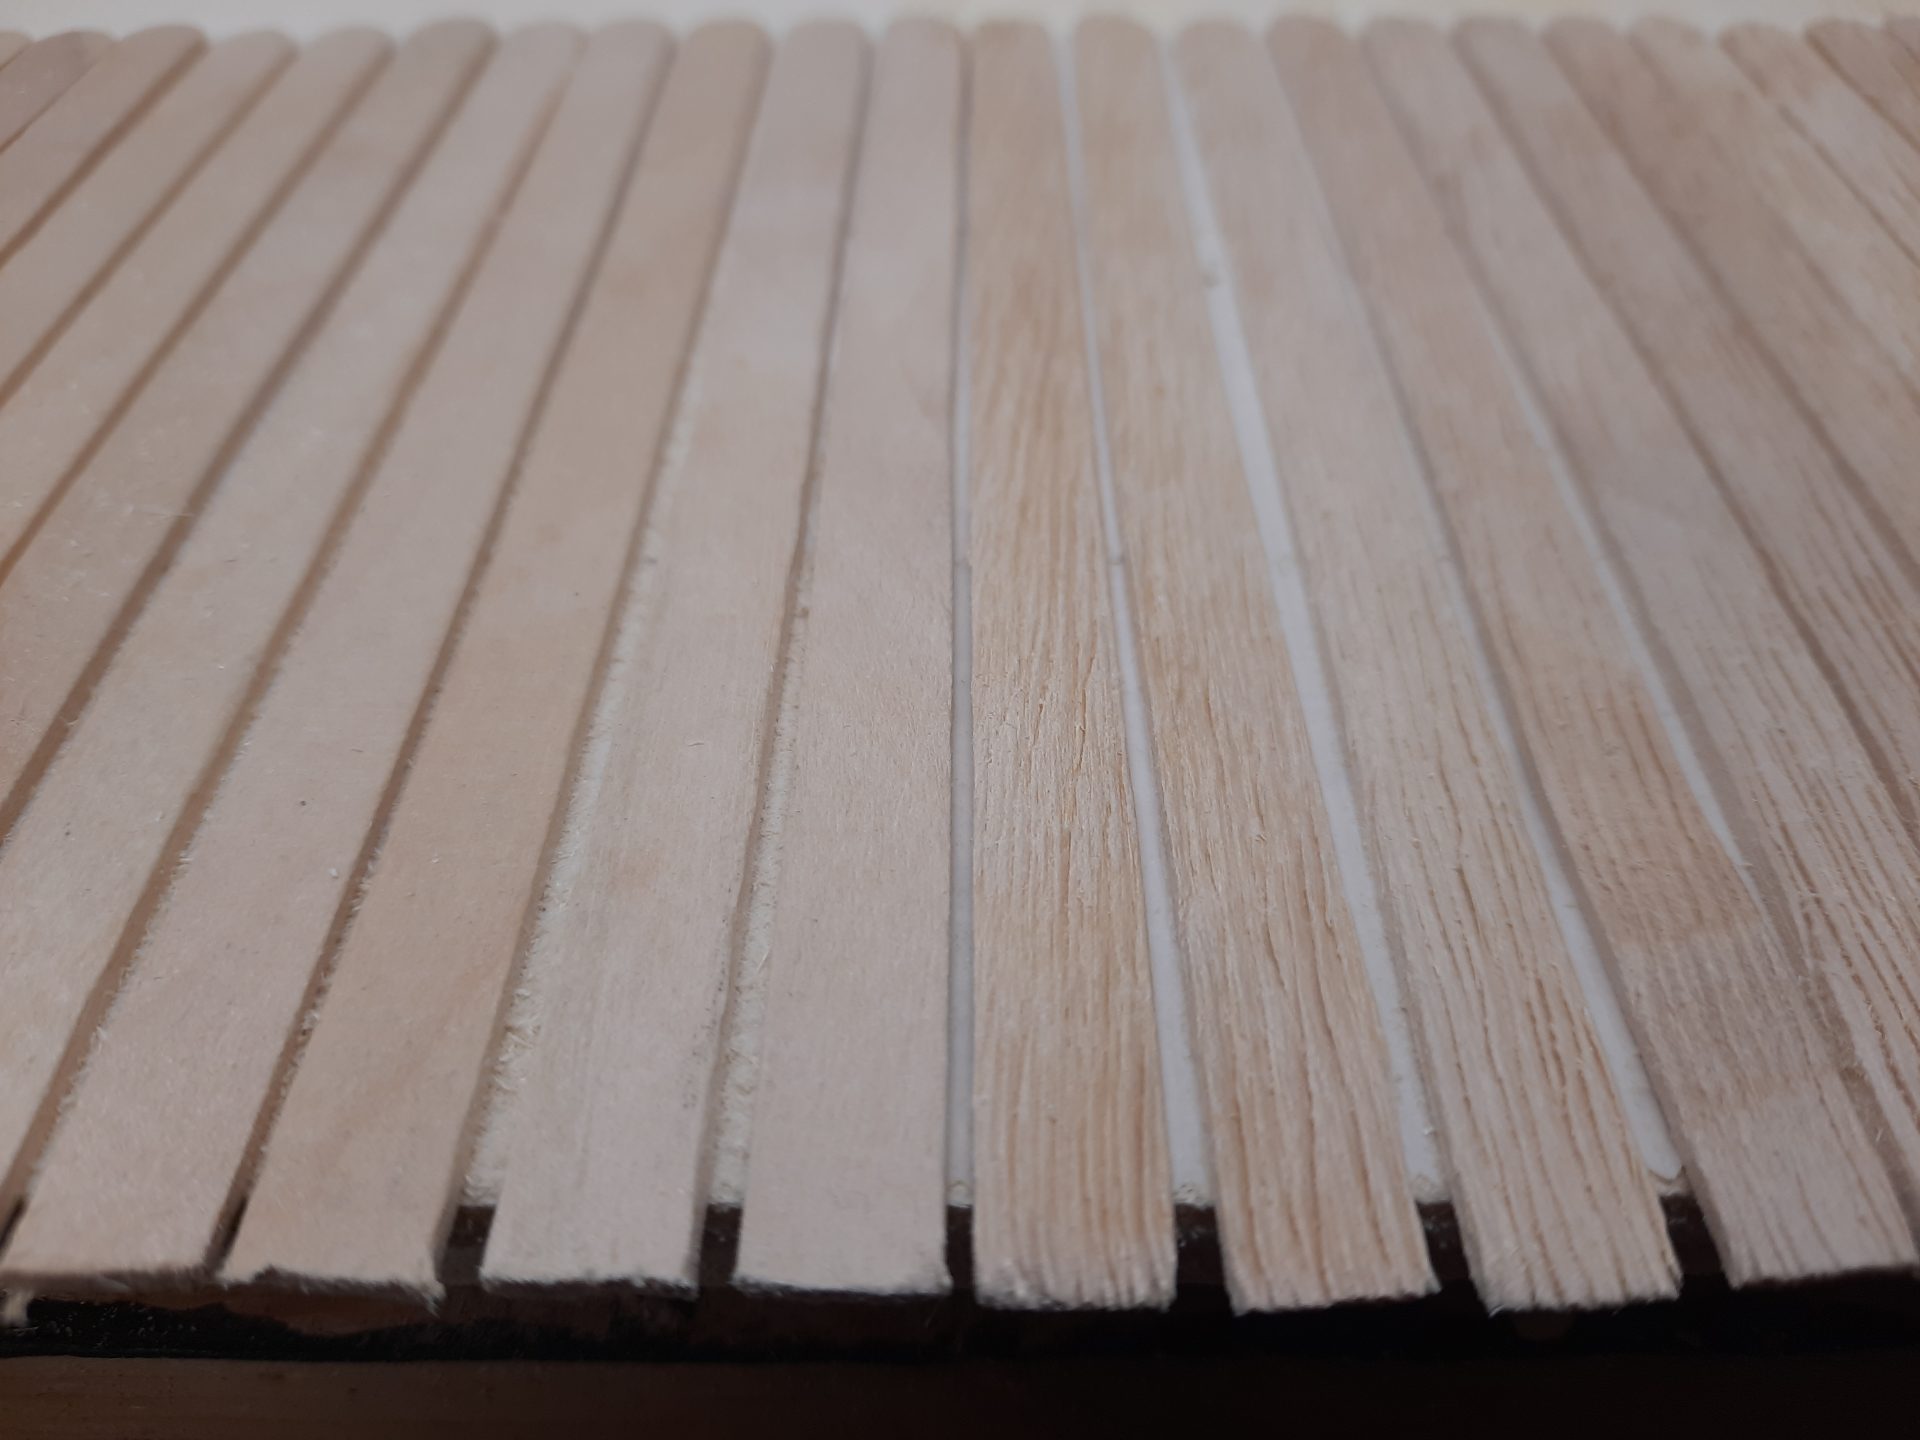
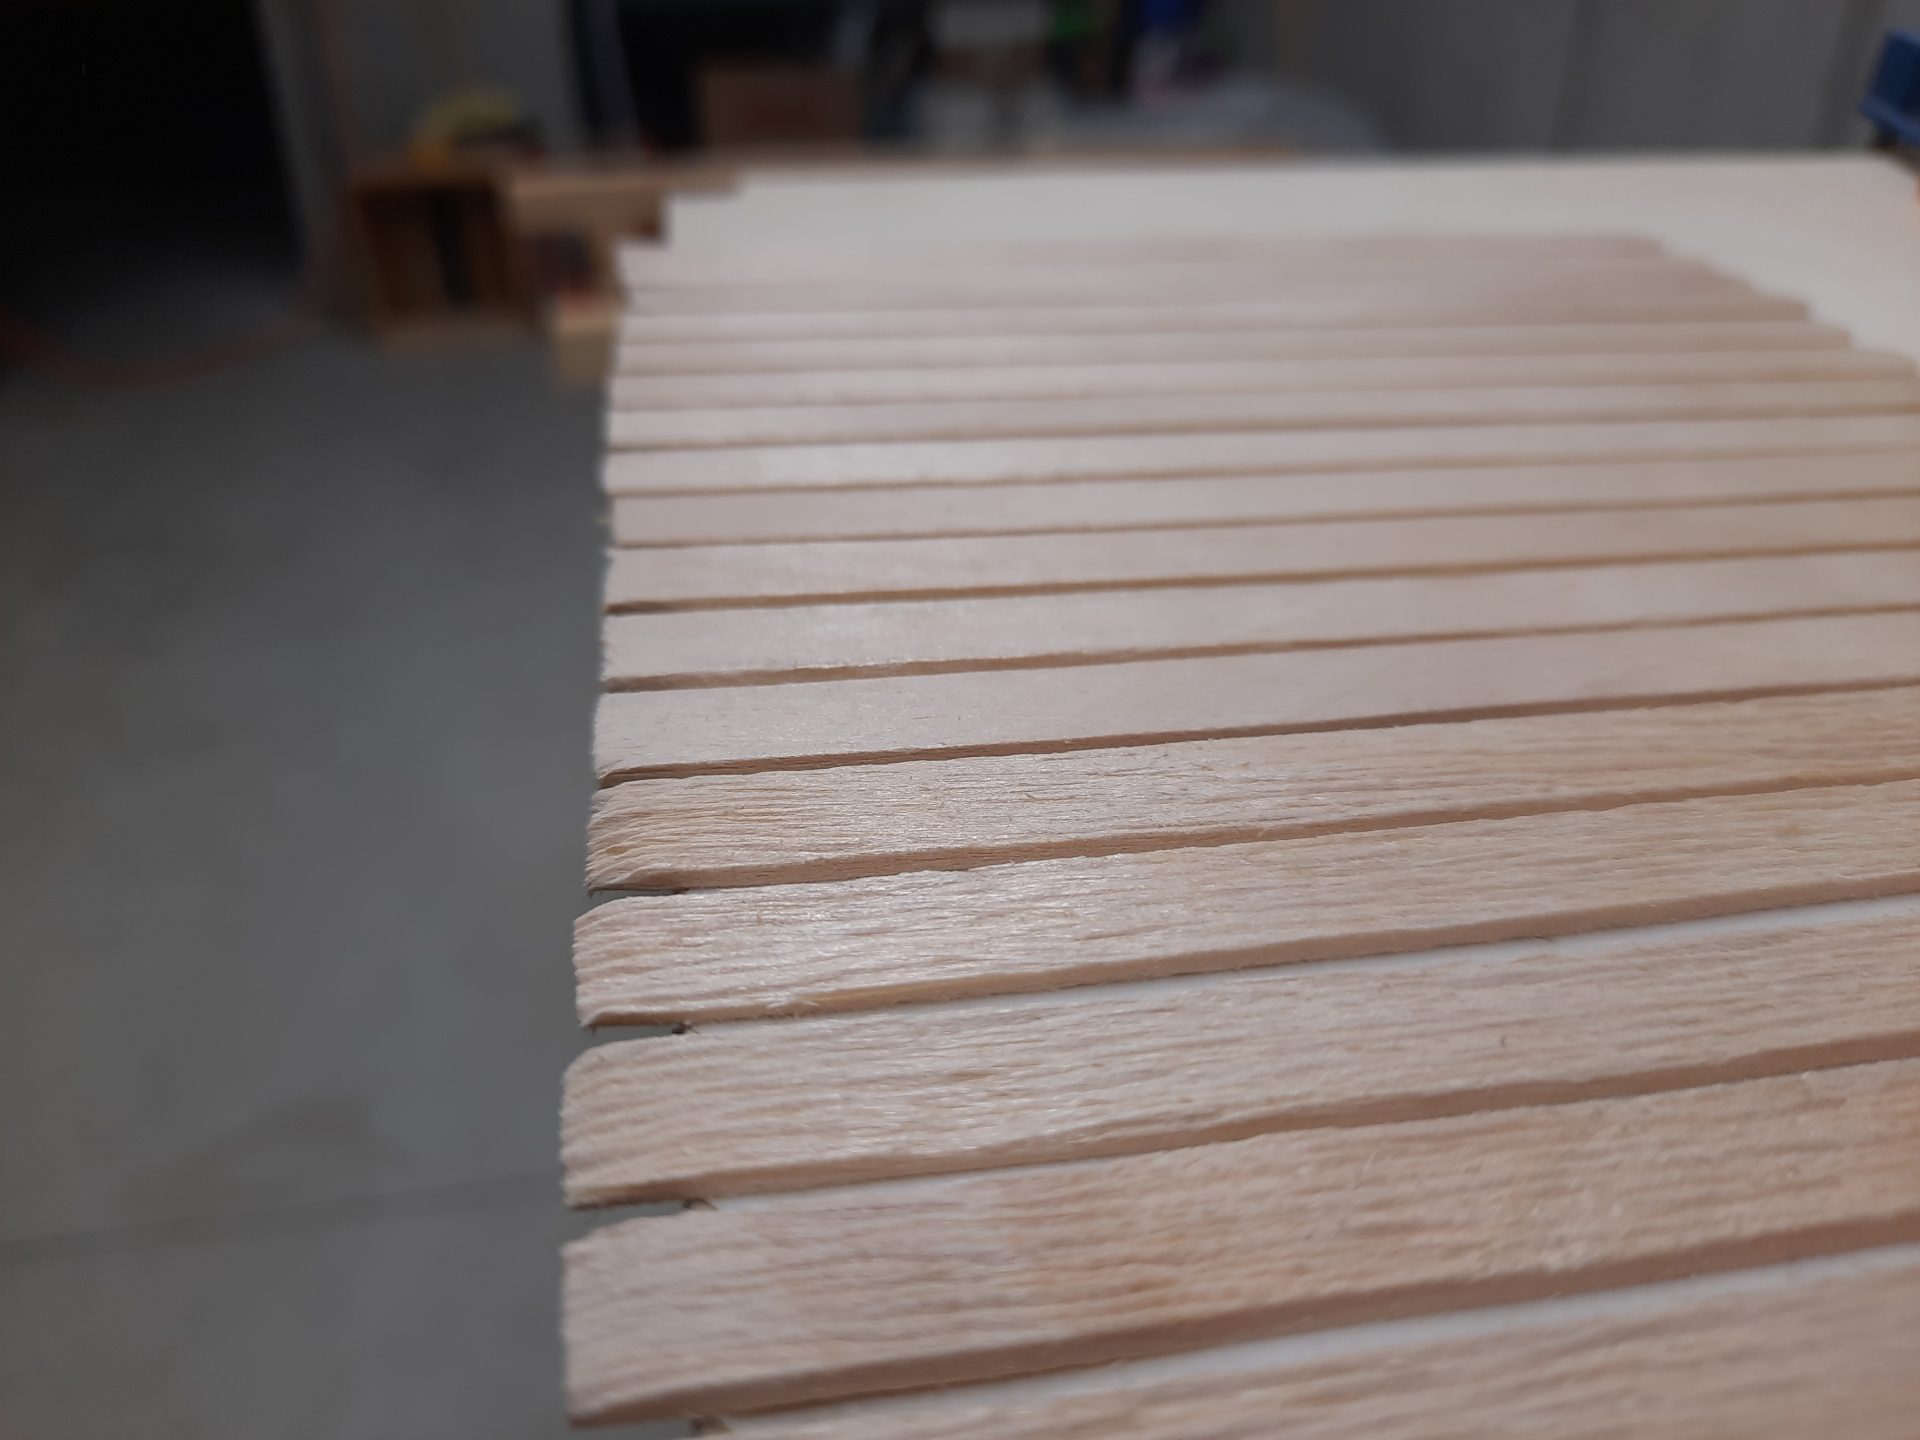
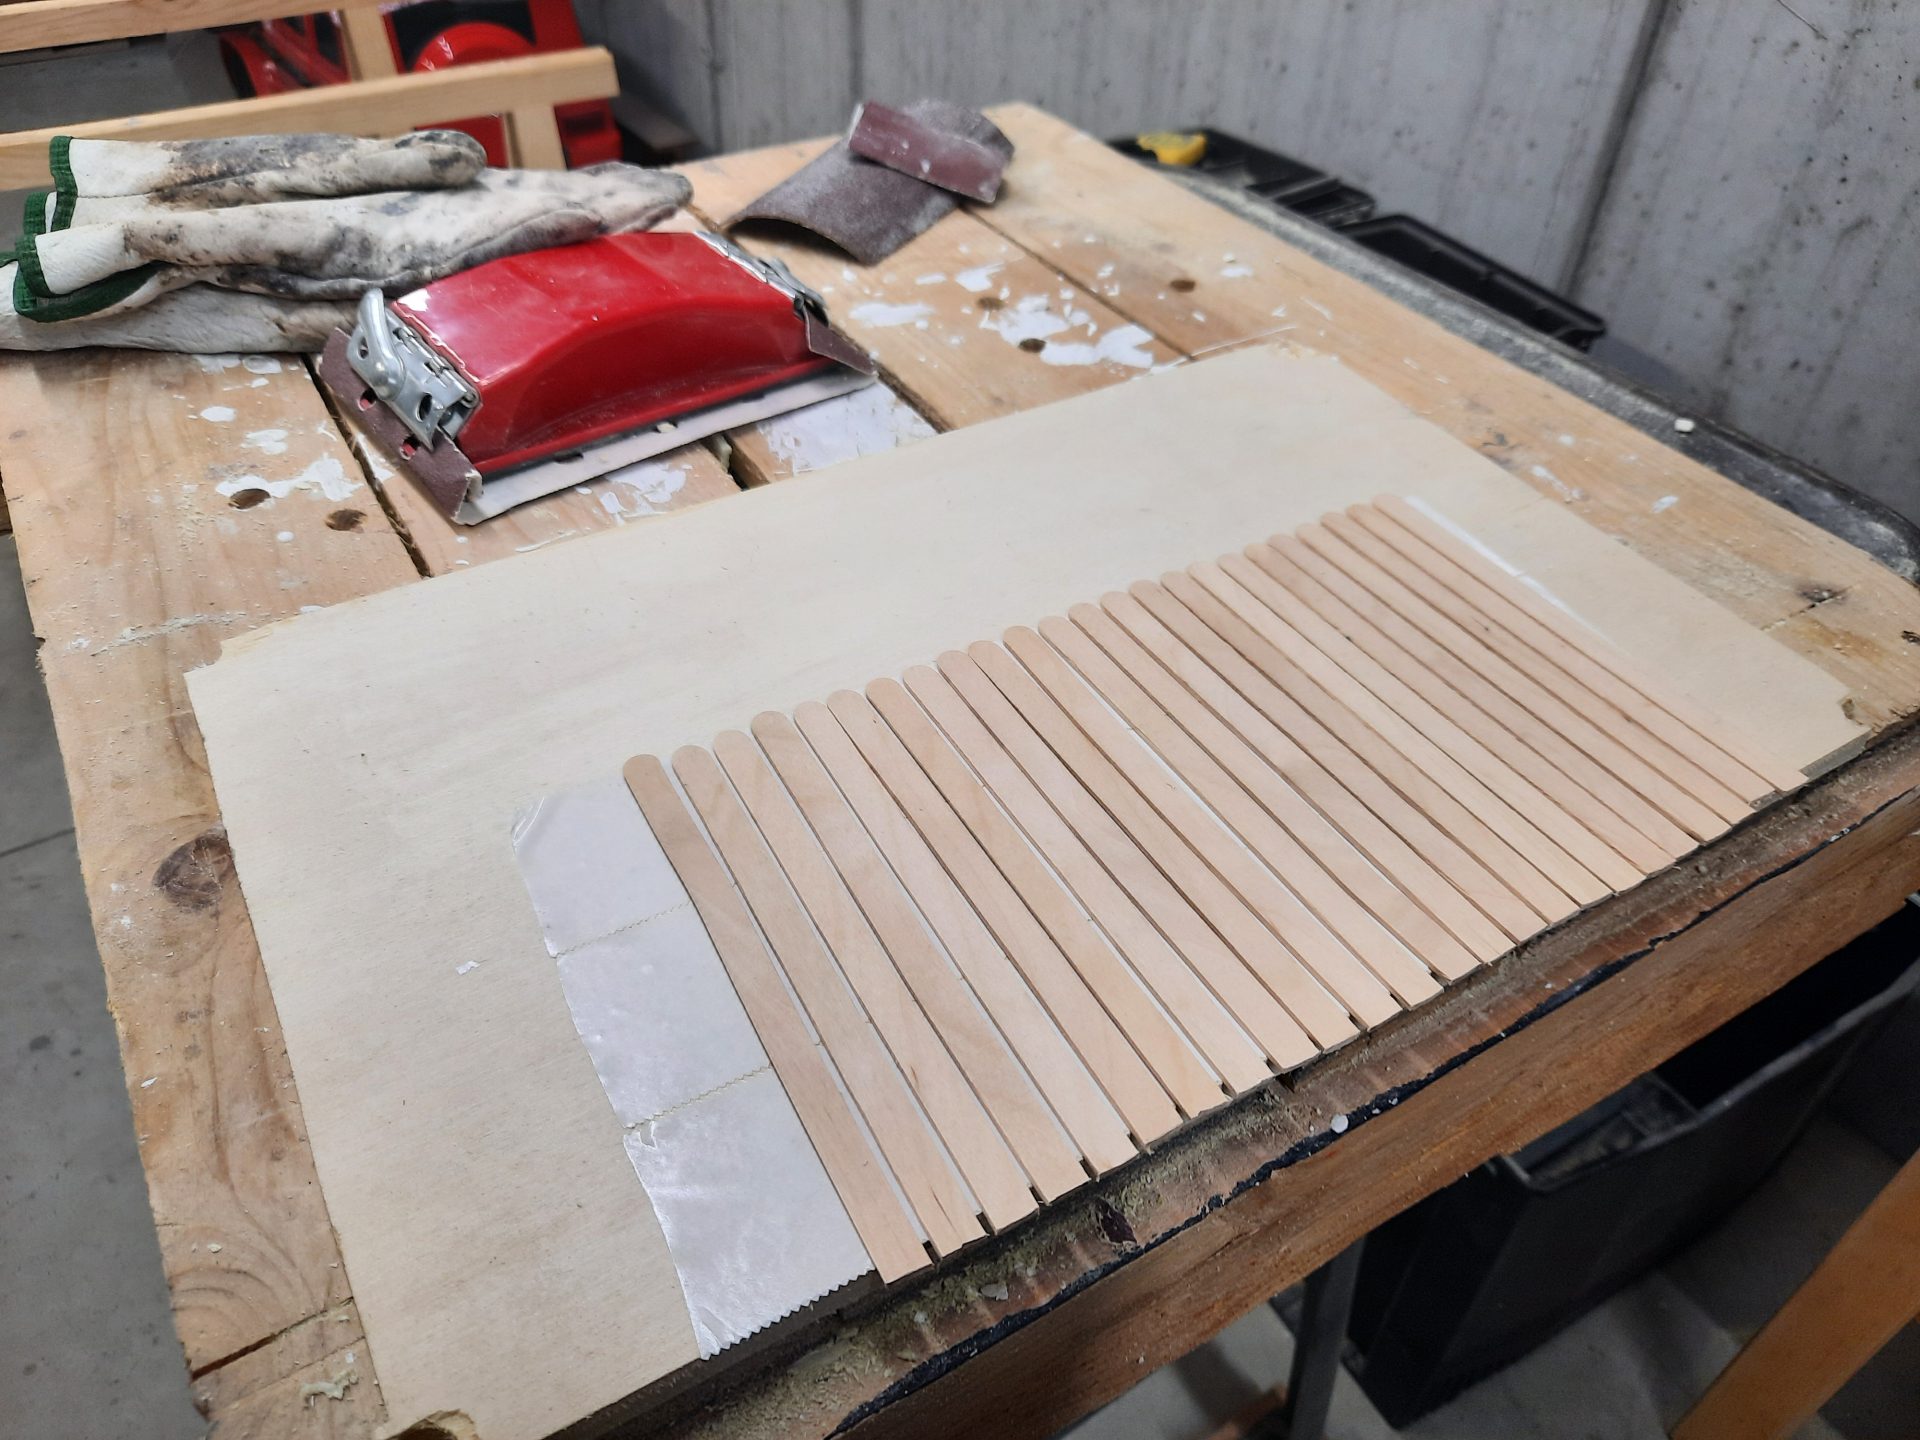
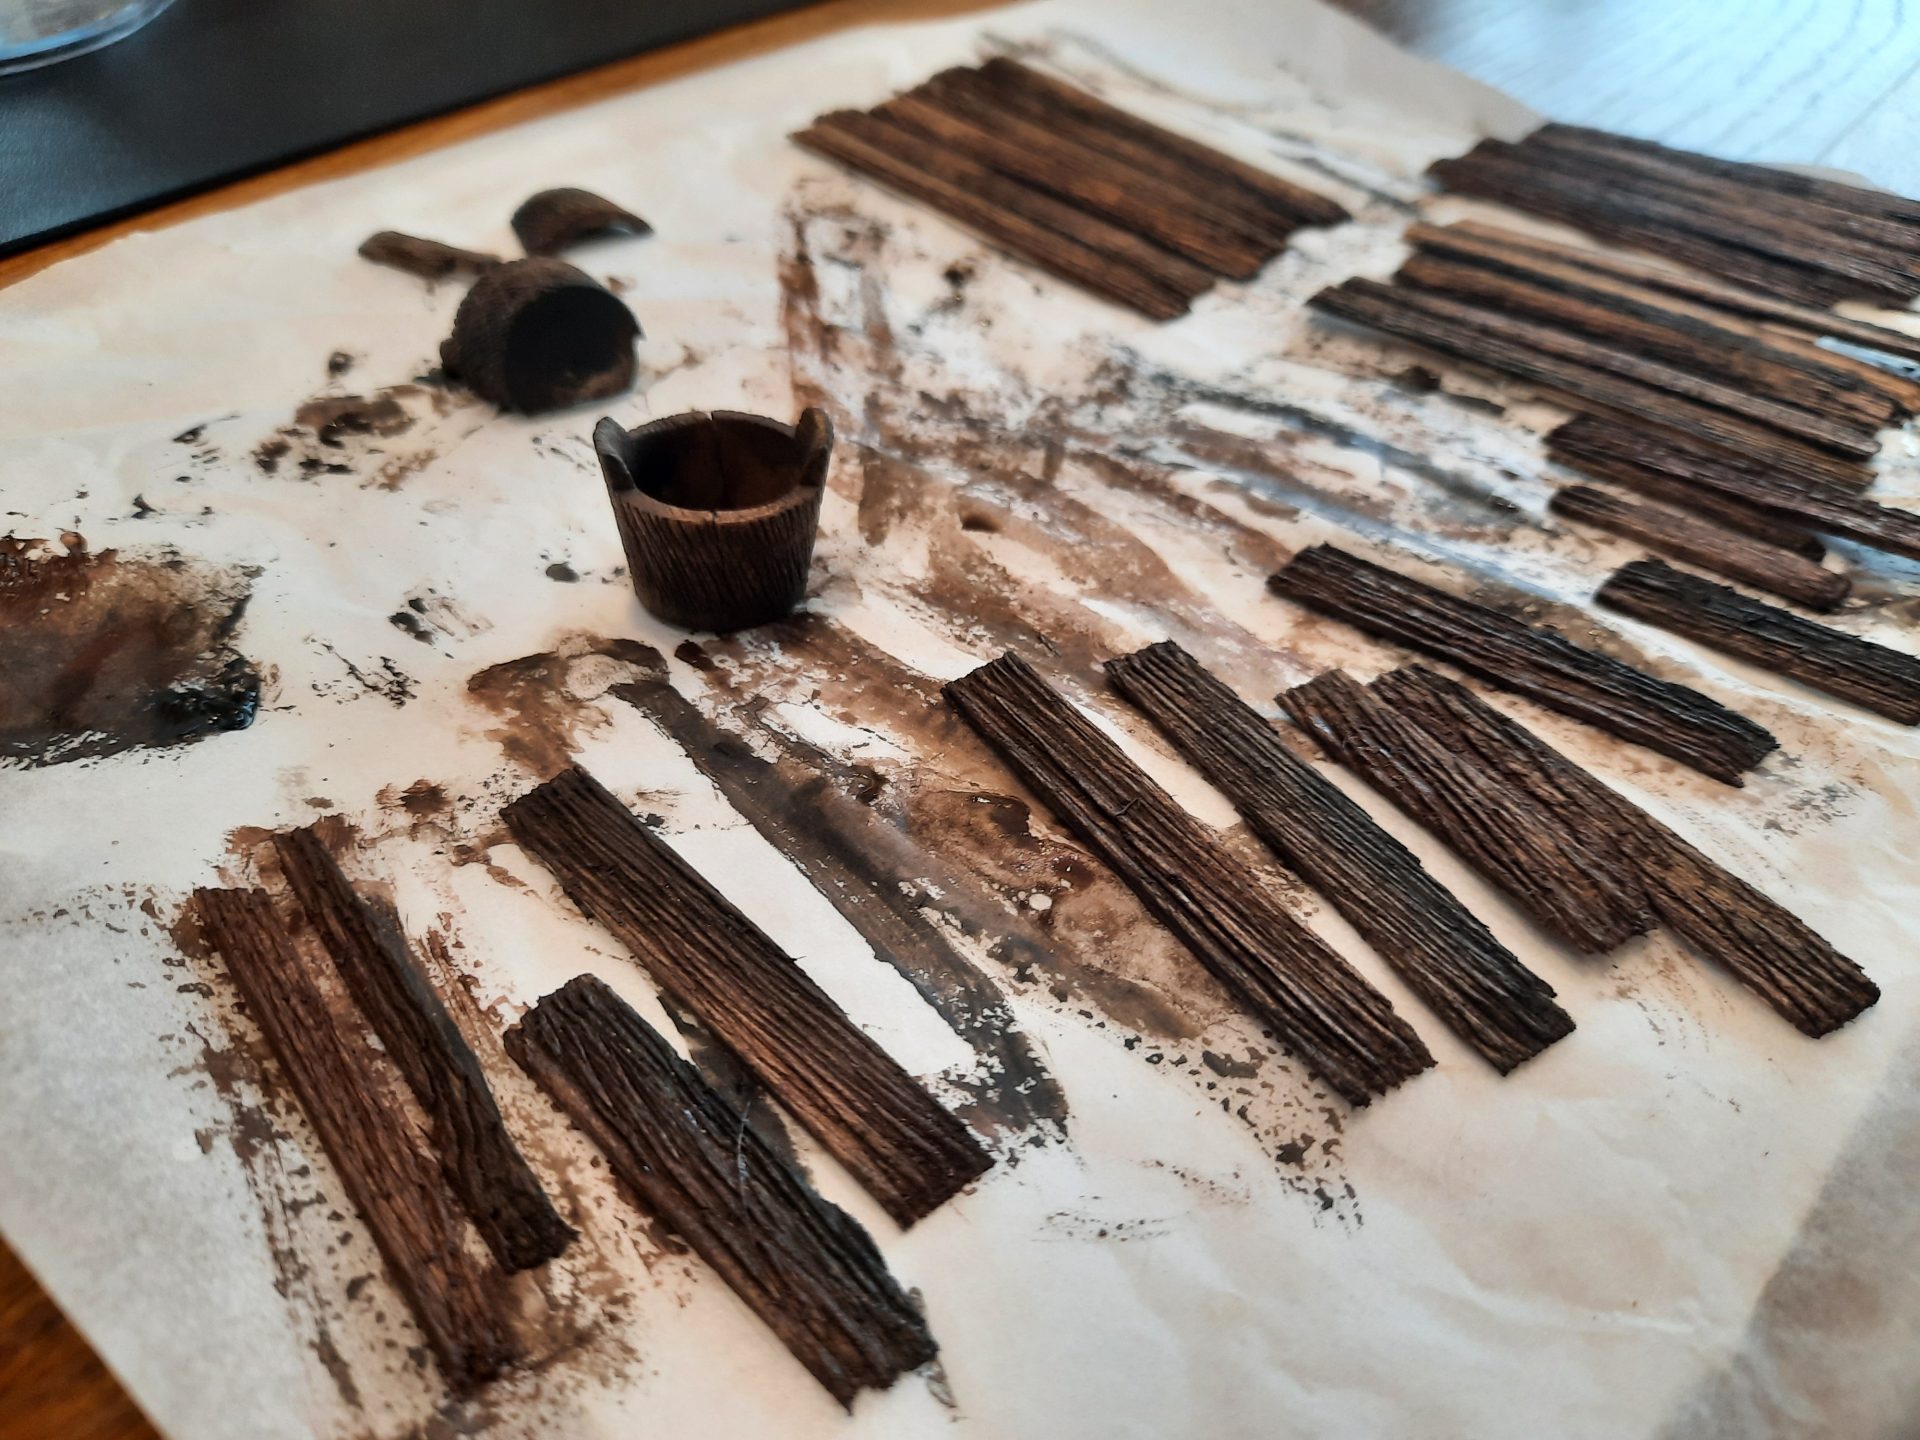
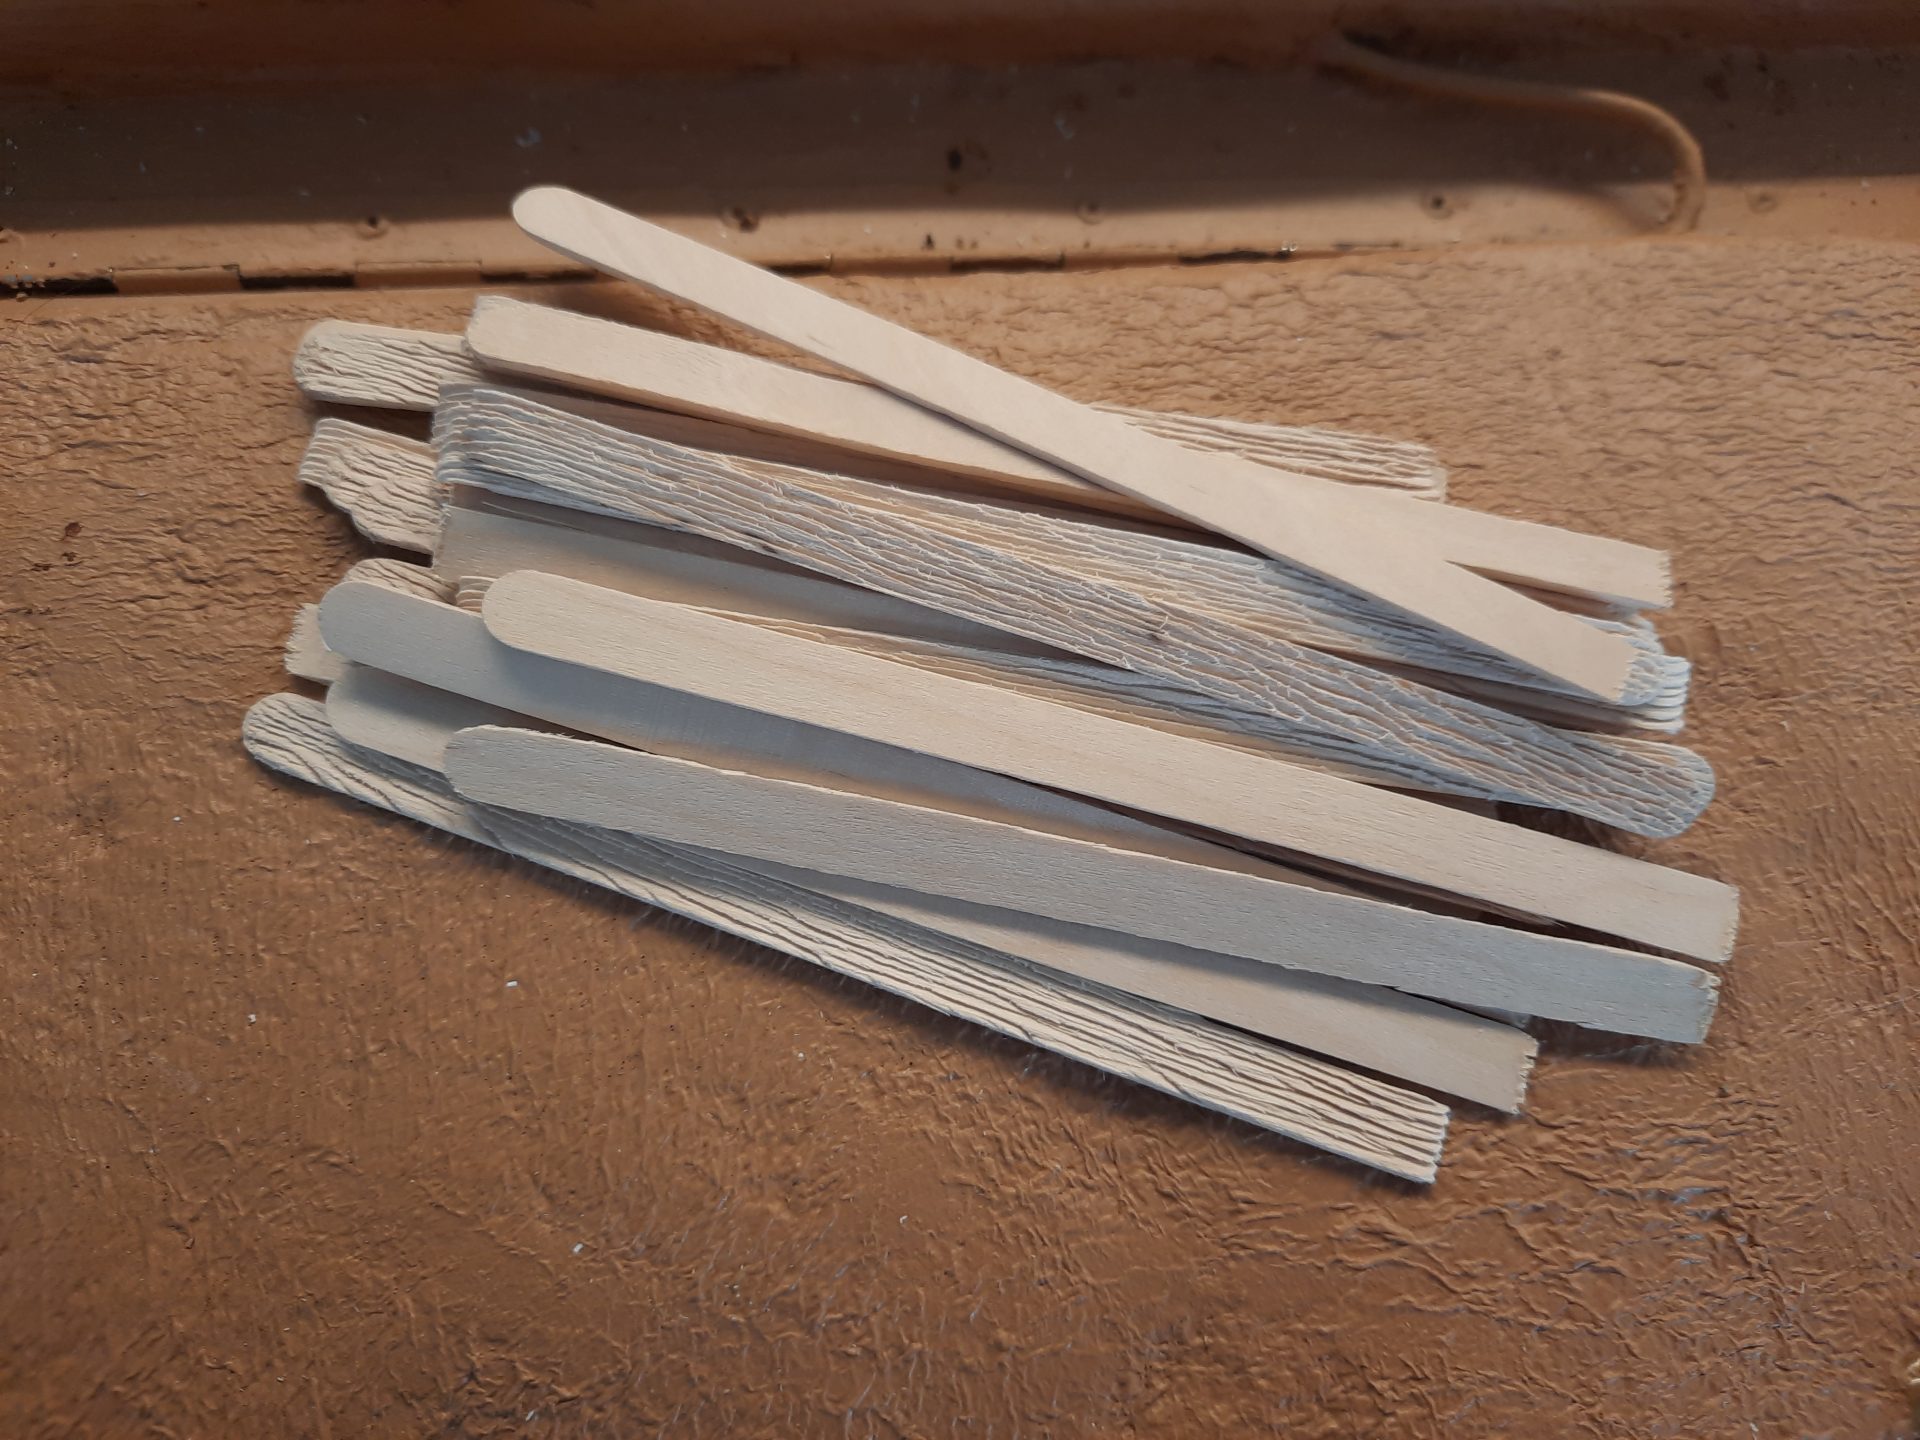
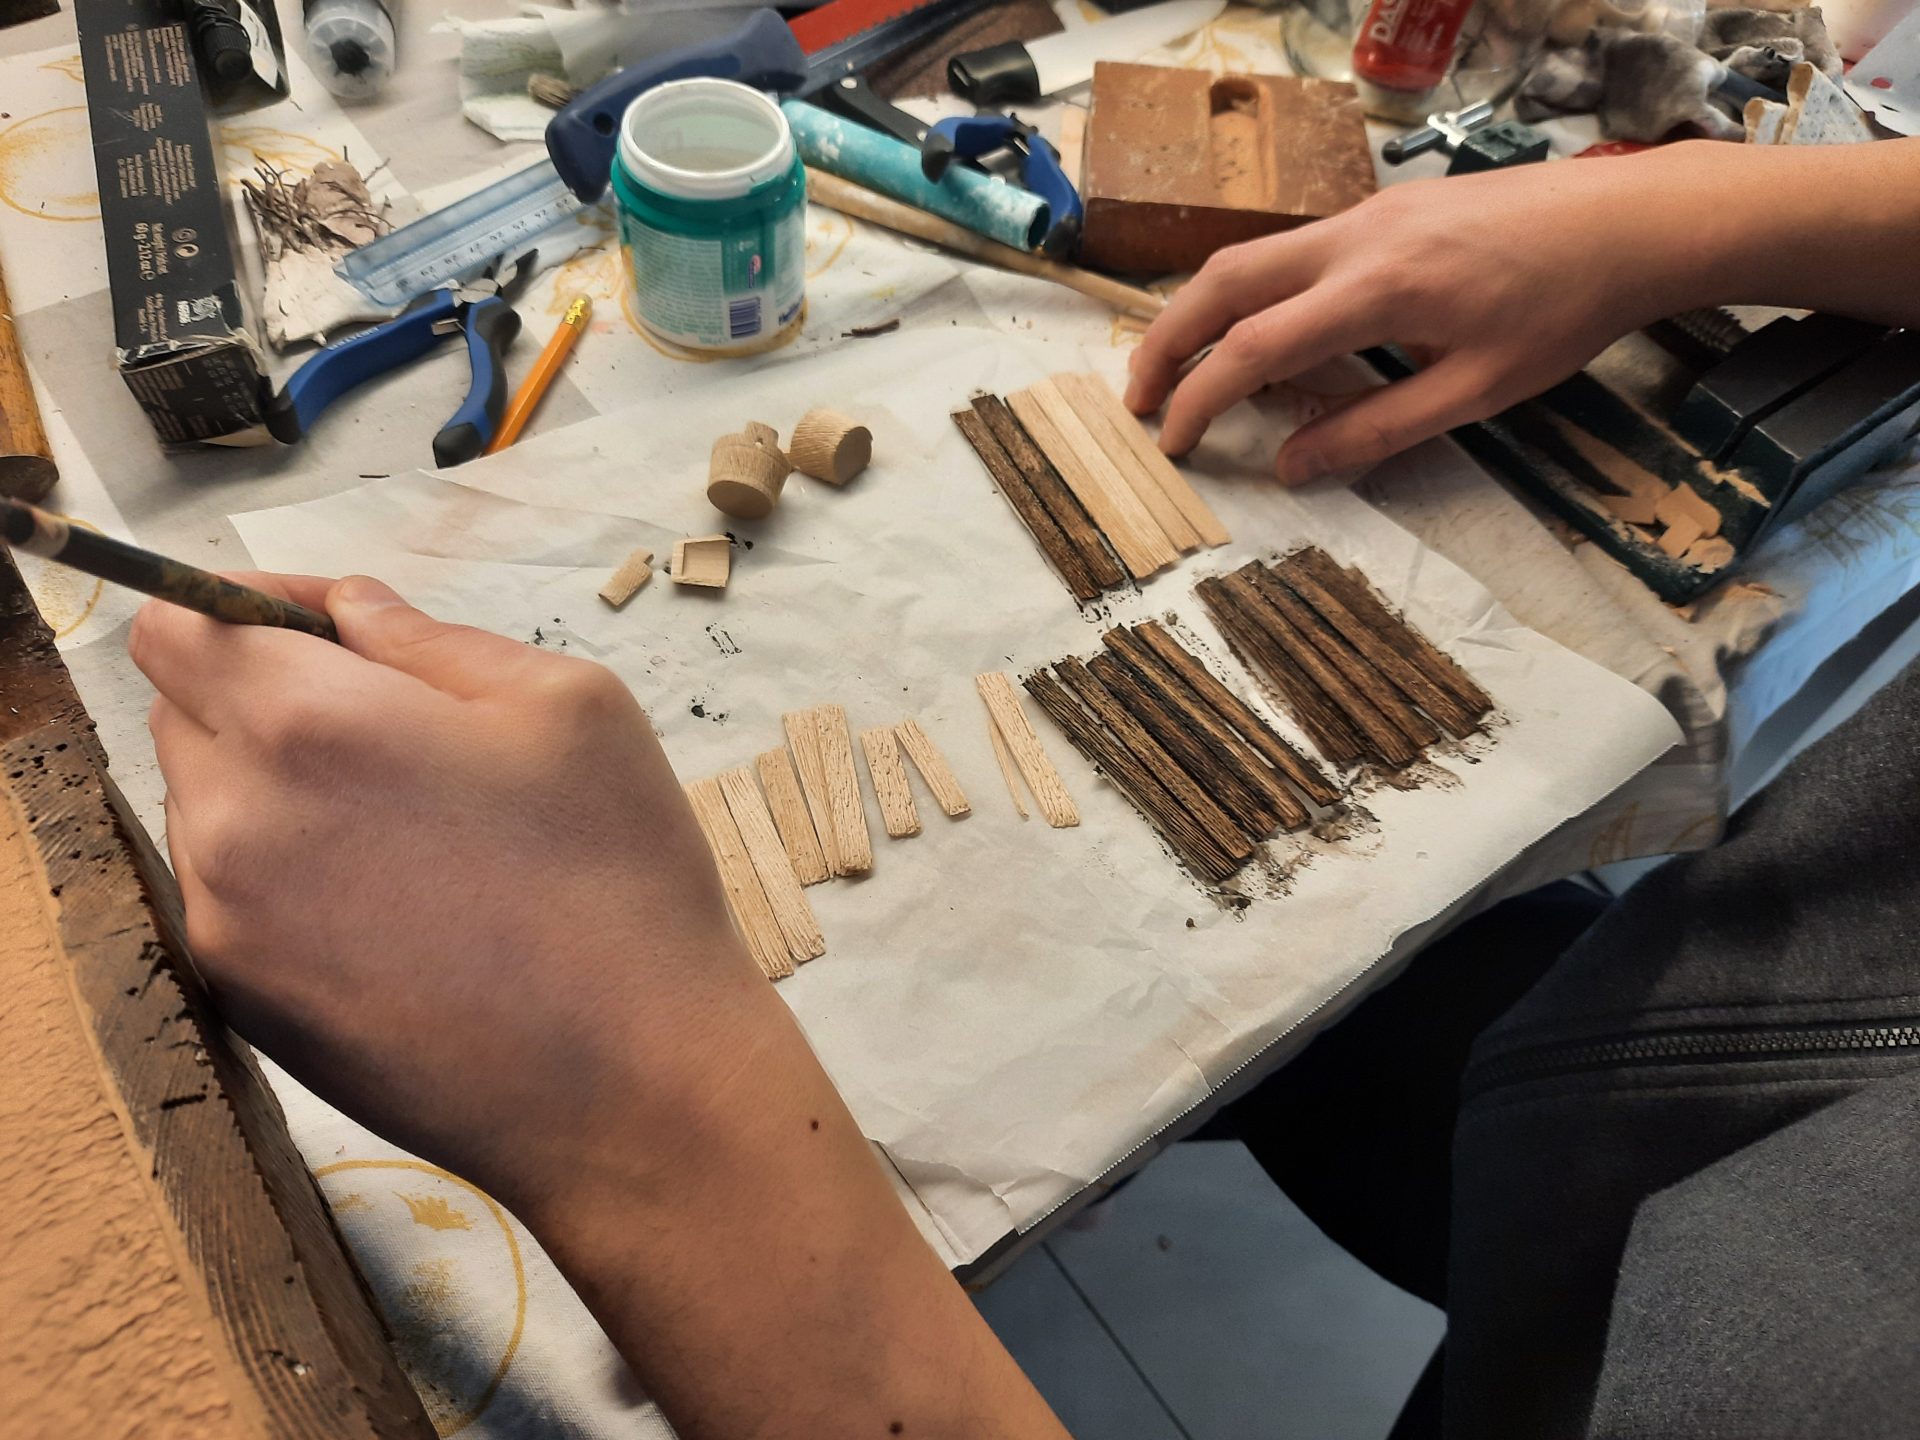
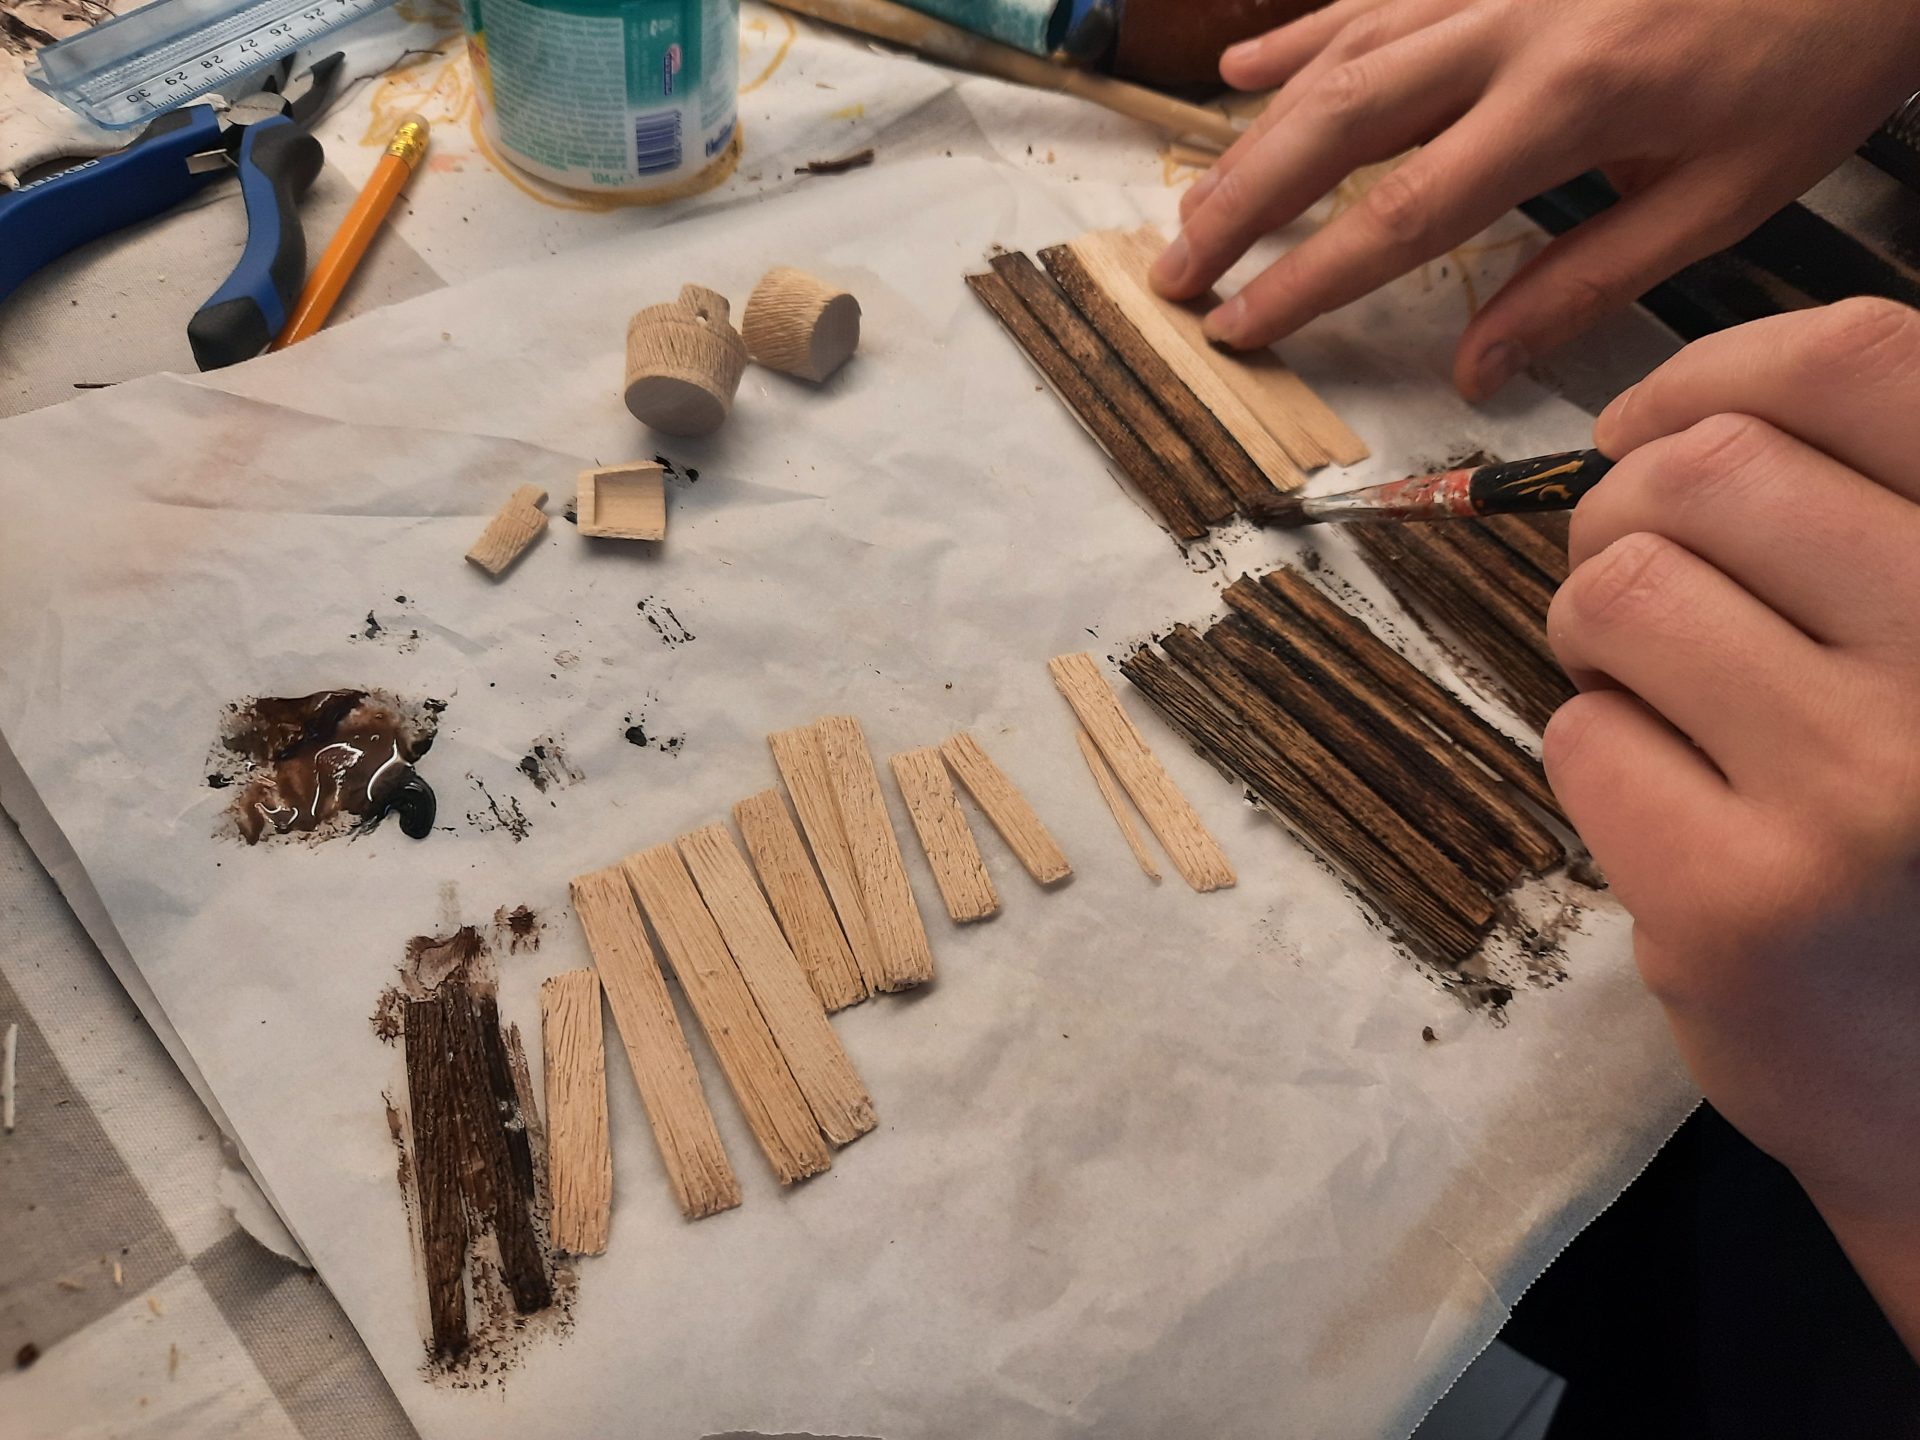
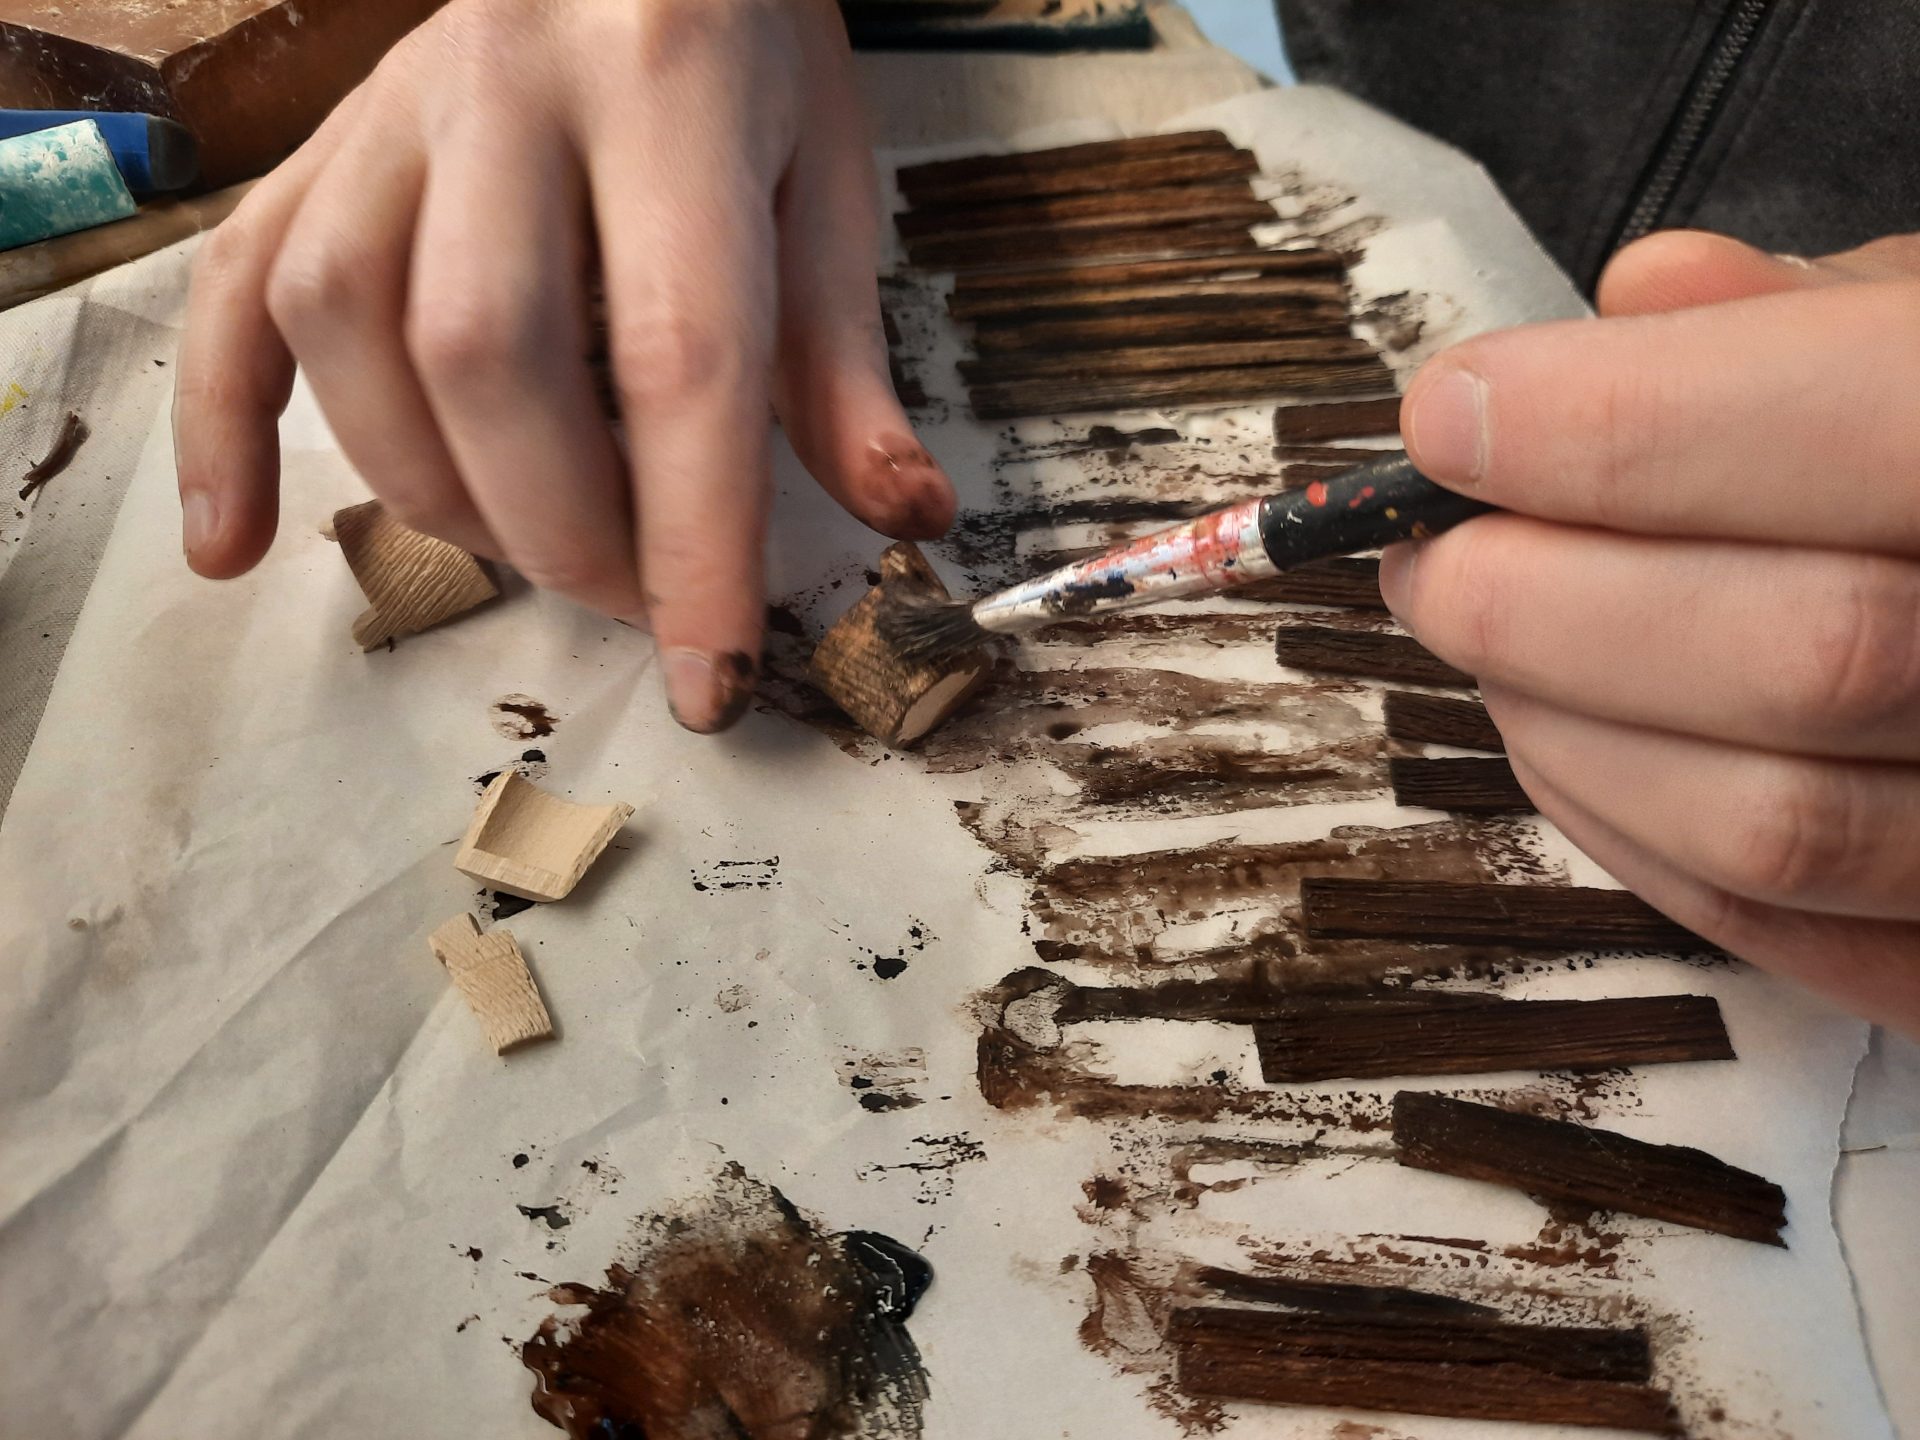
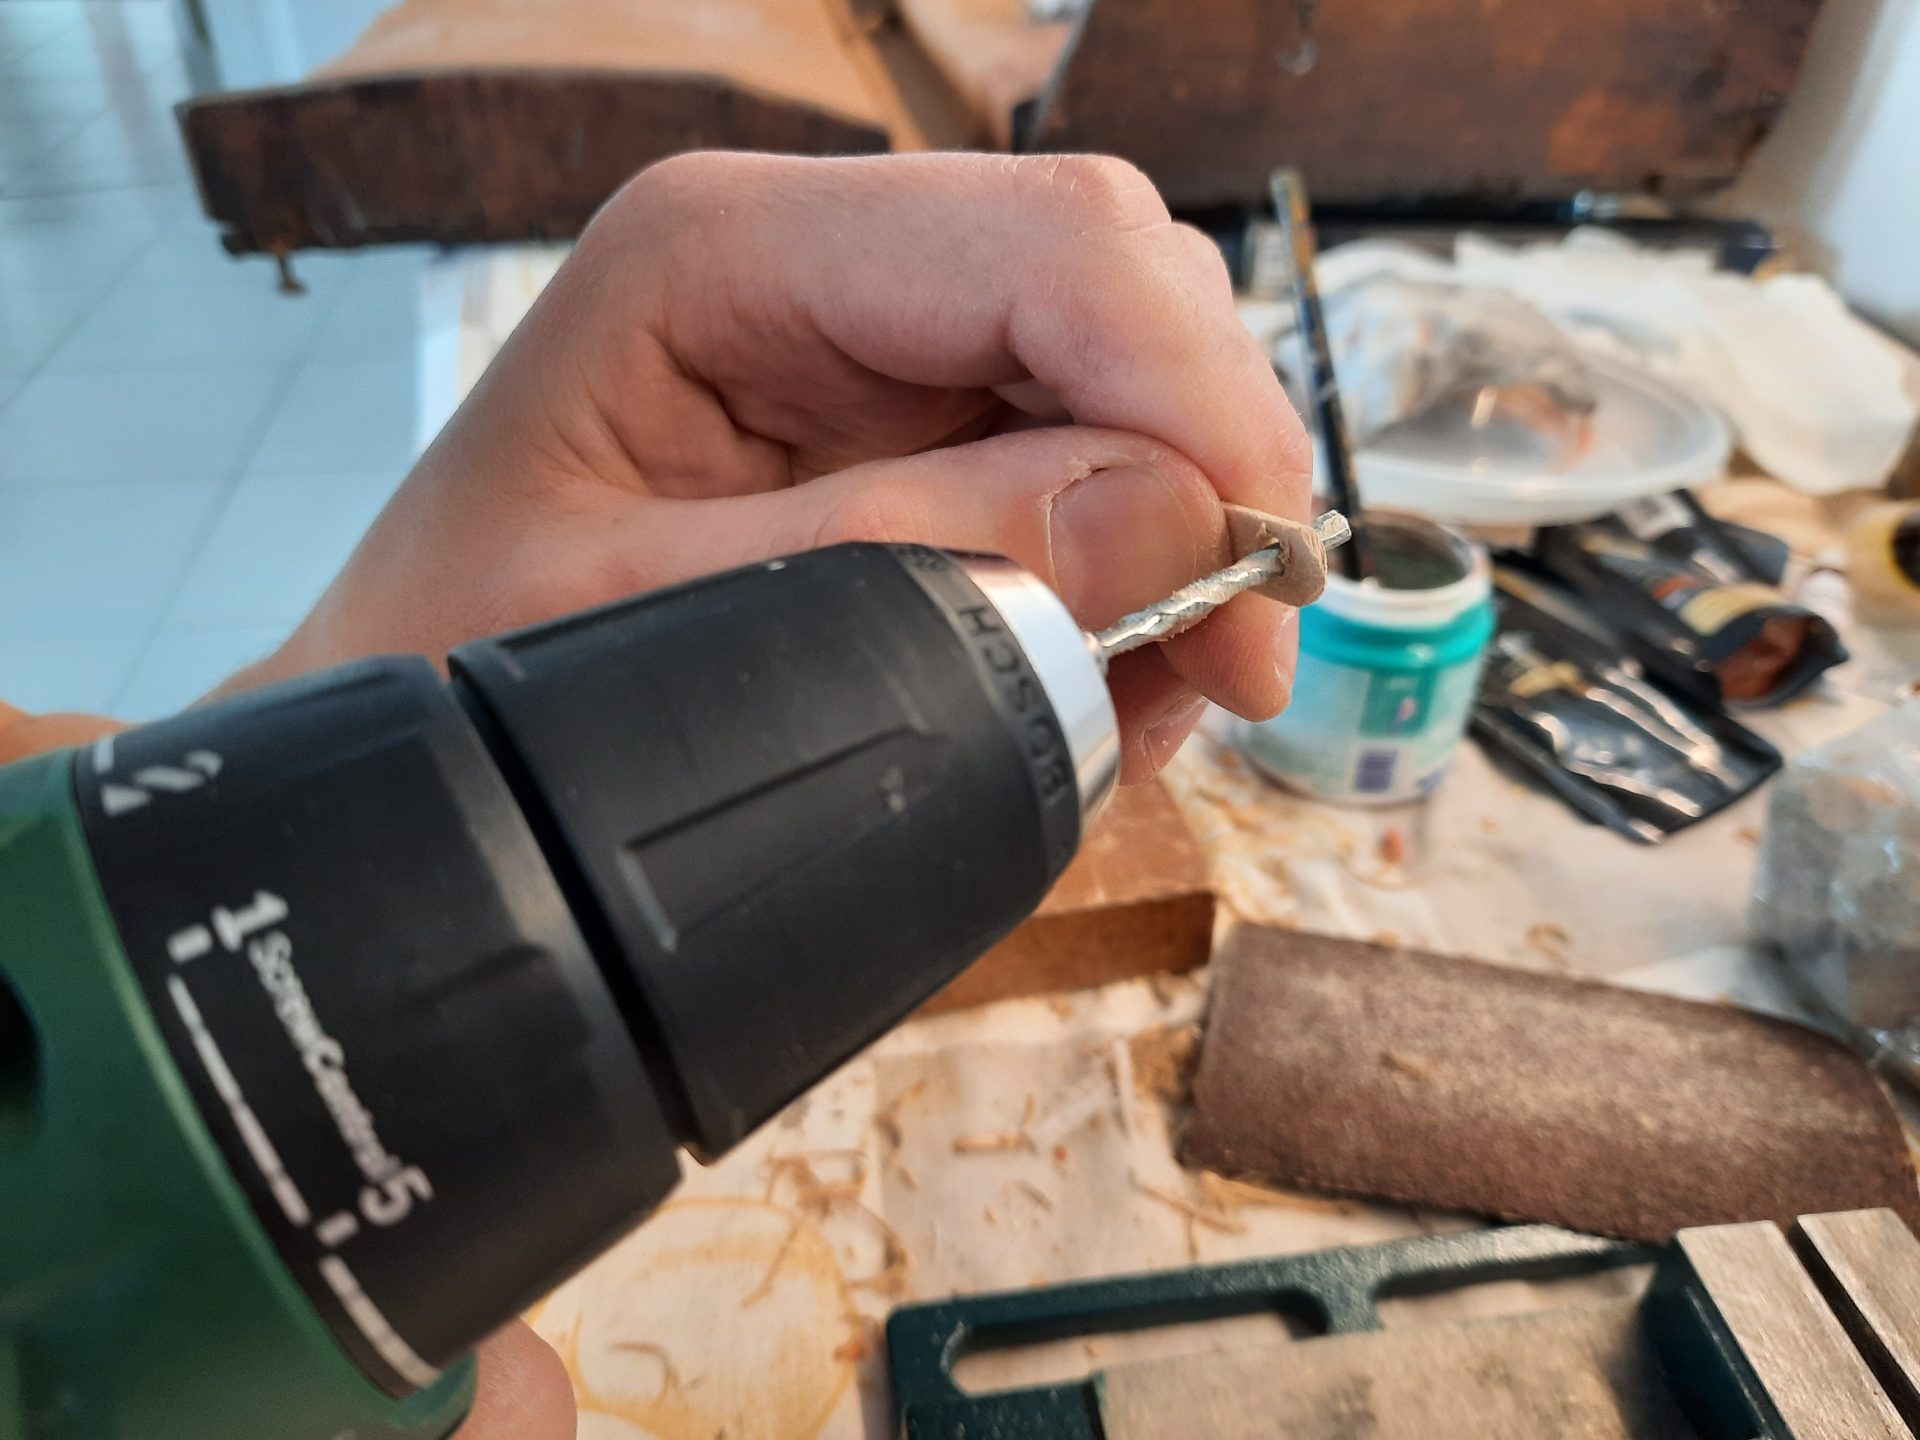
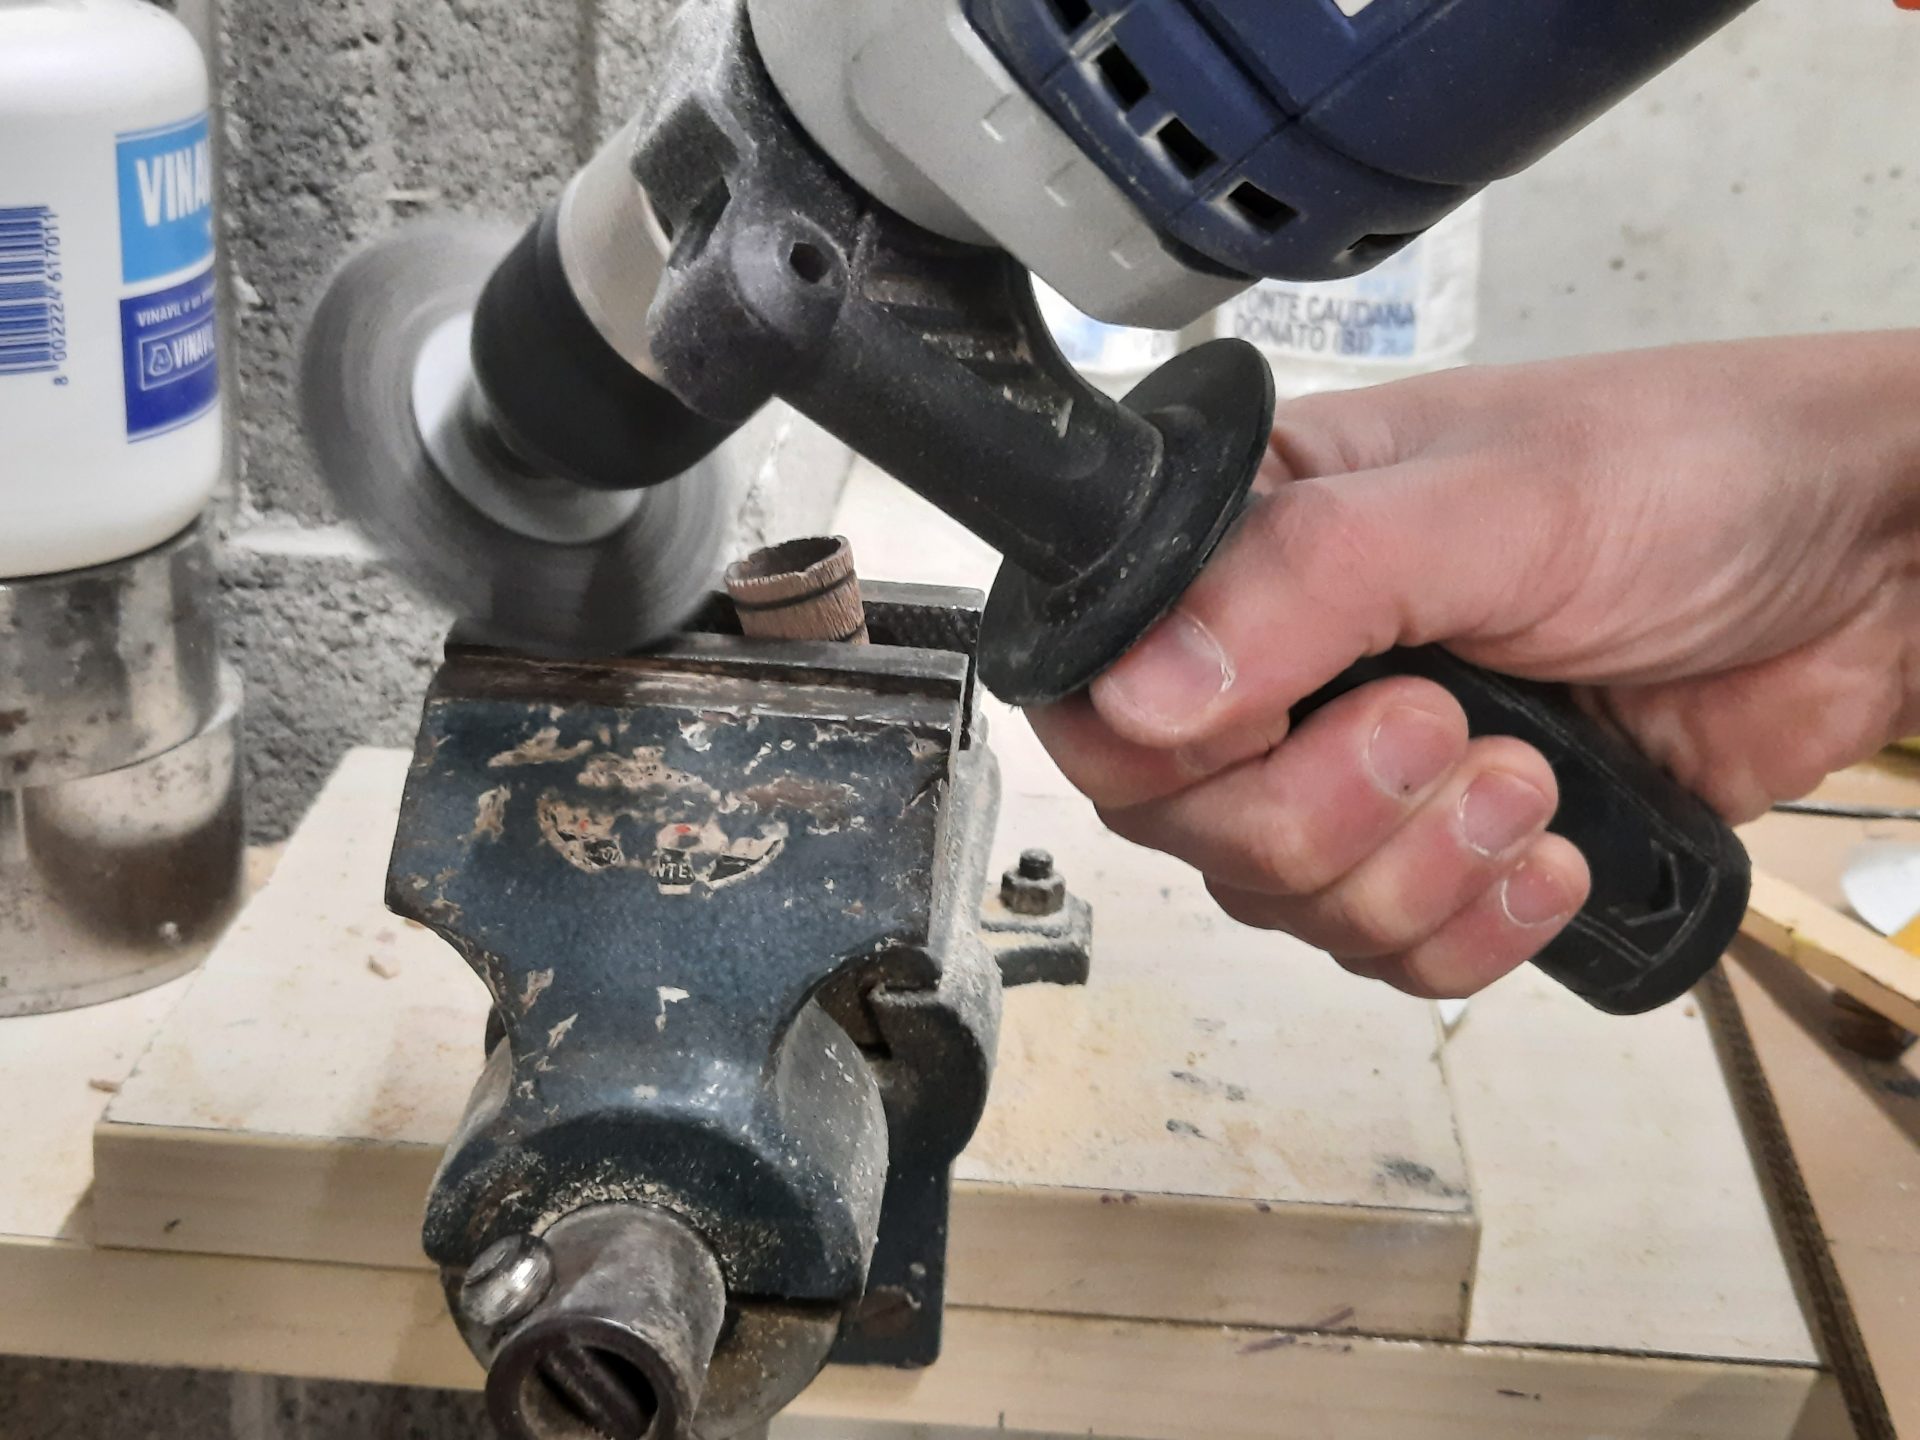
To build it, he used popsicle sticks. Each was carefully cut to size, then aged with one of his favorite techniques: mounting a metal wire brush on his drill and running it over the surface. This carved fine grooves into the wood, making the natural veins stand out and giving the sticks the look of beams weathered by years of use. He even thinned the terminals of the sticks to accentuate the worn effect.
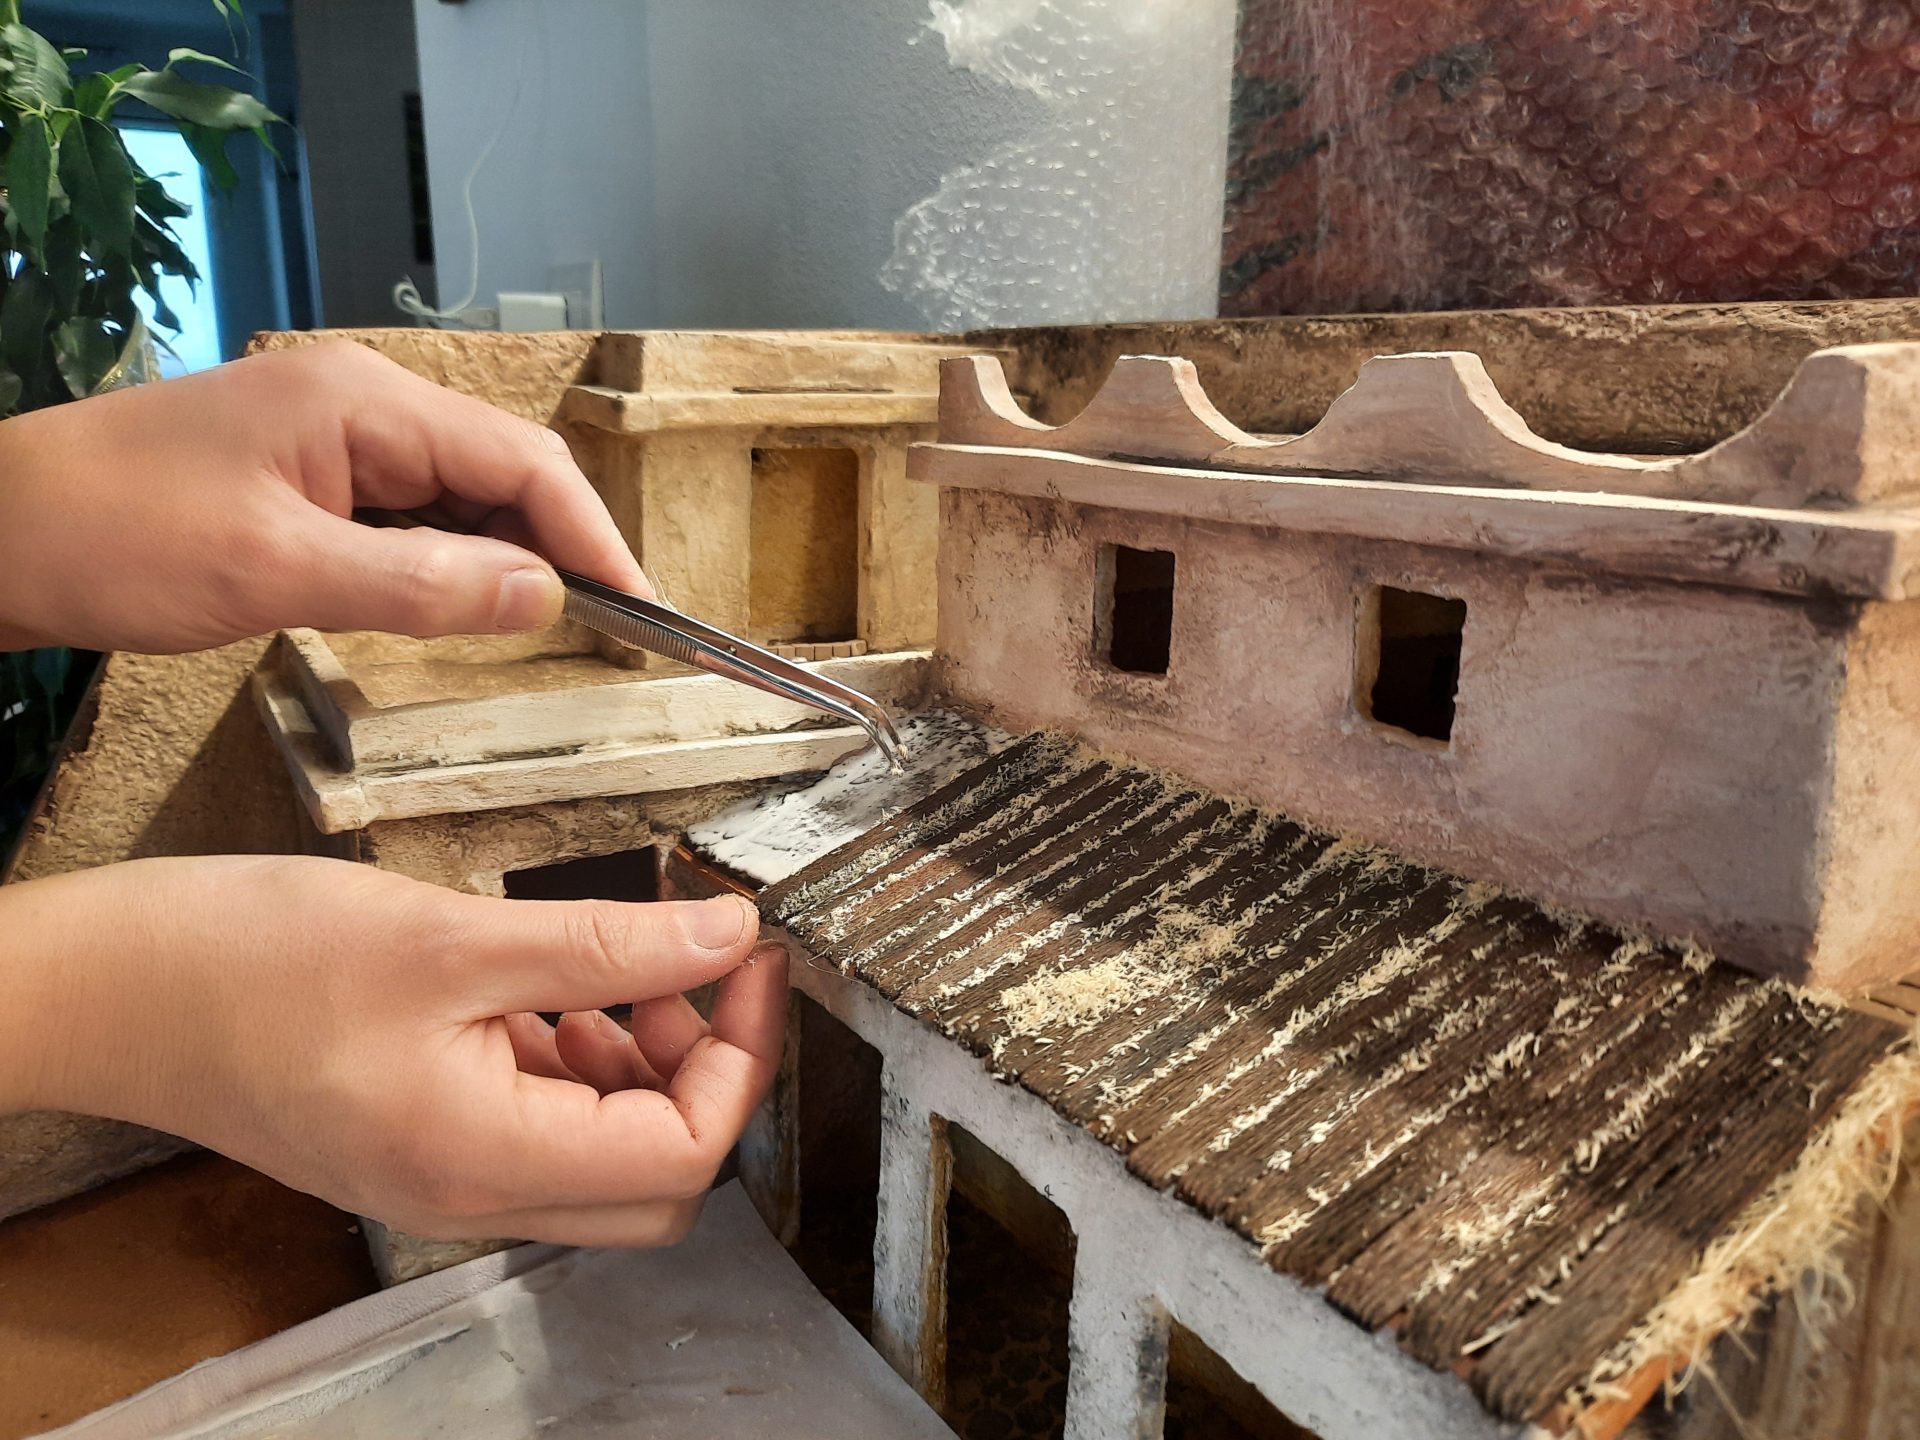
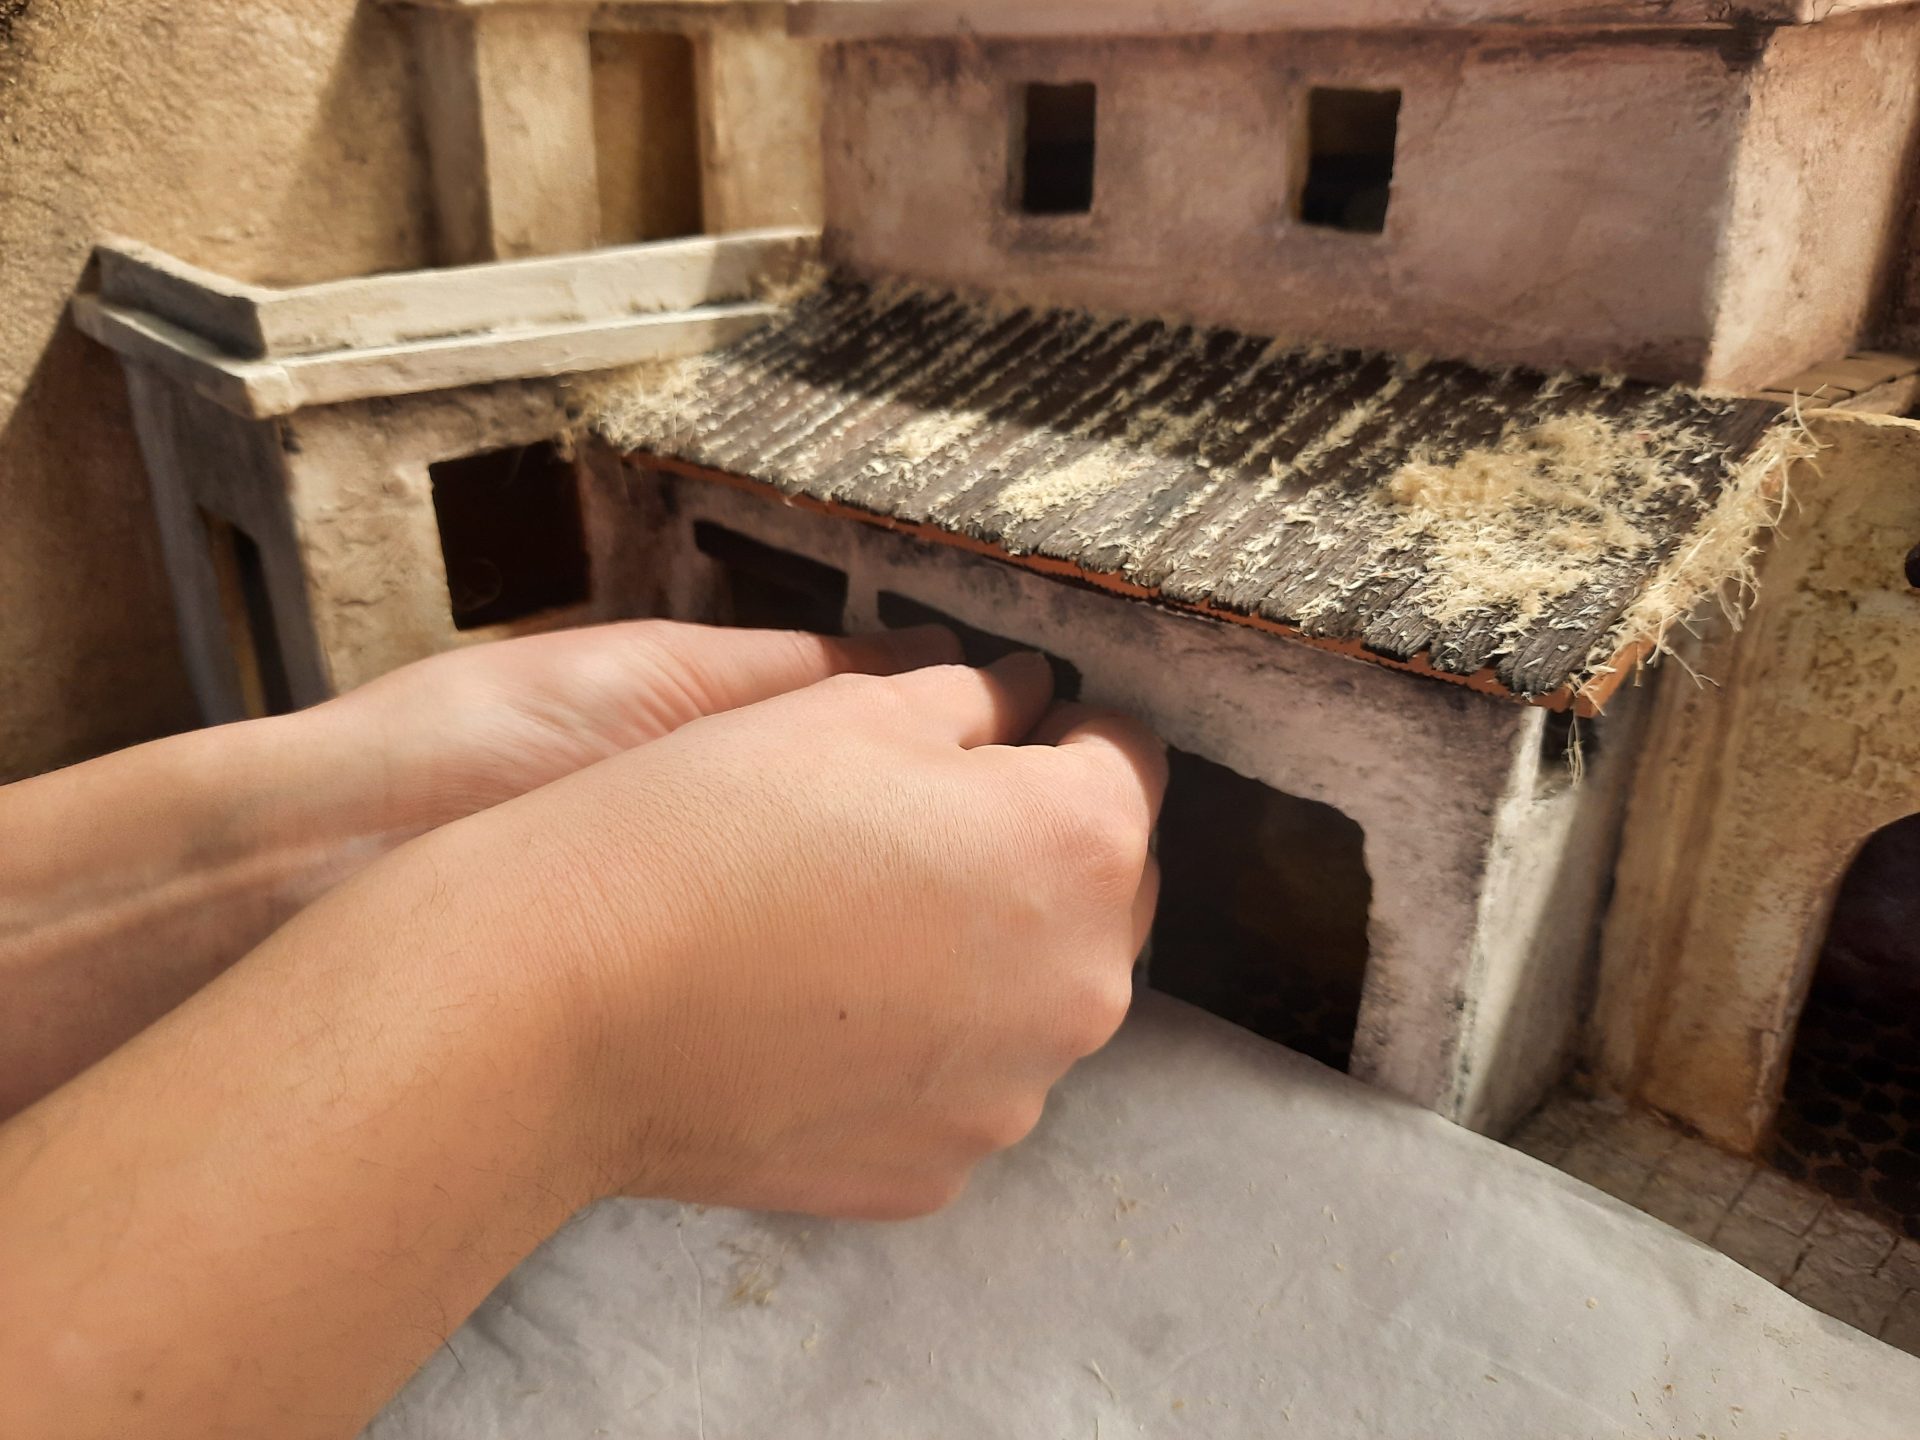
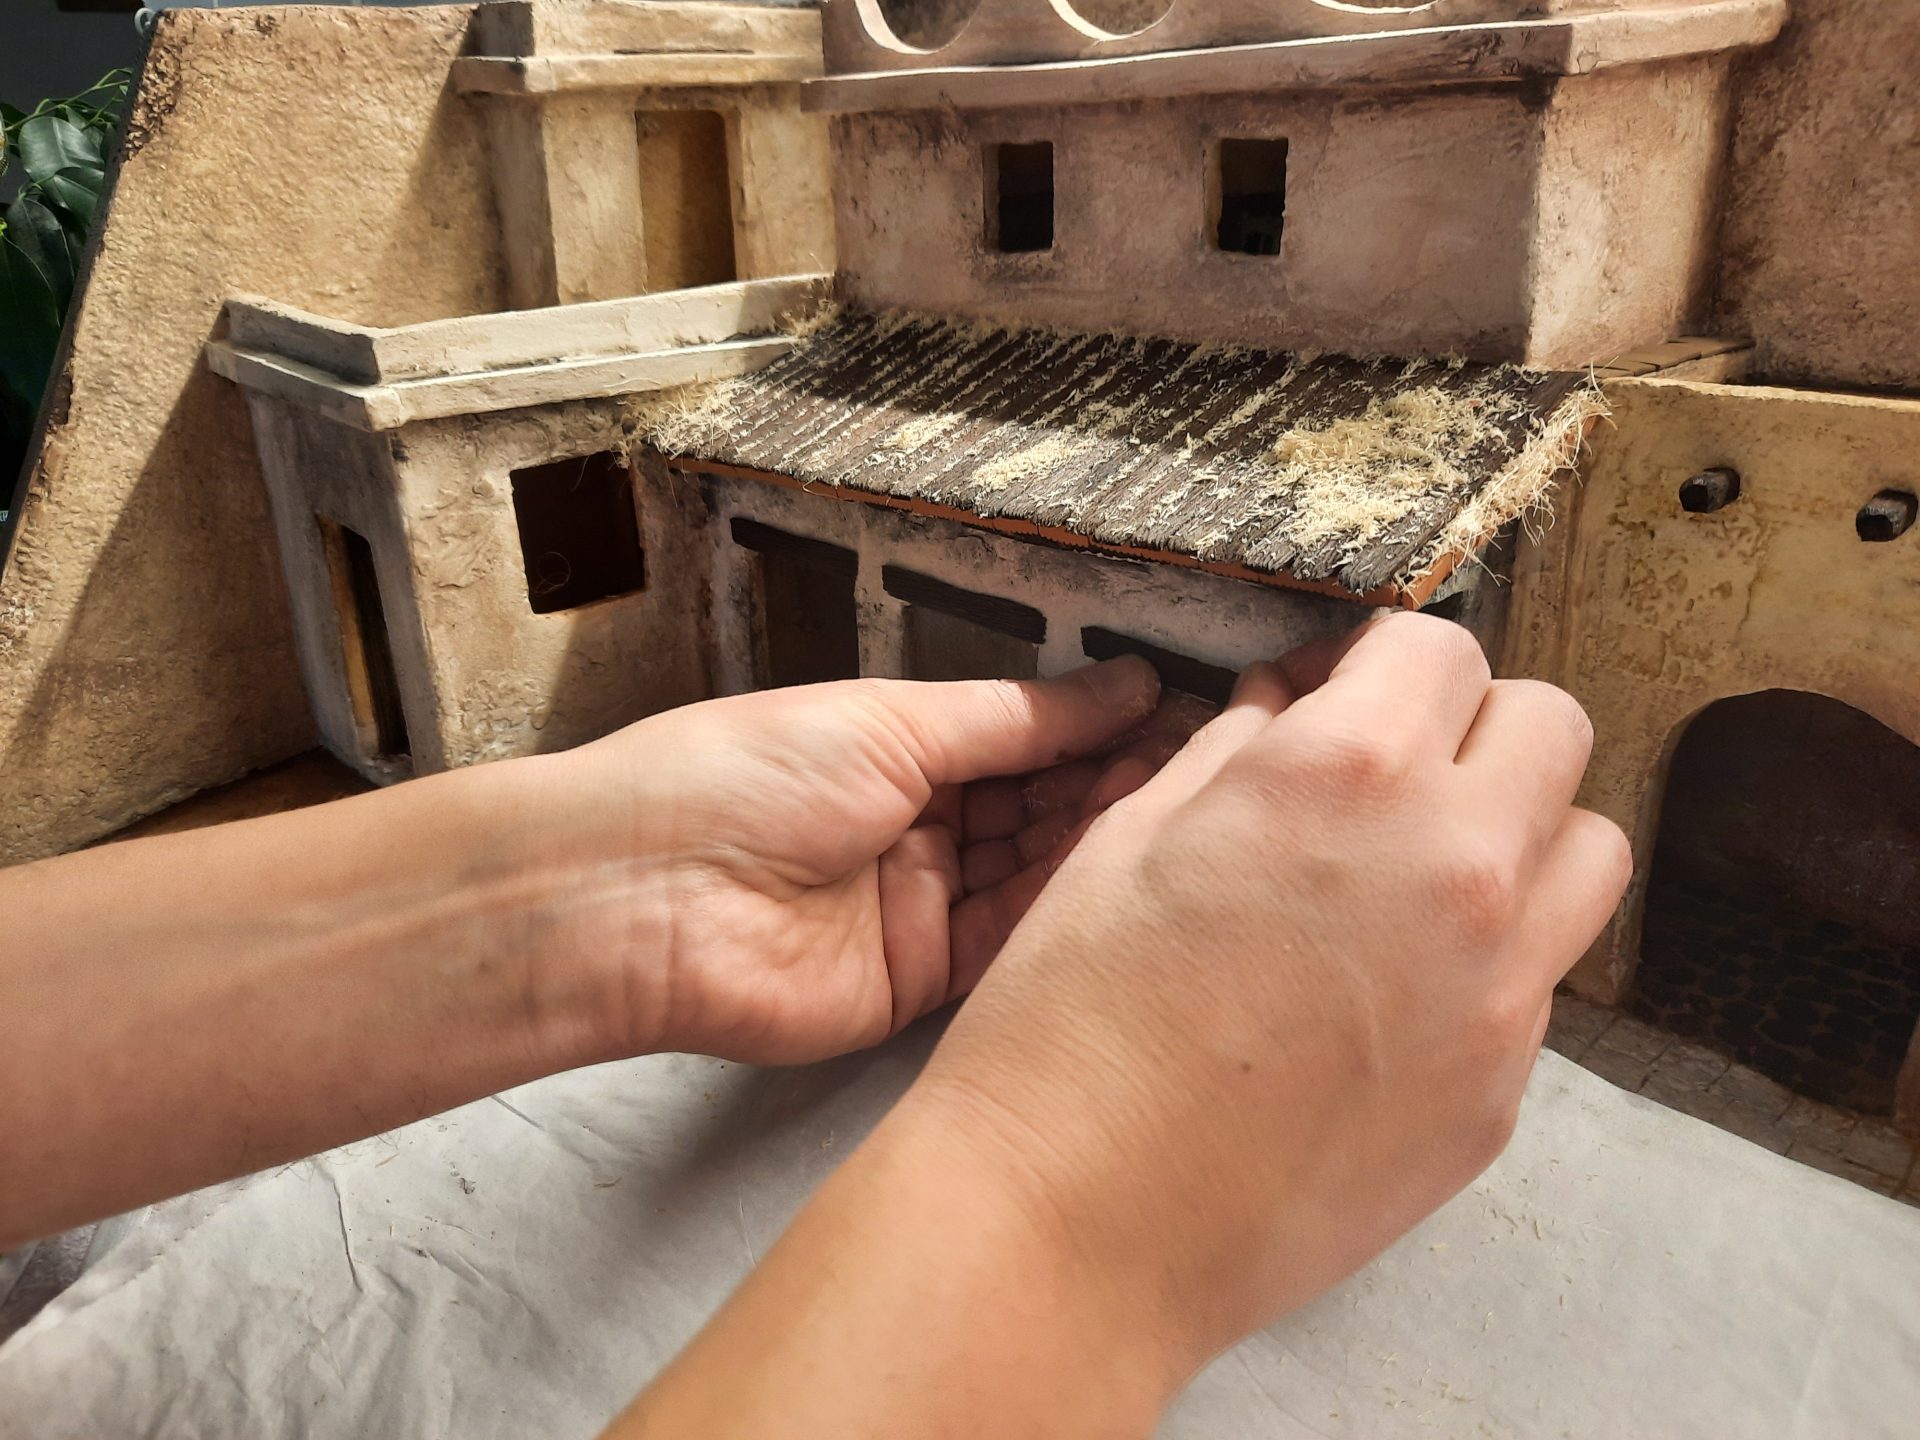
Once satisfied, he painted all the pieces with a deep brown coat. Finally, when he glued the sticks into place to form the roof, adding handfuls of miniature hay under and in between the beams: this extra insulation was meant to create a visual connection with the rustic roof of the main stable.
He also kept more sticks to be used around town: for example, he used them as lintels on doors and windows.




Paving the stable and the porch


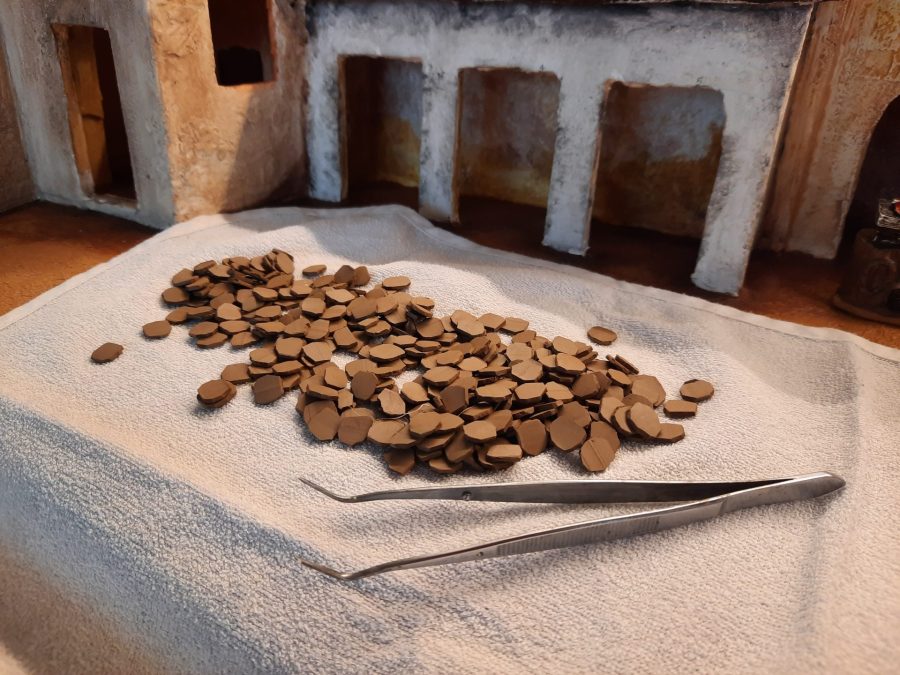


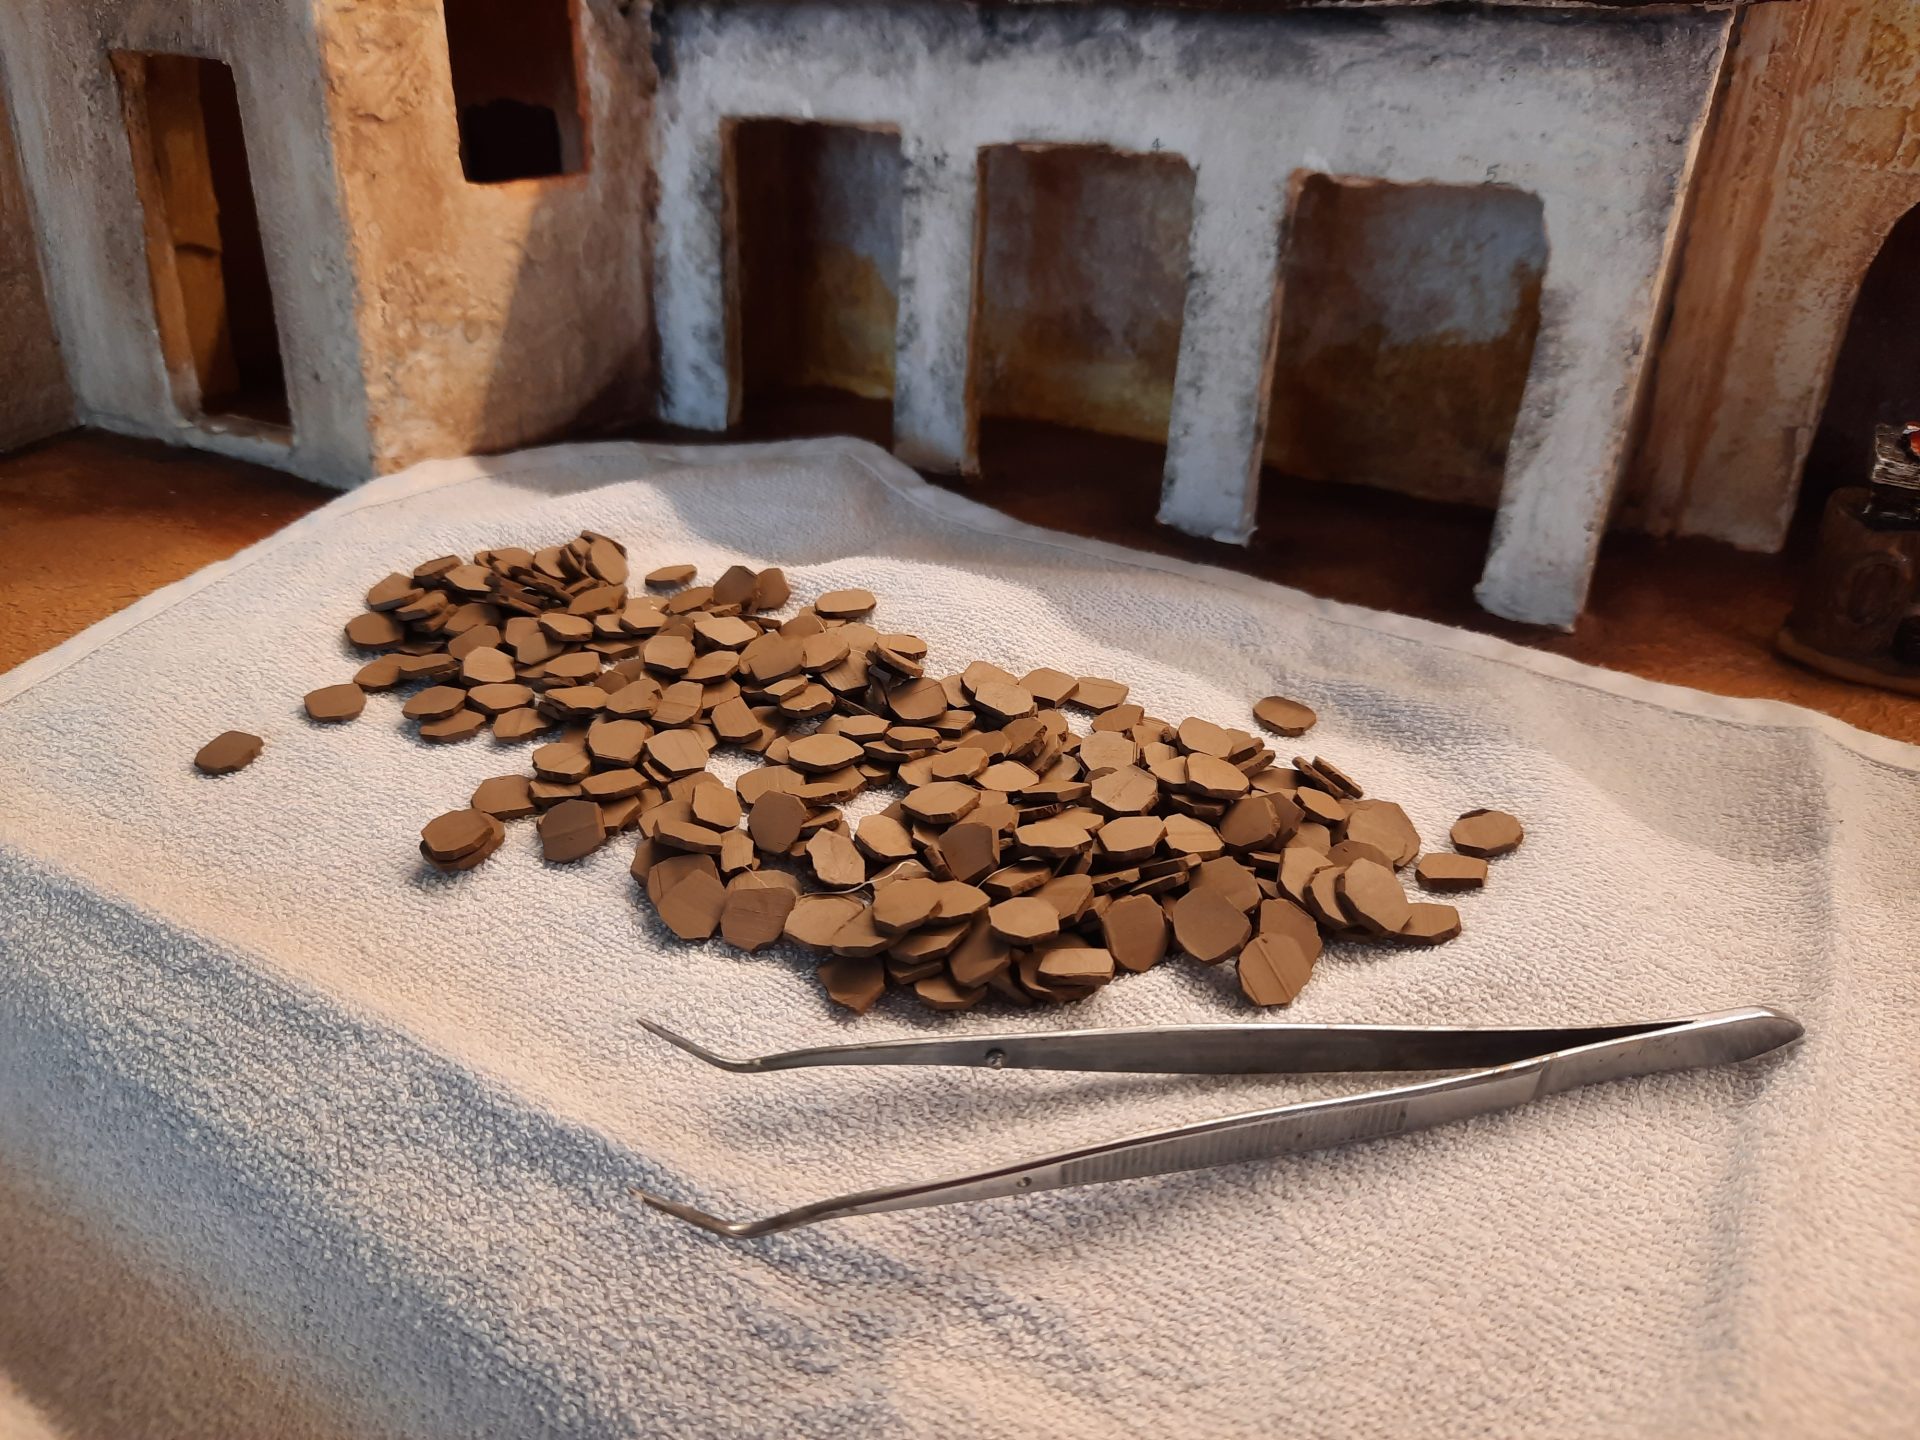
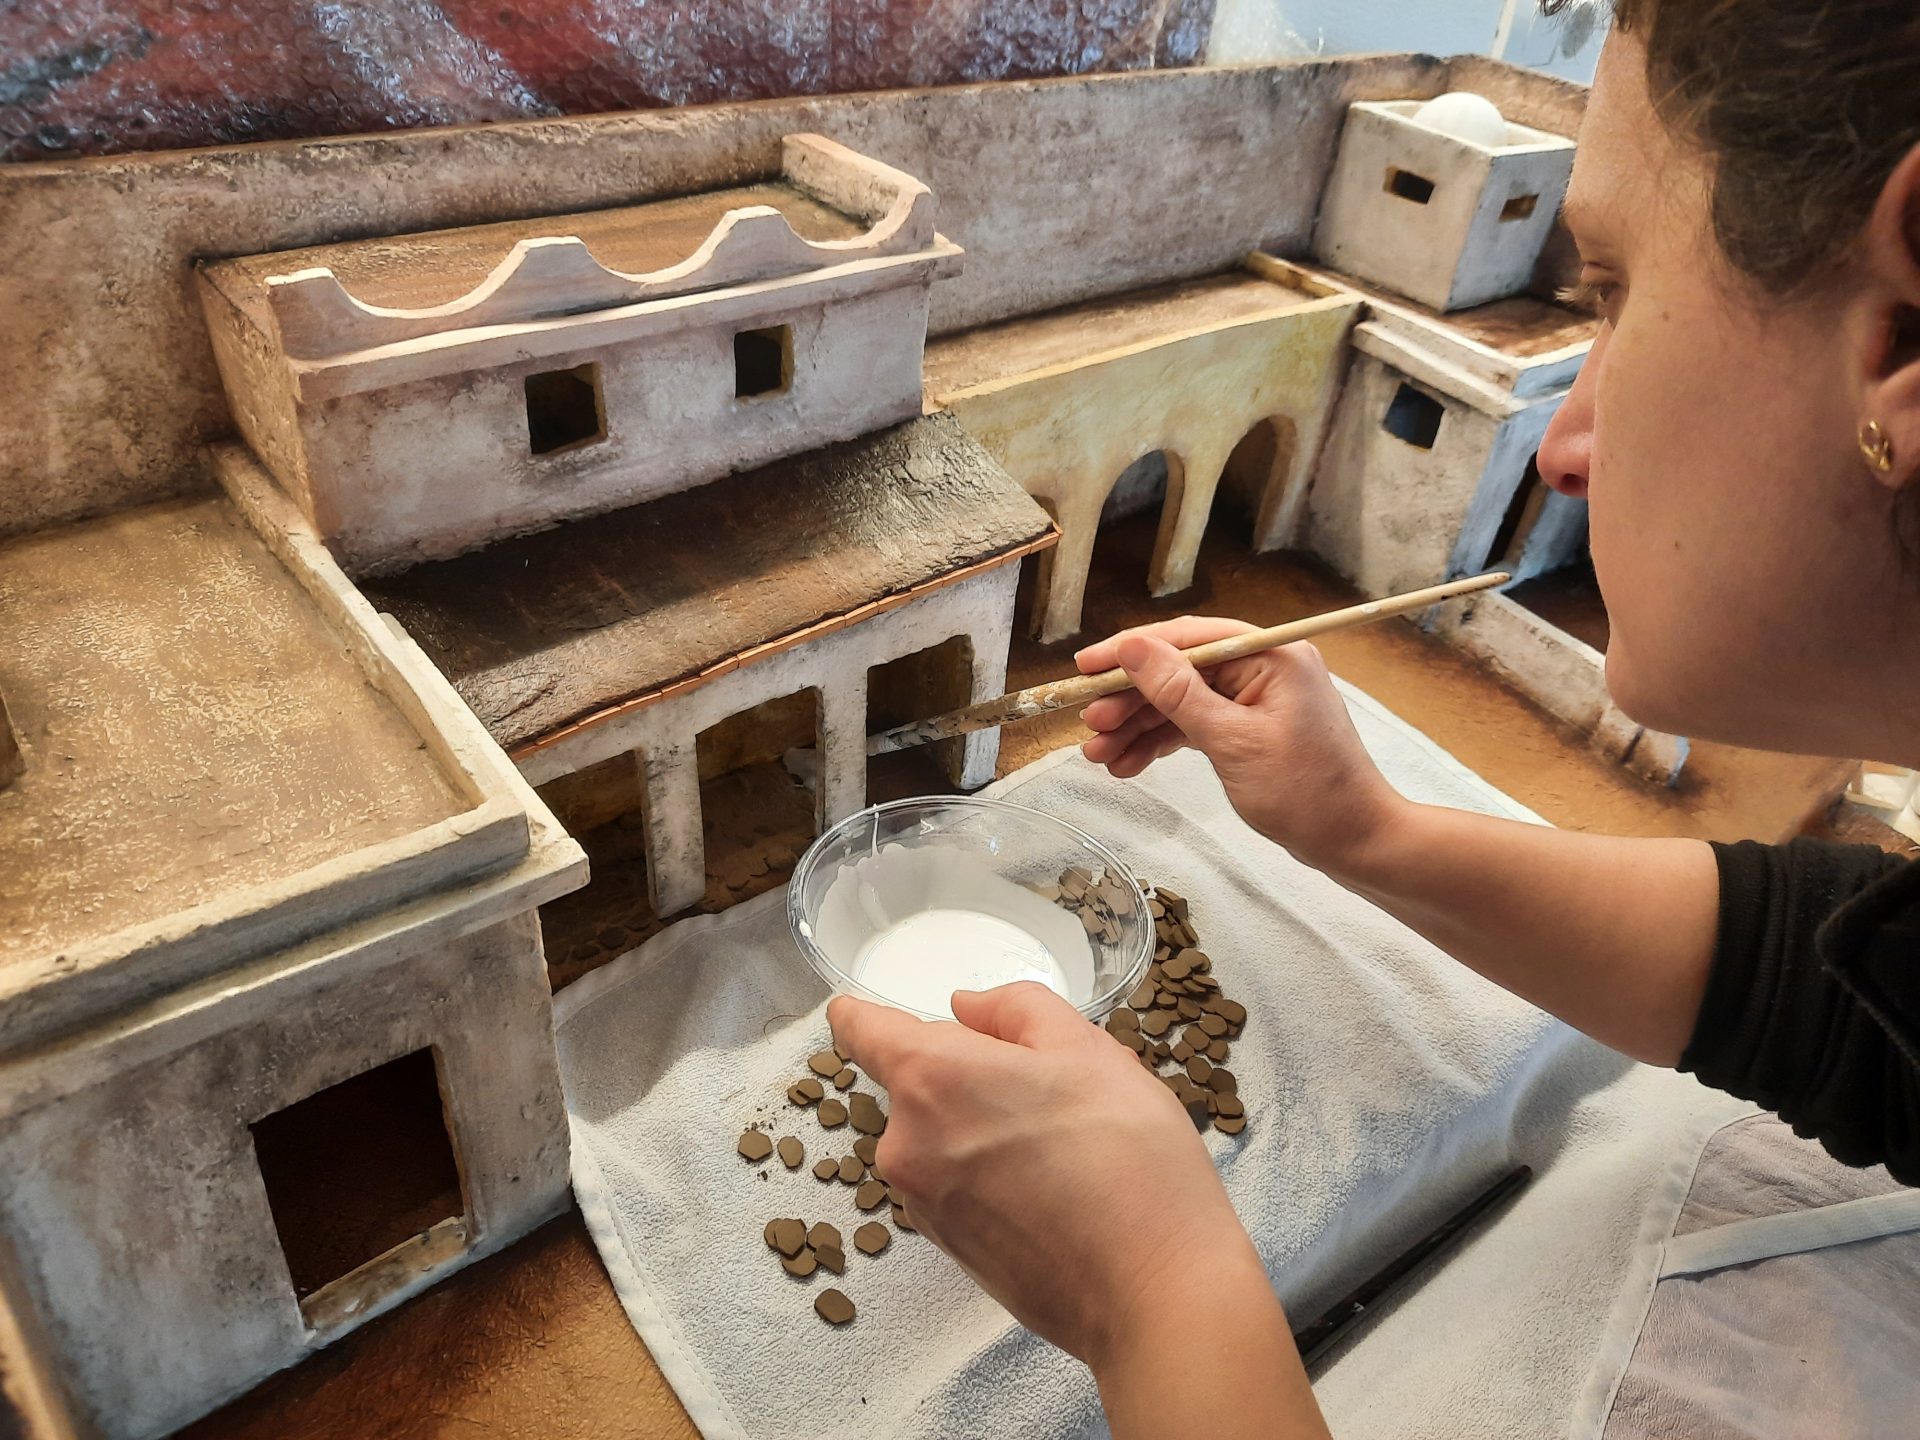
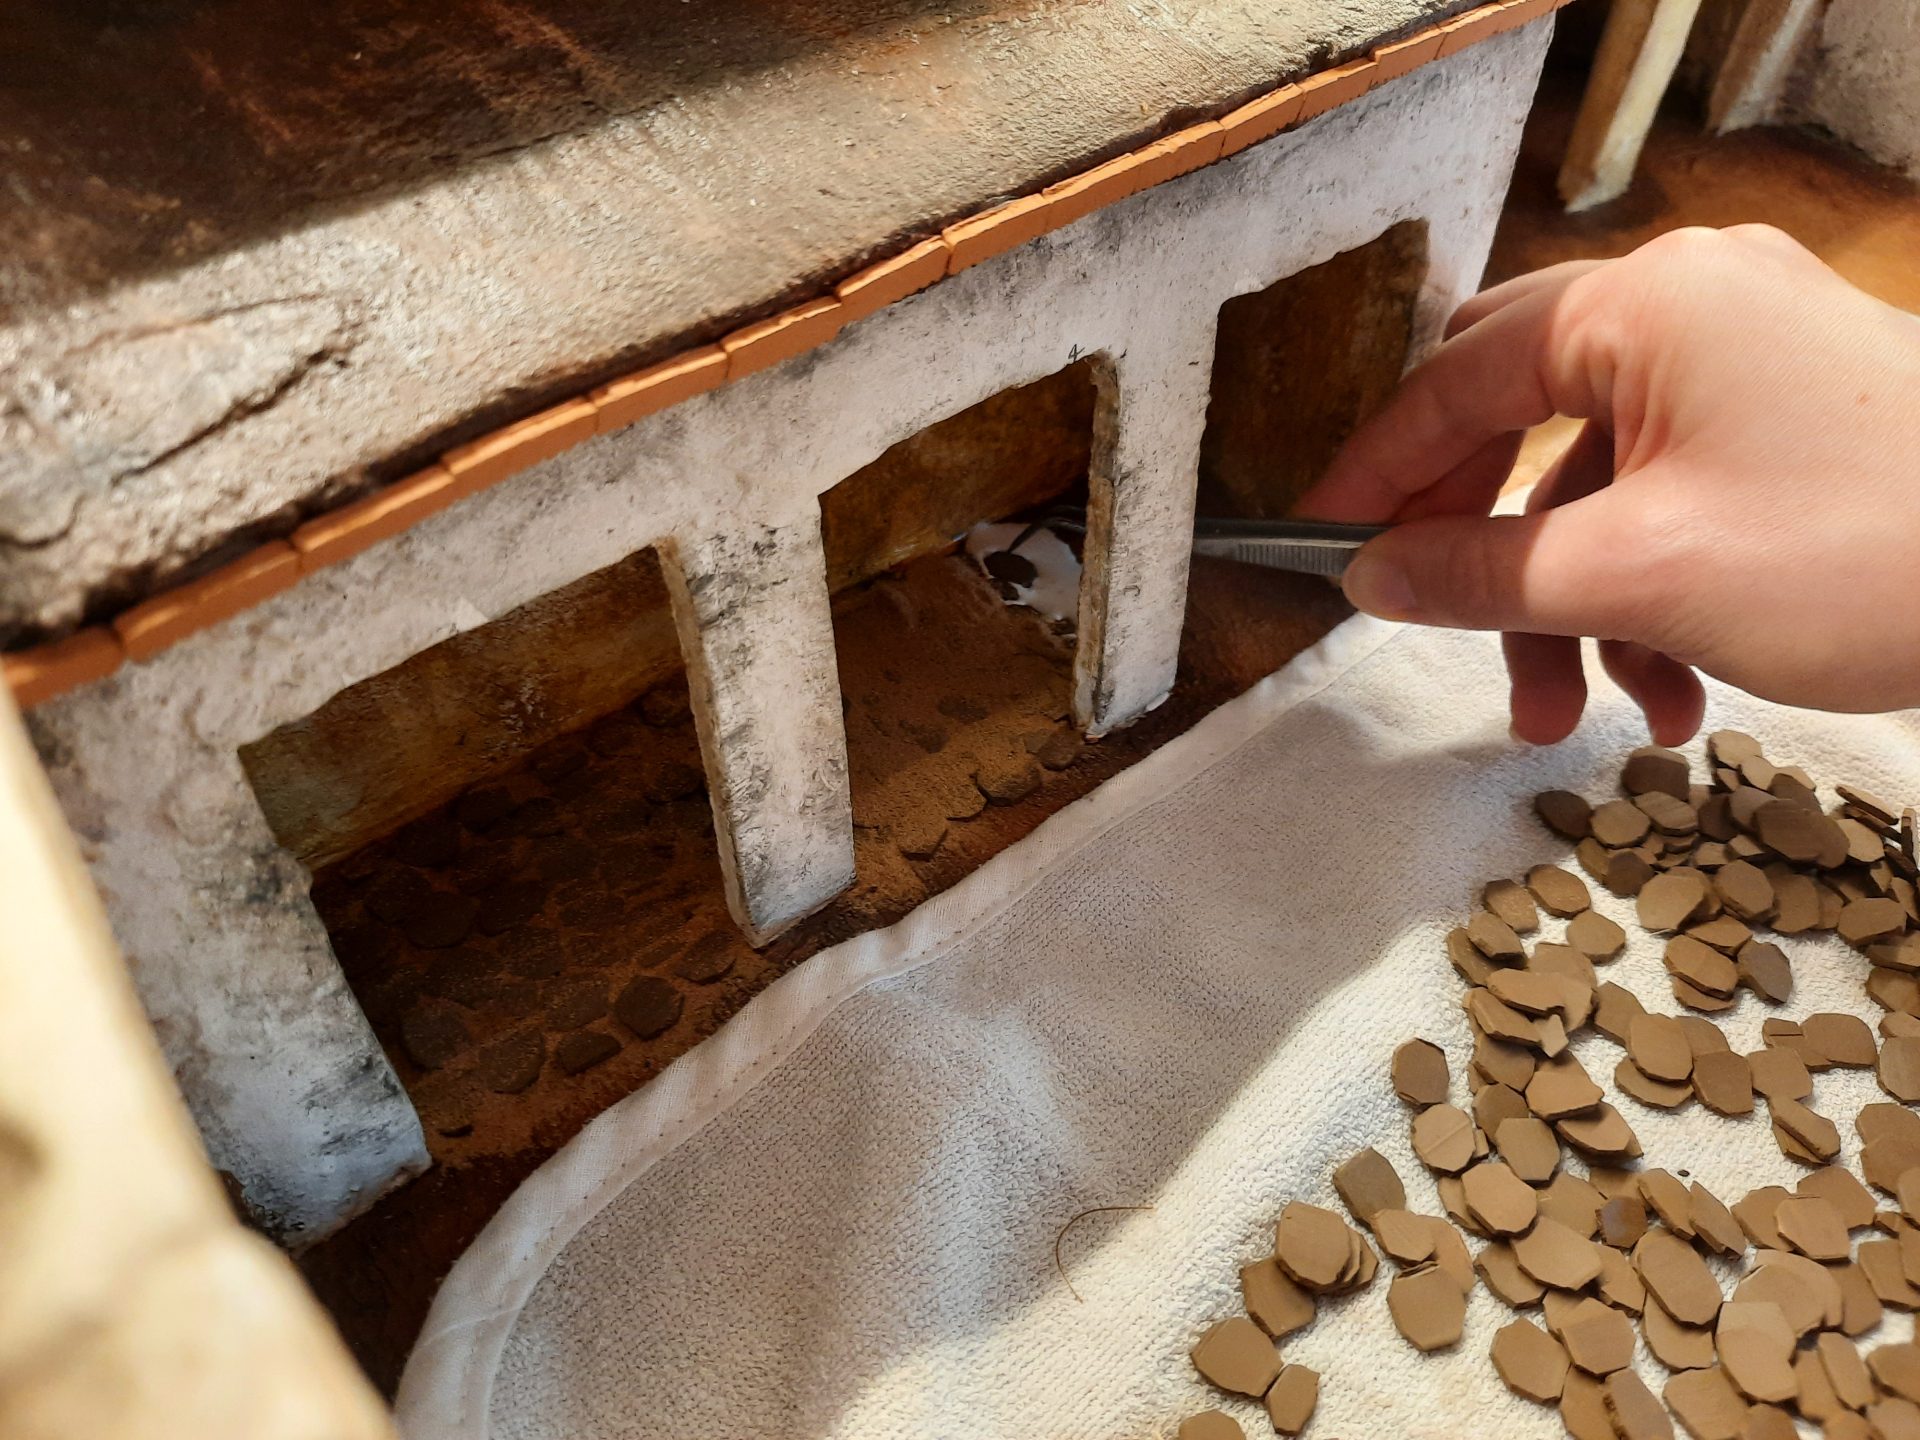
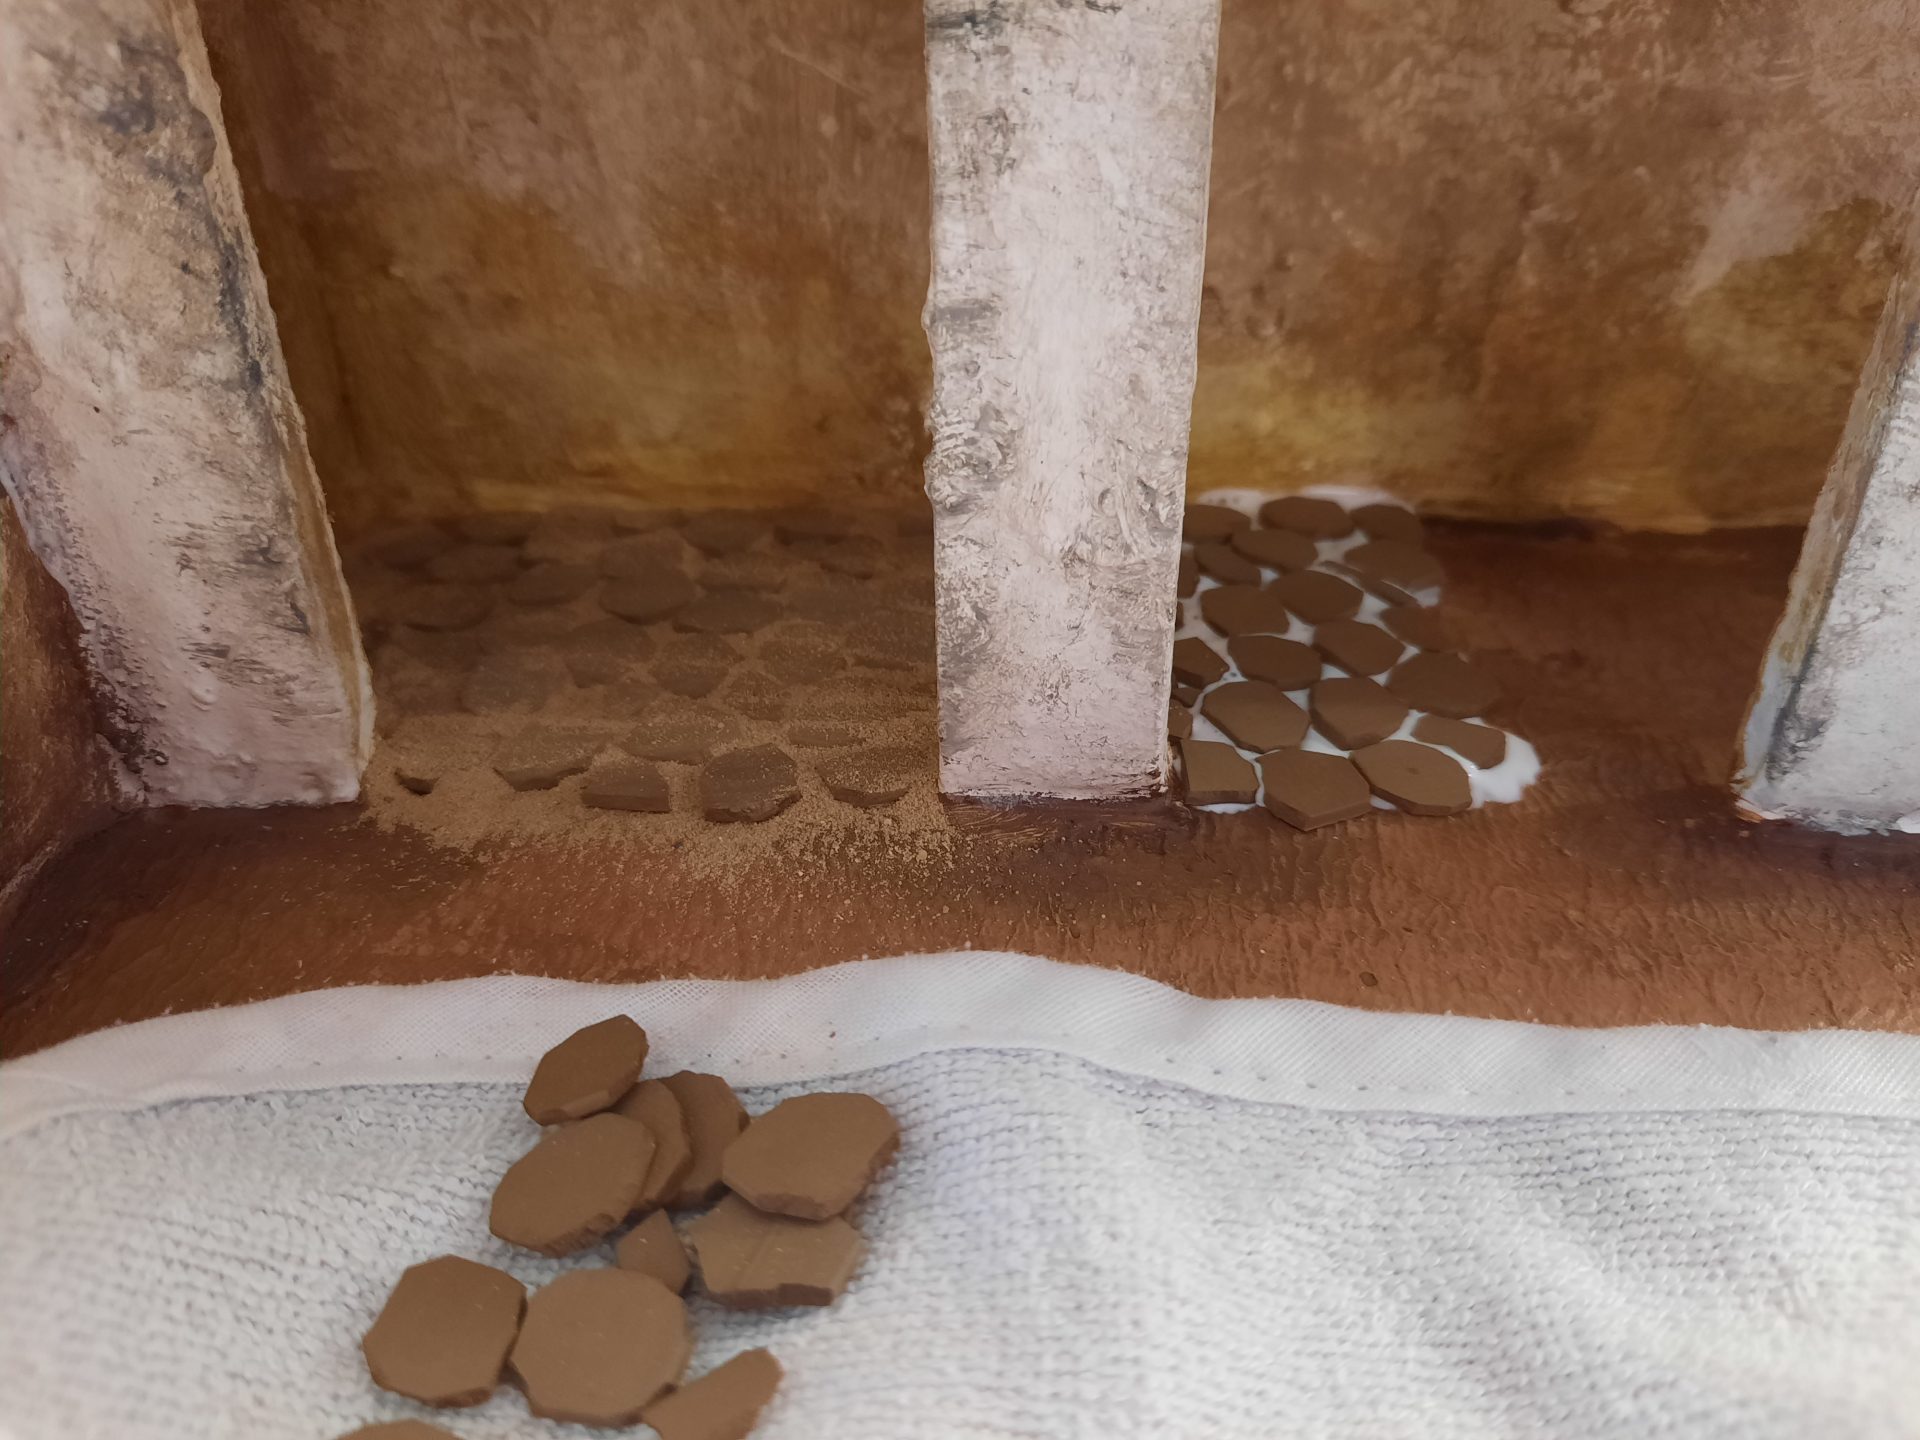
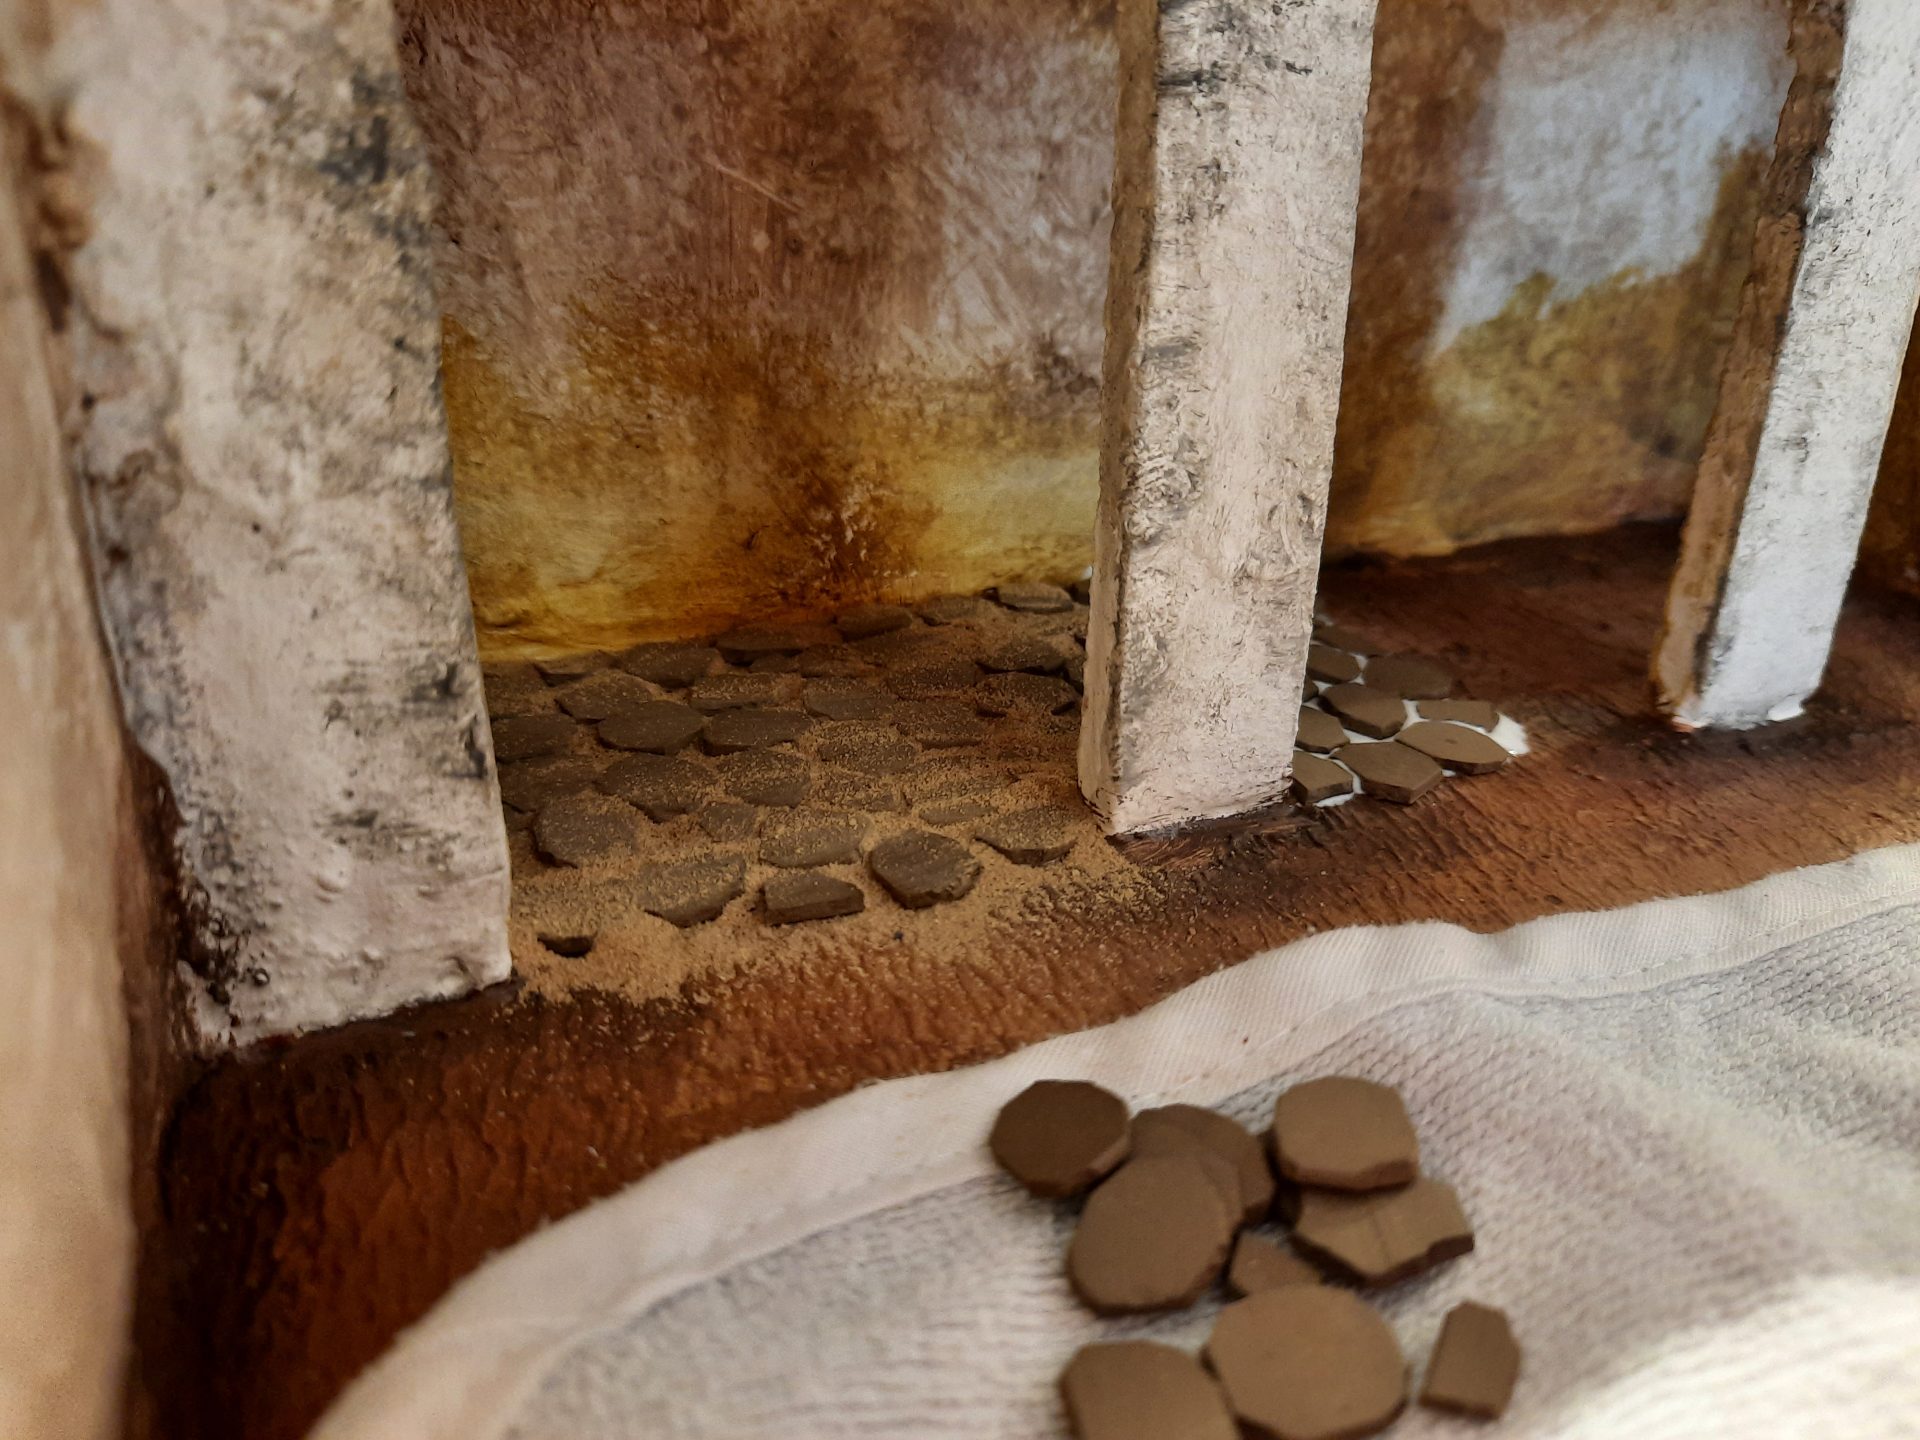
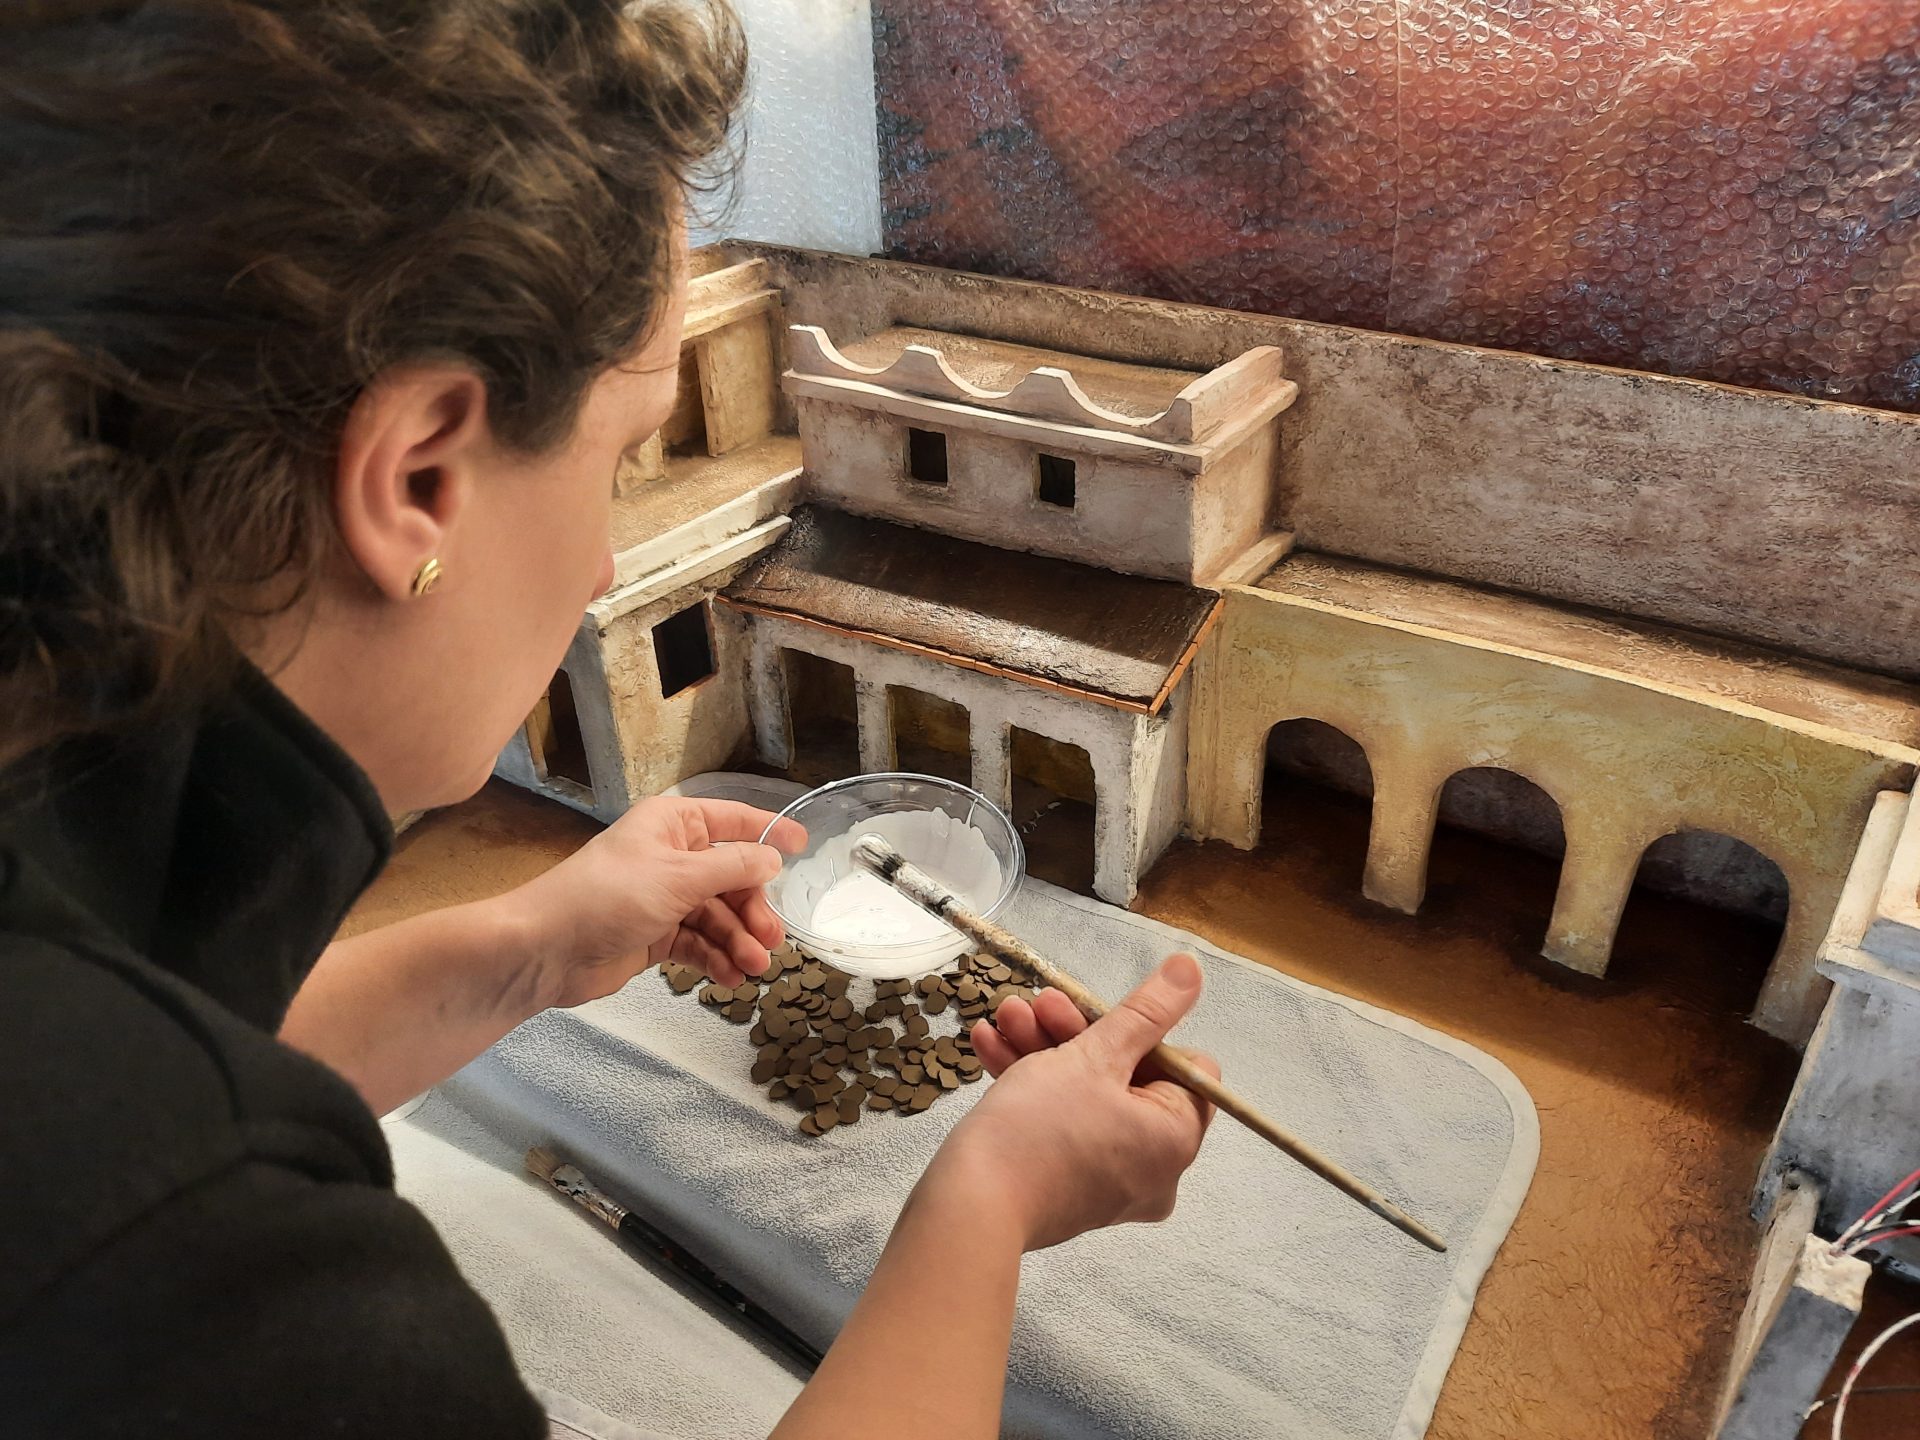
Meanwhile, it was my turn to take on a hard task. We happened to have a vintage kit for building a model church, complete with miniature materials like bricks, ceramic tiles and cut-to-shape stones. We decided to repurpose the ceramic tiles to pave both the horse stable and the main square’s porch.
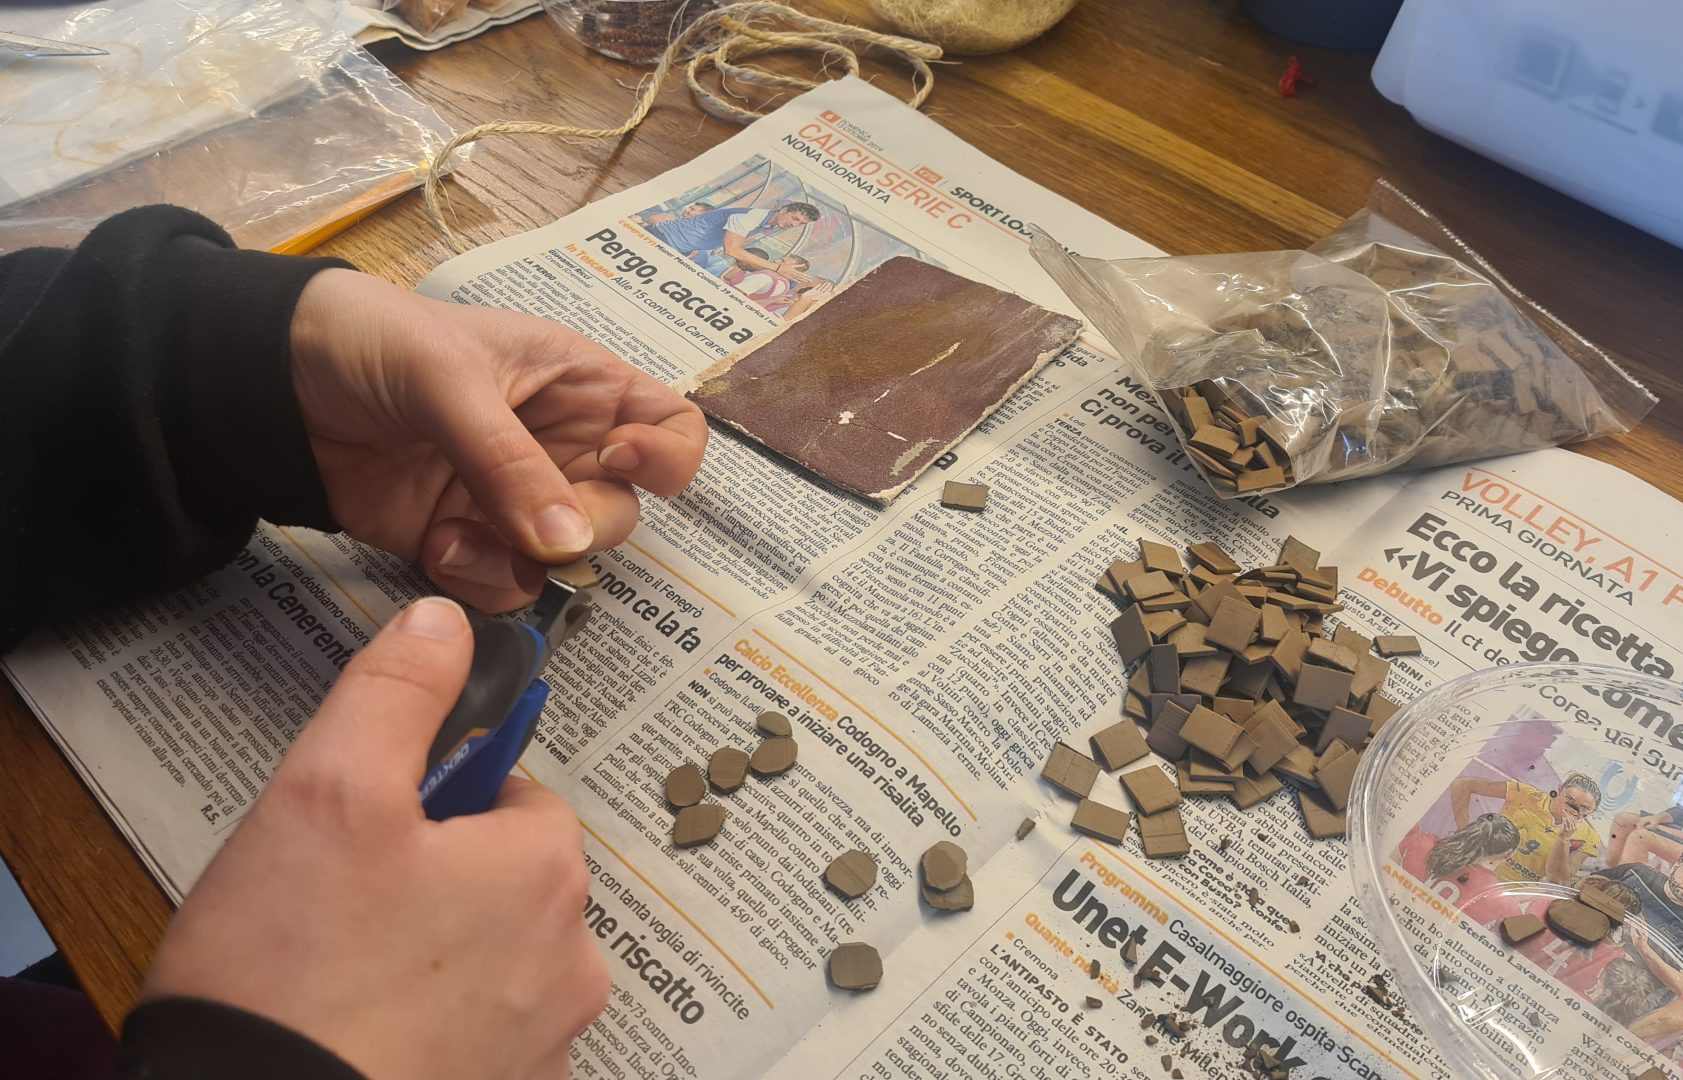
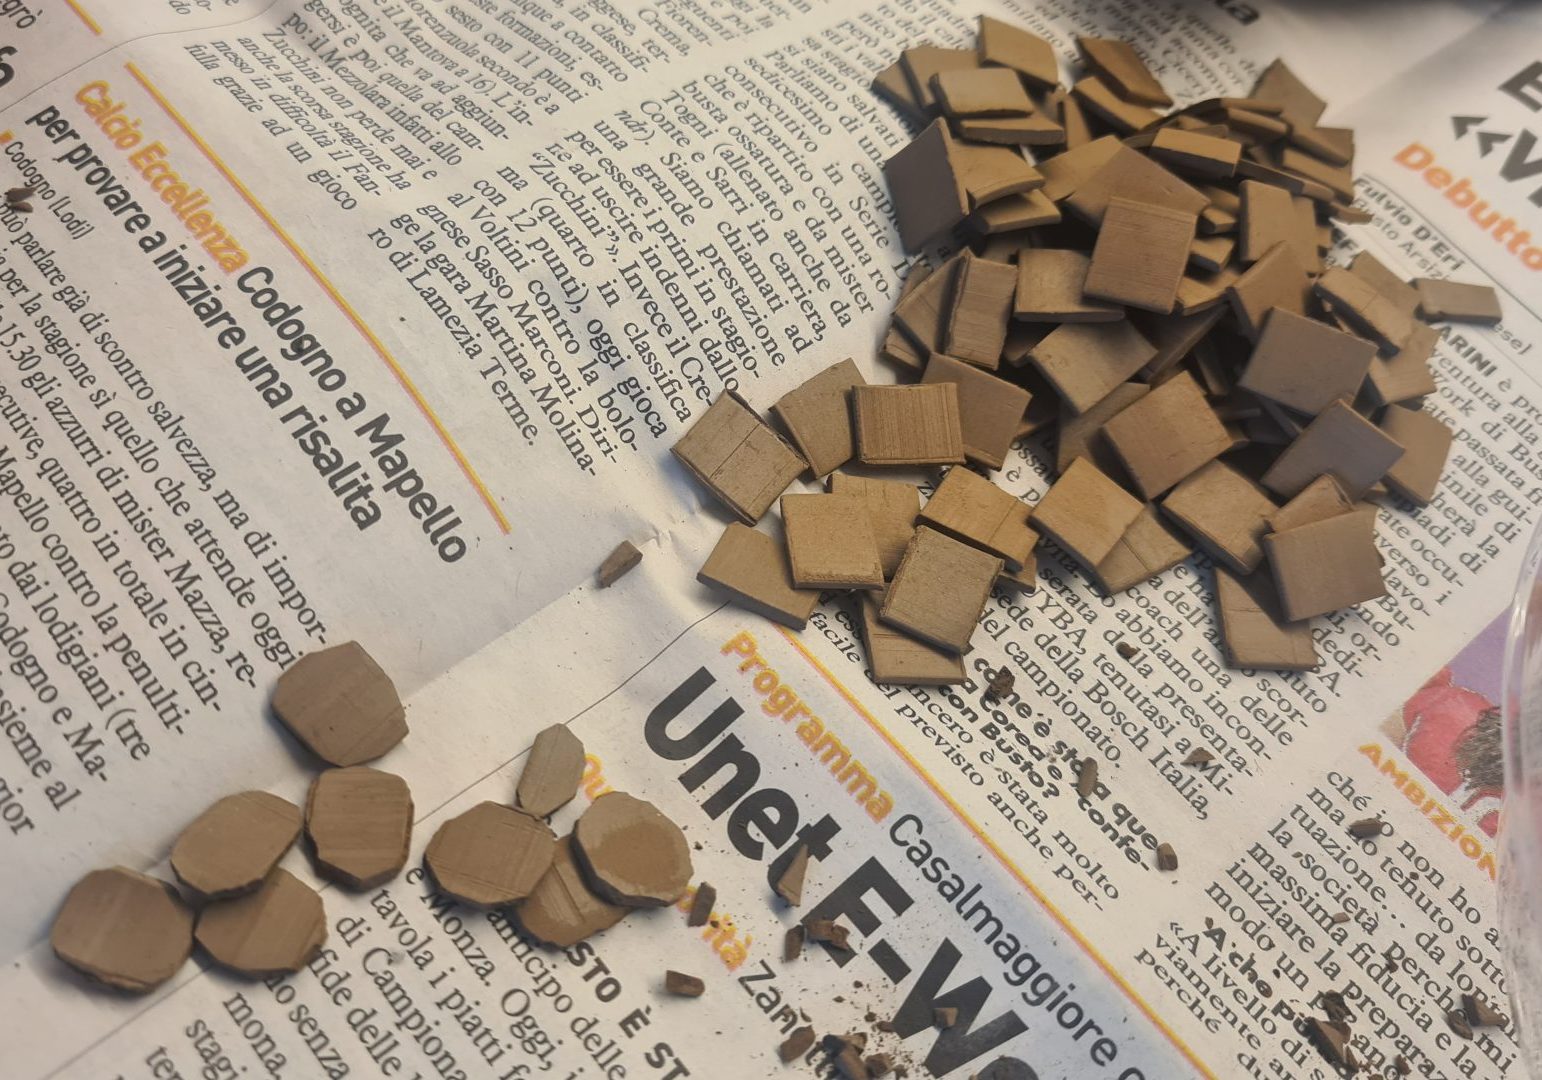
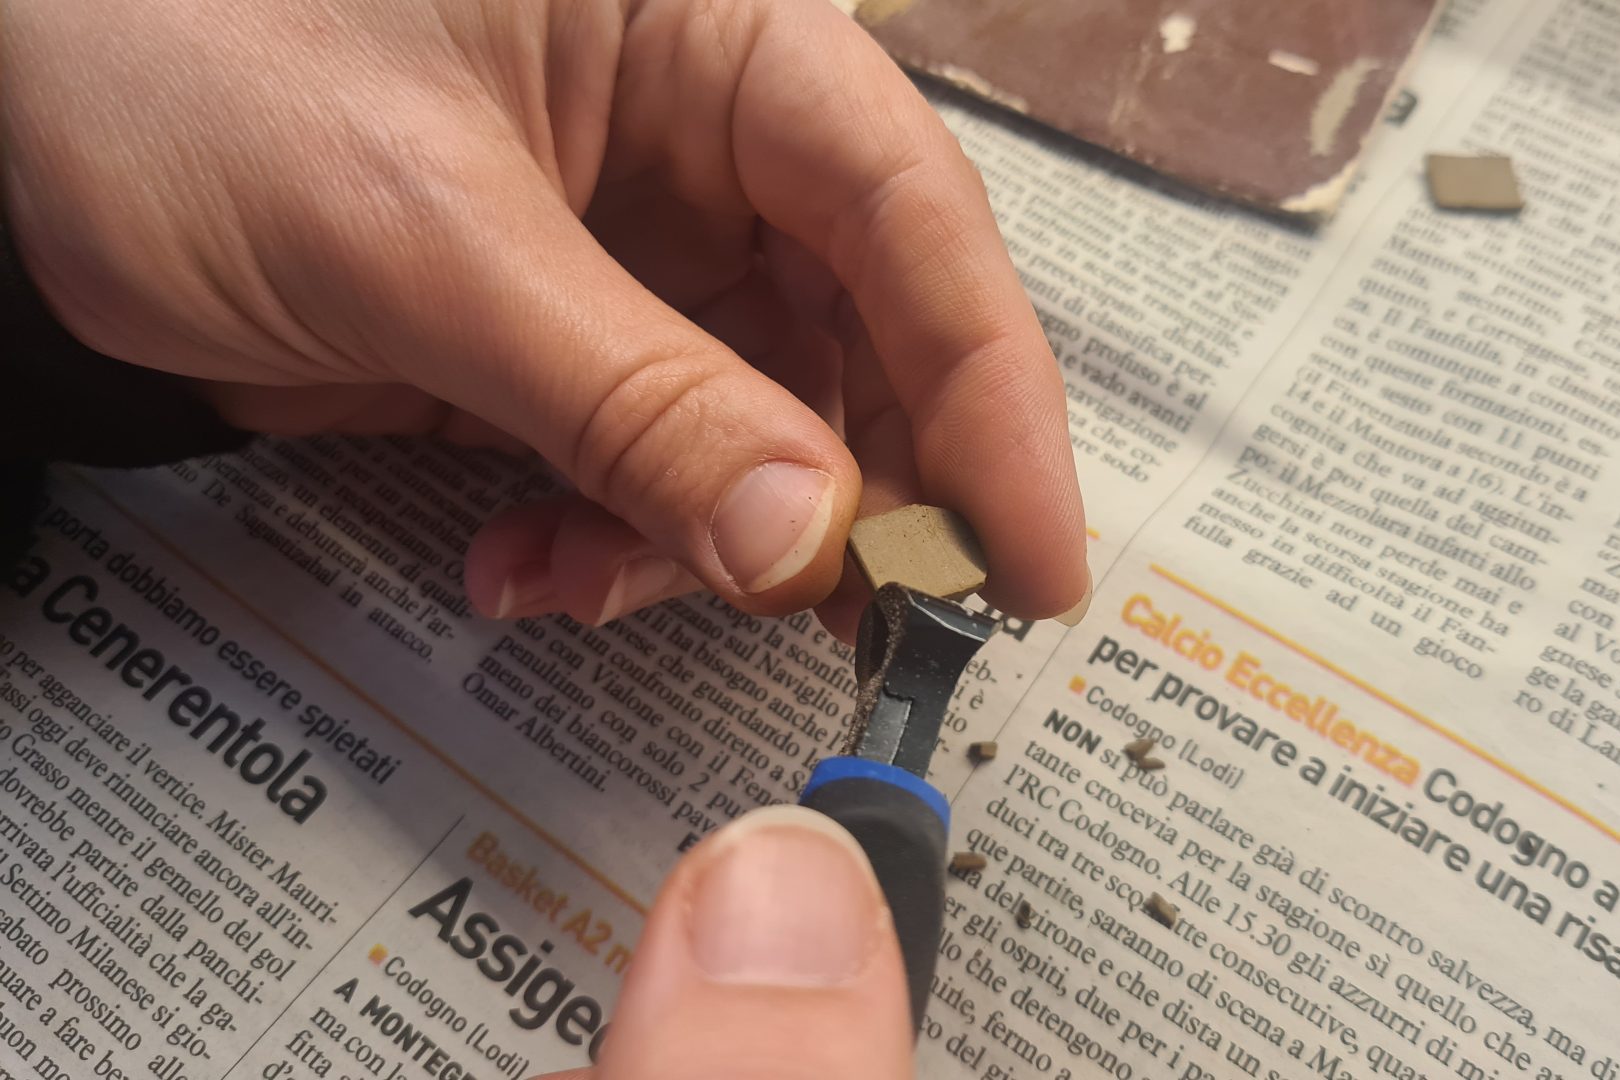
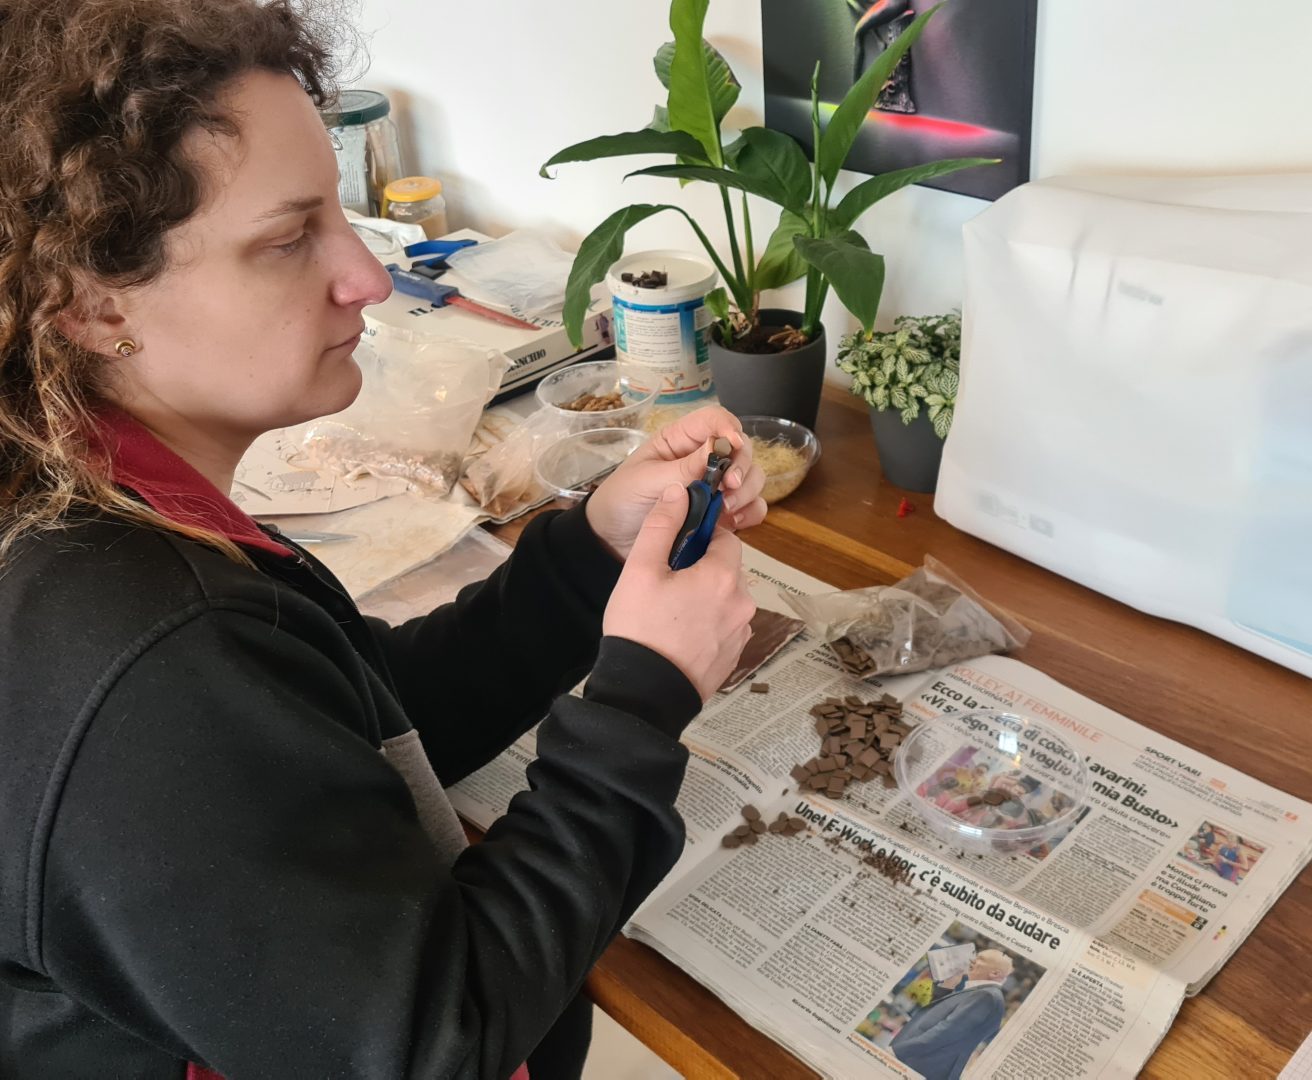
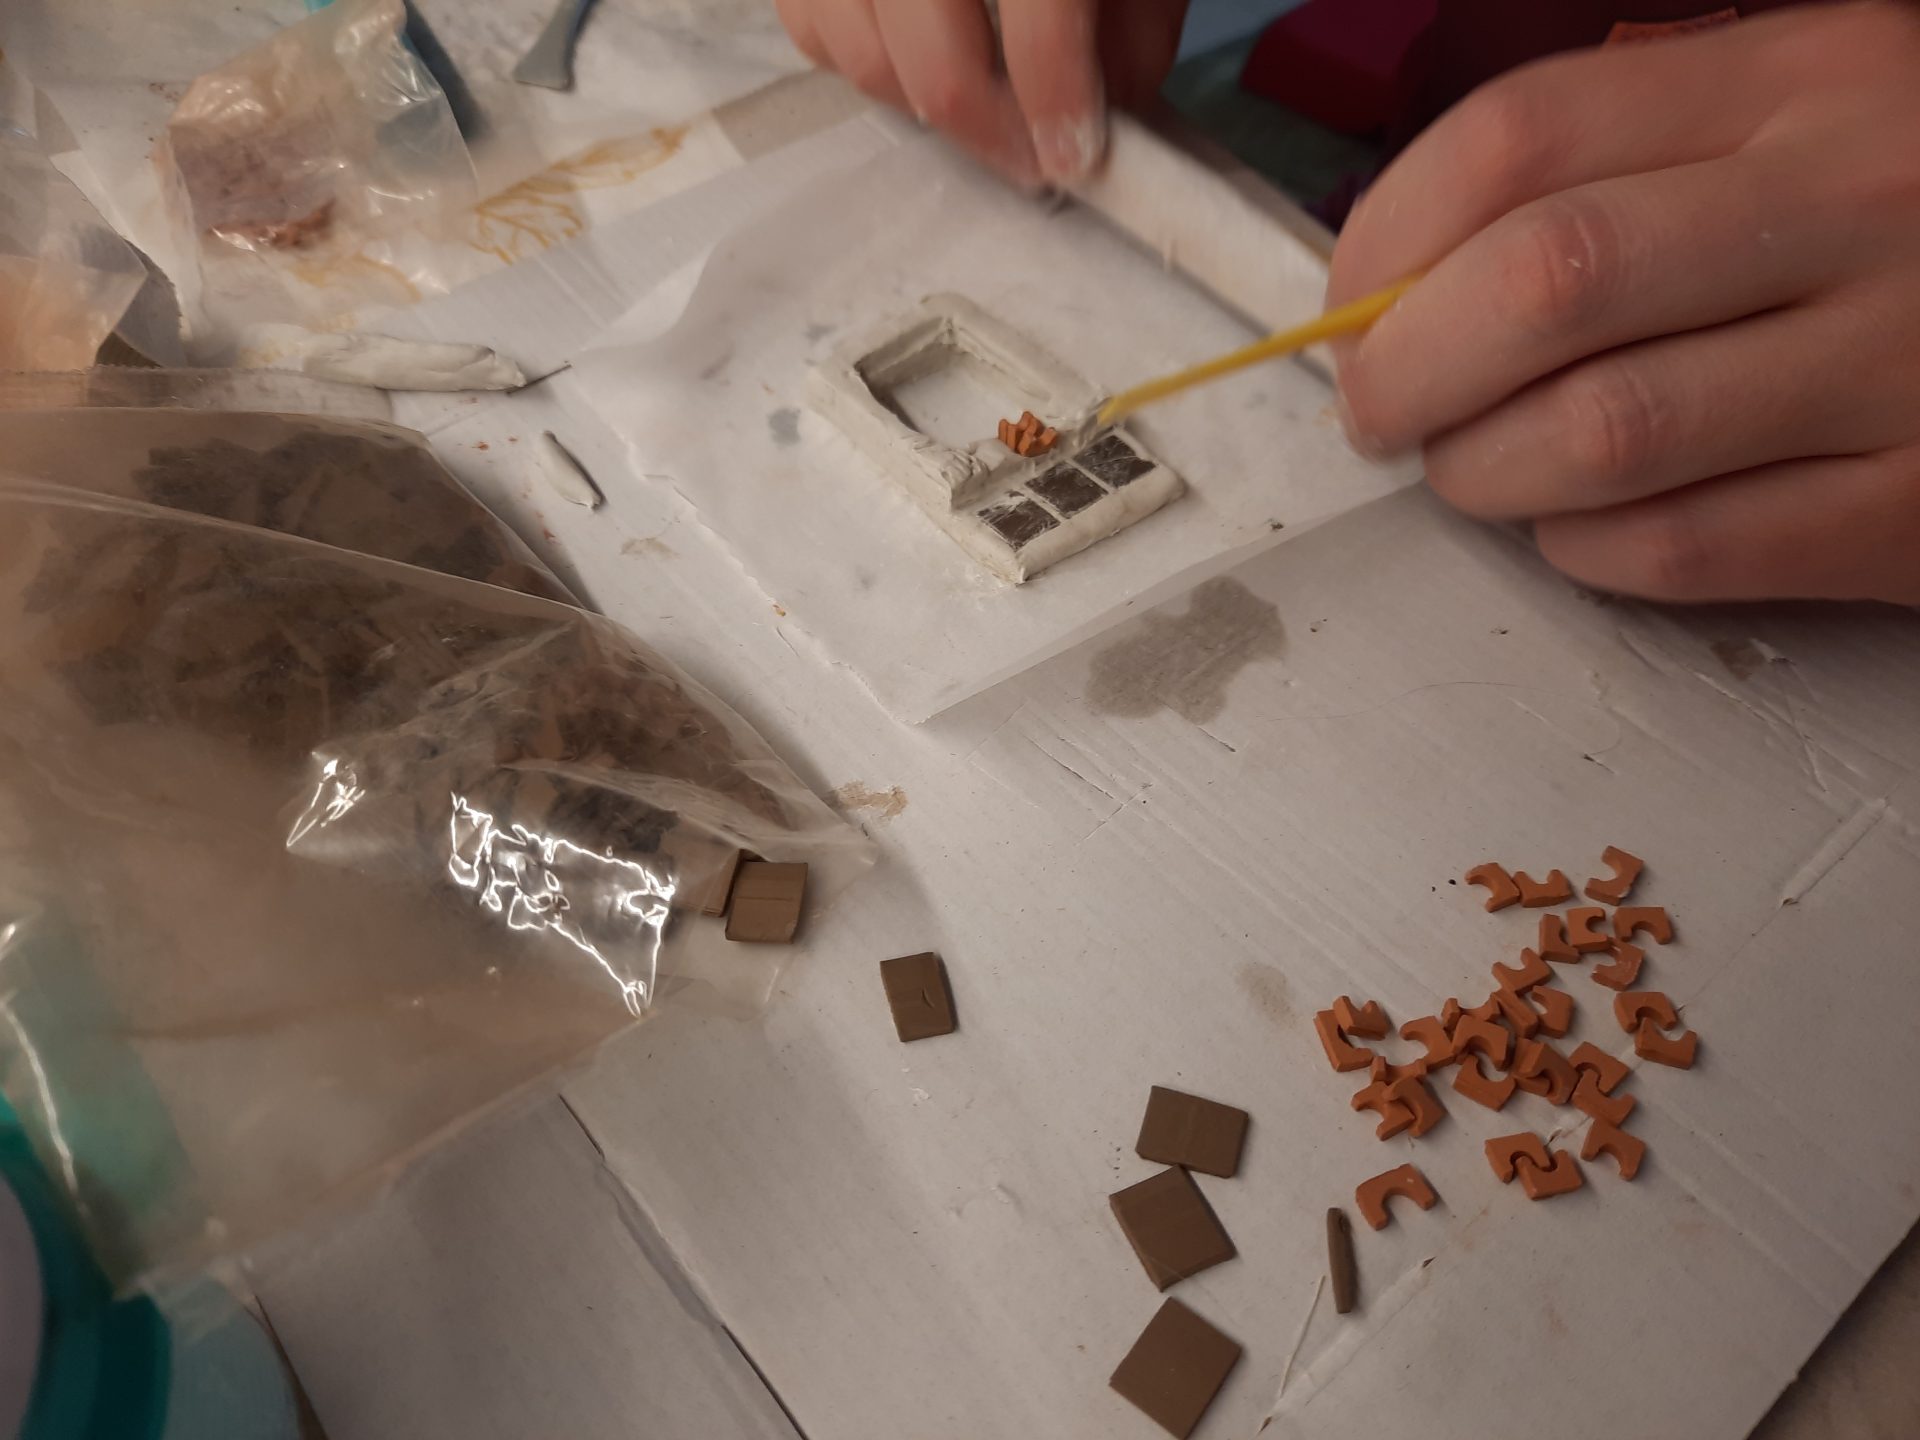
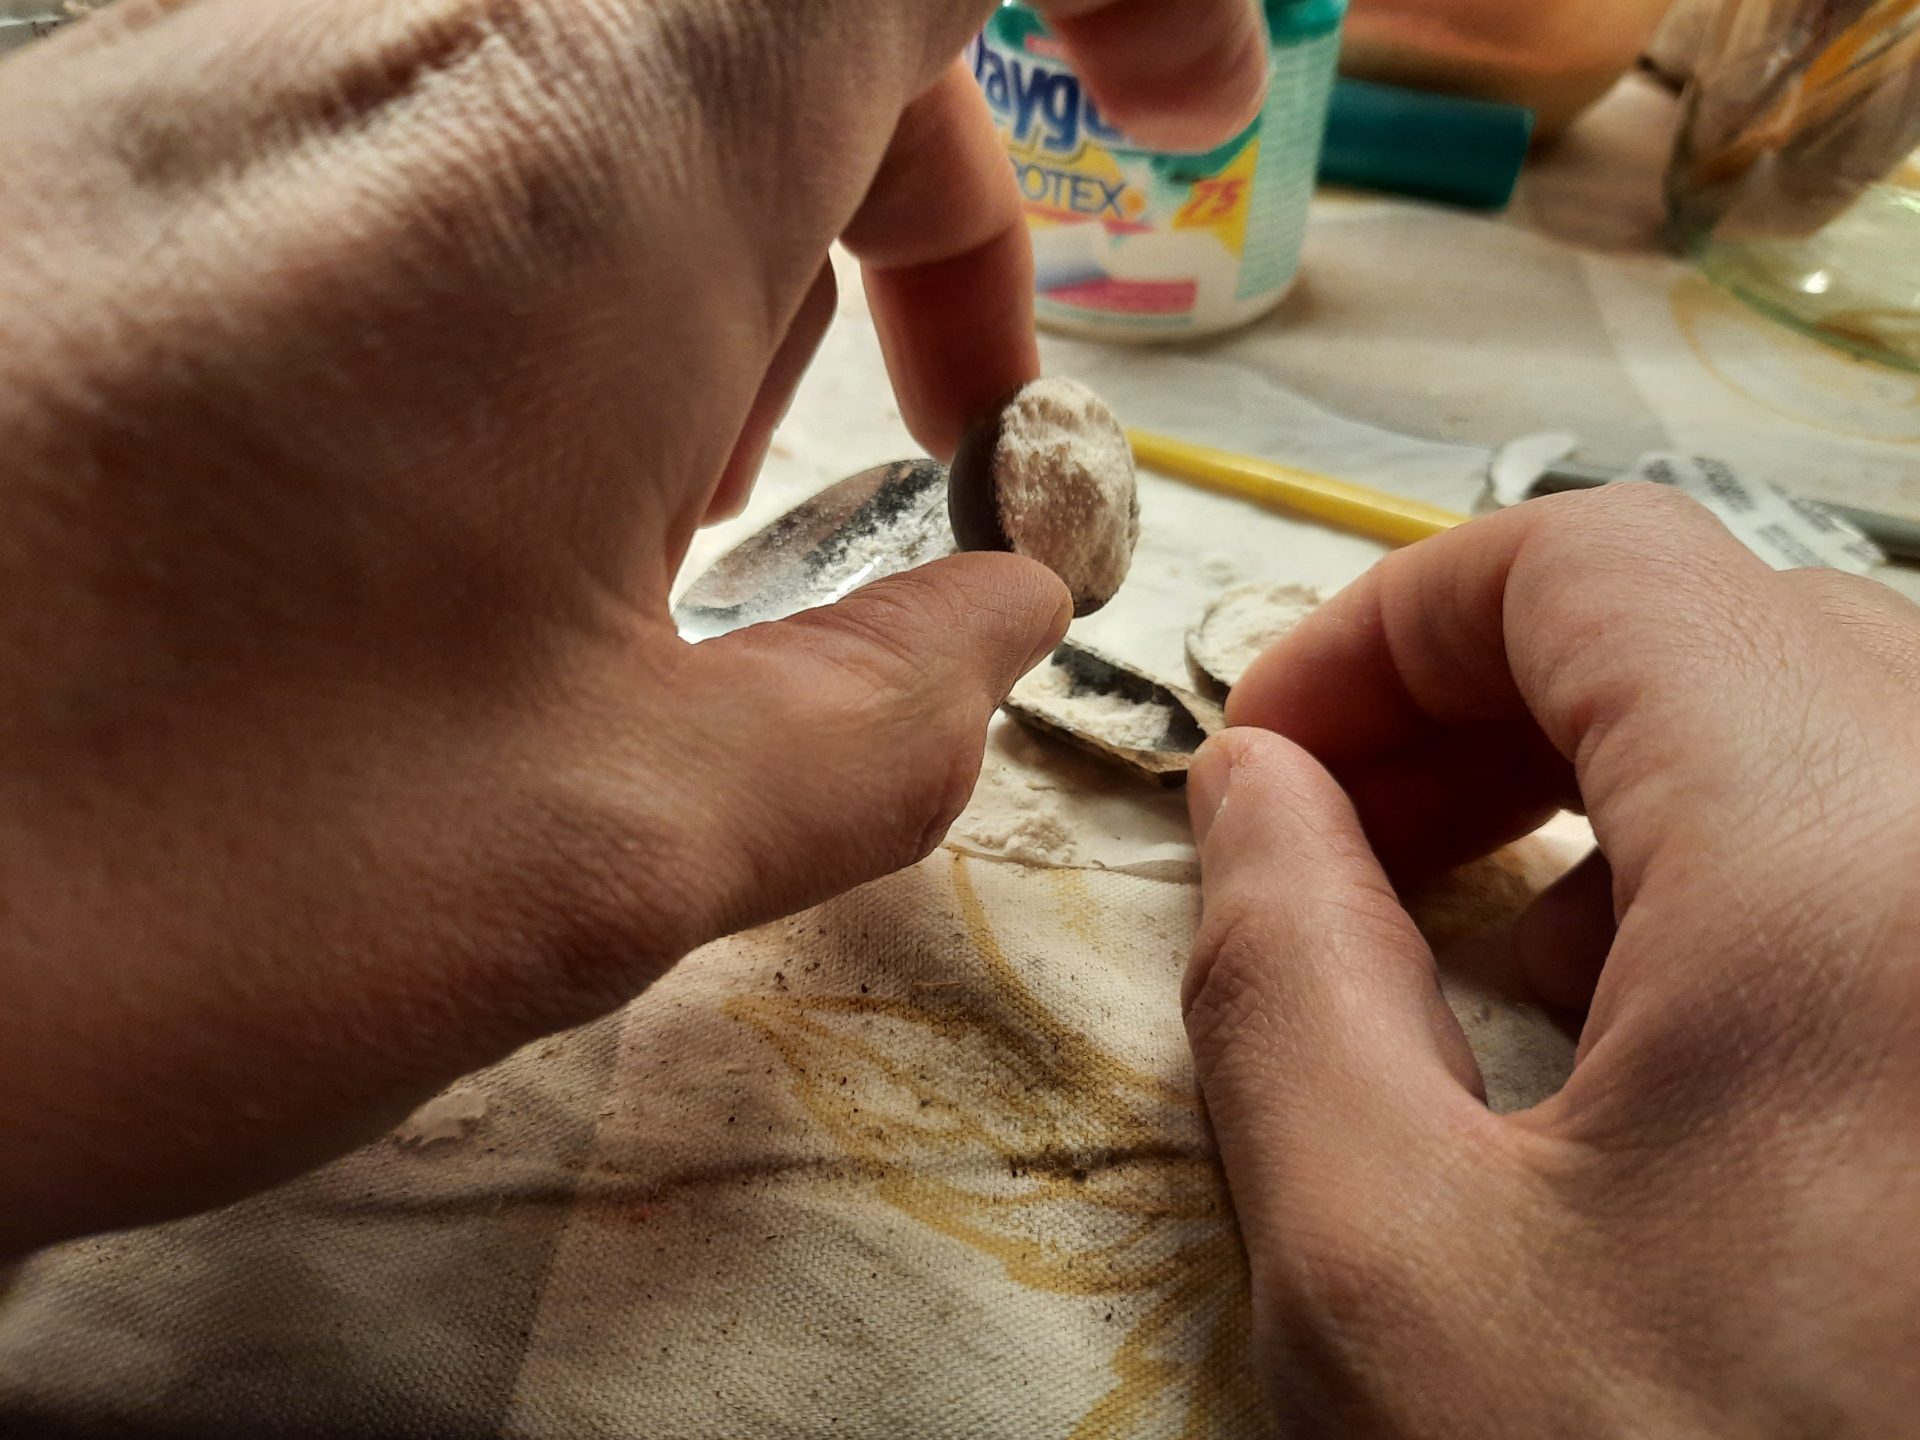
Well, we didn’t want to use them as they were, though. Straight out of the kit, they looked far too square and perfect, nothing like the slightly irregular stone slabs you’d expect in a real ancient pavement for outdoor. So I took out a nipper tool and carefully trimmed each piece, one by one, softening sharp 90° corners and reshaping them so every tile was just a little different. The effect we were aiming for was that of stones roughly cut and adapted to fit together, worn by years of footsteps.
It was a task that demanded time, patience and precision. While my husband is great when precision is required, he doesn’t have much tolerance for long, repetitive tasks, so this kind of work usually falls to me. After what felt like a series of endless cutting sessions, I finally began laying the tiles down, gluing each one in place one by one. I didn’t keep count, but there were a lot!
Building the town square and well
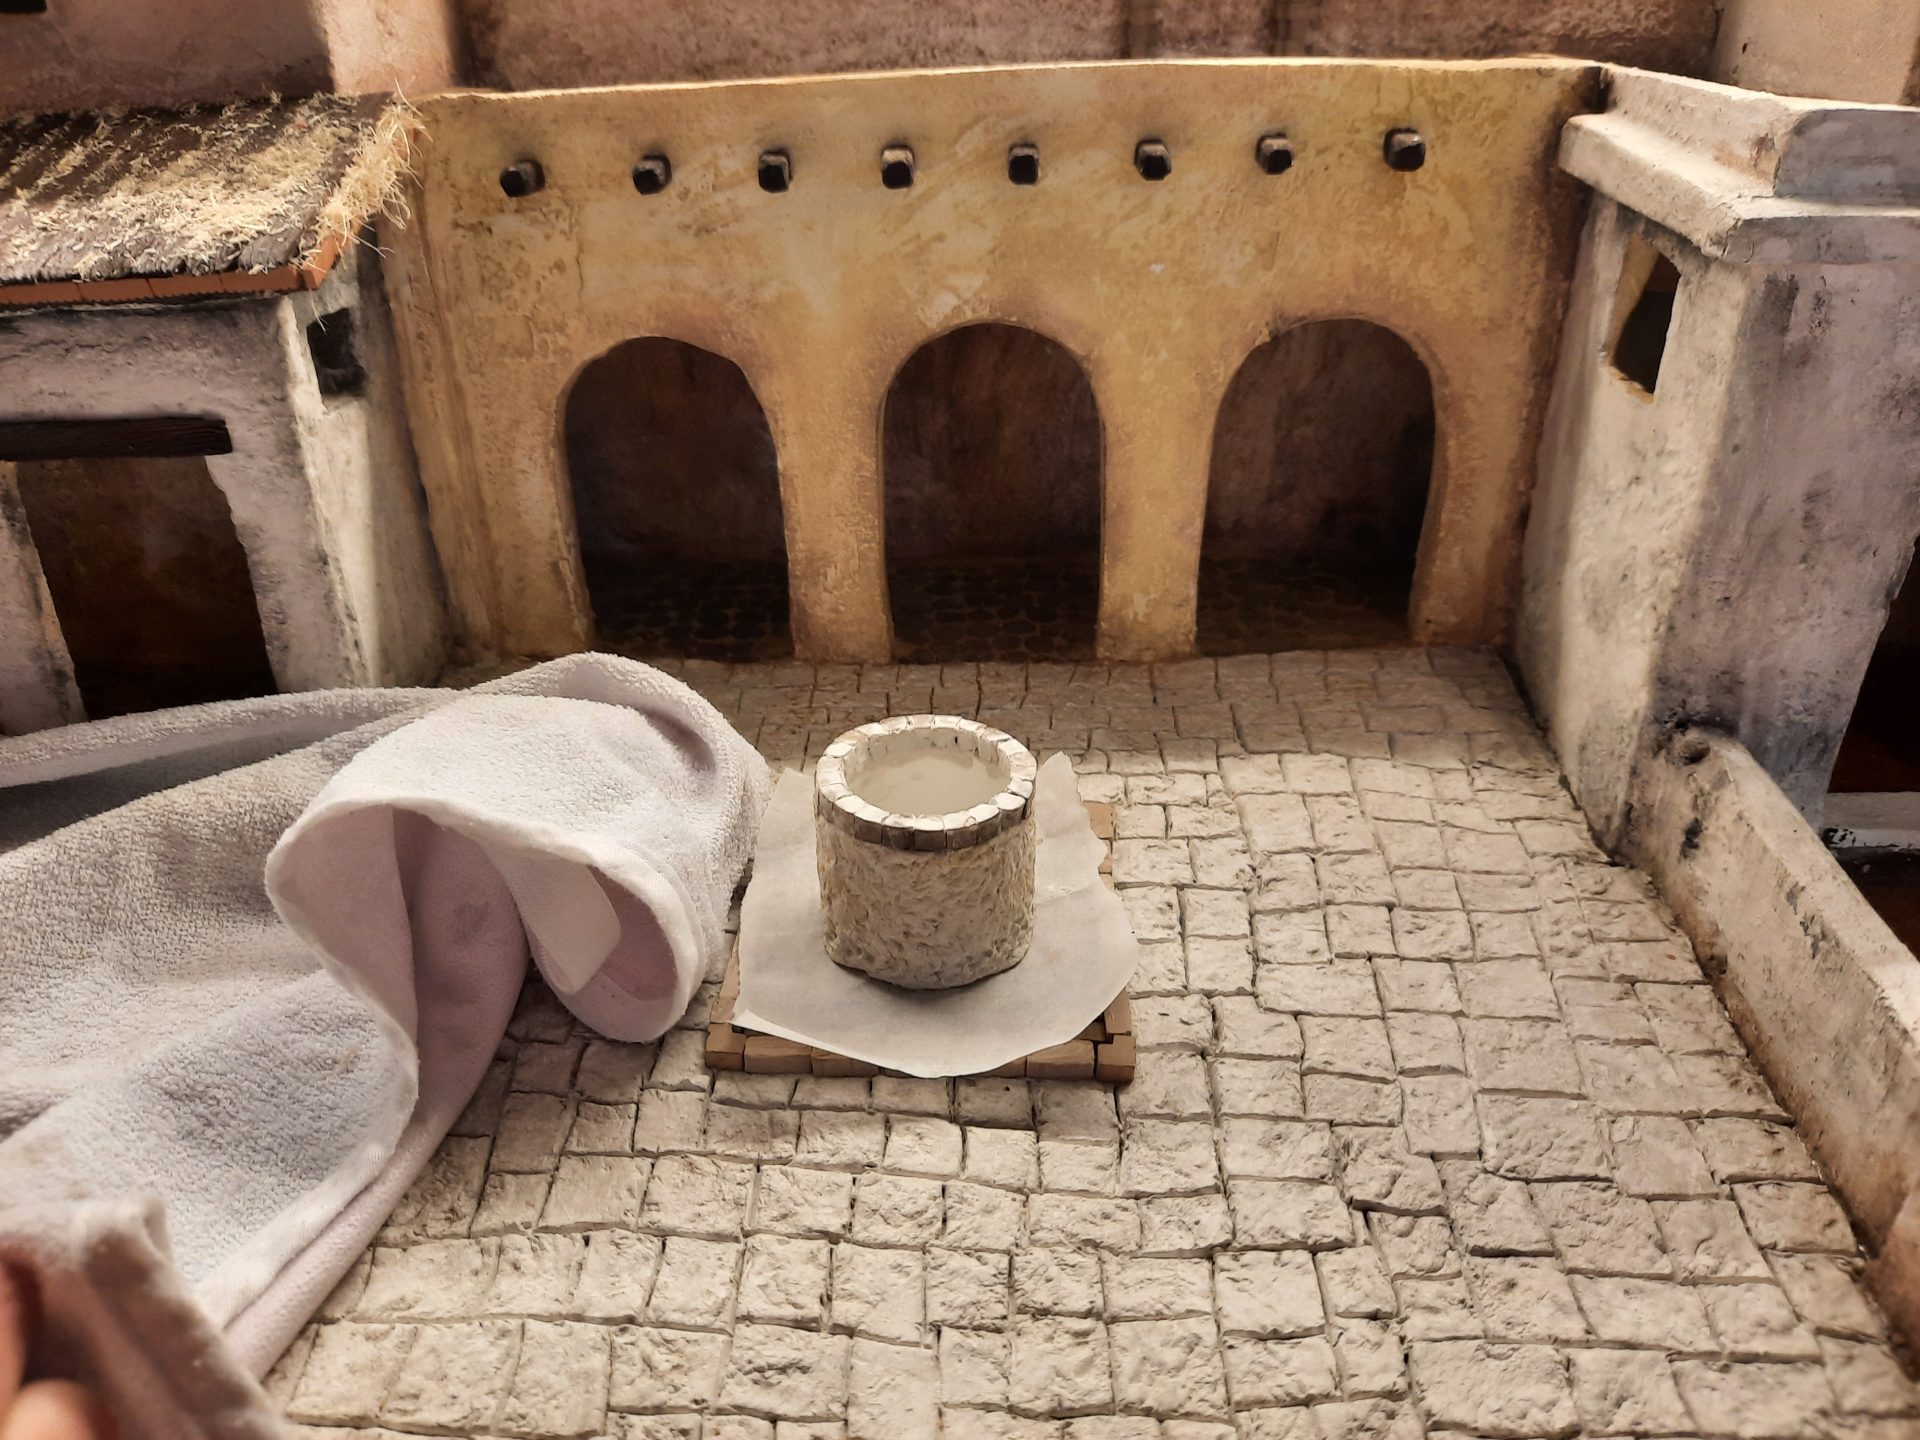
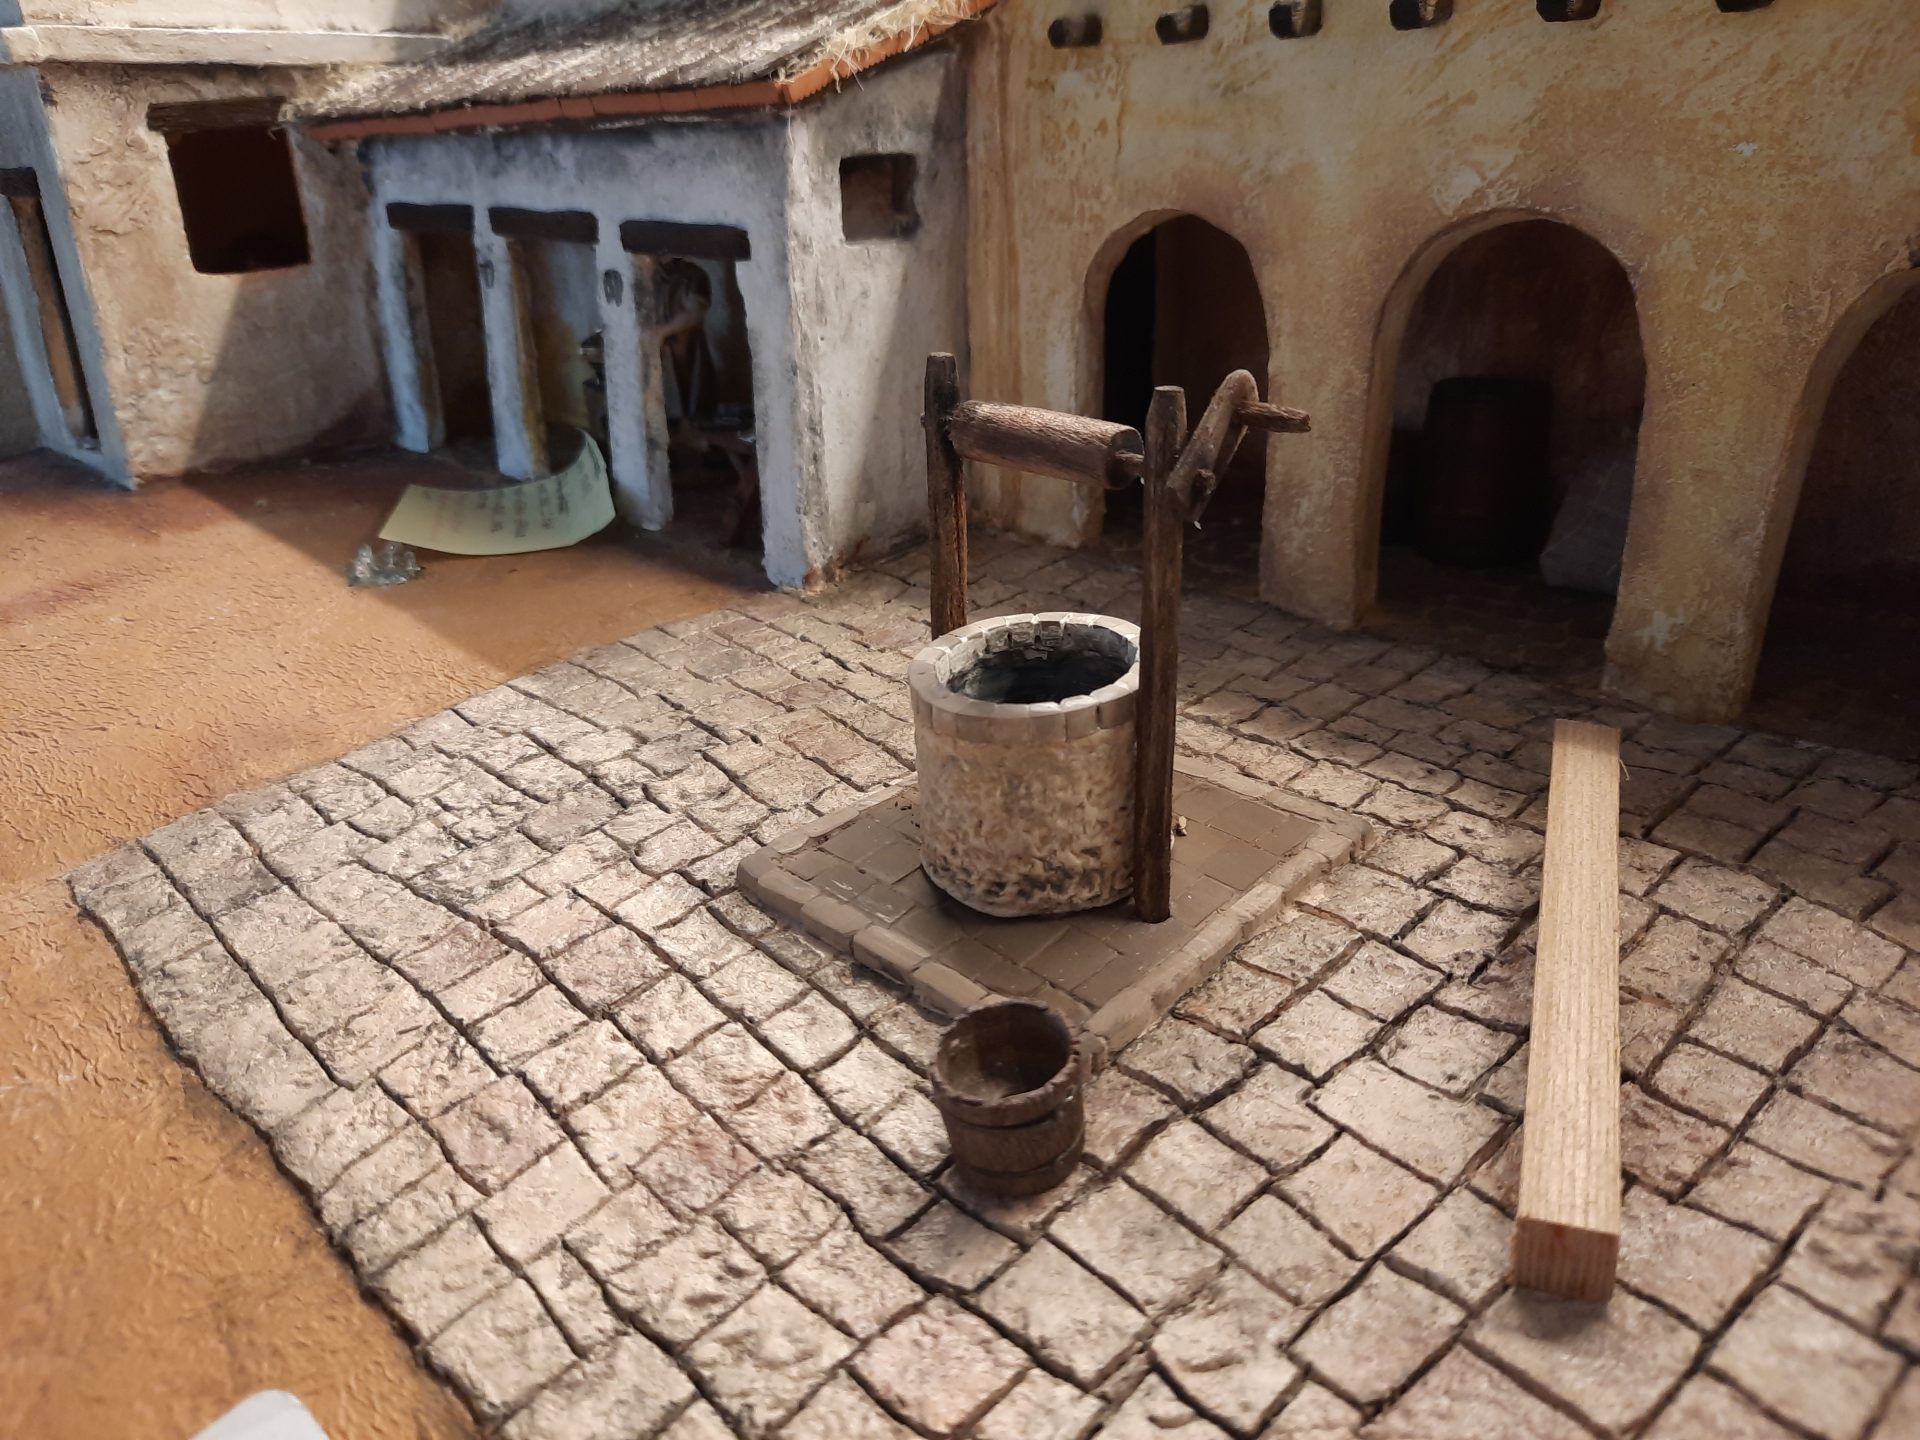
With the paving complete, we turned our attention to the main square. My husband suggested that this central gathering place deserved a proper stone pavement too, especially since it would host the town’s well.
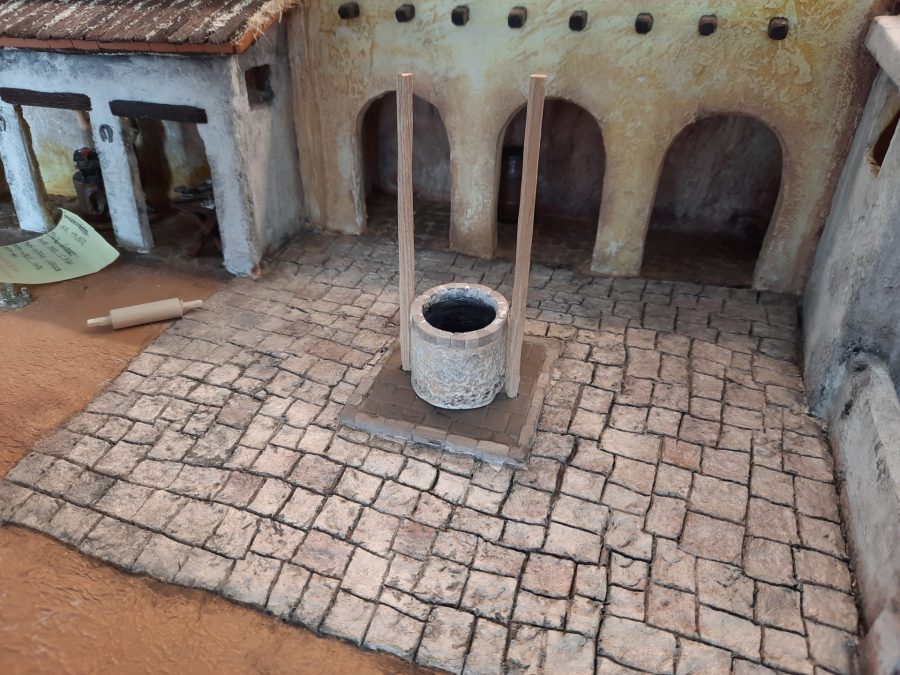
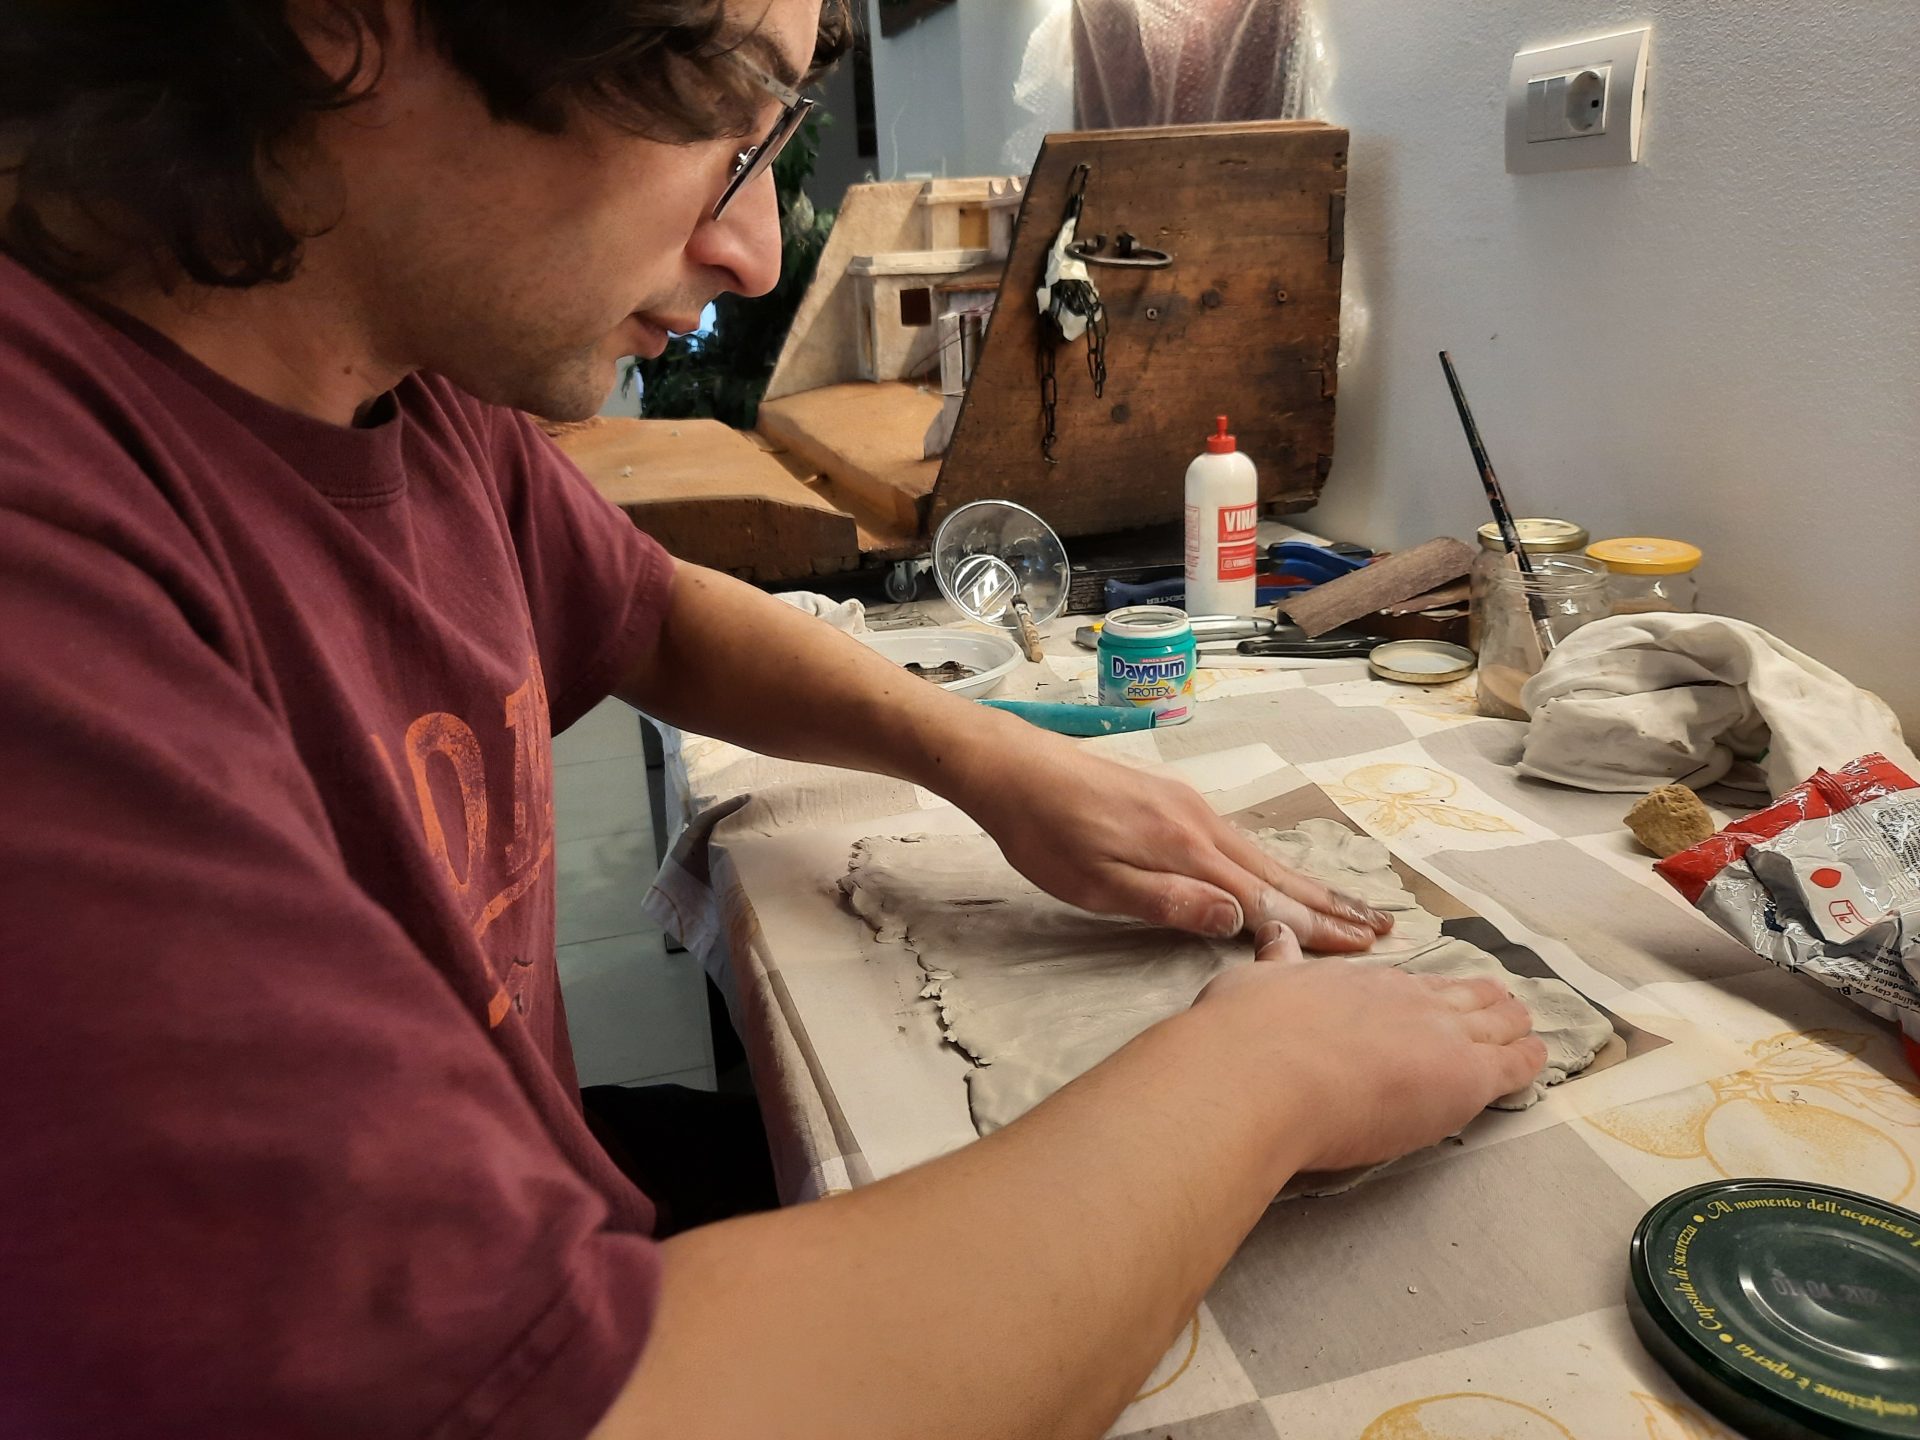
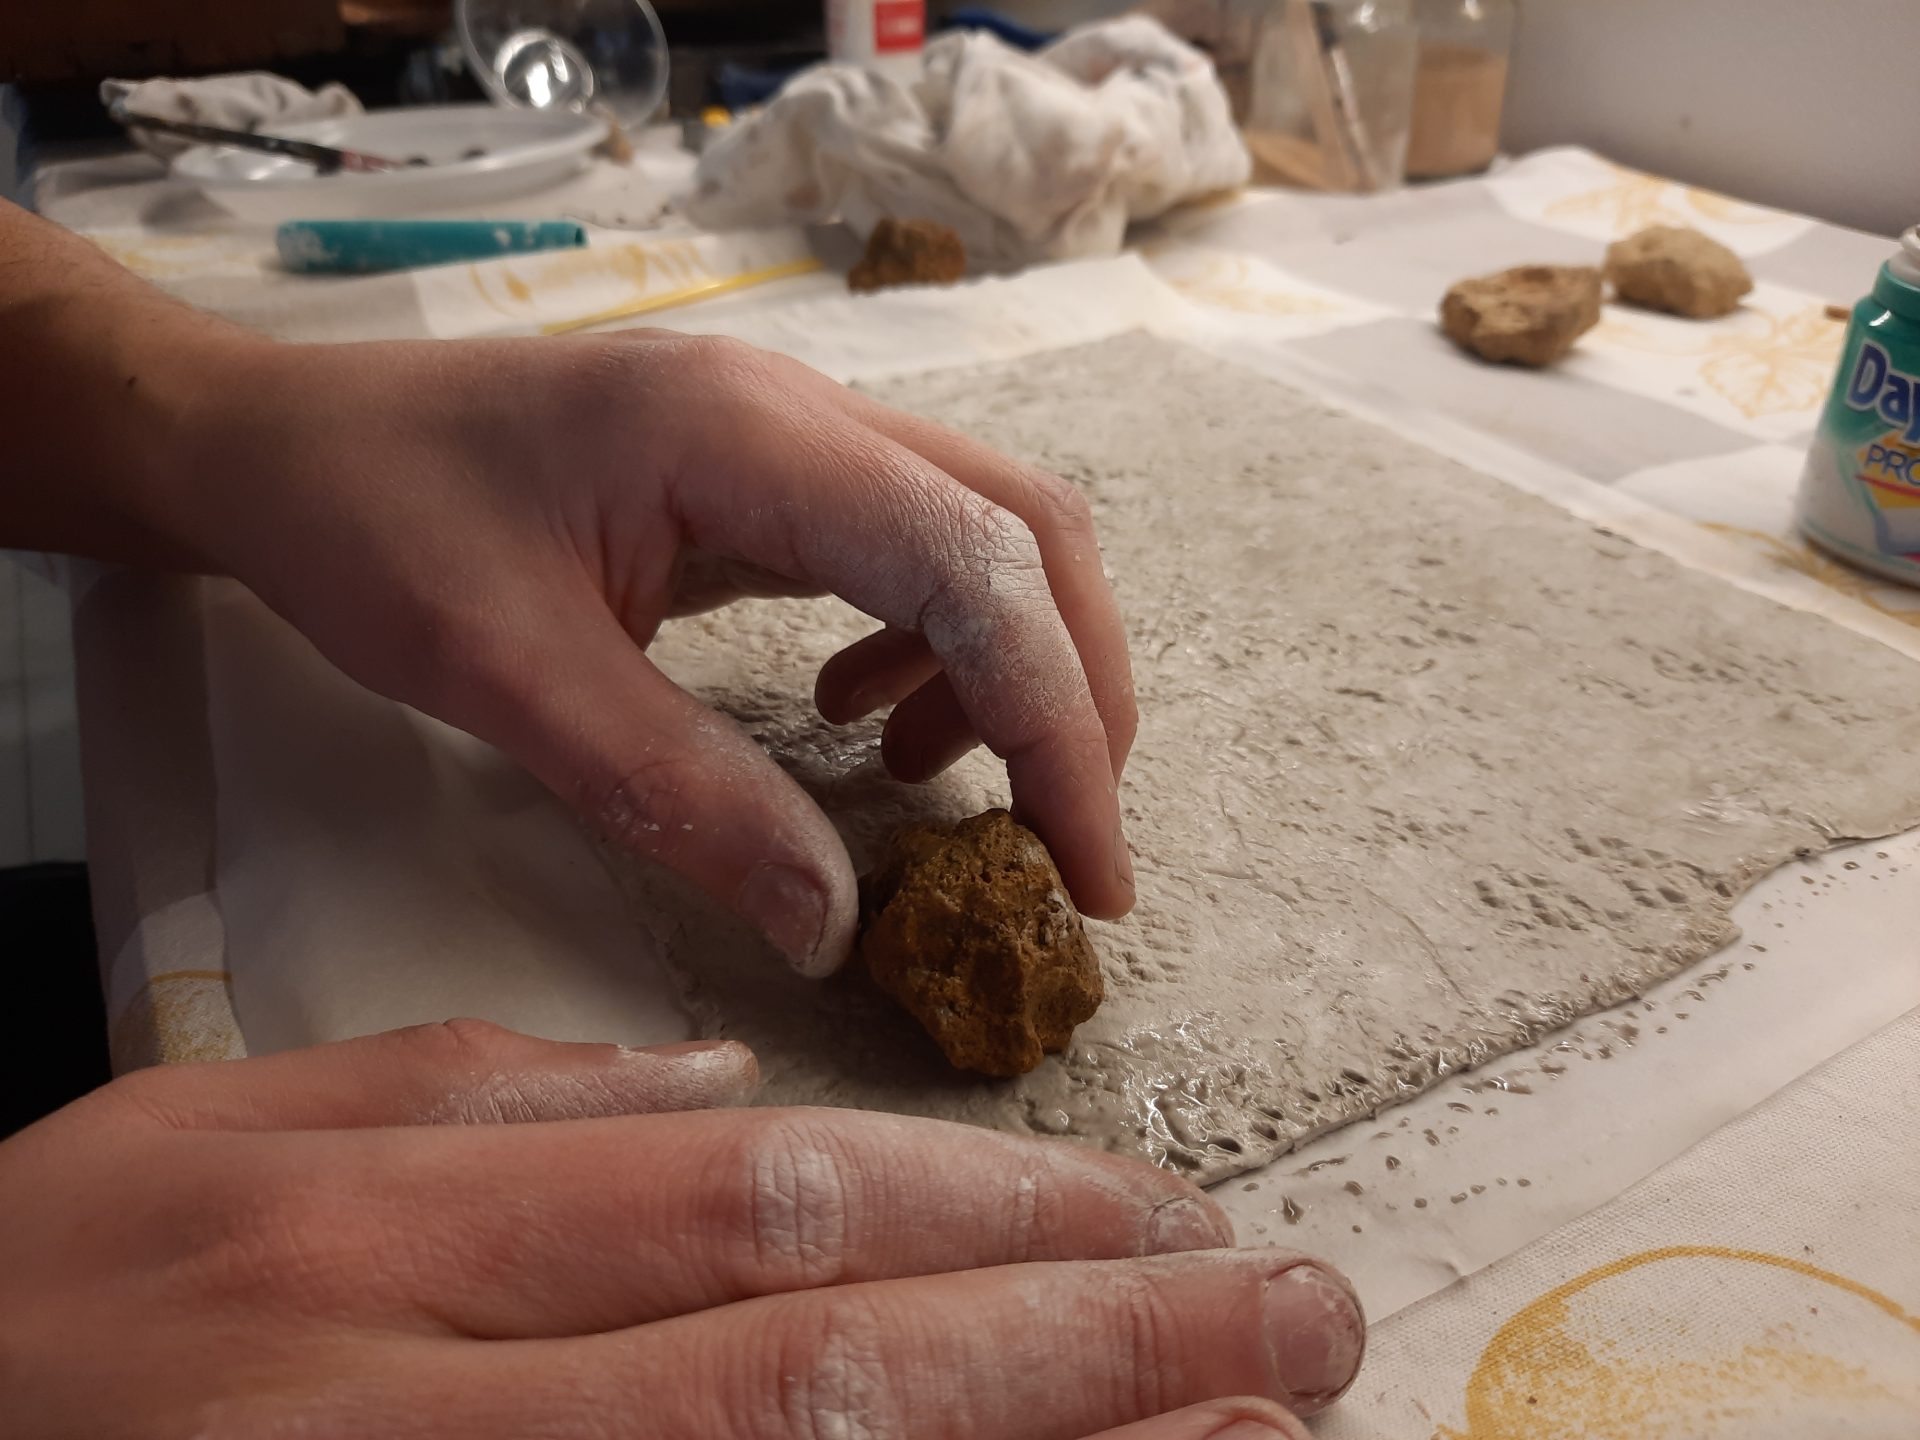
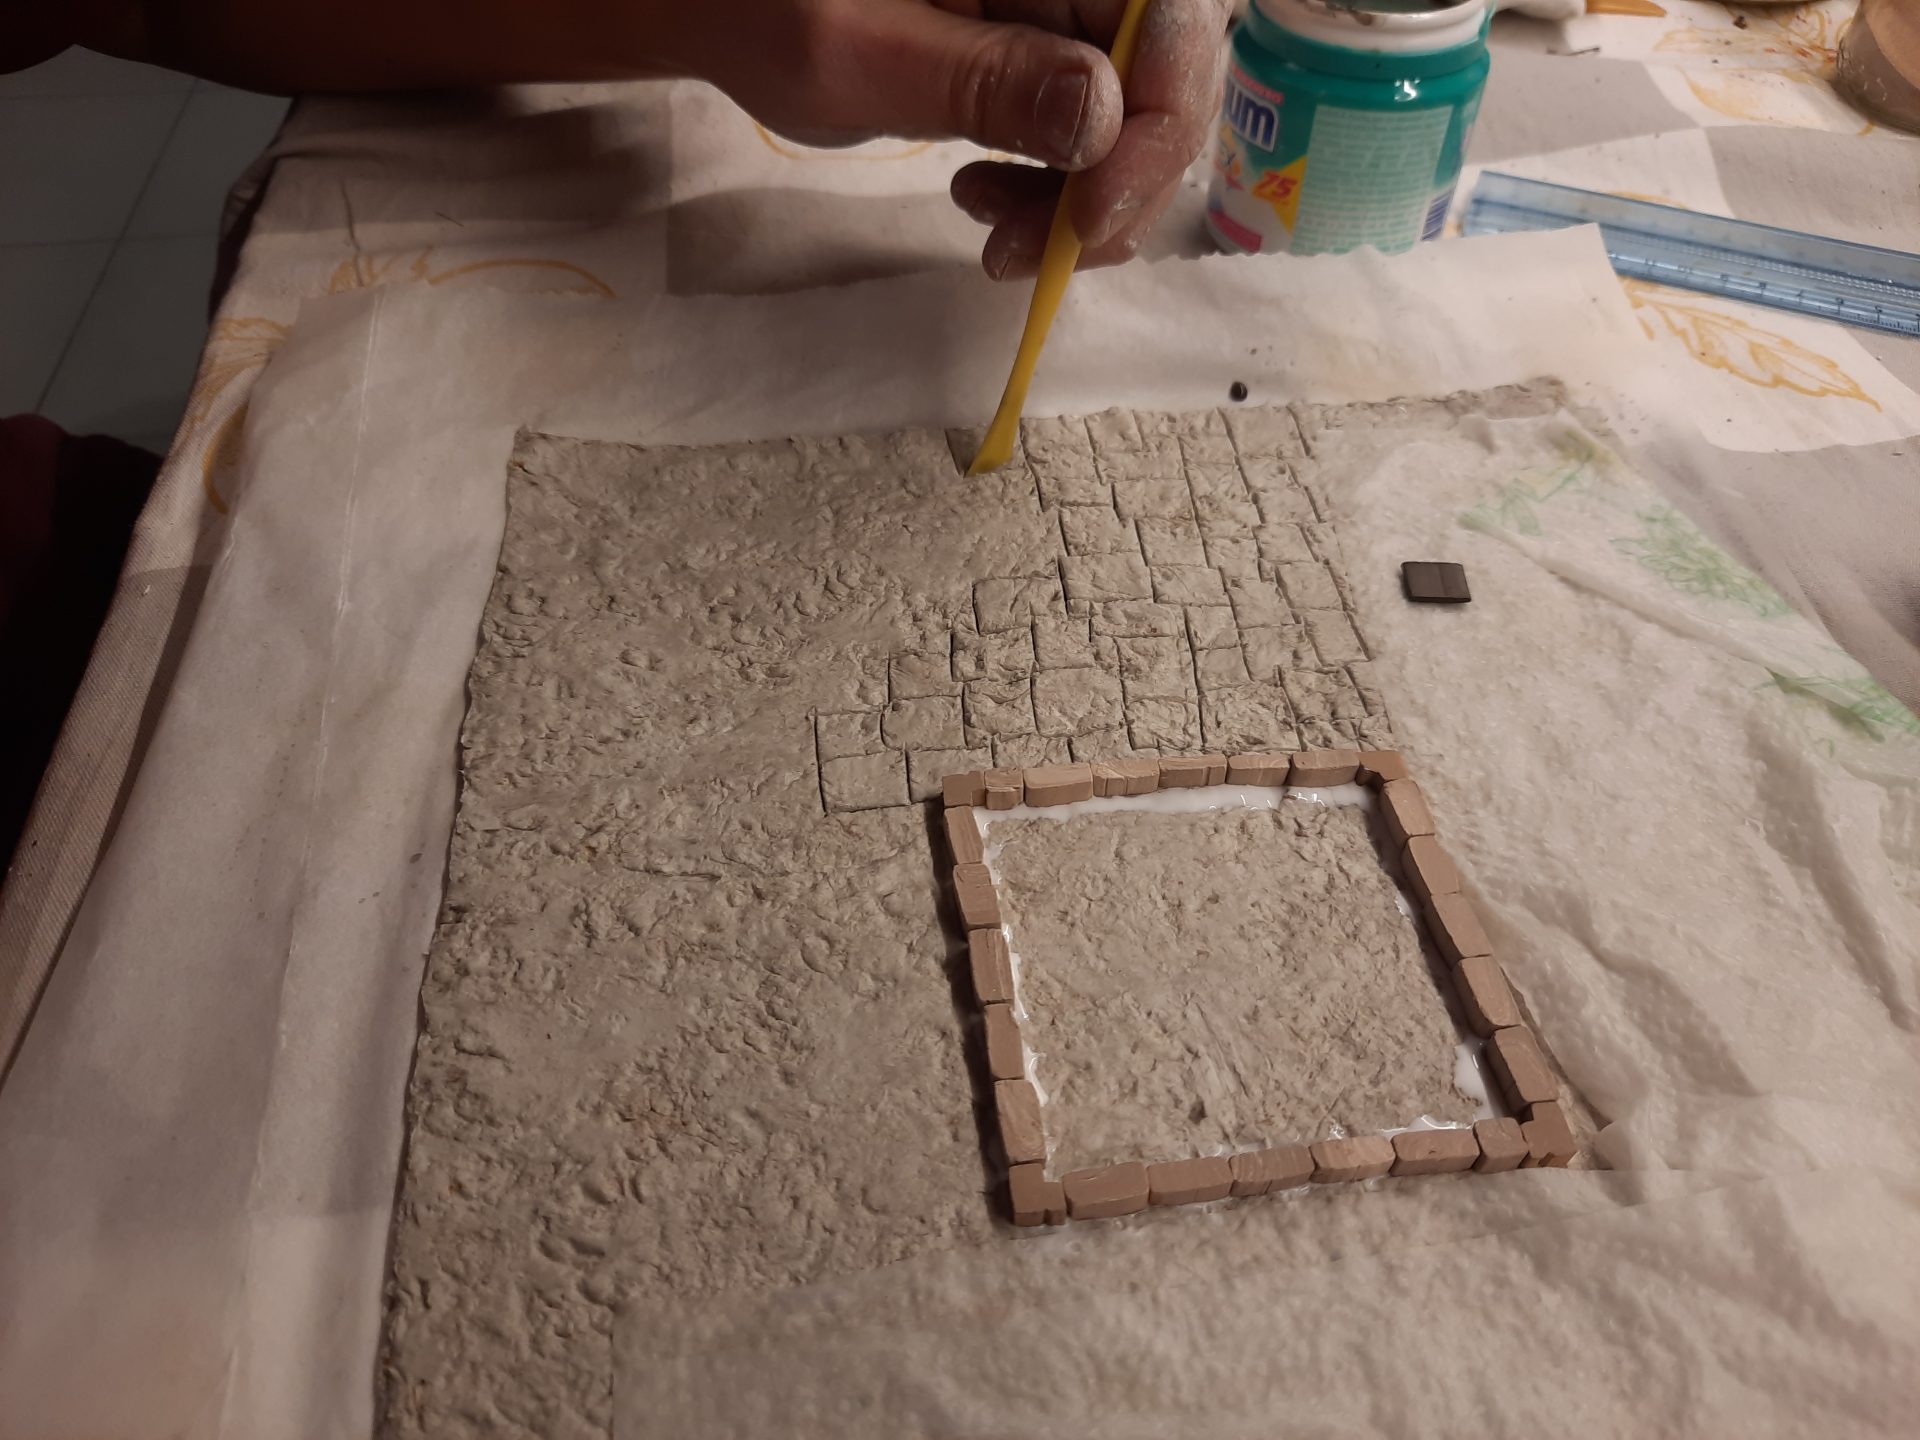
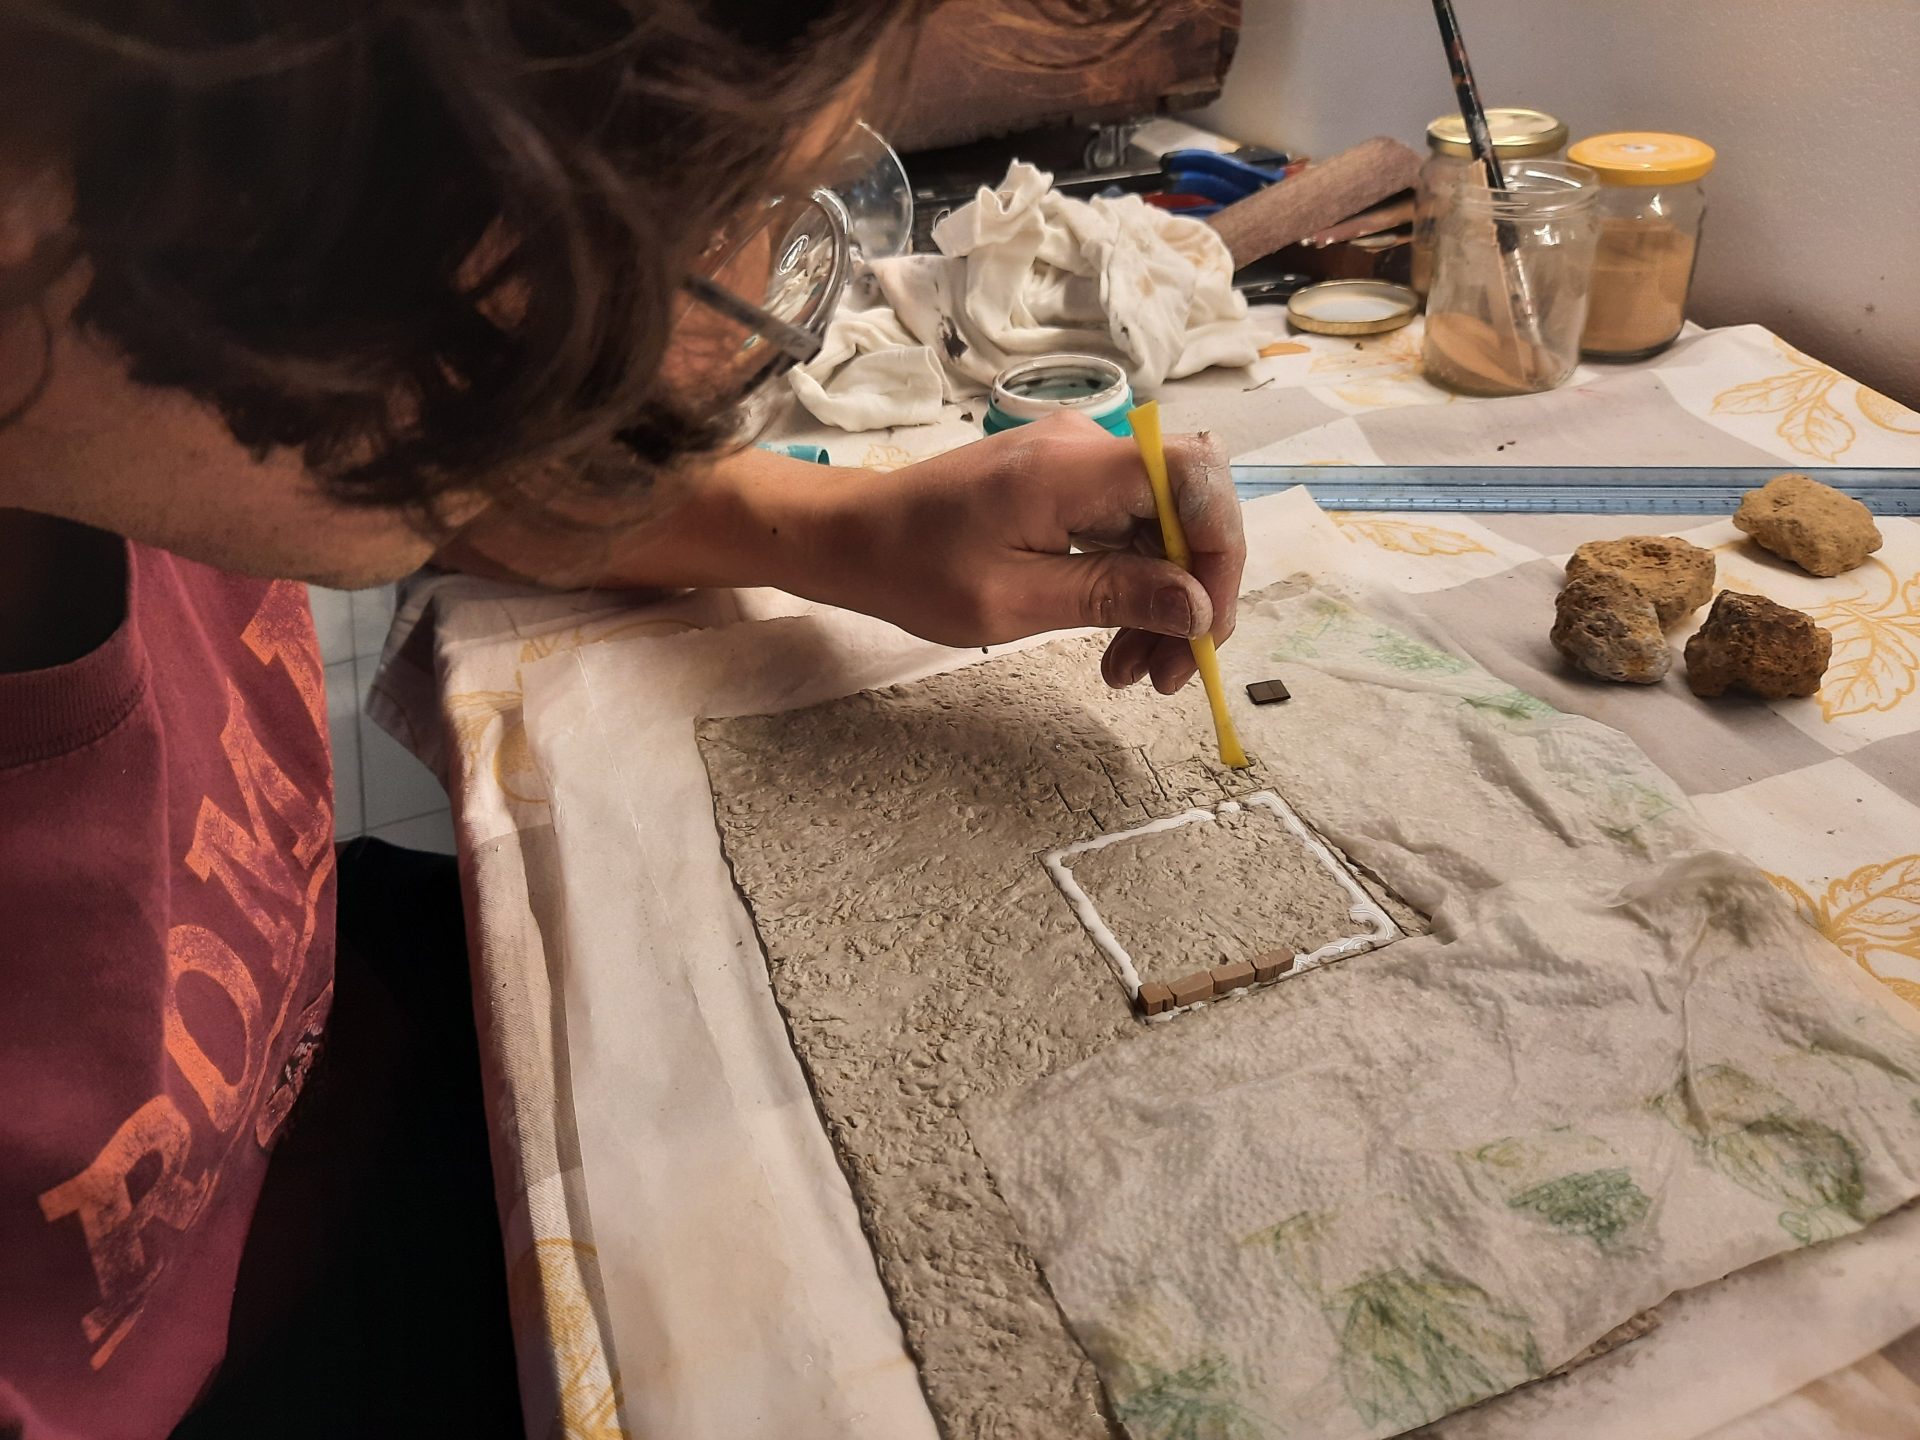
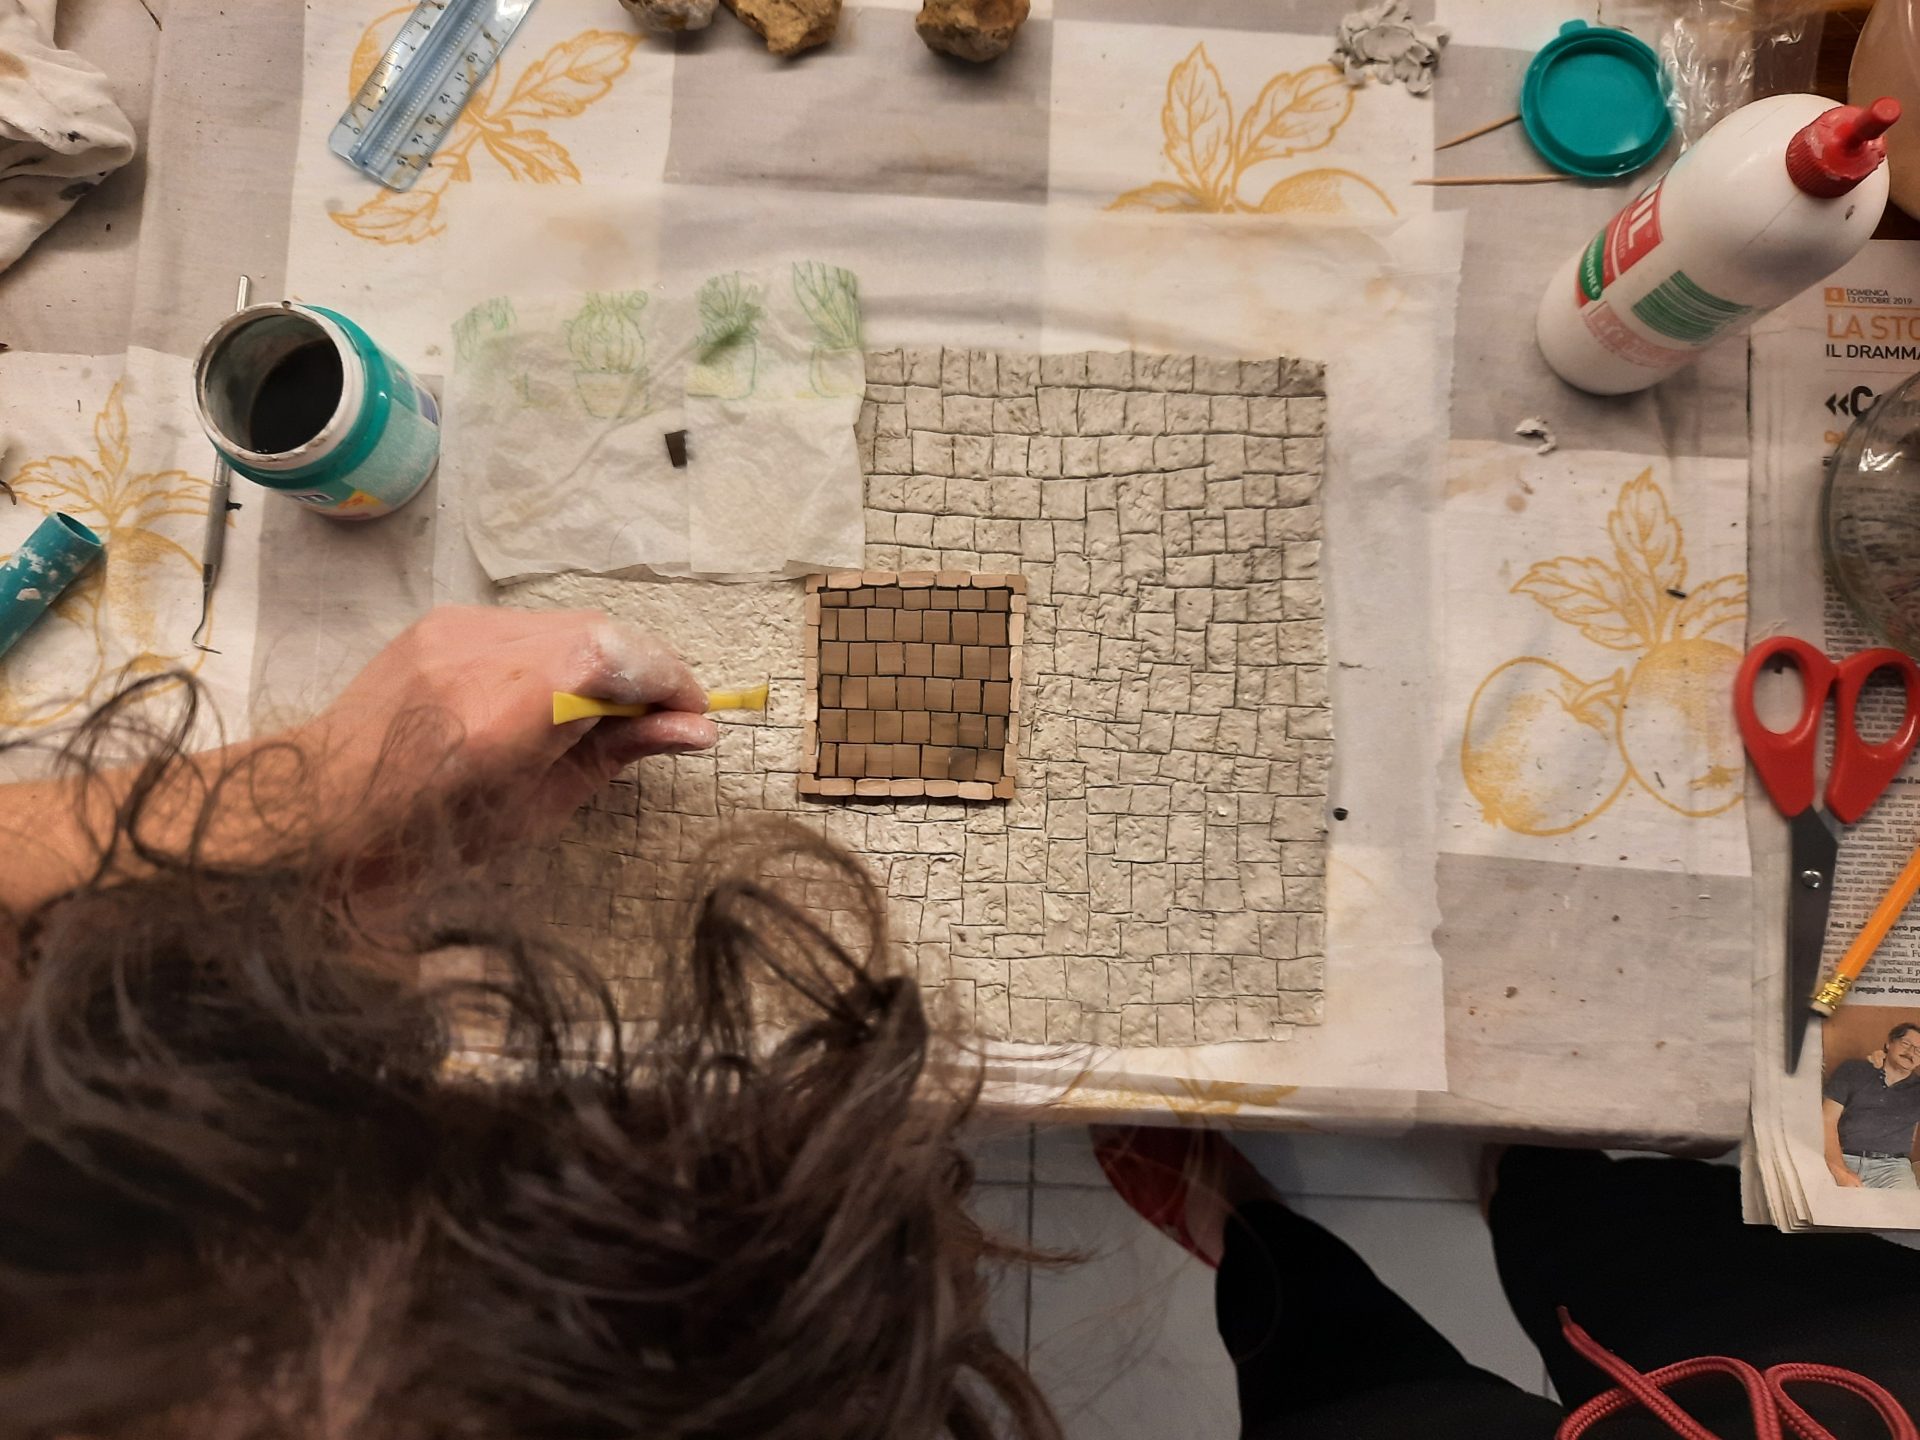
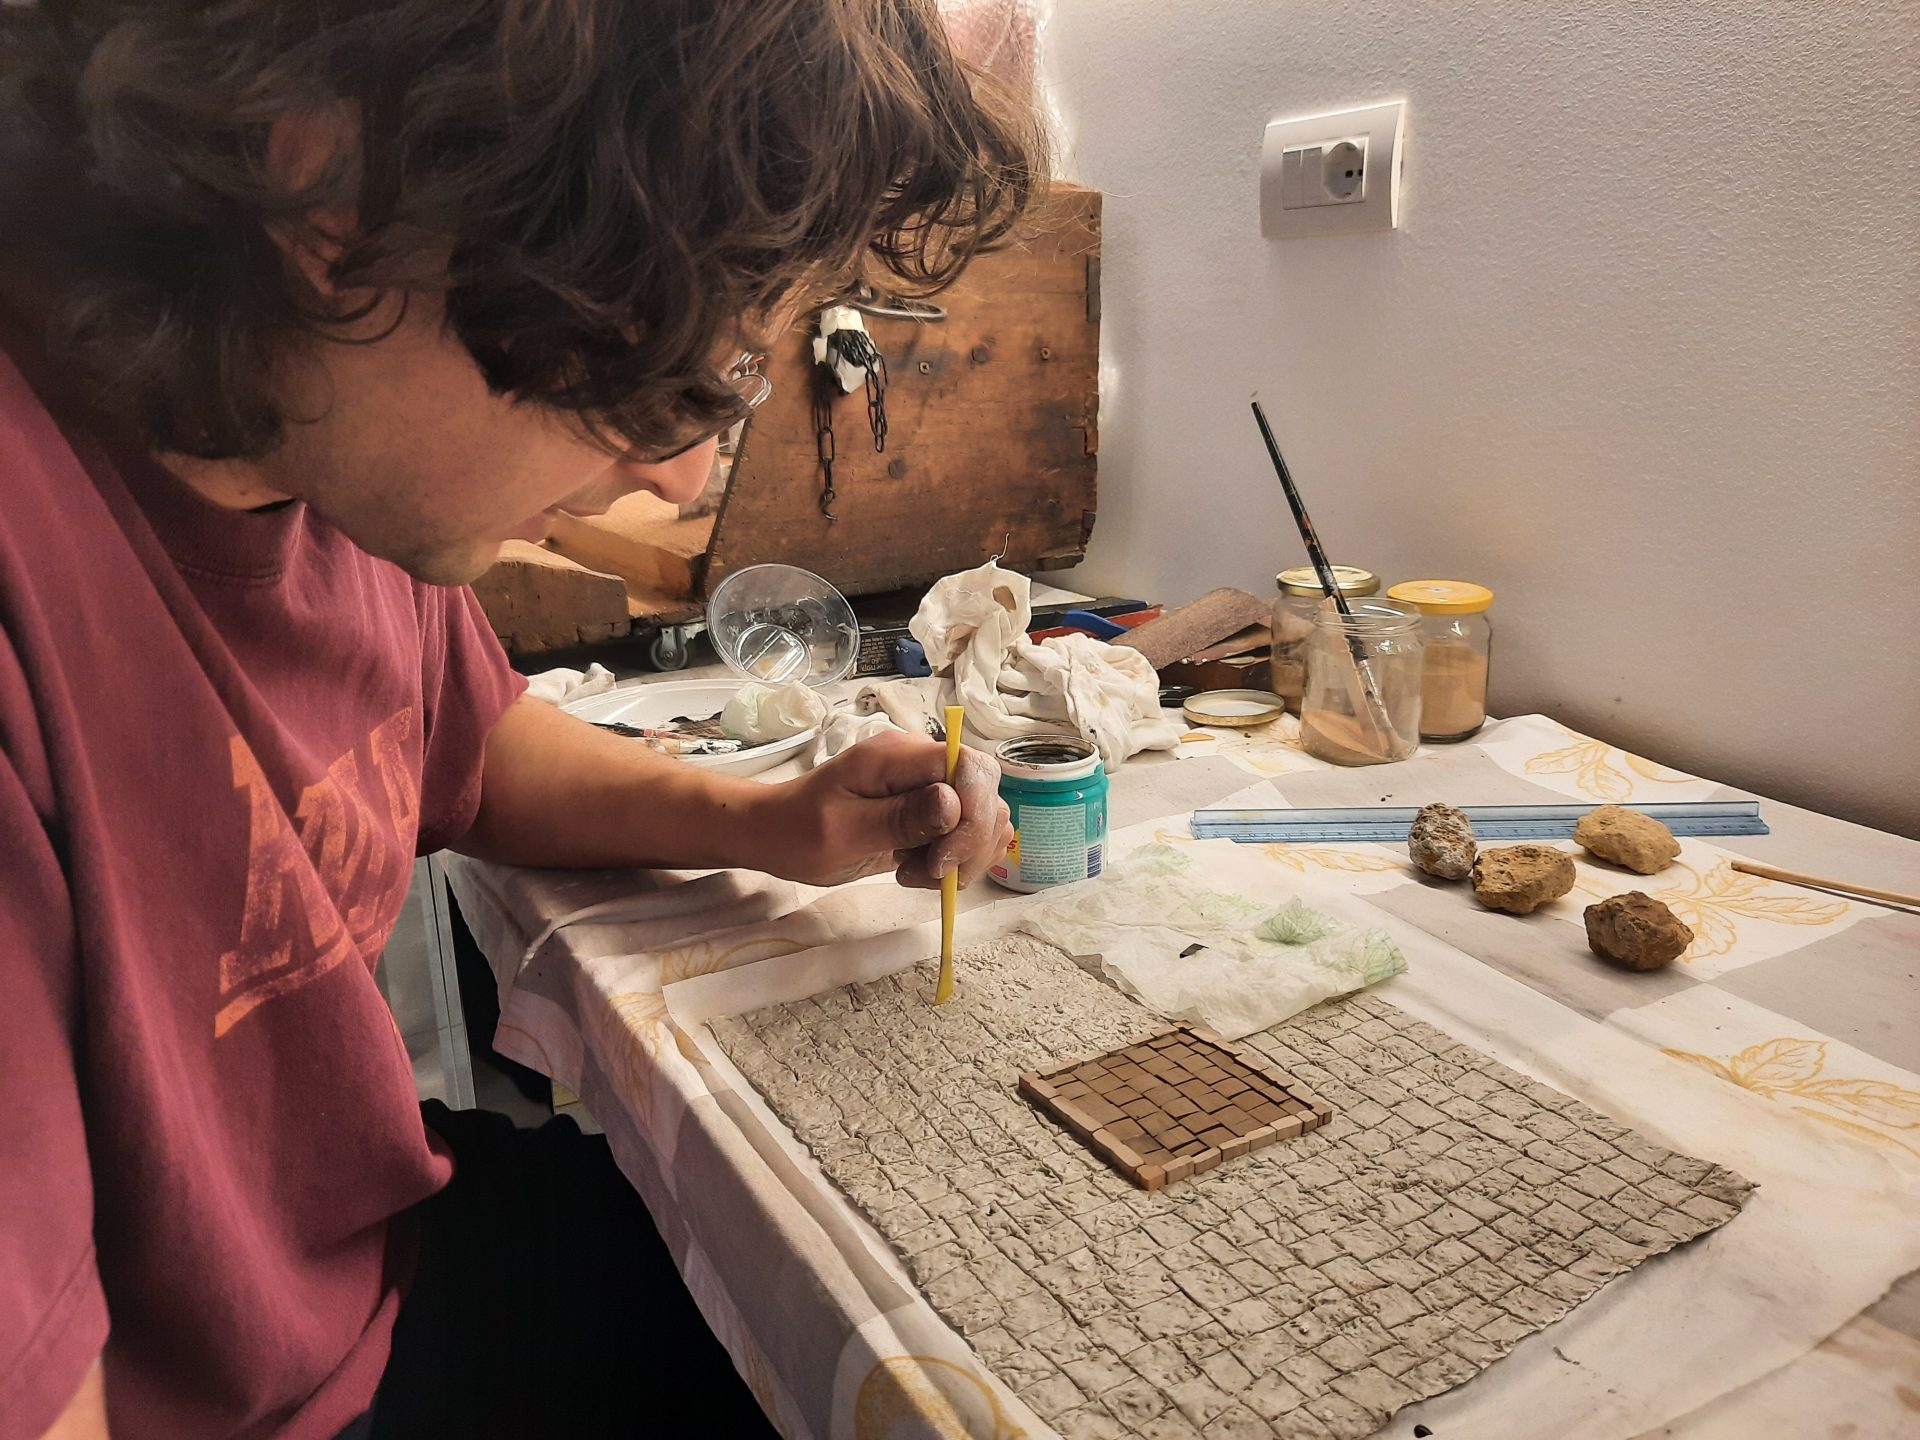
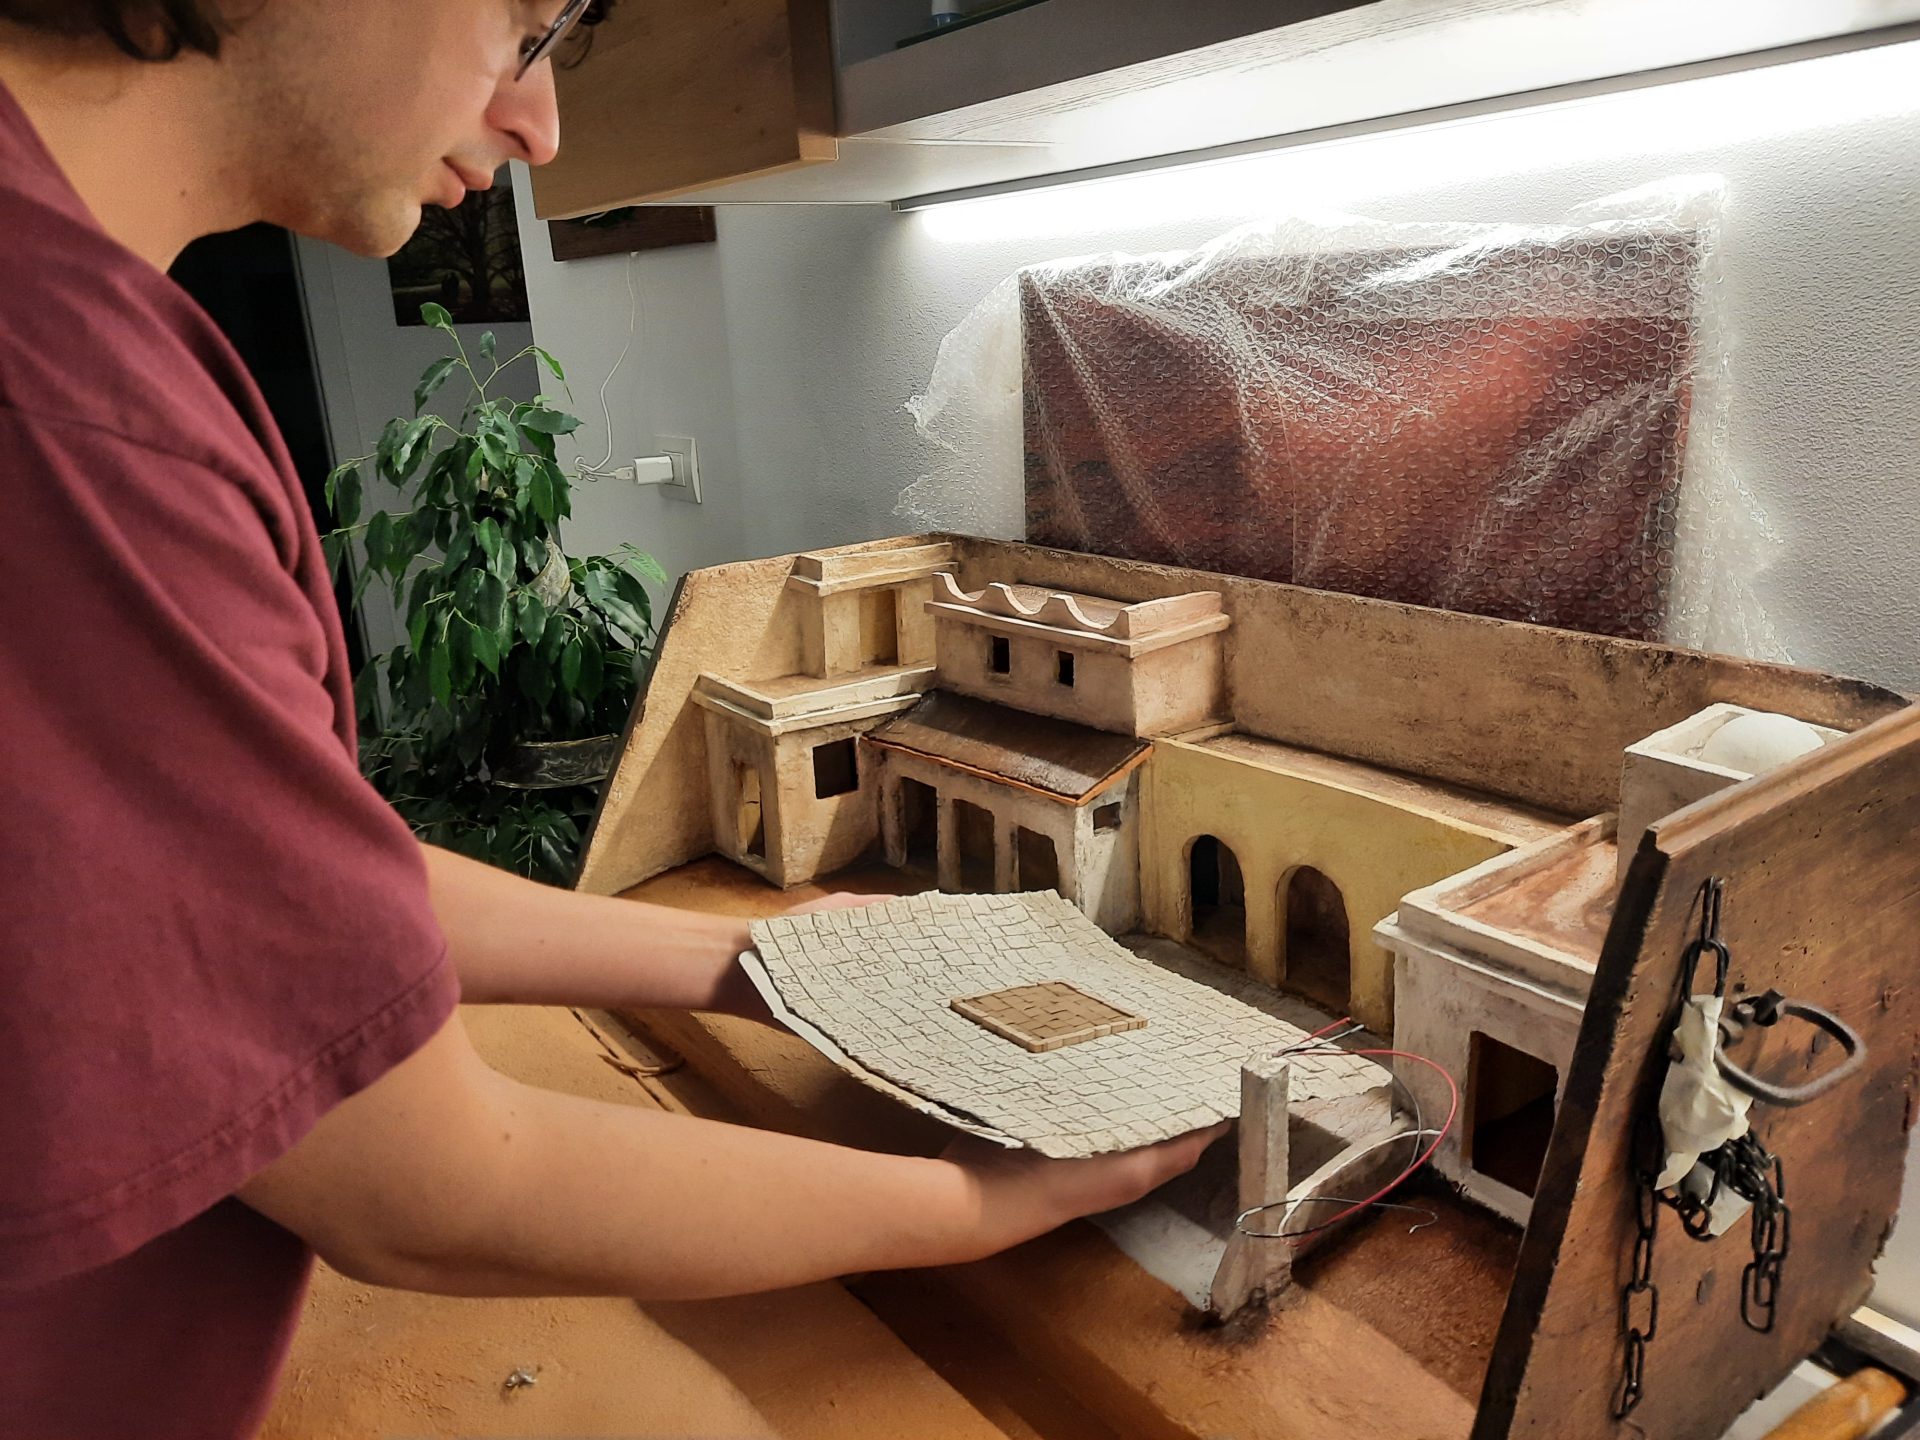
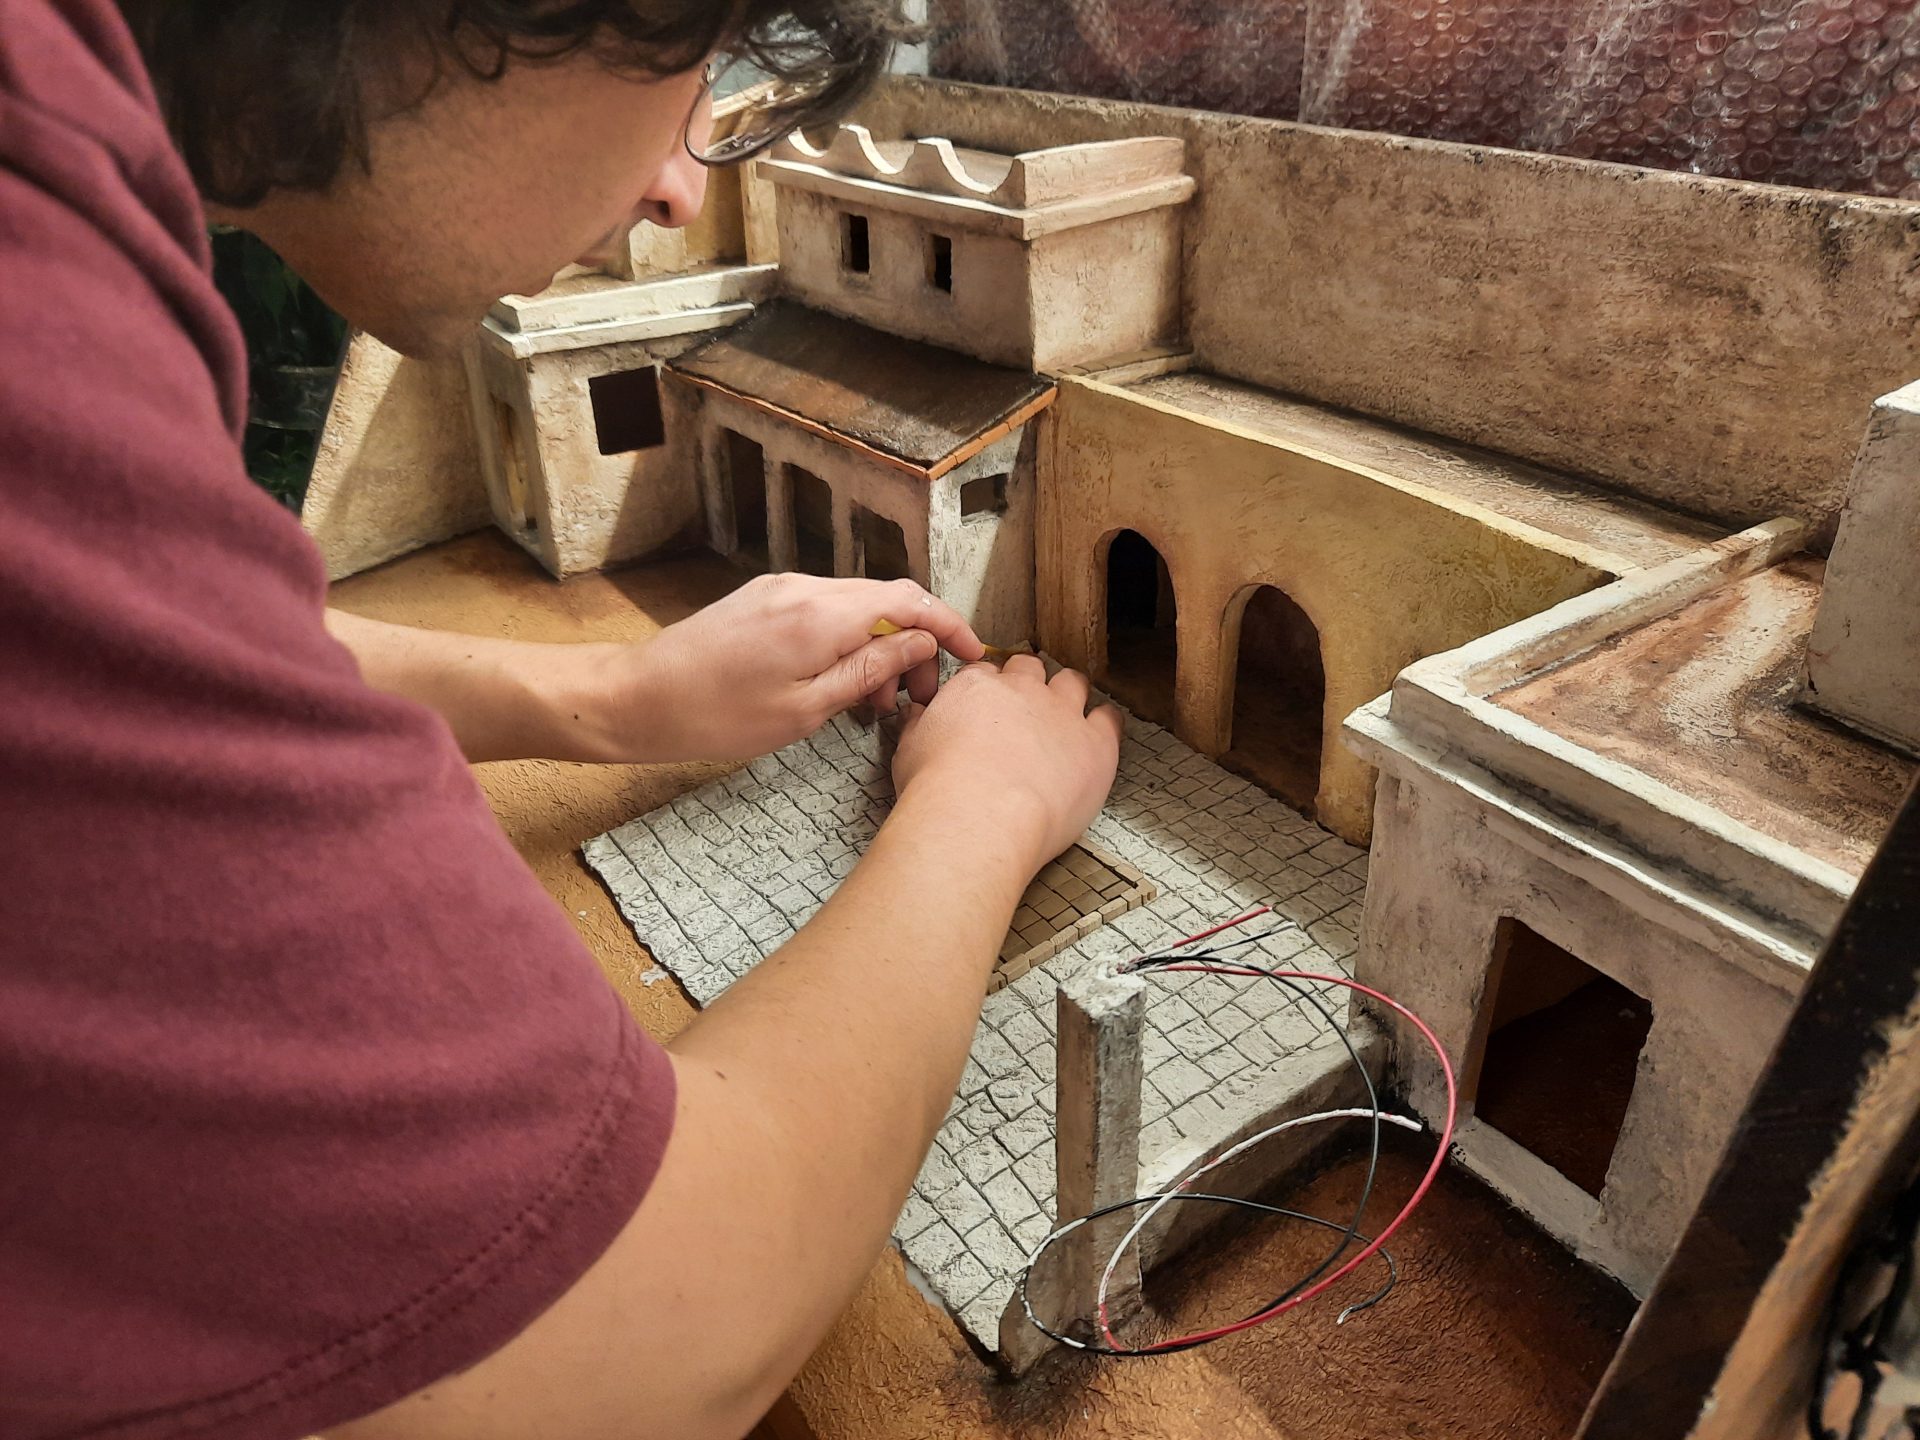
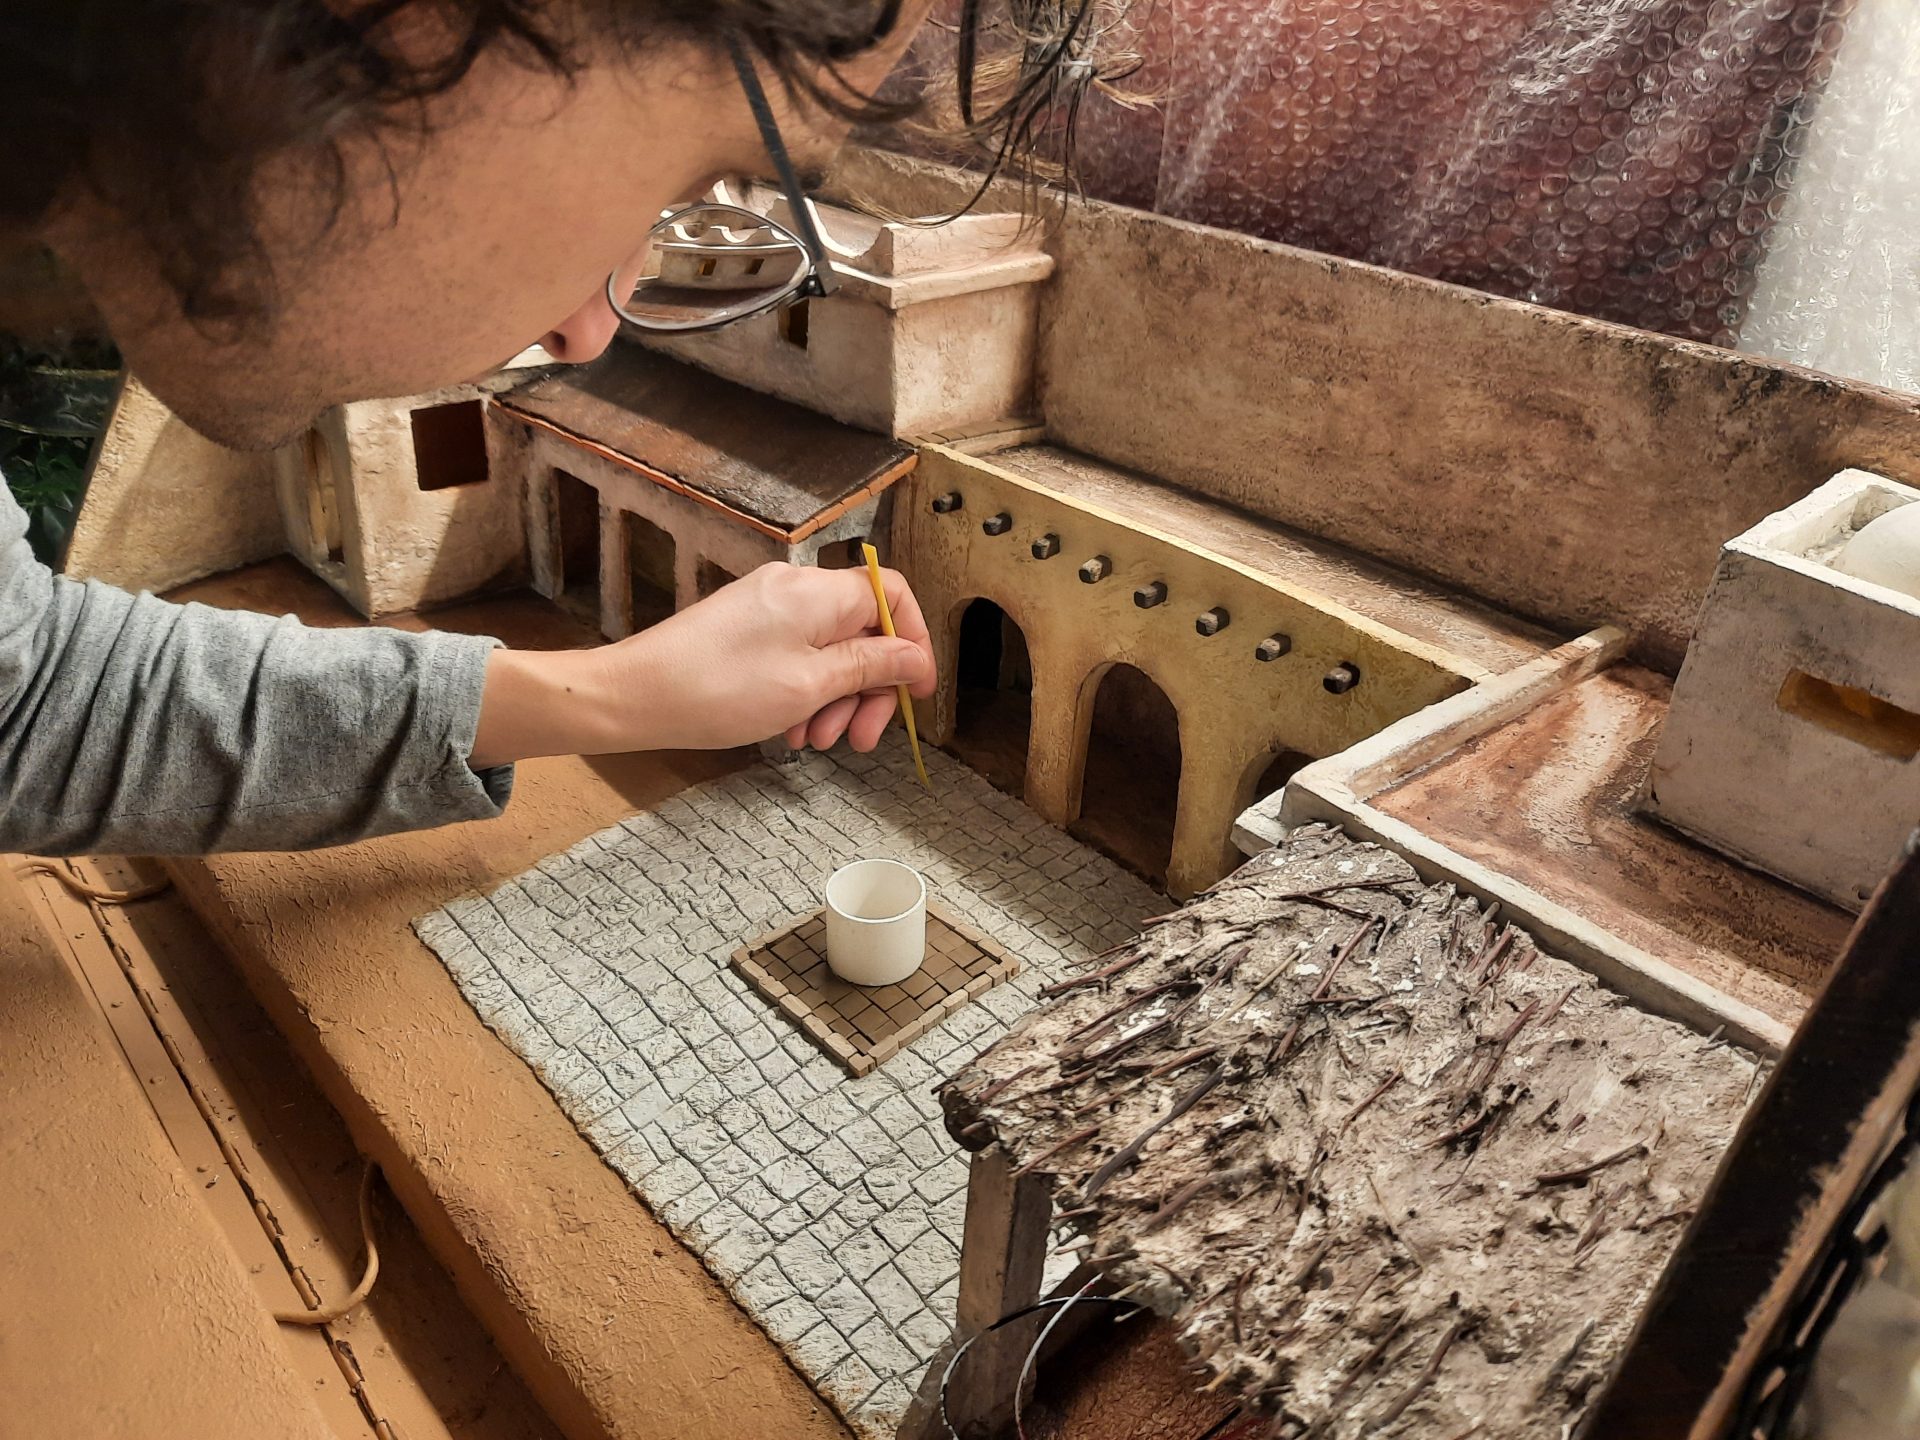
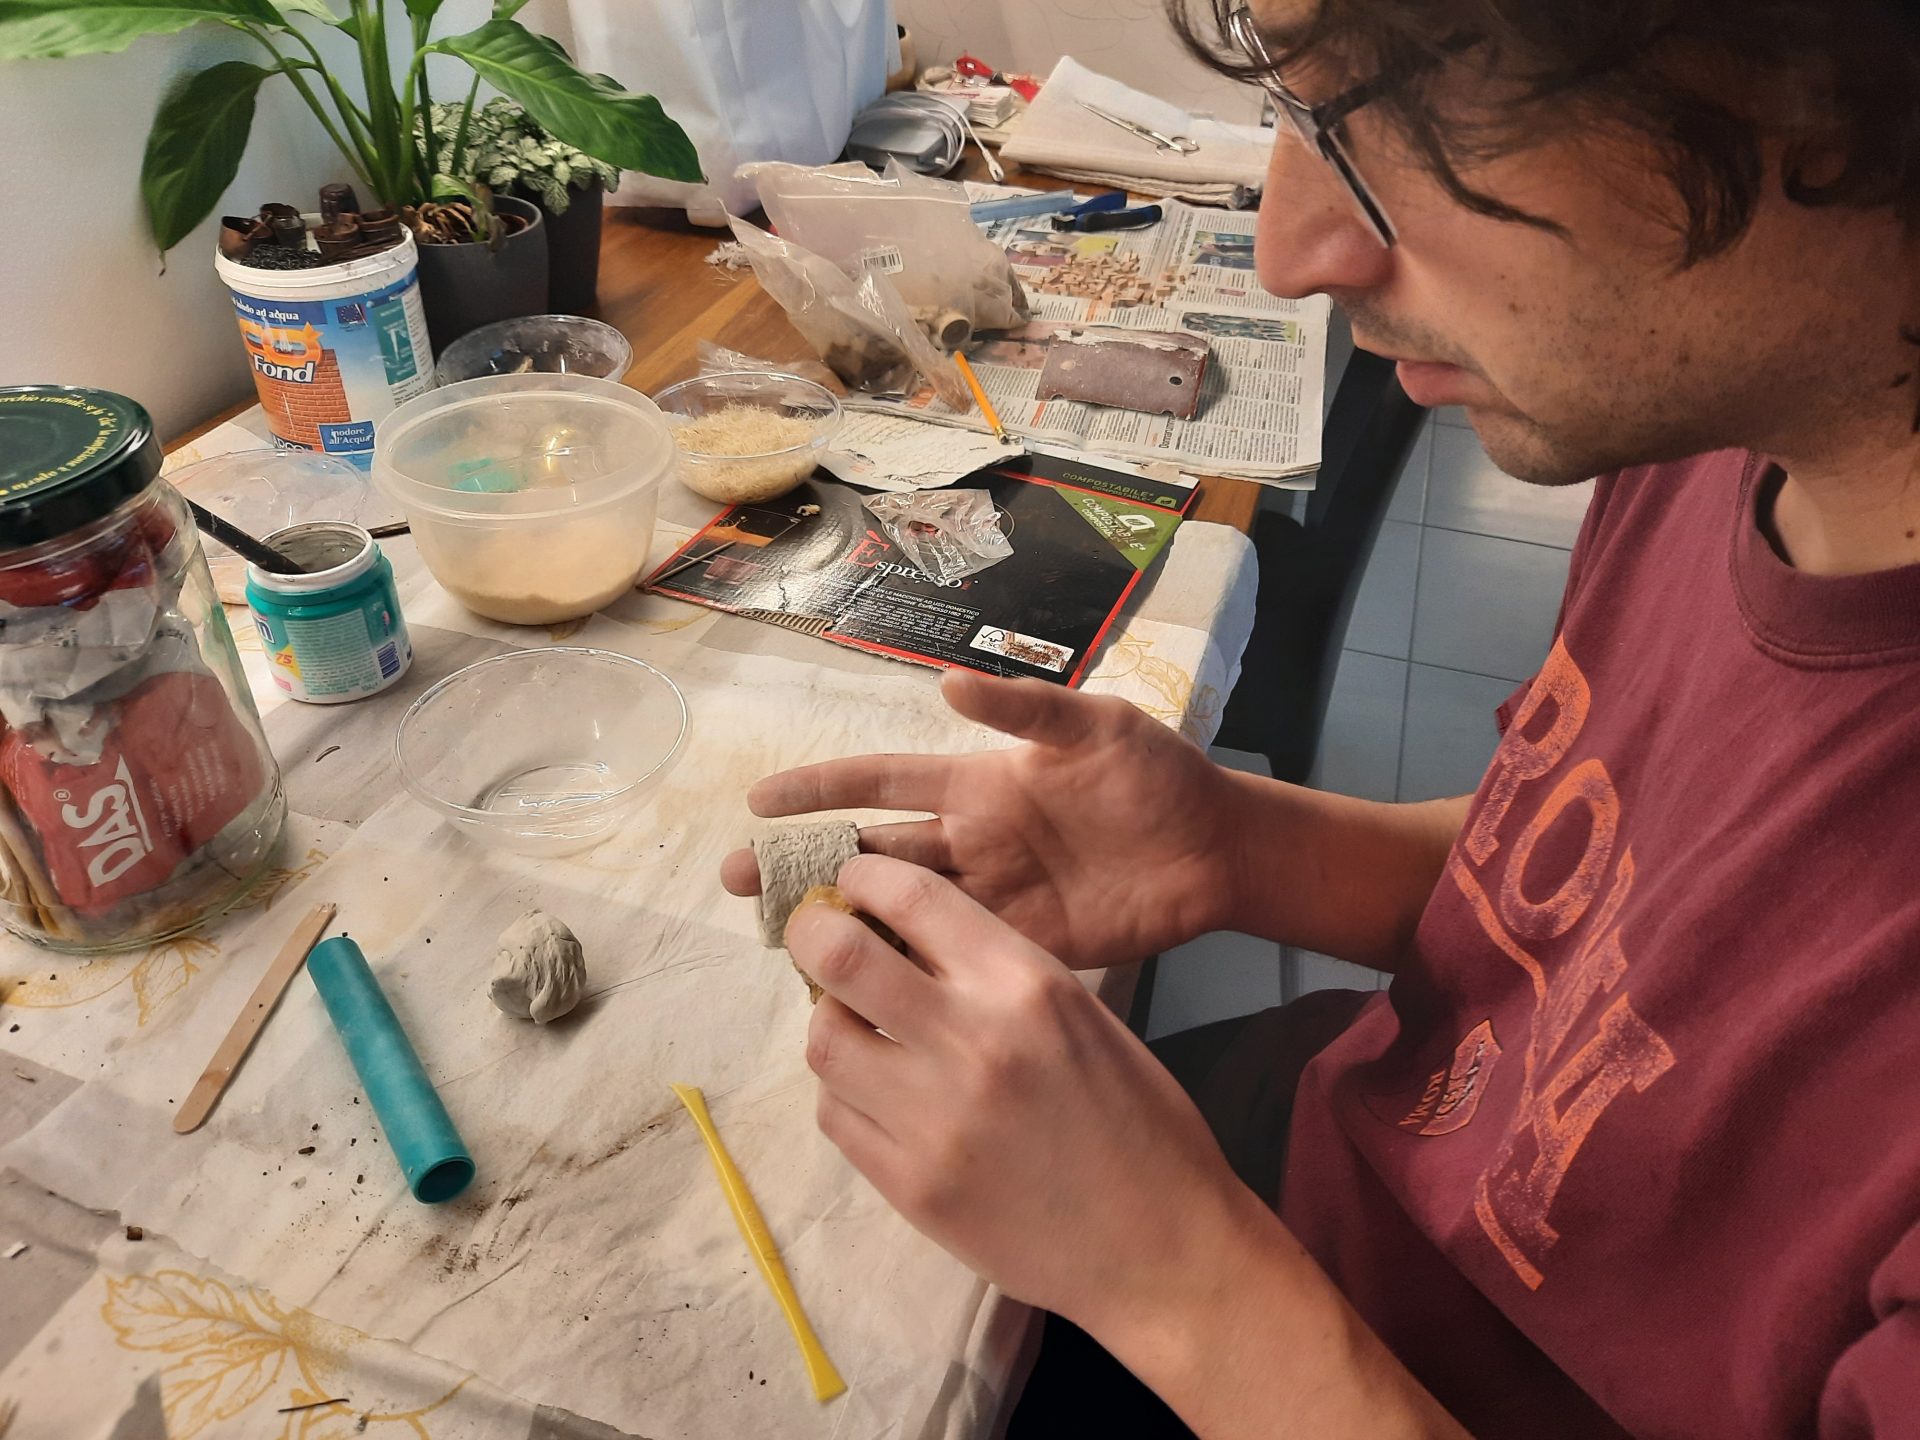
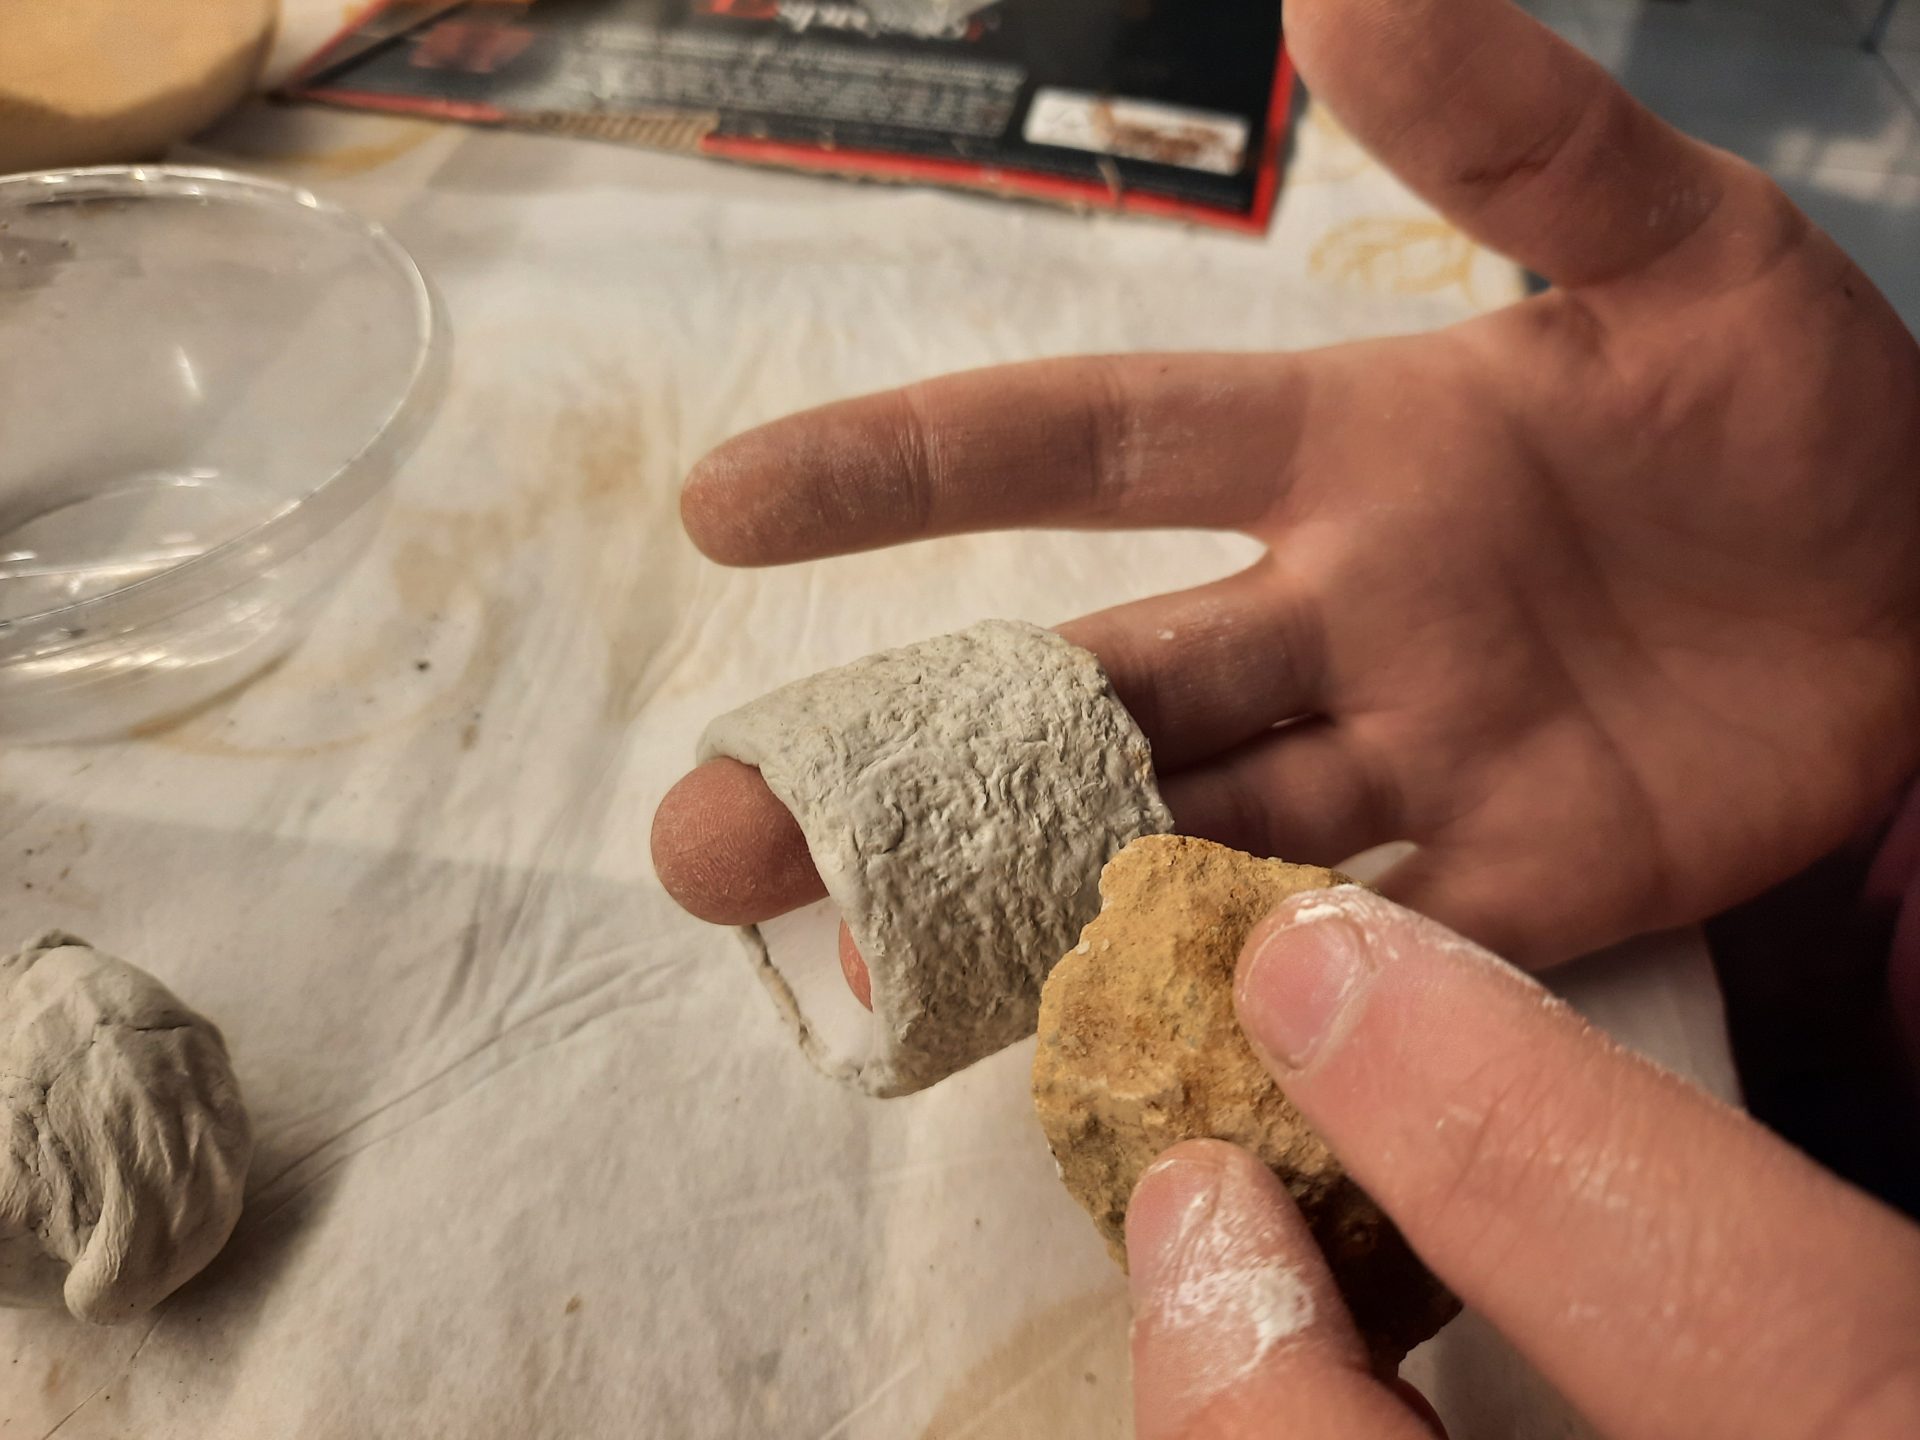
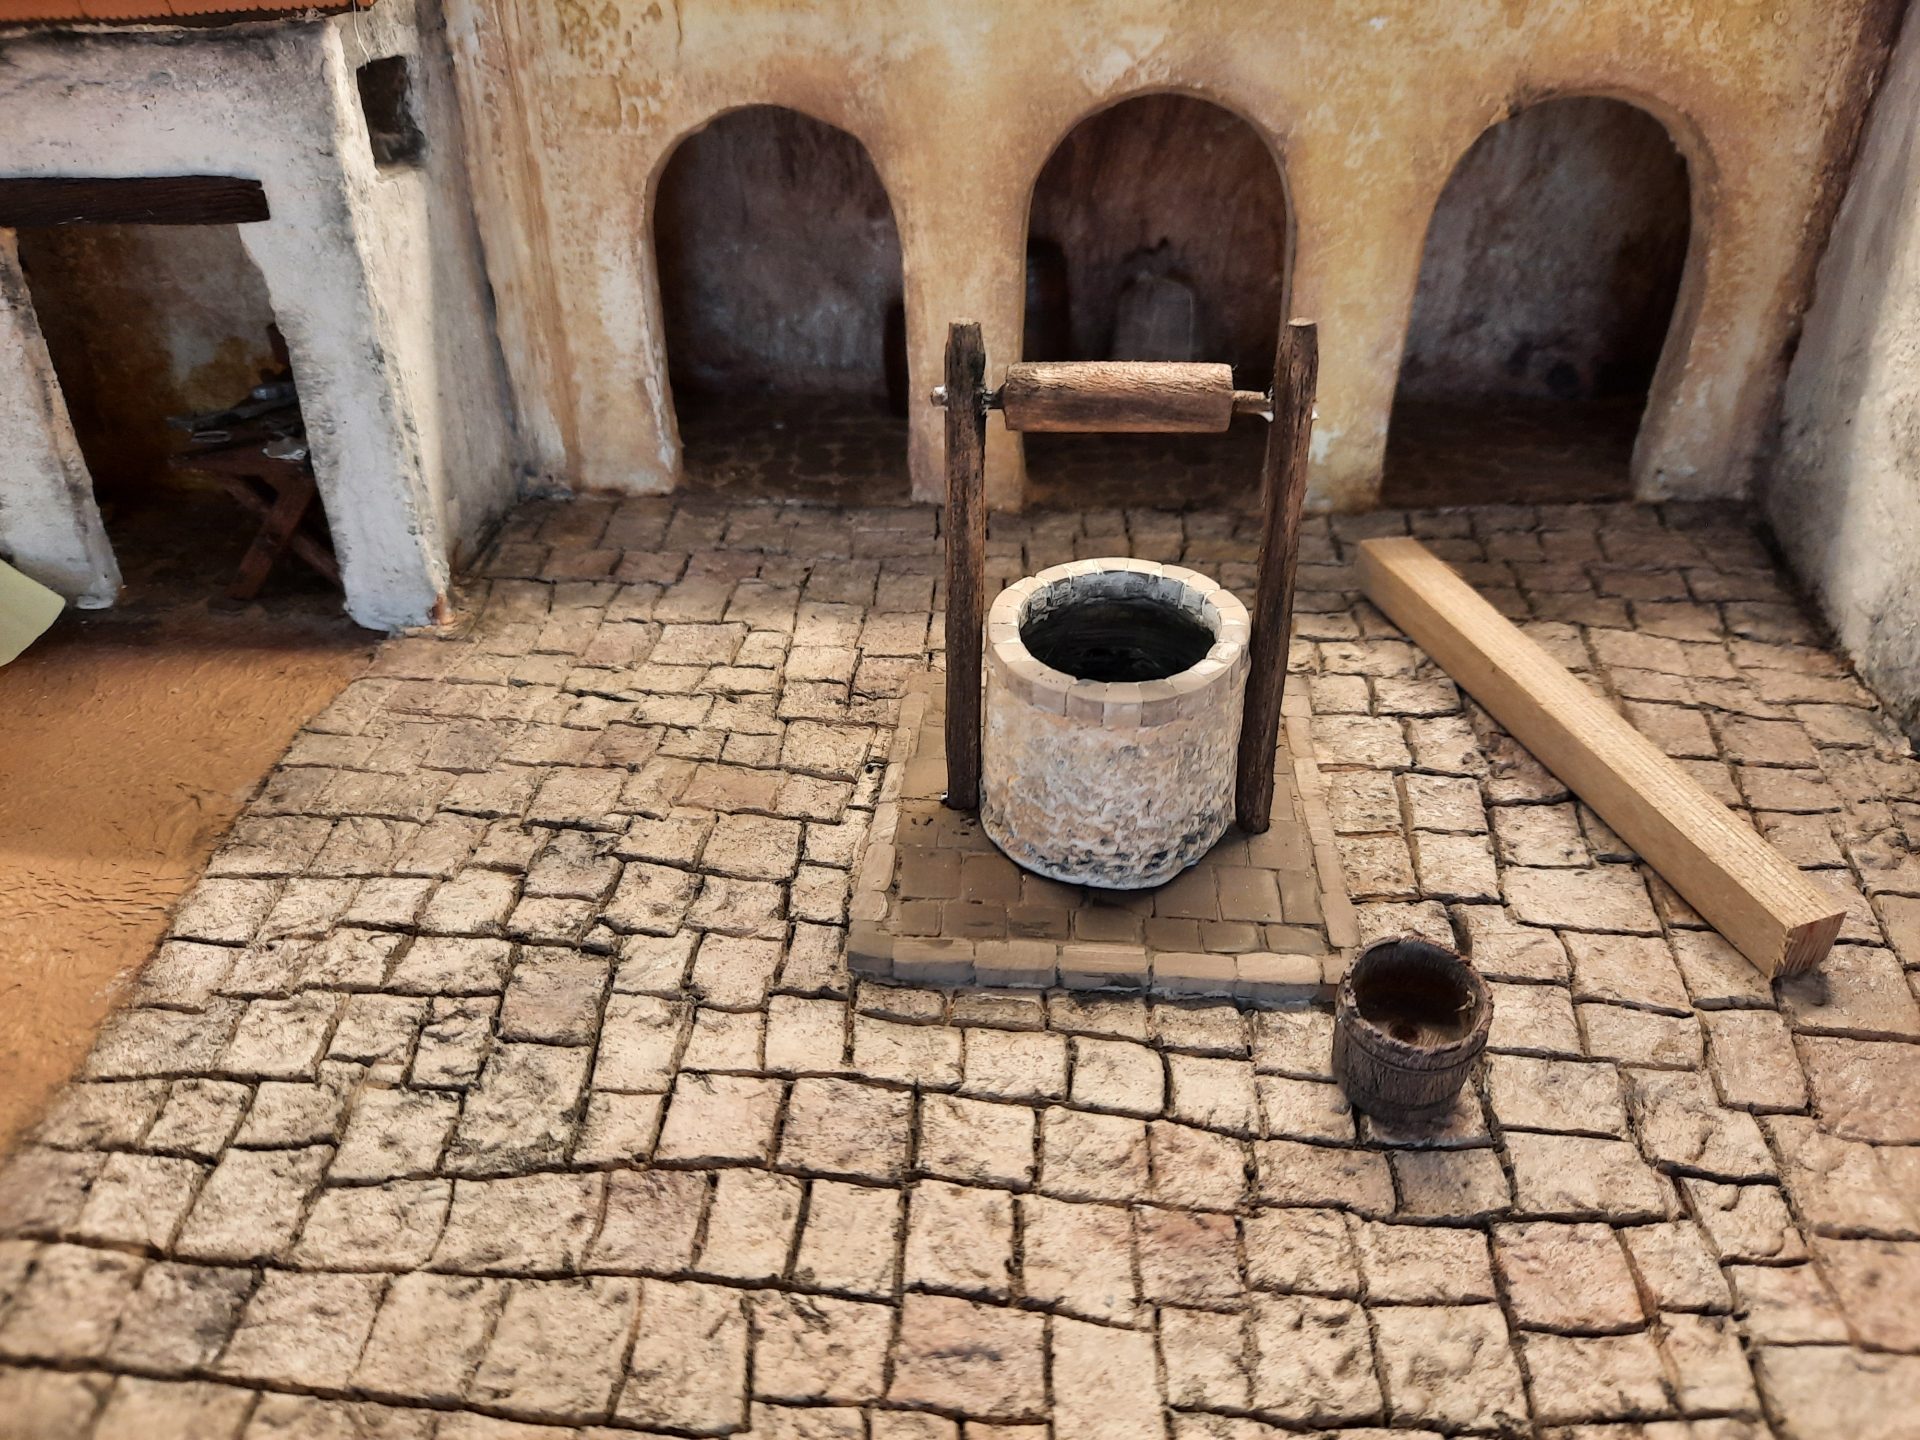
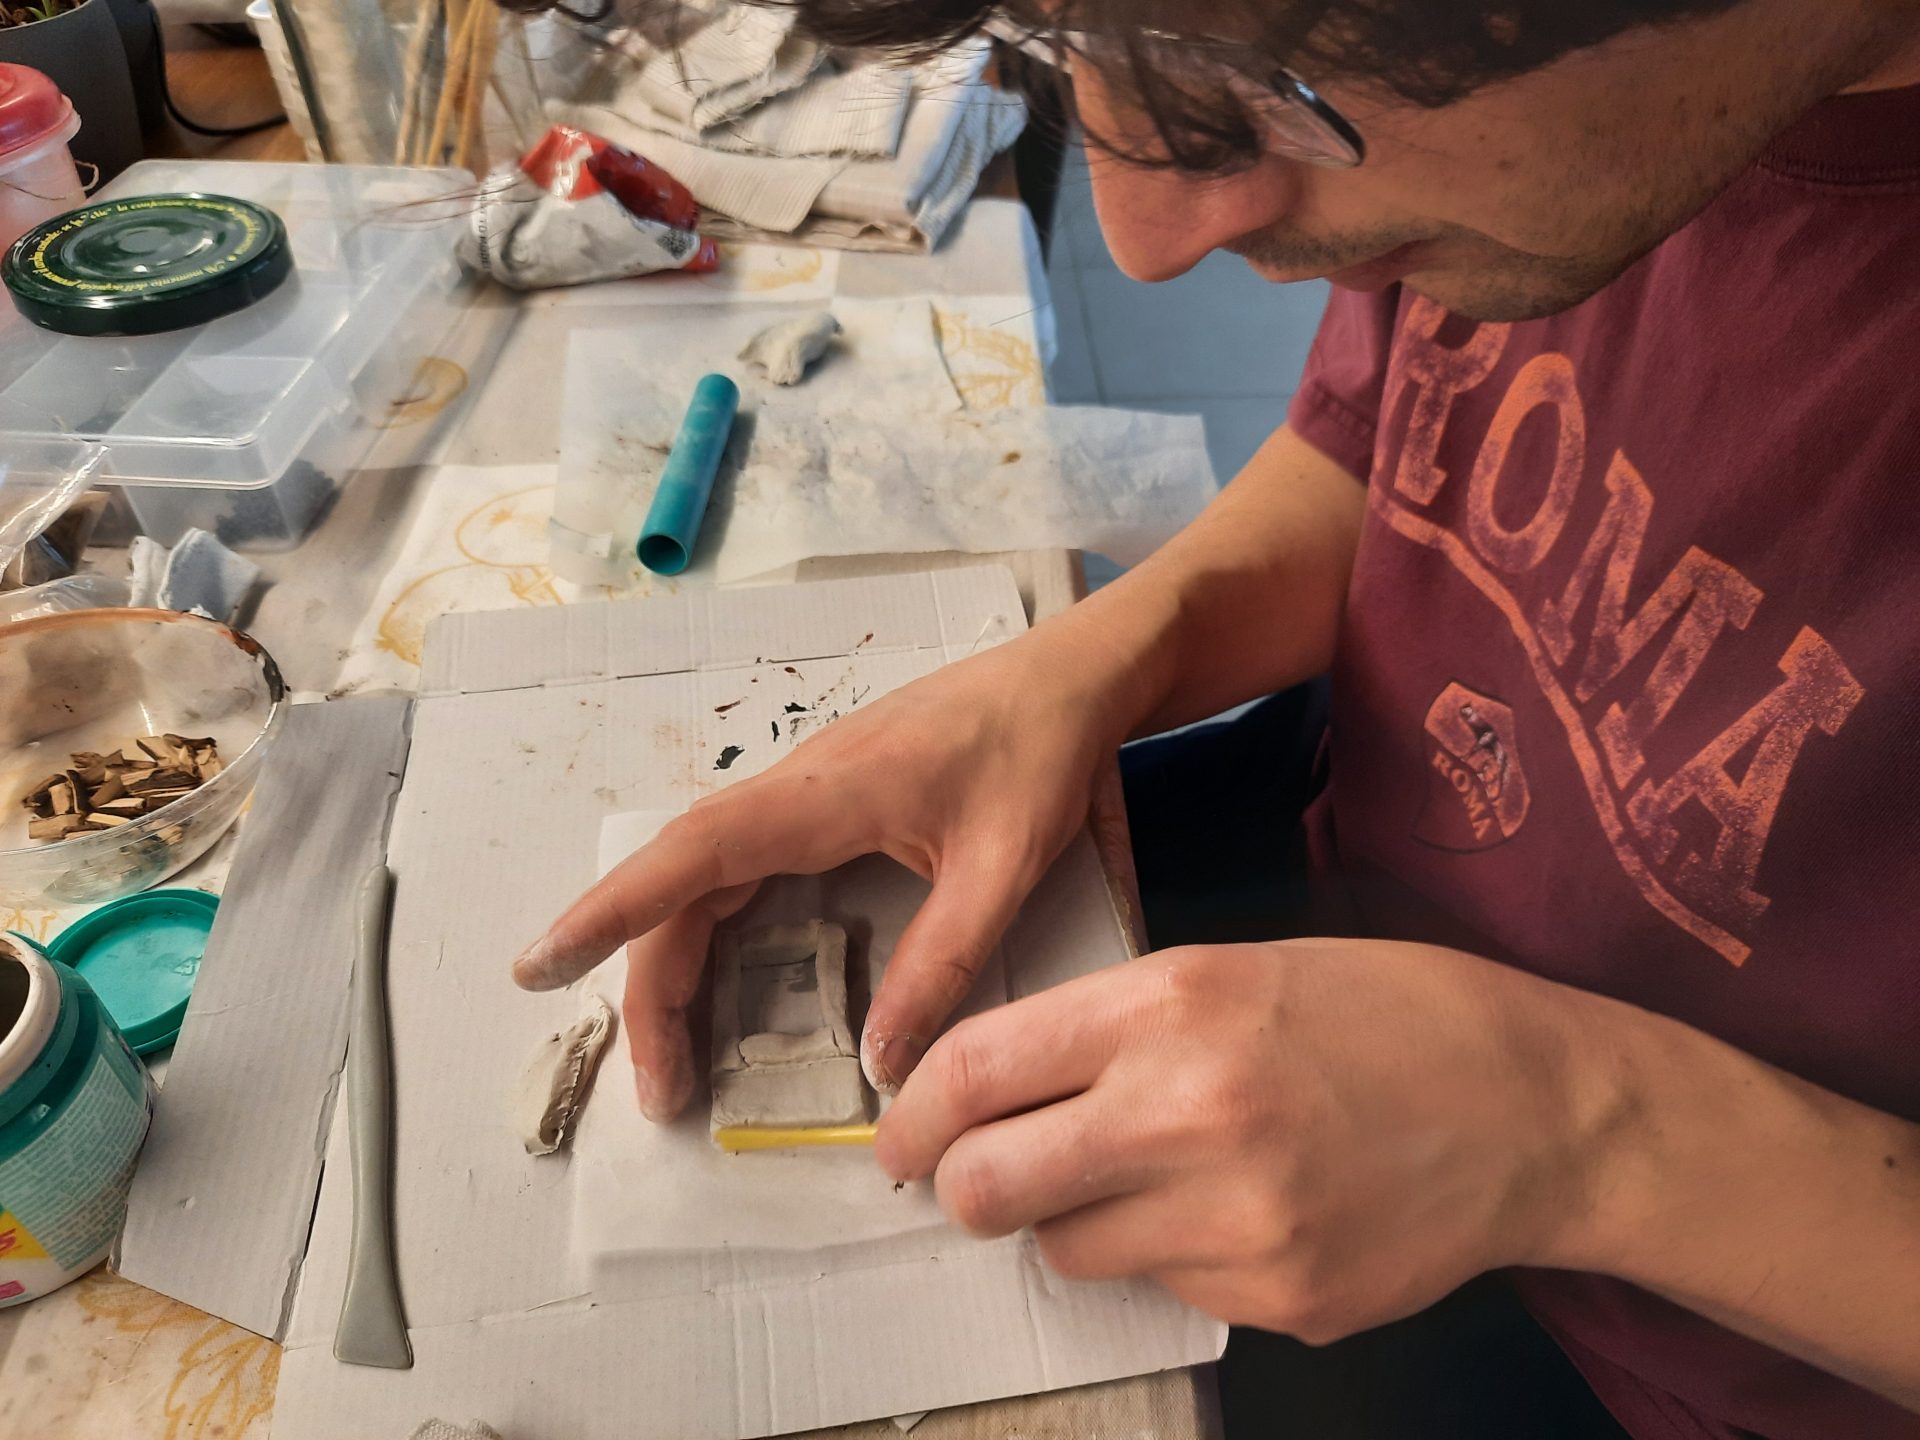
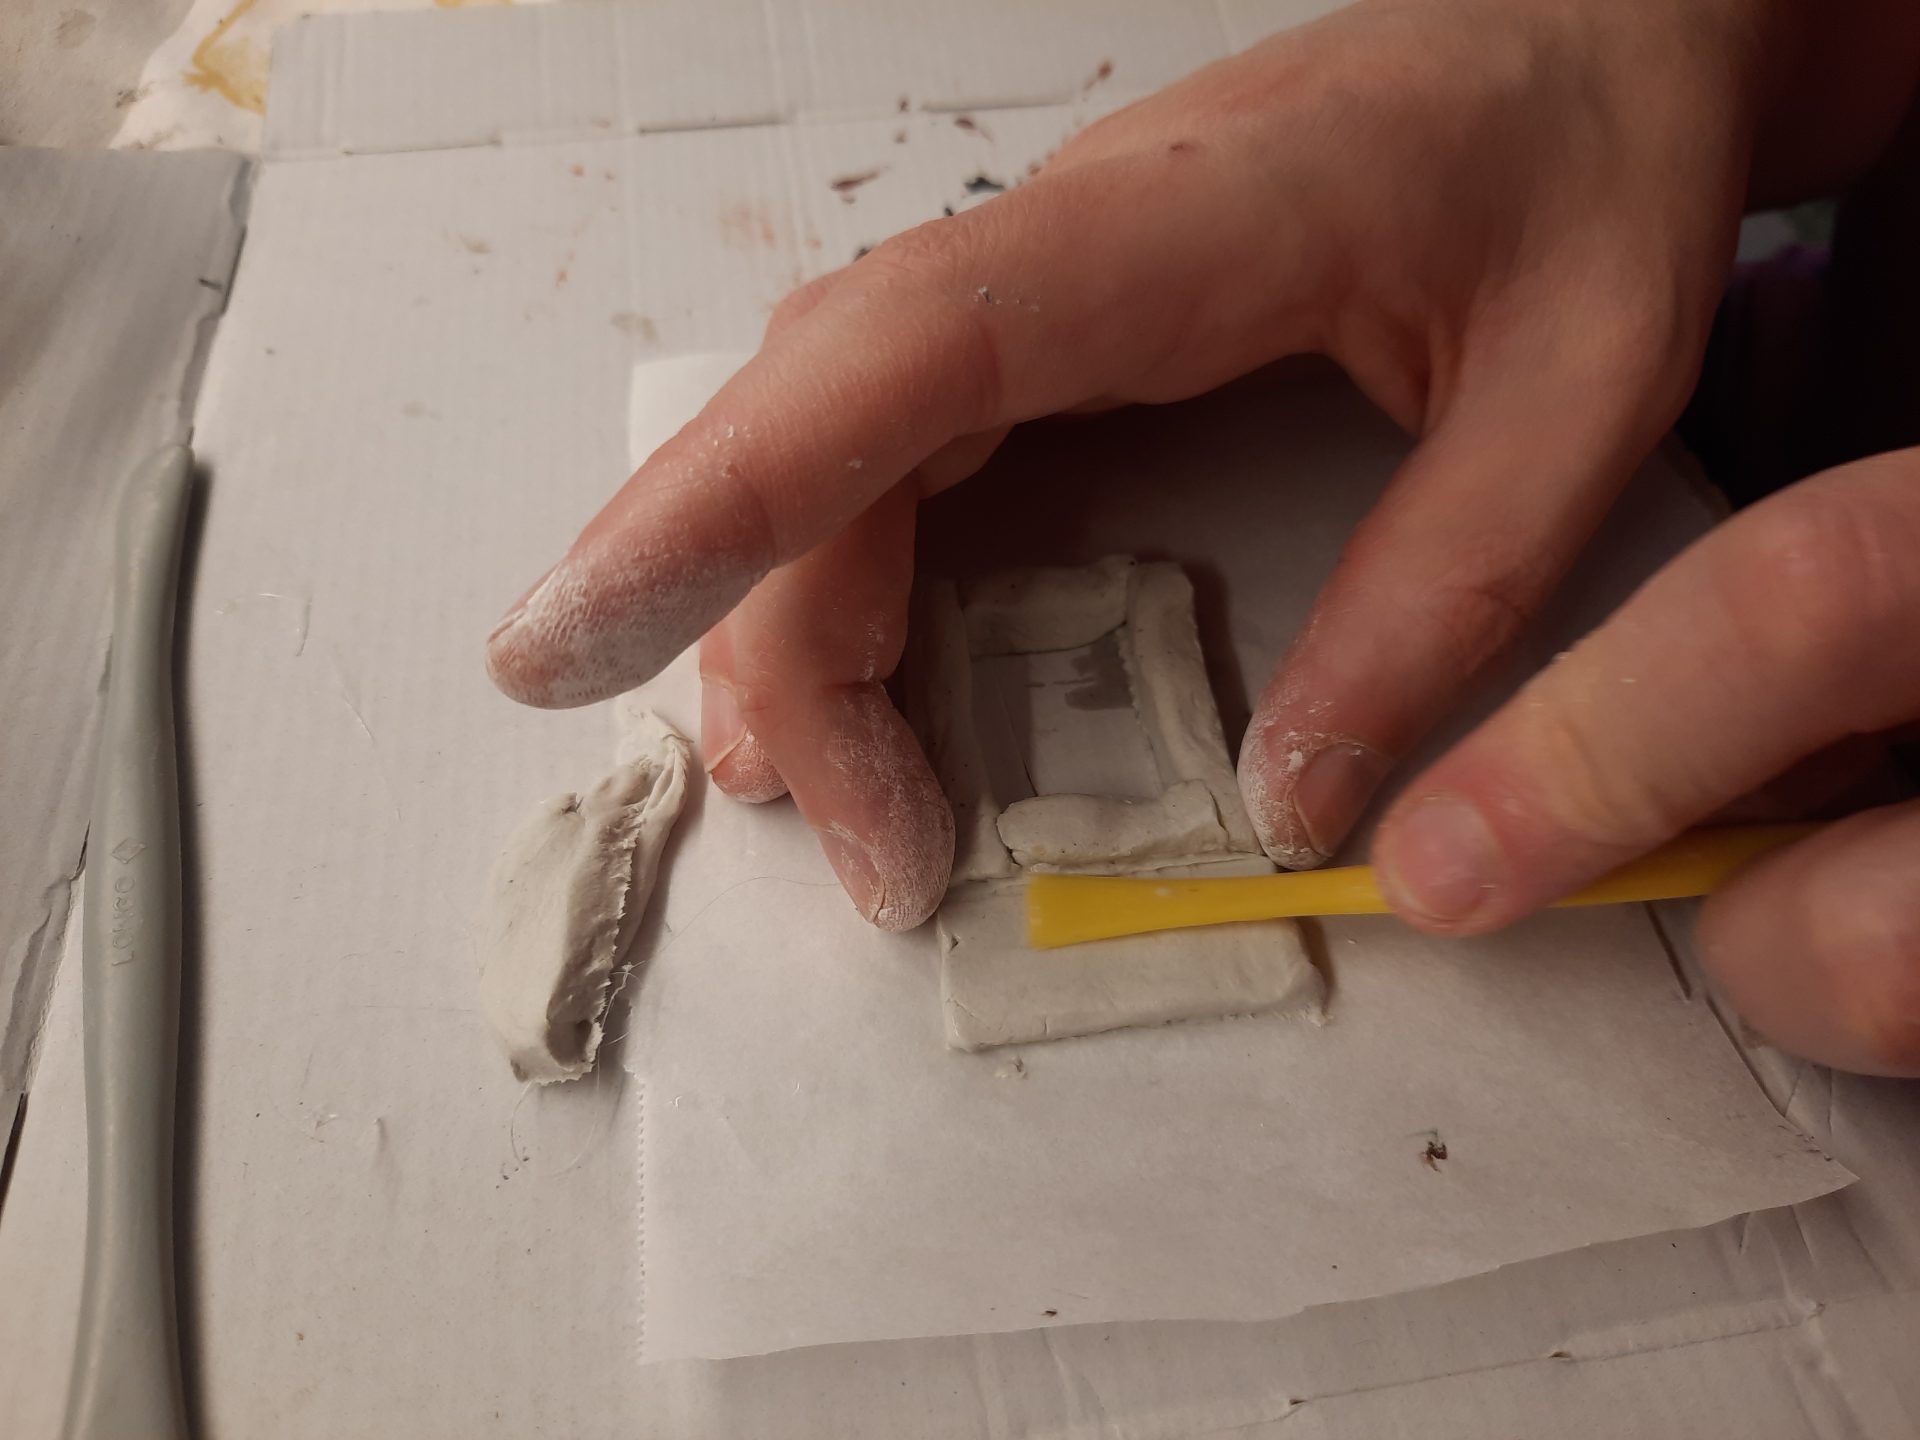
We didn’t have nearly enough tiles left to repeat what I had done for the porch, but my resourceful husband came up with a clever solution: clay. He carefully measured the area of the square and shaped a perfectly fitting clay base. Then he carved it into the likeness of paving stones. Unlike the irregular porch stones, these were neater rectangular blocks in varied sizes and proportions, meant to resemble more carefully worked slabs of stone. Once the layout was done, he textured the surface using a real rock, roughening it just enough to look realistic. Since he could do this across the whole surface at once, it was far quicker than shaping individual tiles.
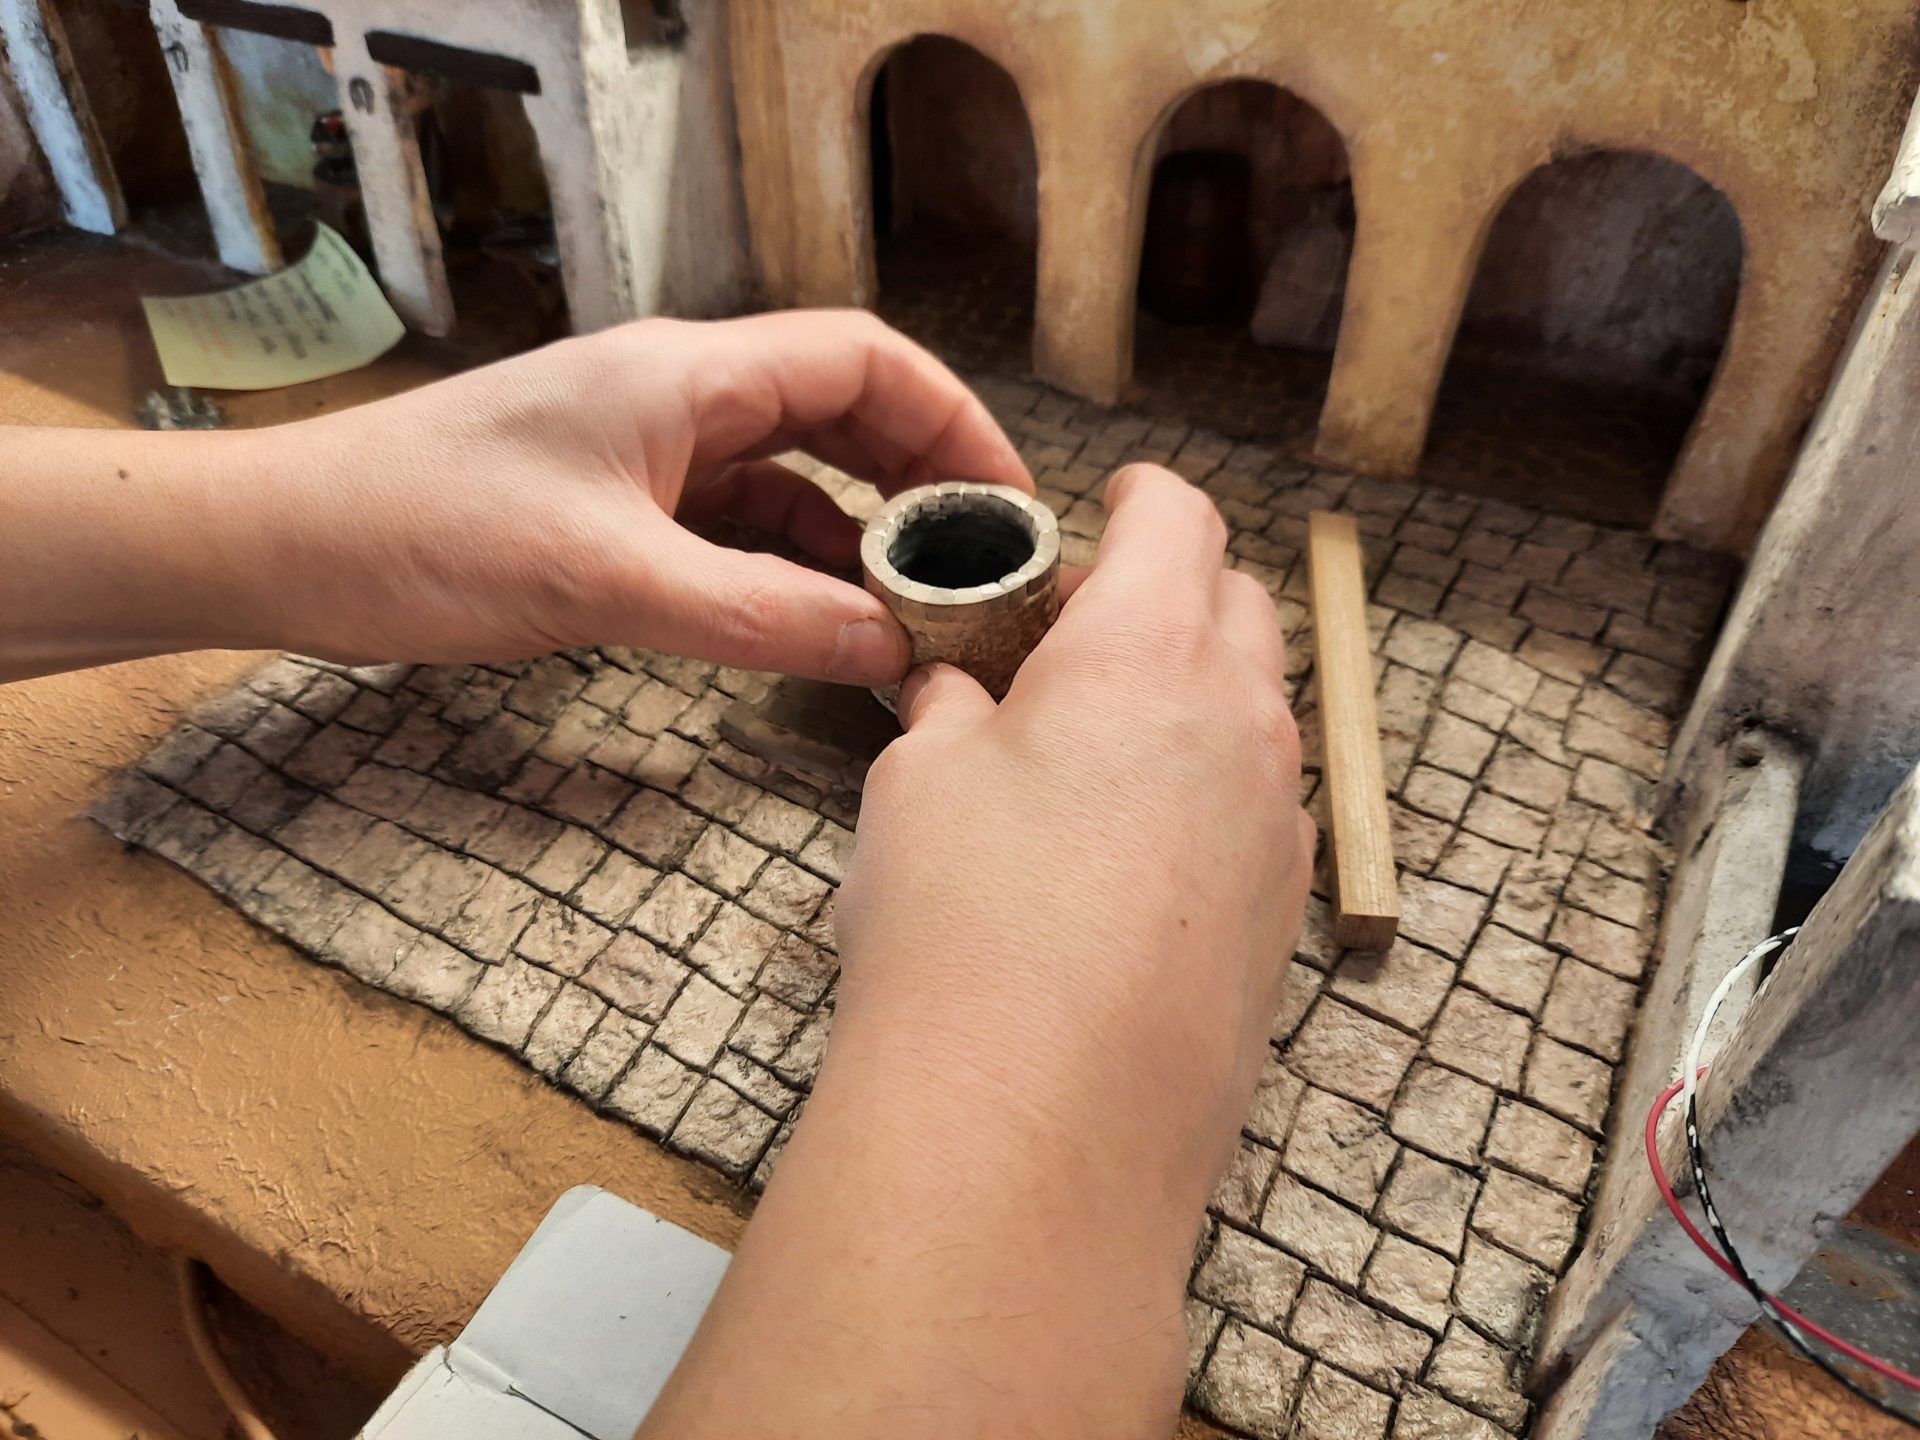
To highlight the center, where the well was to be placed, we used miniature bricks from the old church kit to outline a slightly raised platform around the well. That small space, more prominent than the rest of the square, was then paved with more tiles from the kit. We had to work quickly and in pair to finish sculpting before the clay dried, but once complete, we left it in place to dry directly on the terrain, so it would keep the correct shape.


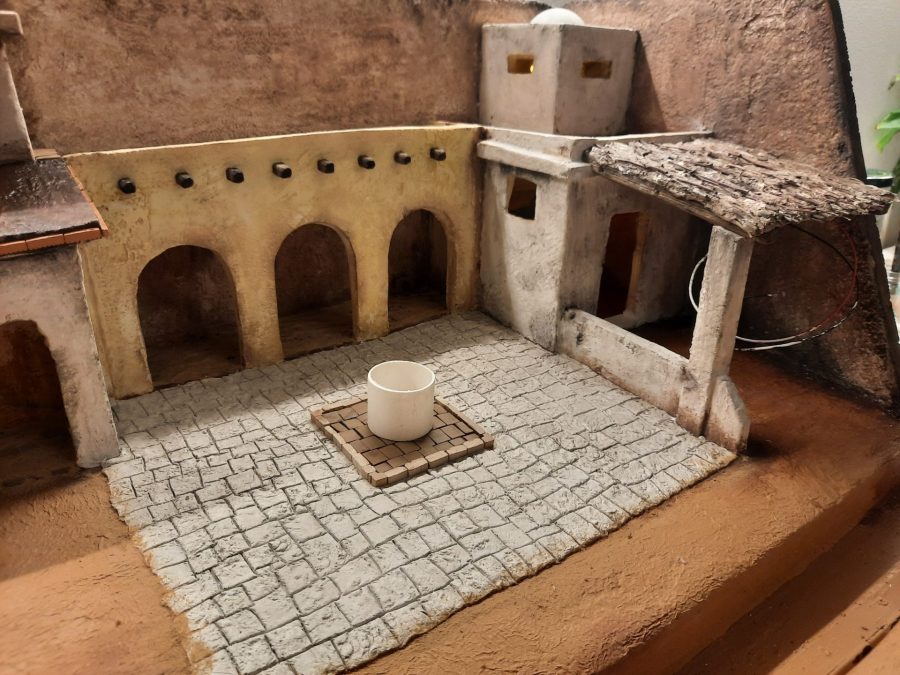
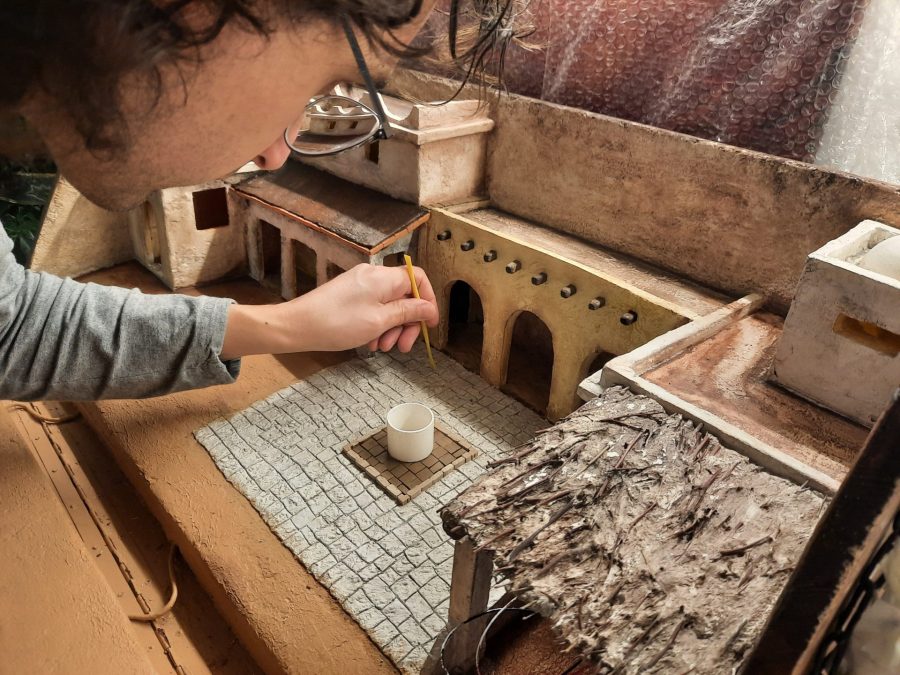


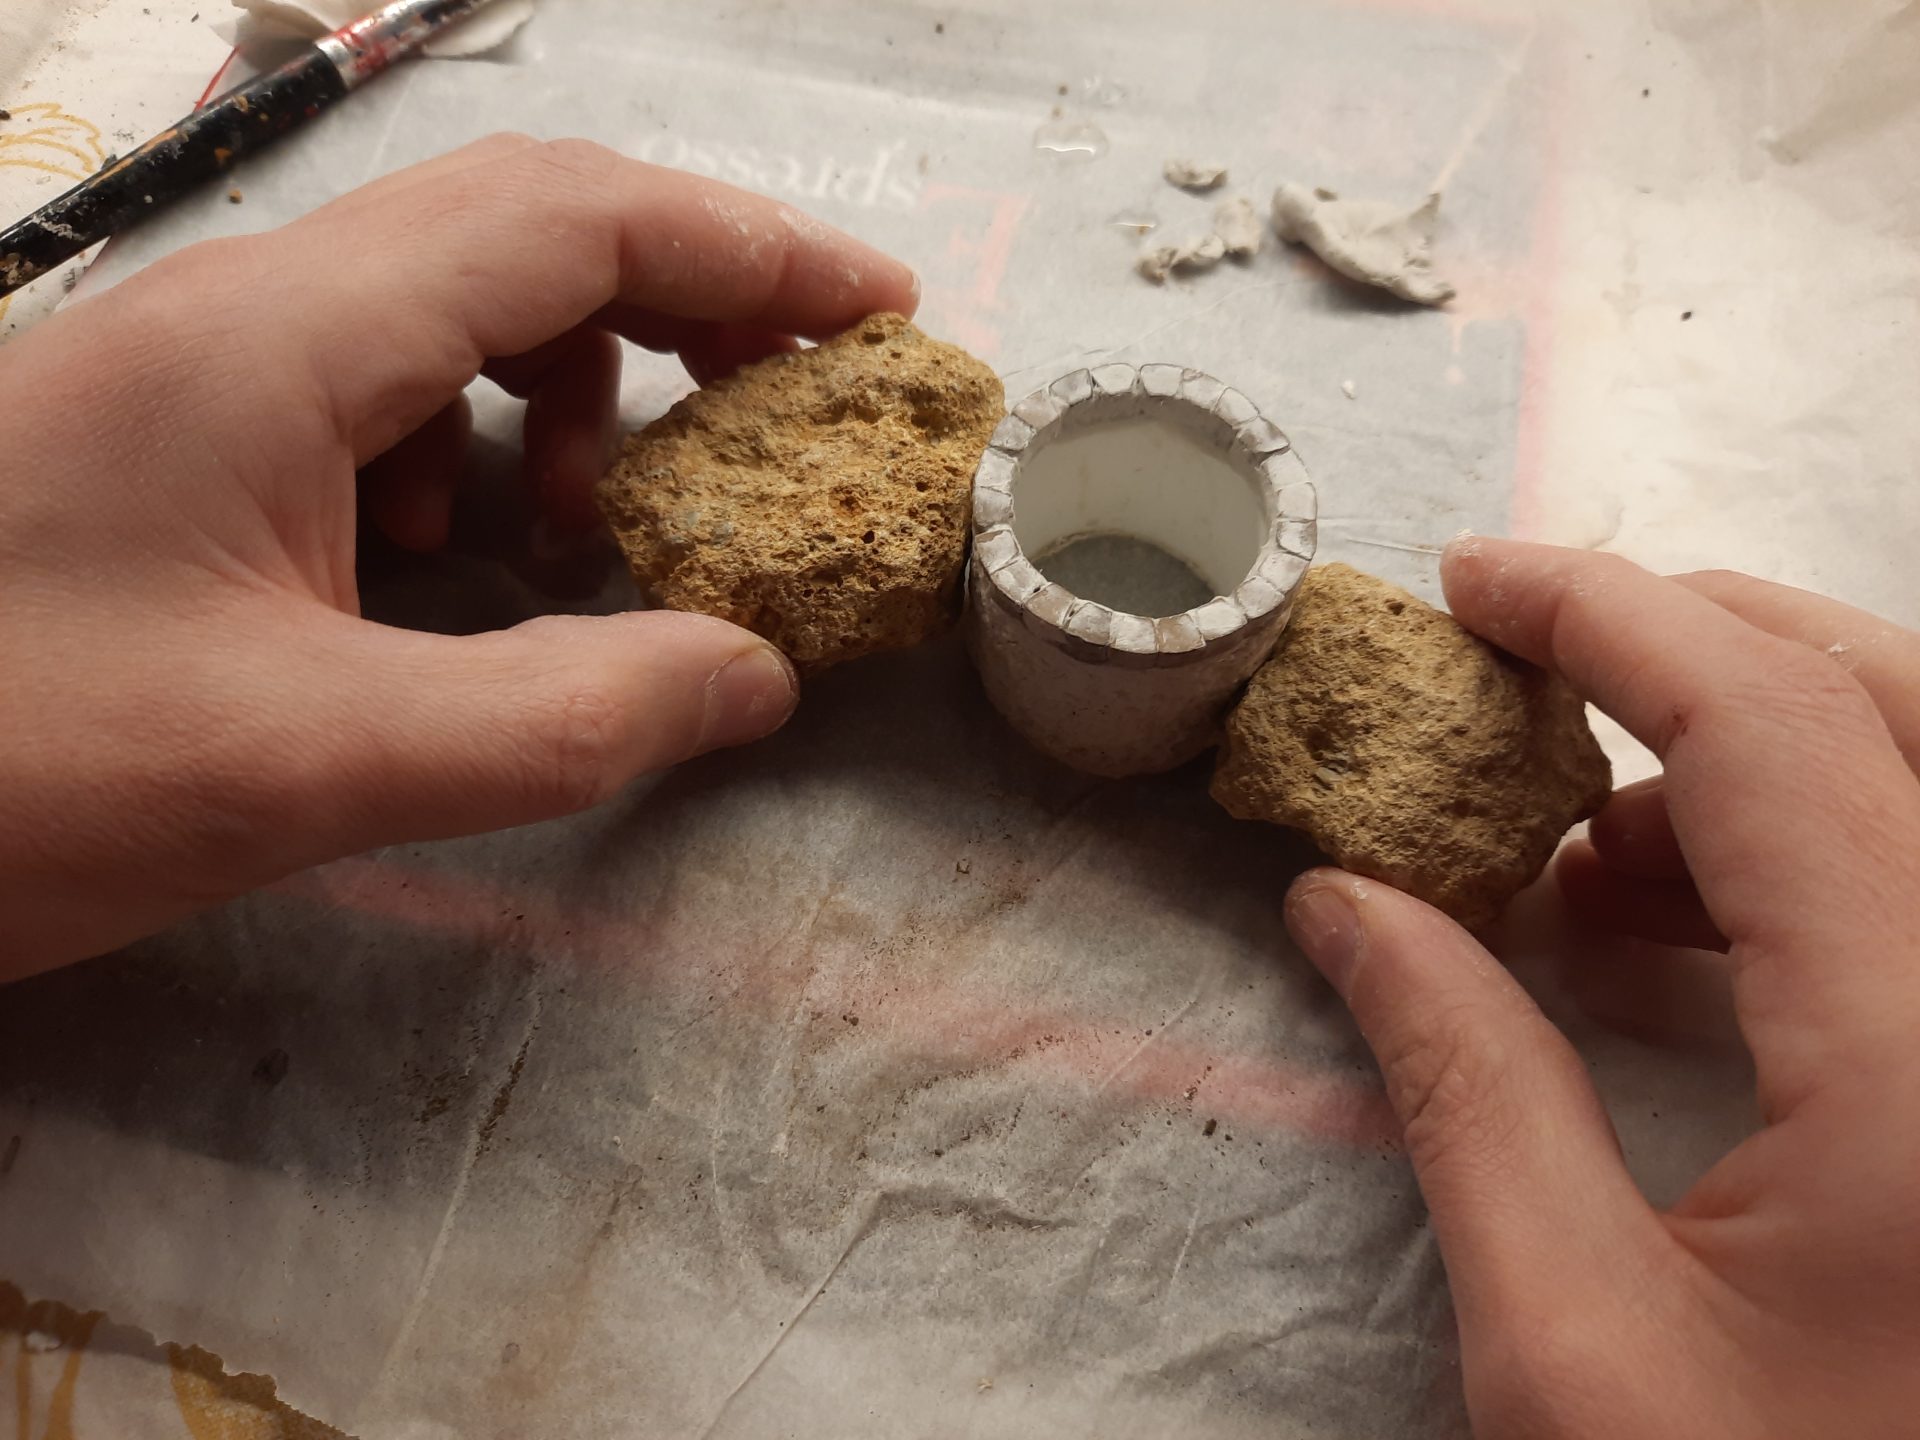
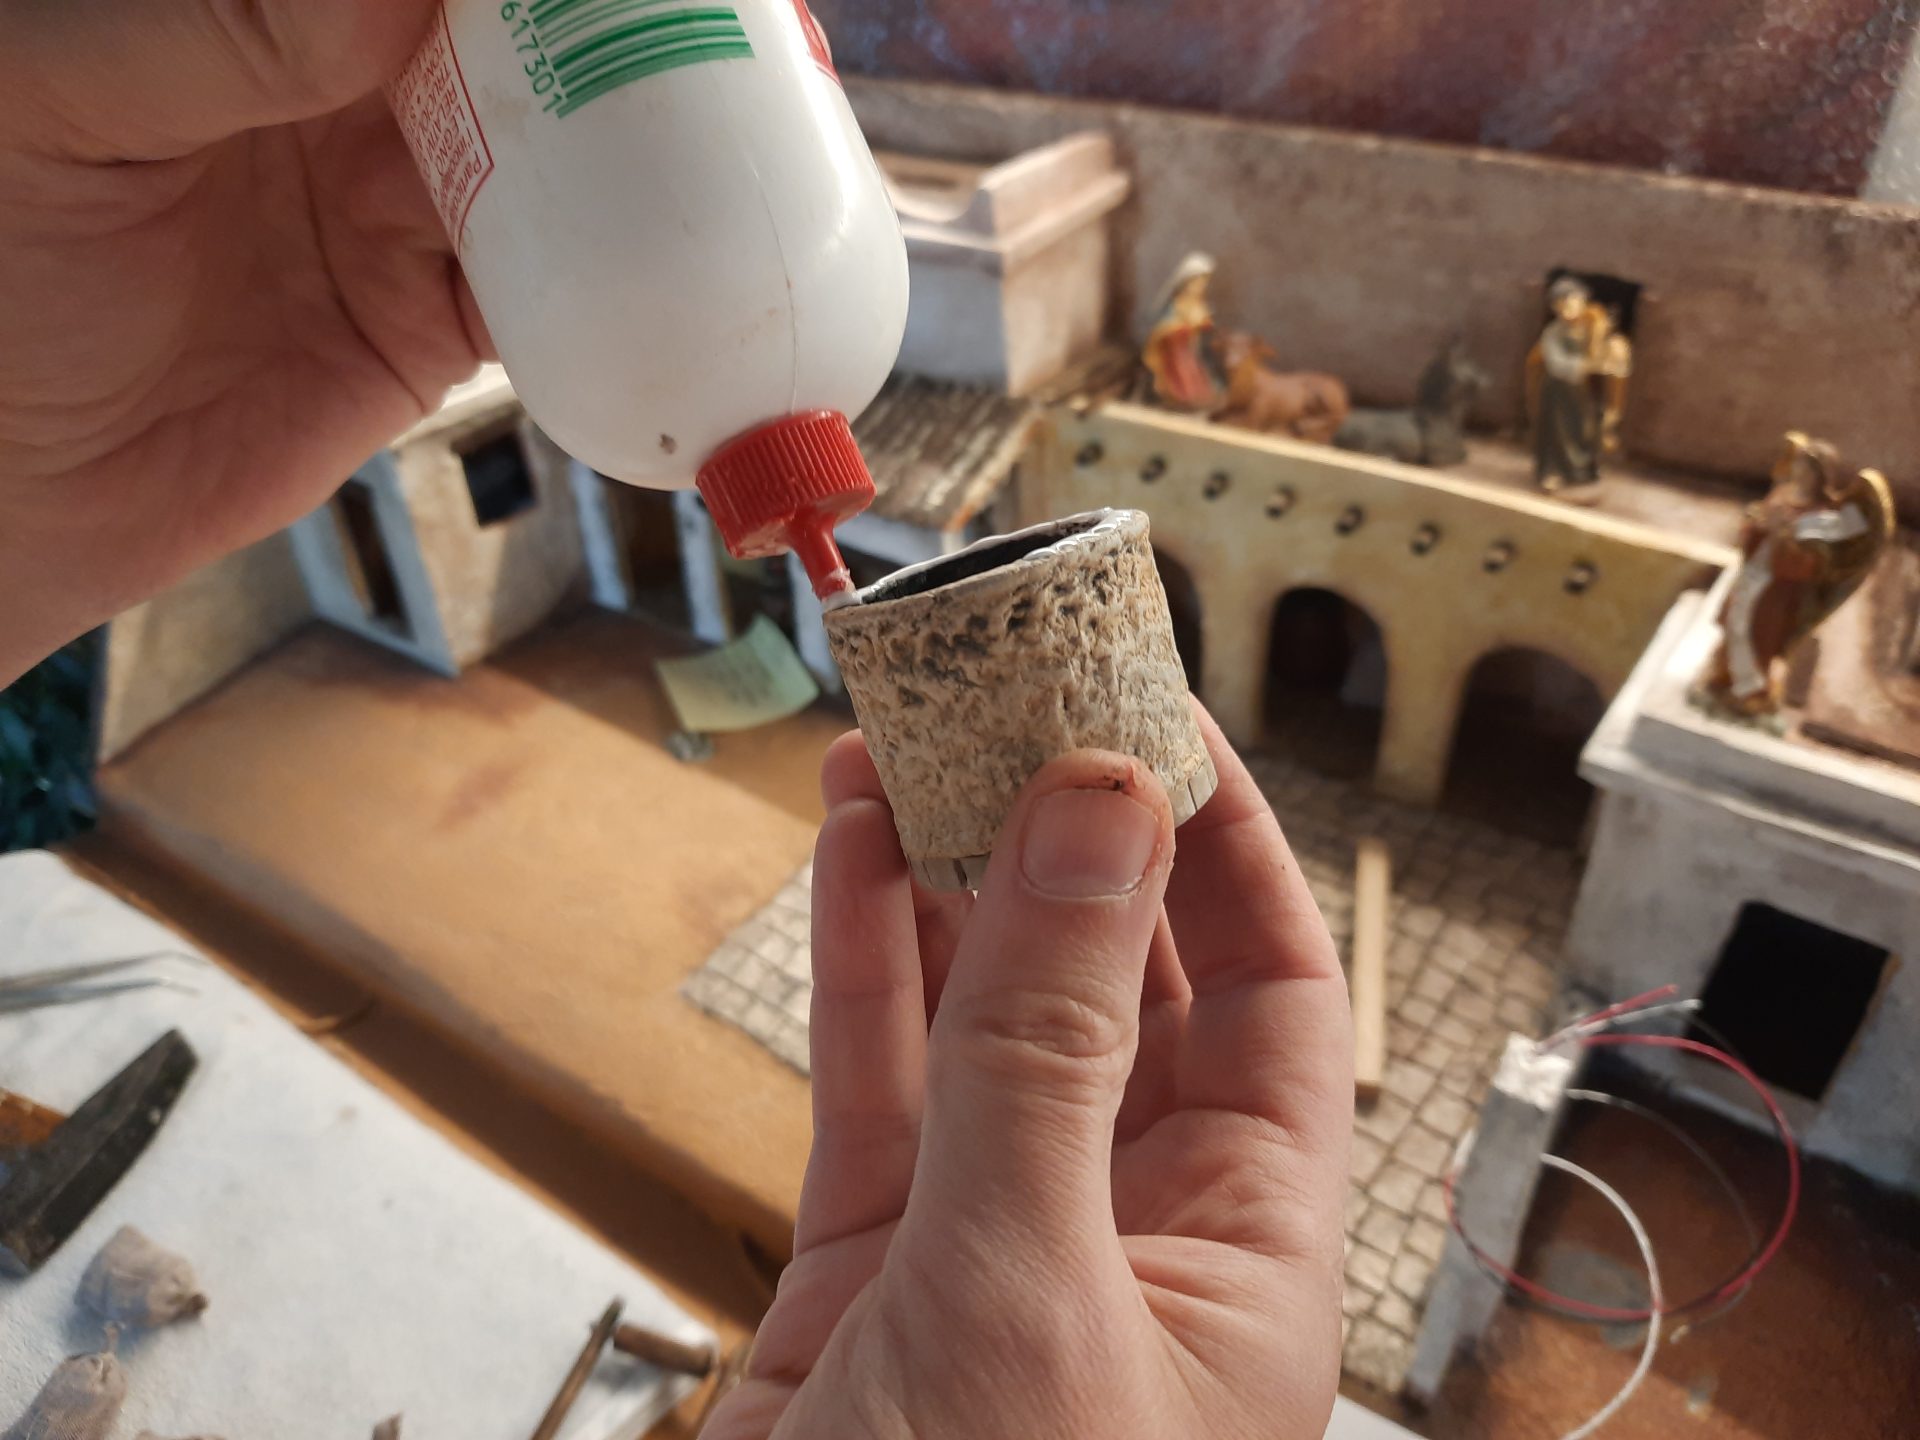
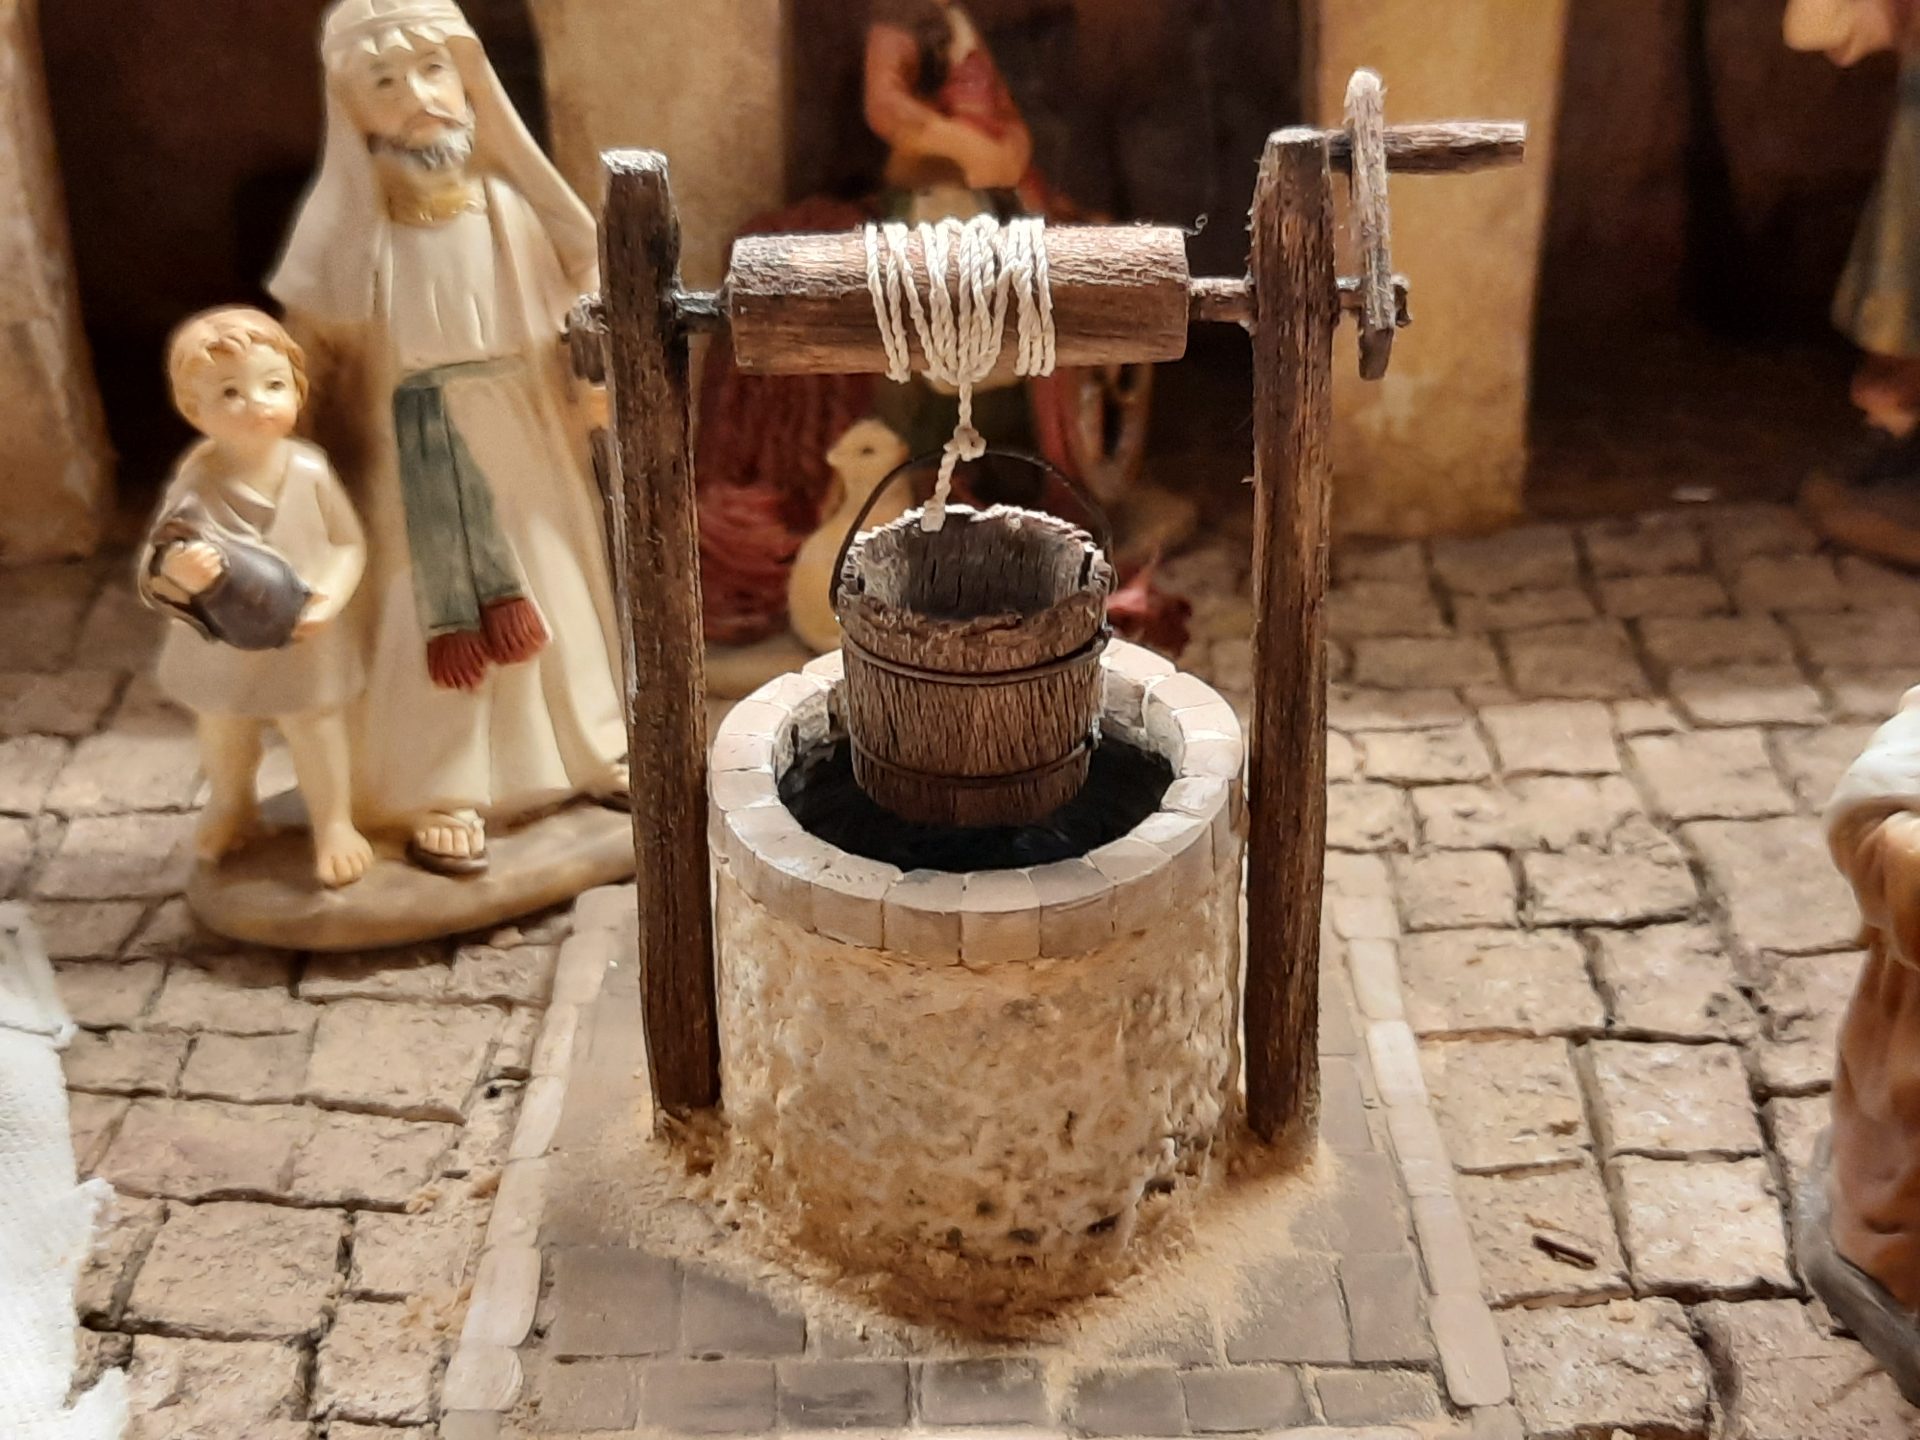
For the central feature of the square, the well, we were lucky to have a plastic tube that was just the right size. Of course, we didn’t want to use the tube itself in the diorama, but it gave the perfect reference for the well’s dimensions. My husband cut it to the exact height we wanted and then used it as a guide to shape a clay cylinder. He roughened the surface with the same technique he’d used for the town square, giving it texture and realism.
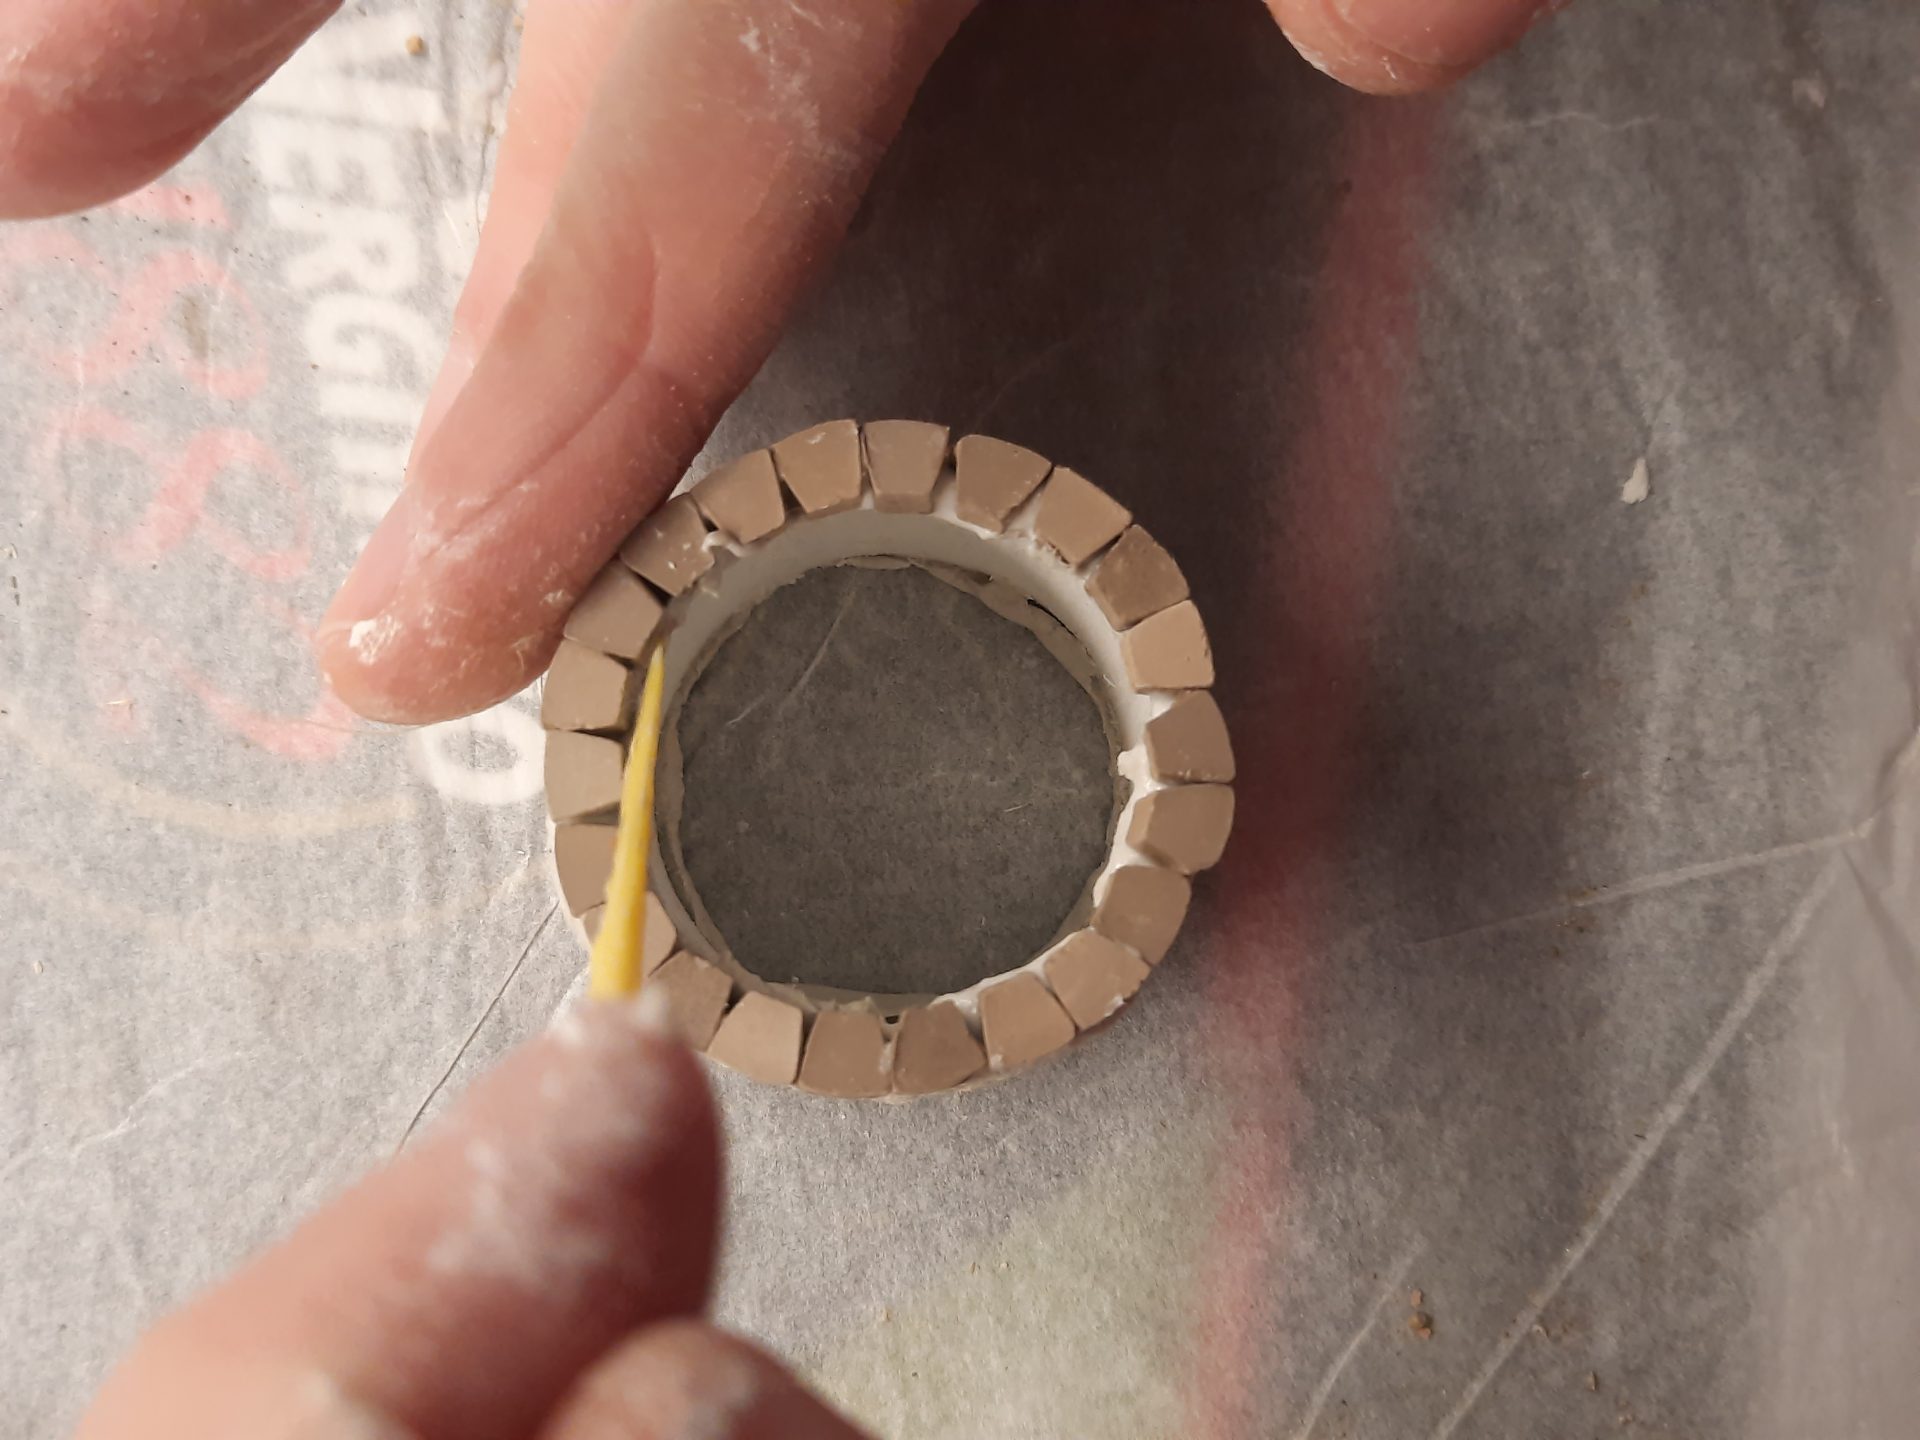
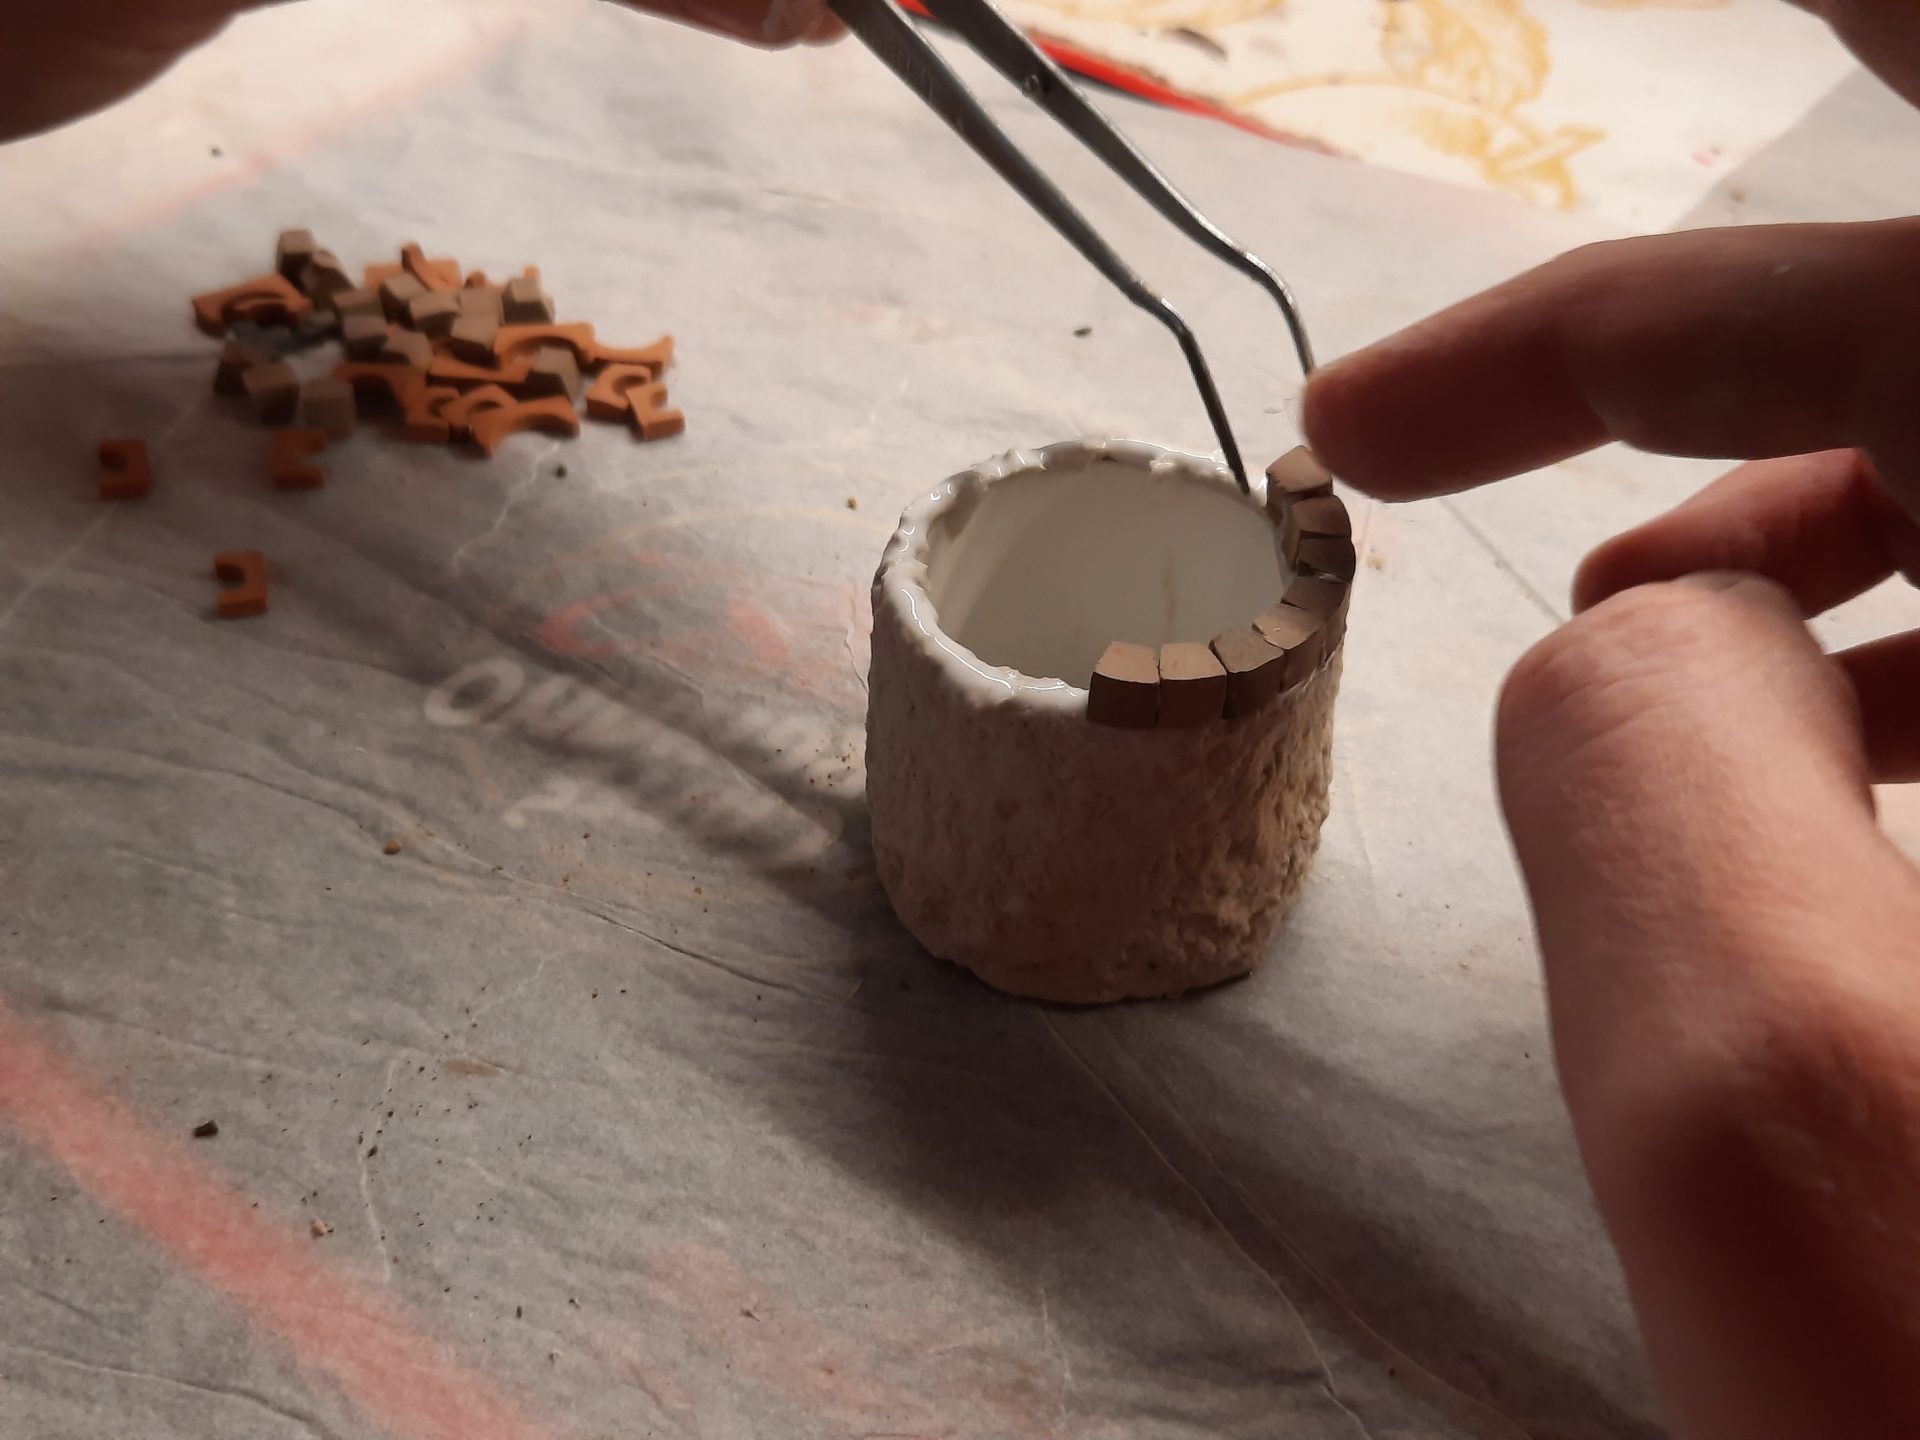
To finish the top rim, he selected a group of tiny bricks from the church kit that, by pure chance, were exactly the right size to form a perfect circle. We were super lucky: the number of bricks matched the circumference perfectly, leaving no gaps at all!
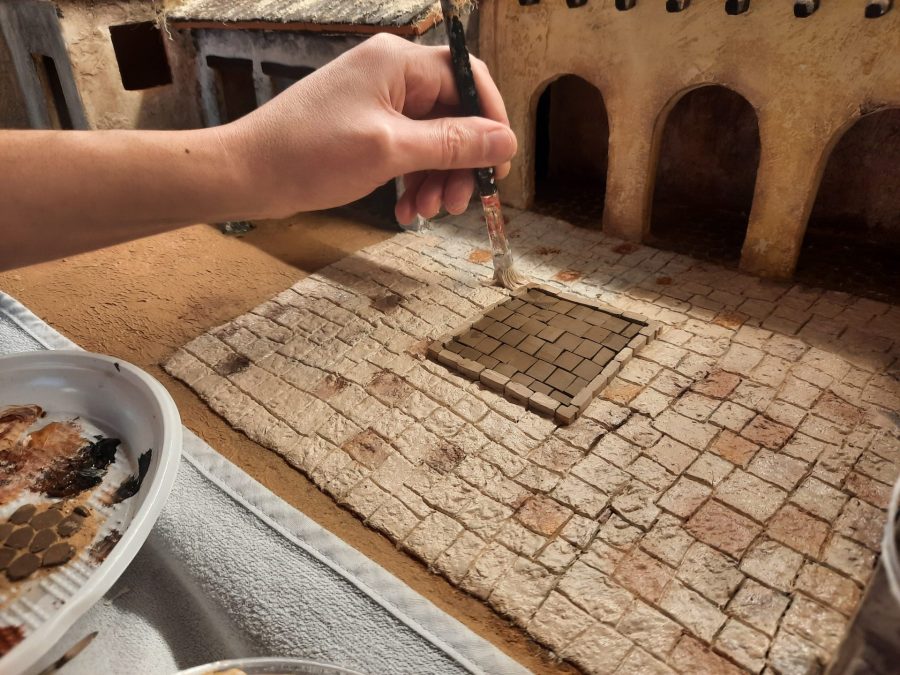
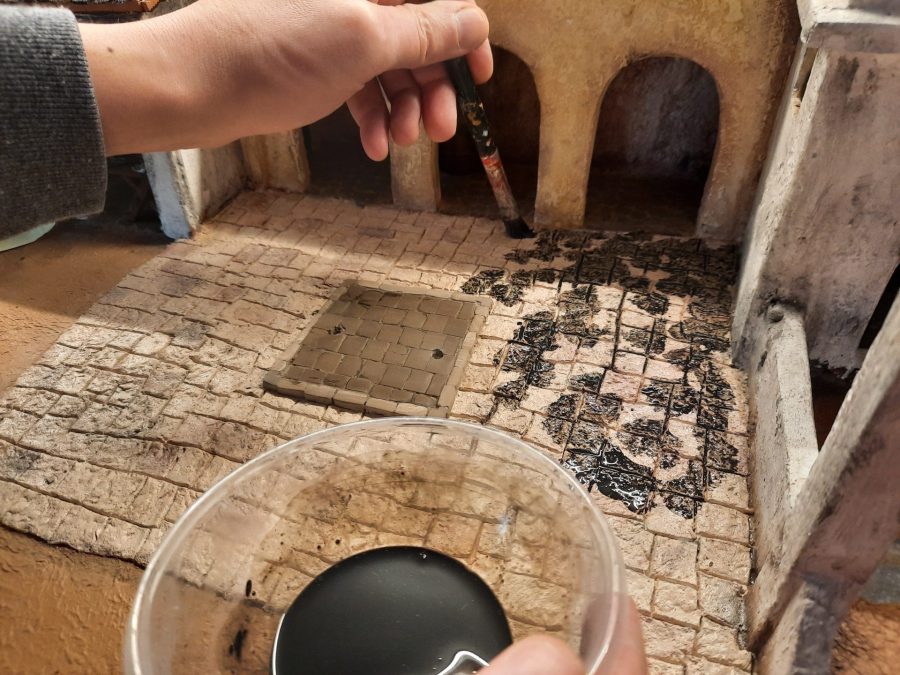
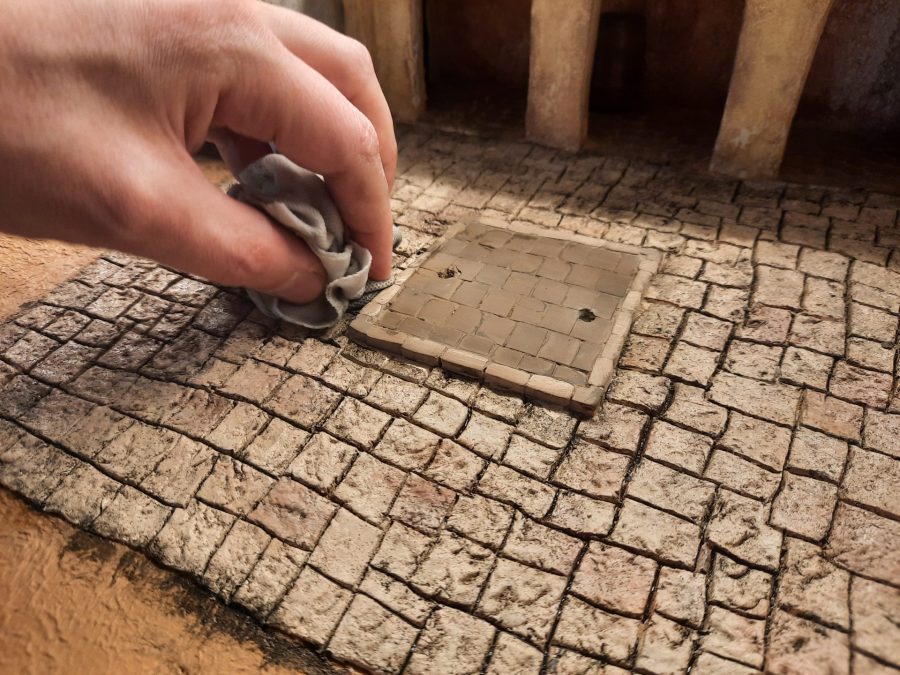
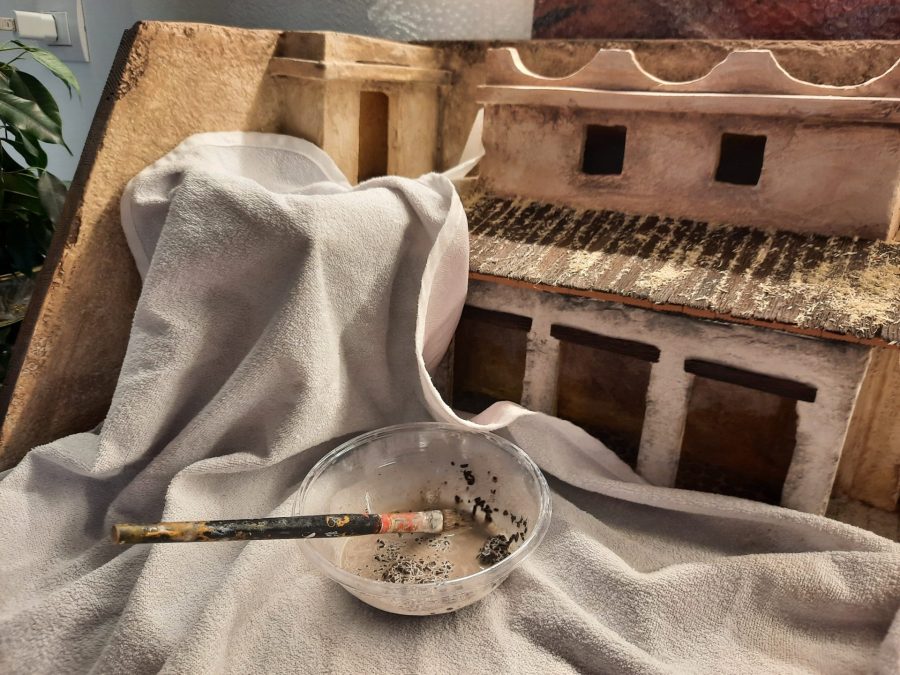
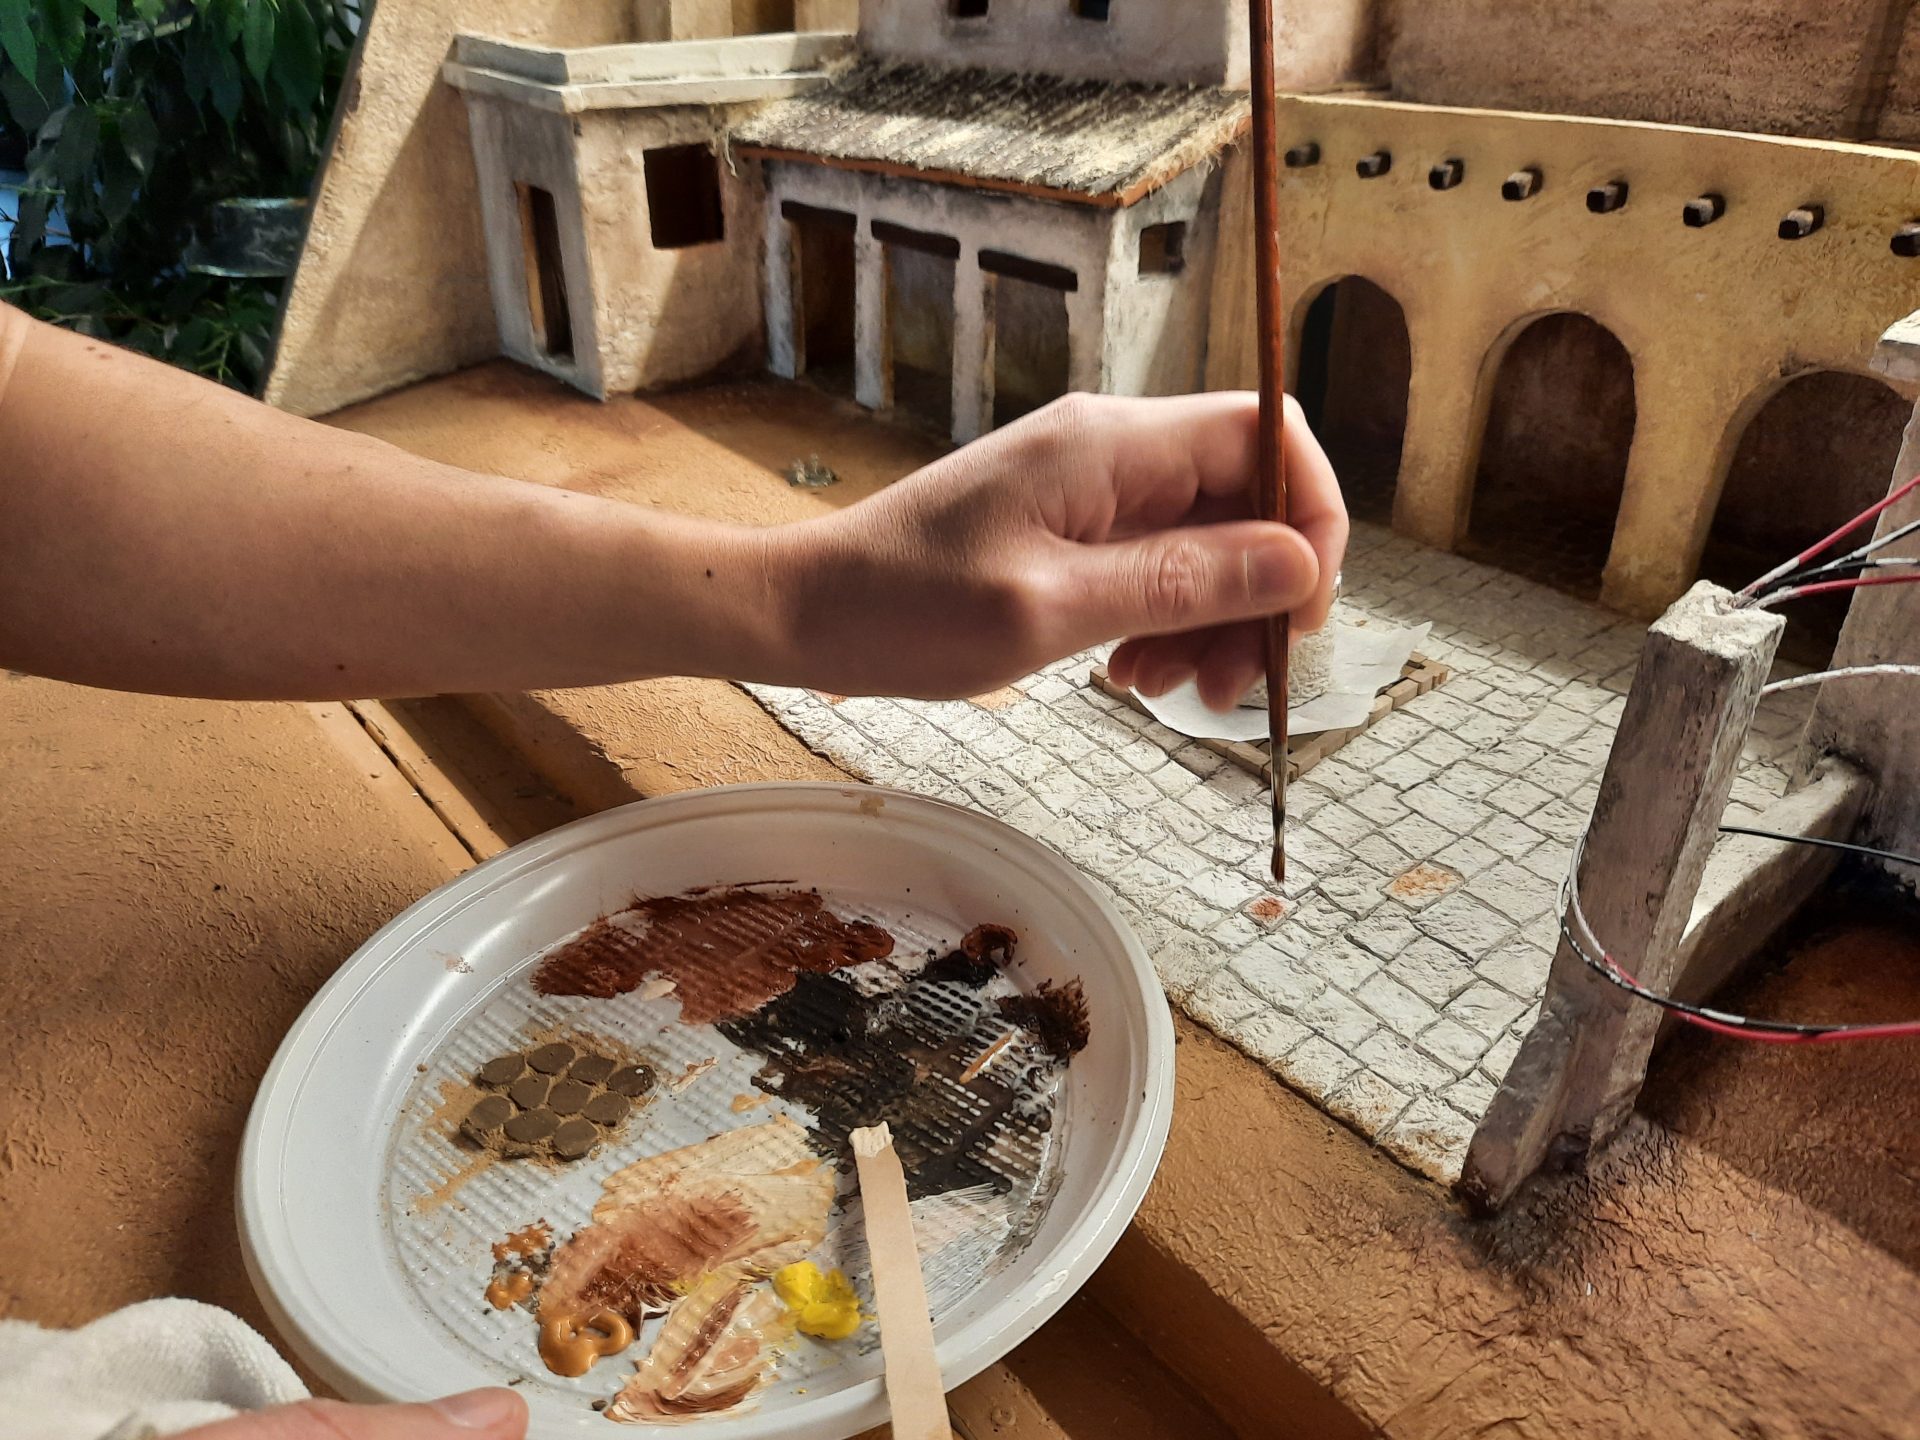
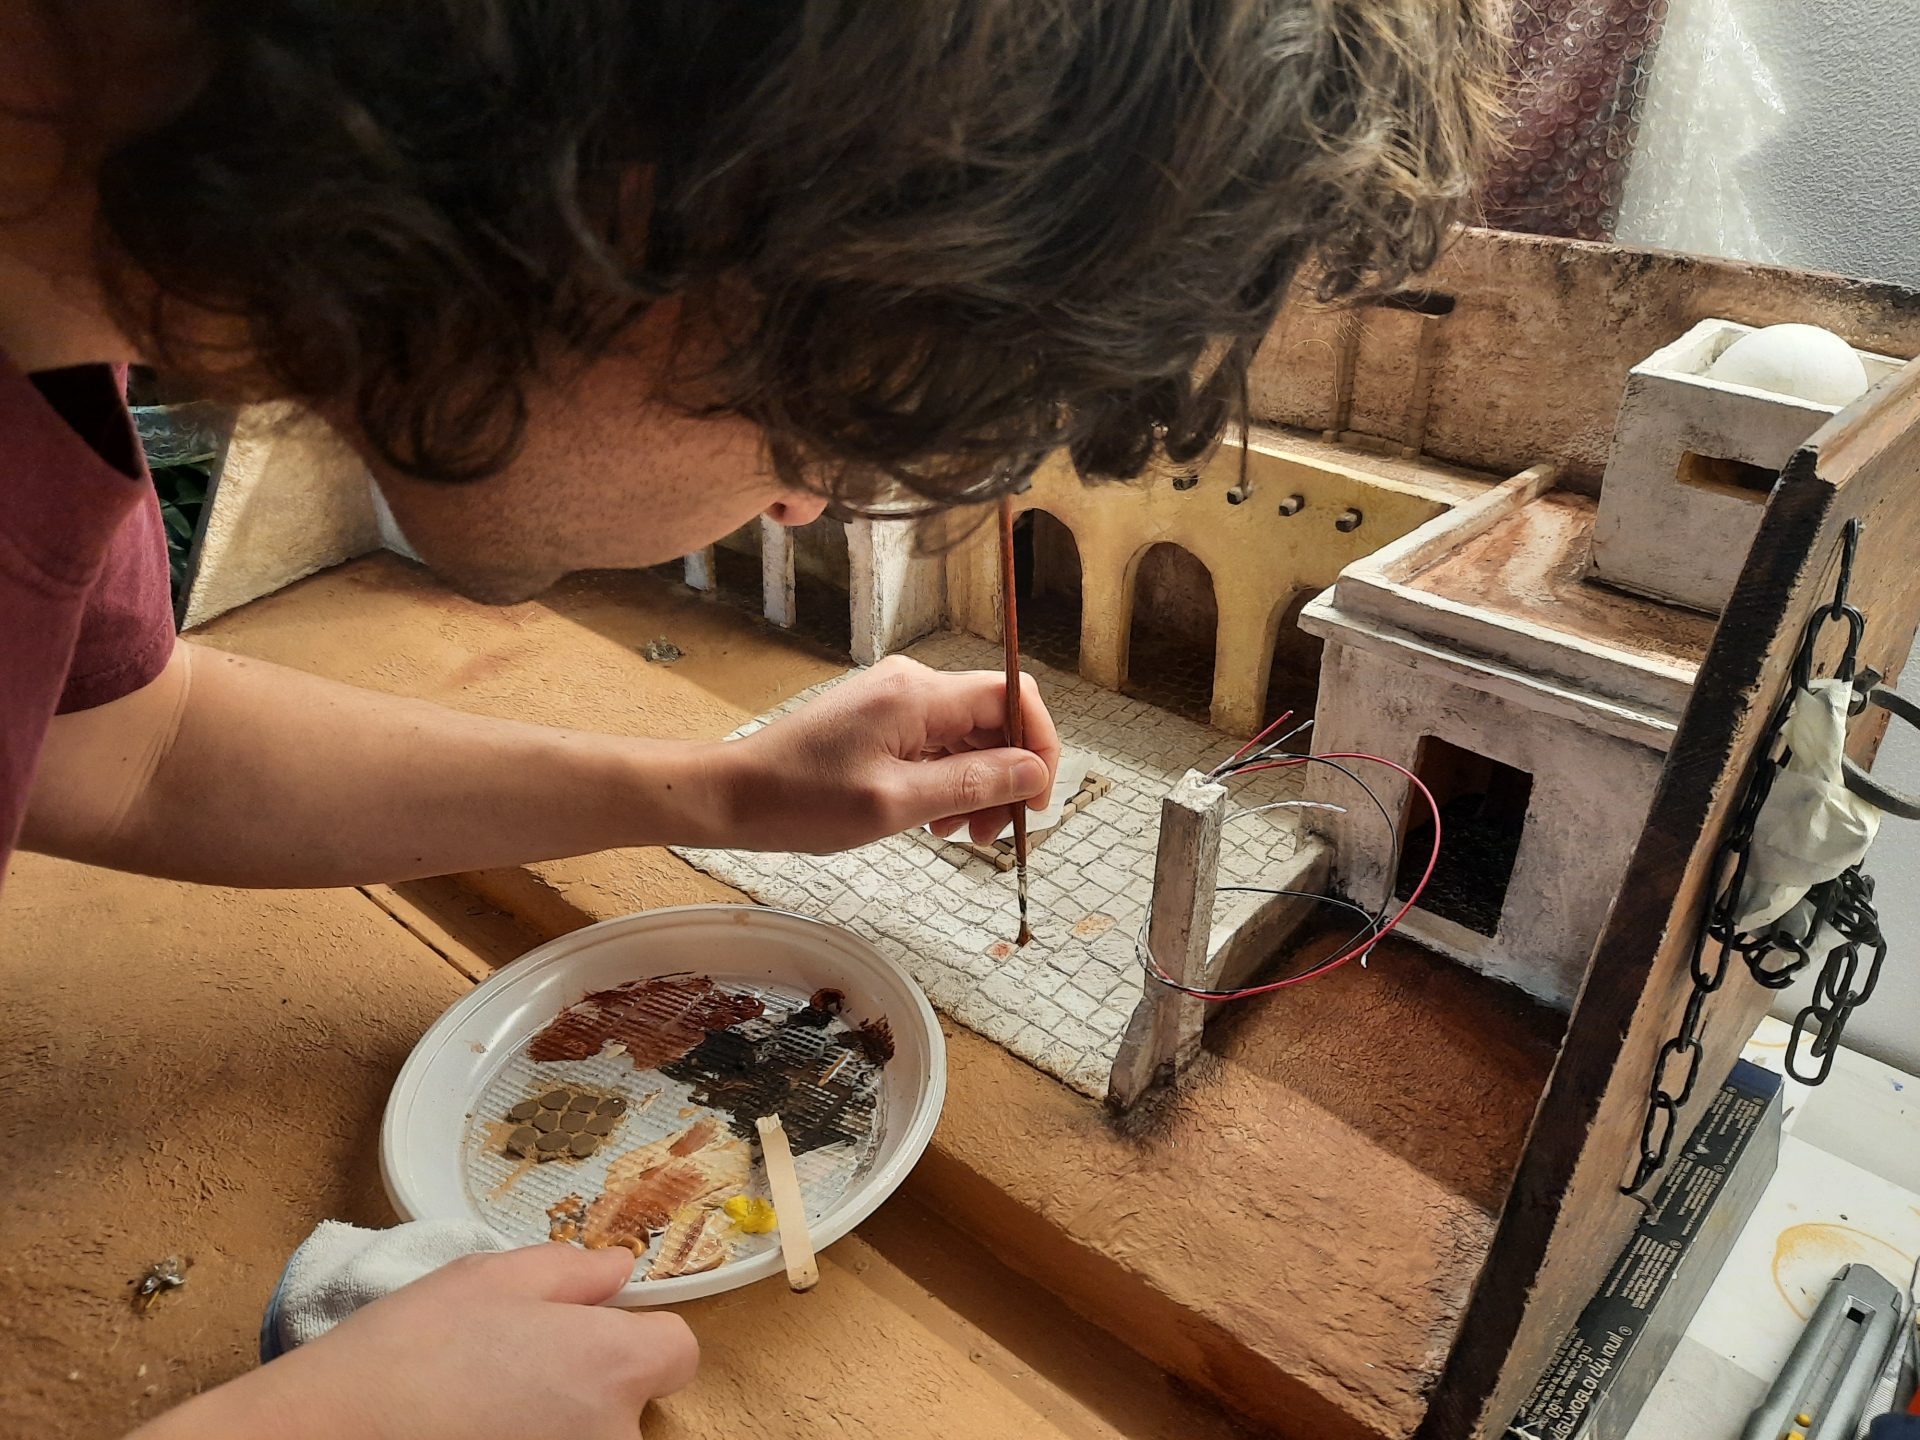
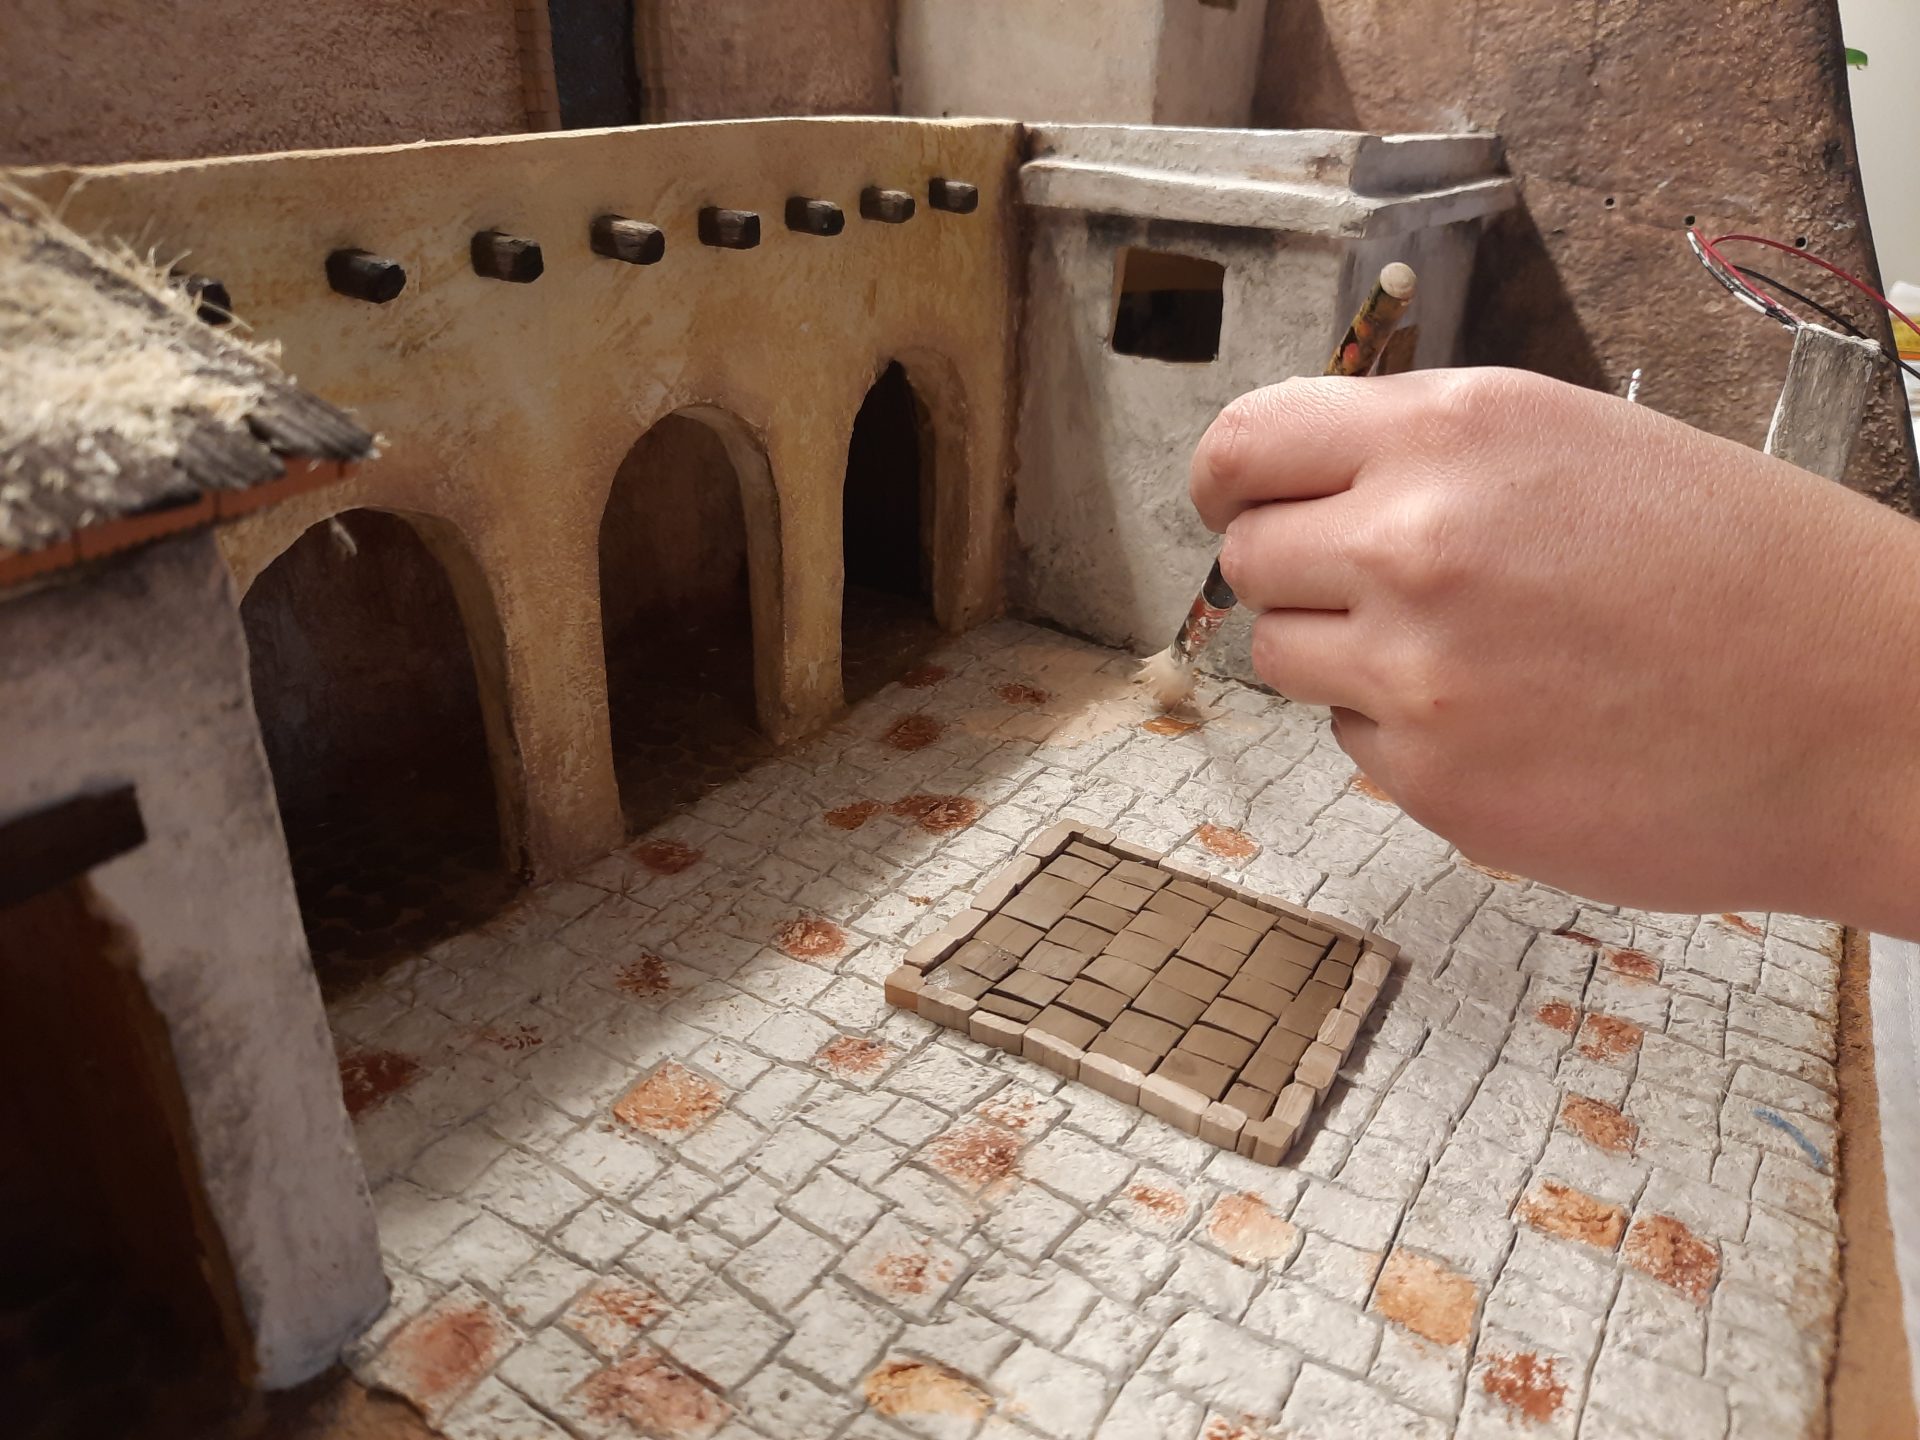
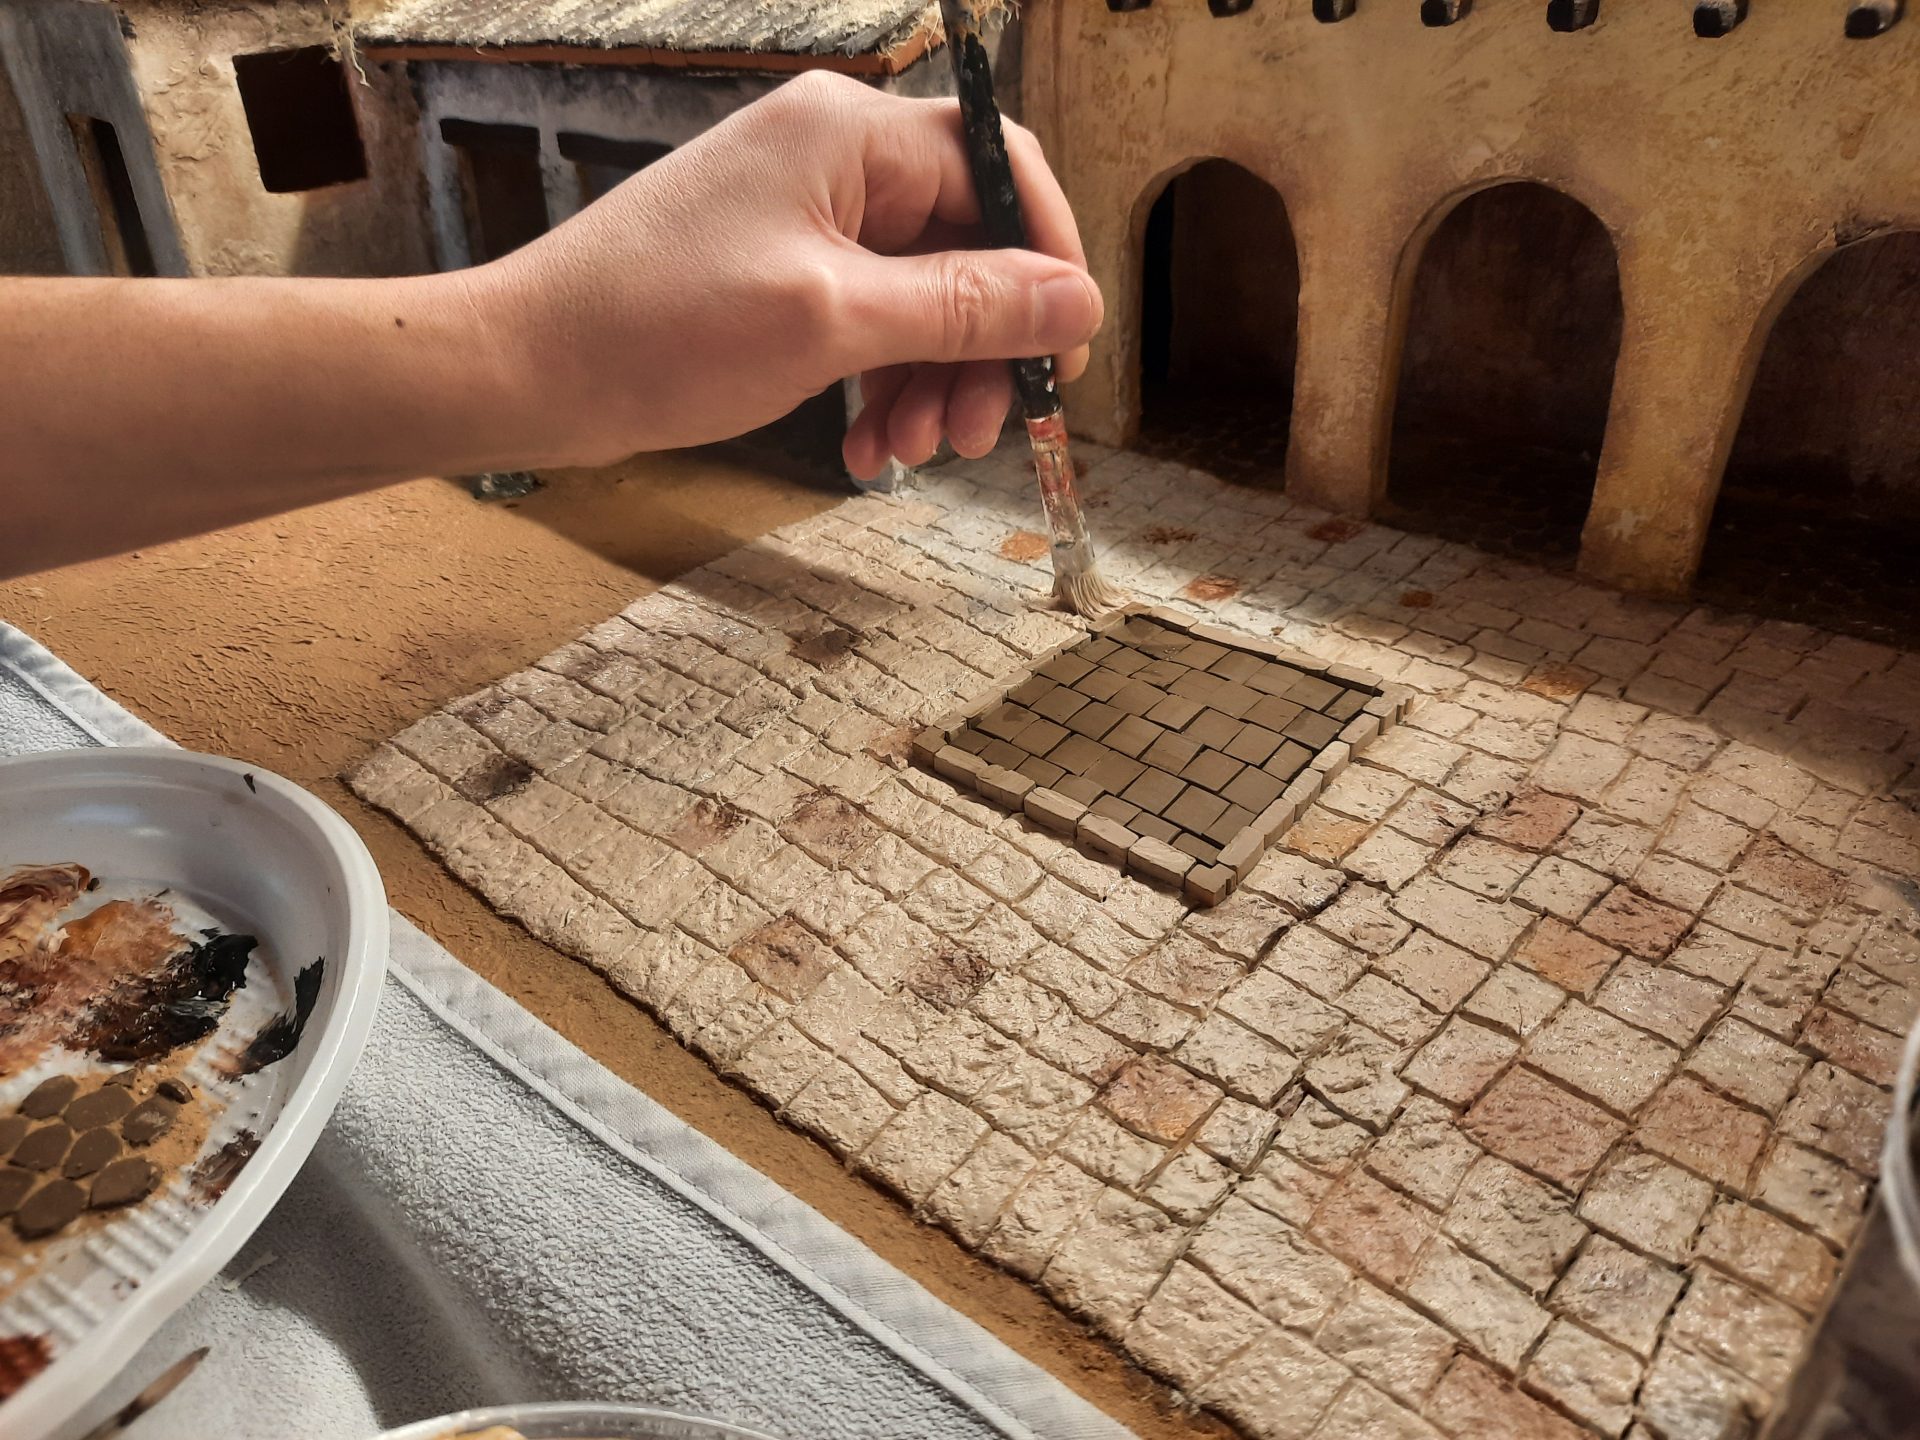
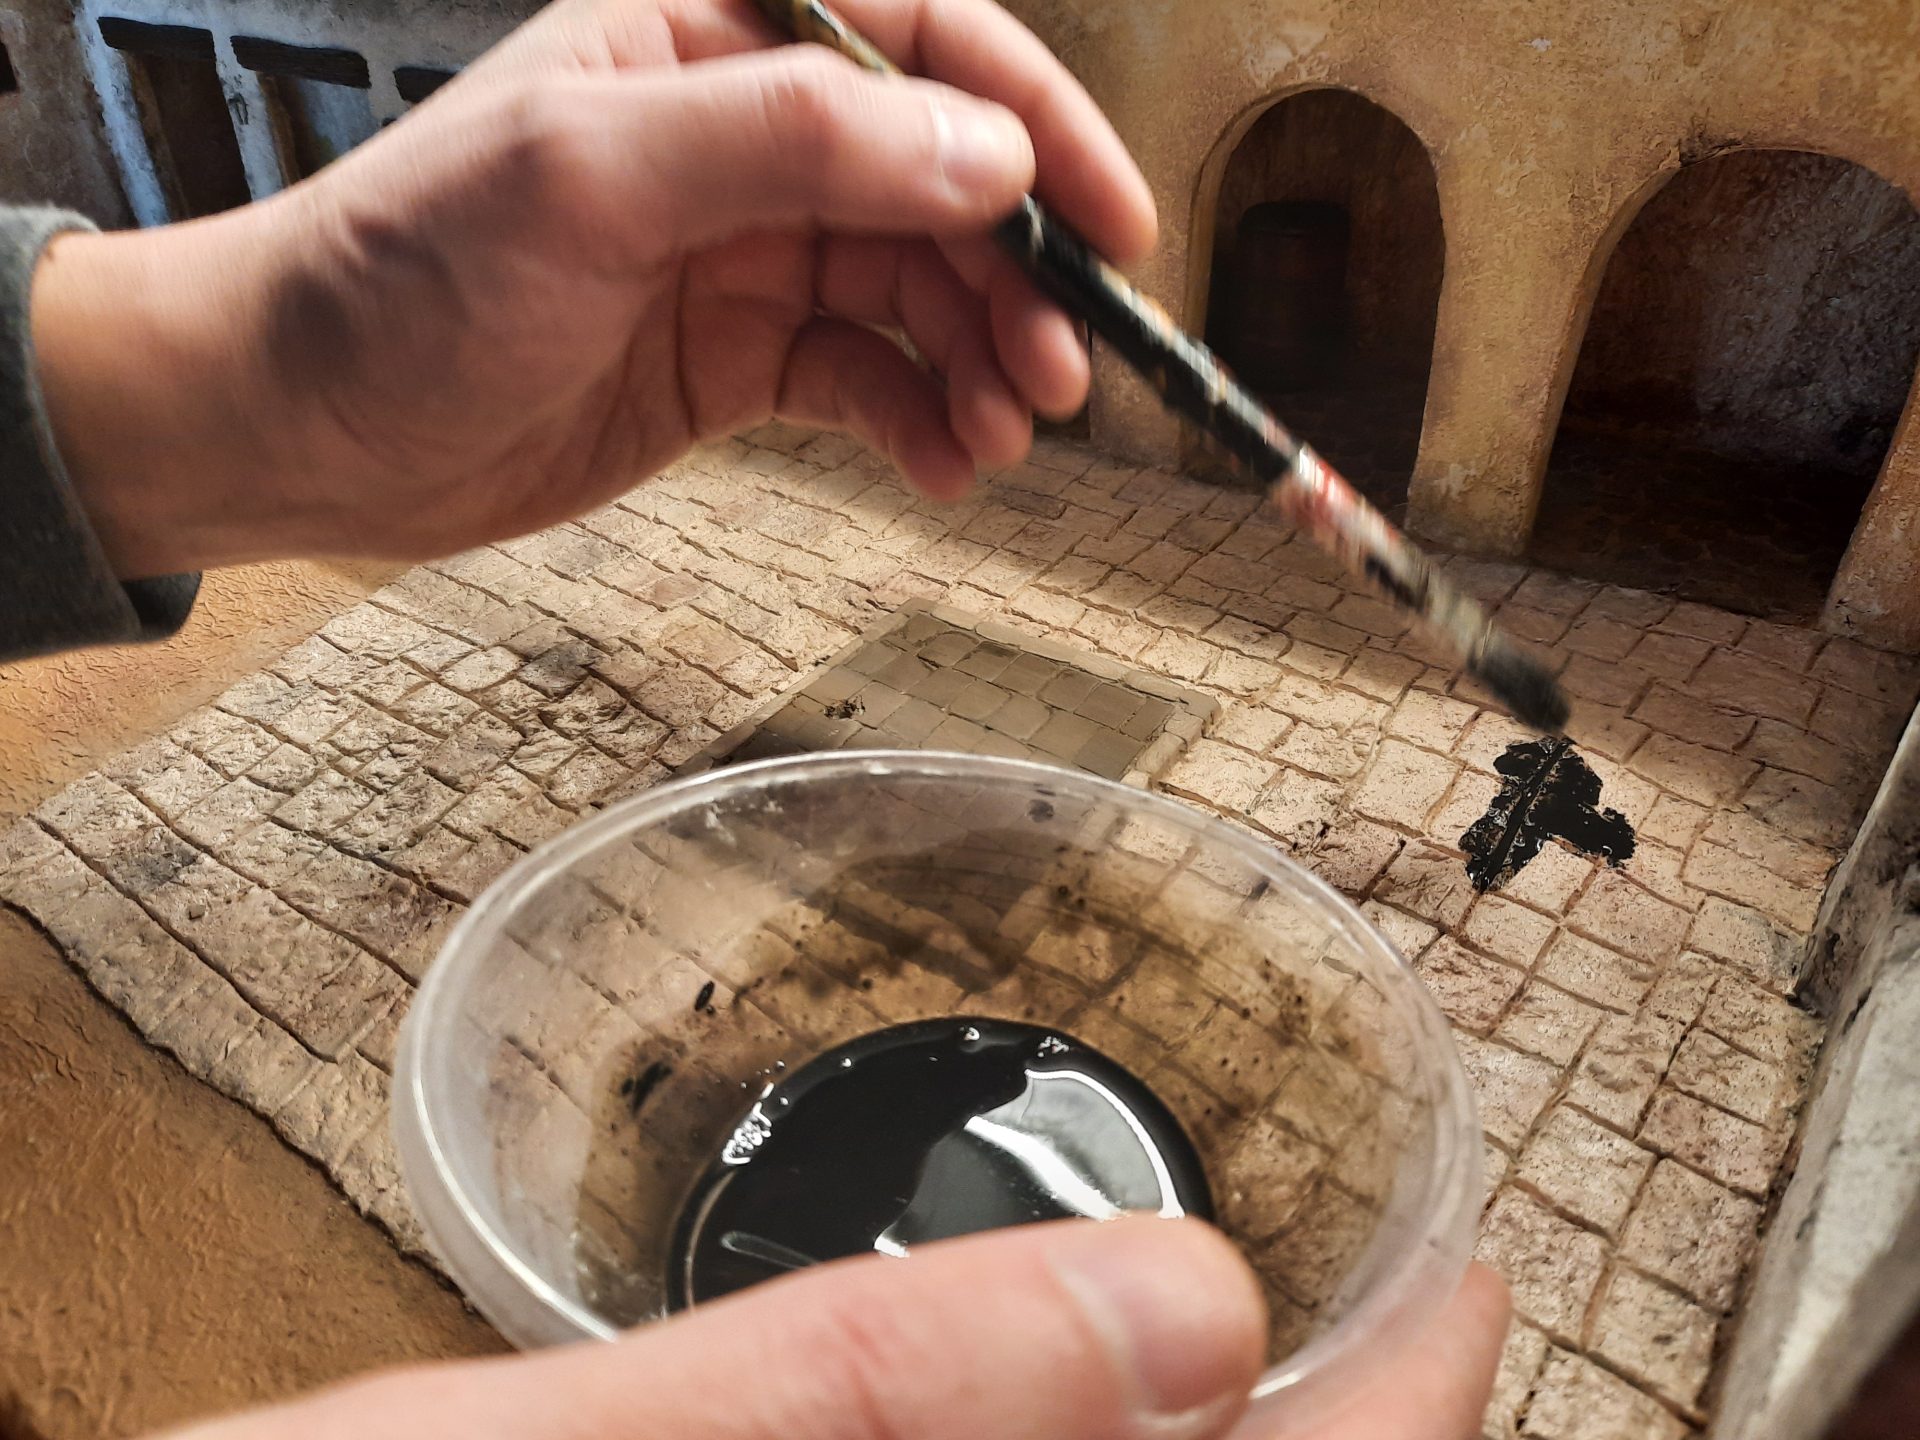
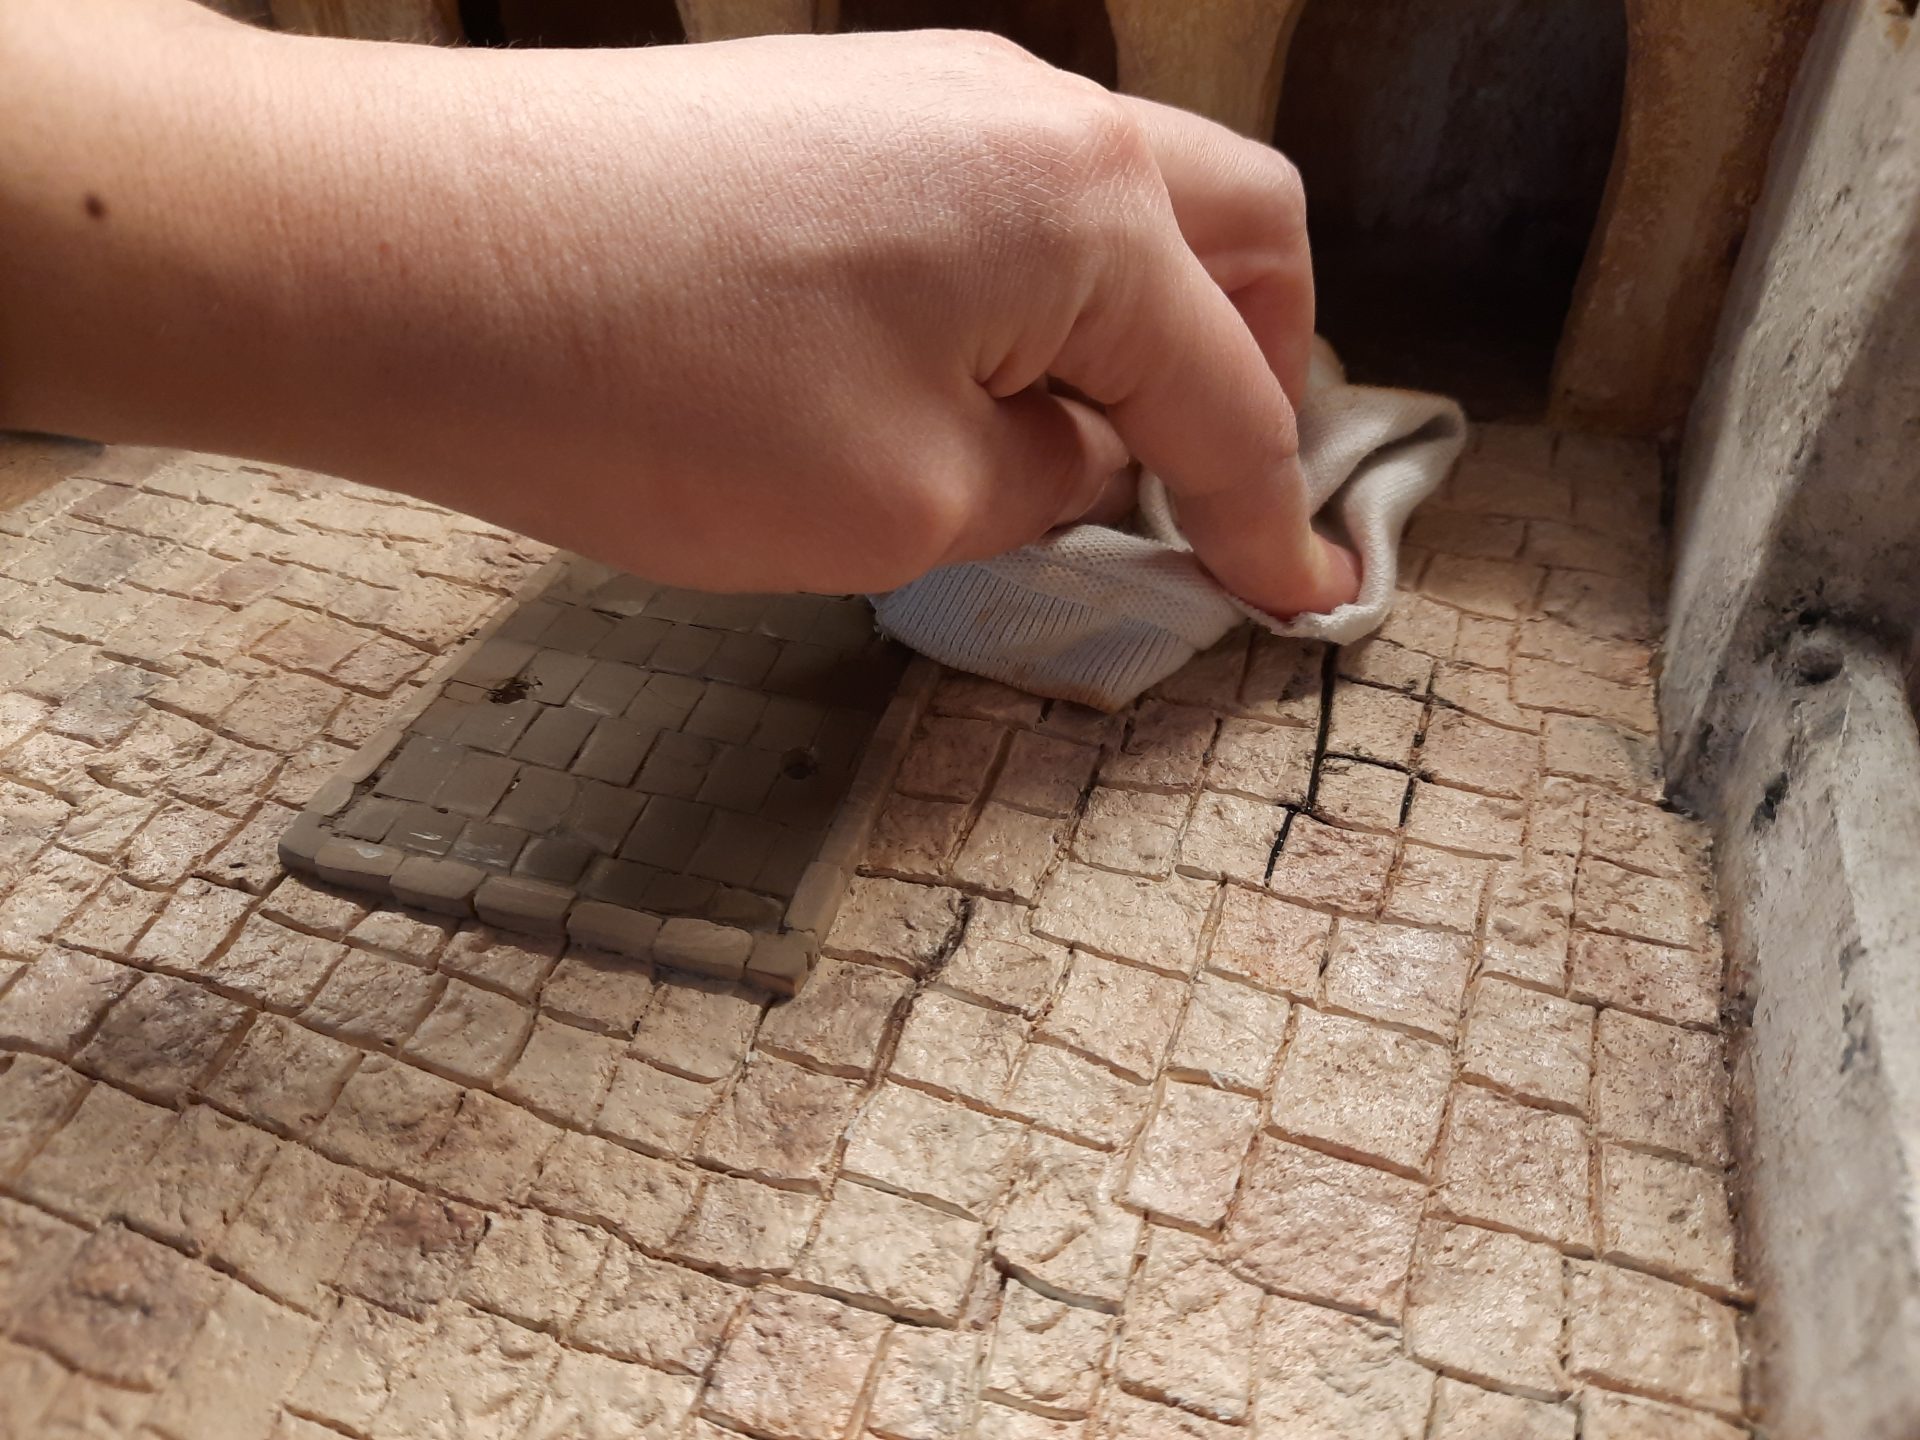
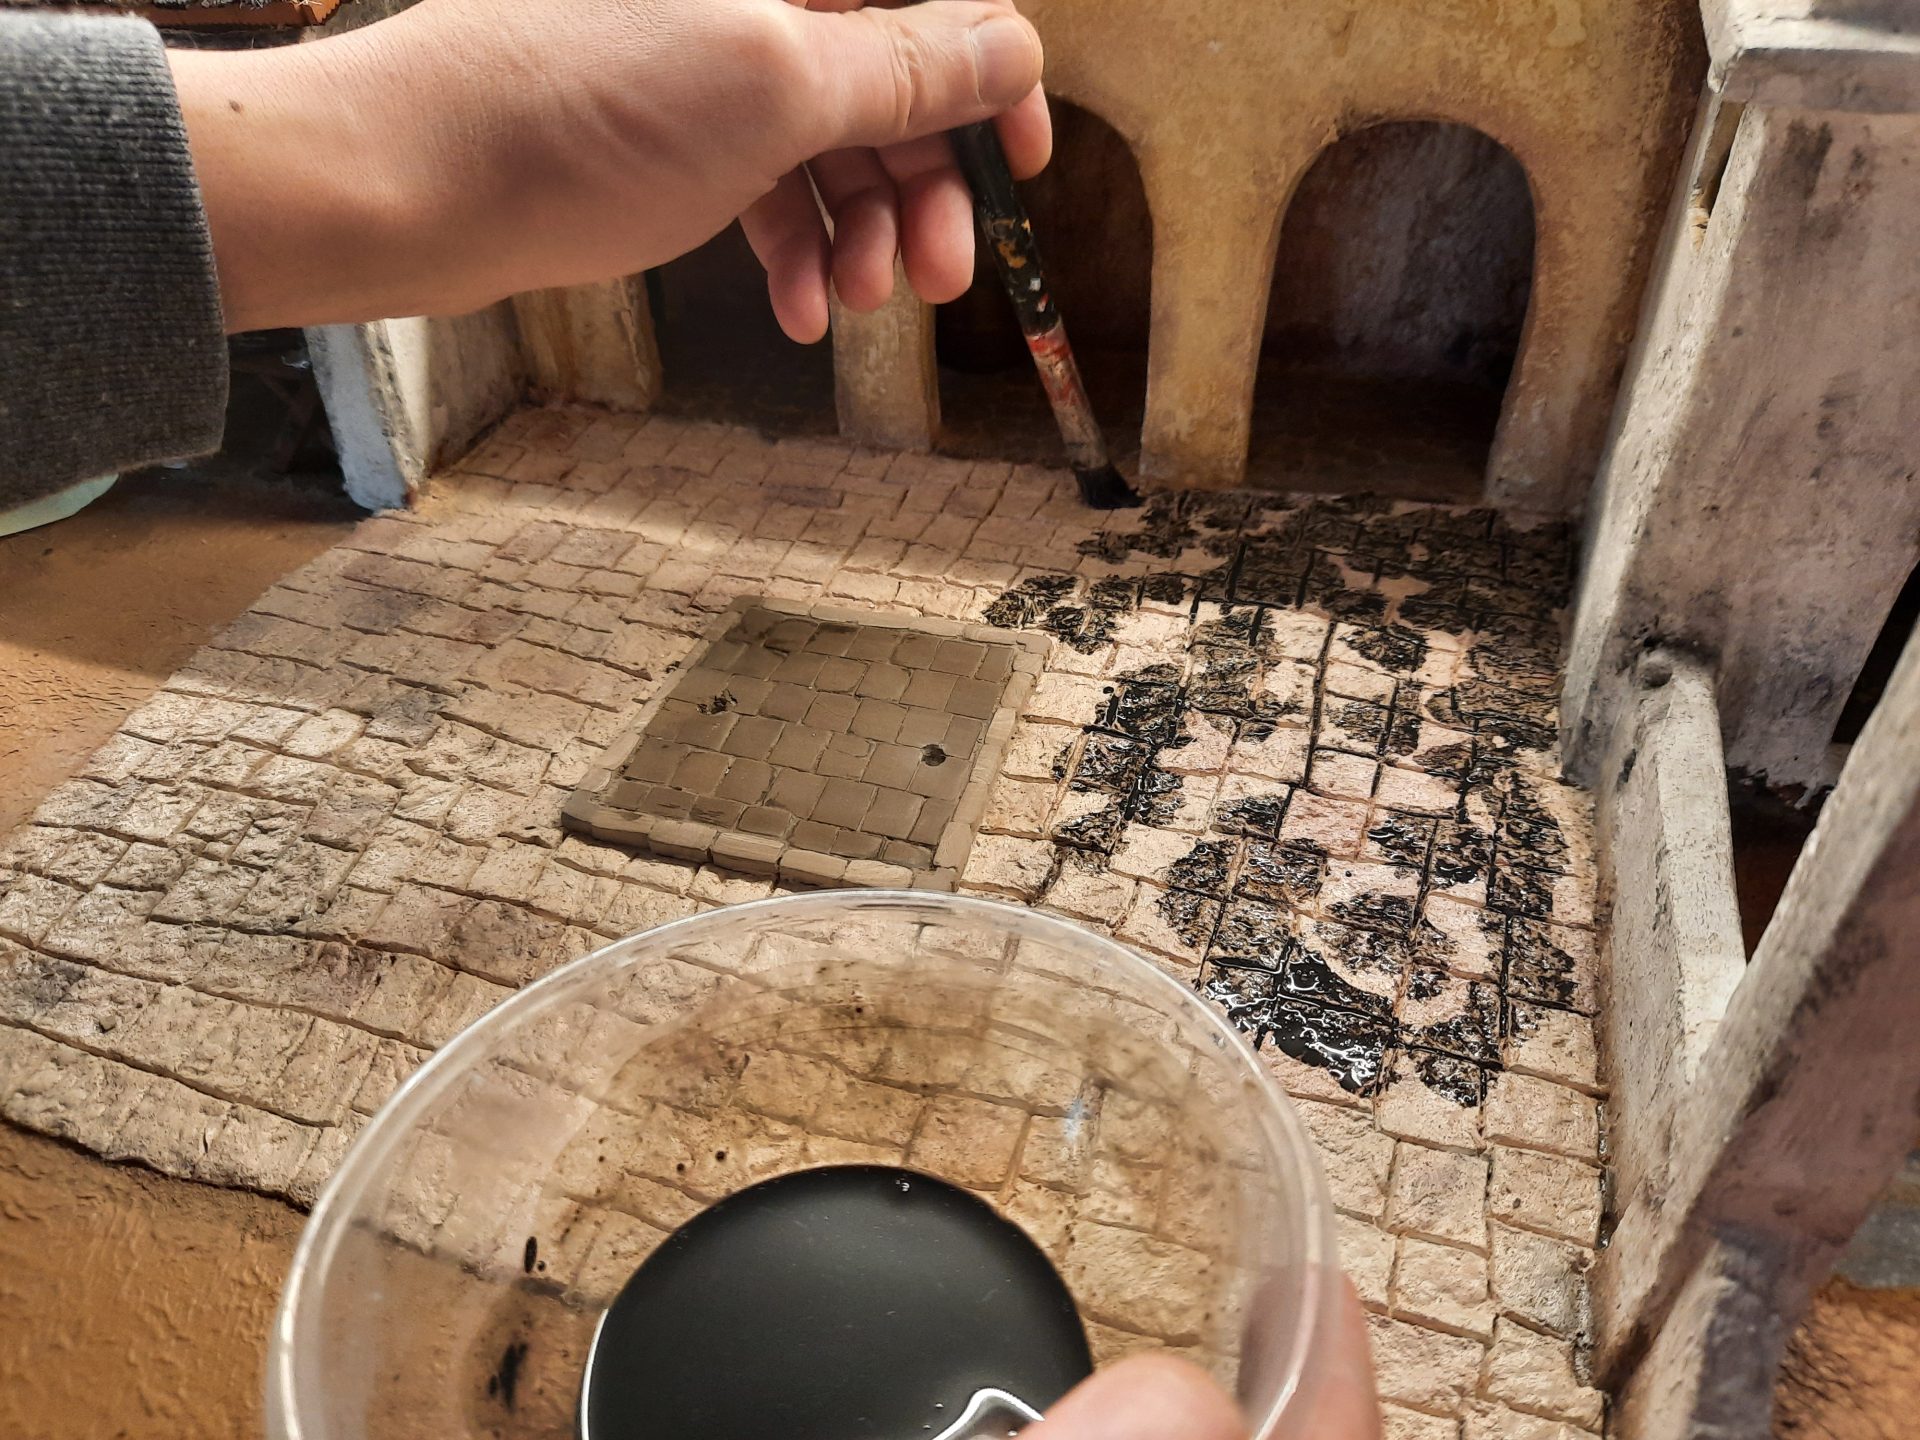
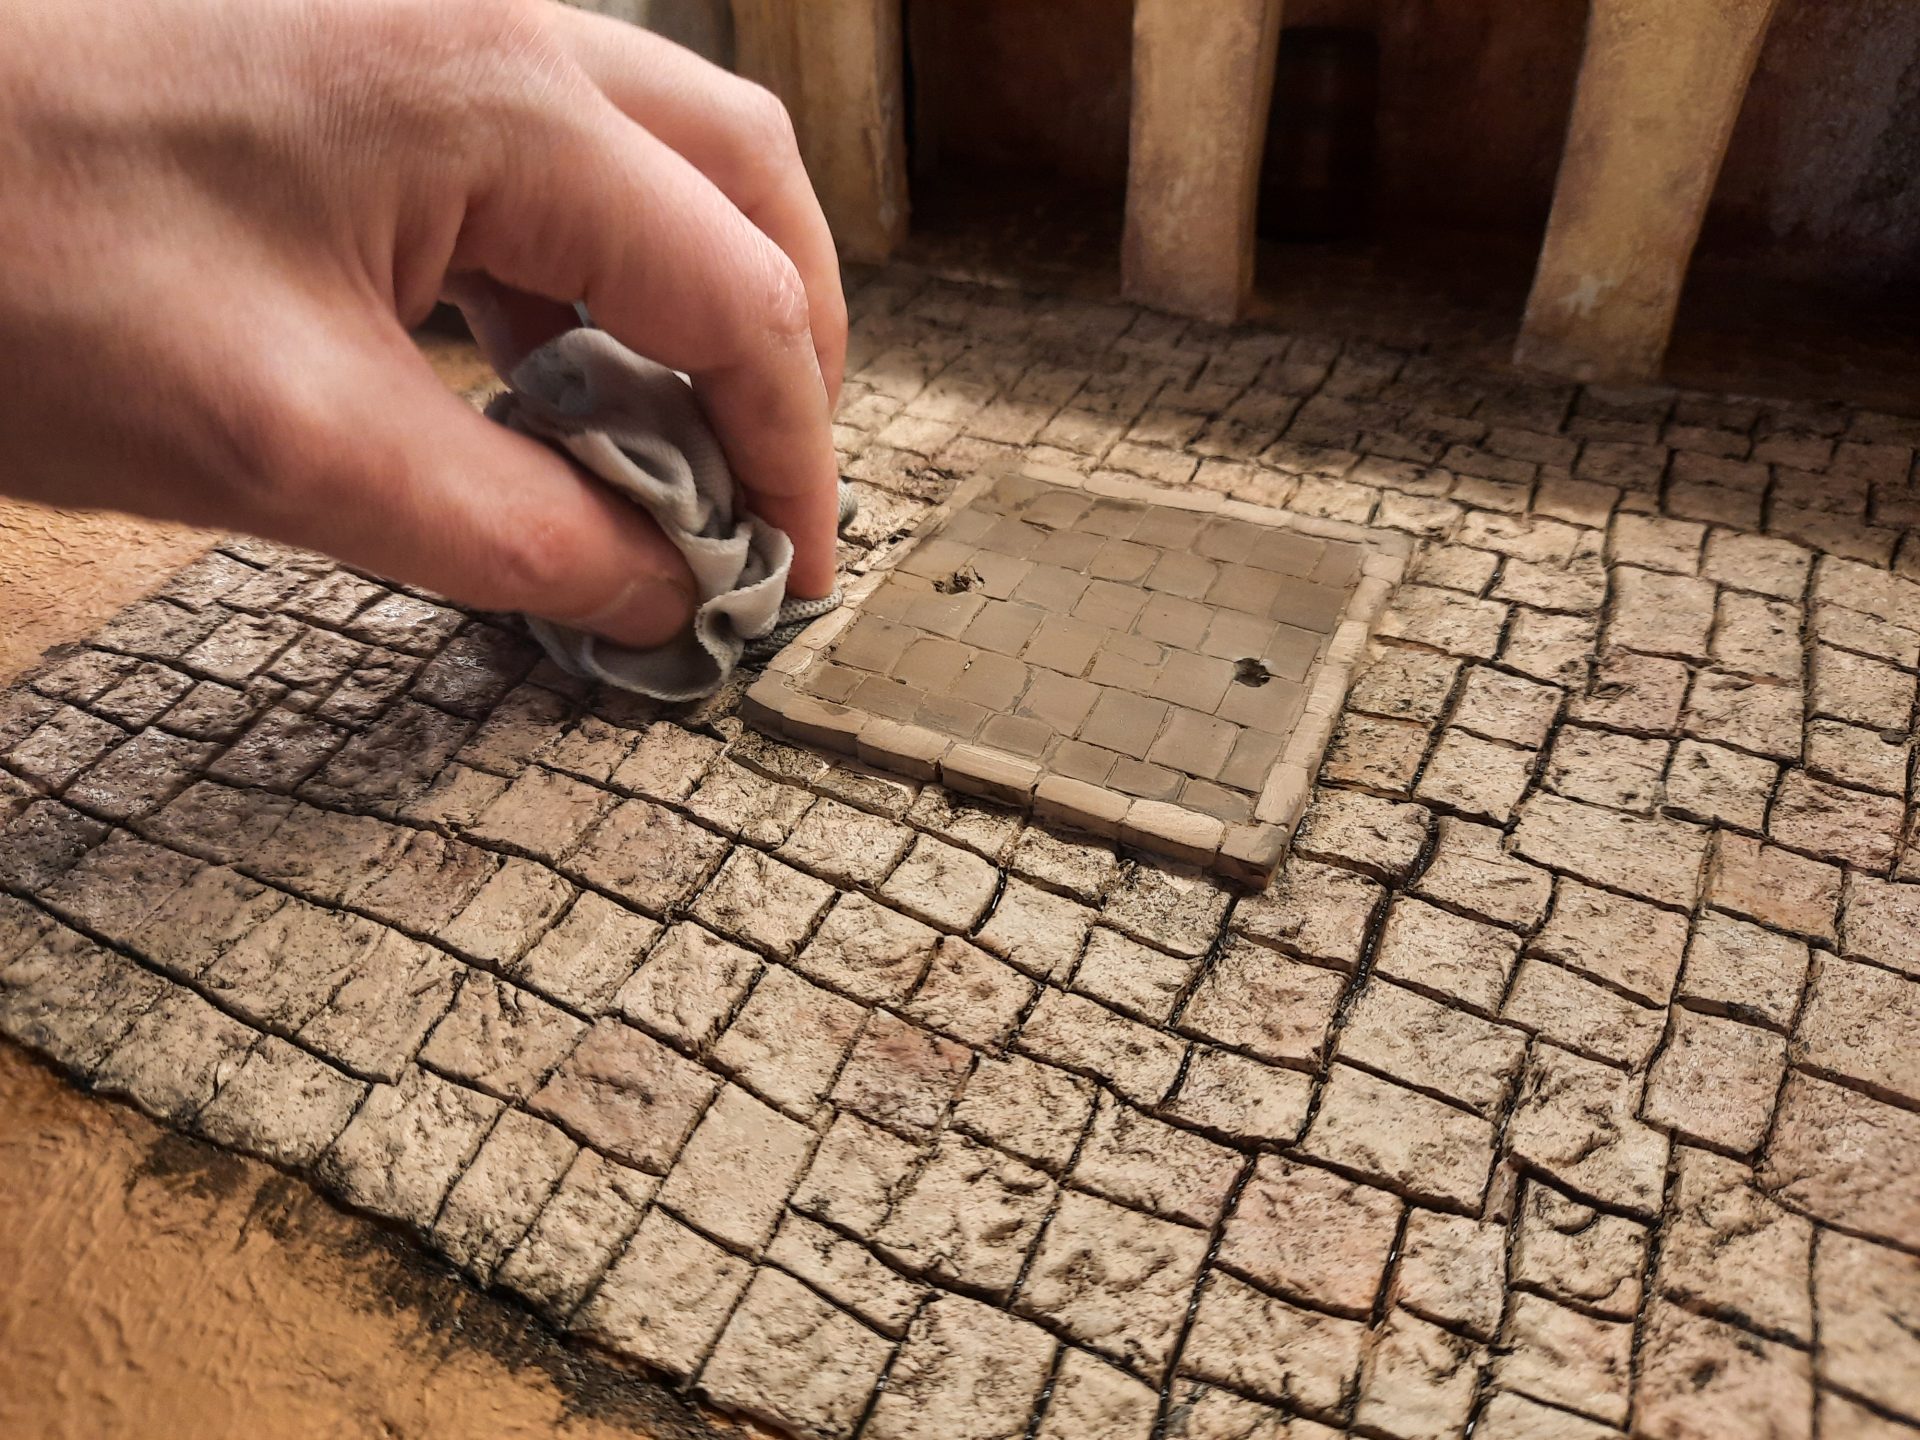
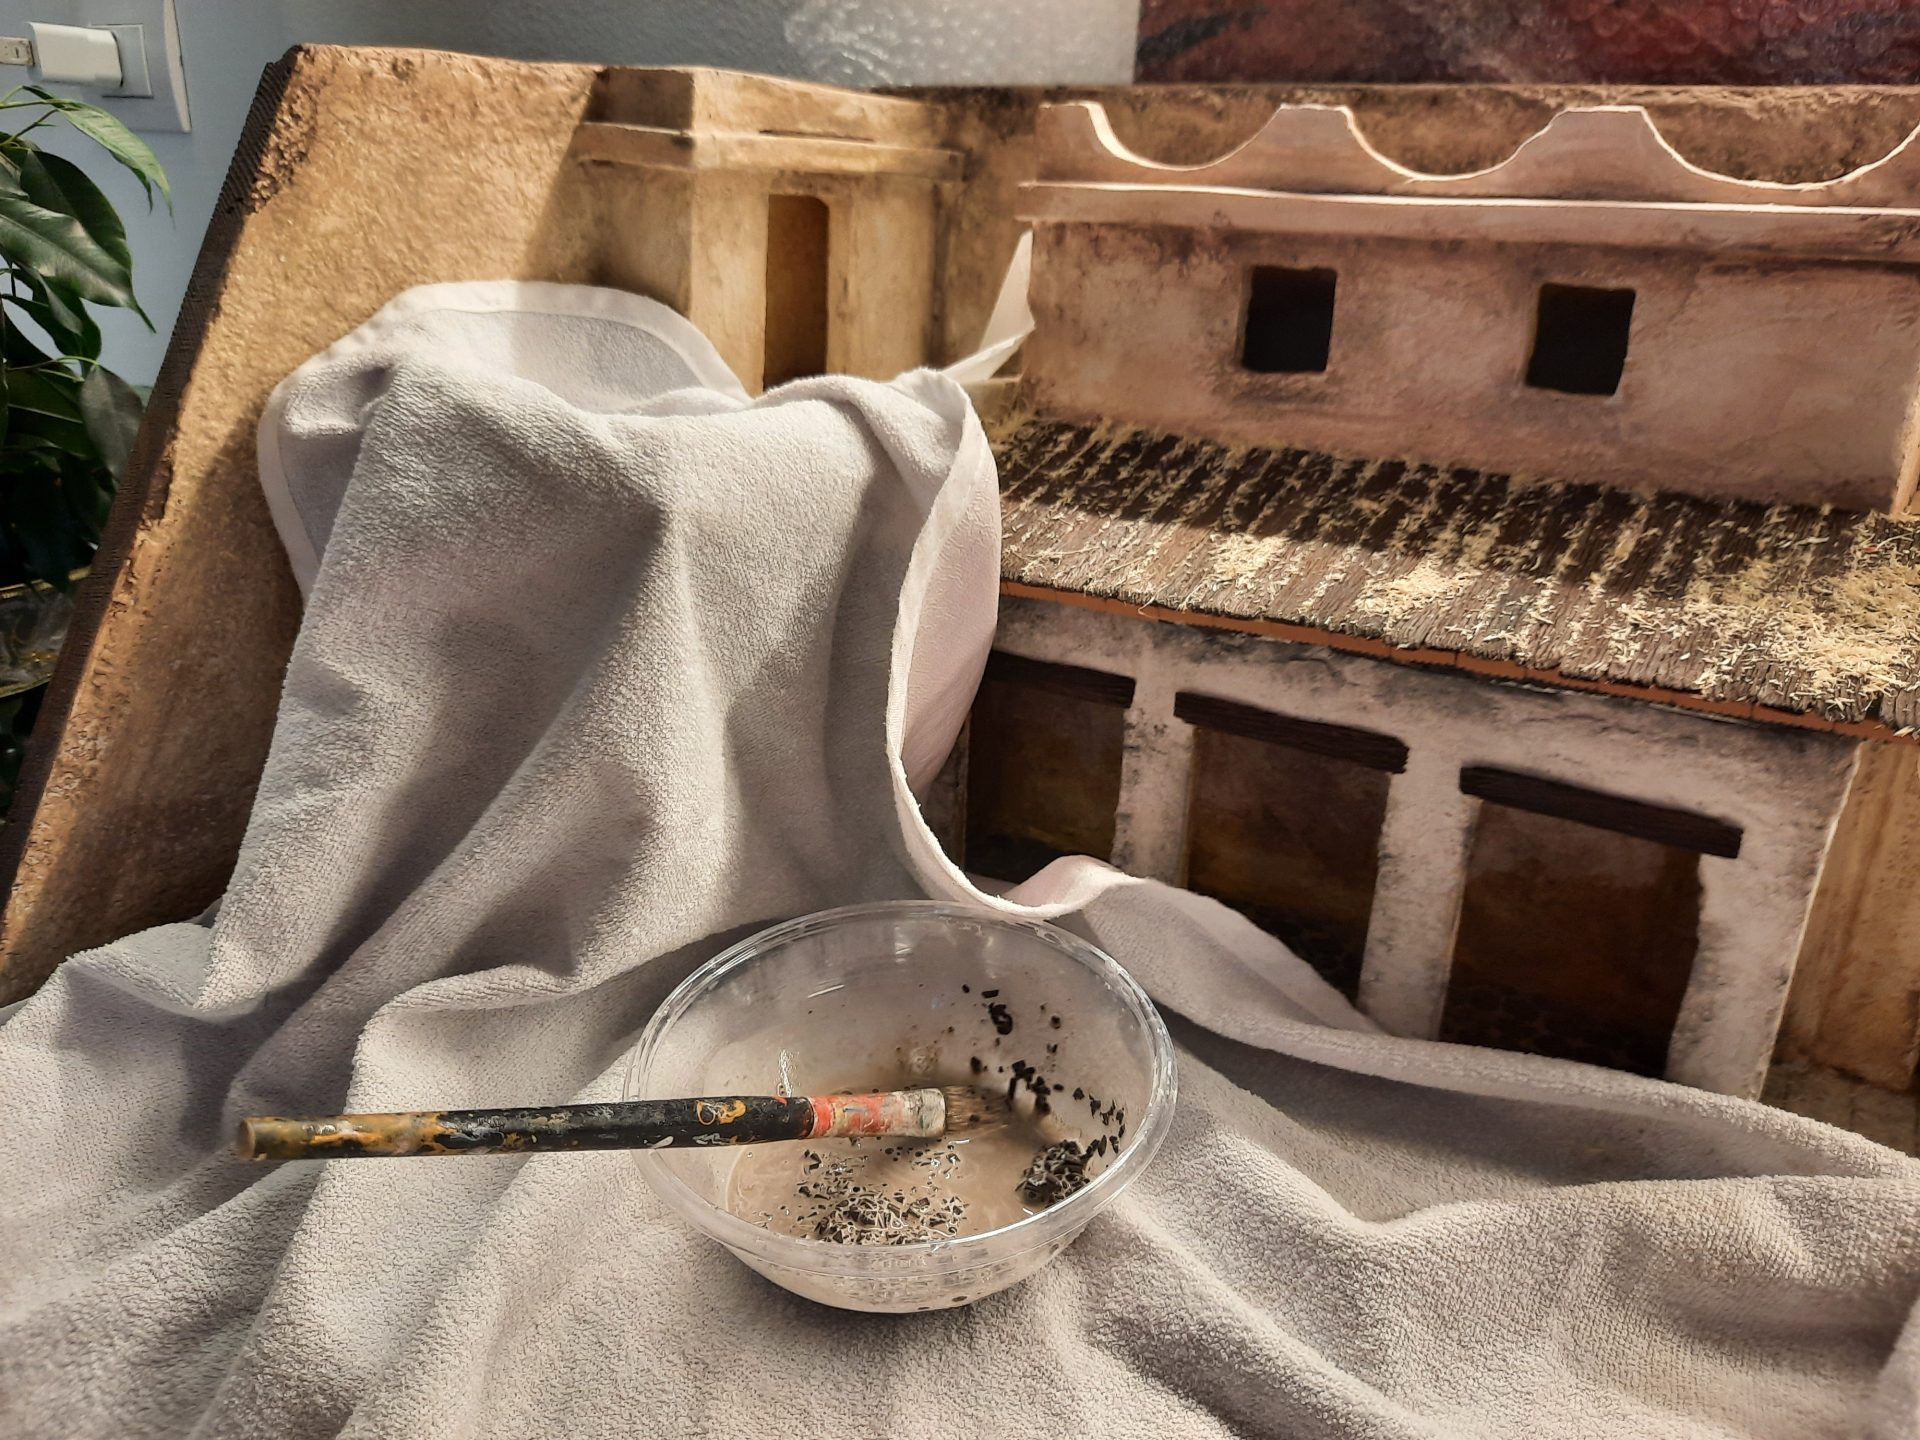
Next came painting the main square. My husband carefully varied the tones of the individual stones, just as real ones would differ in color. He began by painting some of the stones a dark ochre, then applied a lighter ochre base layer over everything. To add even depth, he applied a really dark wash: after brushing it on, he dabbed it with an absorbent fabric, so the darkest paint would remain only in the crevices between the stones.
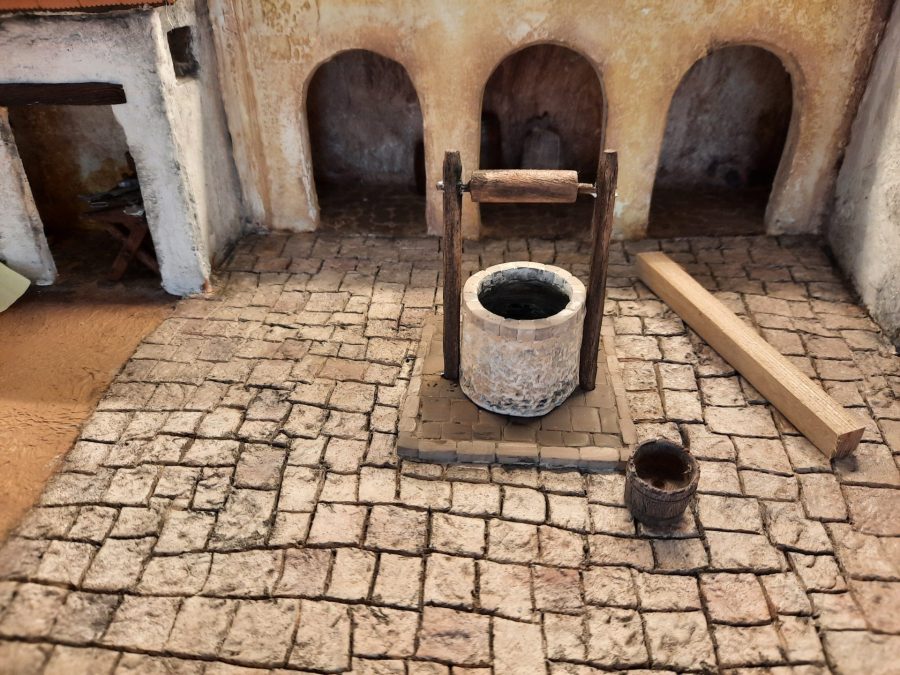
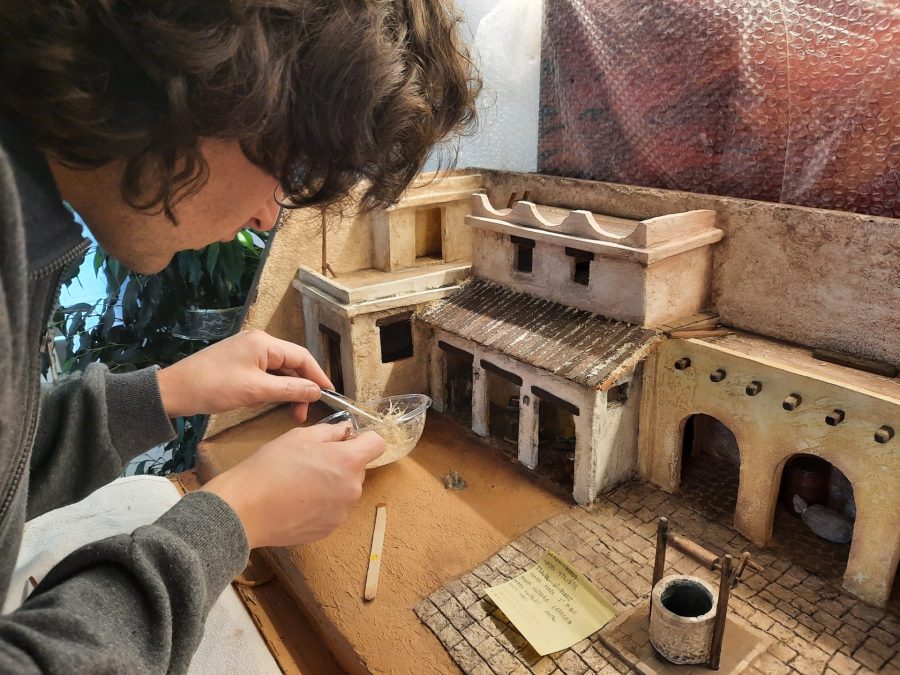
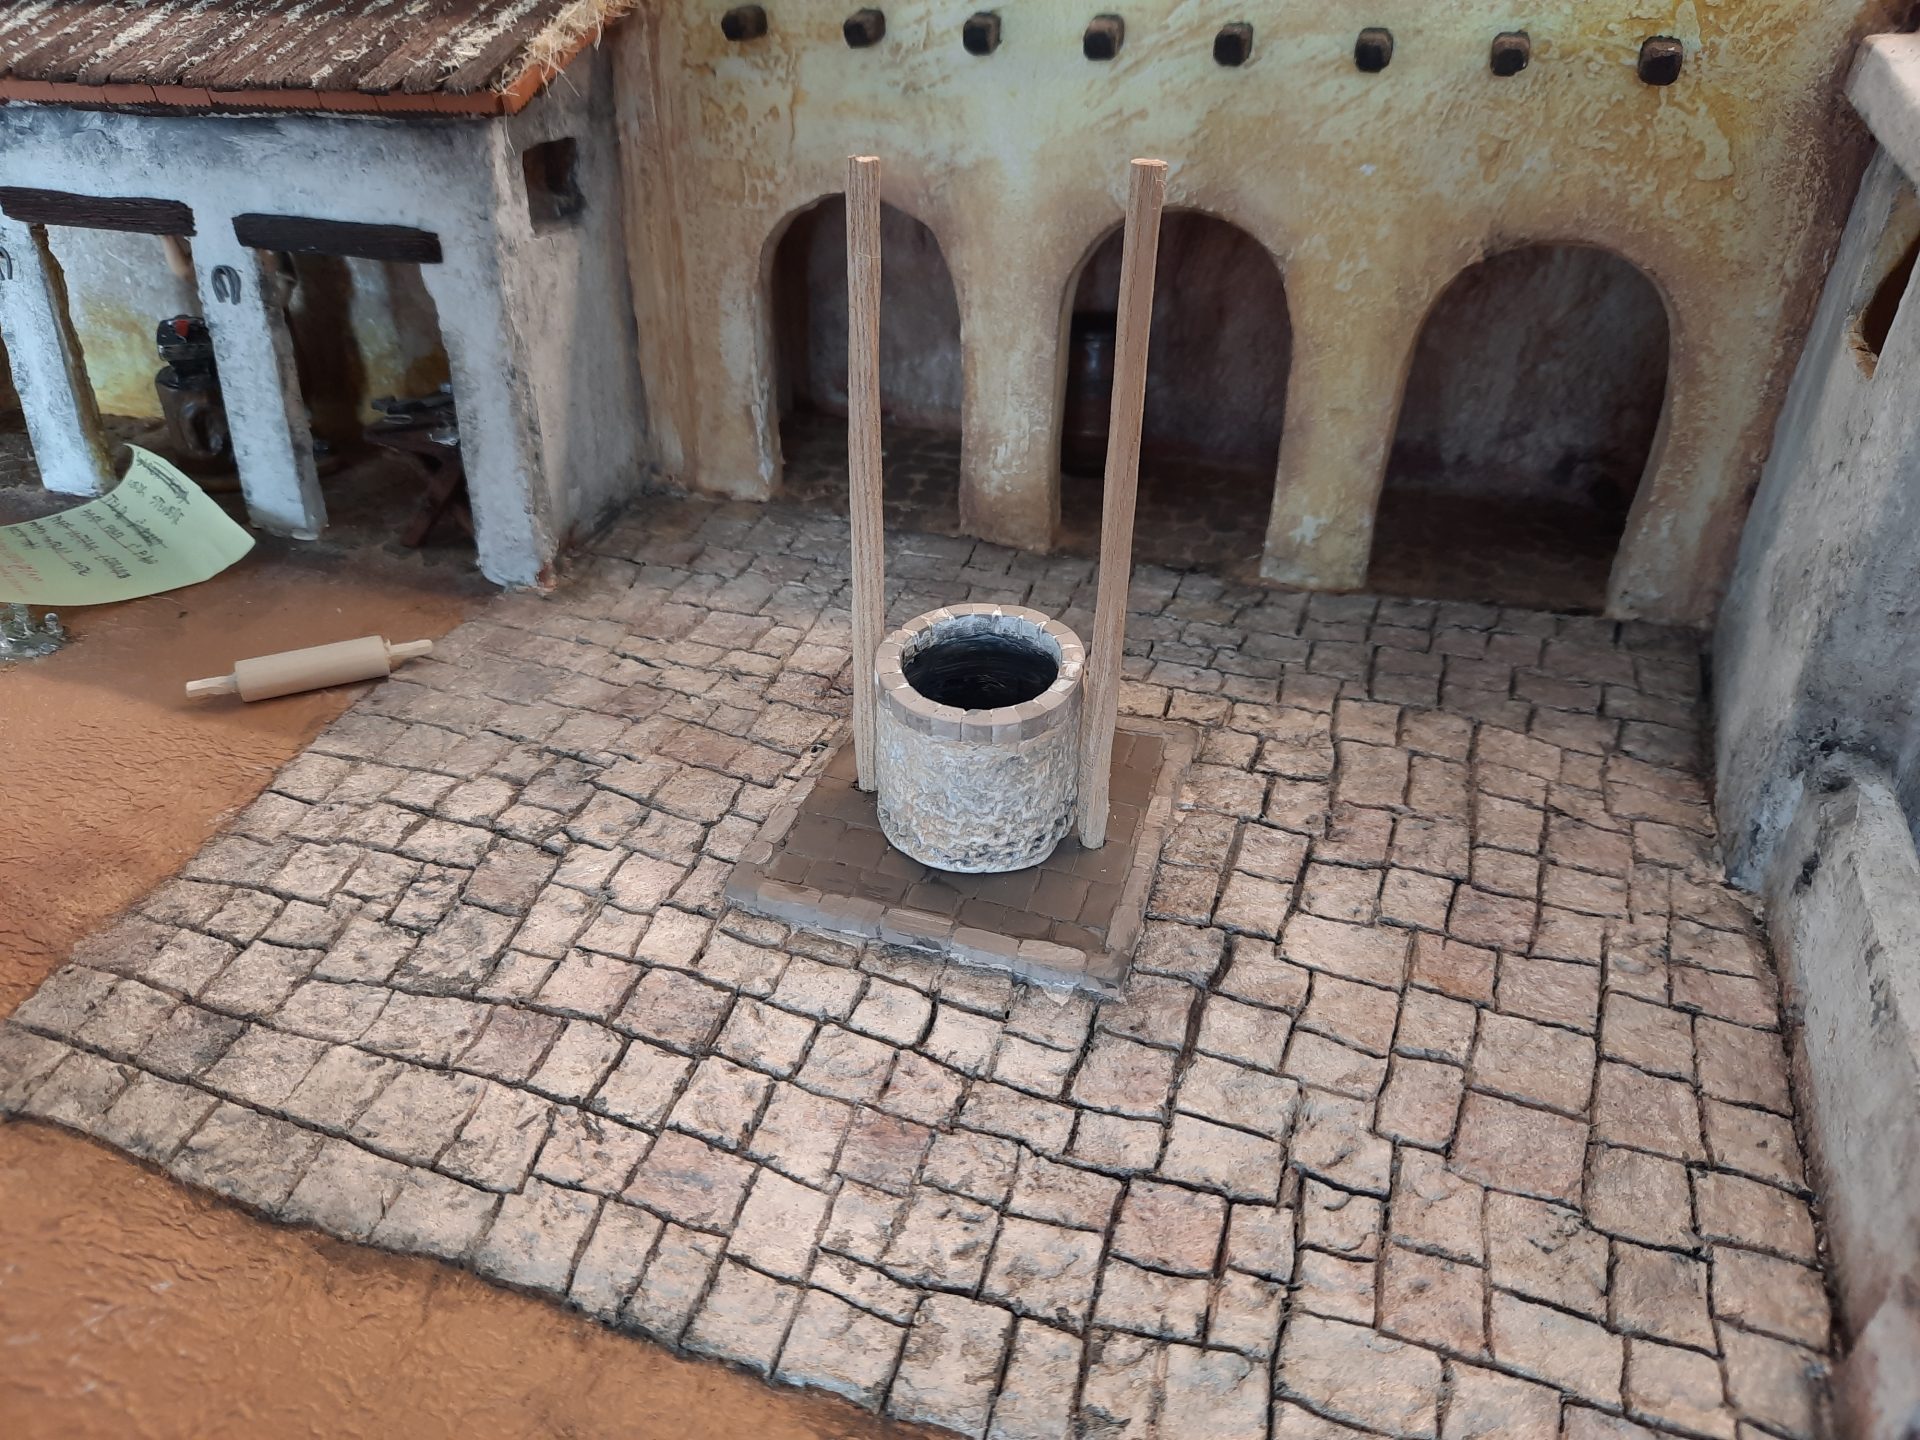
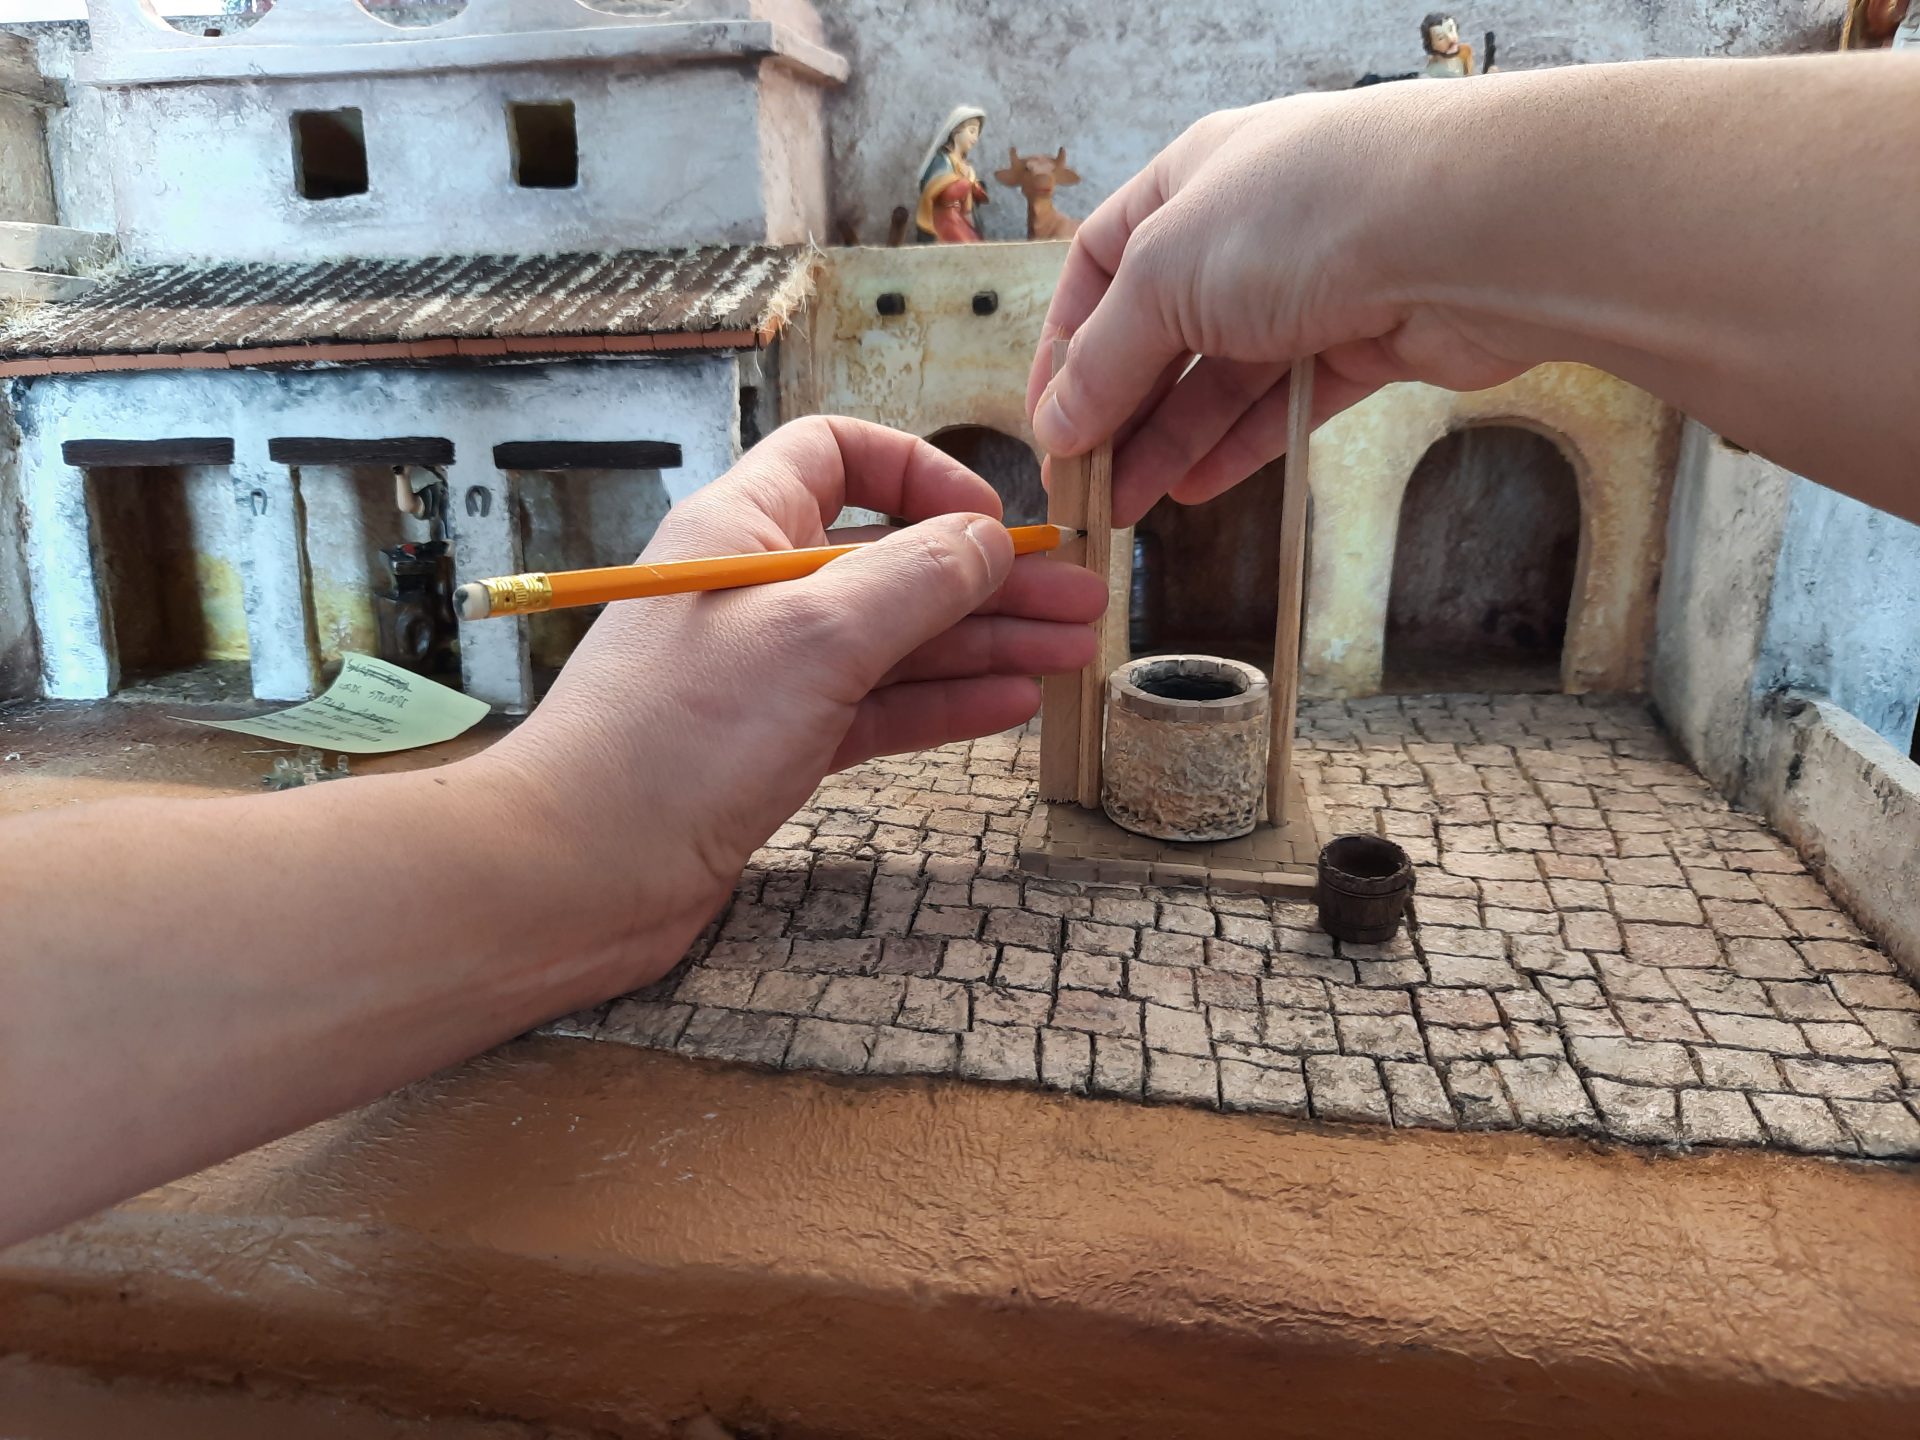
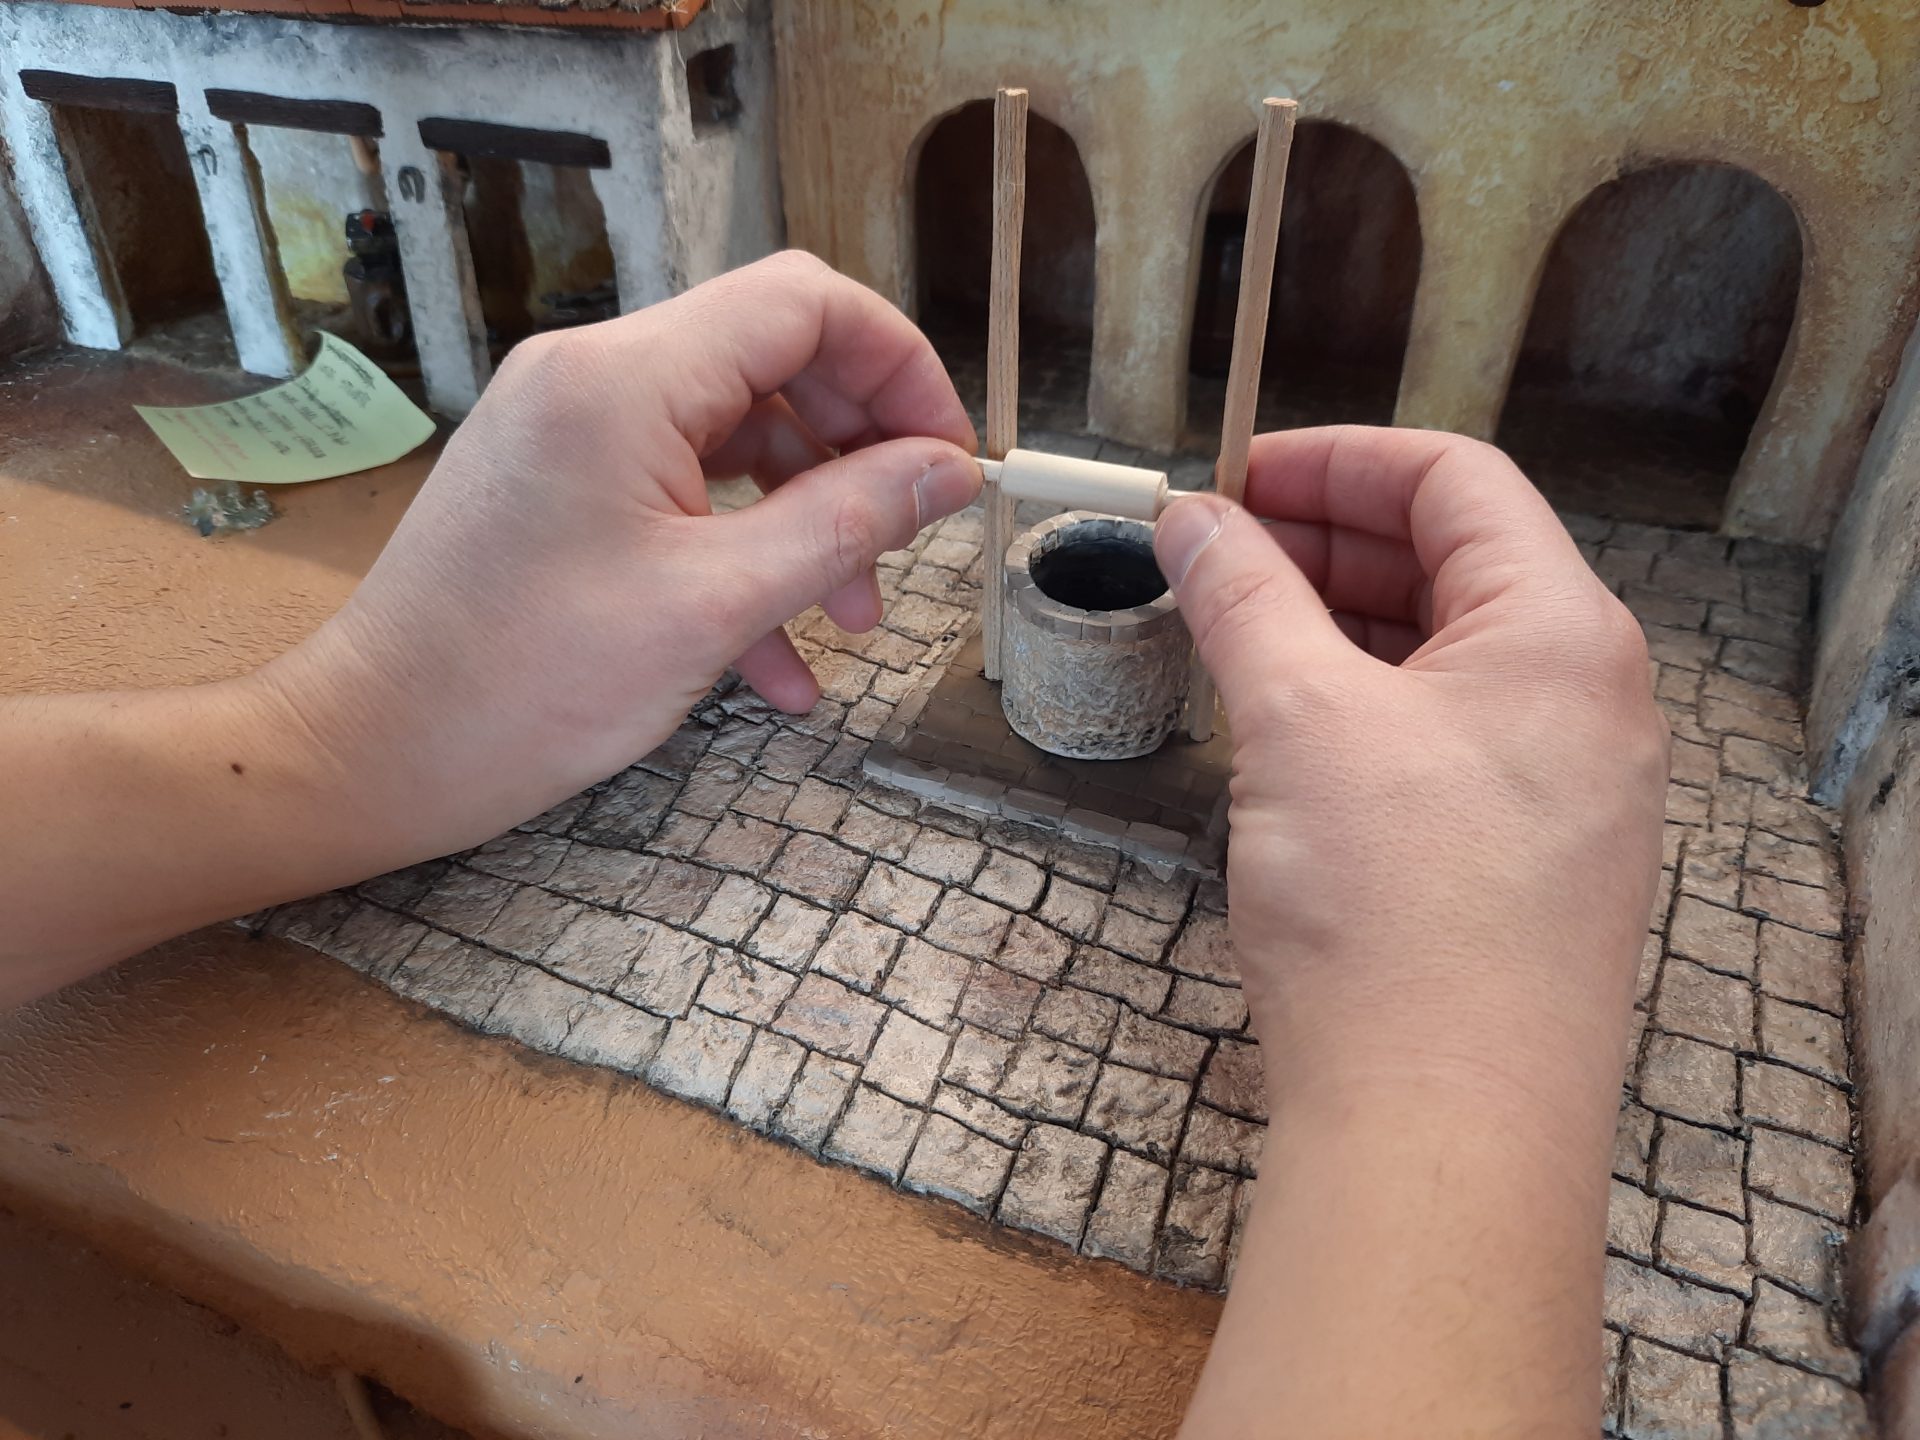
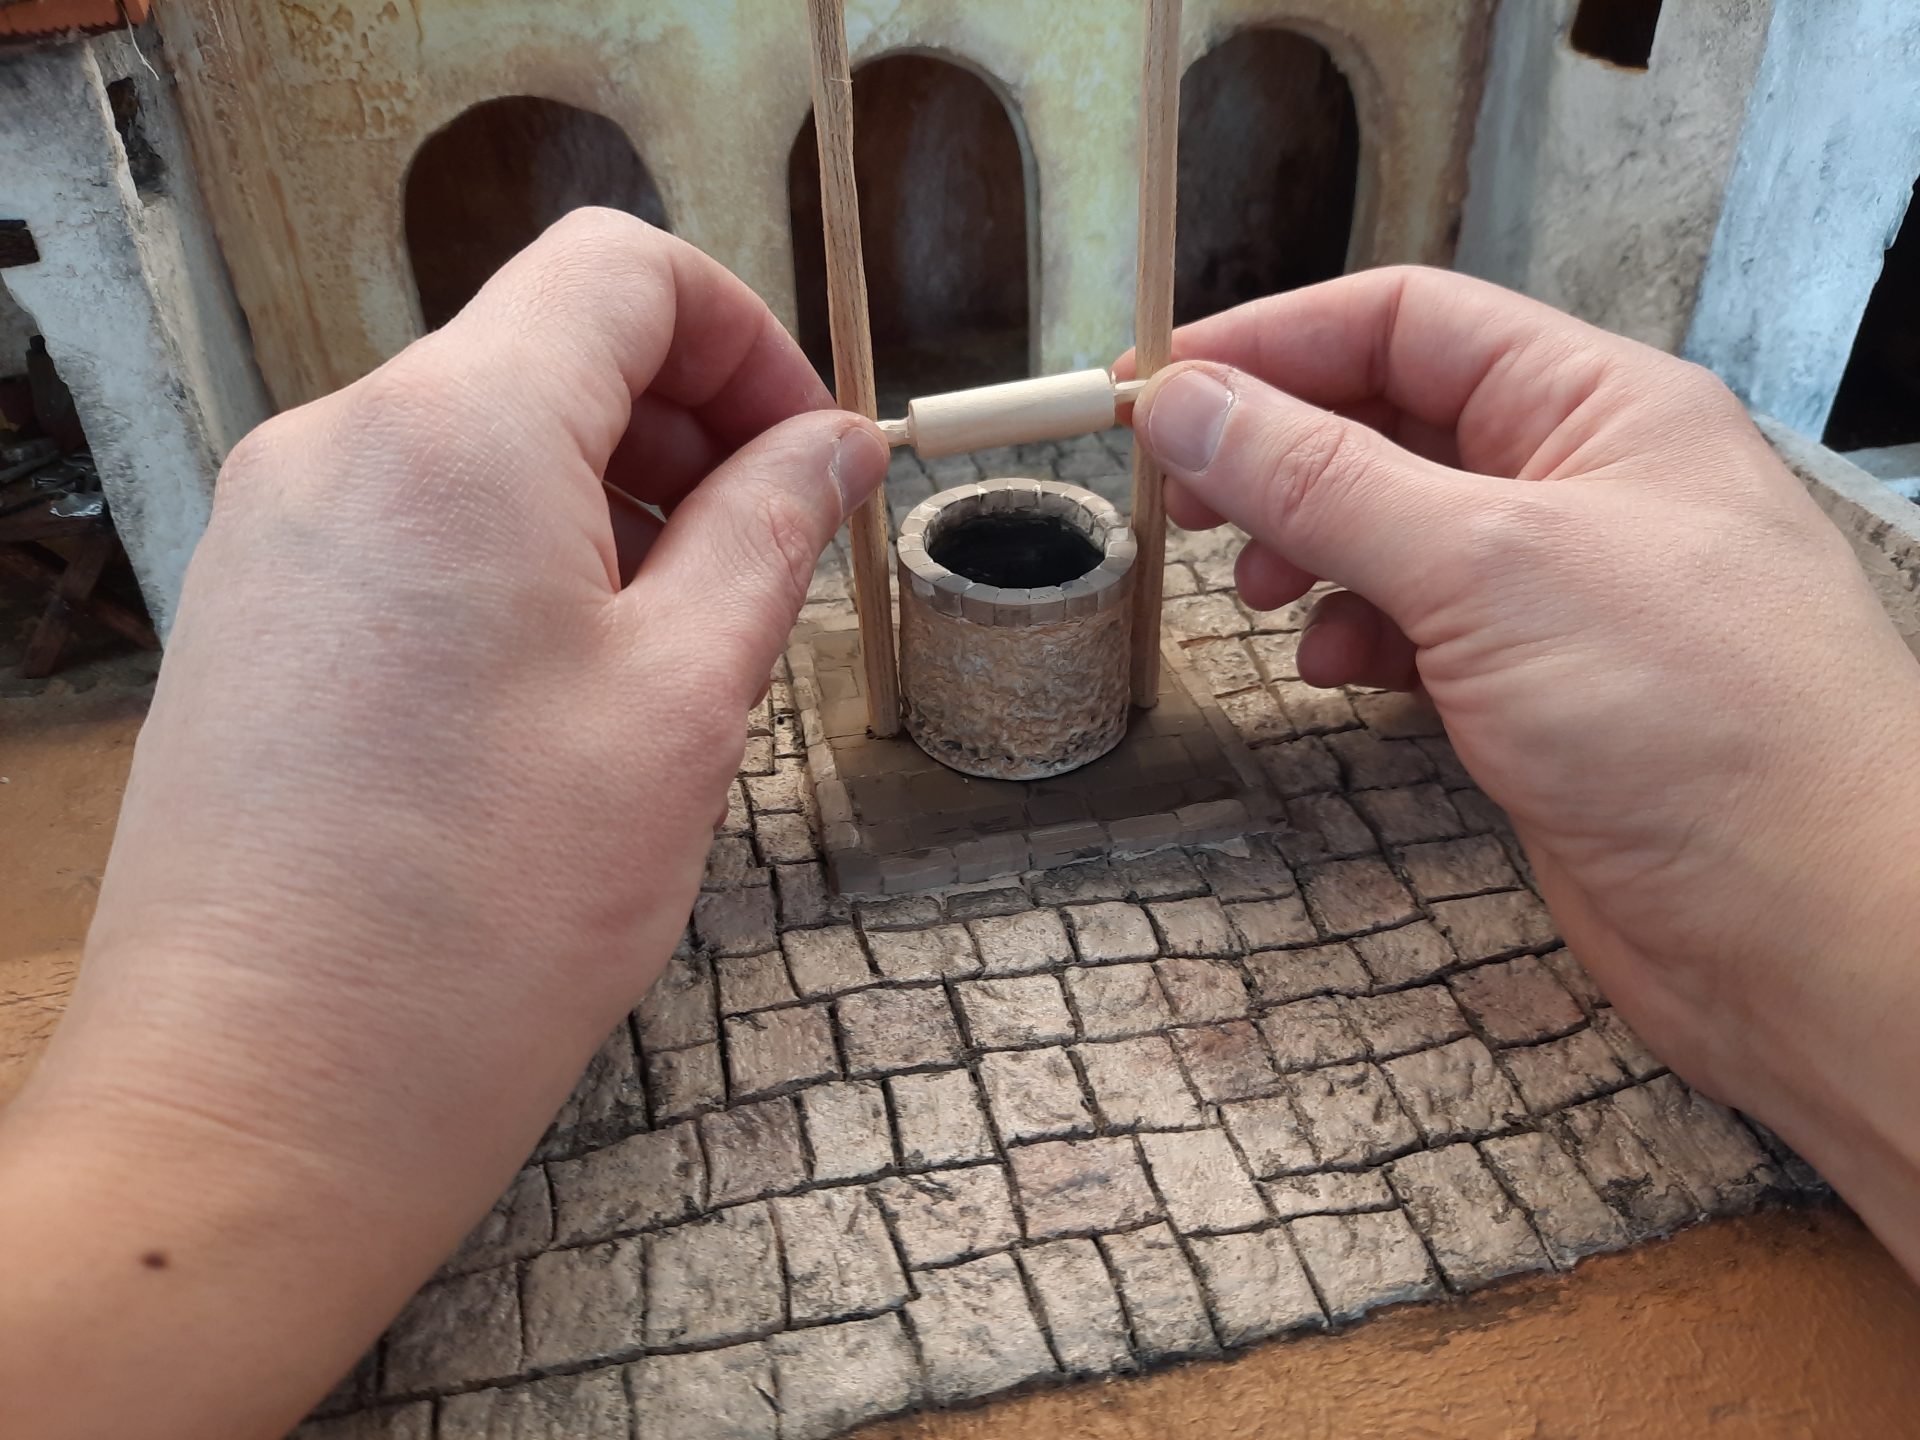
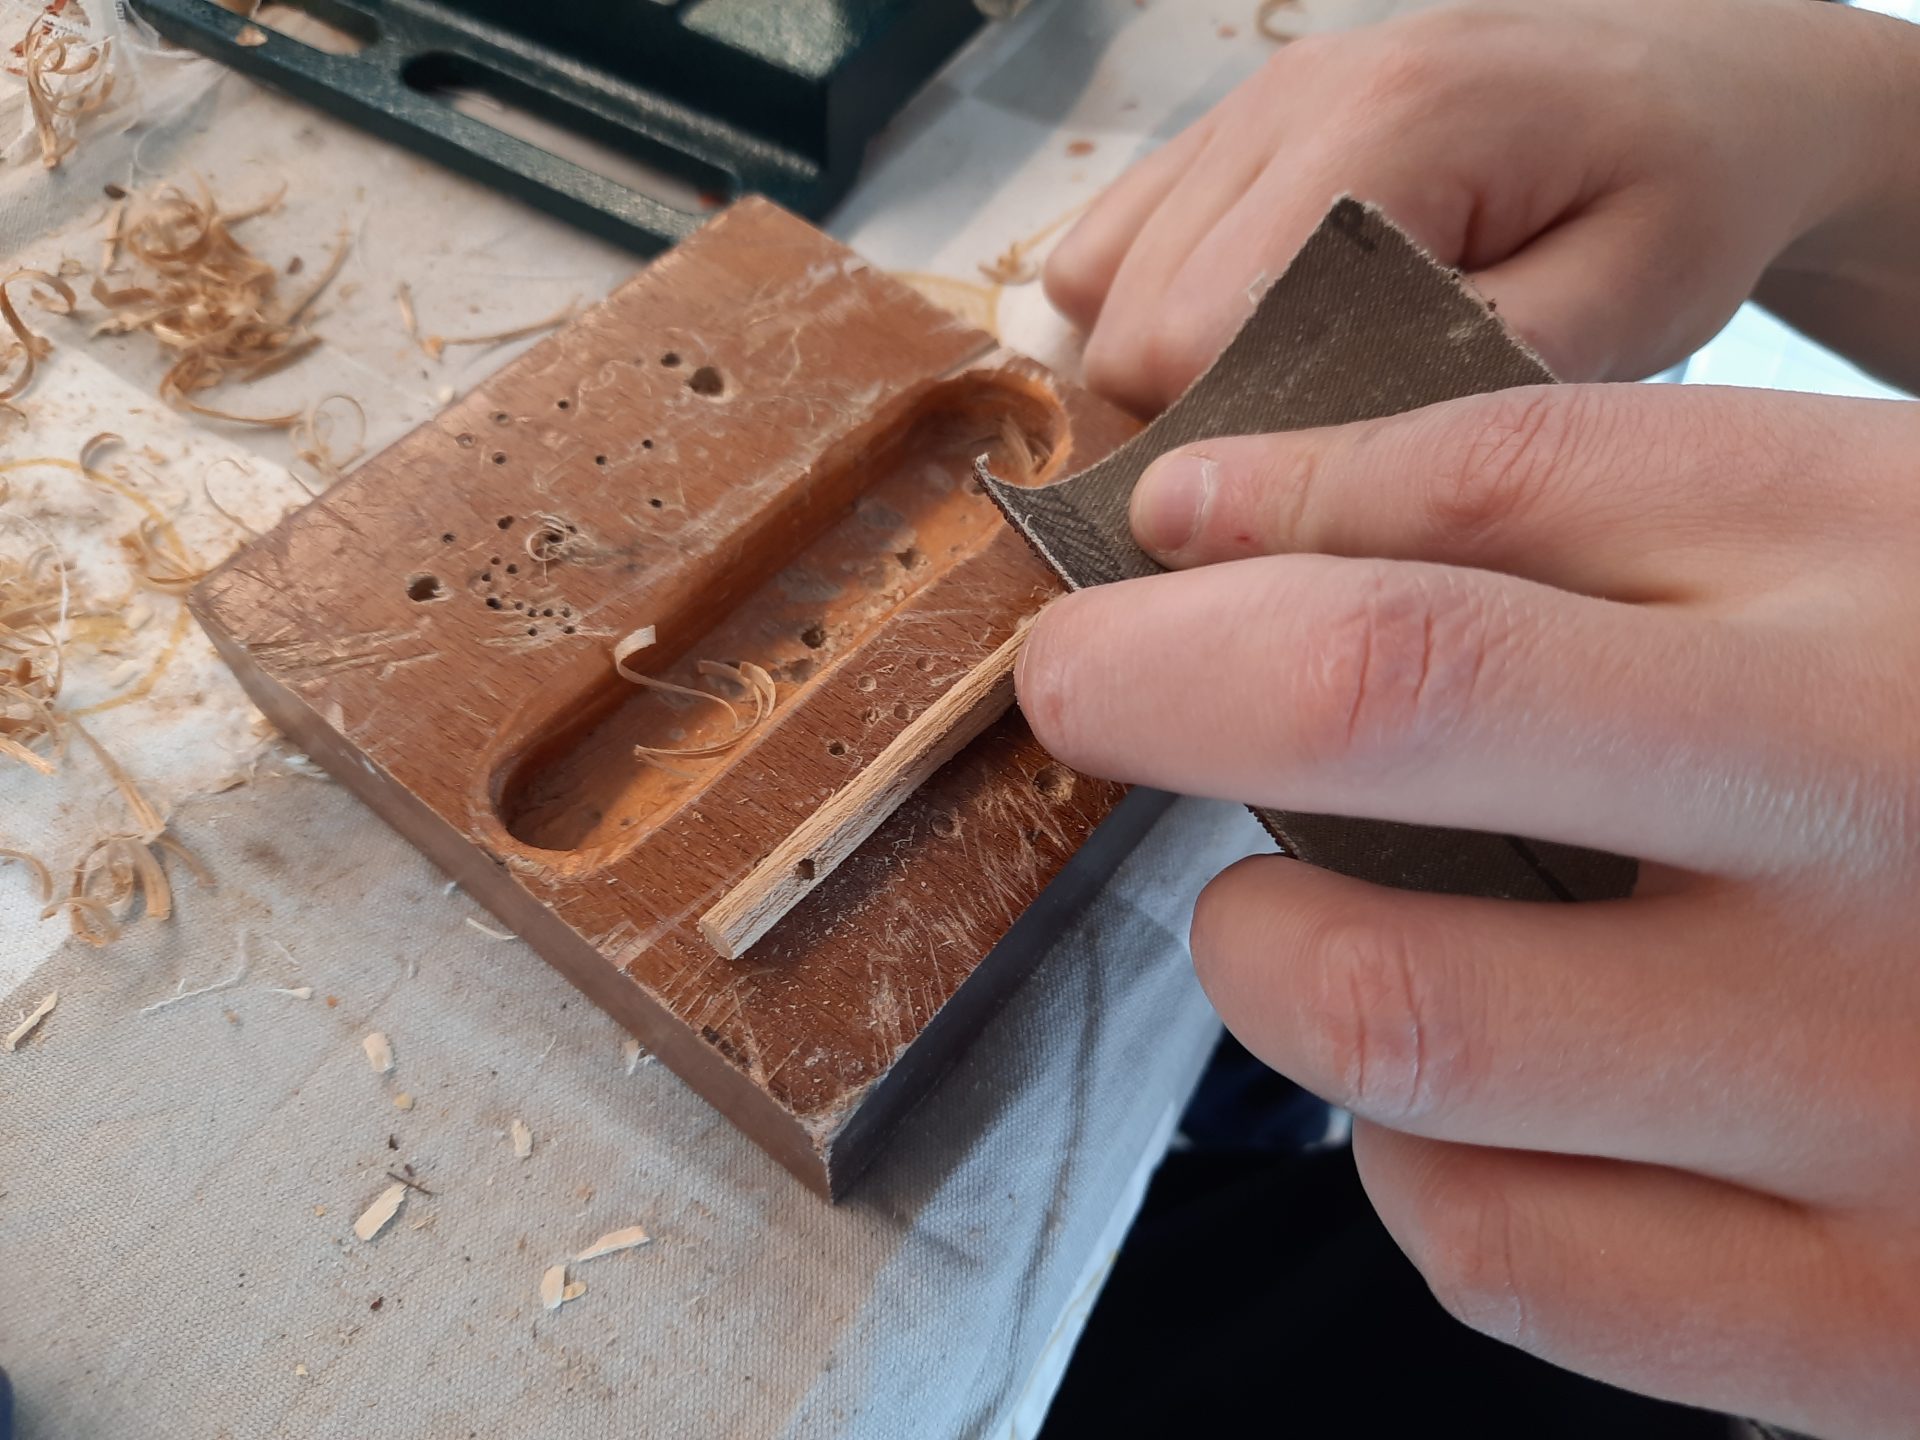
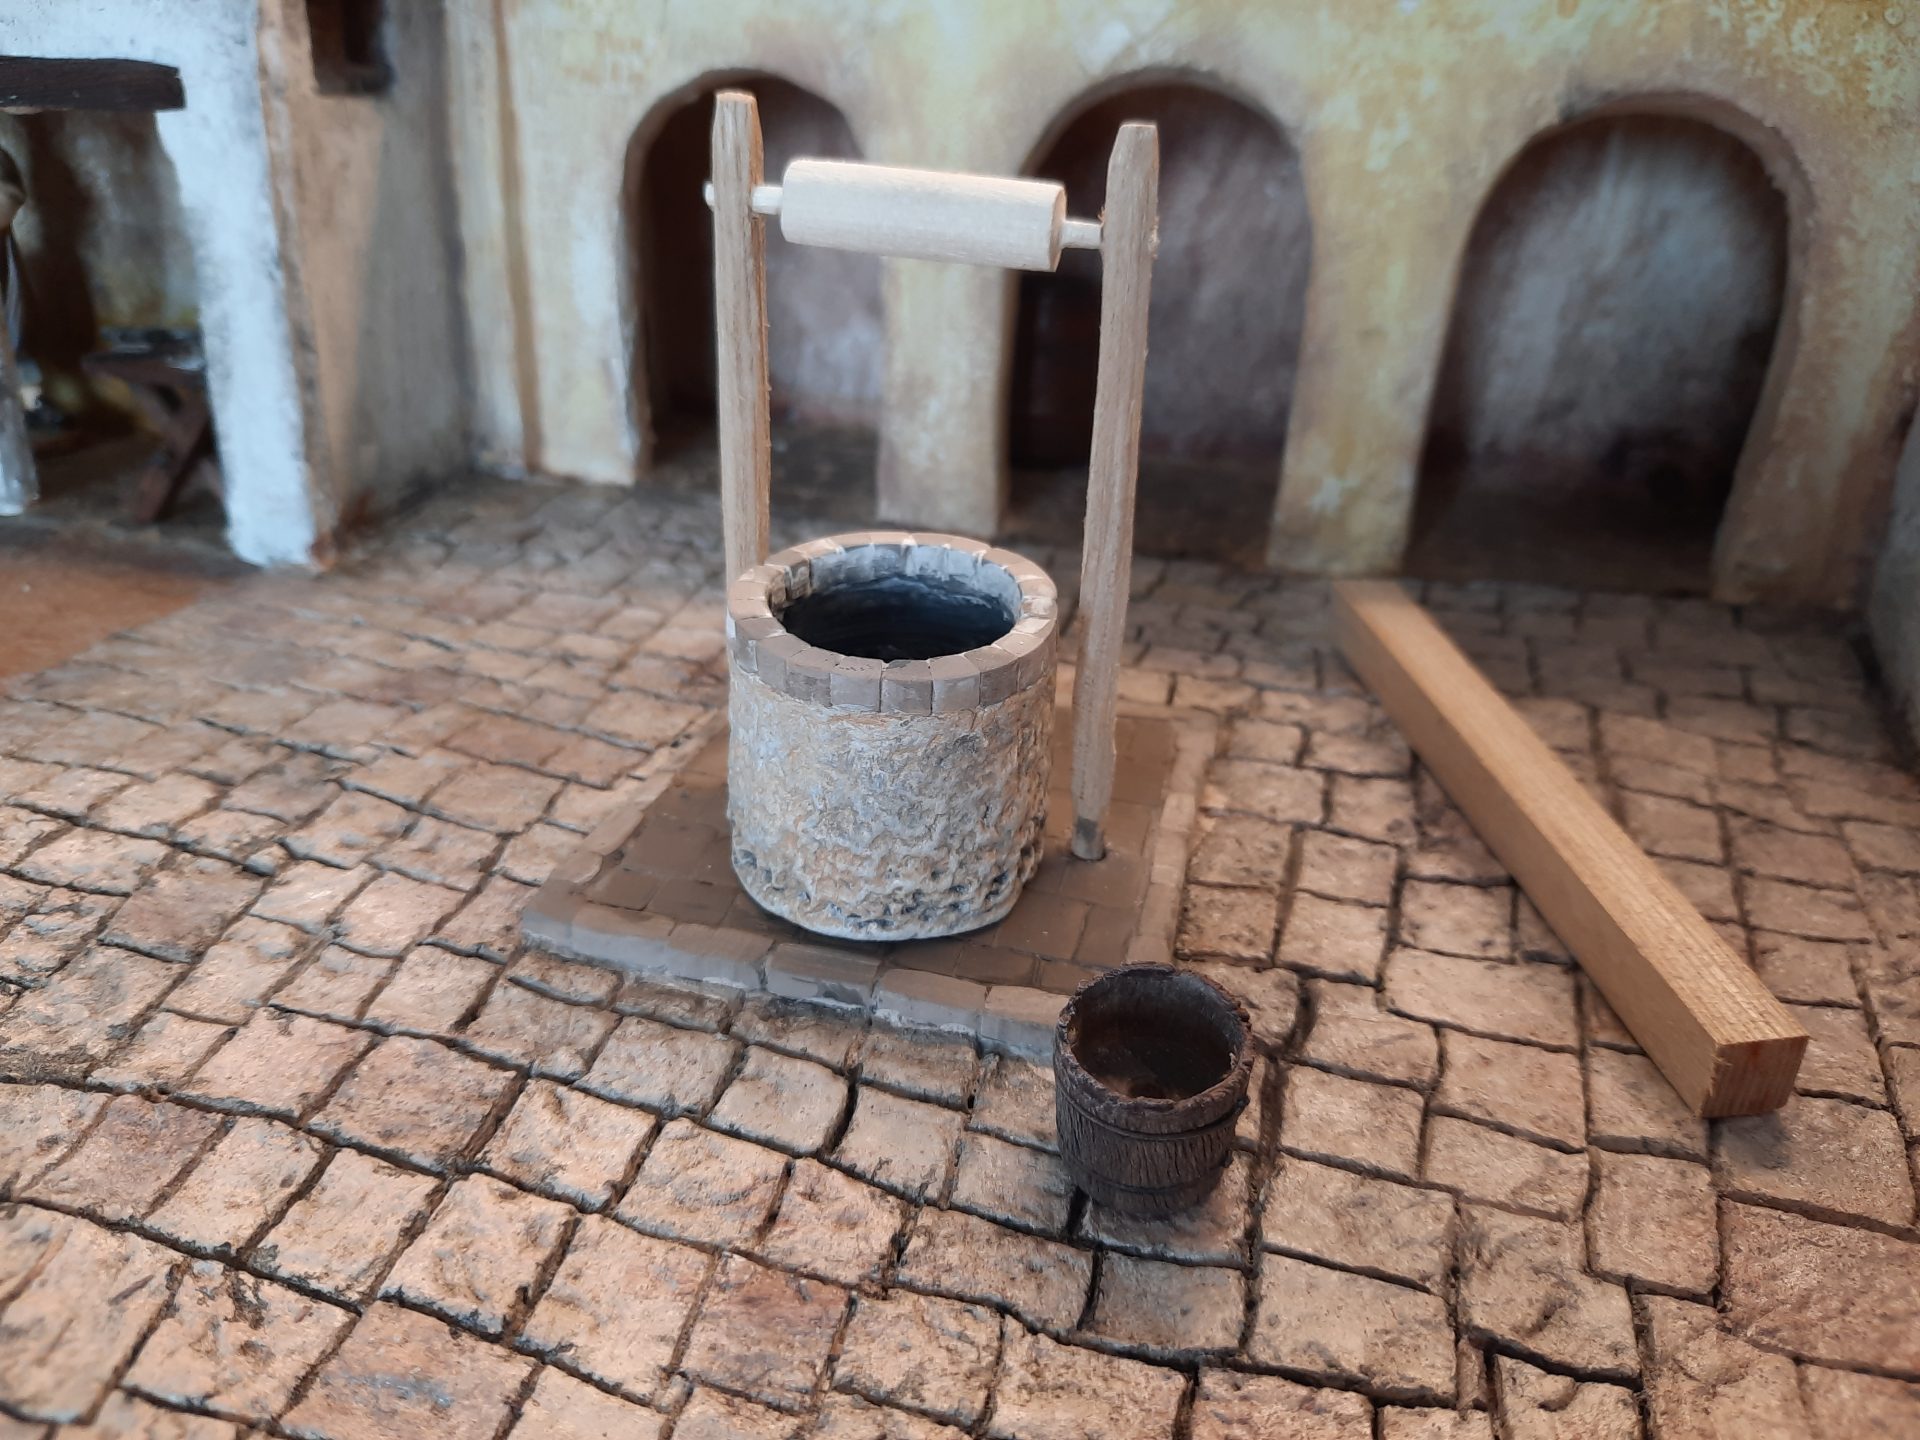
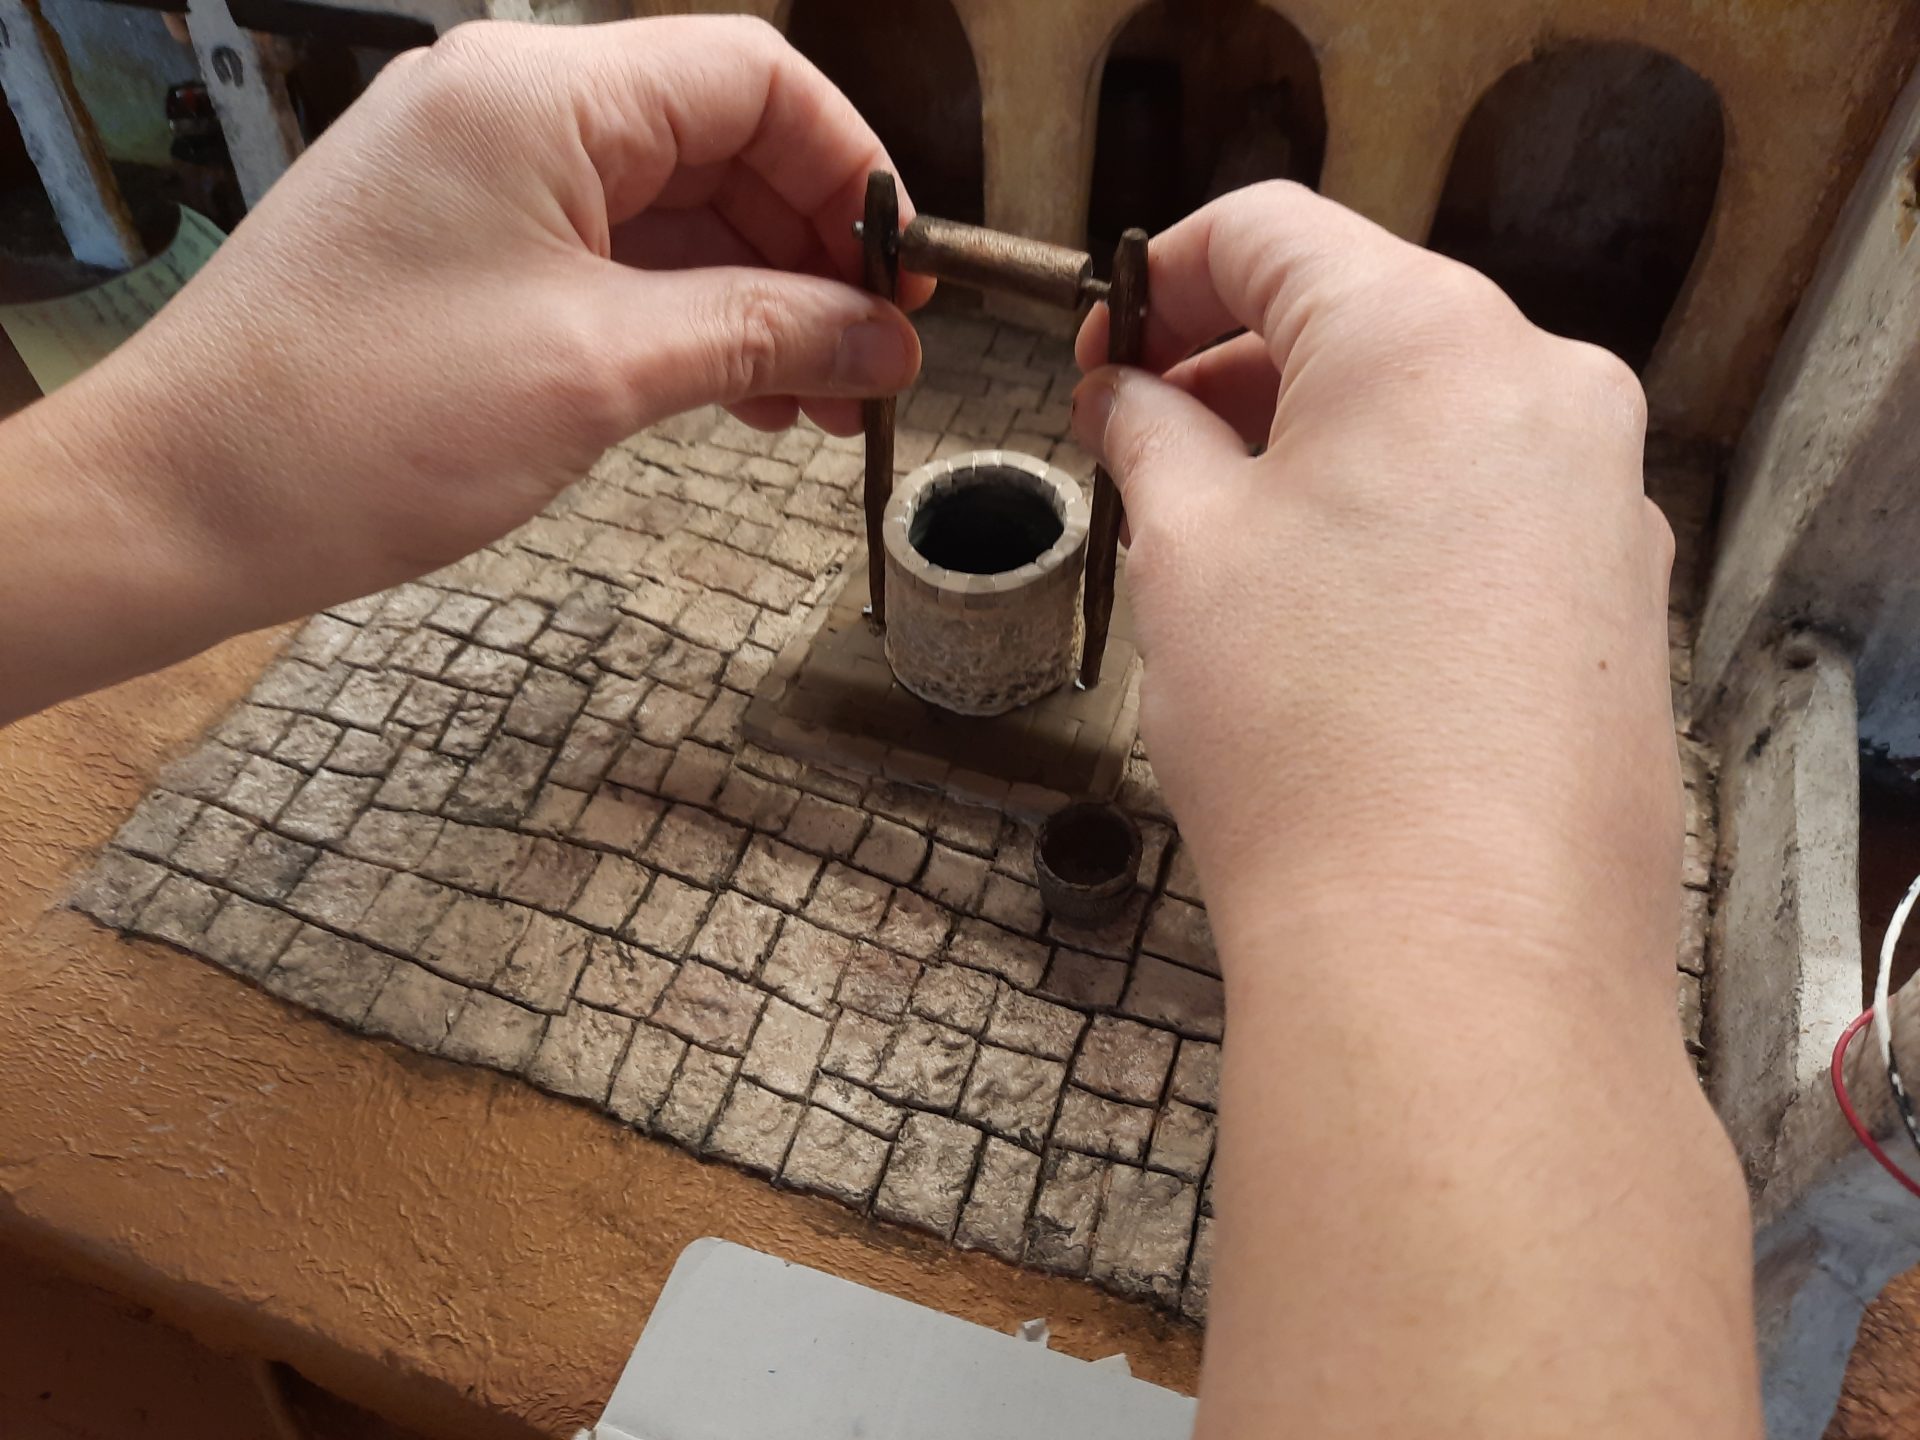
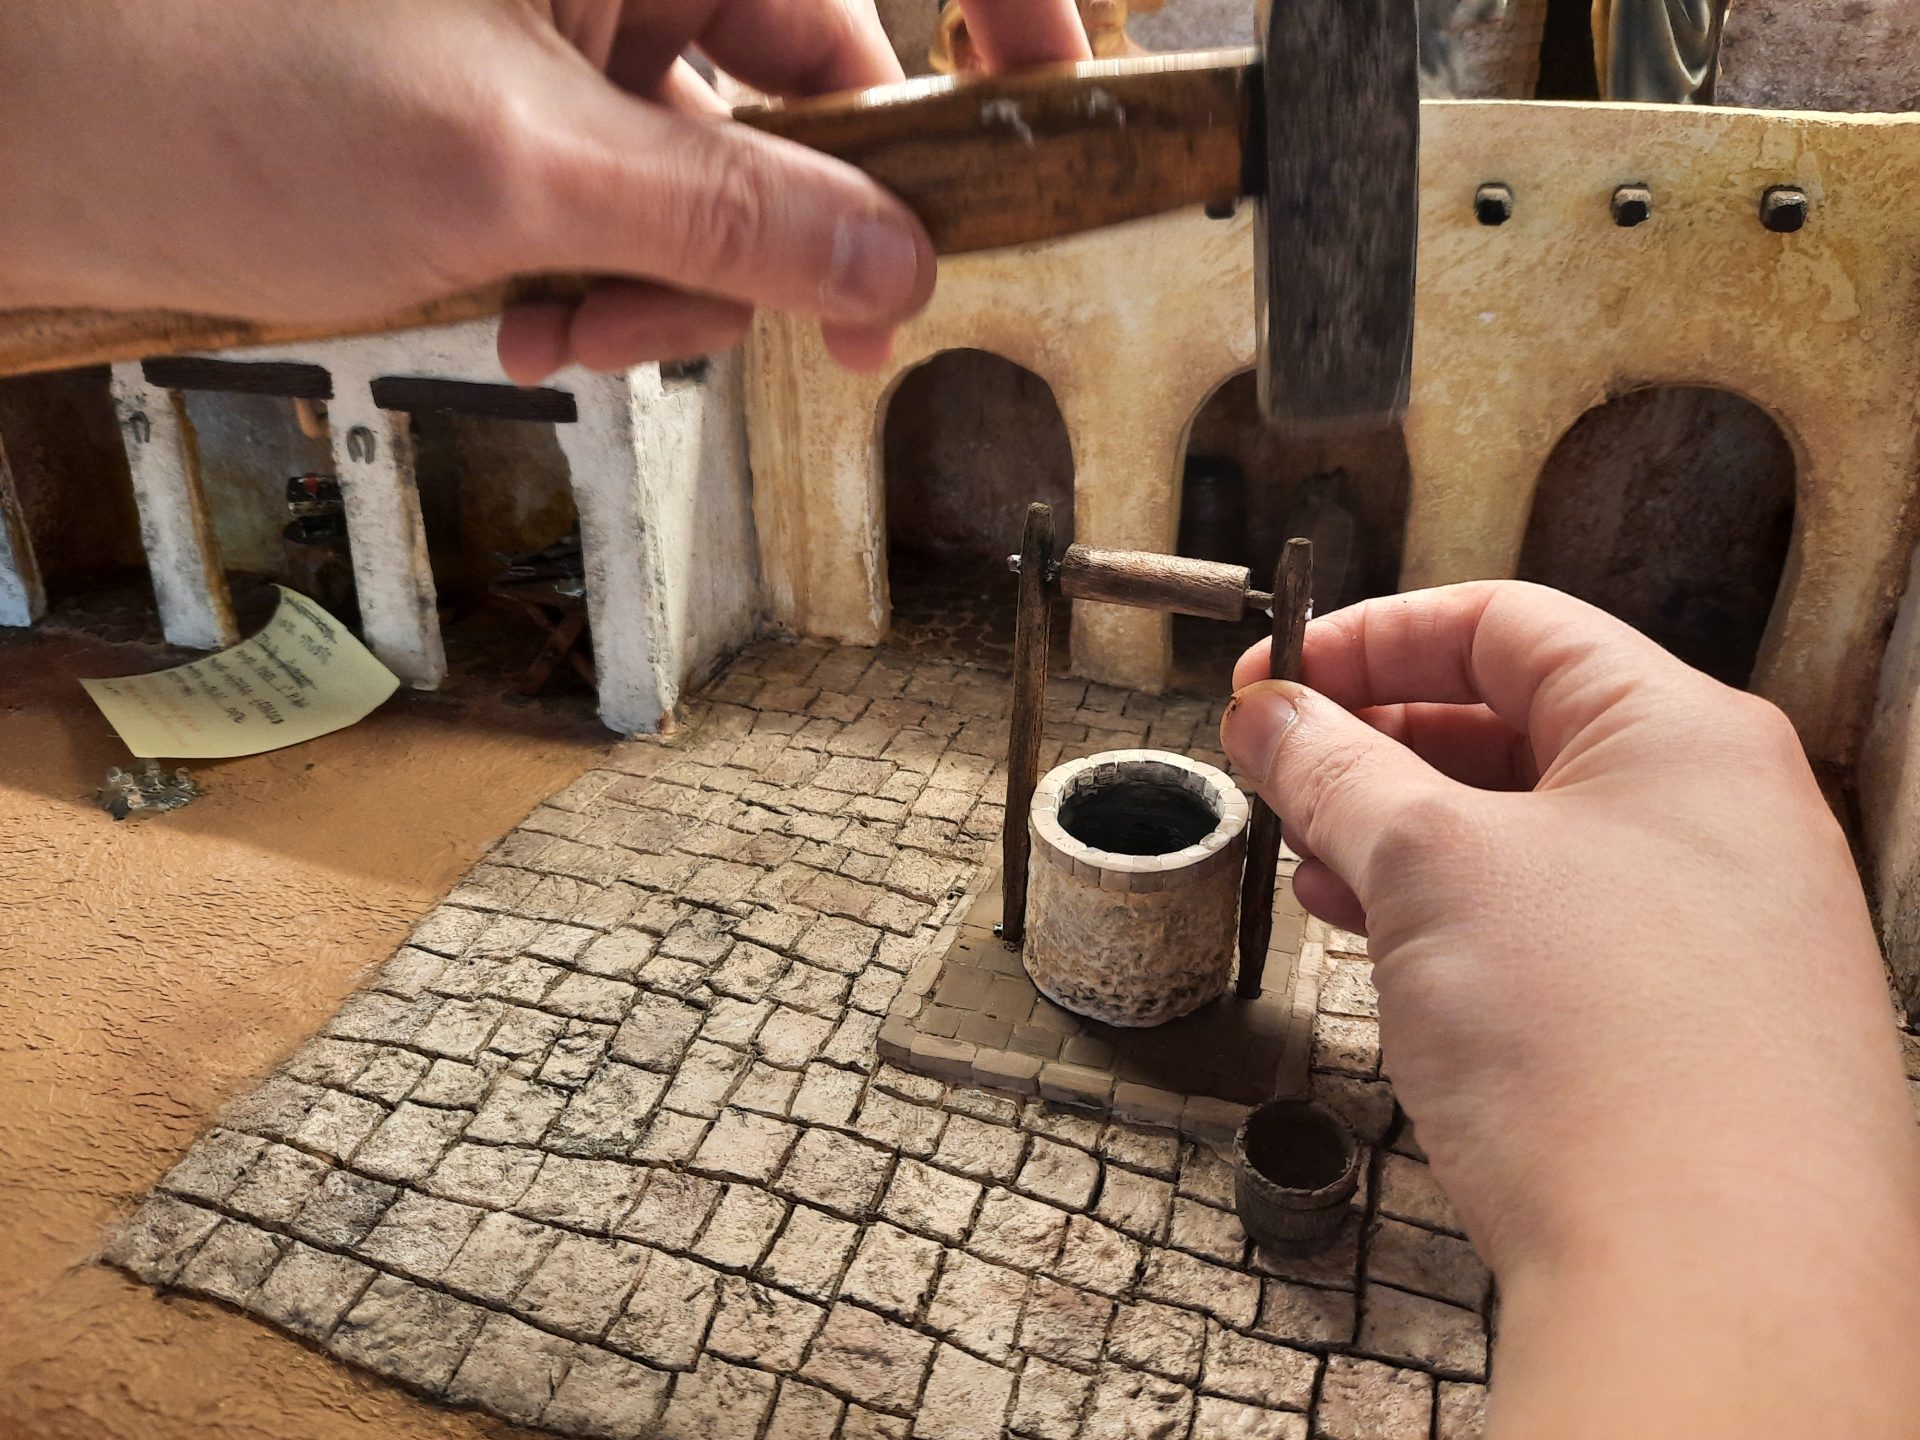
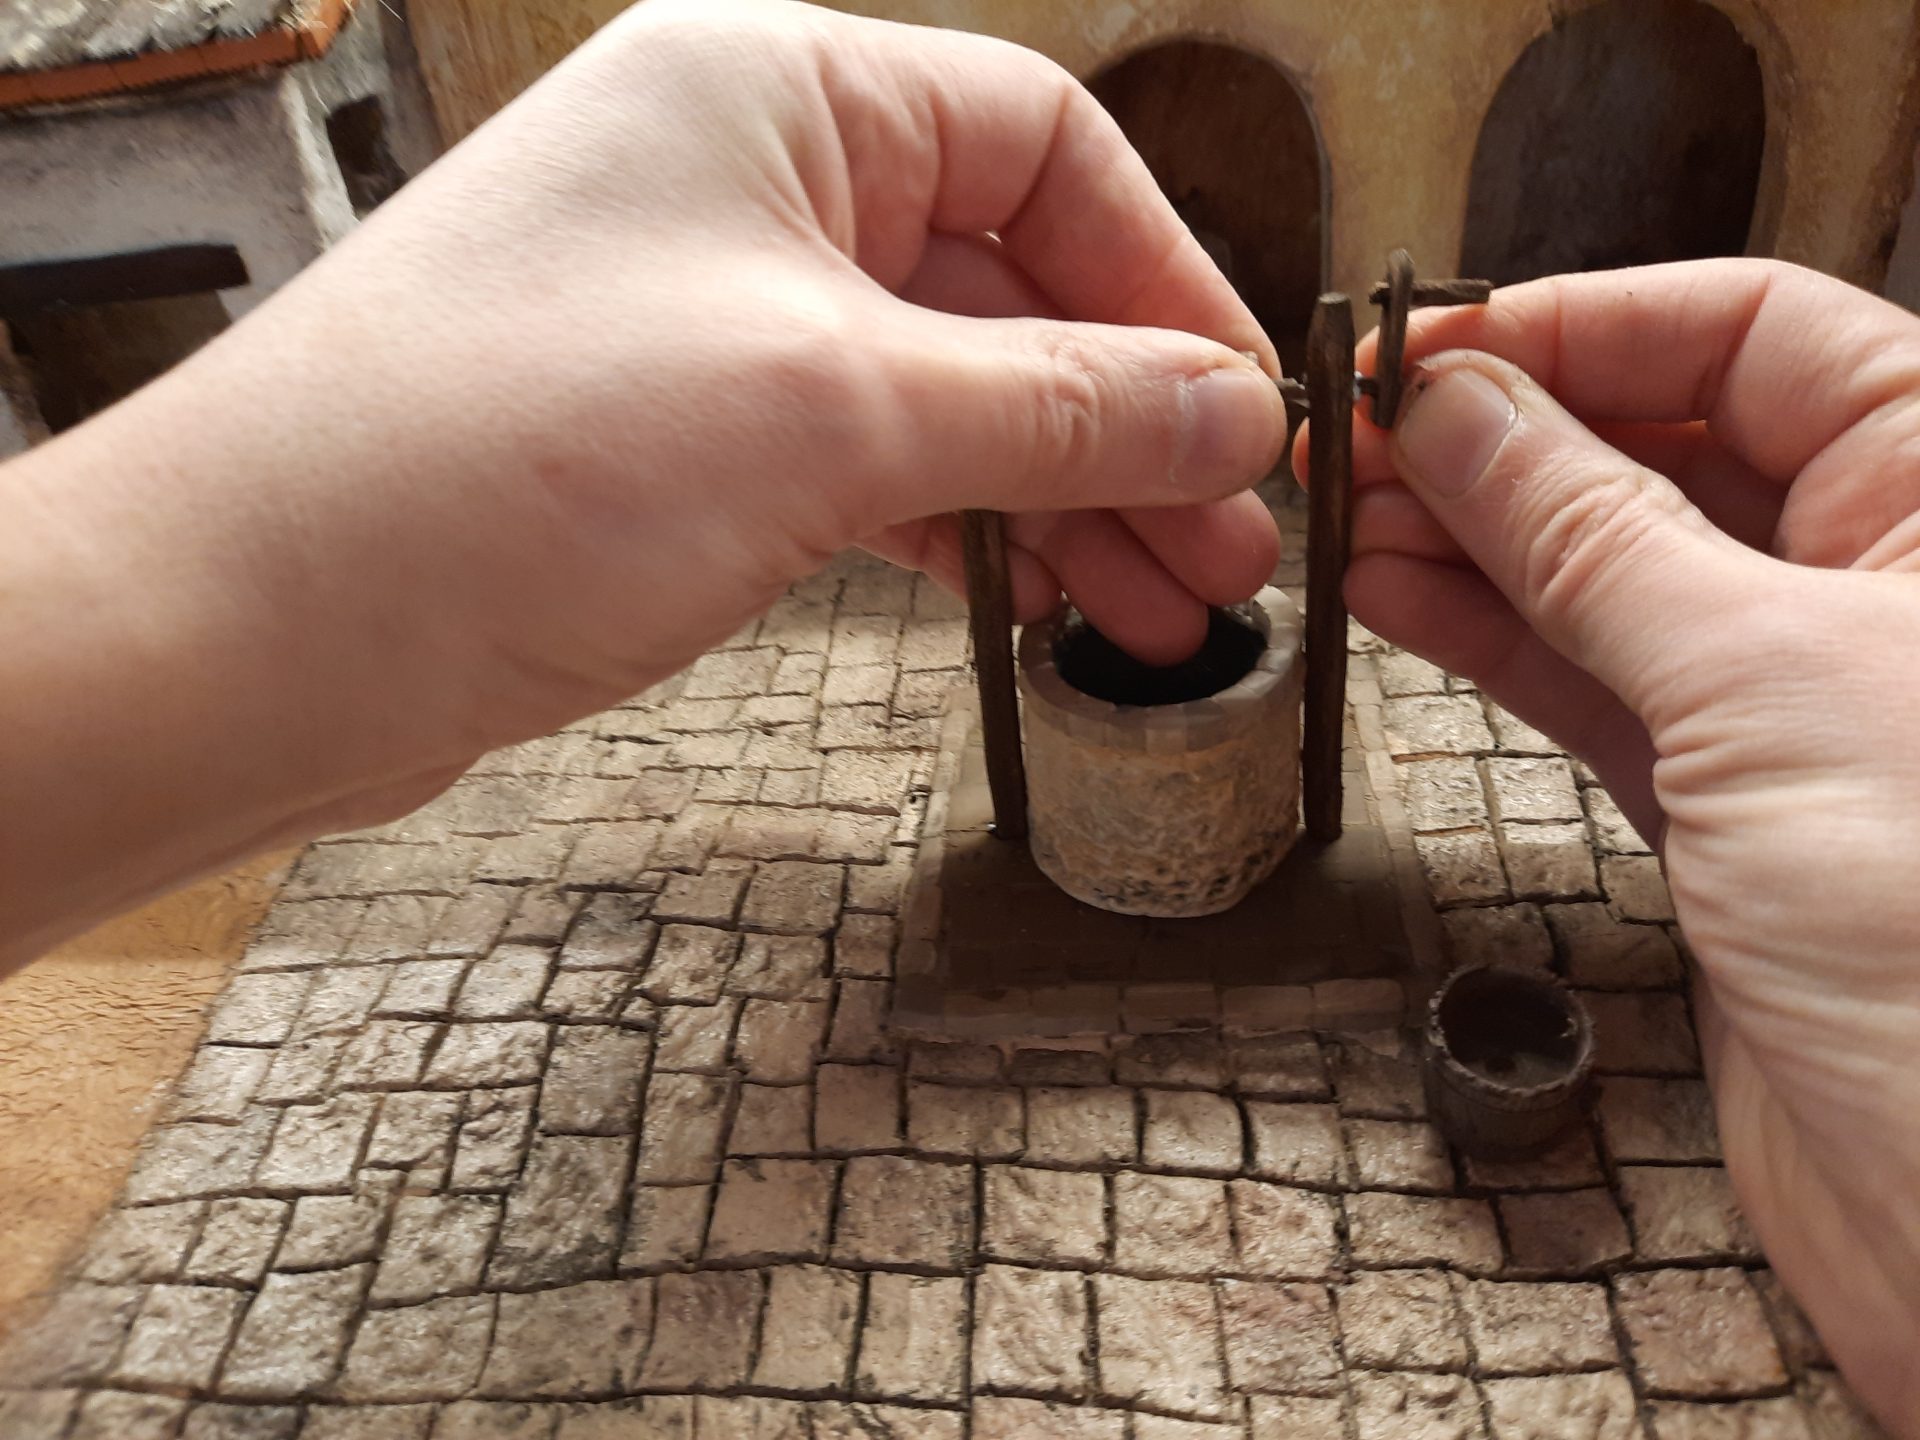
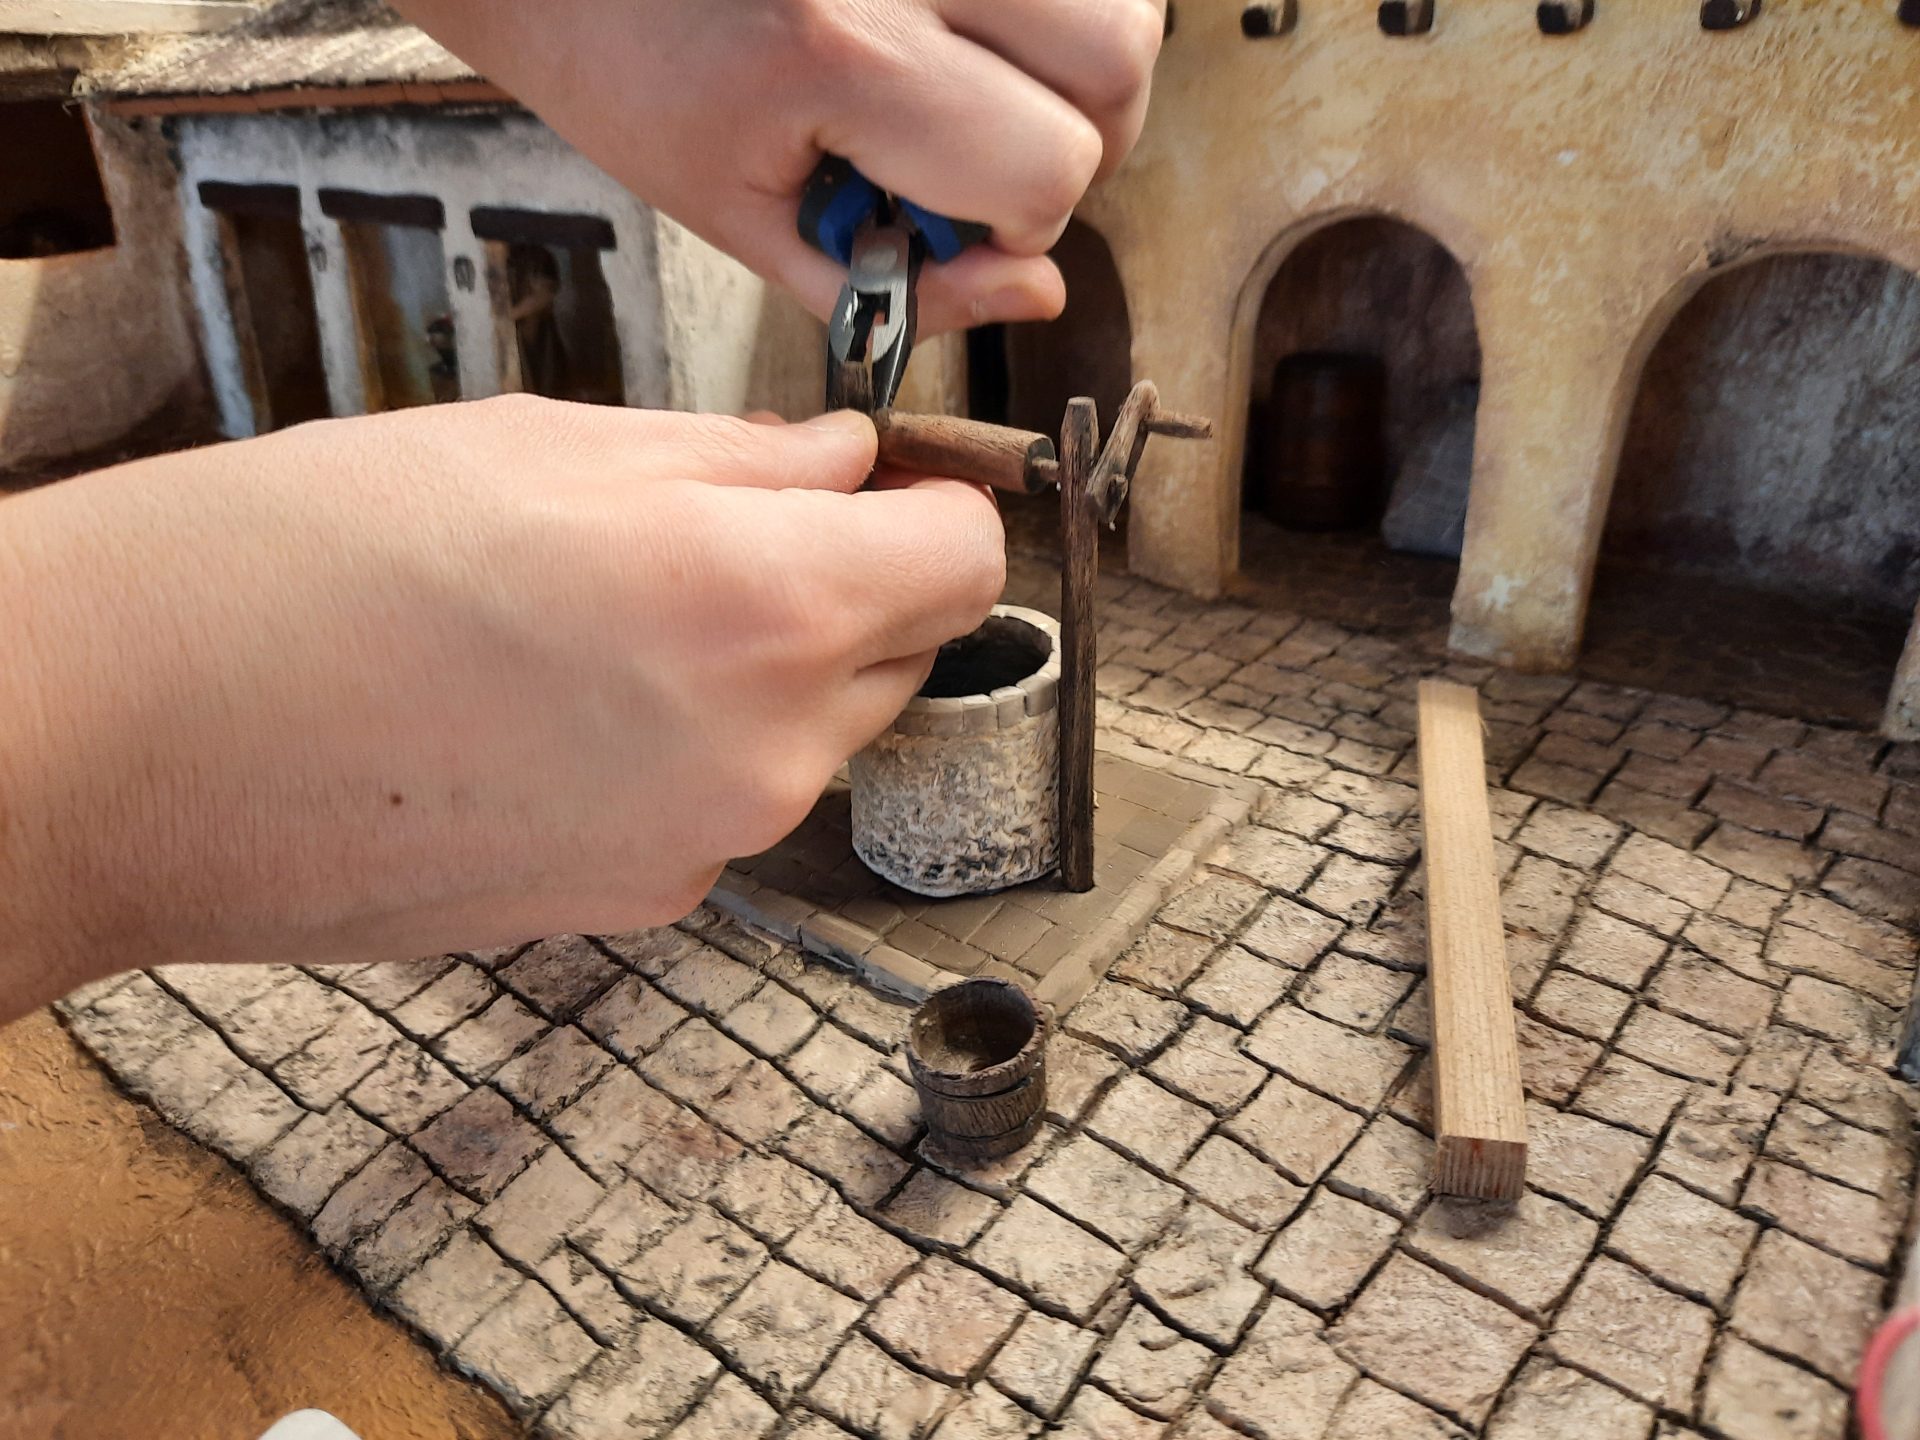
The well itself was painted in earthy tones to match its surroundings, to have the resemblance of a stone well that had been covered in dry mud. Locutus then mounted the bucket-lifting mechanism. Two vertical sticks, like thick skewers, became the upright supports. To serve as the spool for the rope holding the bucket, I provided a miniature rolling rim, a tiny wooden one from an old toy kitchen tool kit I’d kept since childhood. I am glad I kept it all those years! He also built a wooden lever to operate the mechanism.
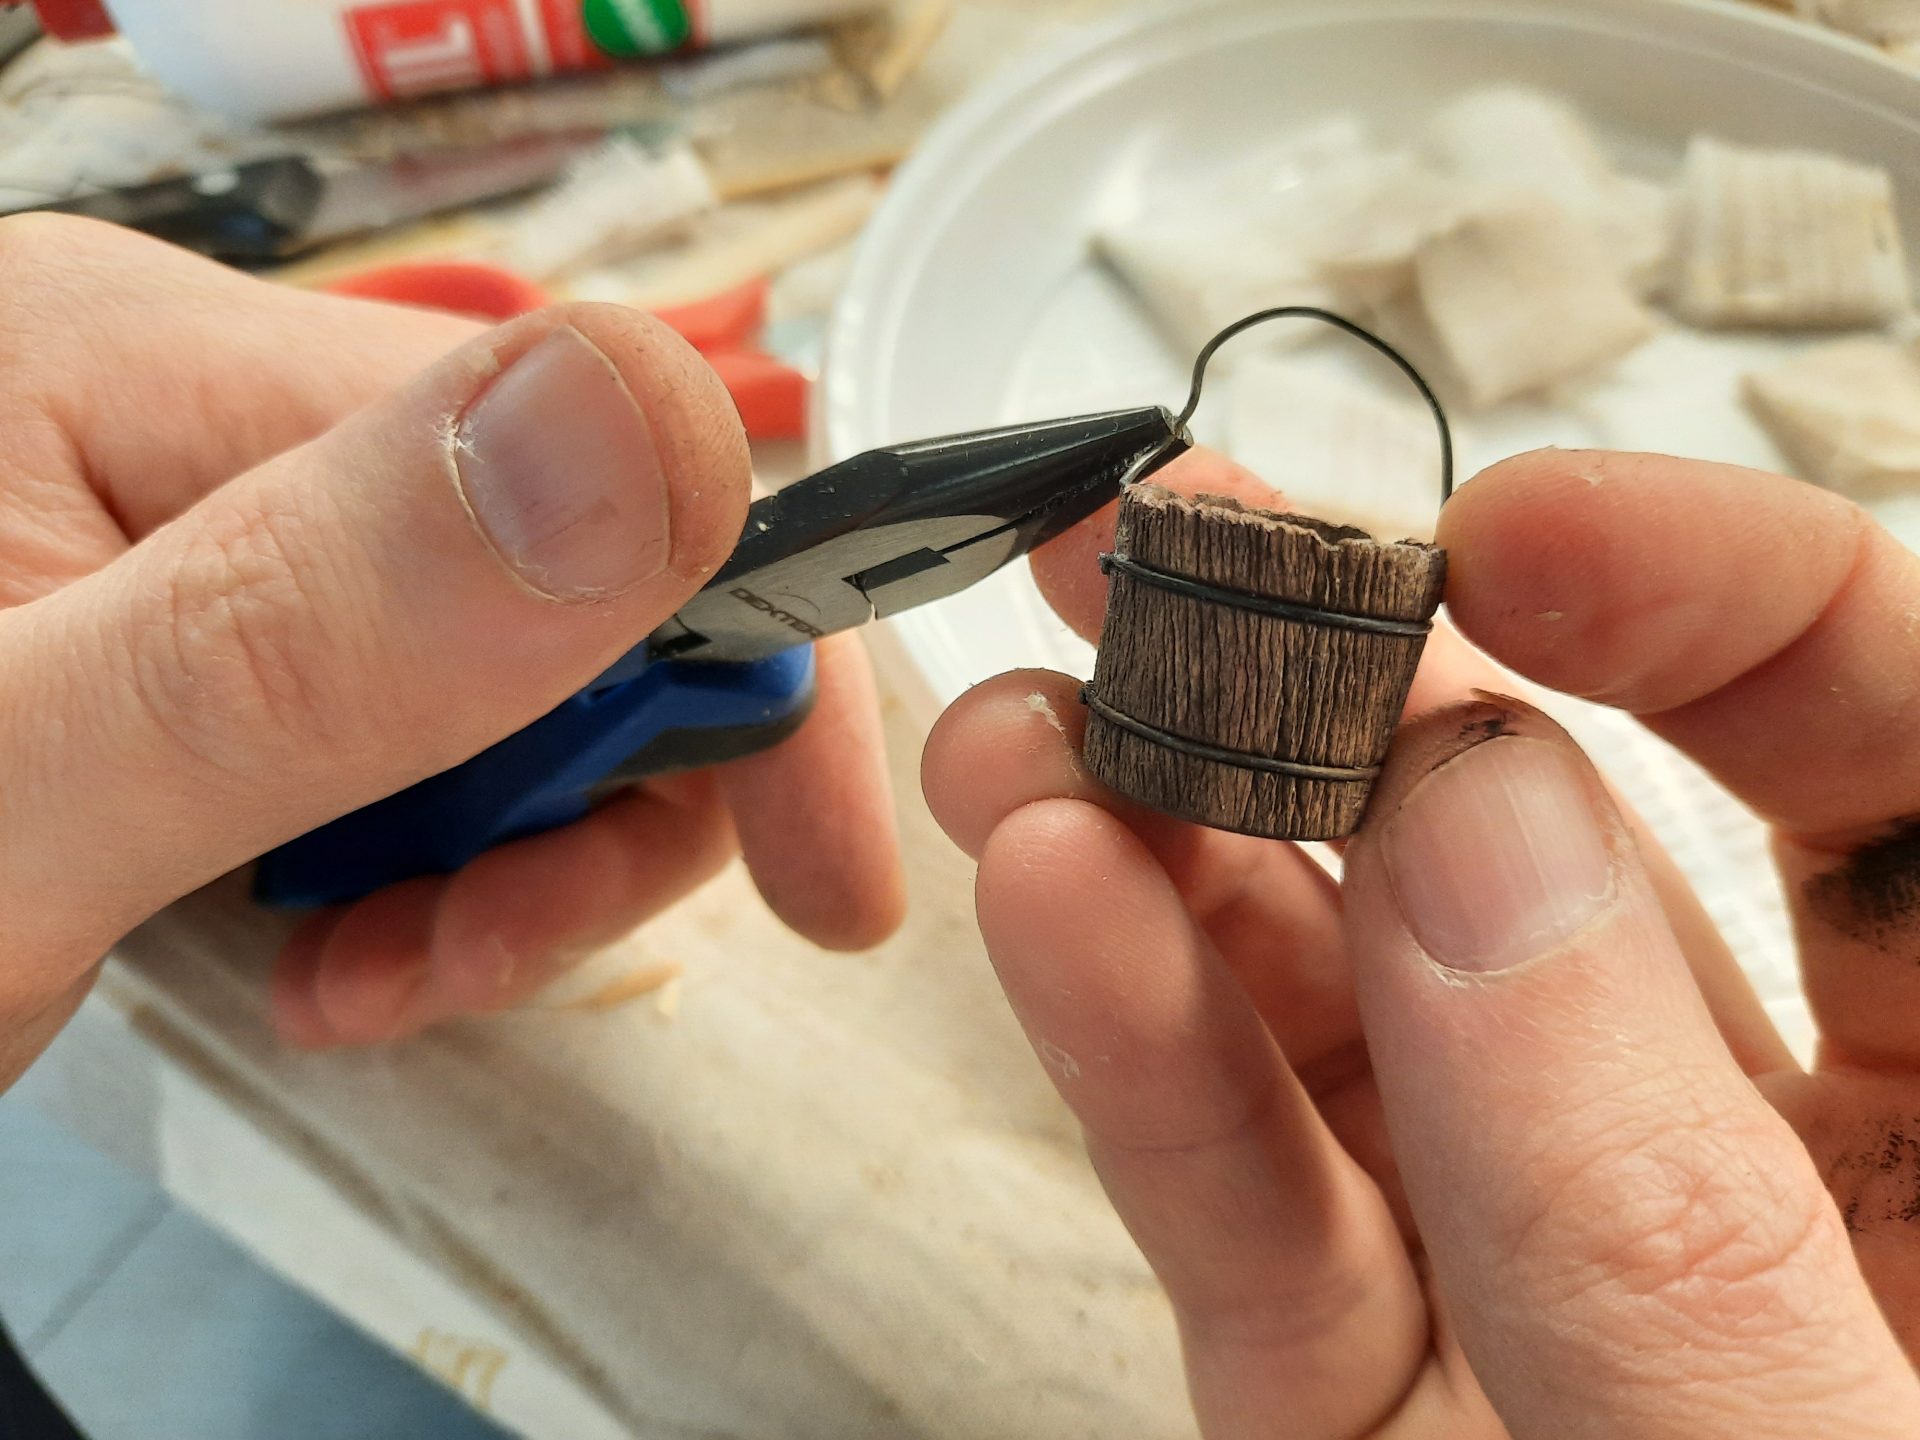
Once painted and fully assembled, the well was glued into the center of the square and blended seamlessly with the surrounding pavement using a mixture of glue and sand. From the same toy kit as the rolling rim, there was also a bucket, that my husband aged with his metal wire brush and painted to become an accessory for the well.










First details to the upper floors







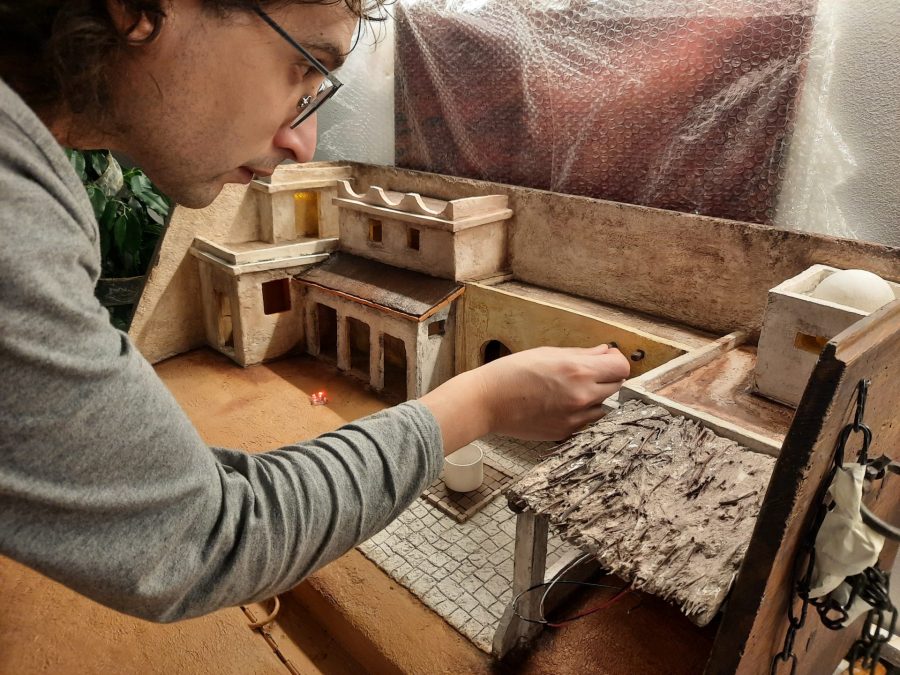
While my husband focused on the square, I turned my attention to the upper levels of the town.
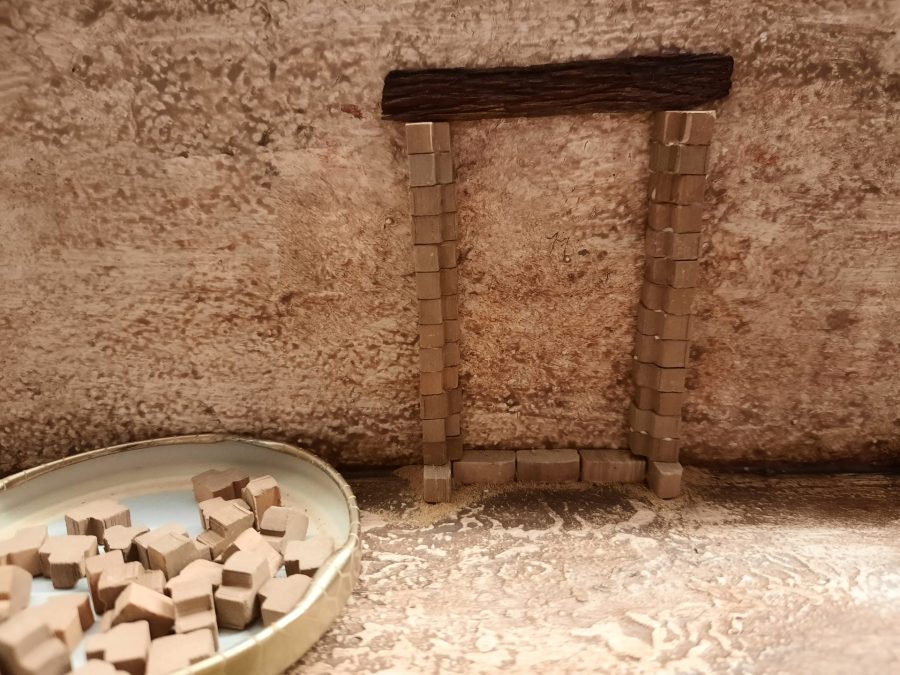
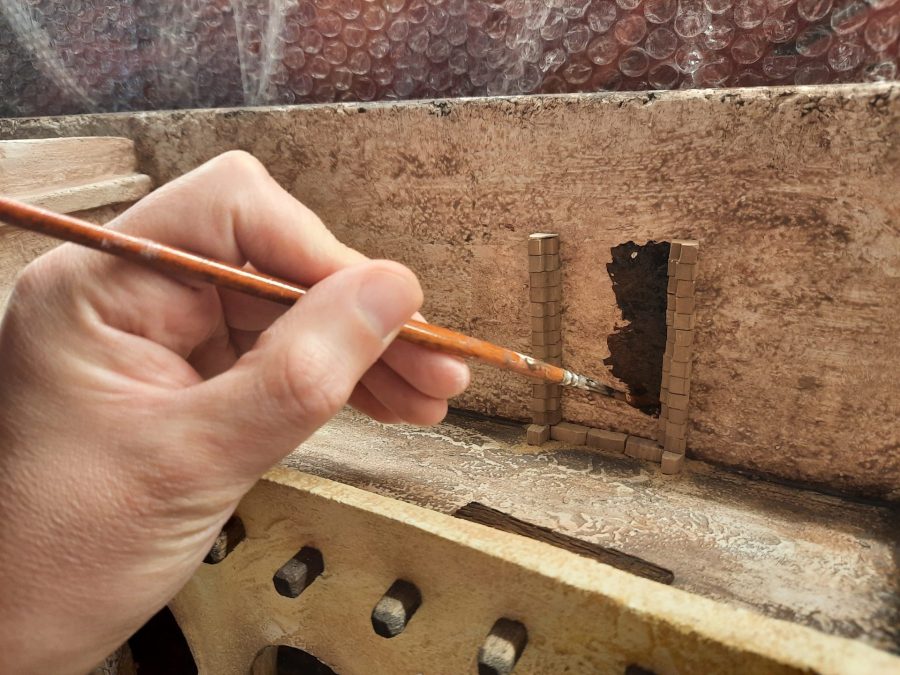
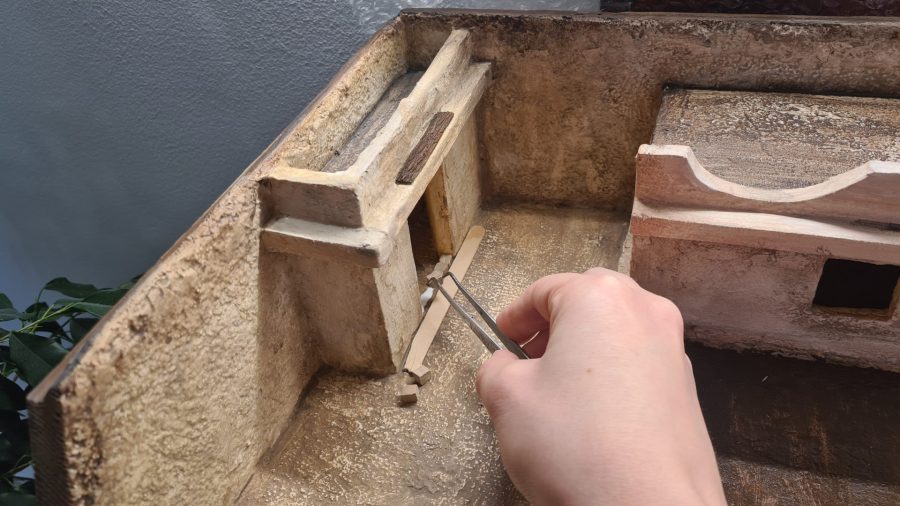
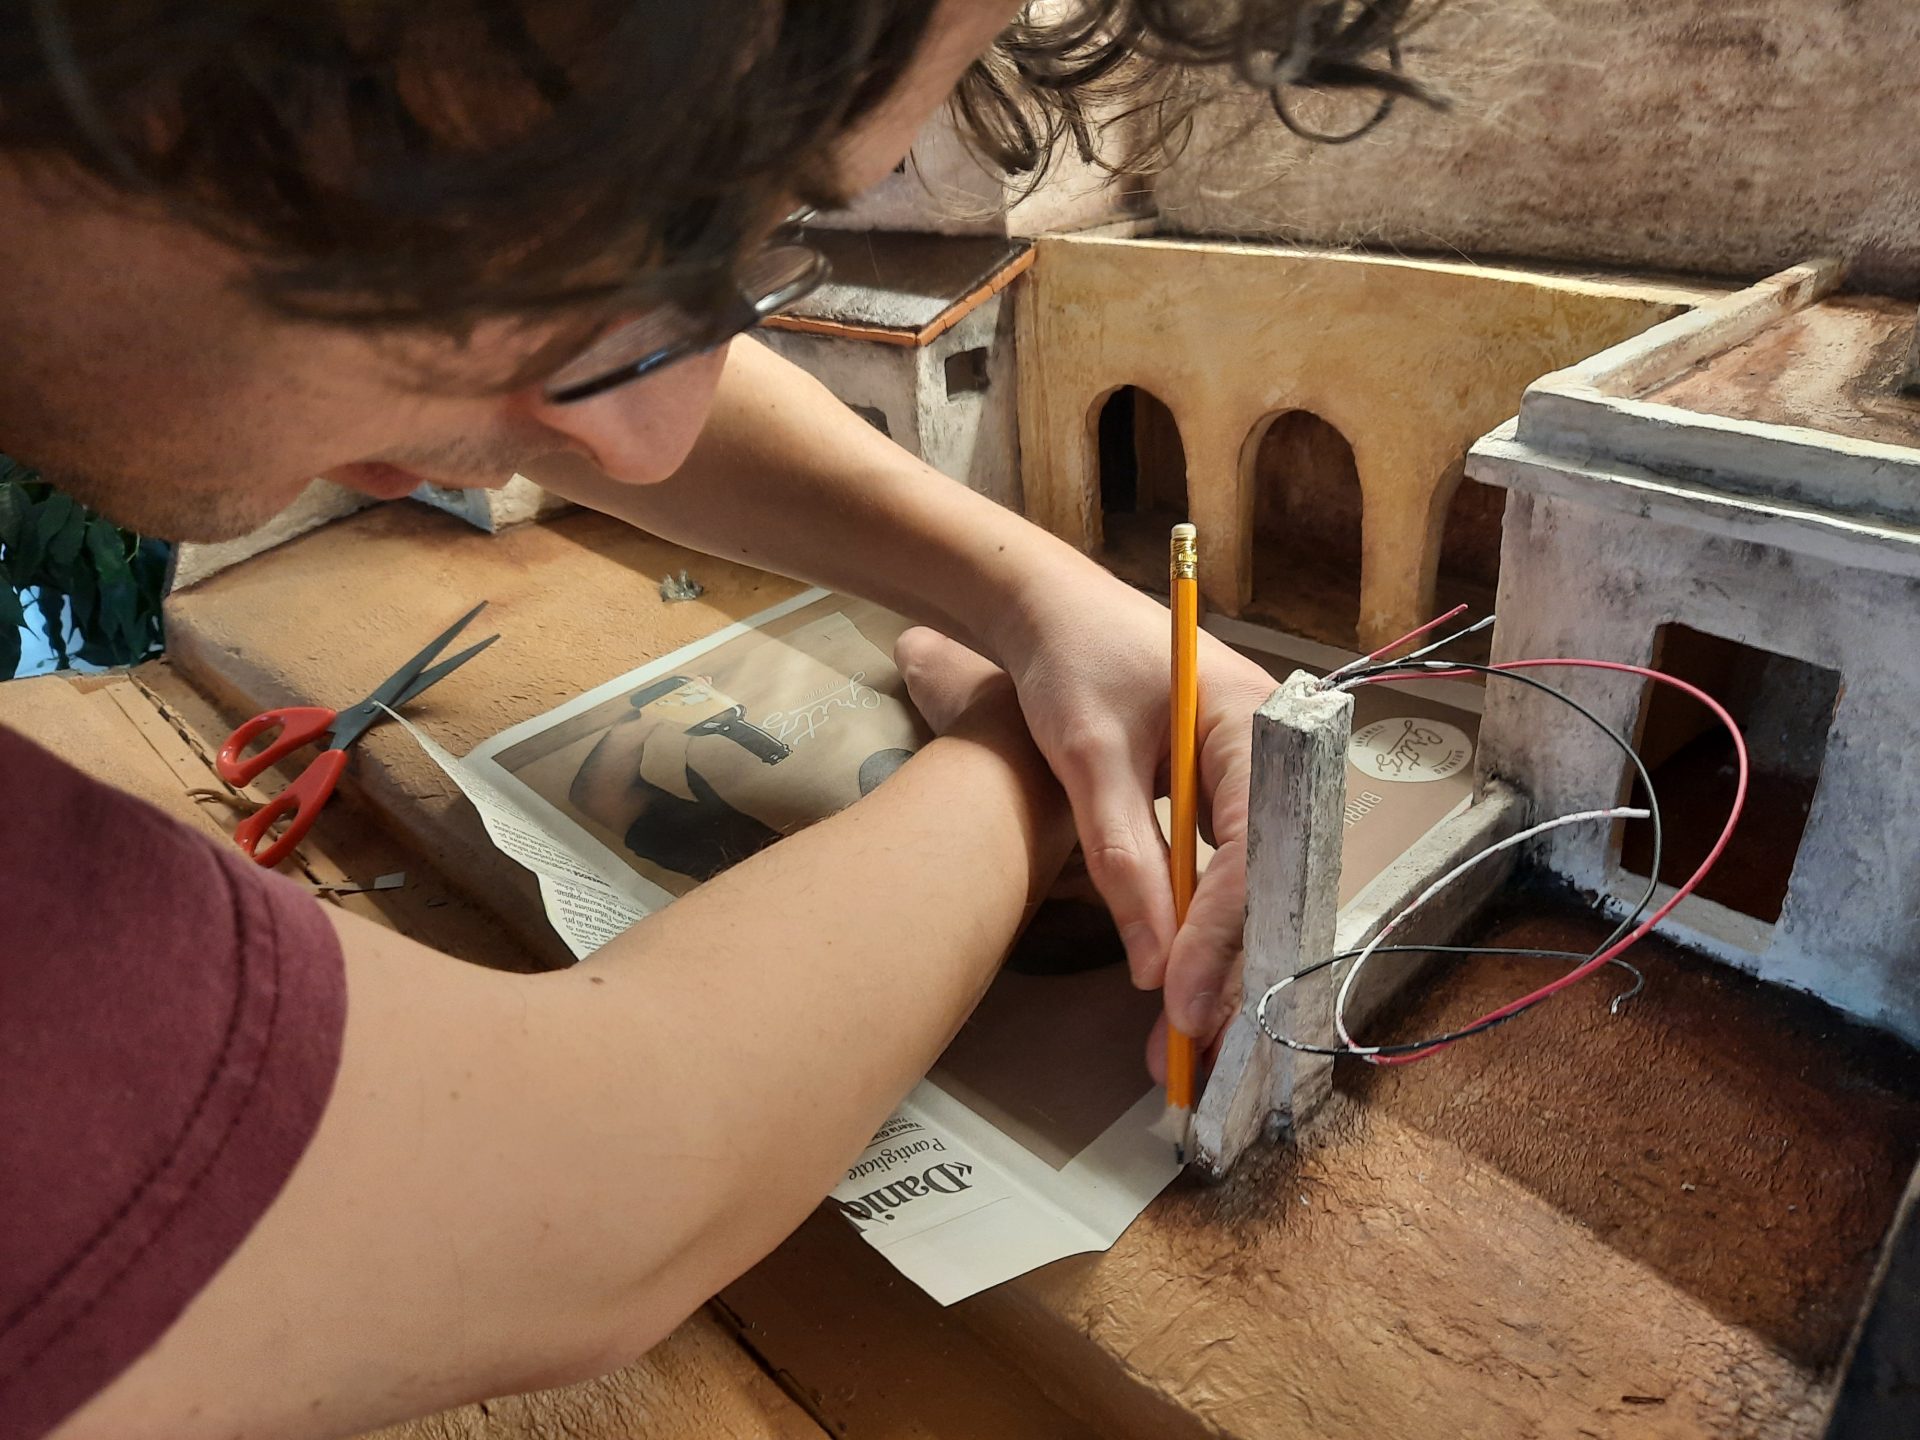
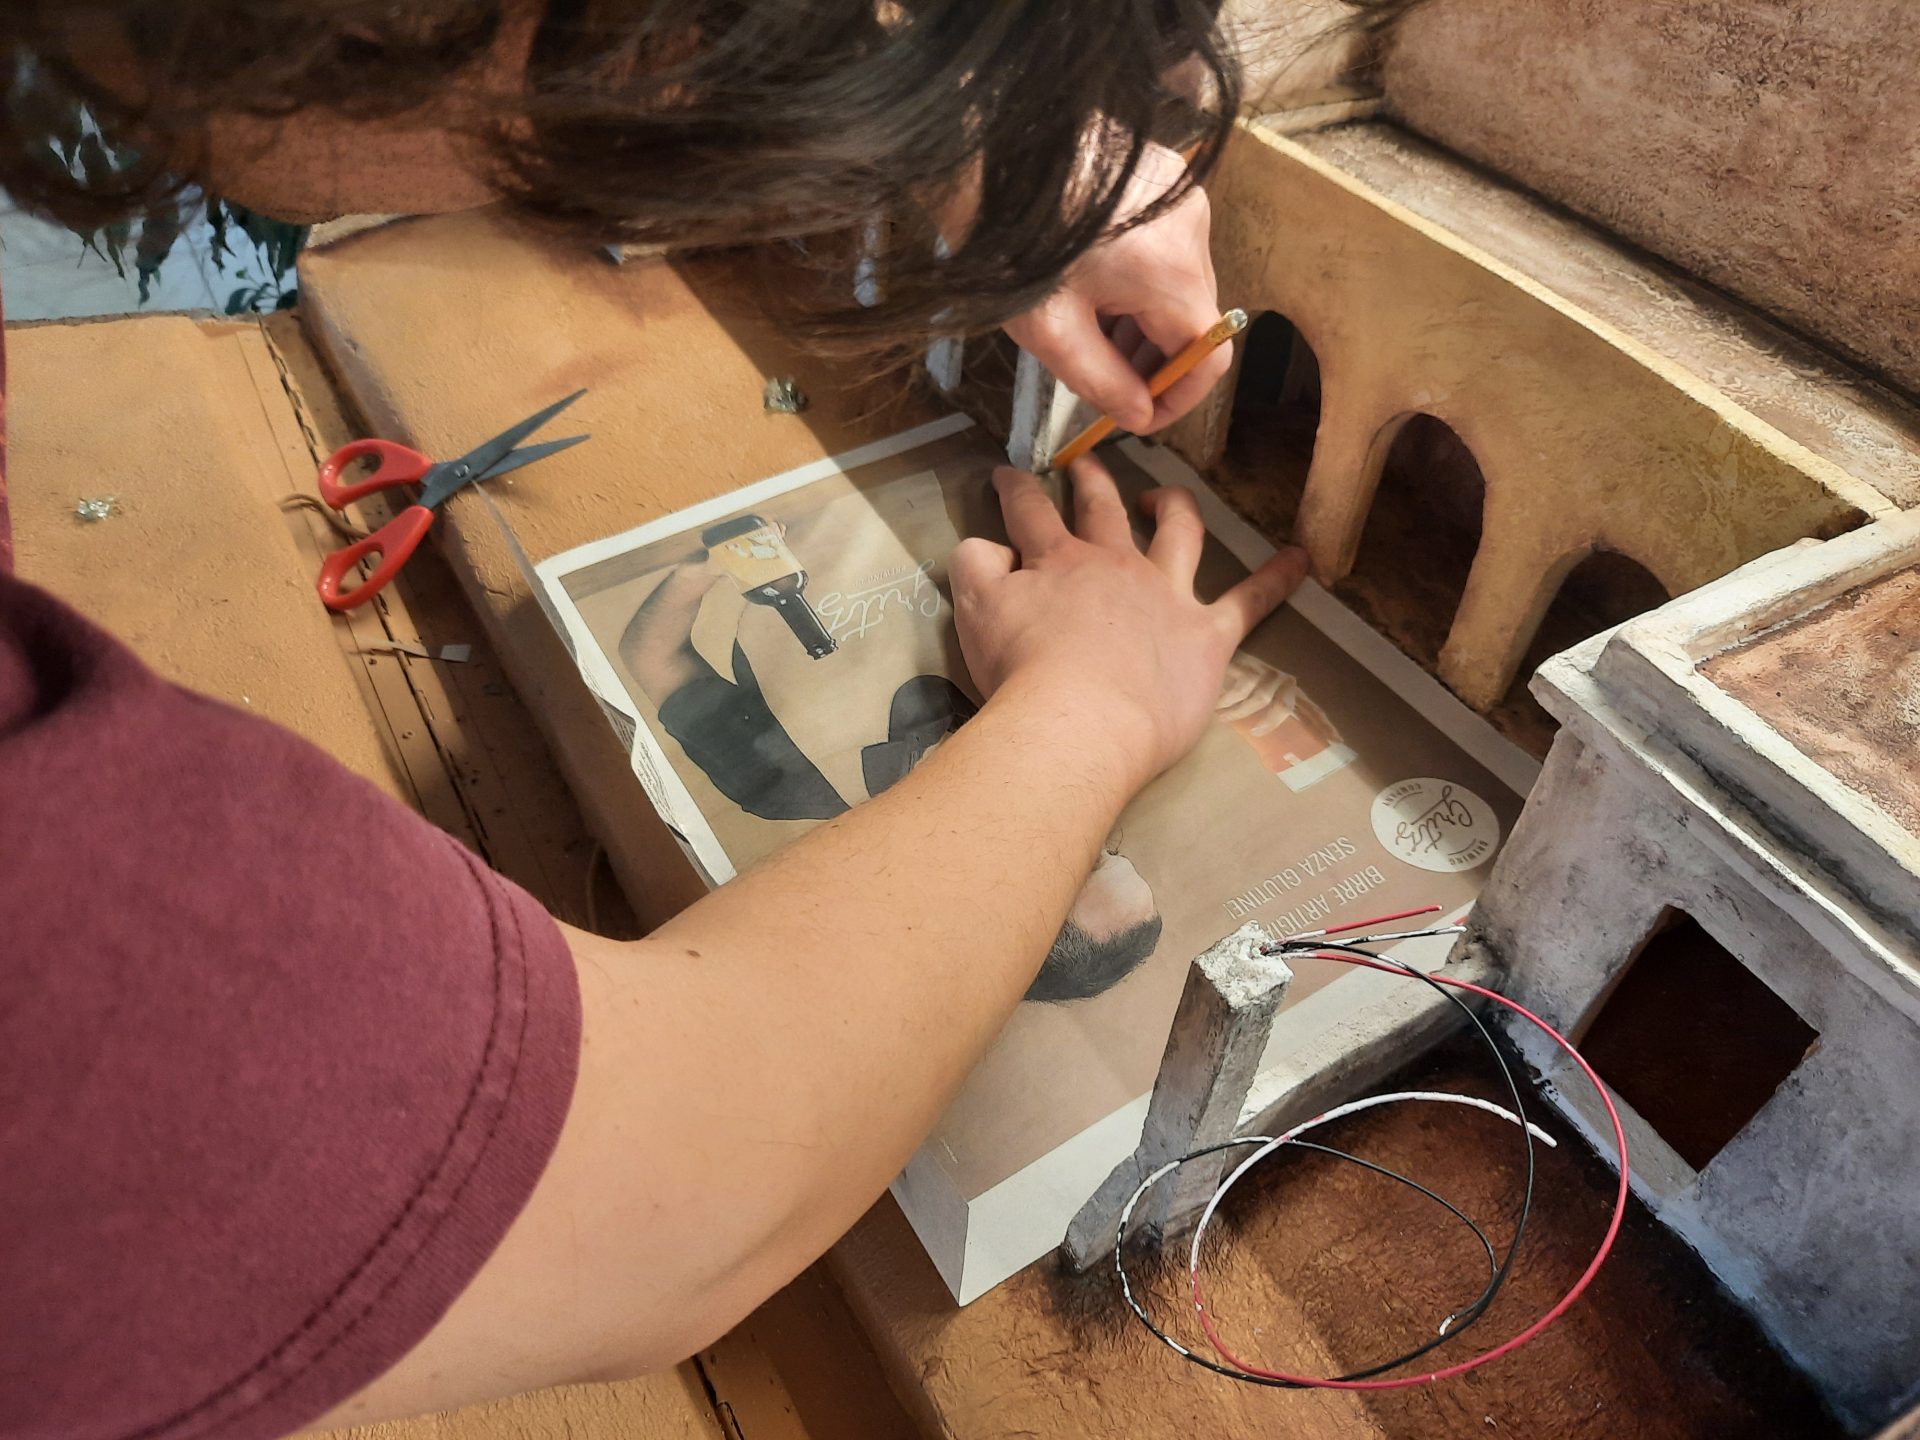
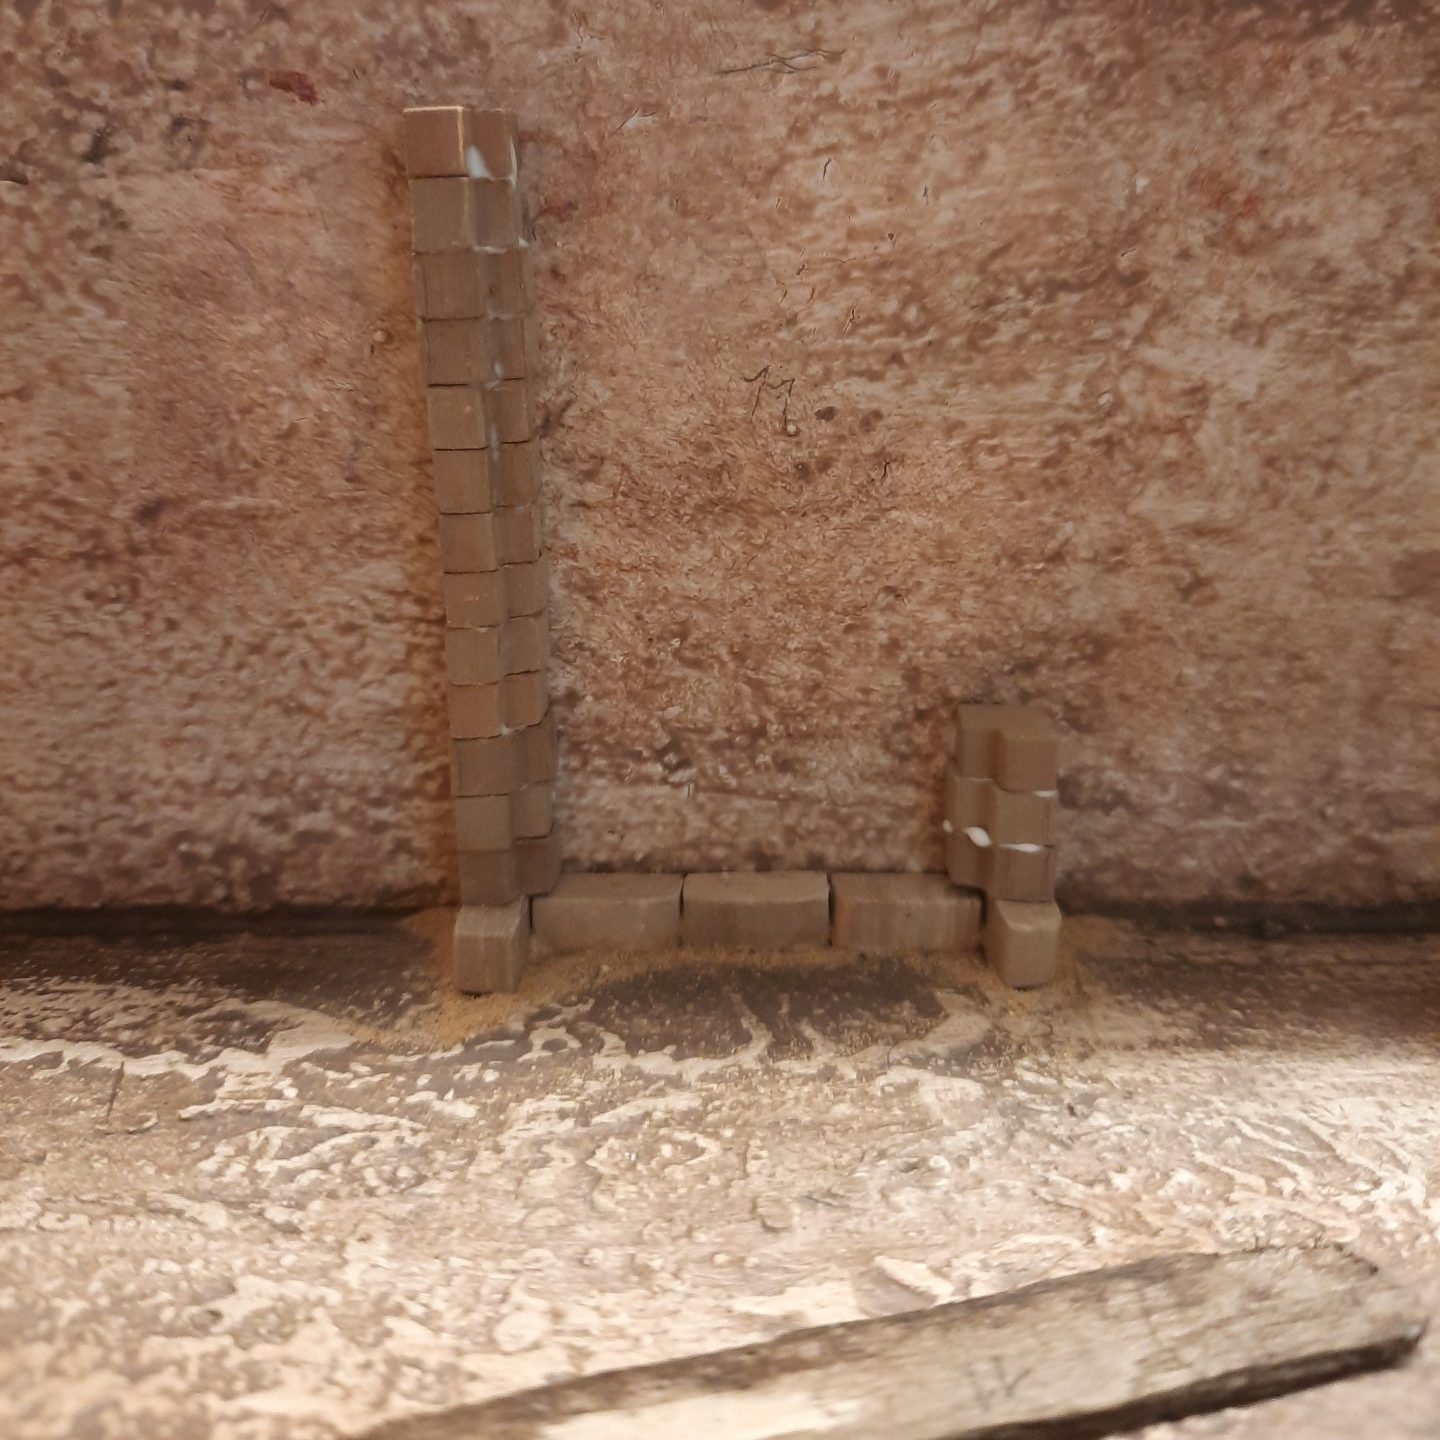
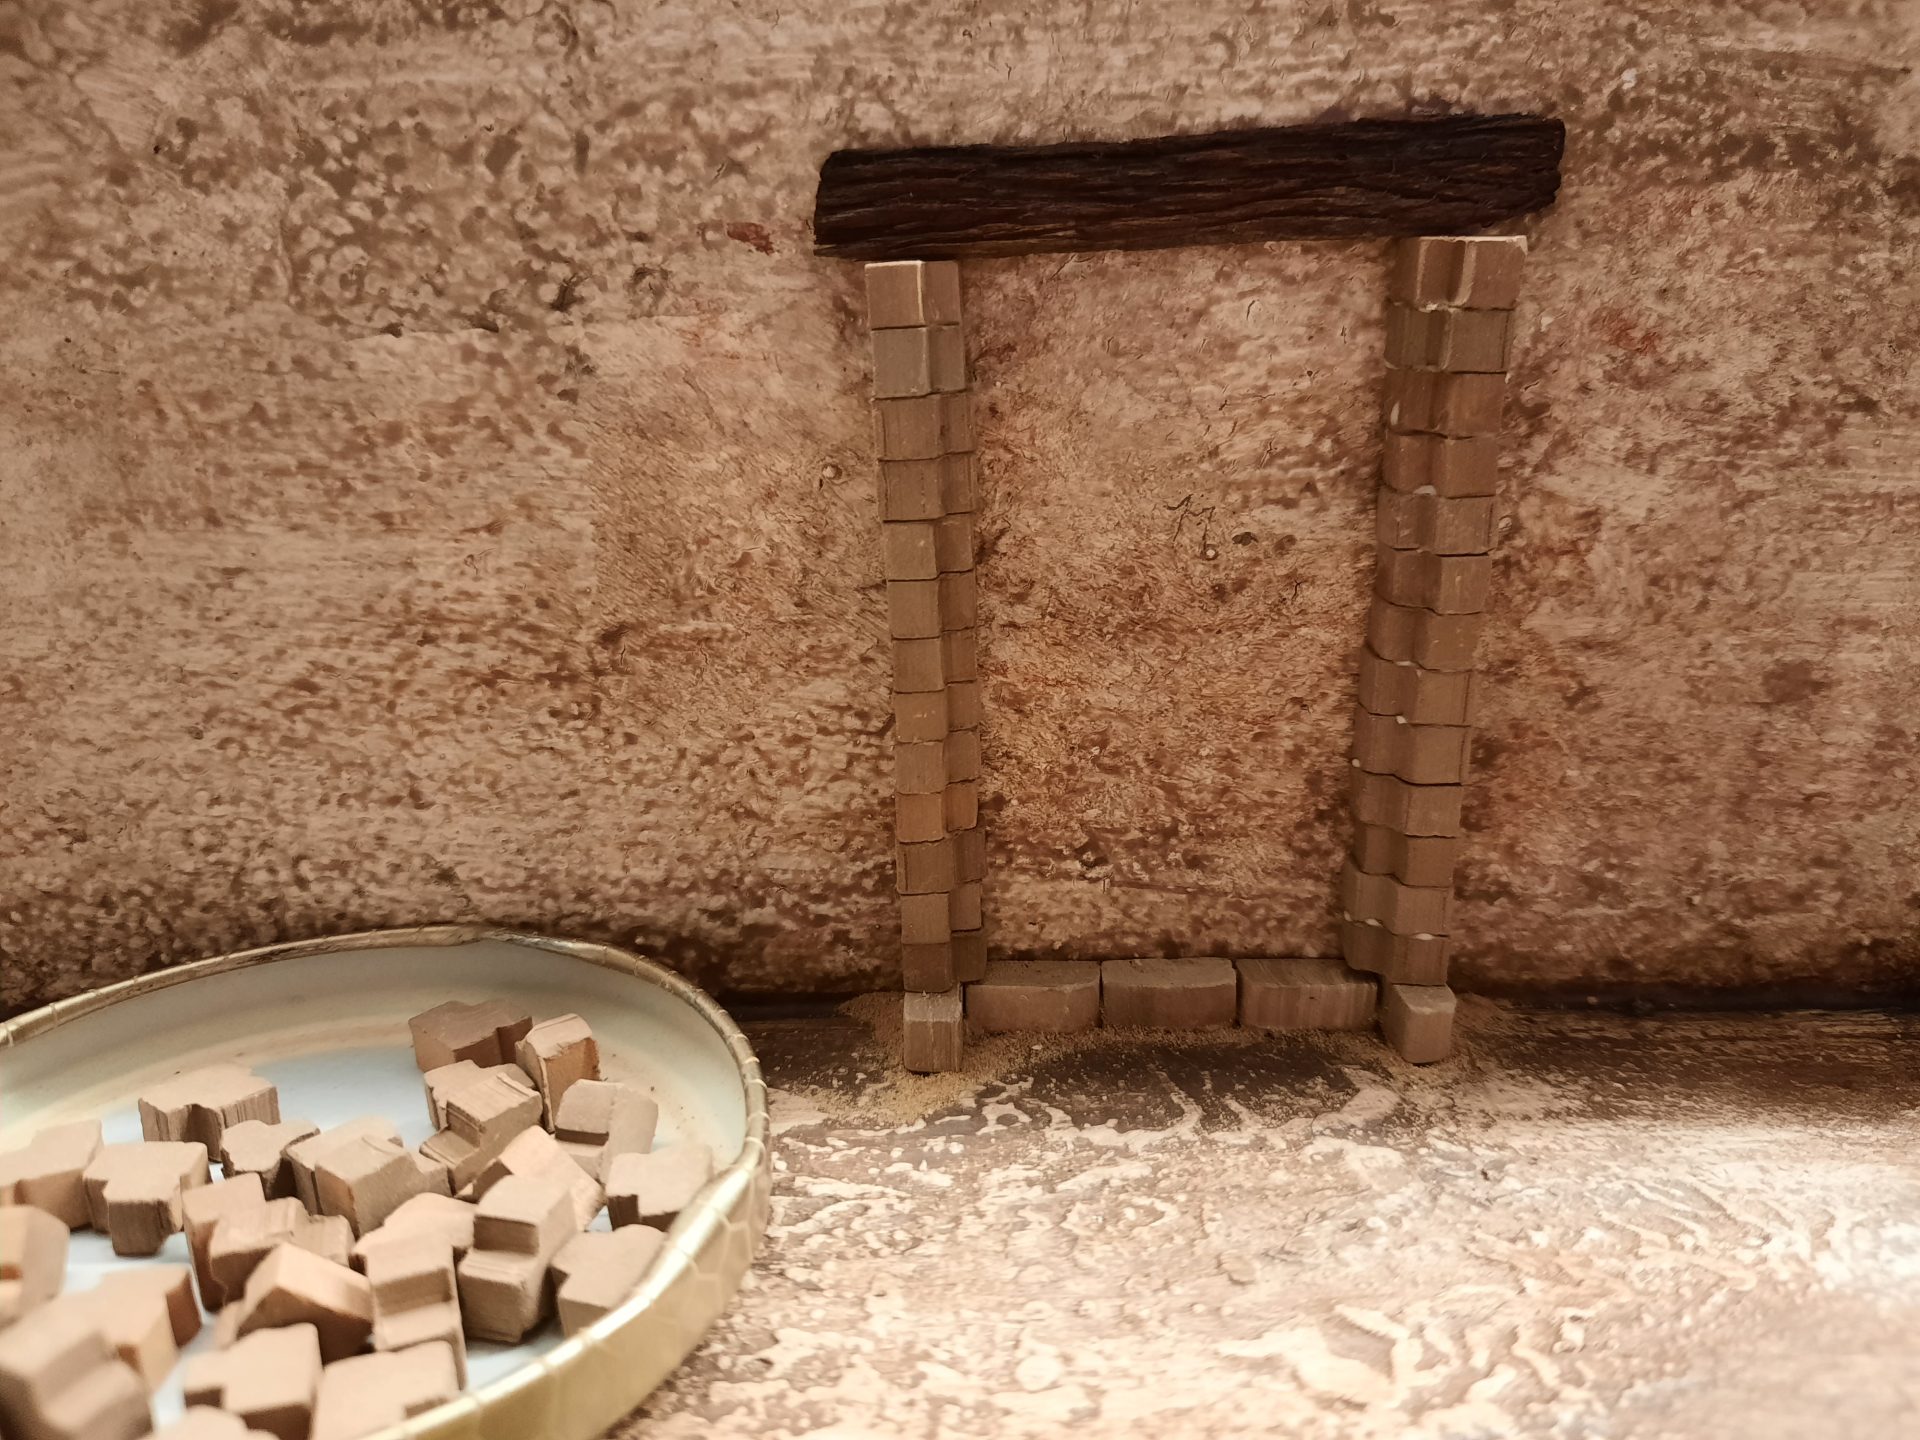
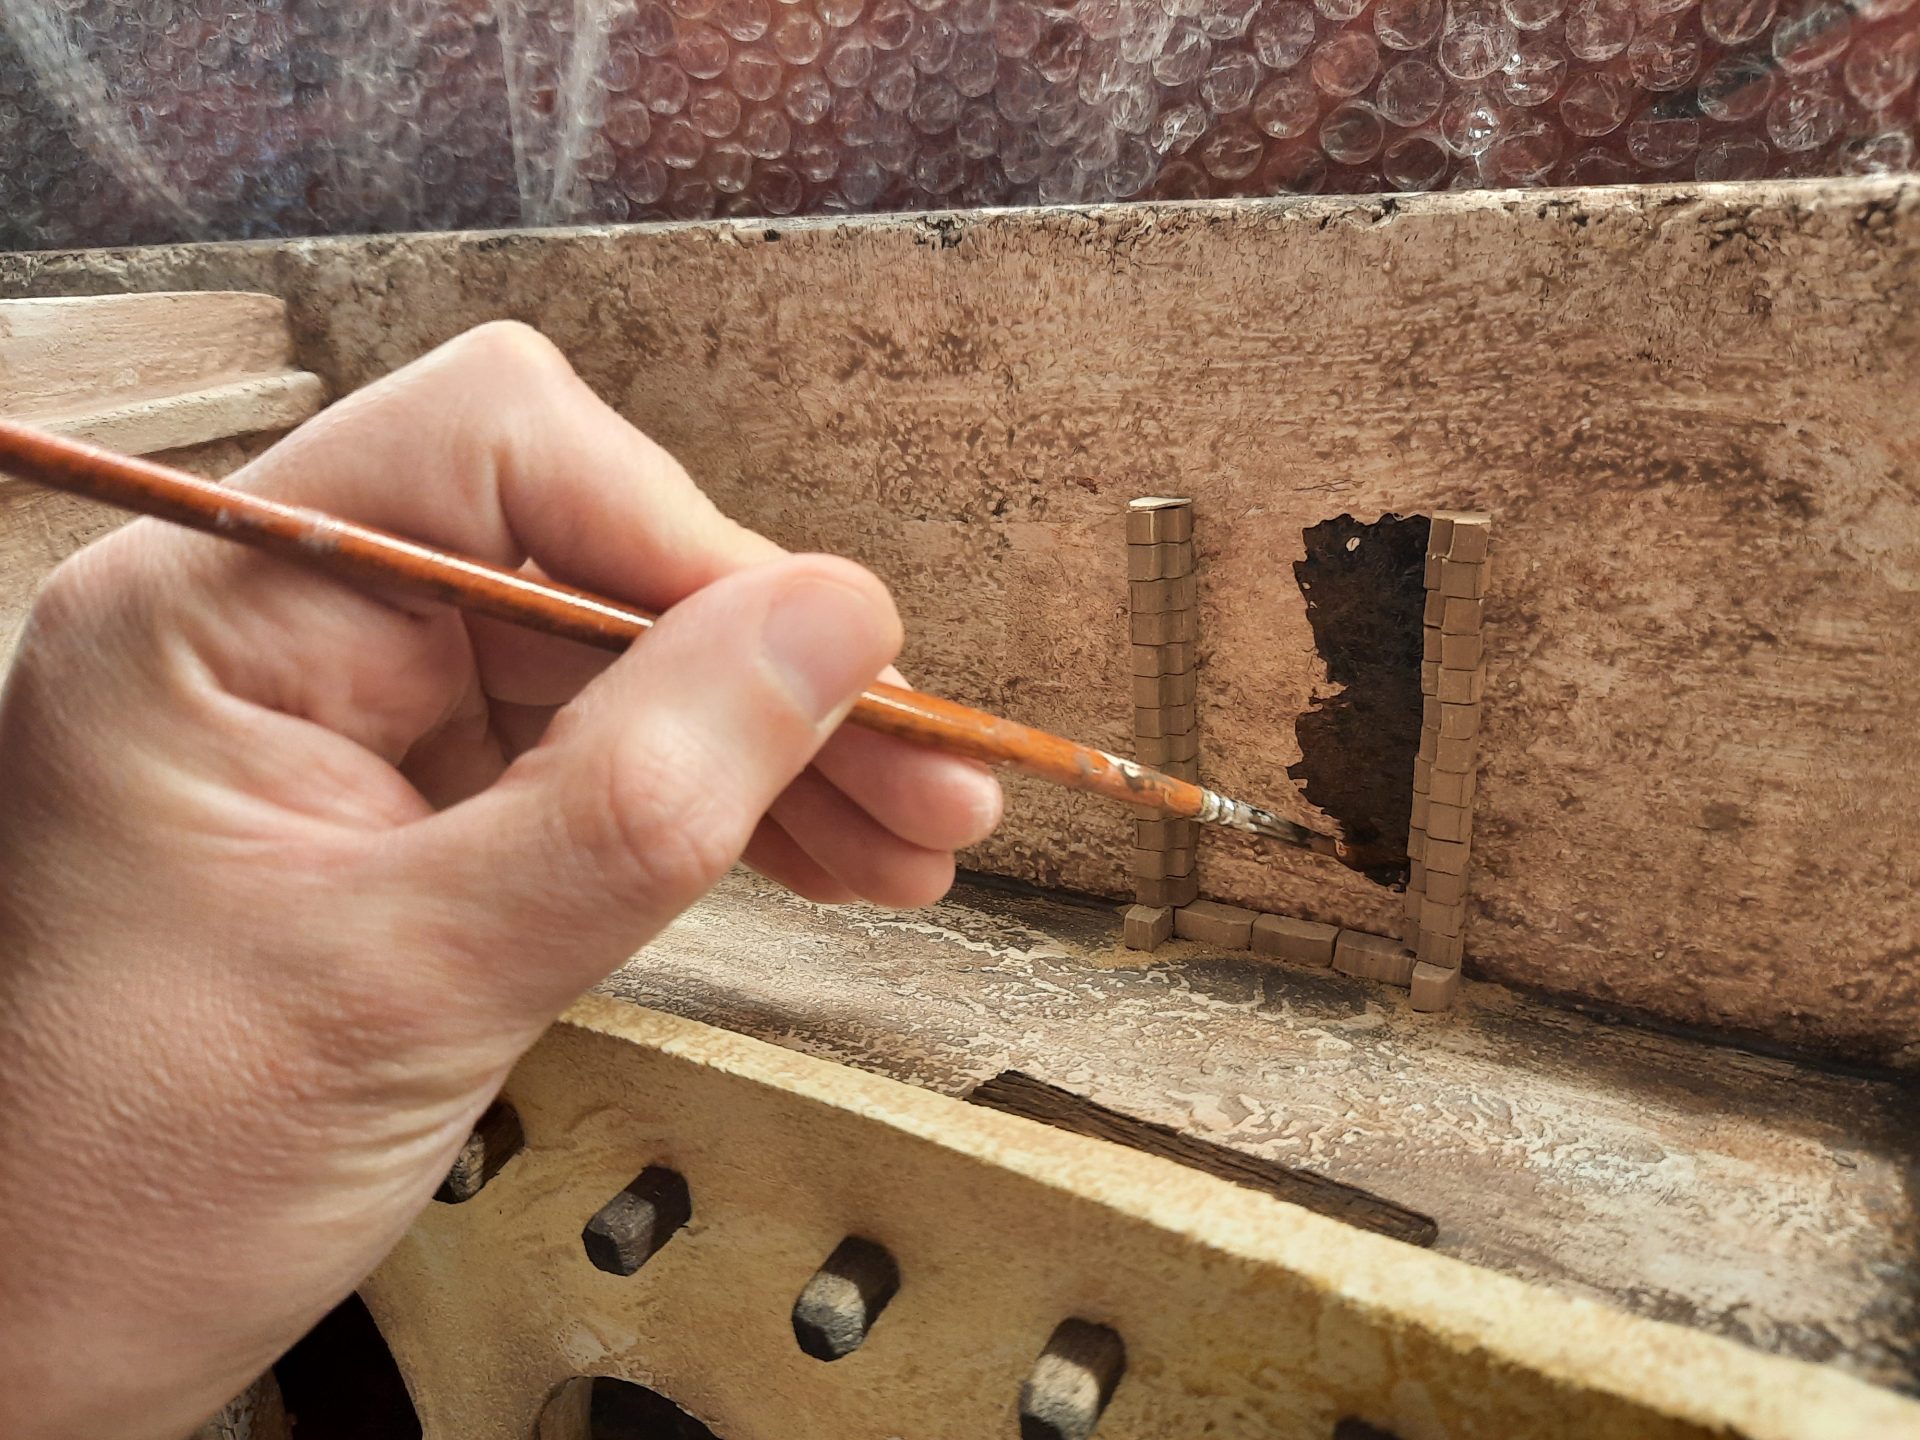
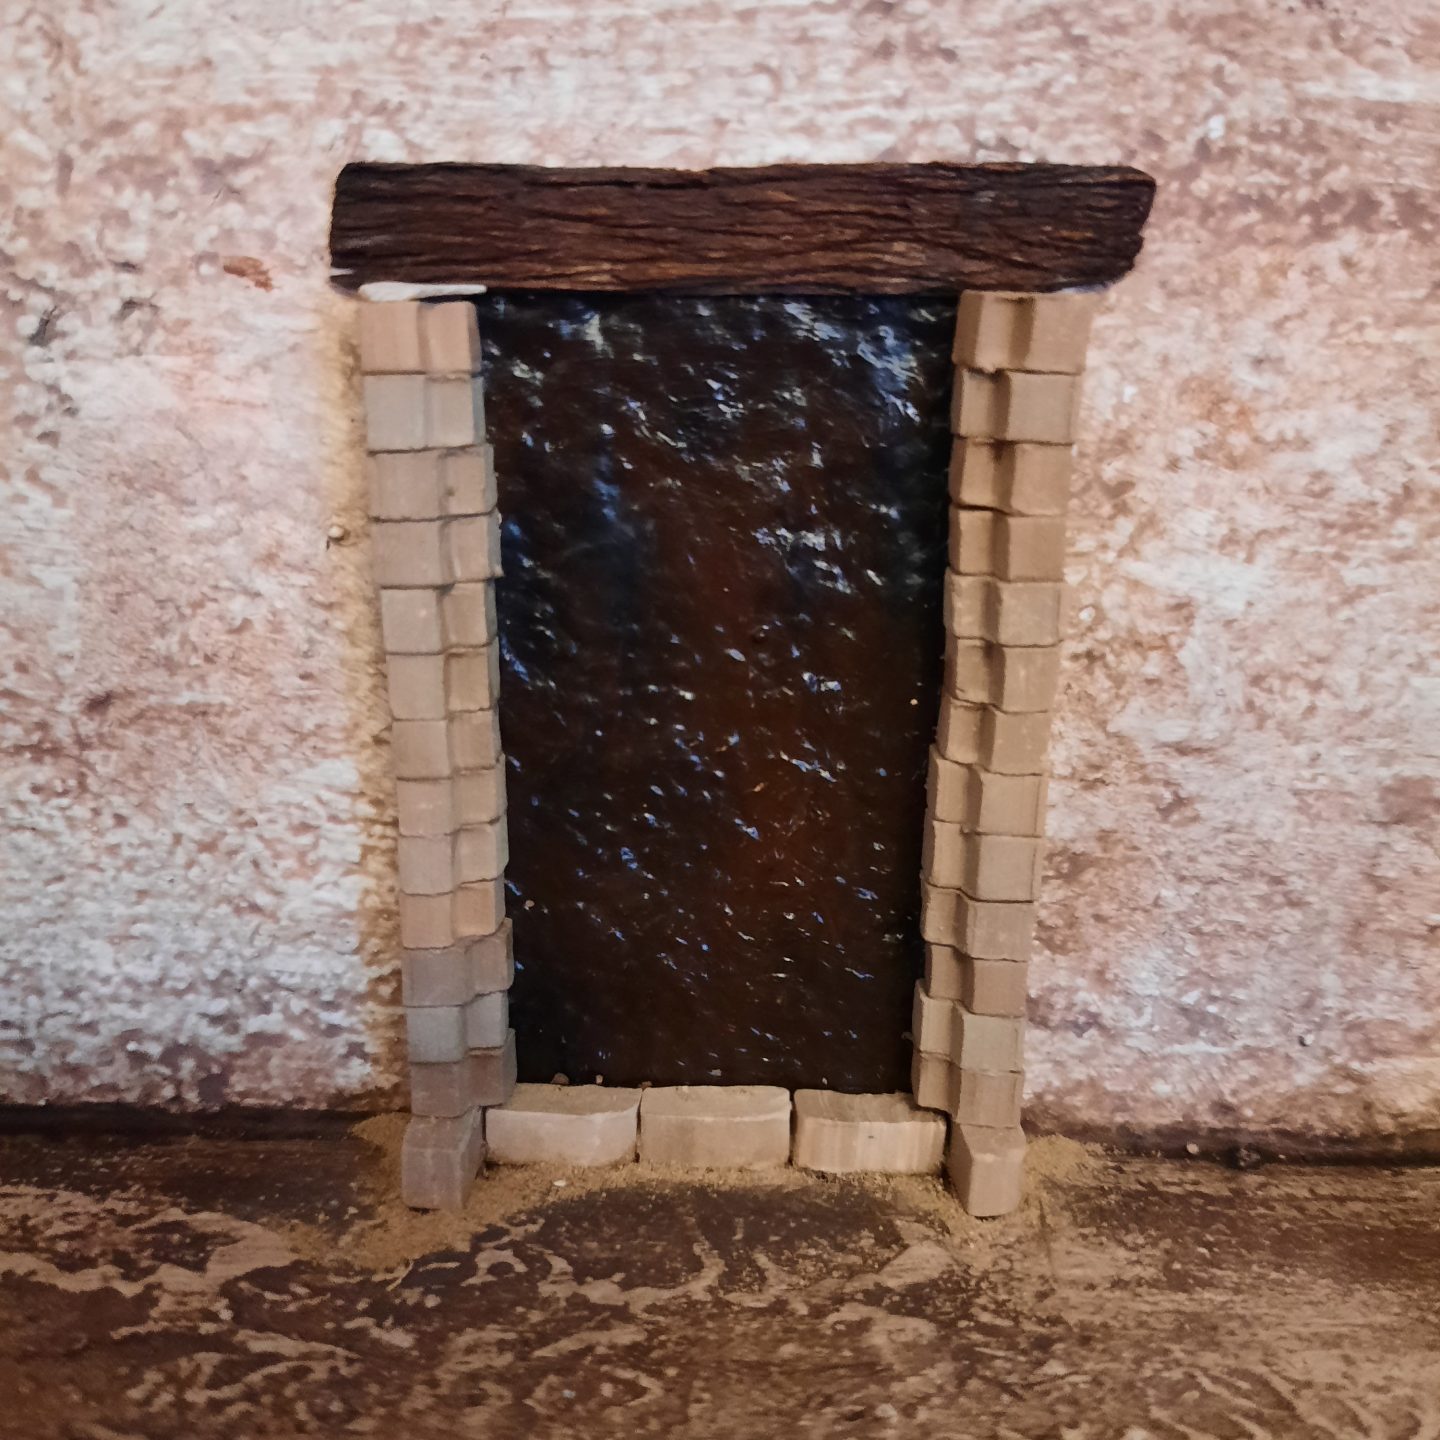
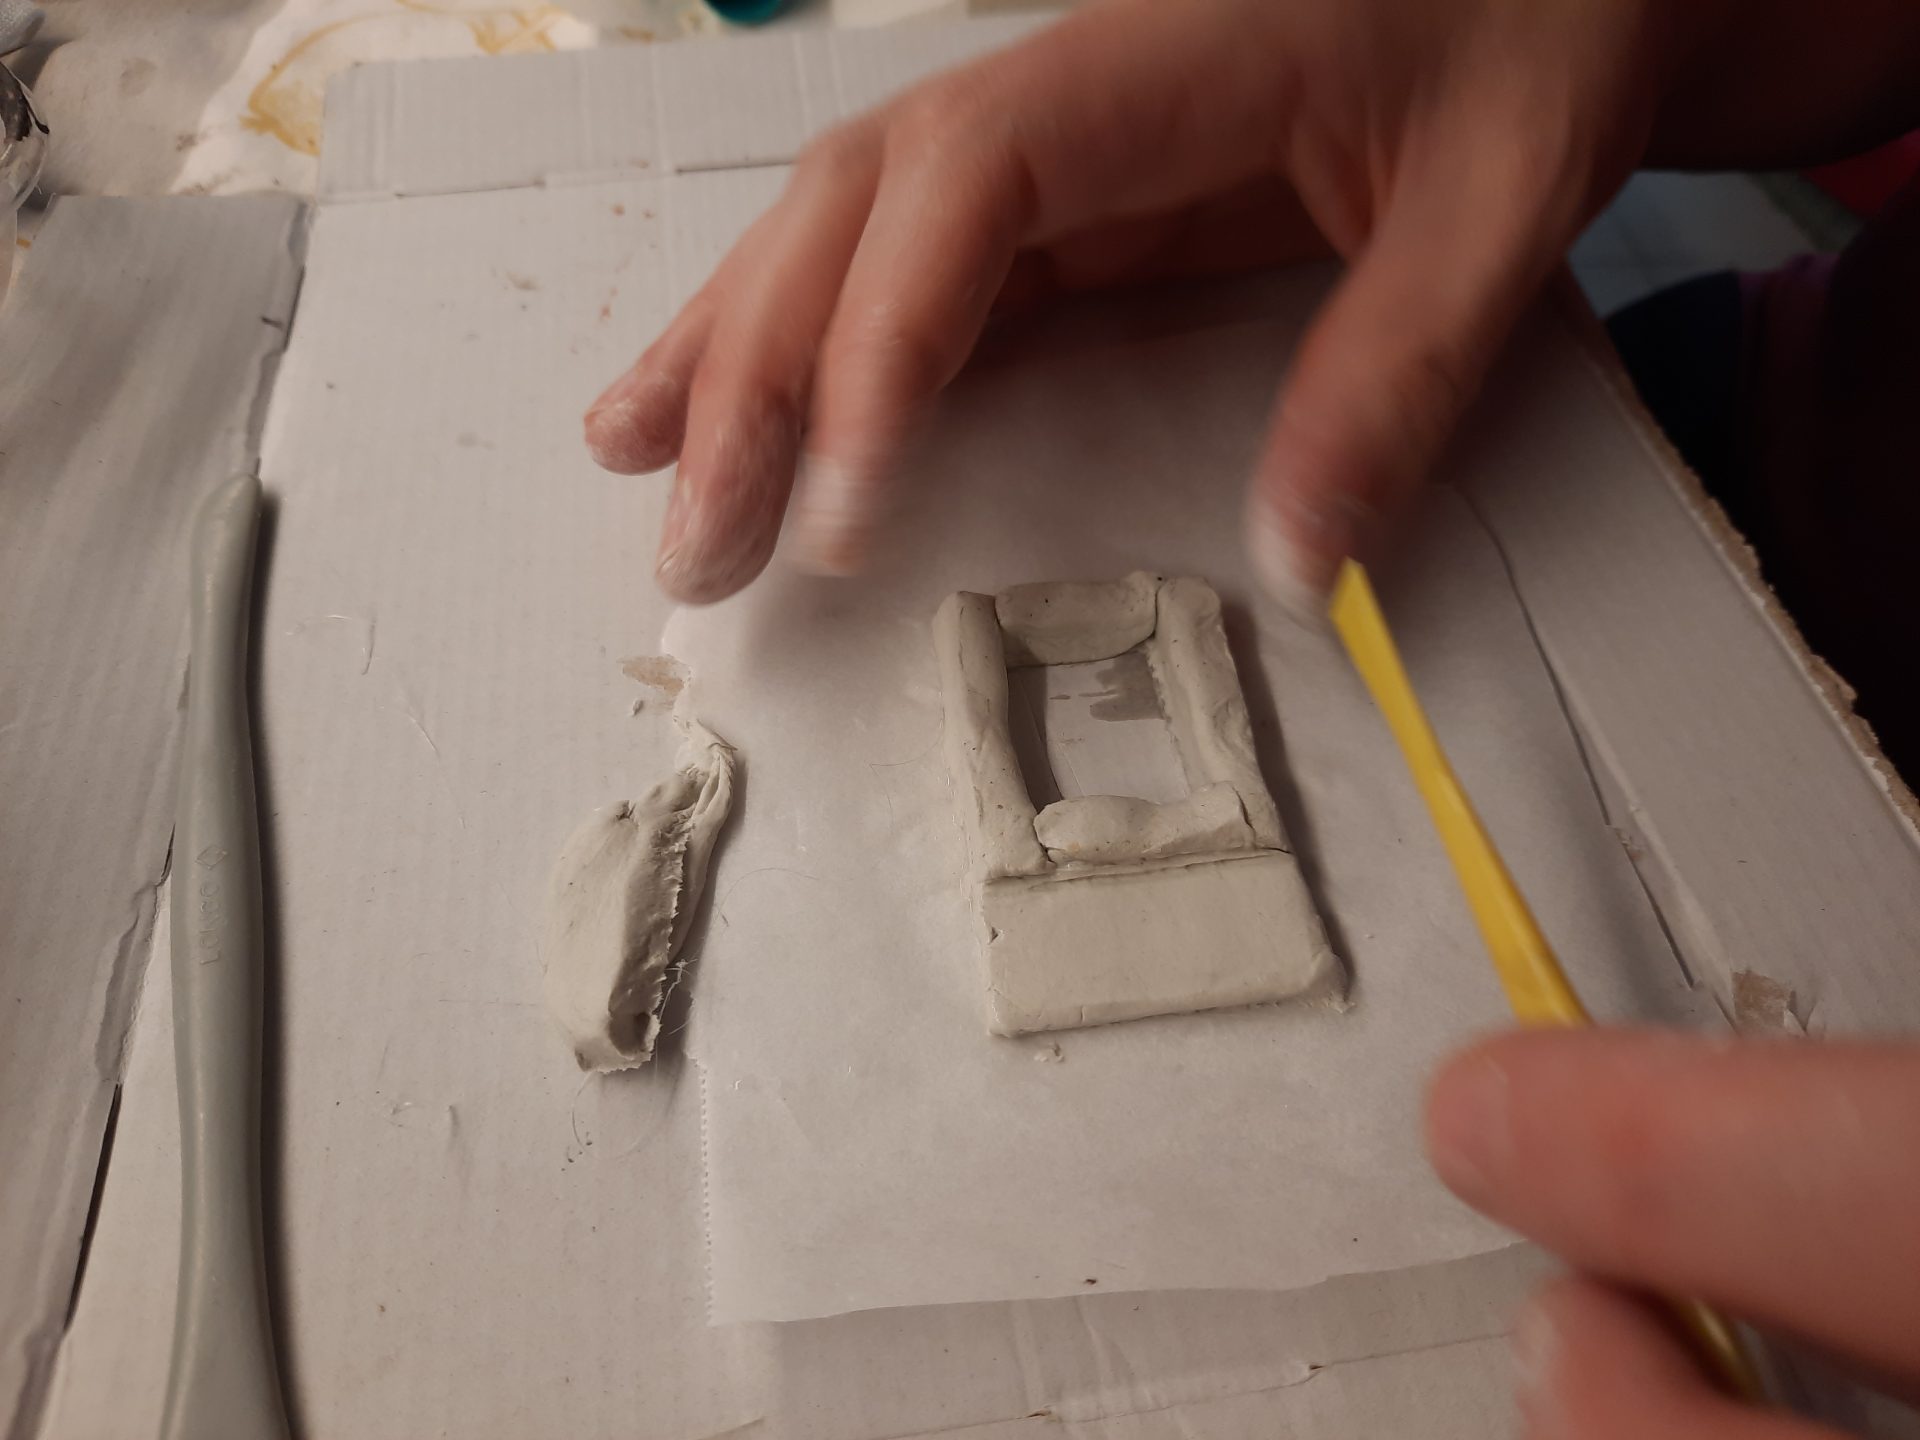
Using bricks from the old church kit, I built a fake doorframe against the back wall of the trunk. The idea was to suggest the entrance to a hidden home that opened onto the balcony above the square’s porch.
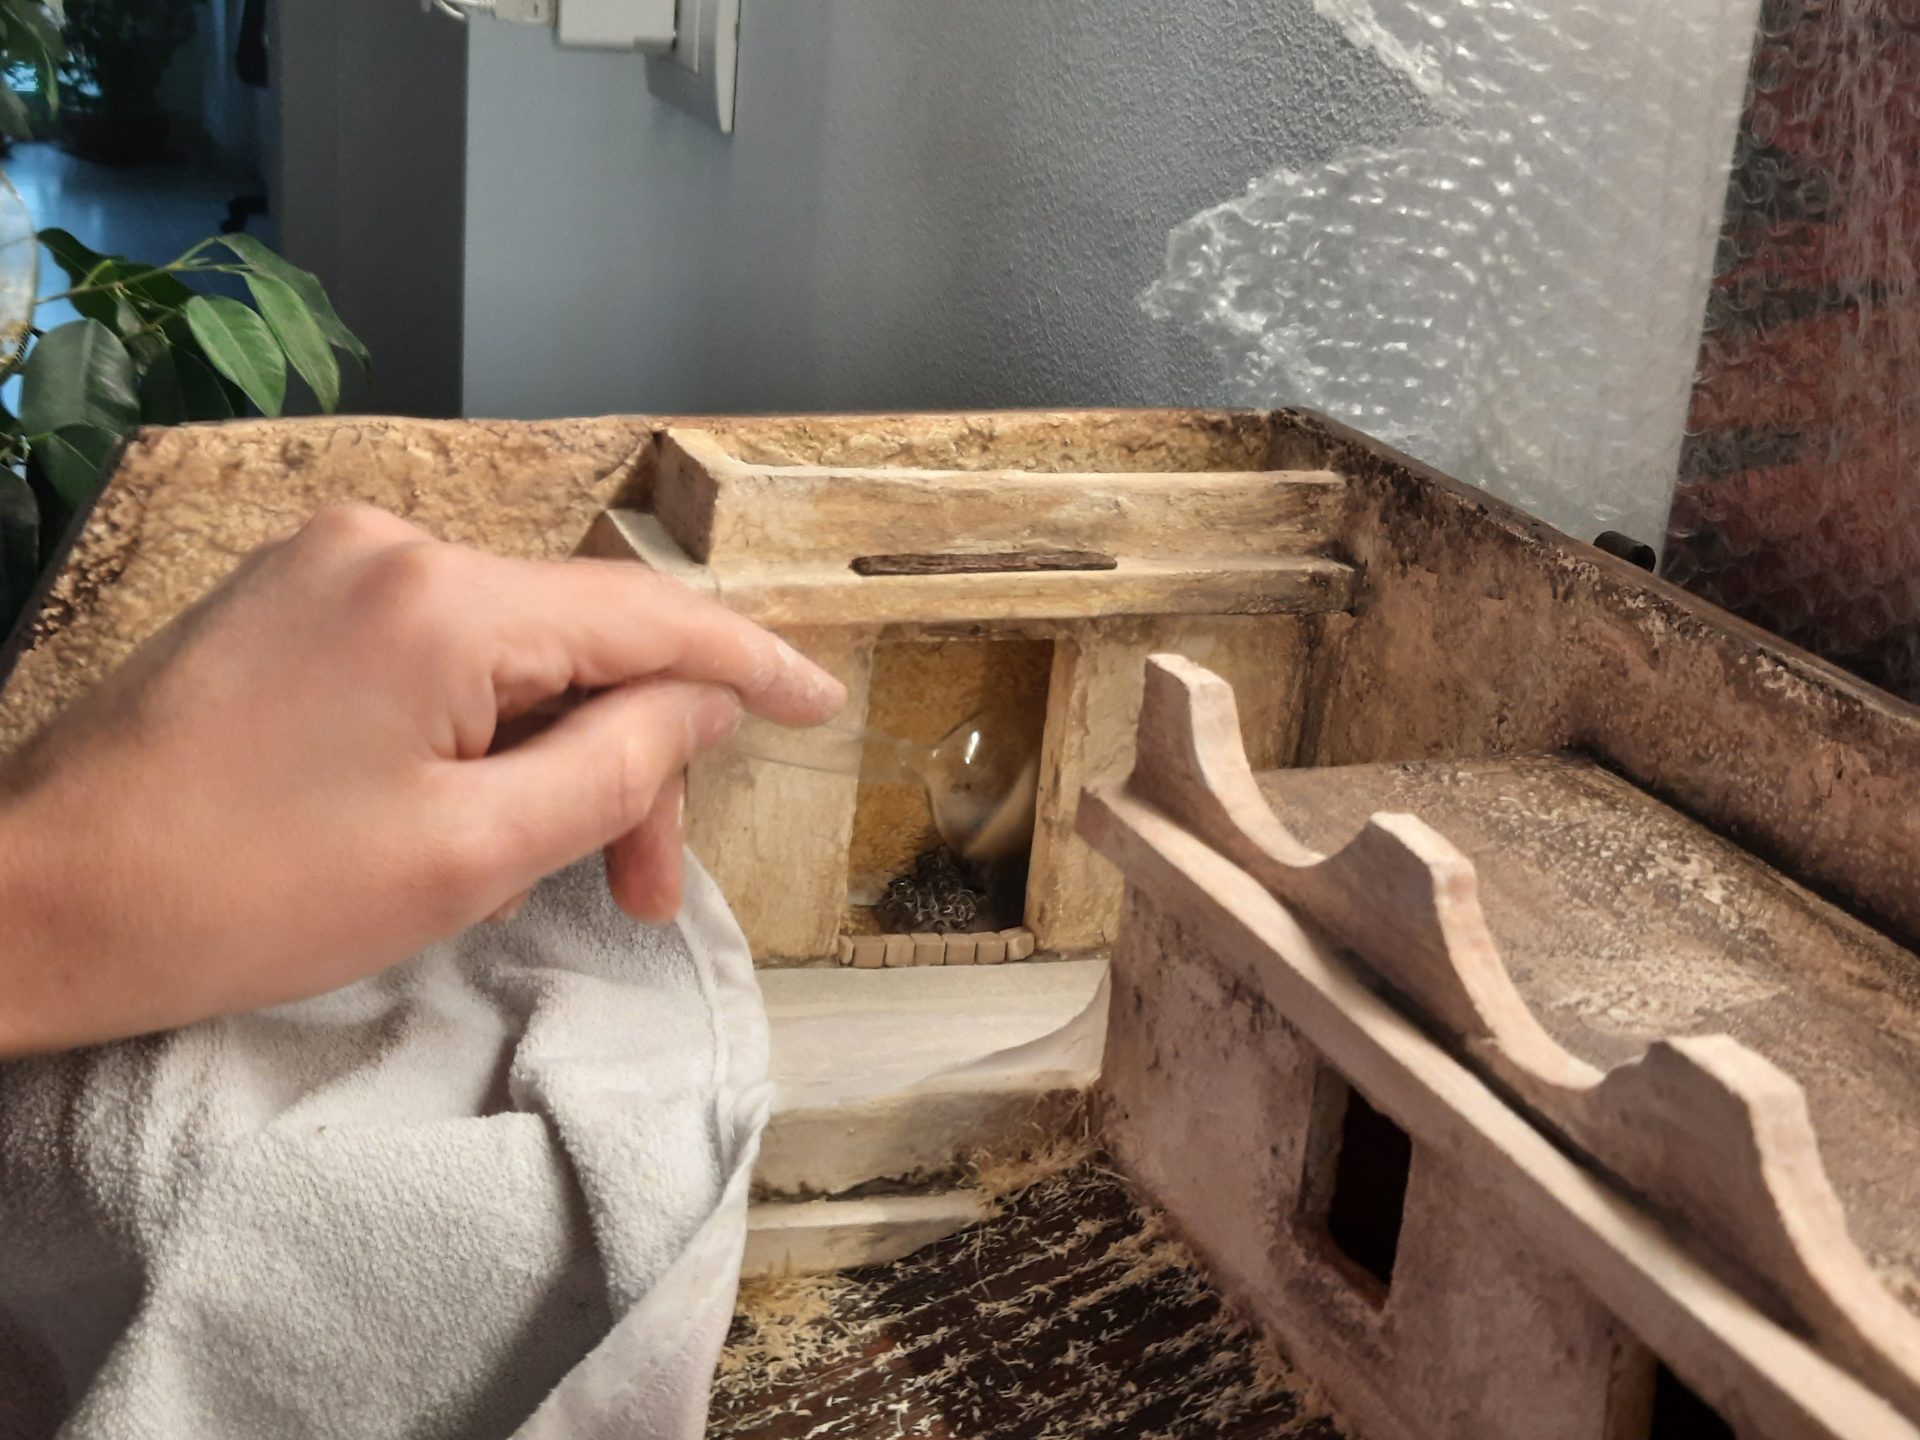
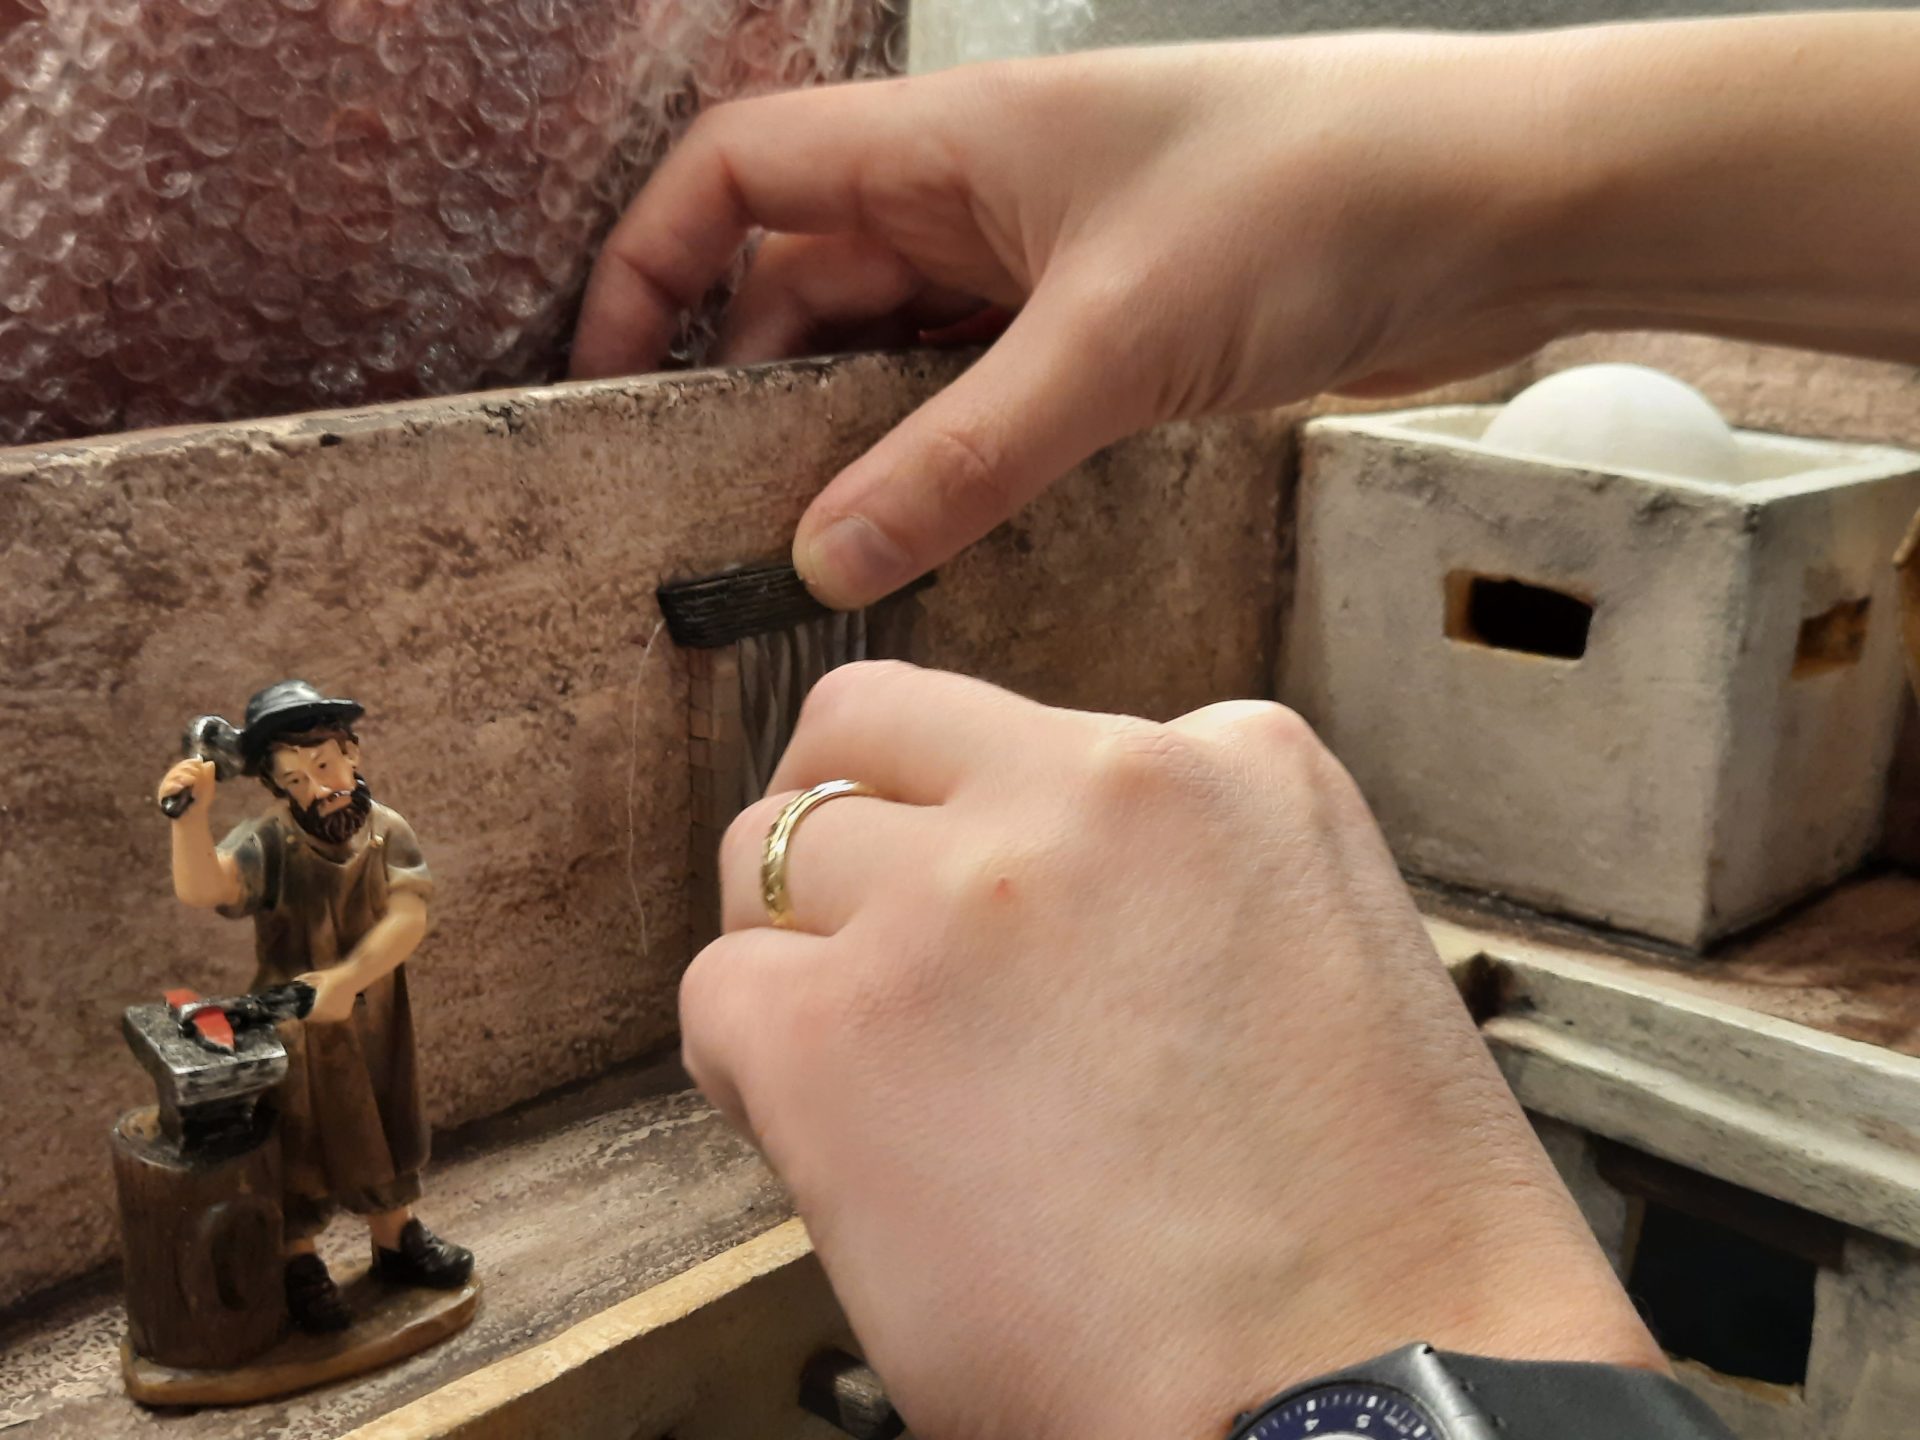
After measuring the correct size to be in scale with all the diorama, I carefully stacked bricks to make the side jambs, added more to make a threshold and glued a wooden lintel on top. When my husband later applied the dark washes to the square, he painted the interior of this doorway in deep black, creating the illusion of a shadowy passageway. To make it feel more lived-in, we wanted to also cover it later with a curtain.
On the far left, another upper floor featured a balcony with part of a small home. To finish it, I added a stone threshold beneath its doorway. For the floor of that tiny suggestion of a room, my husband gathered the leftover crumbs and fragments from cutting the porch tiles, mixed them with glue, and spread the mixture to create a rough, irregular pavement.
Furnishing the heart of the scene
Detailing the two stables and storage room
With the buildings painted and the main structures in place, it was time to turn our attention indoors. Each stable, room and porch needed the small details that would make them feel alive and inhabited.
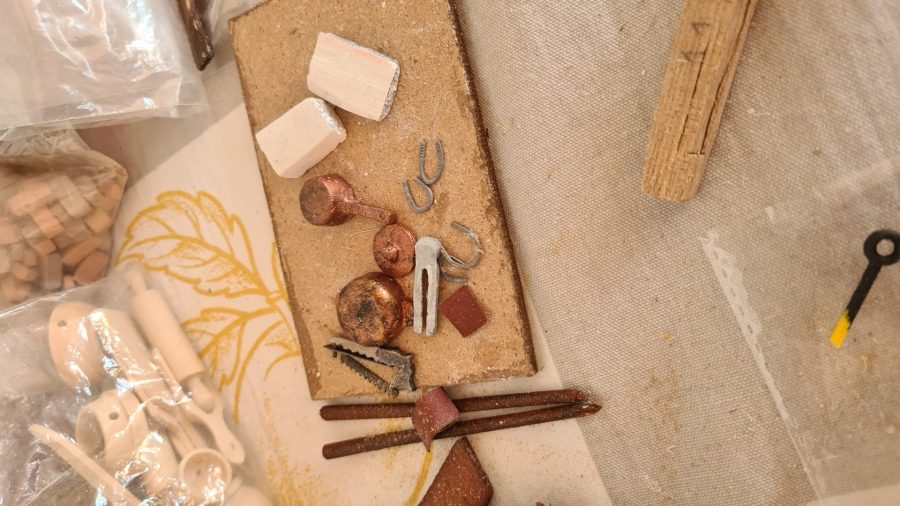
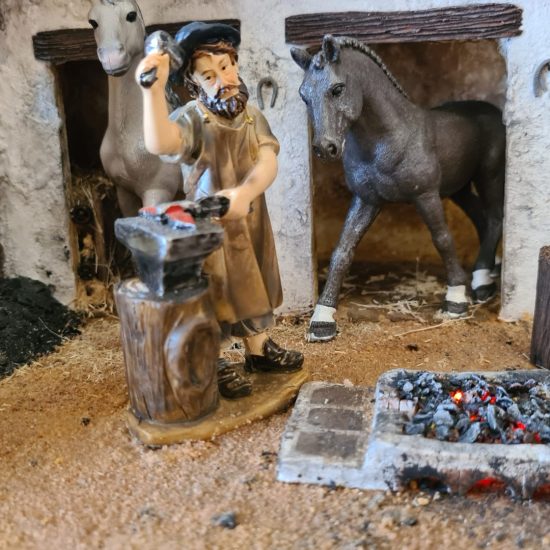
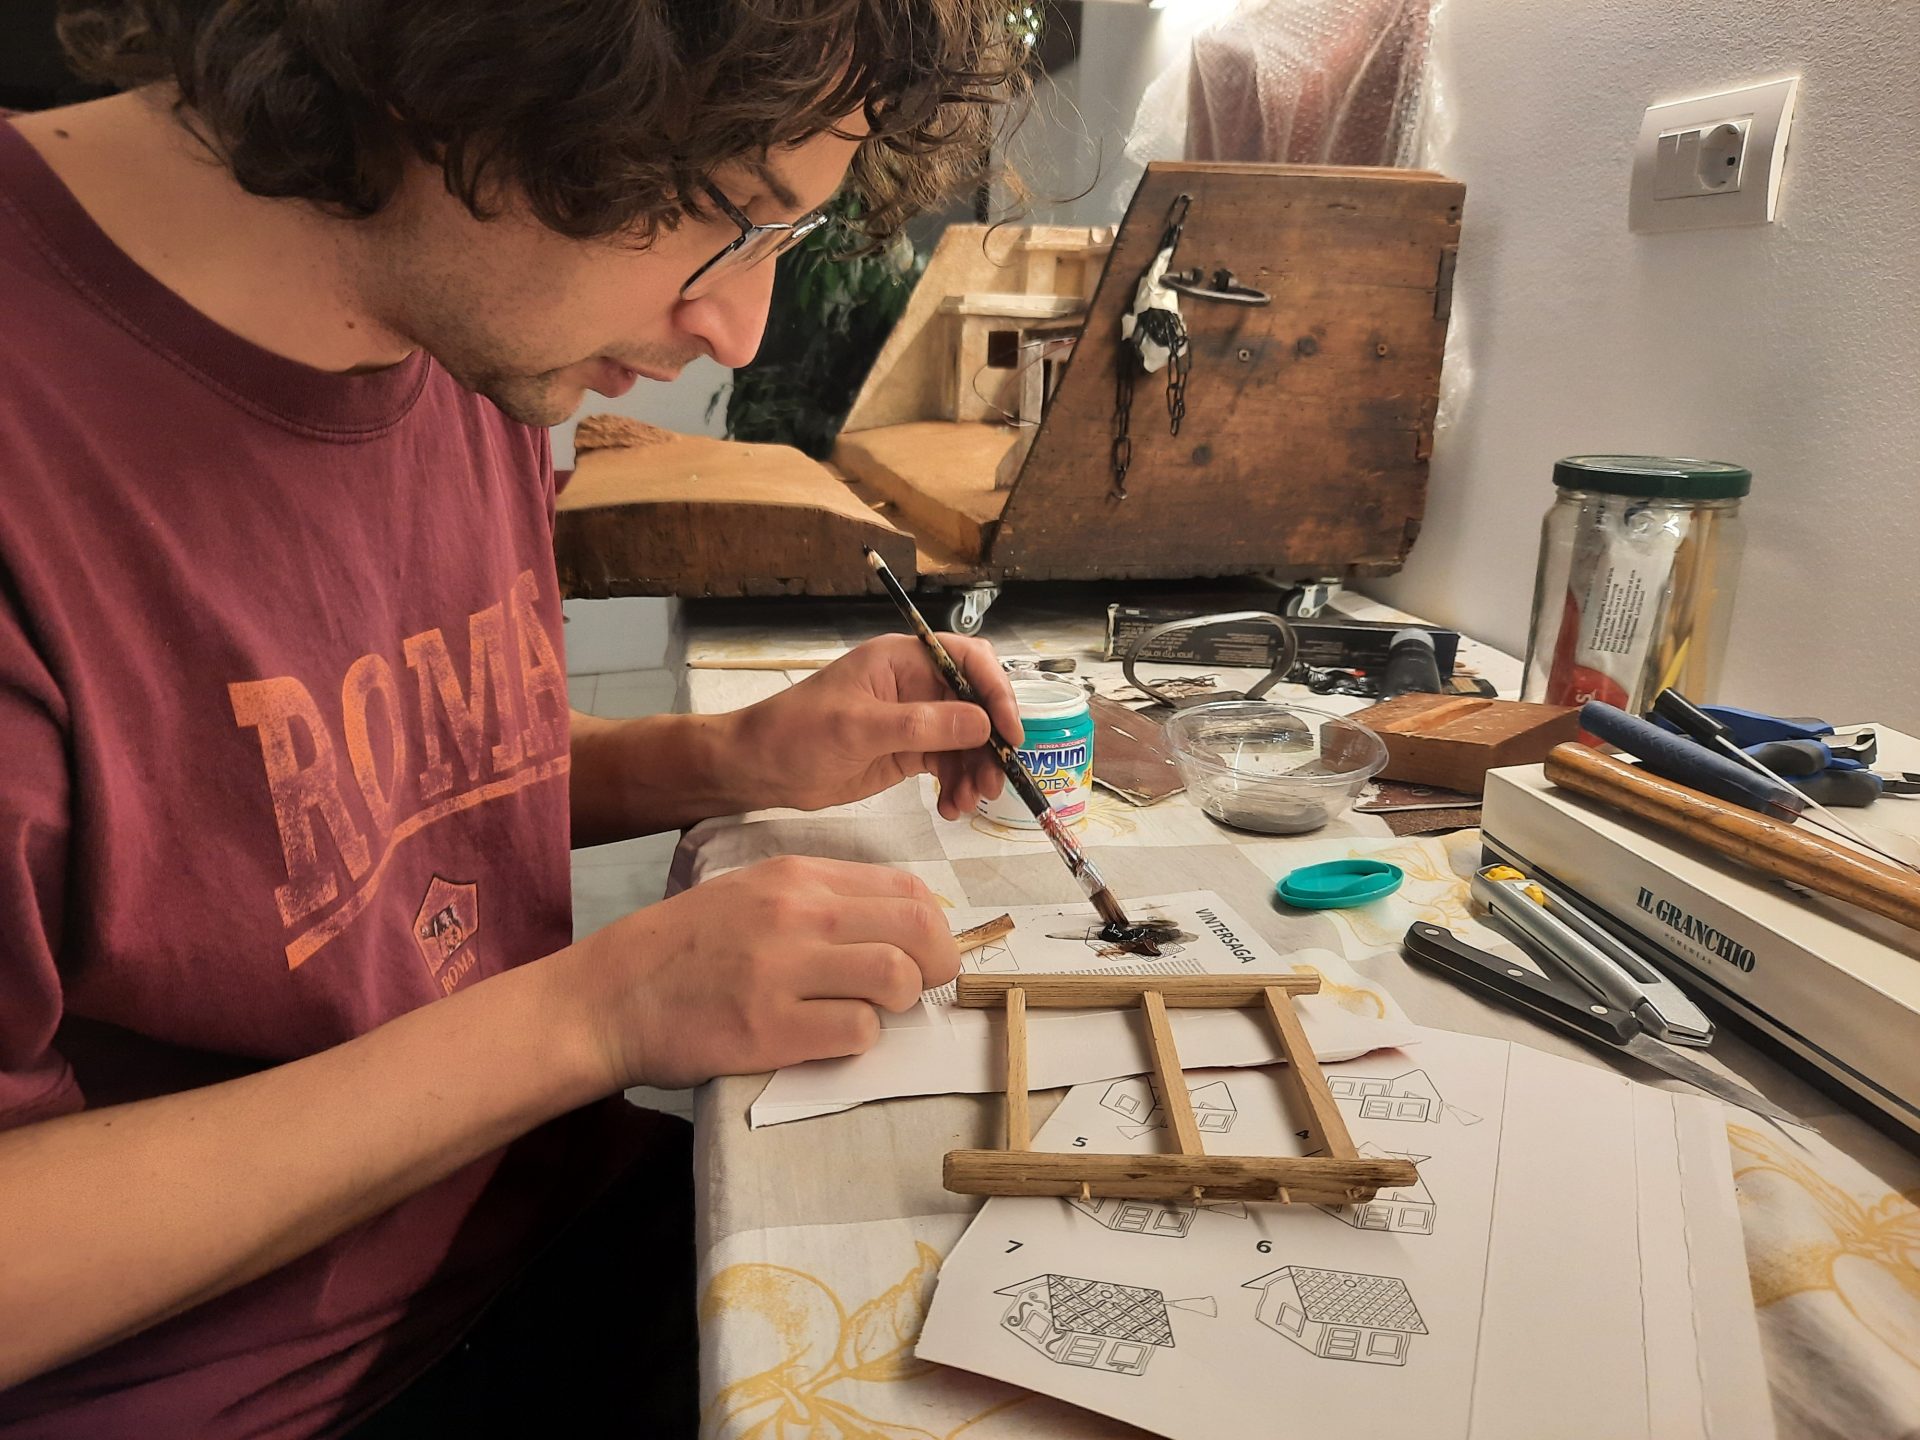
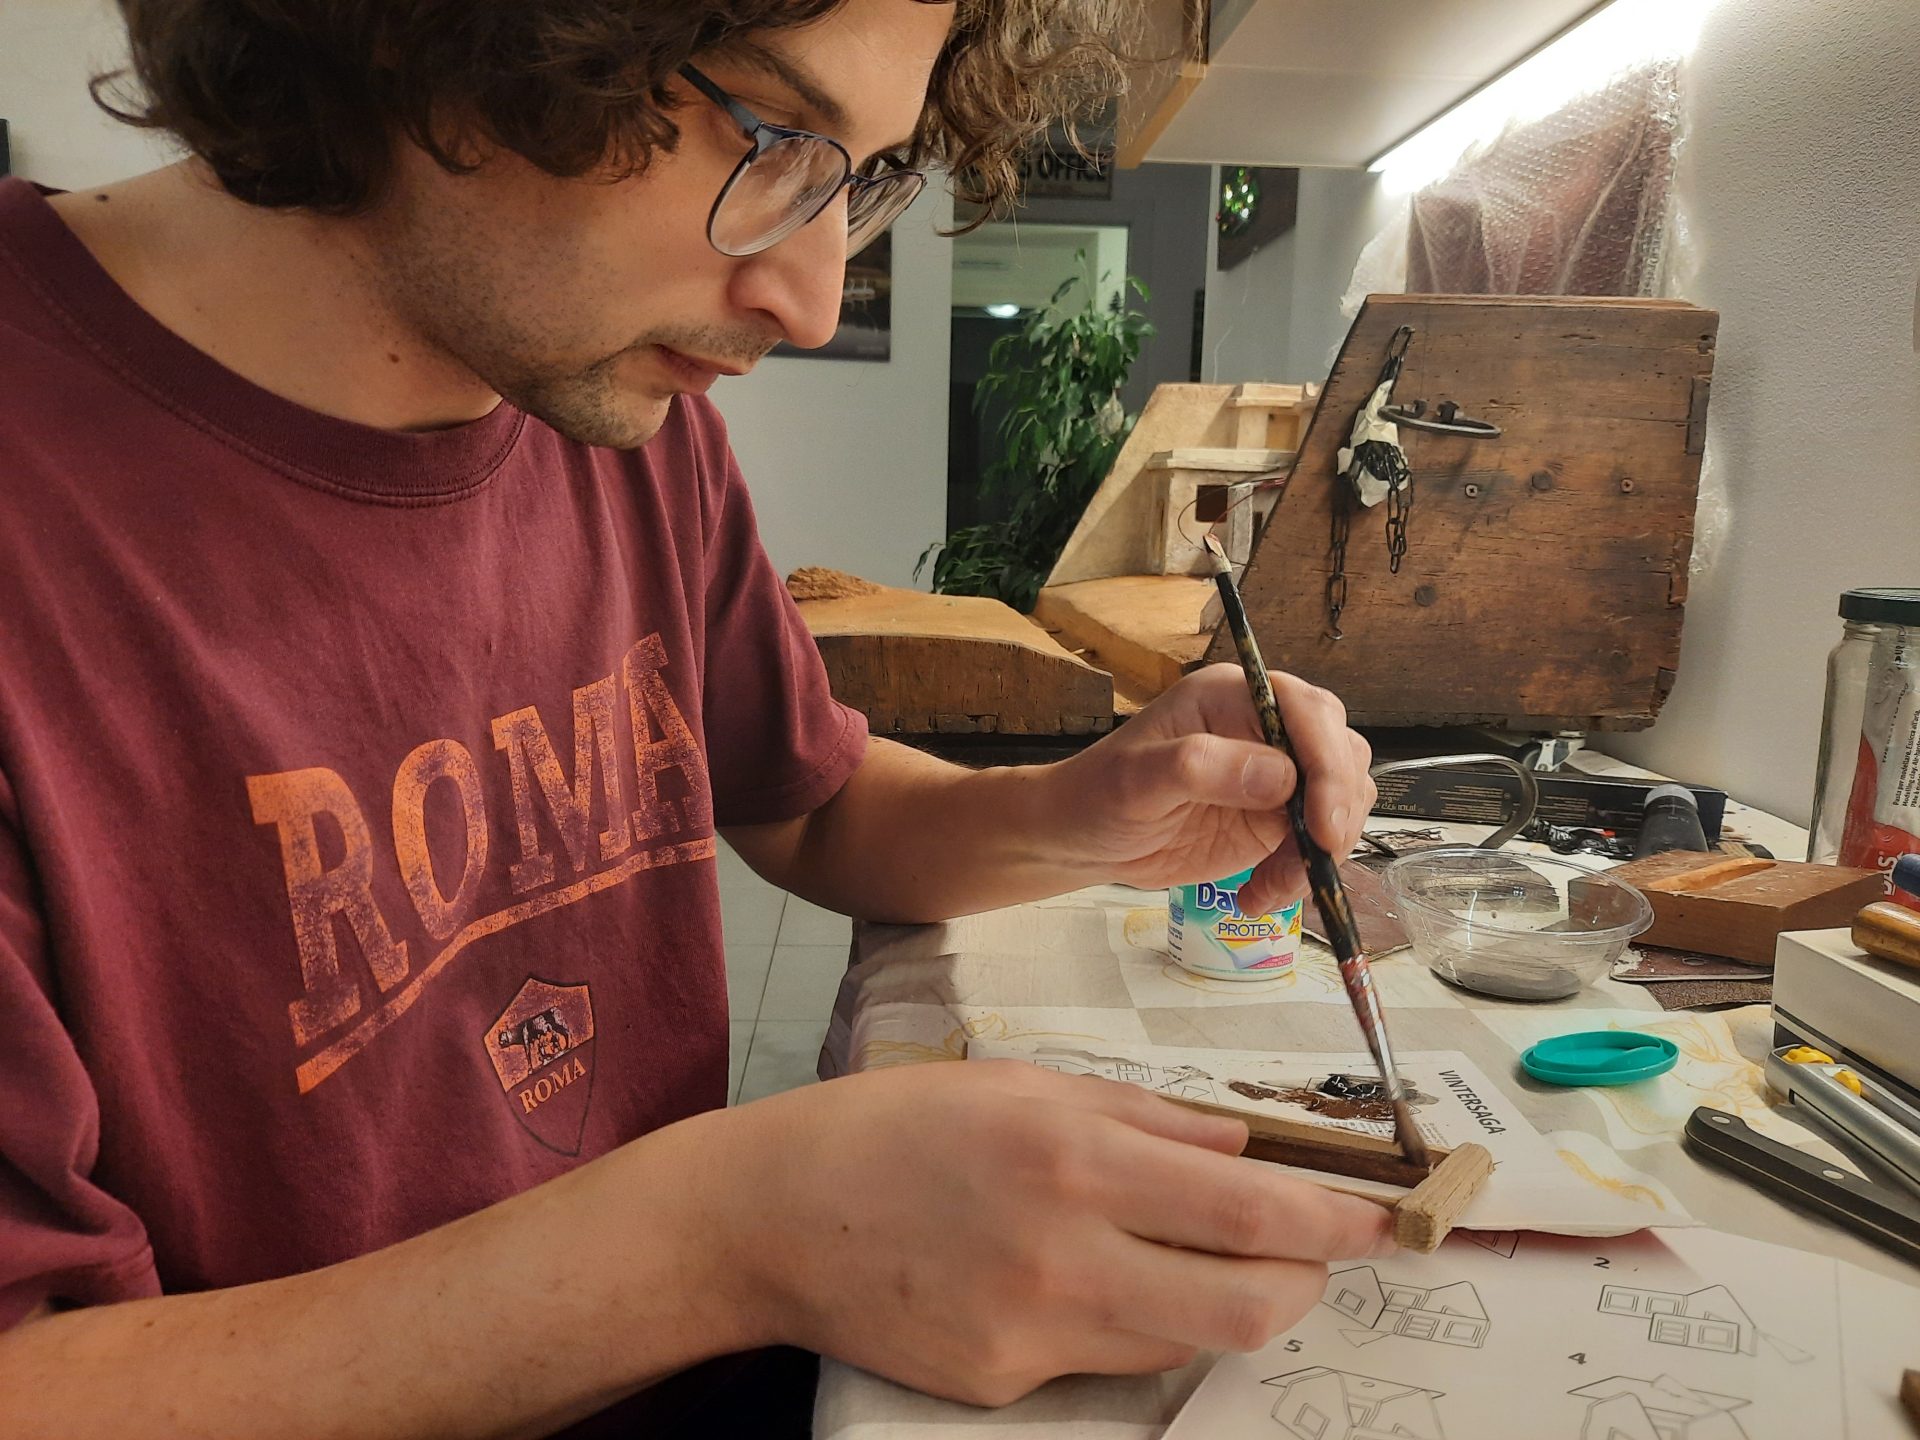
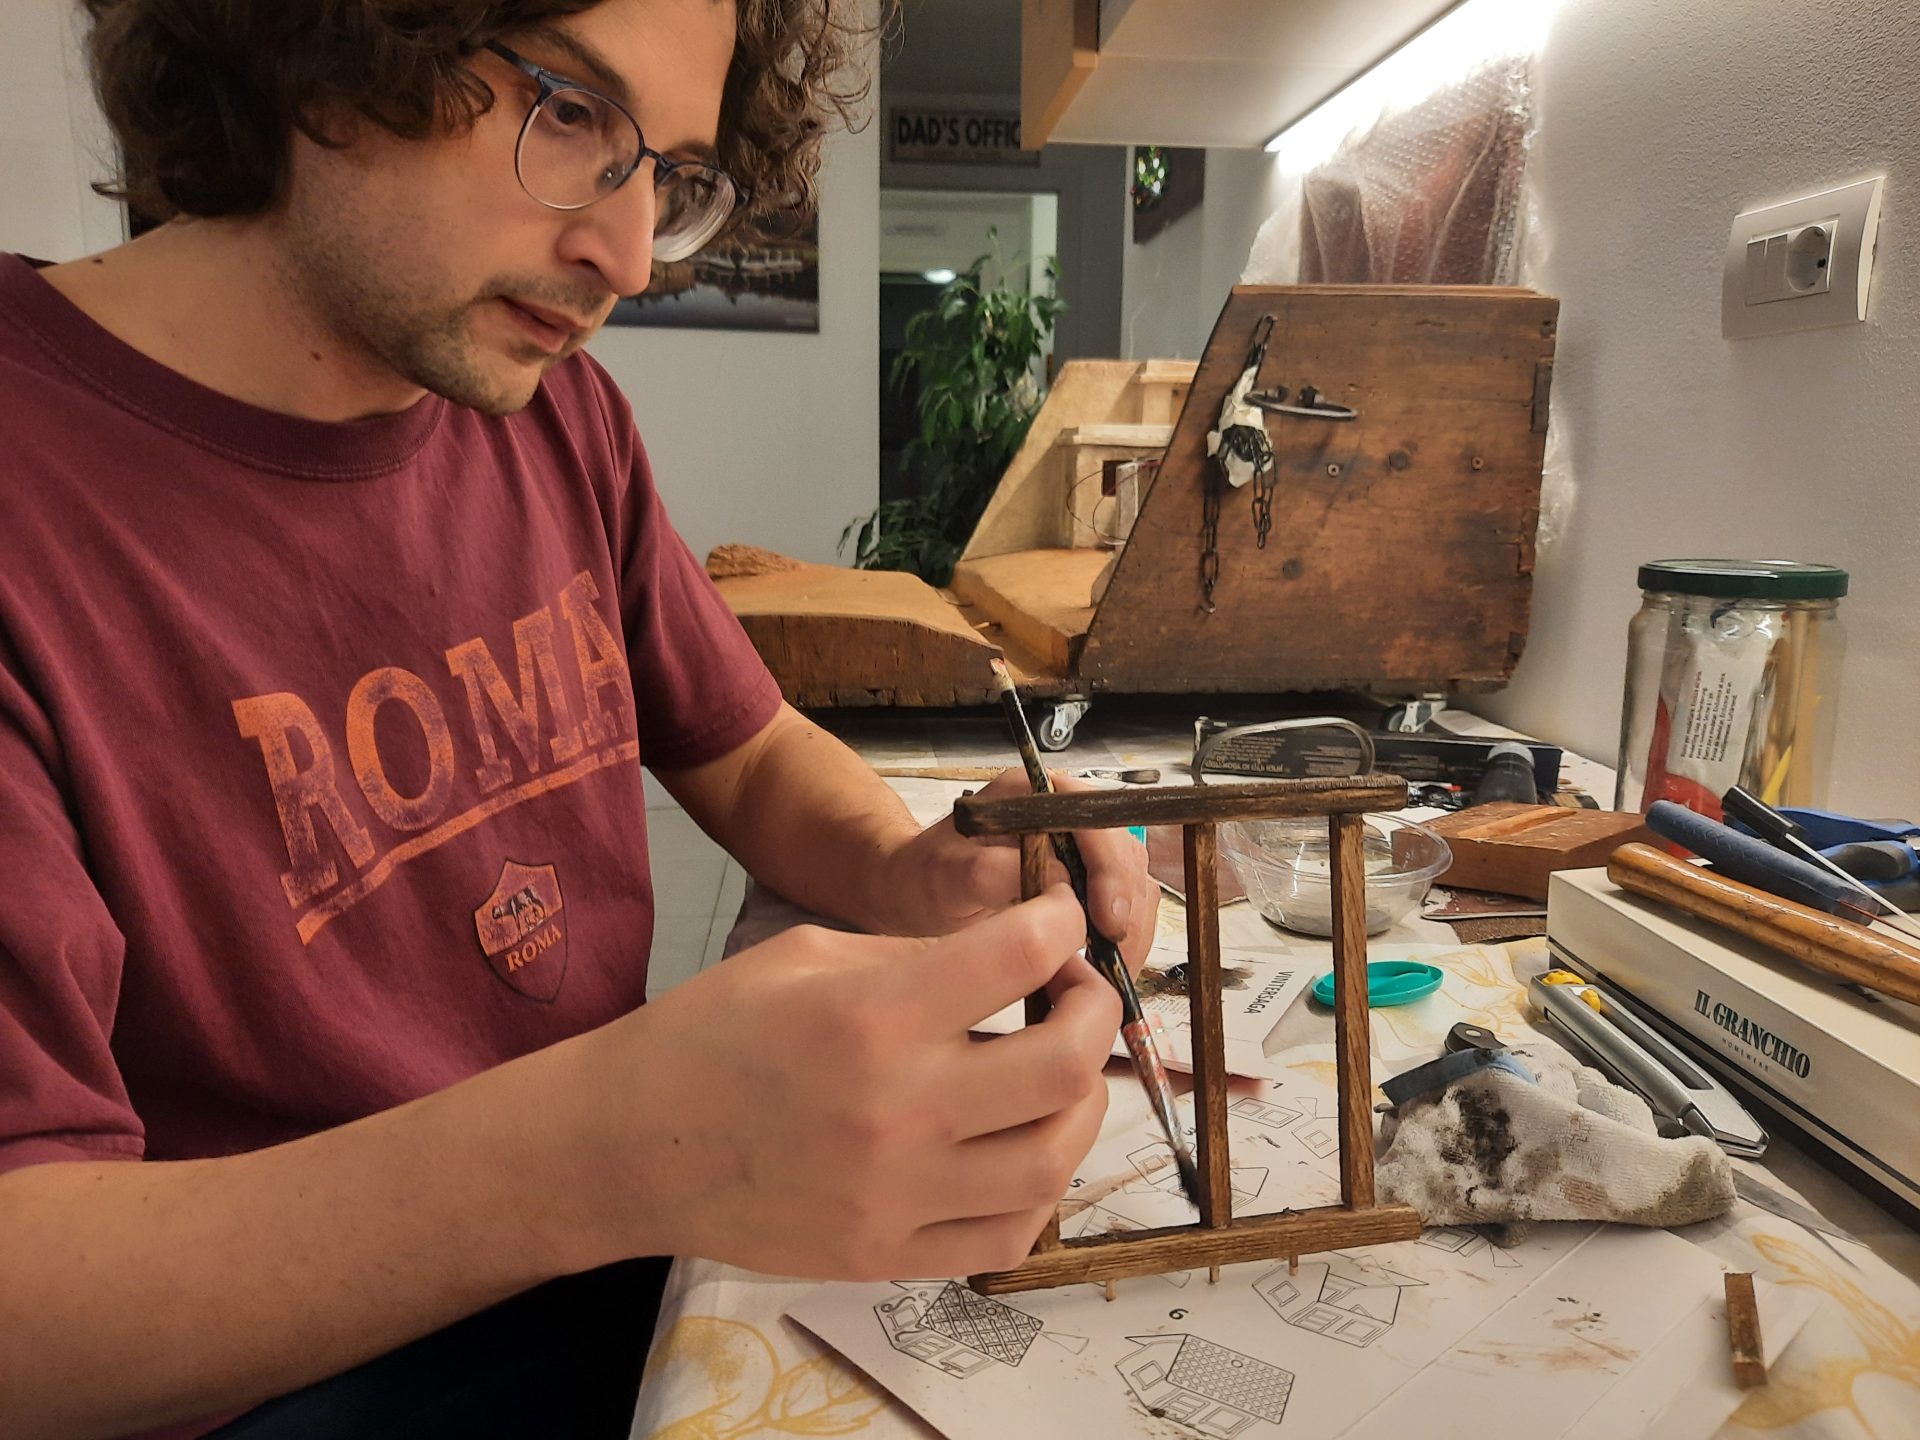
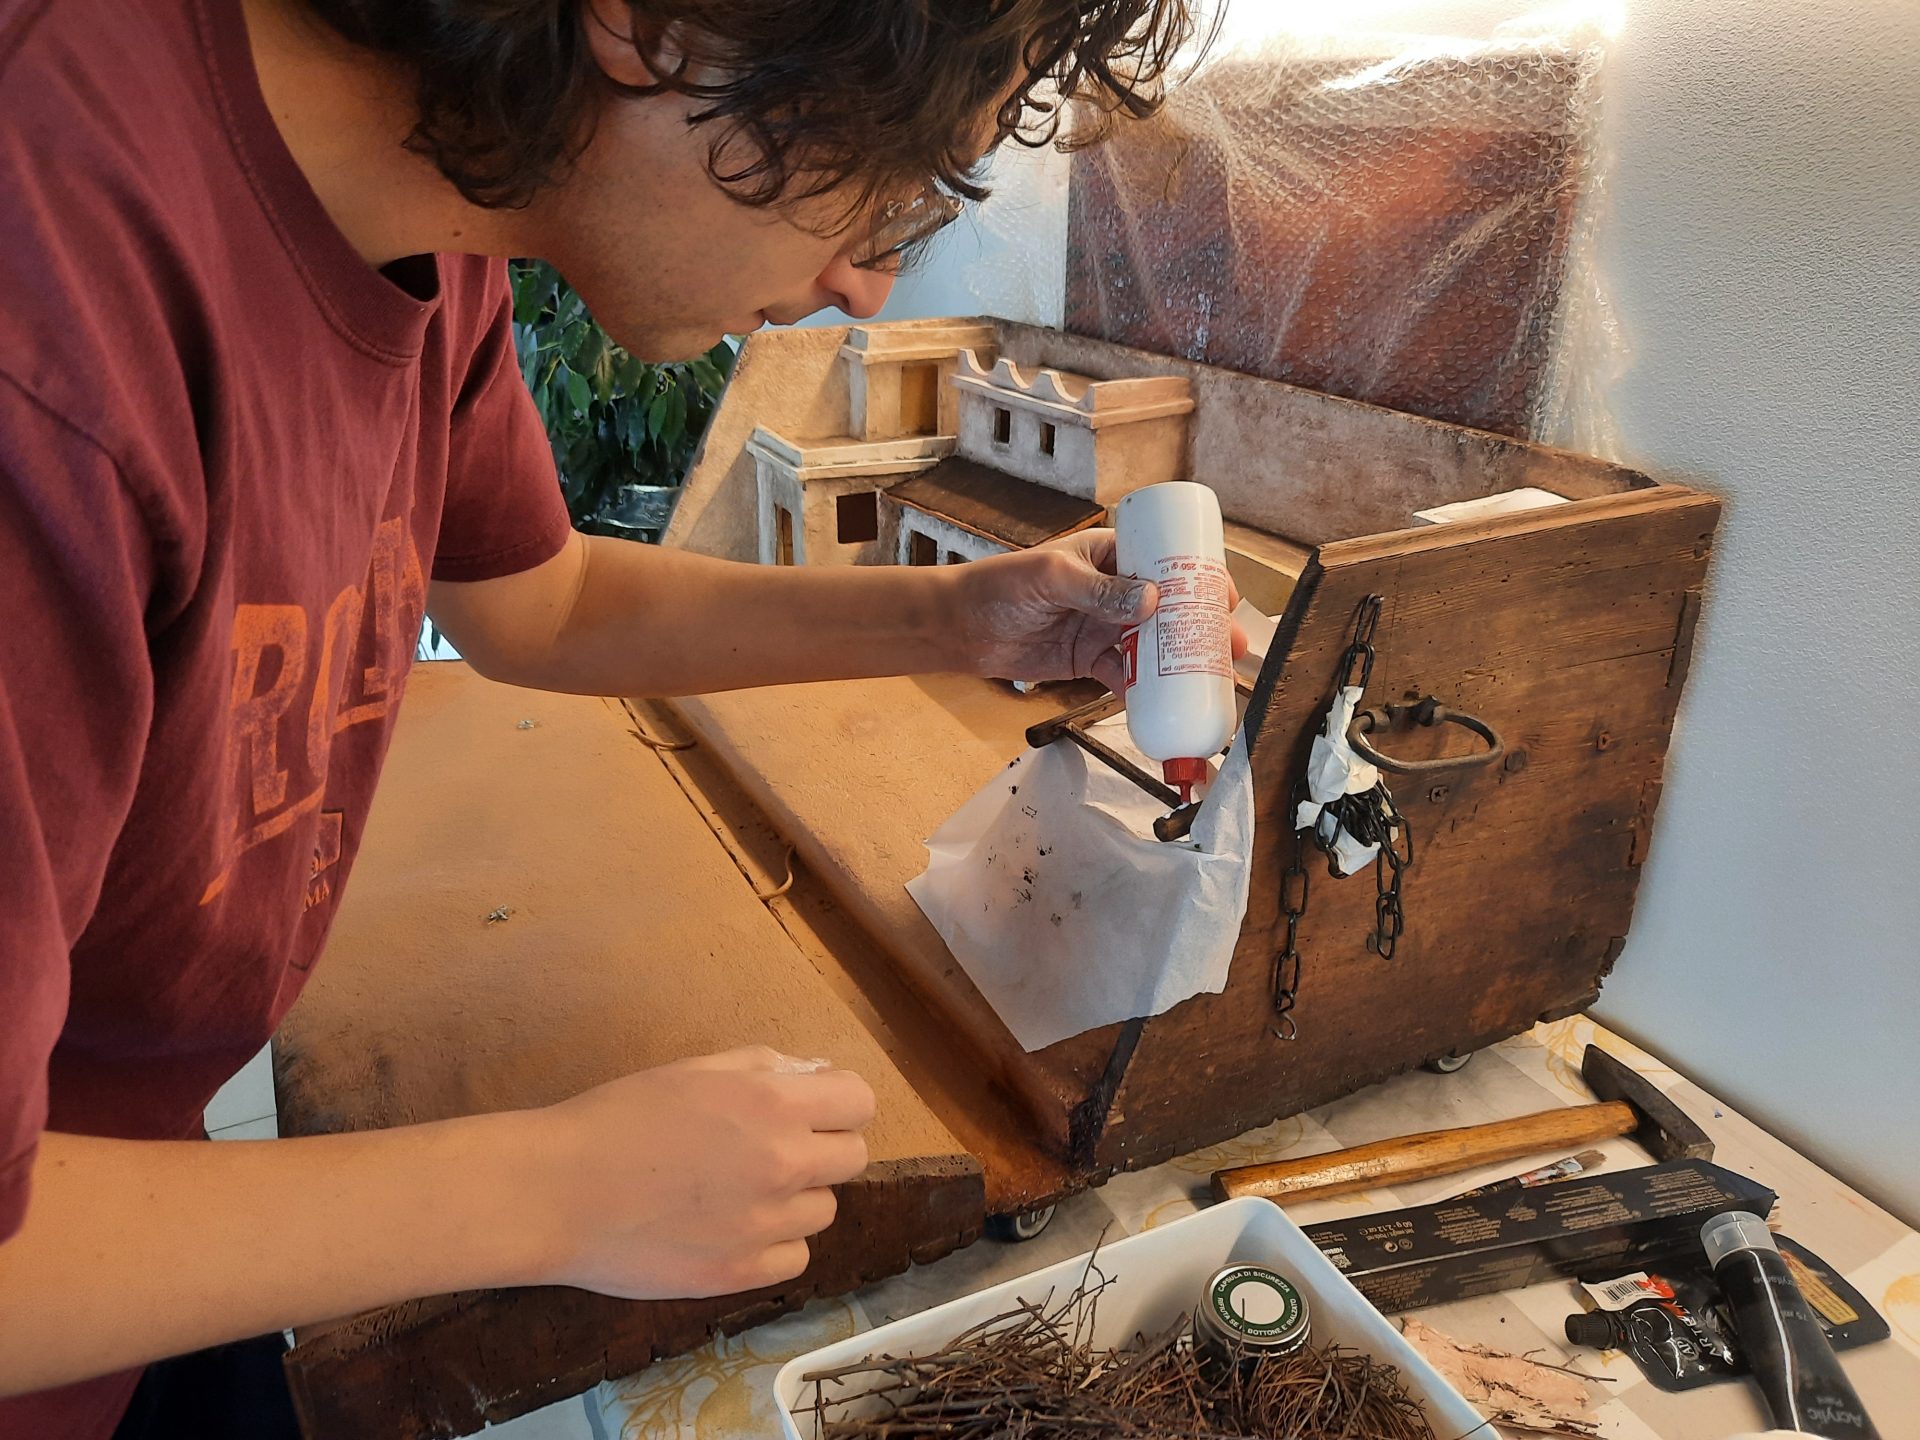
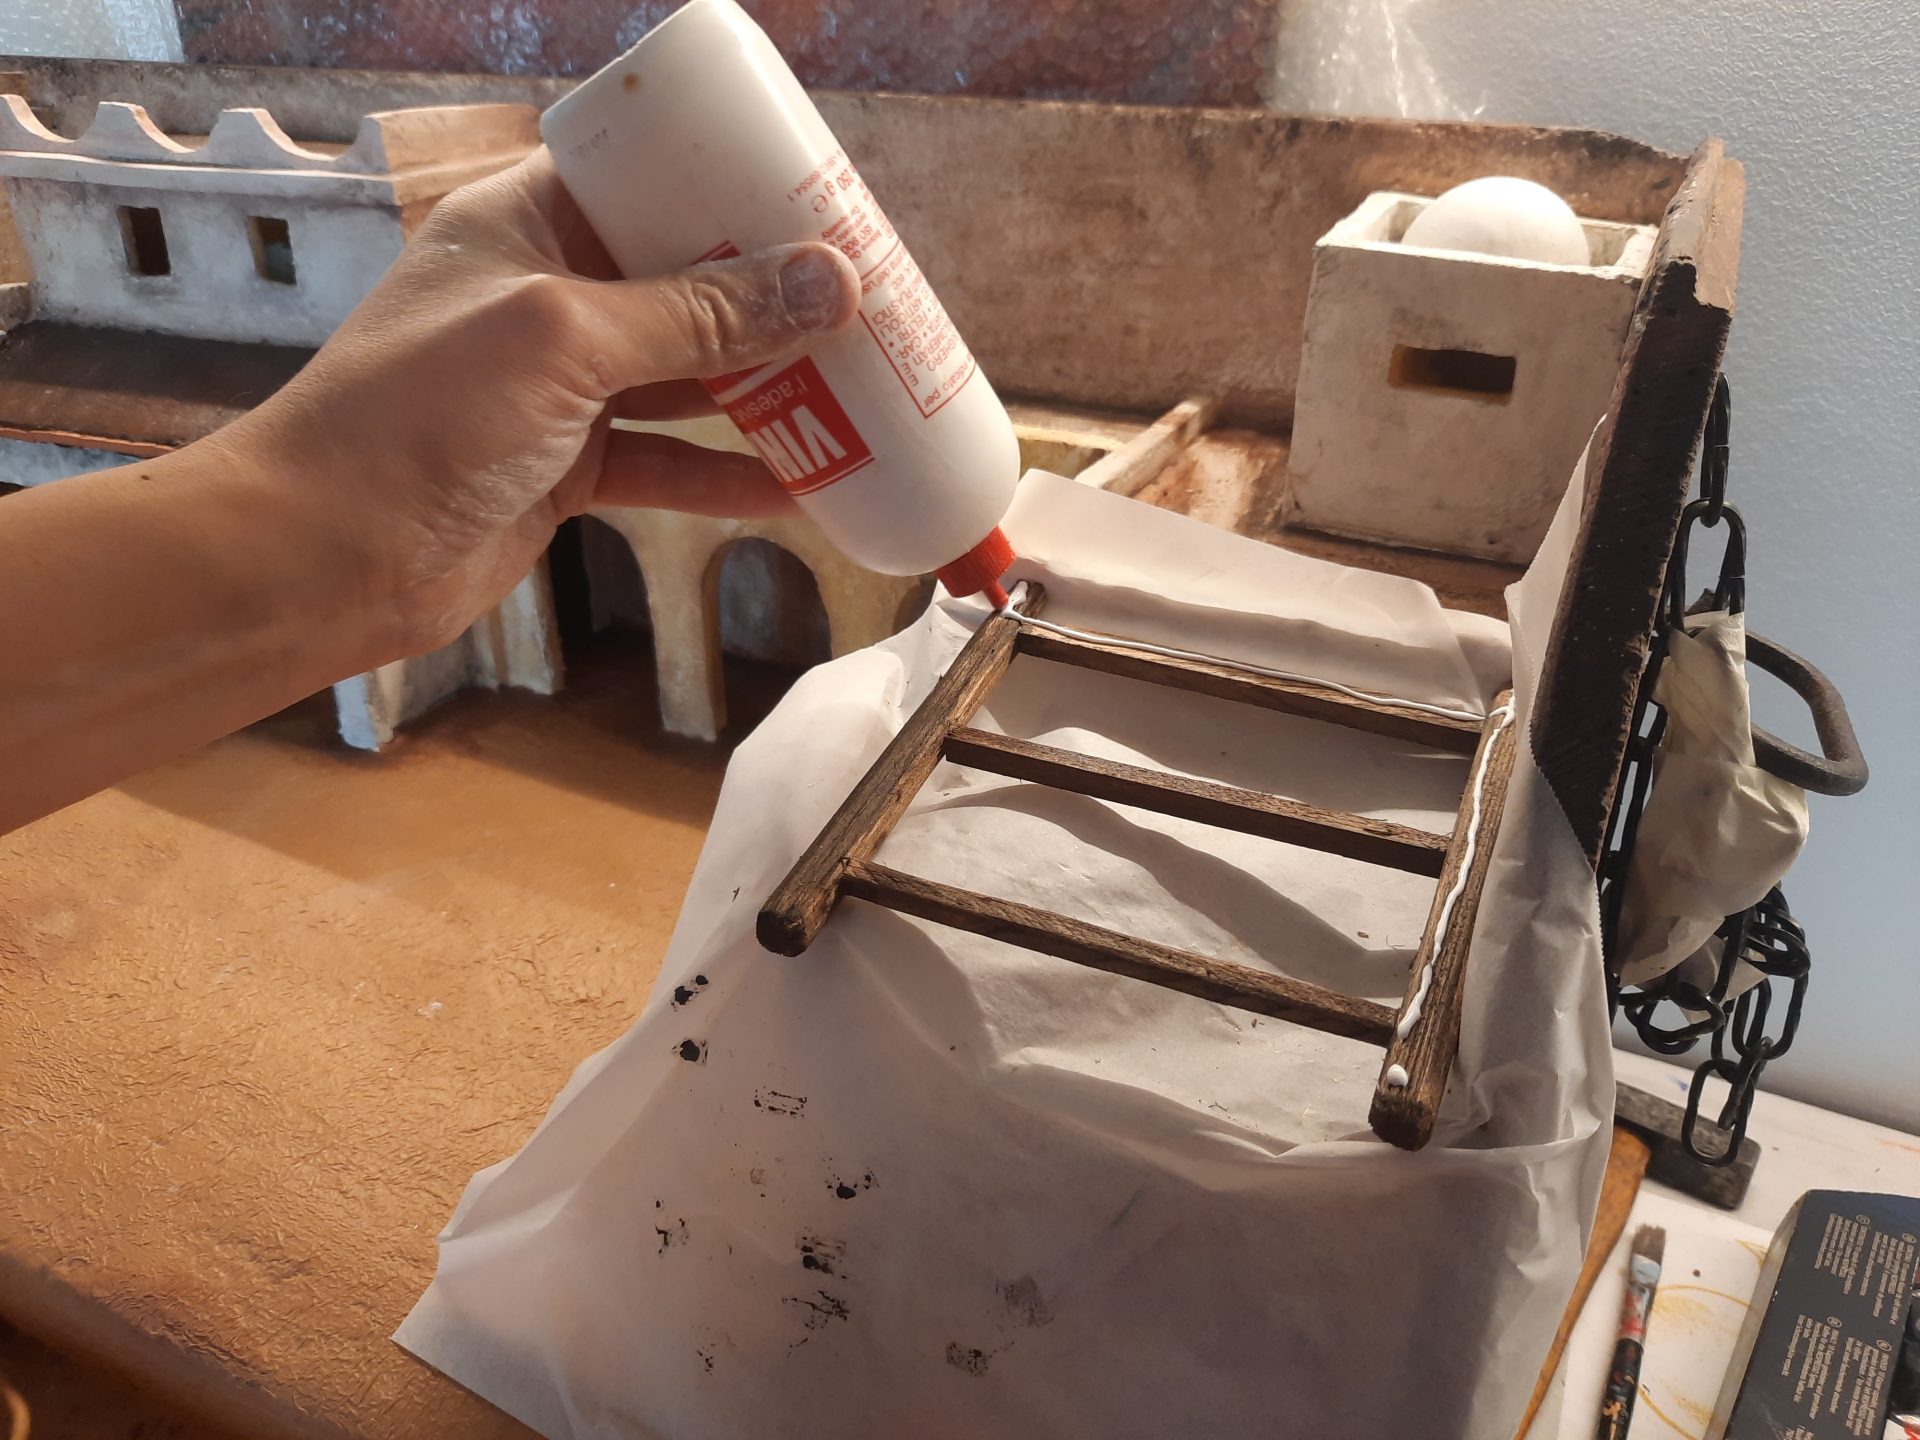
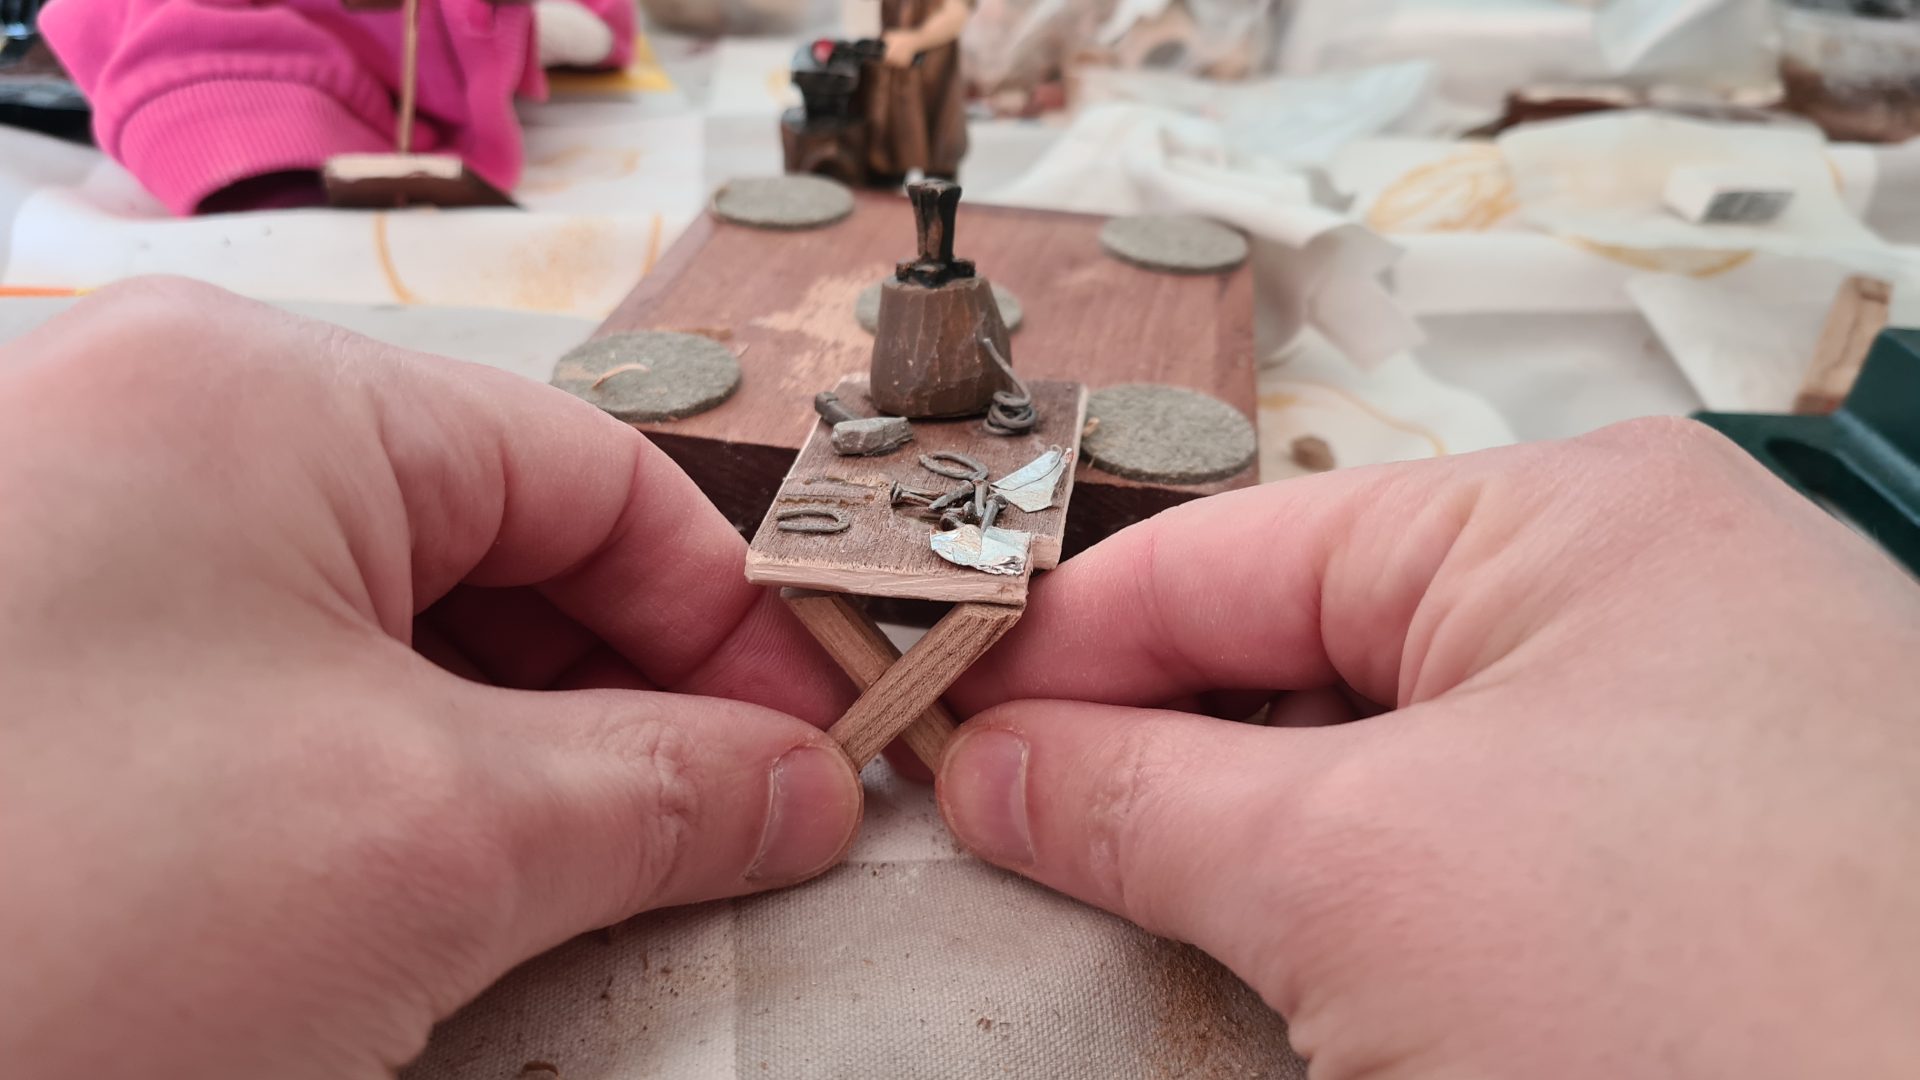
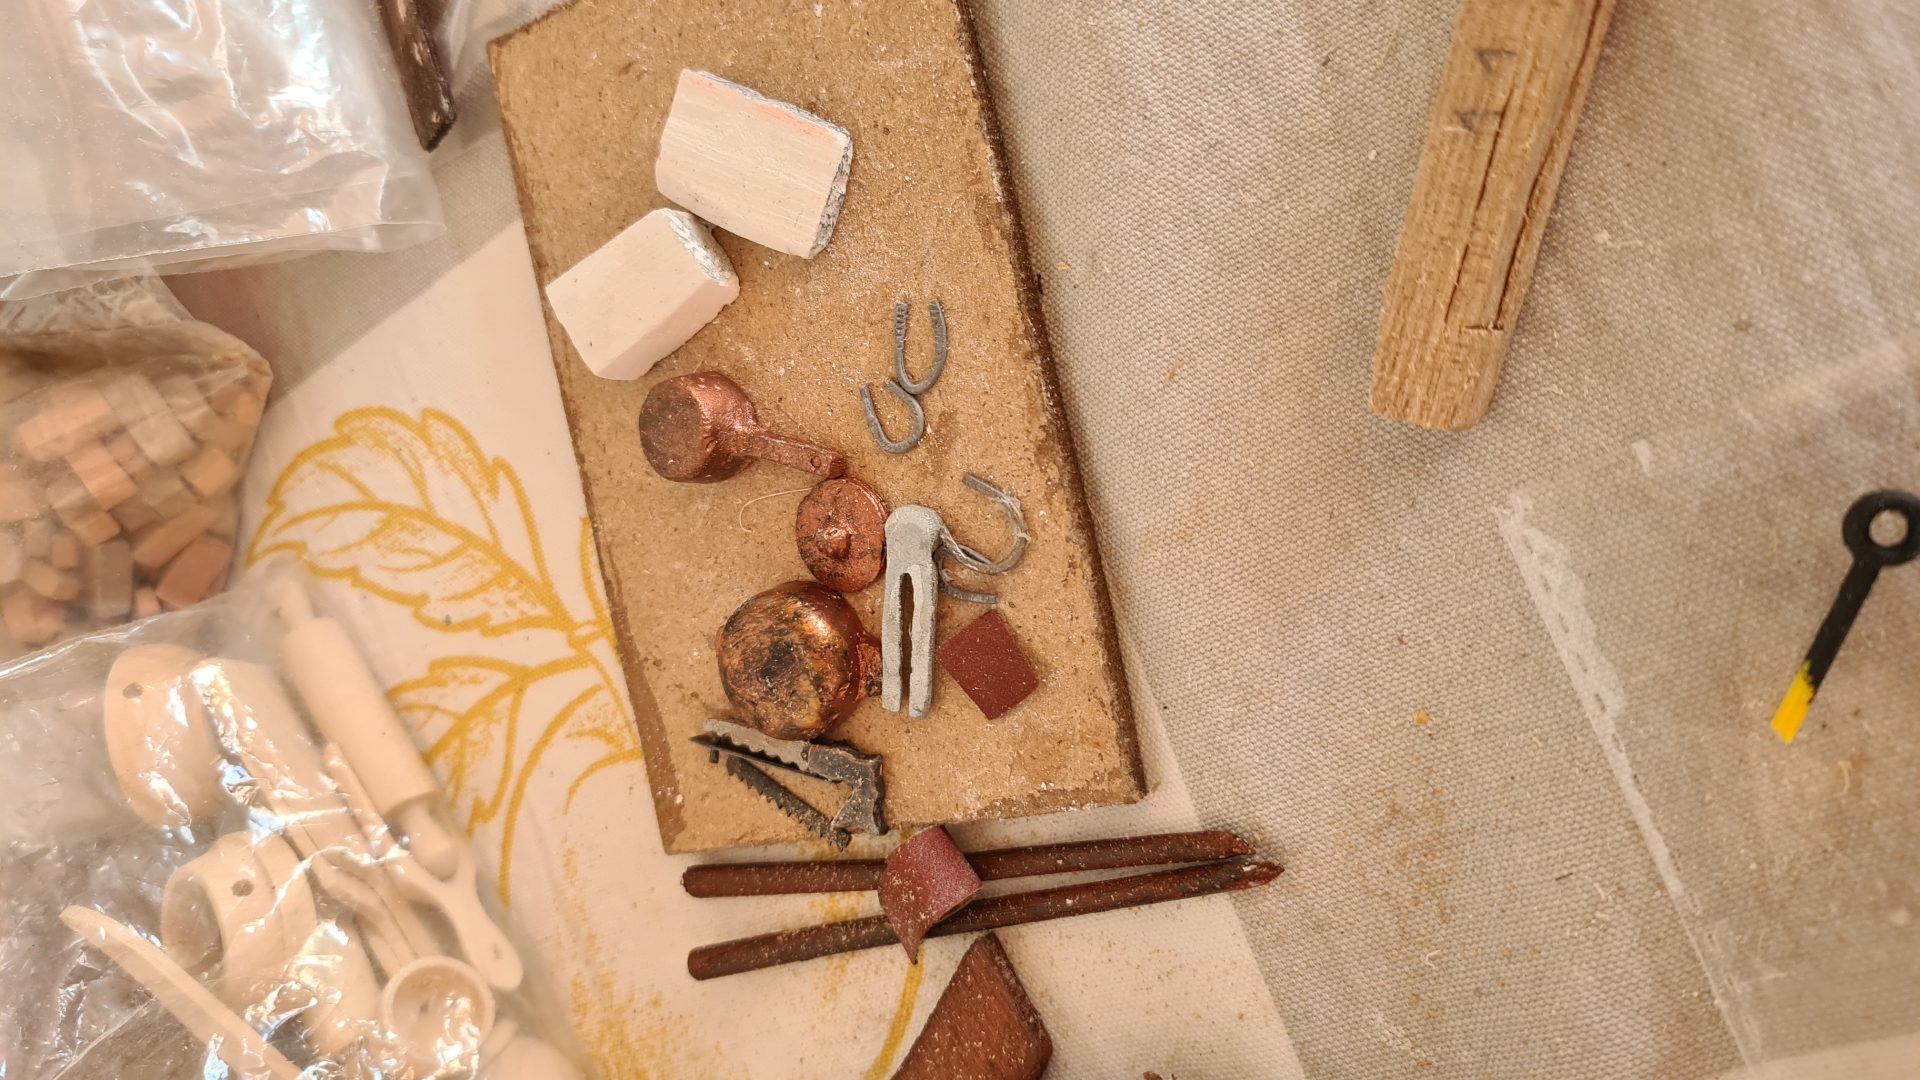
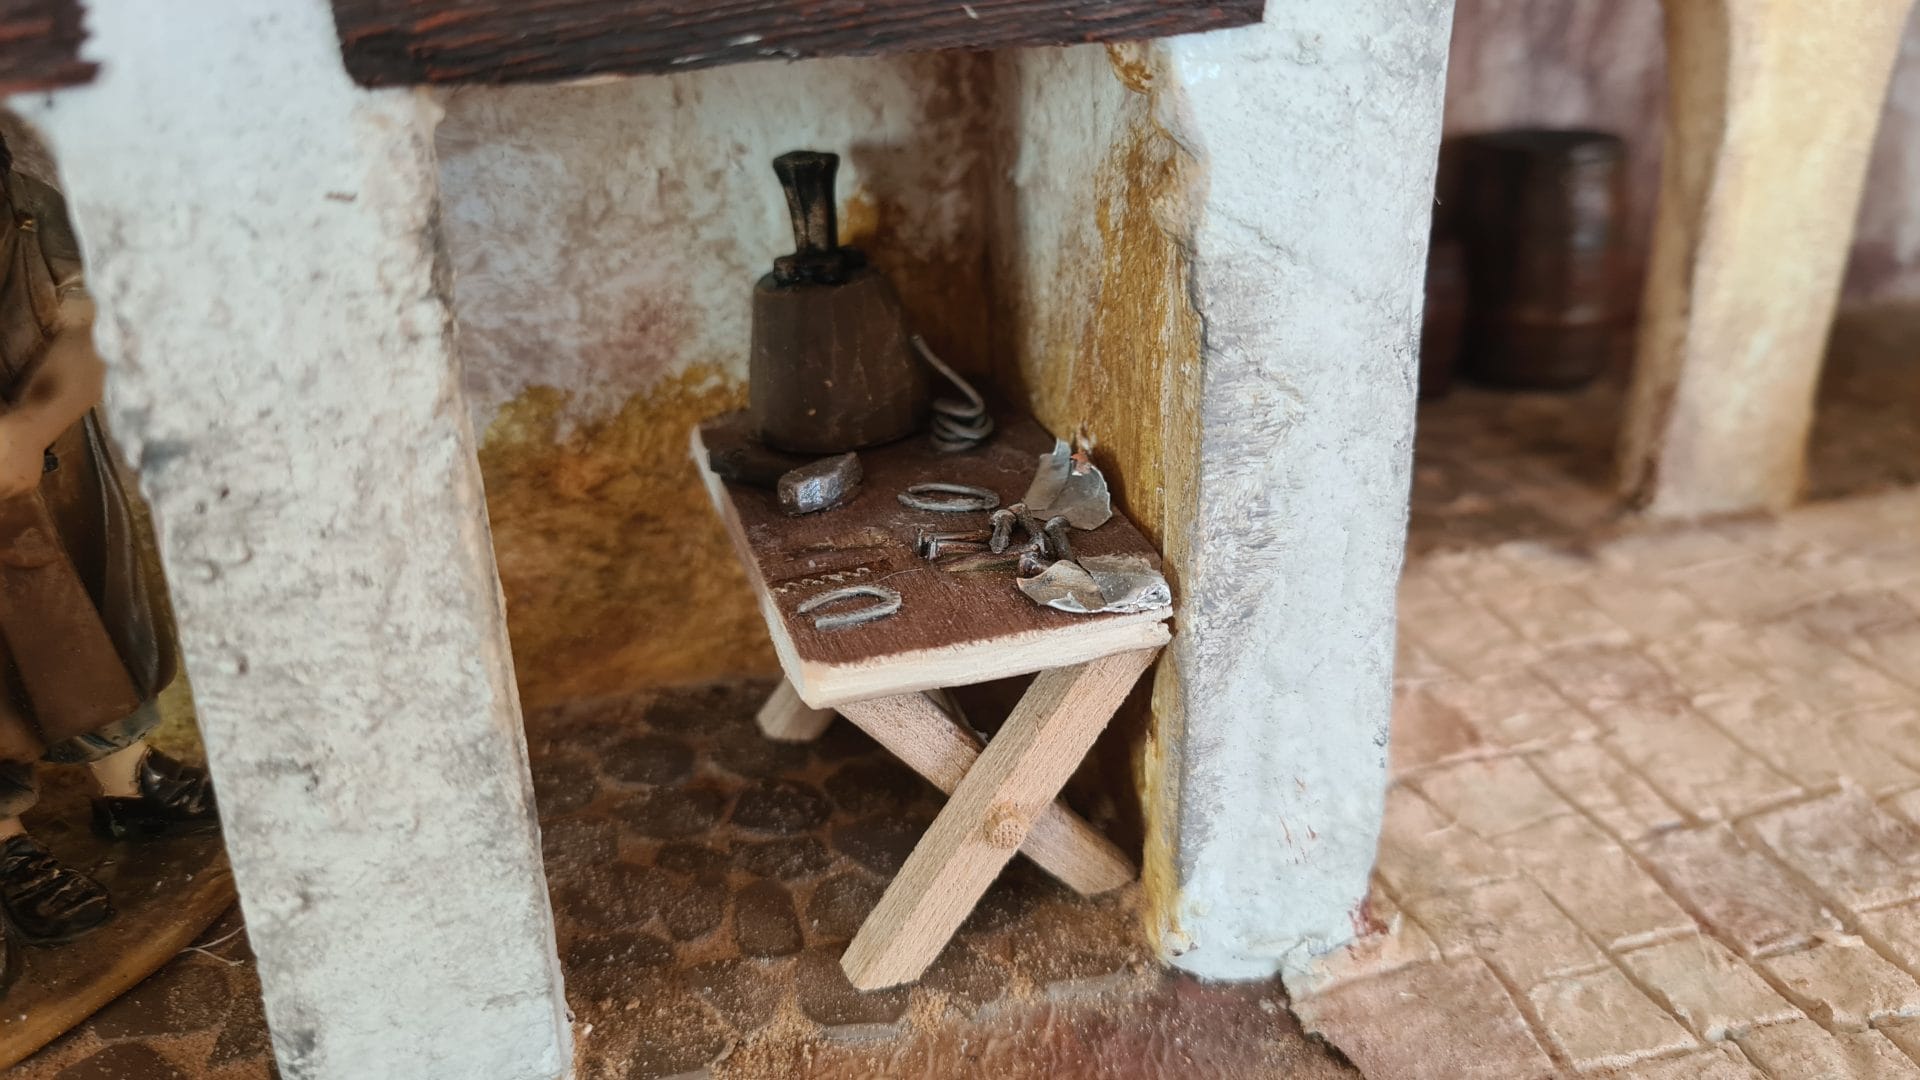
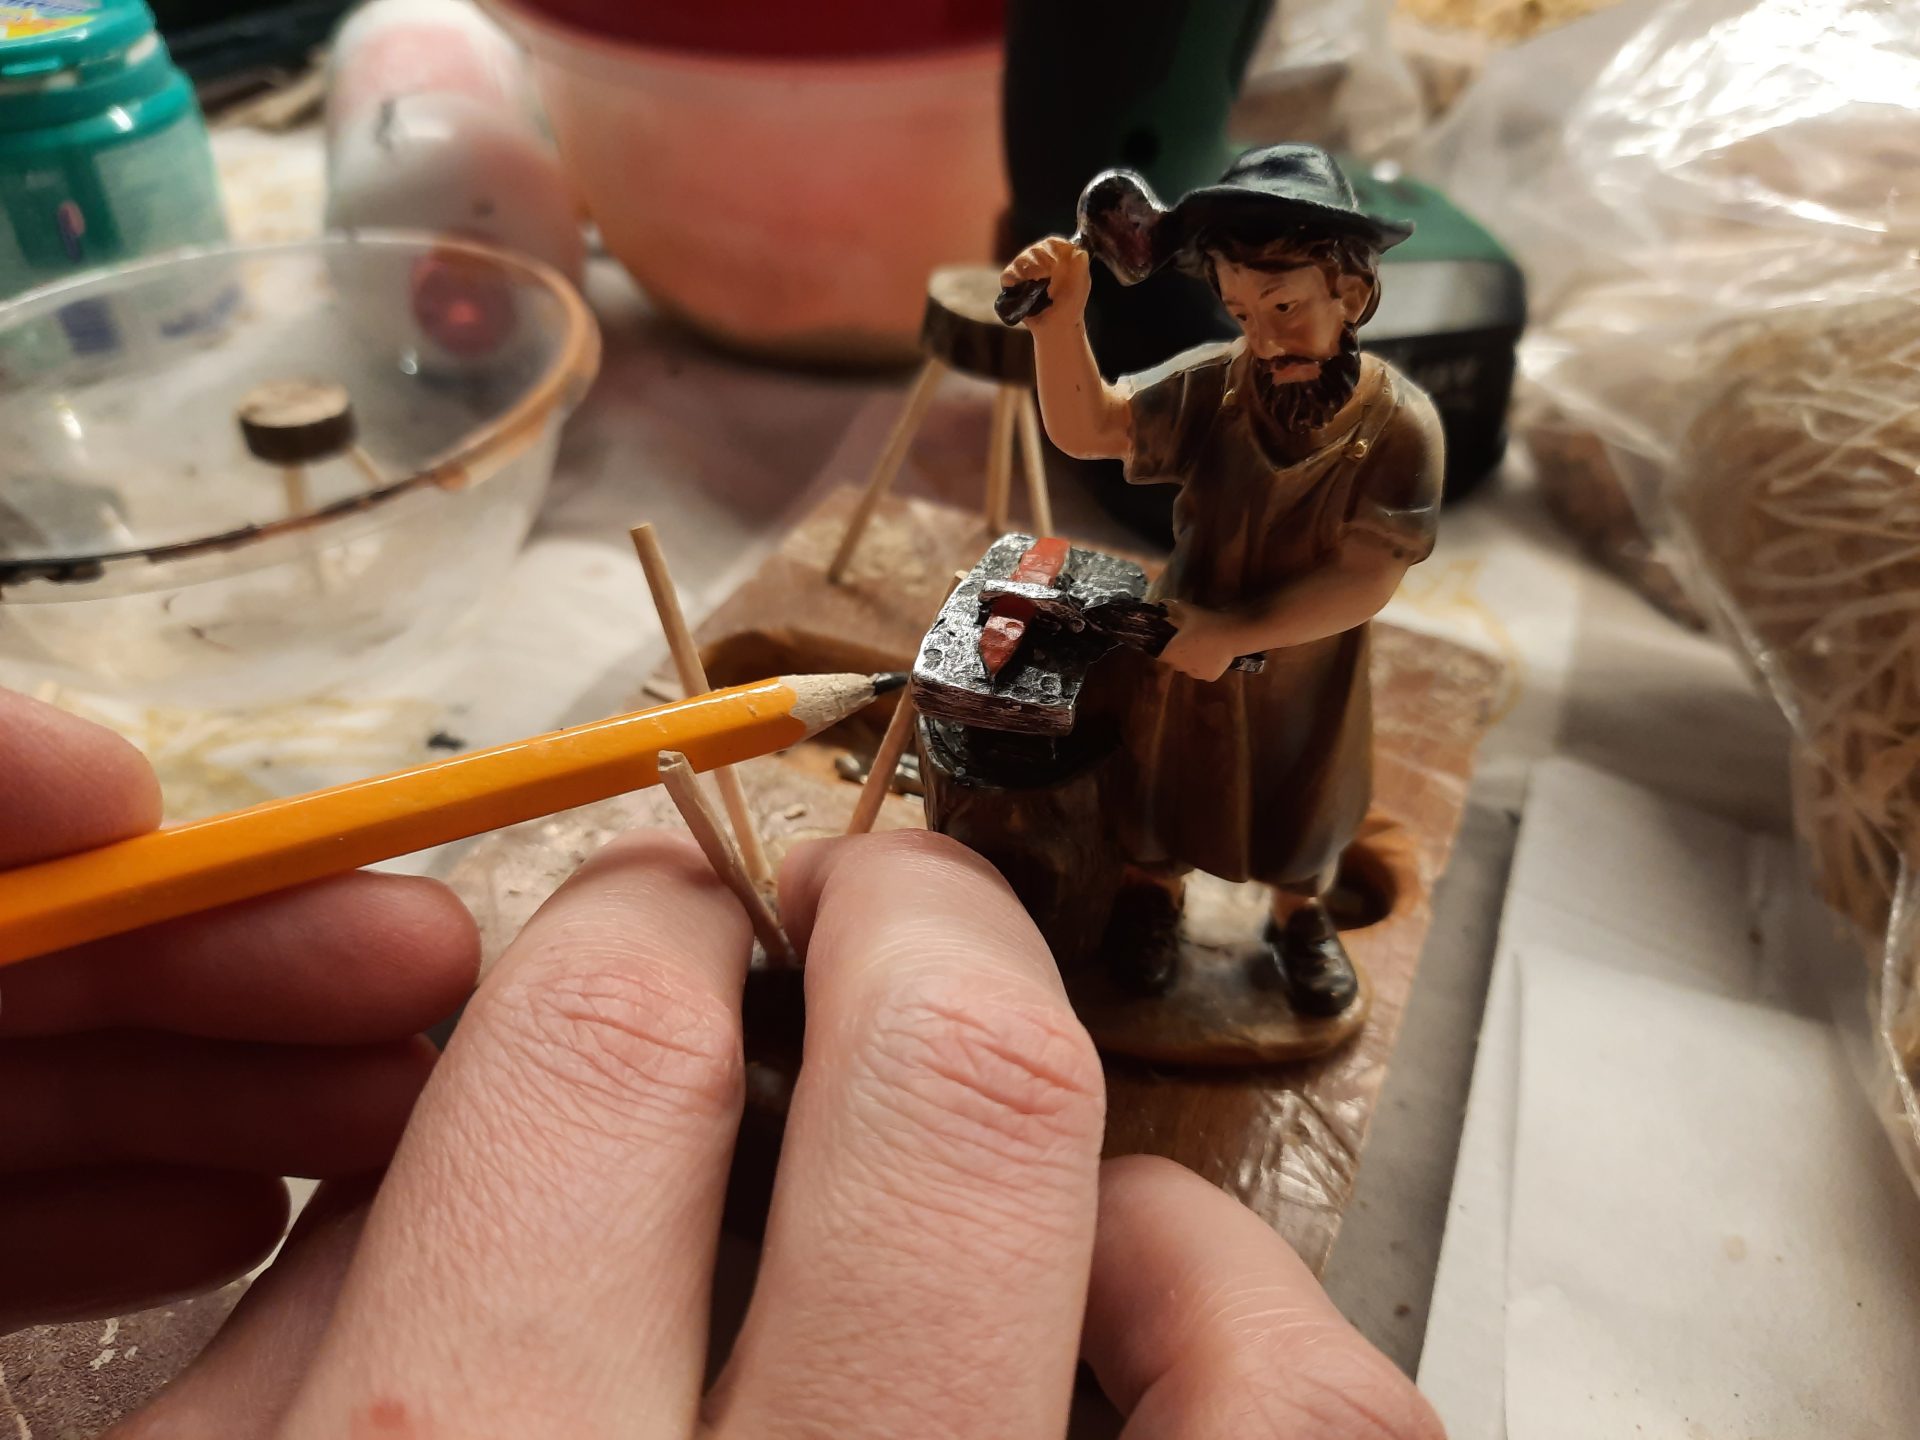
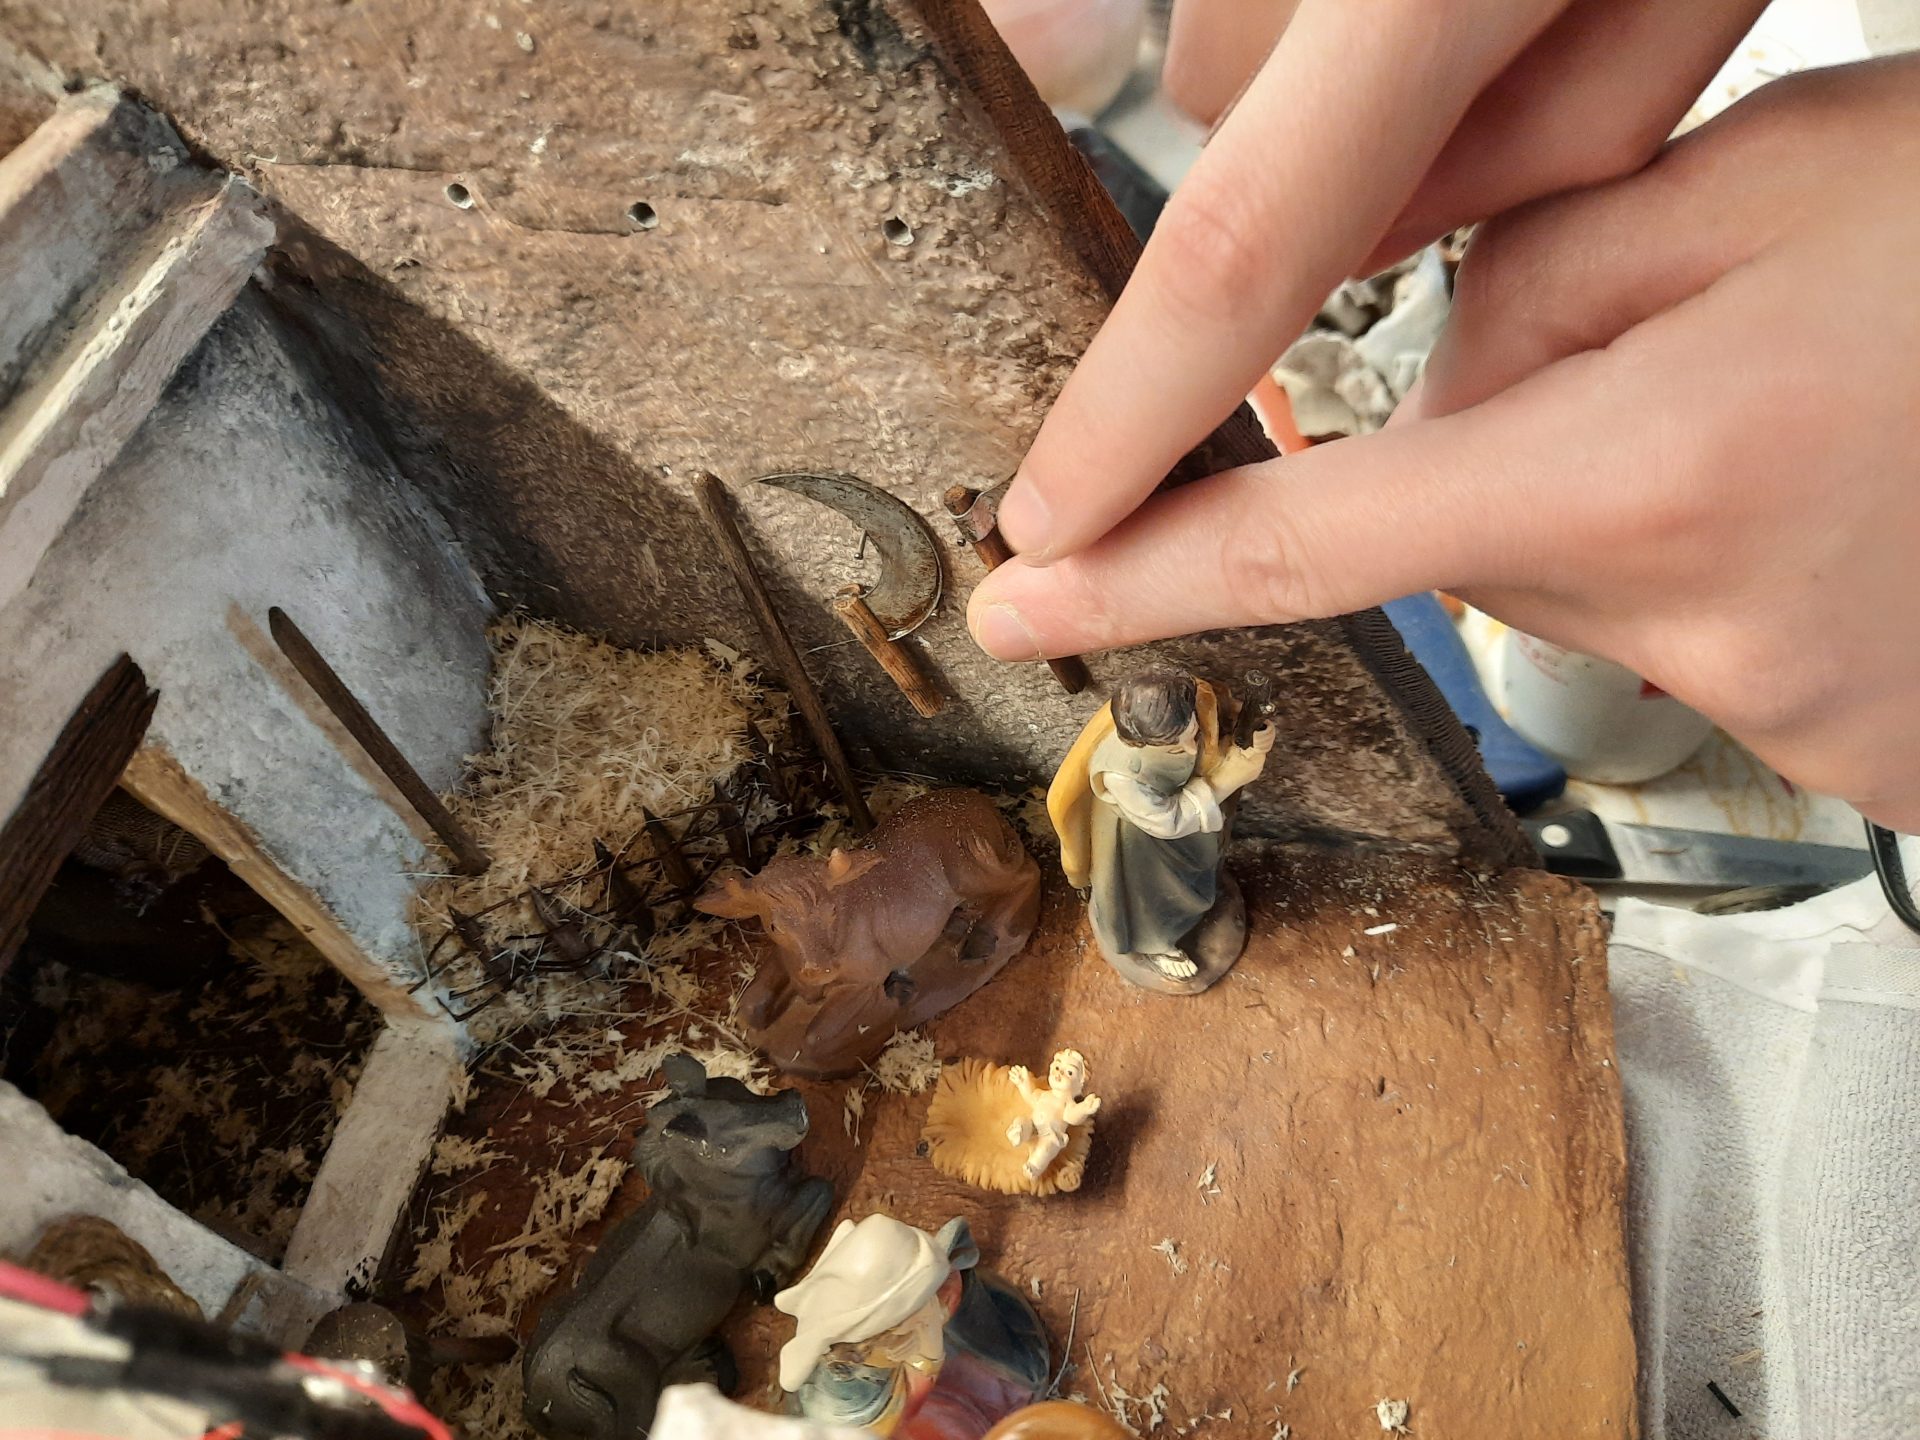
My husband started with the blacksmith’s workshop inside the horse stable. He had sourced a set of tiny workbench tools from an artisan, and around these he built the workshop’s furnishings: a sturdy table, a wooden ladder, a rough log to serve as the base for the anvil, which he placed just outside the stable door.
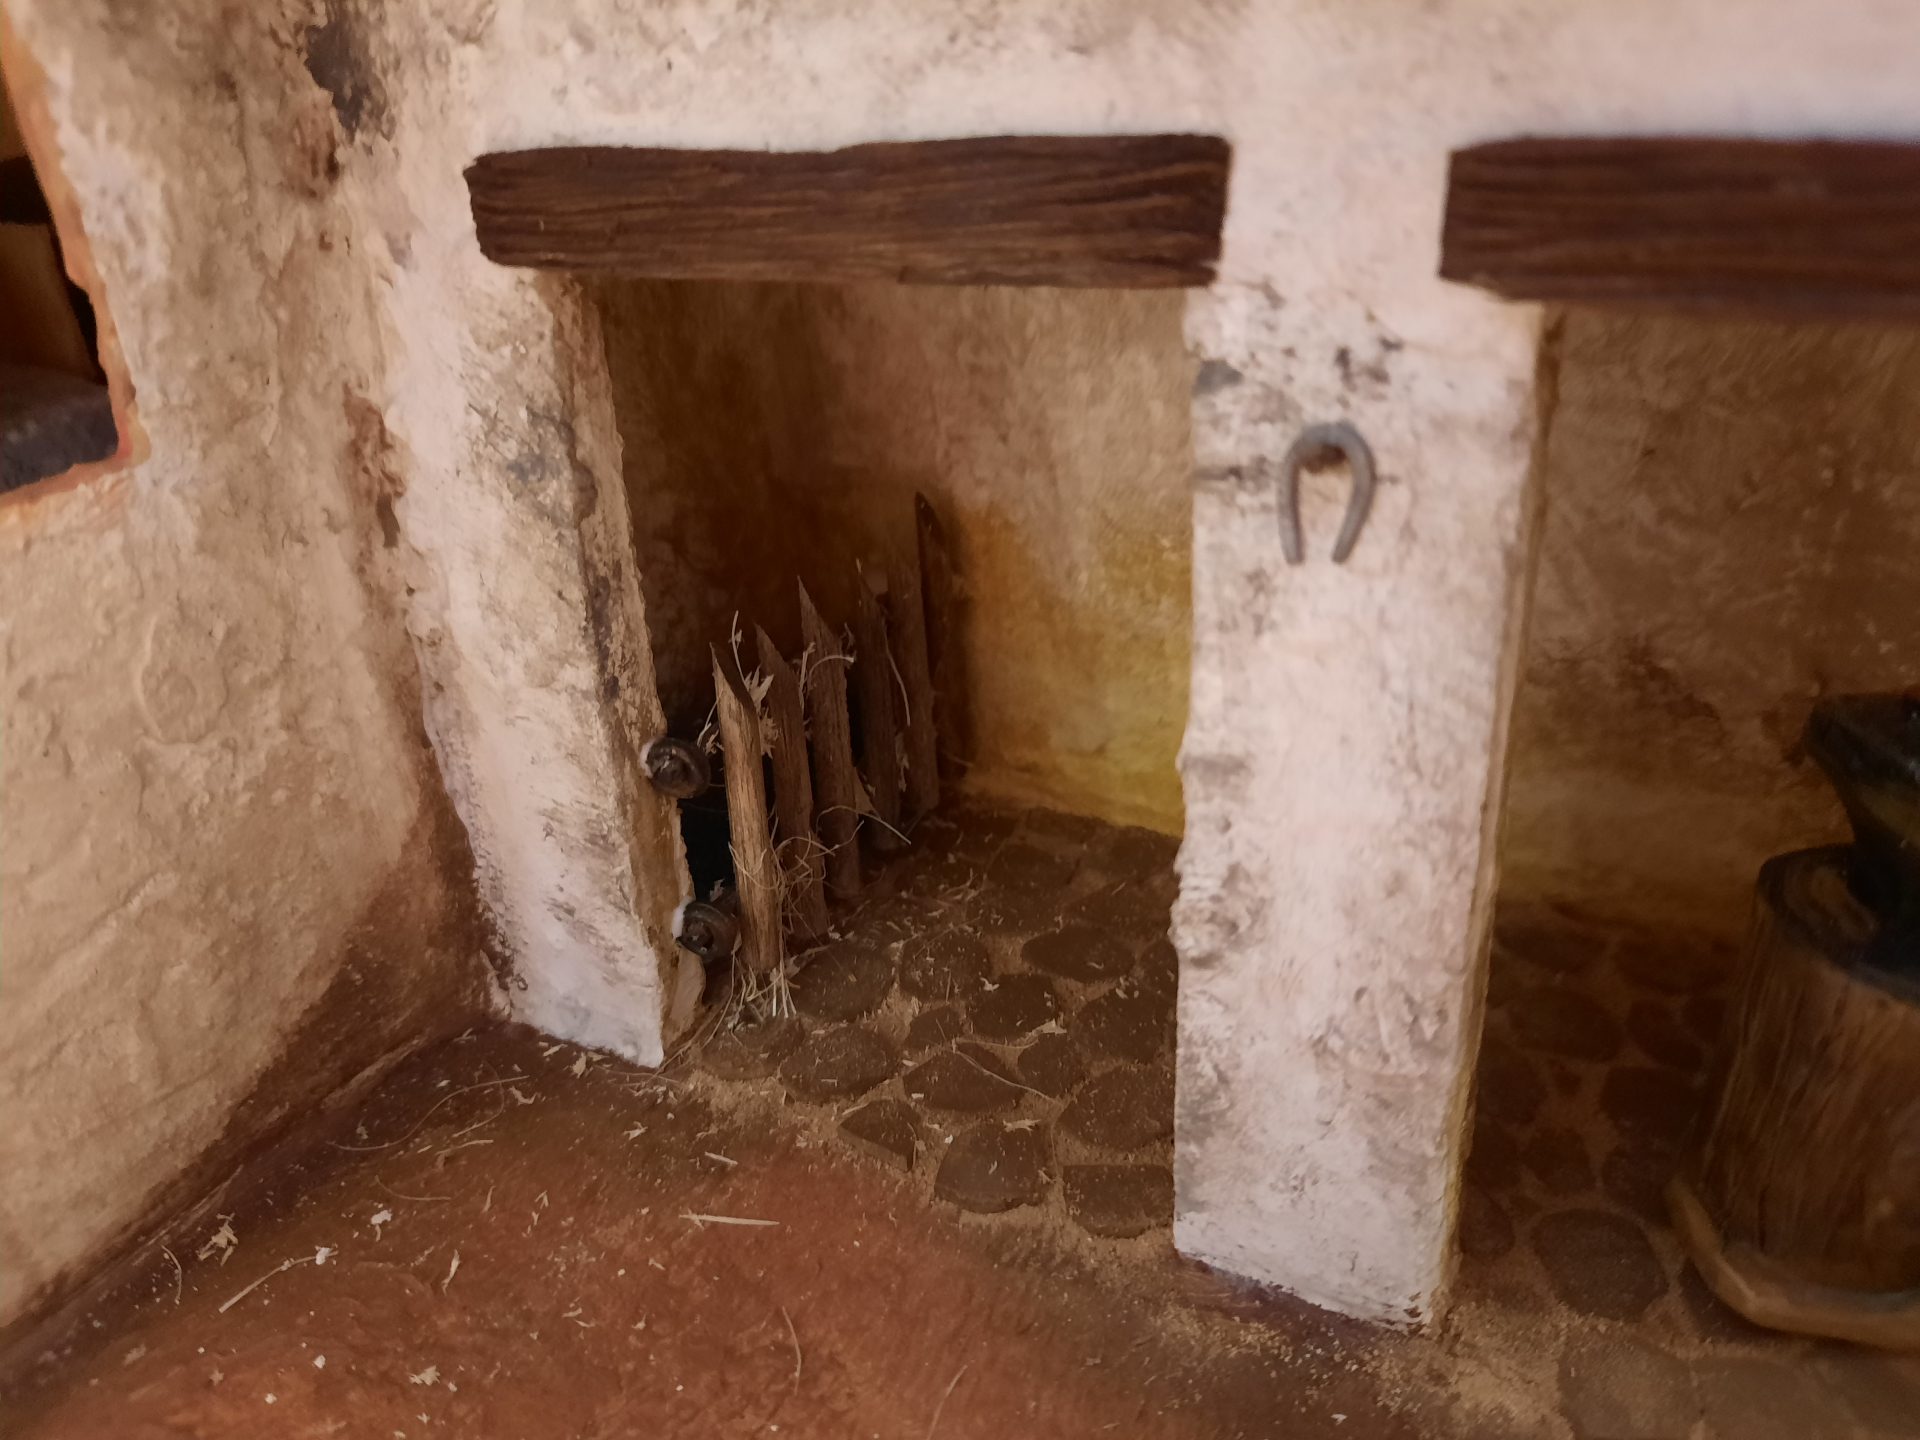
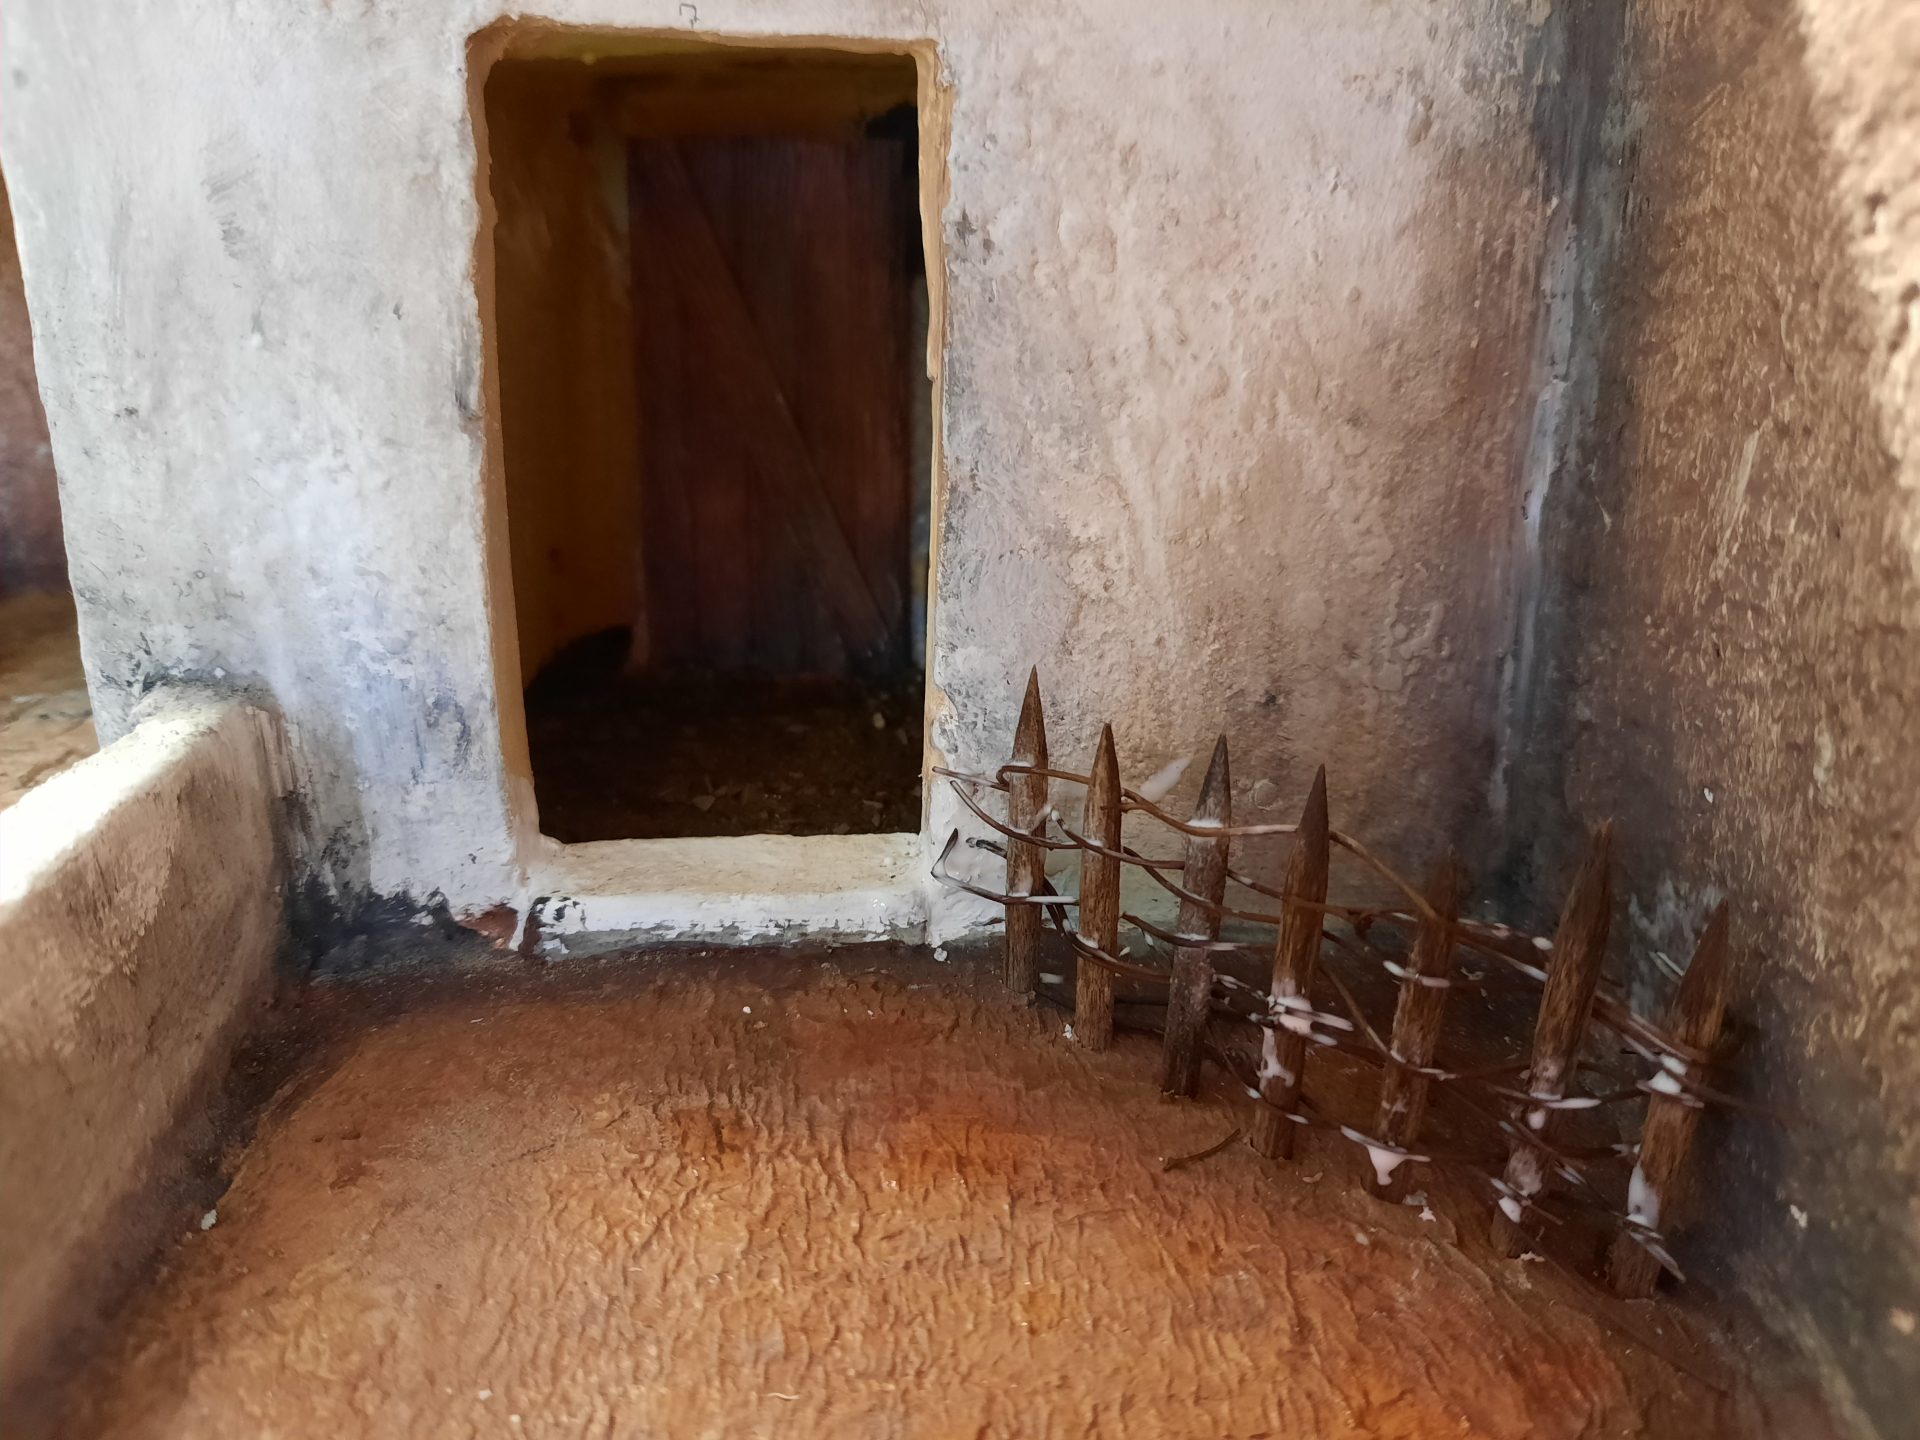
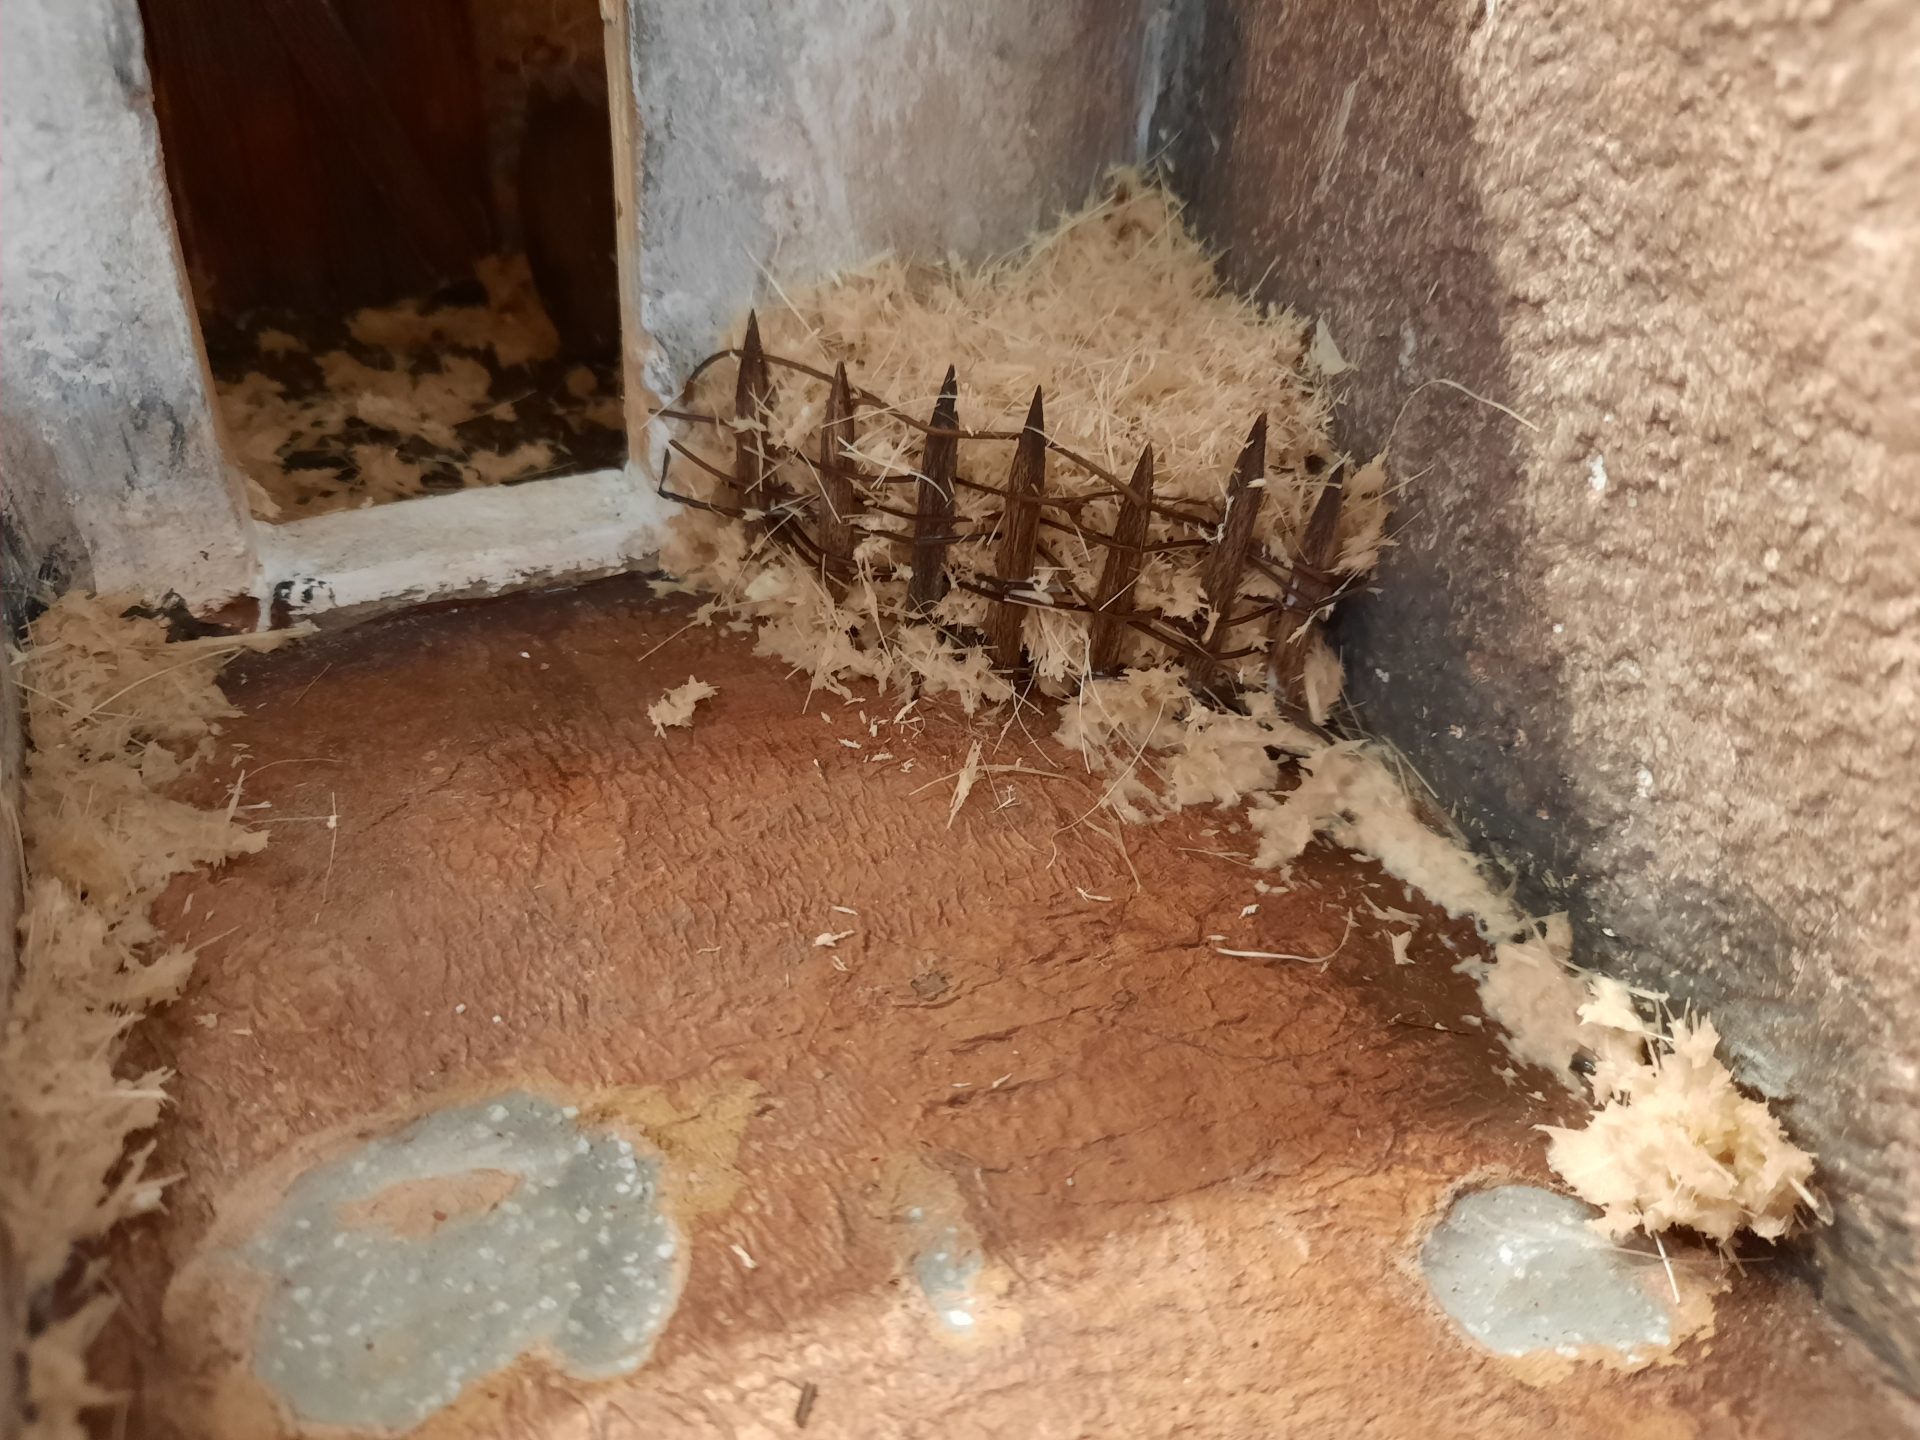
Finally, he added wooden fences to keep hay neatly stored in both stables, the horse stable and the humble shelter of the holy manger.








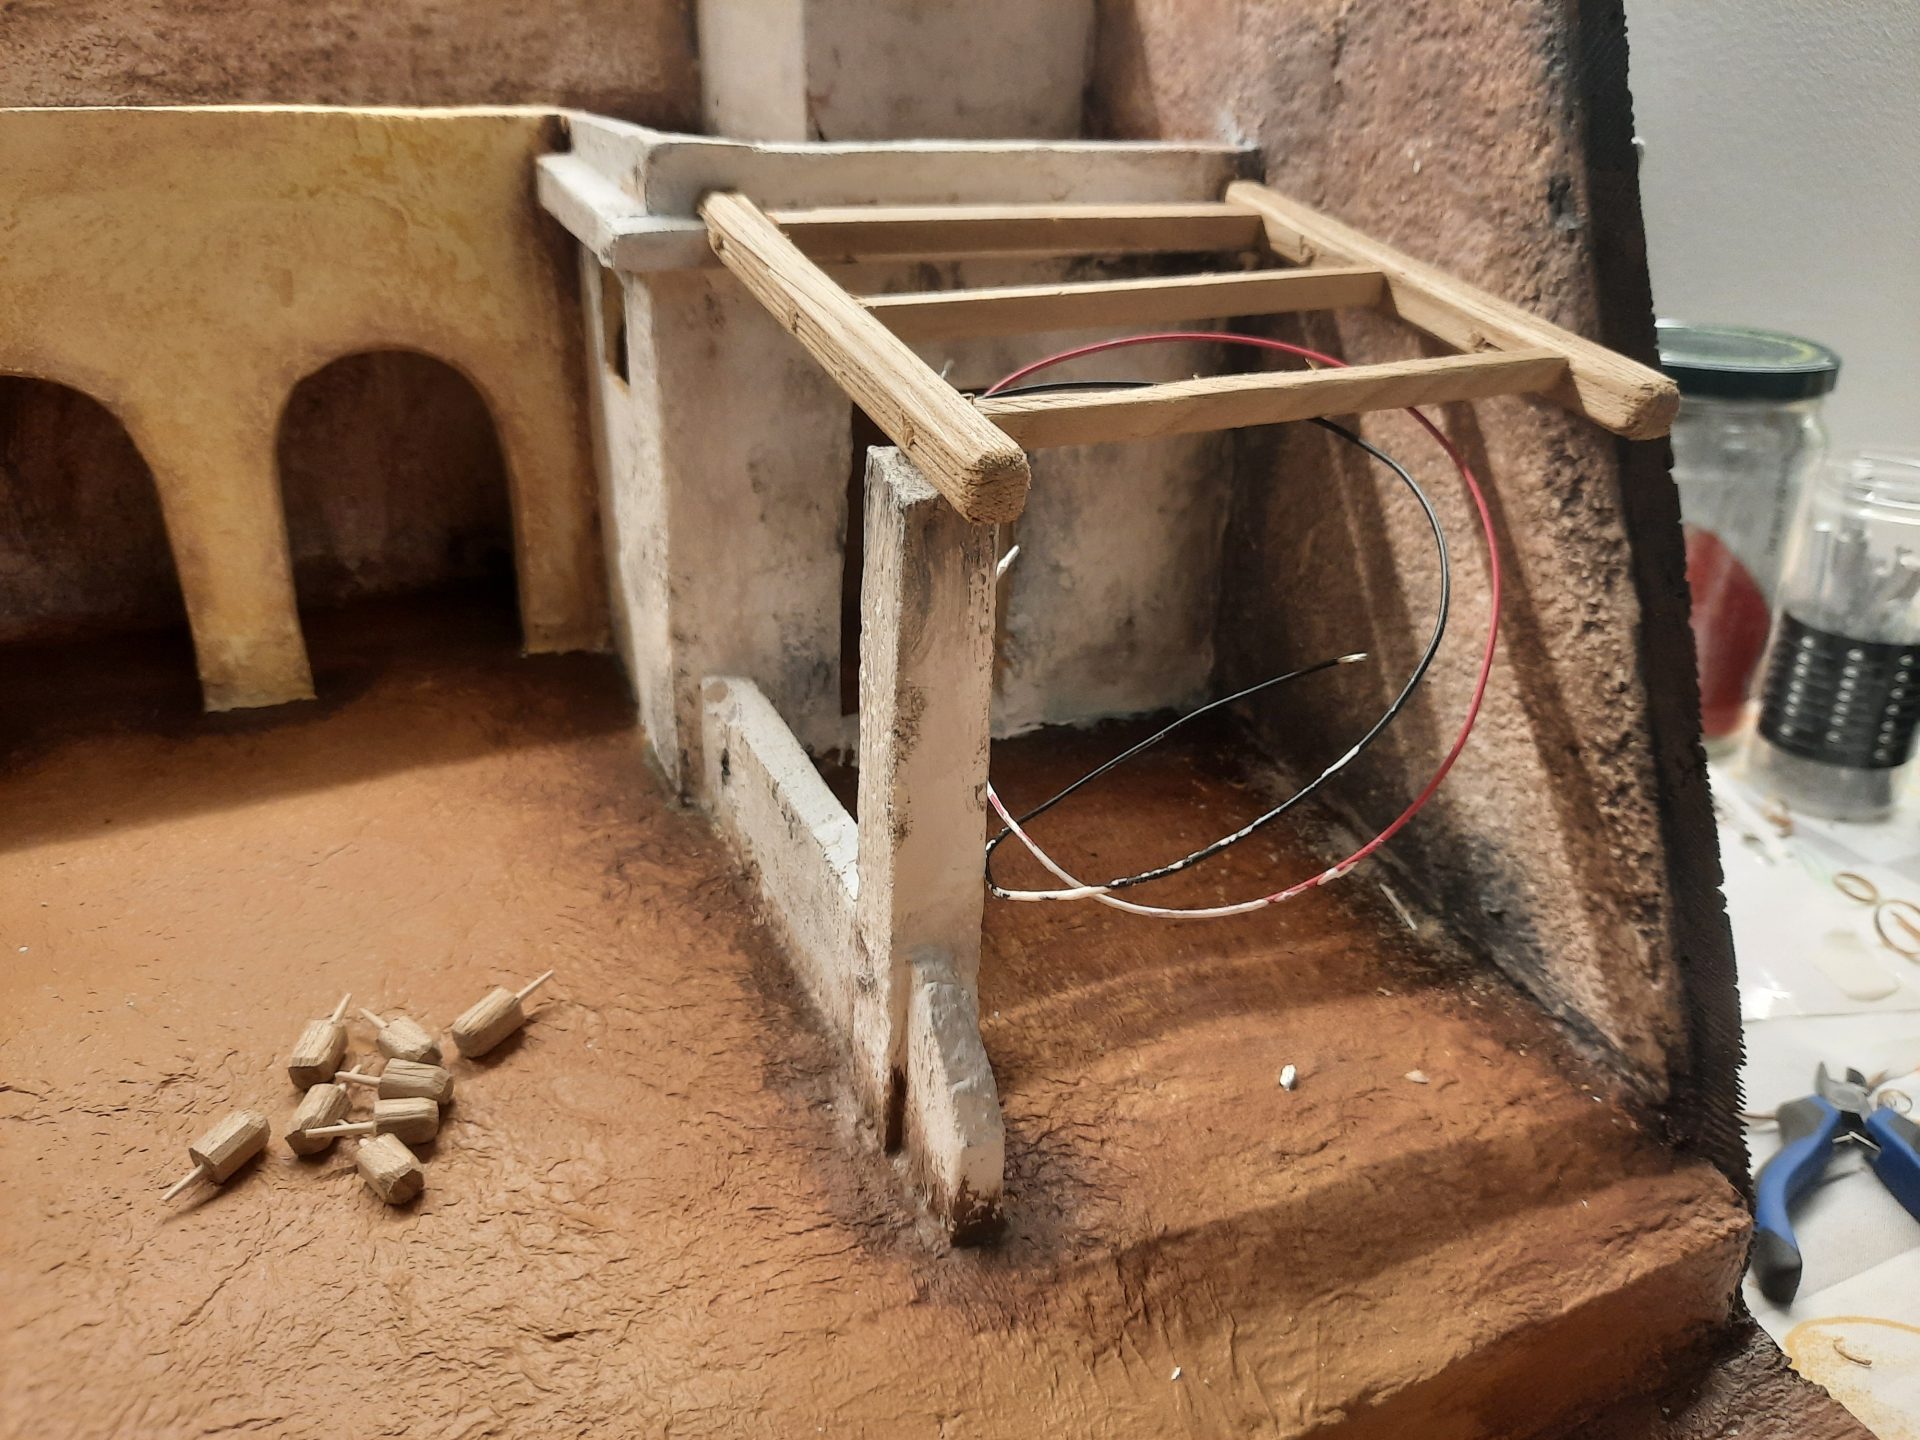
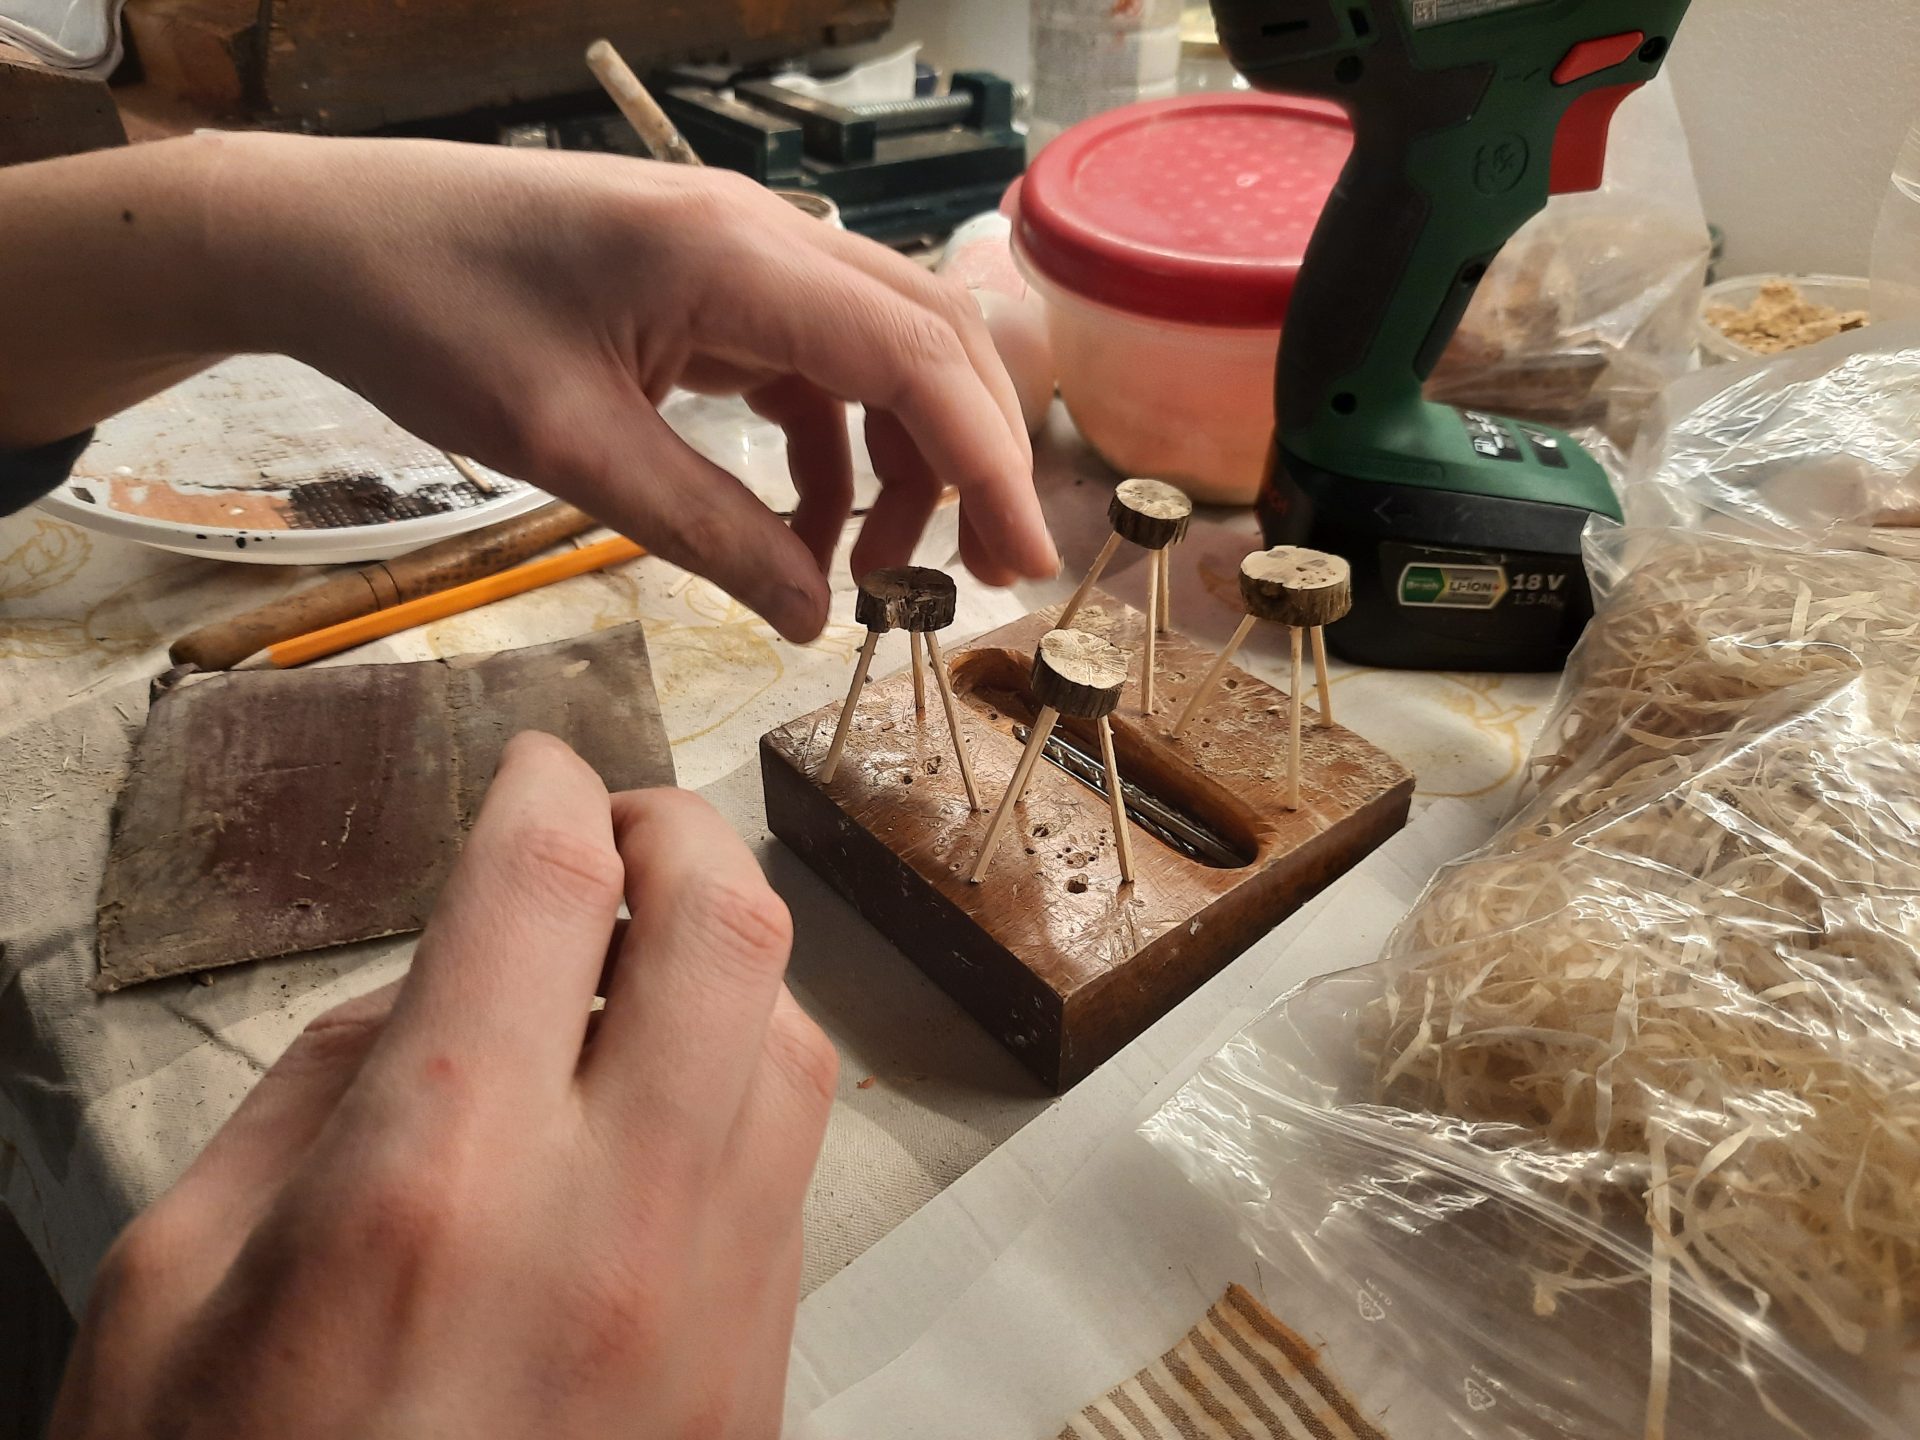
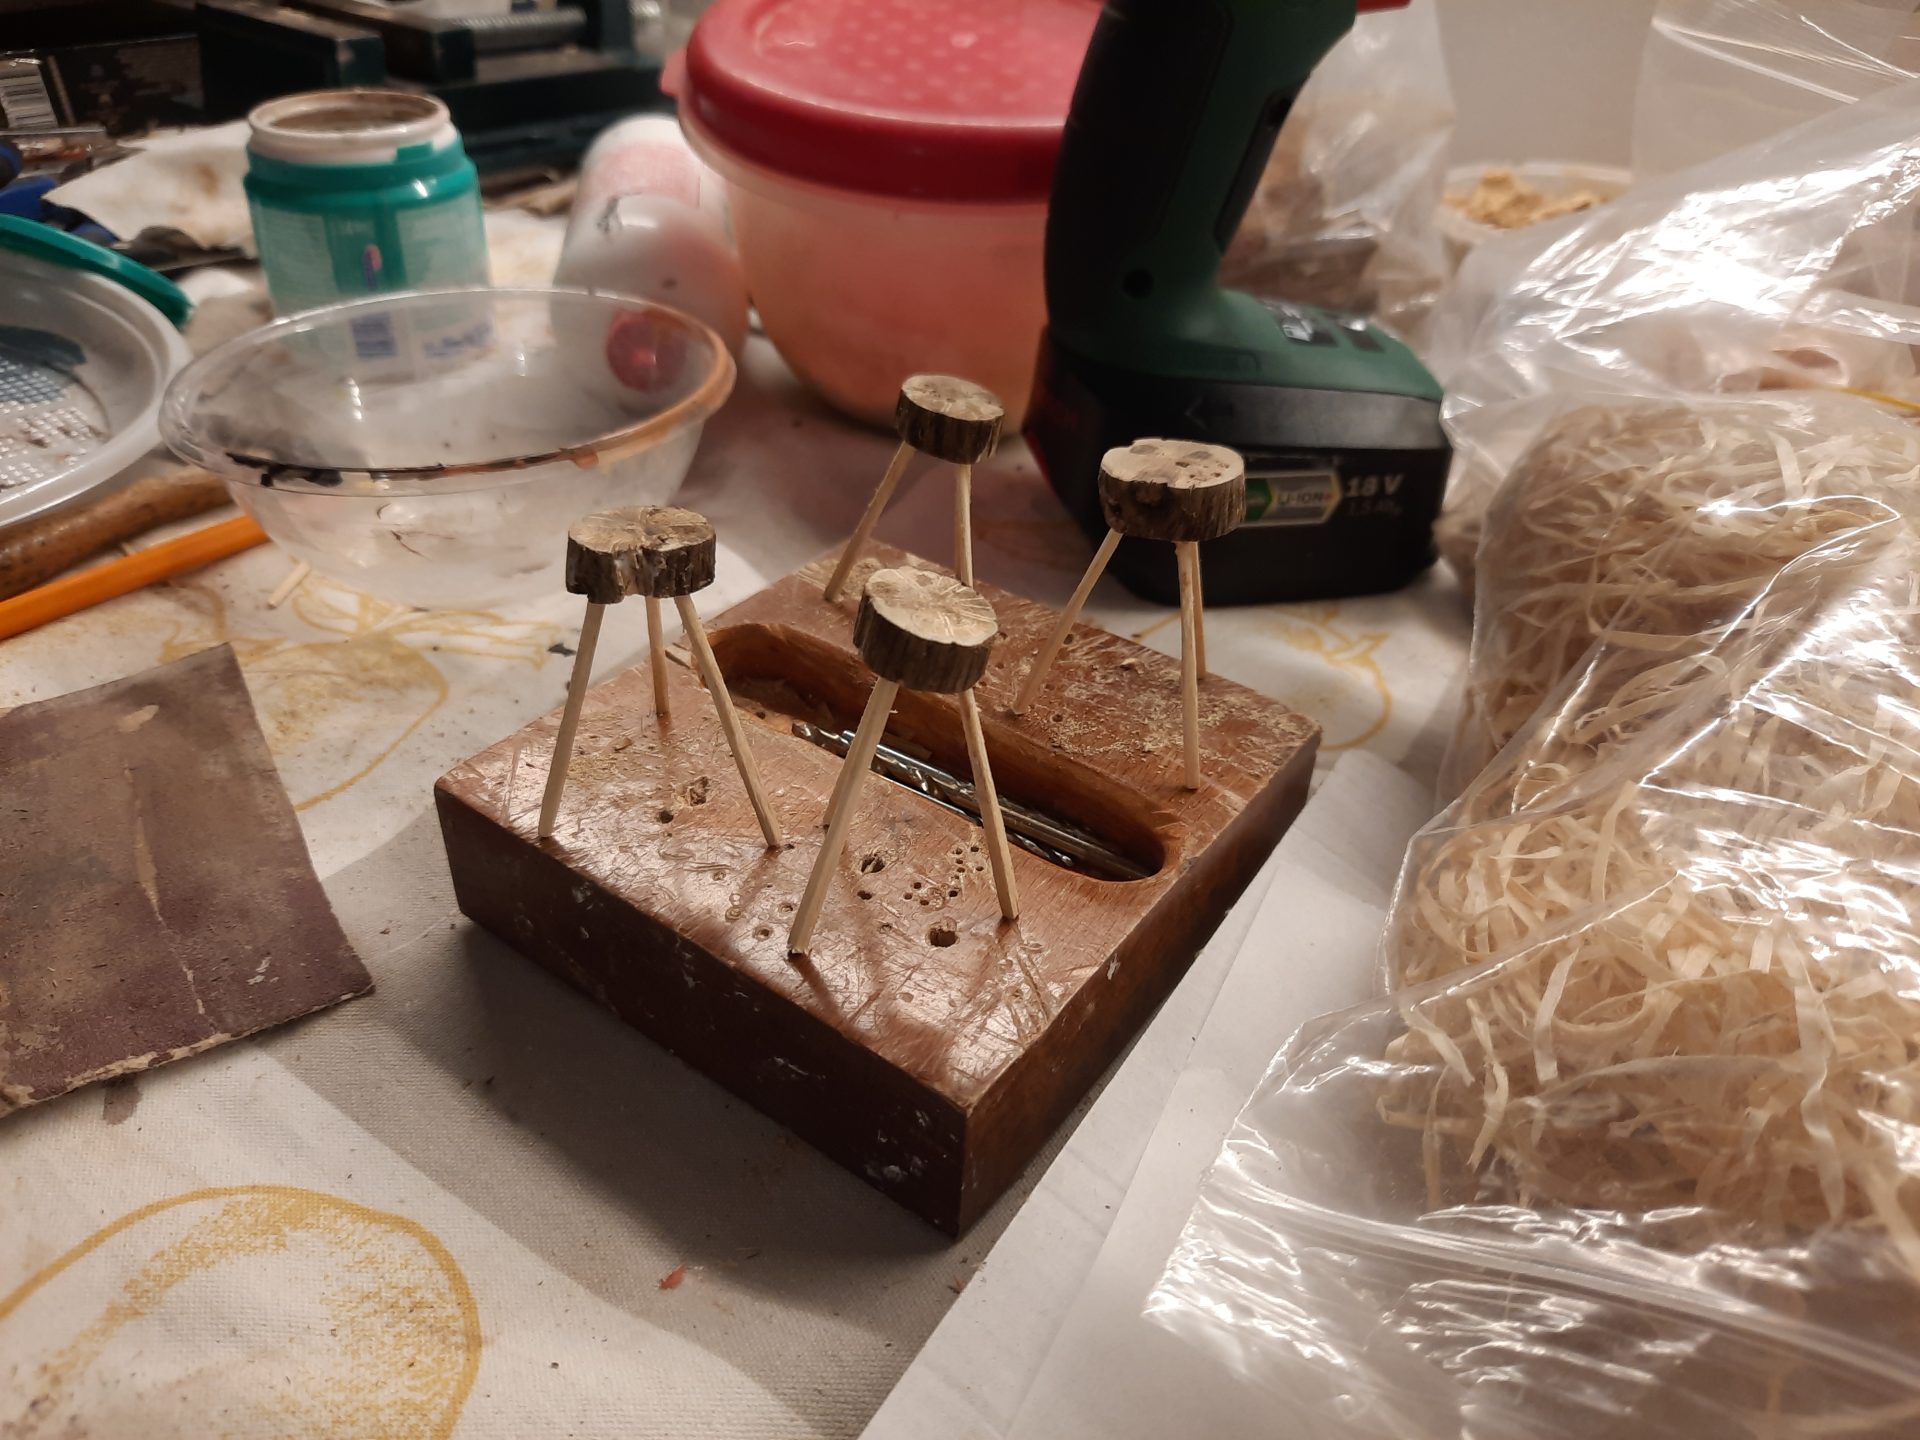
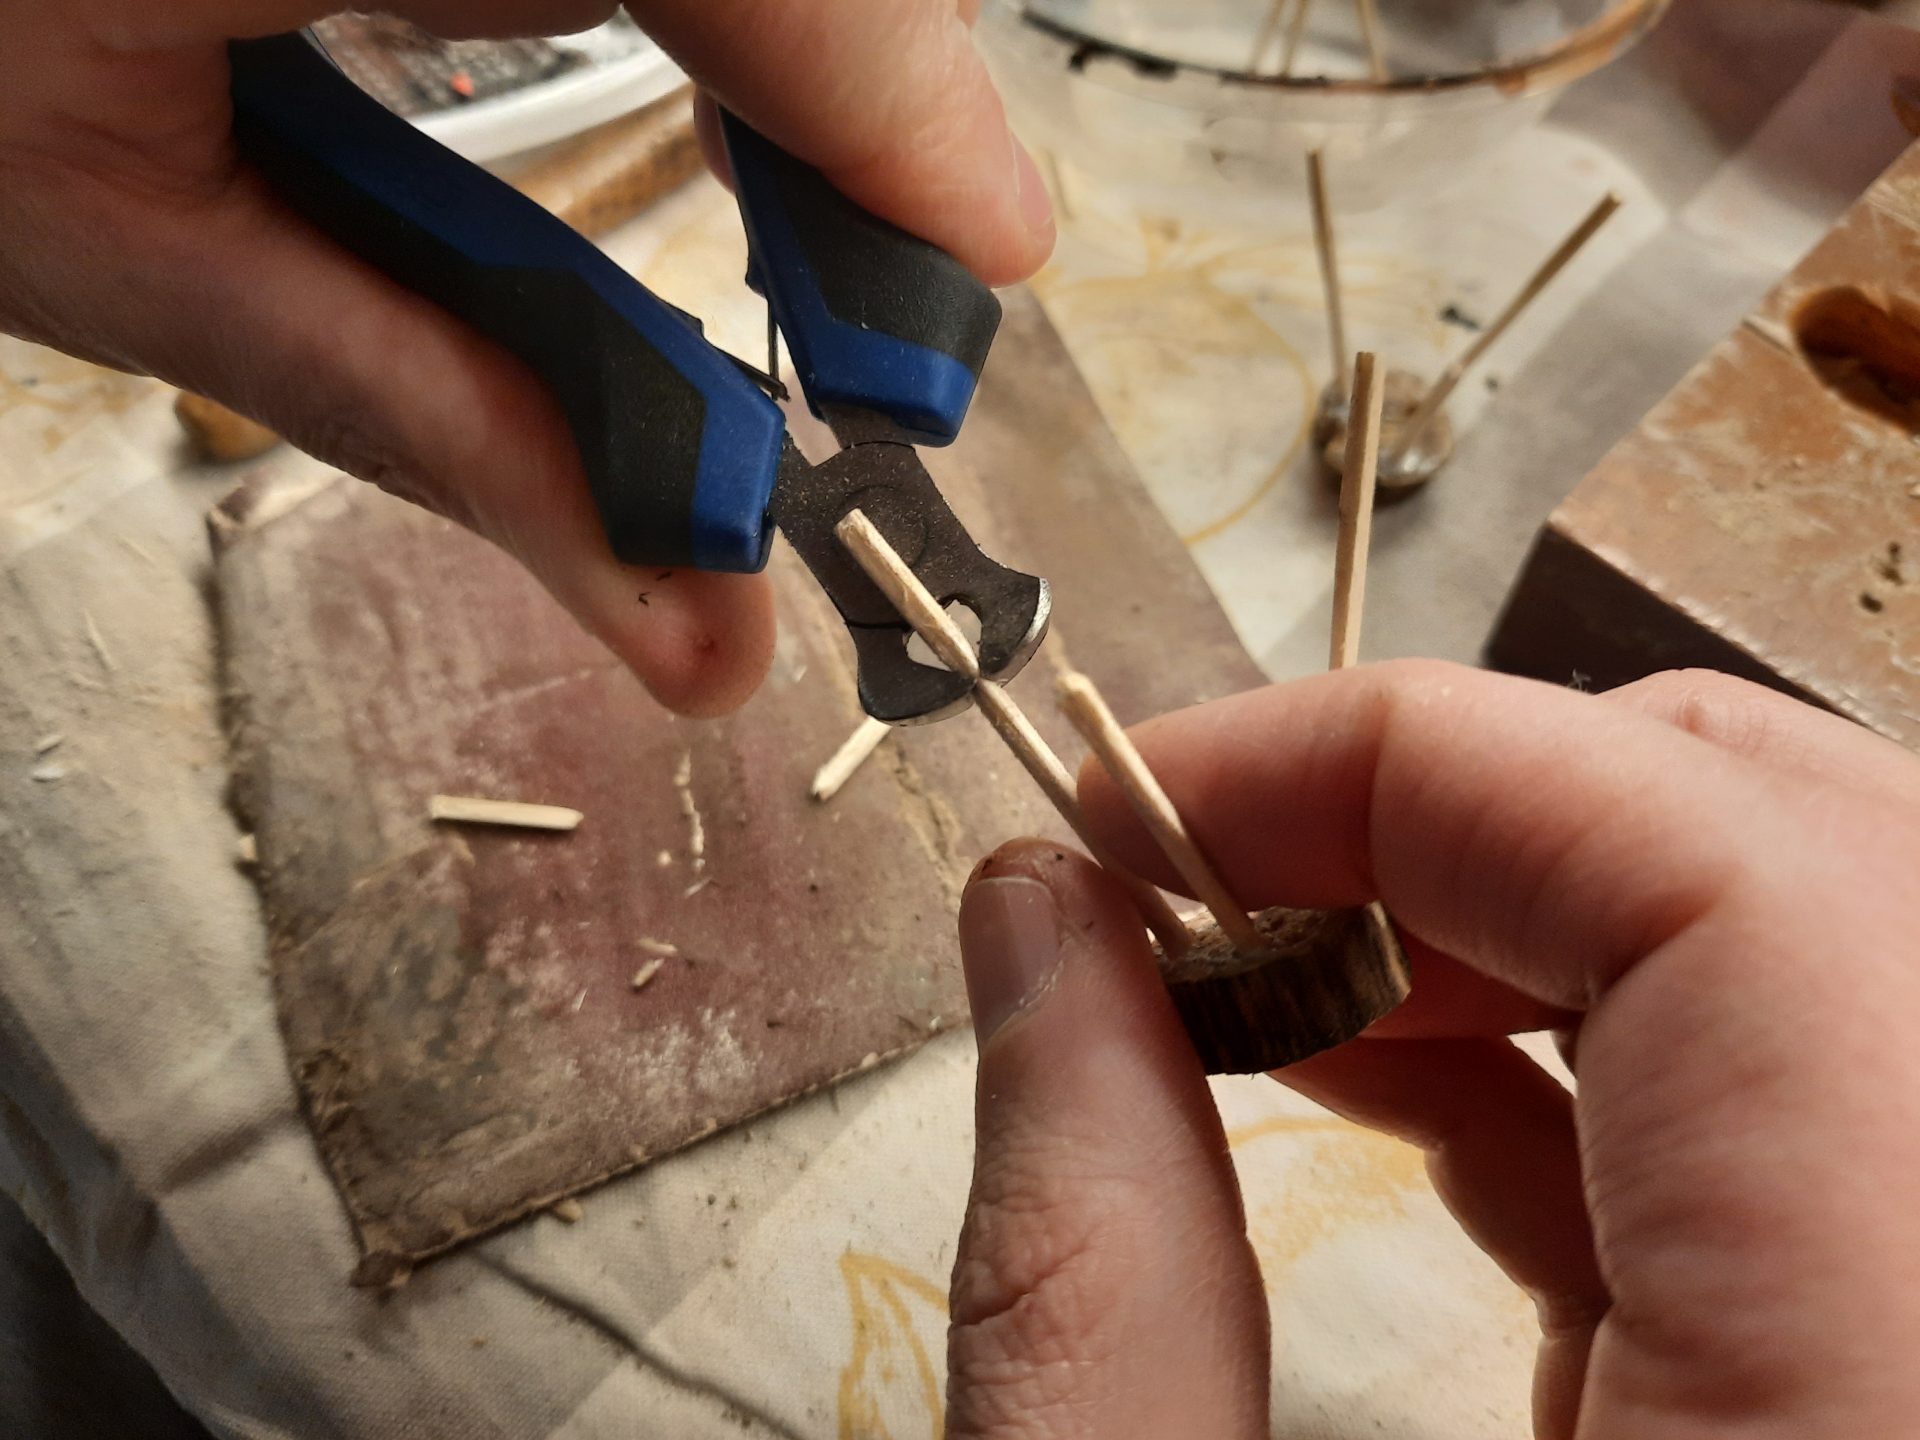
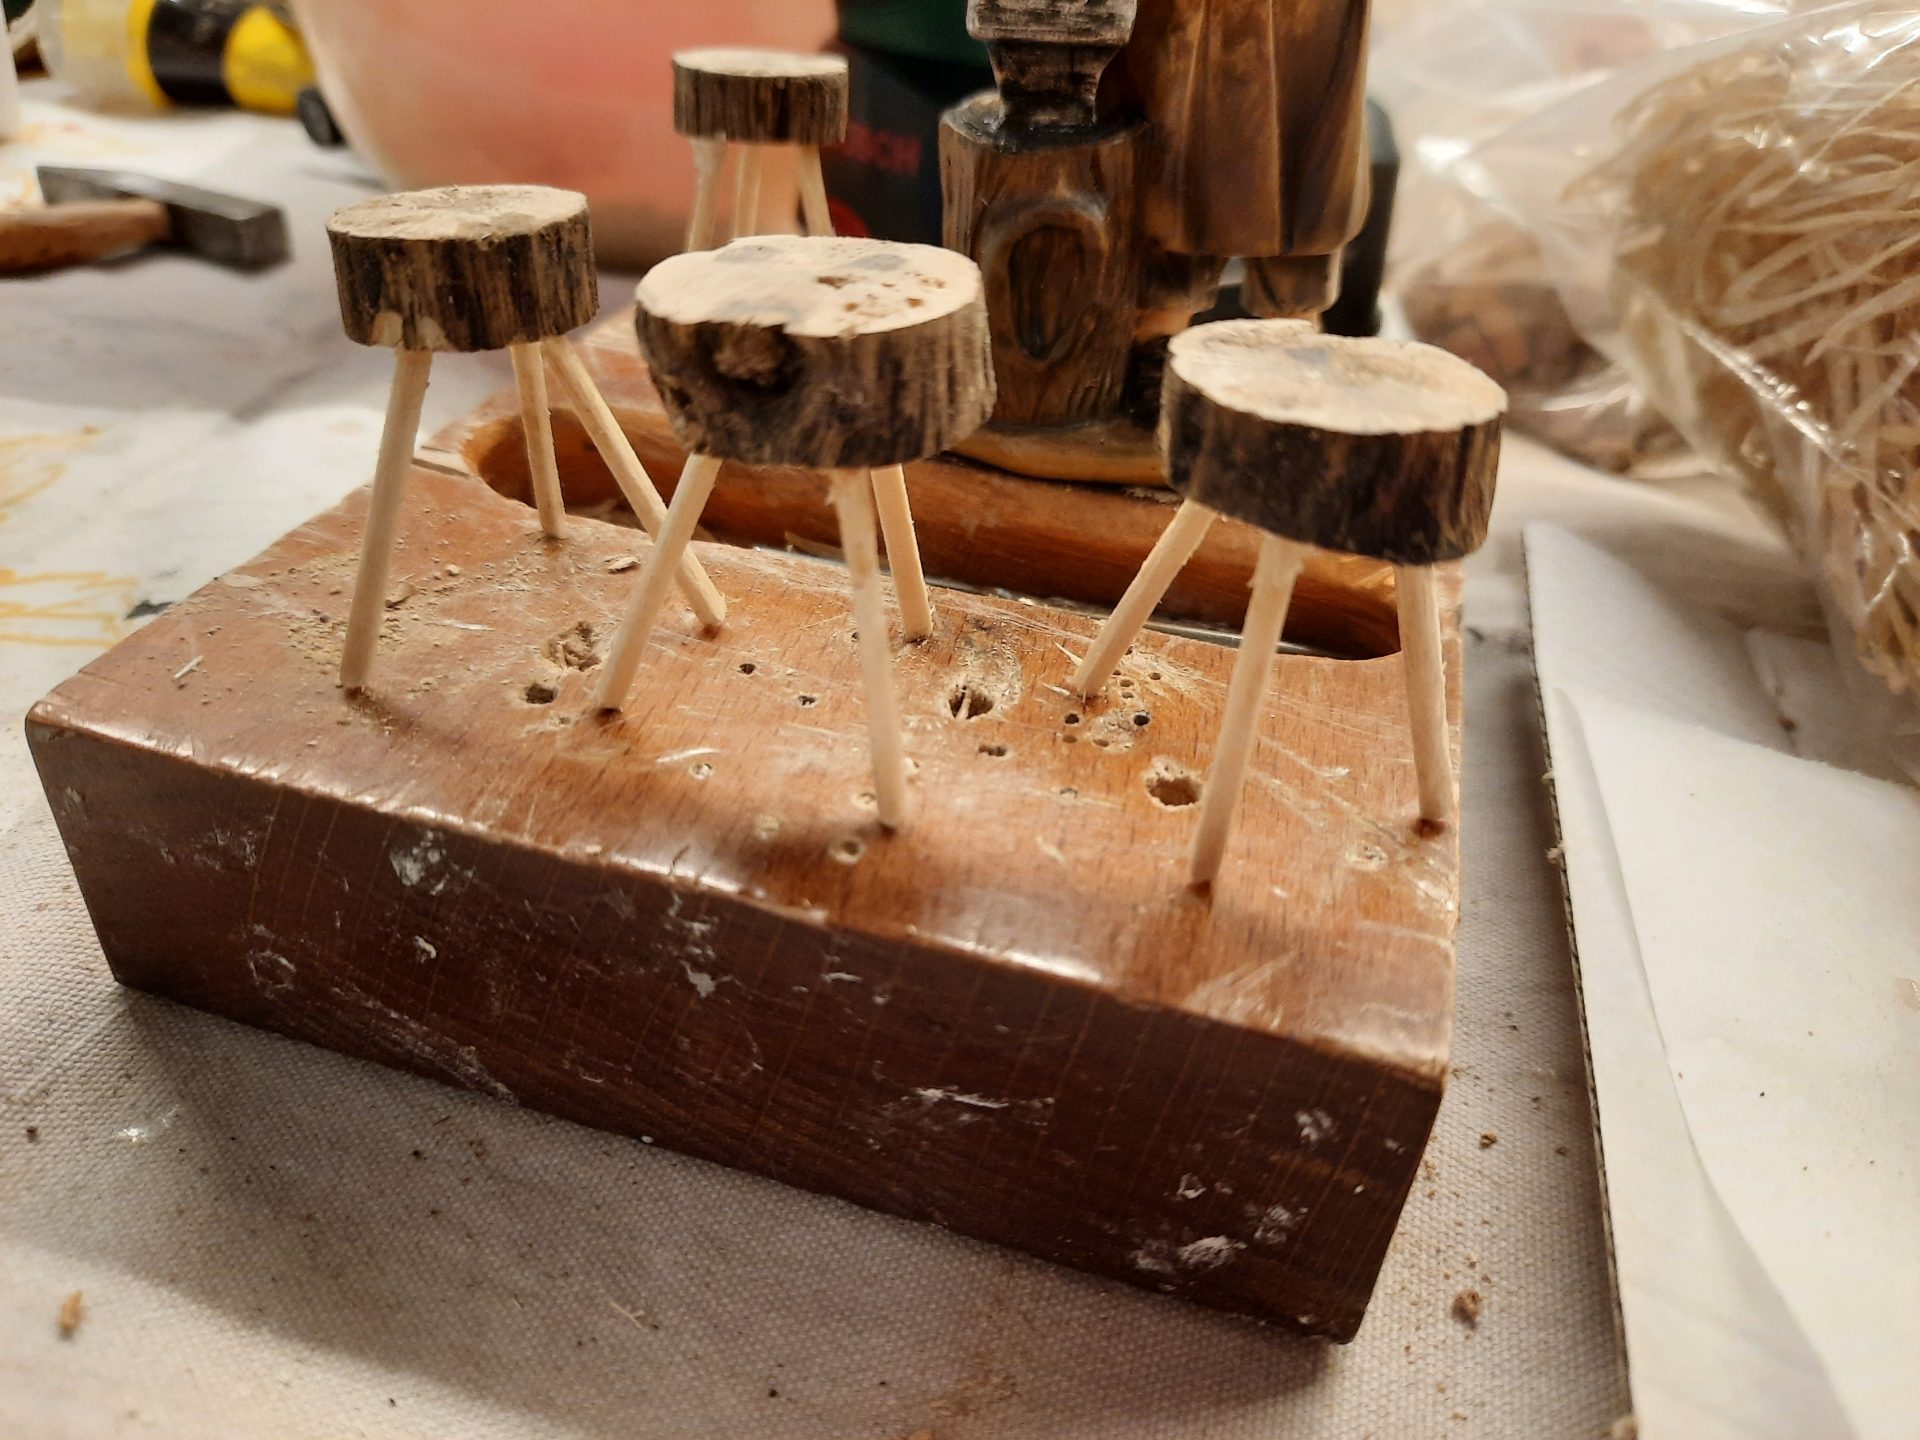
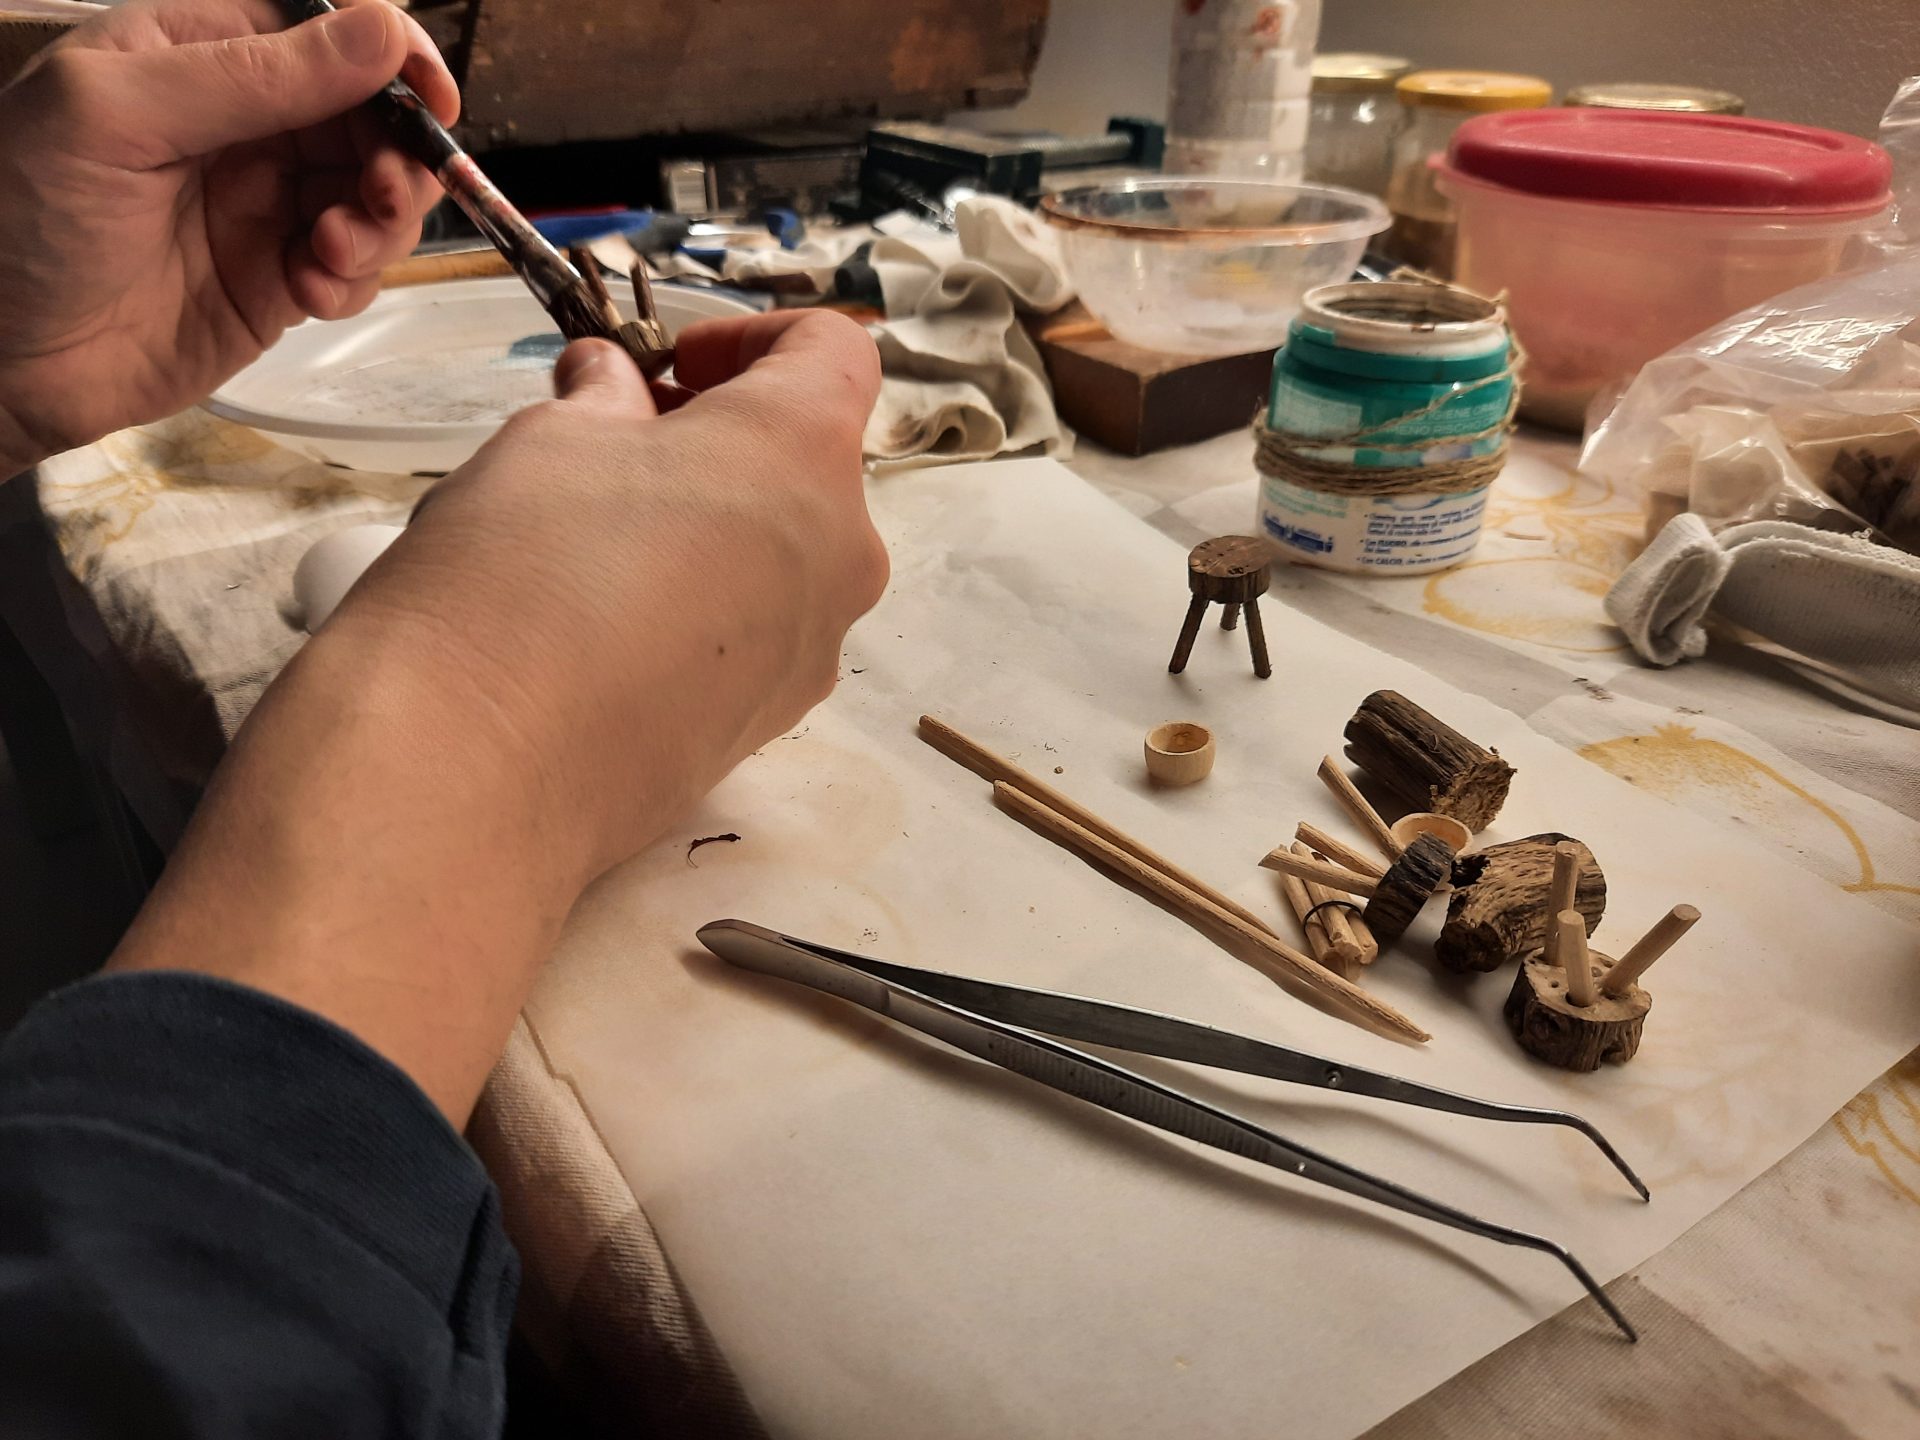
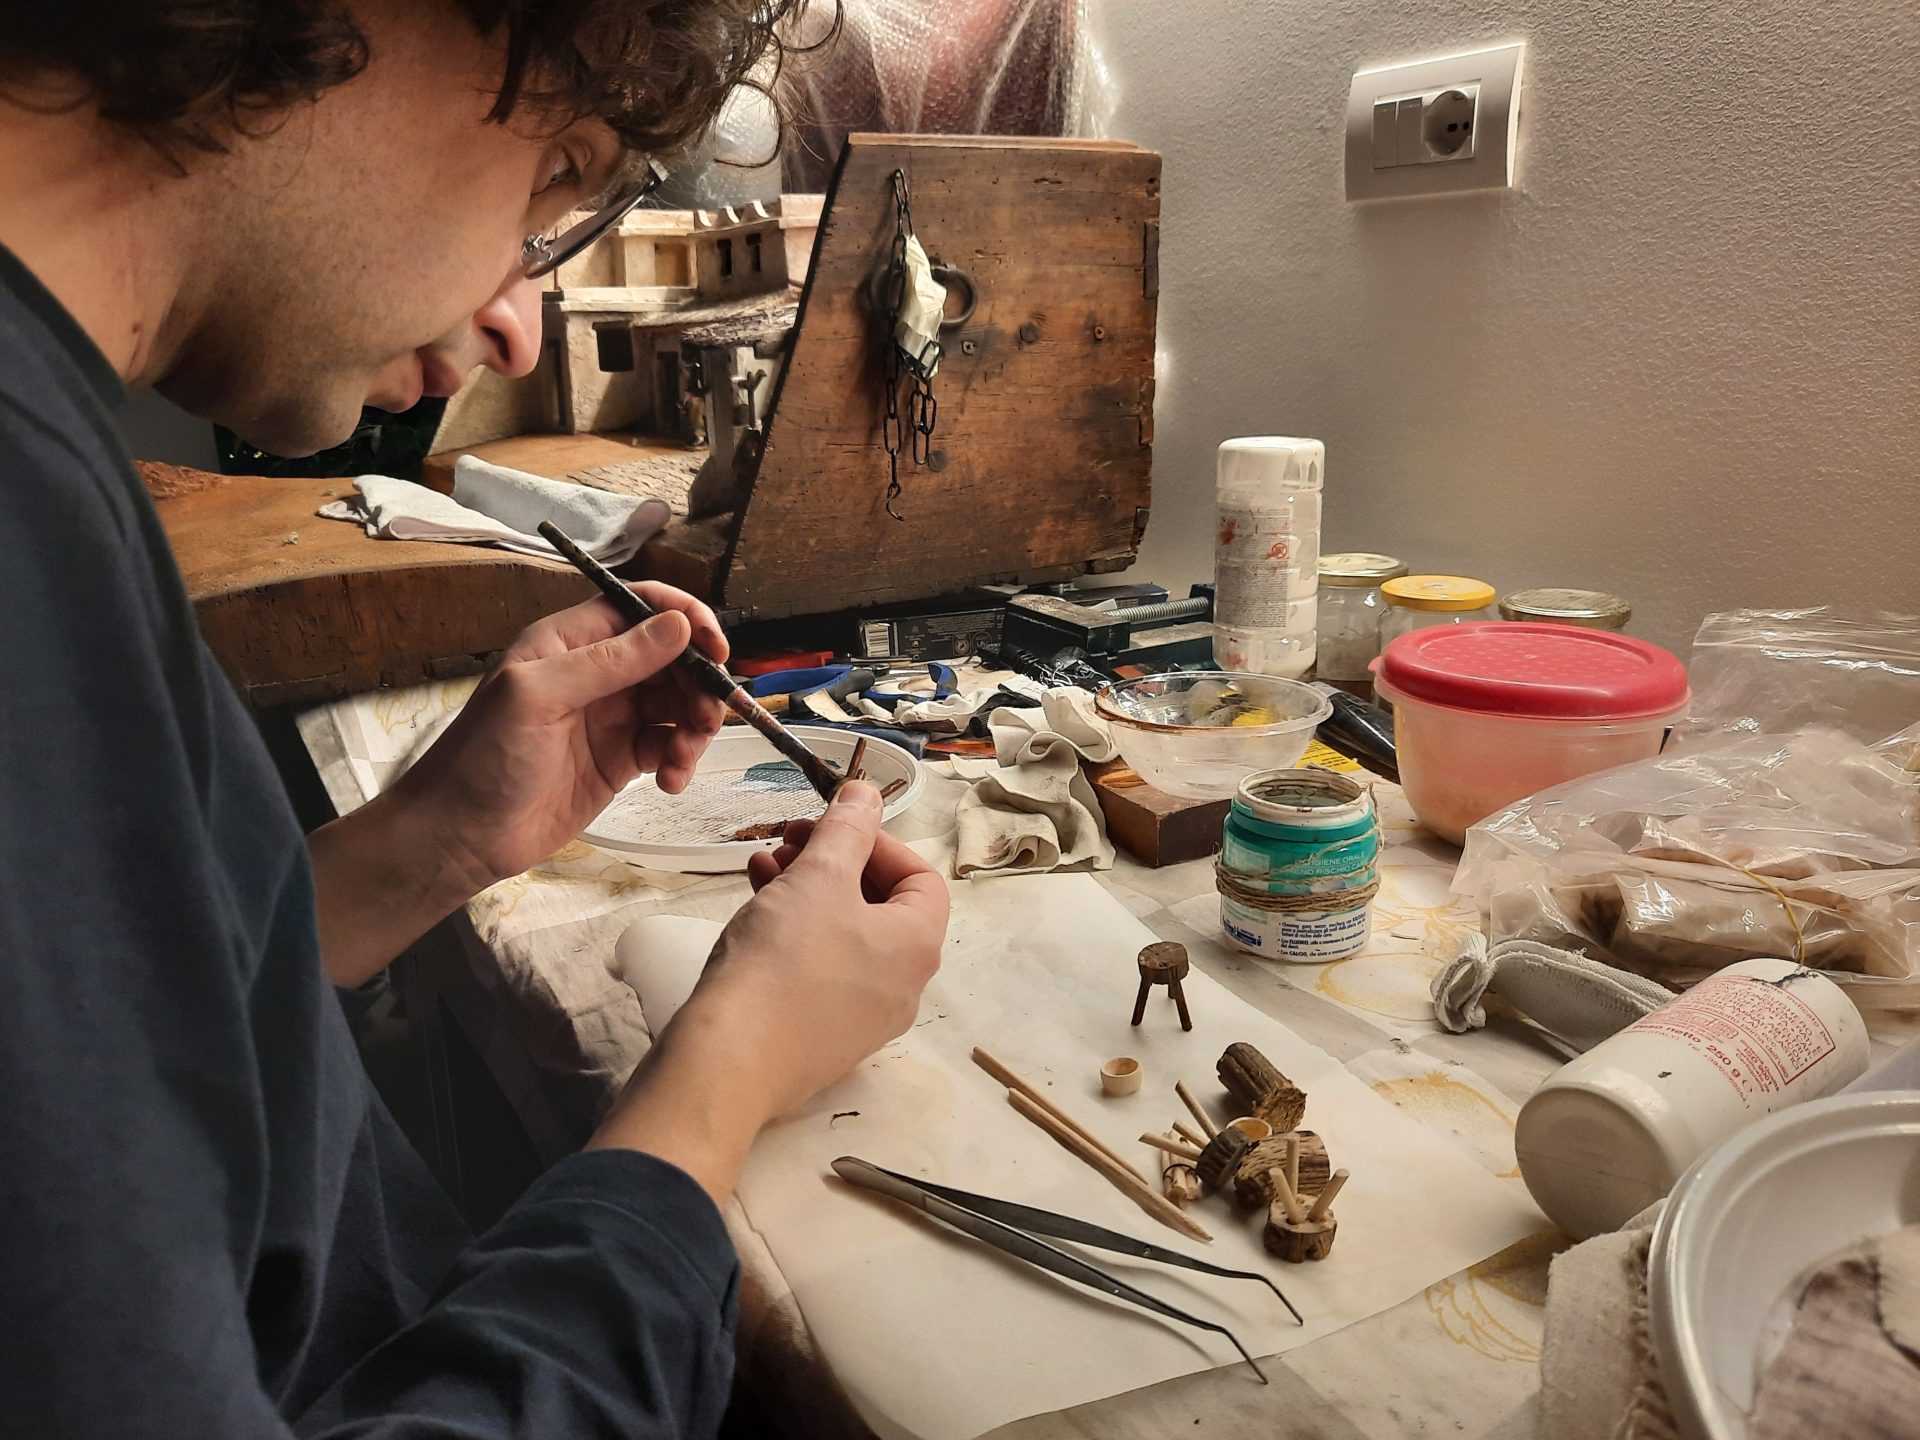
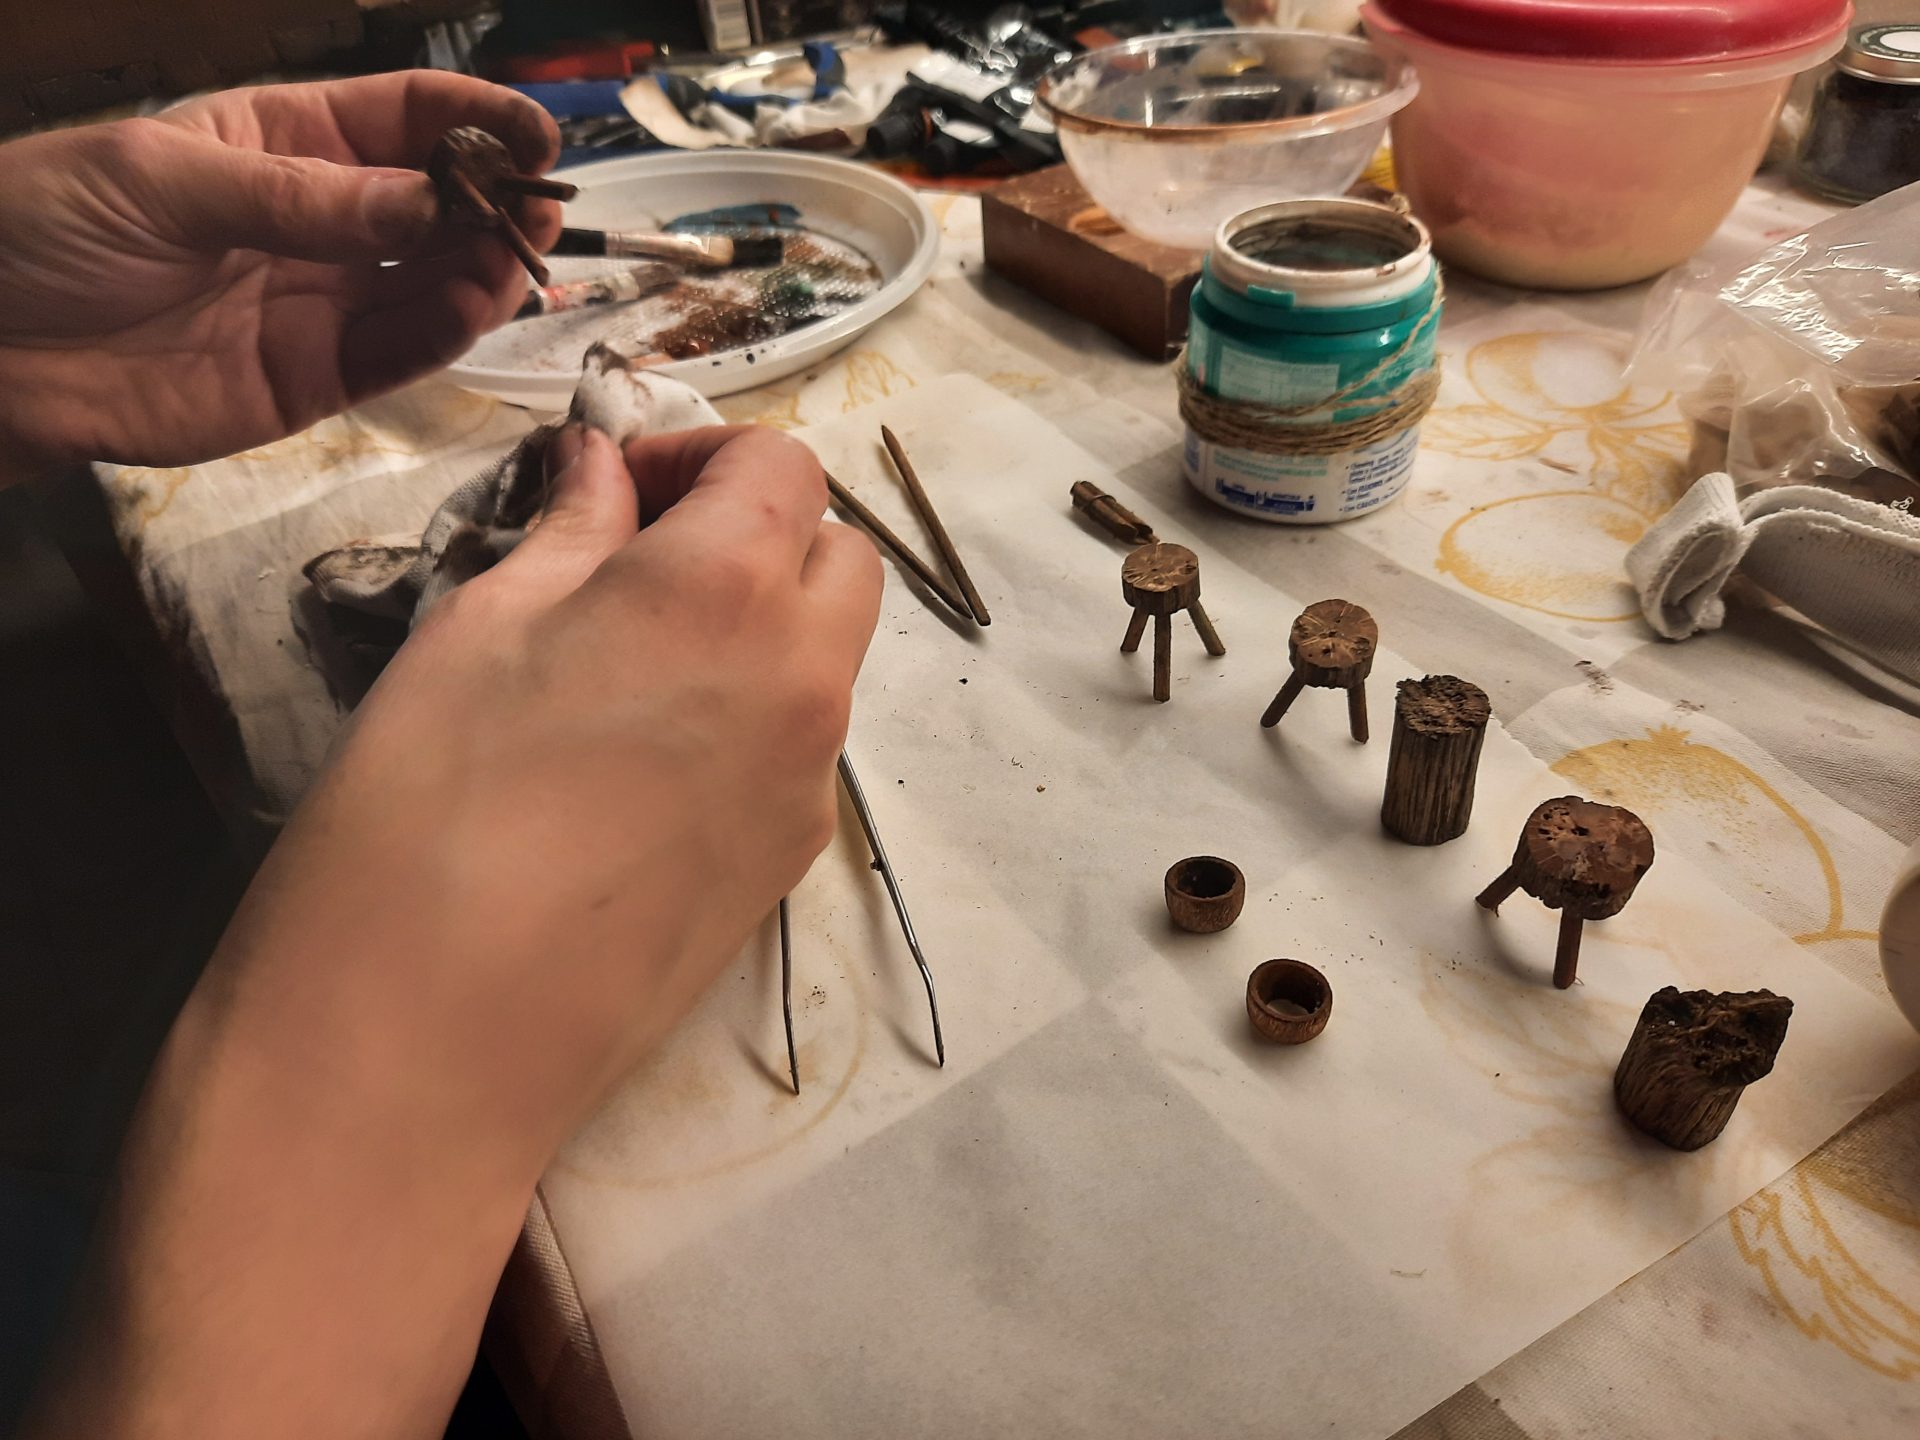
He also crafted several simple stools, not just for this workshop but also to scatter across other homes and businesses throughout Bethlehem.
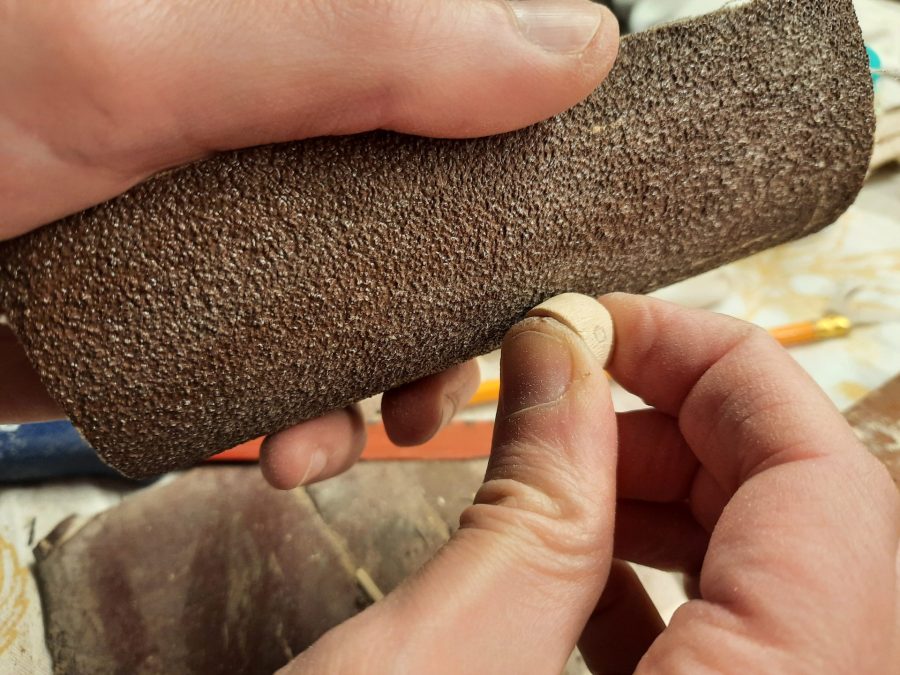
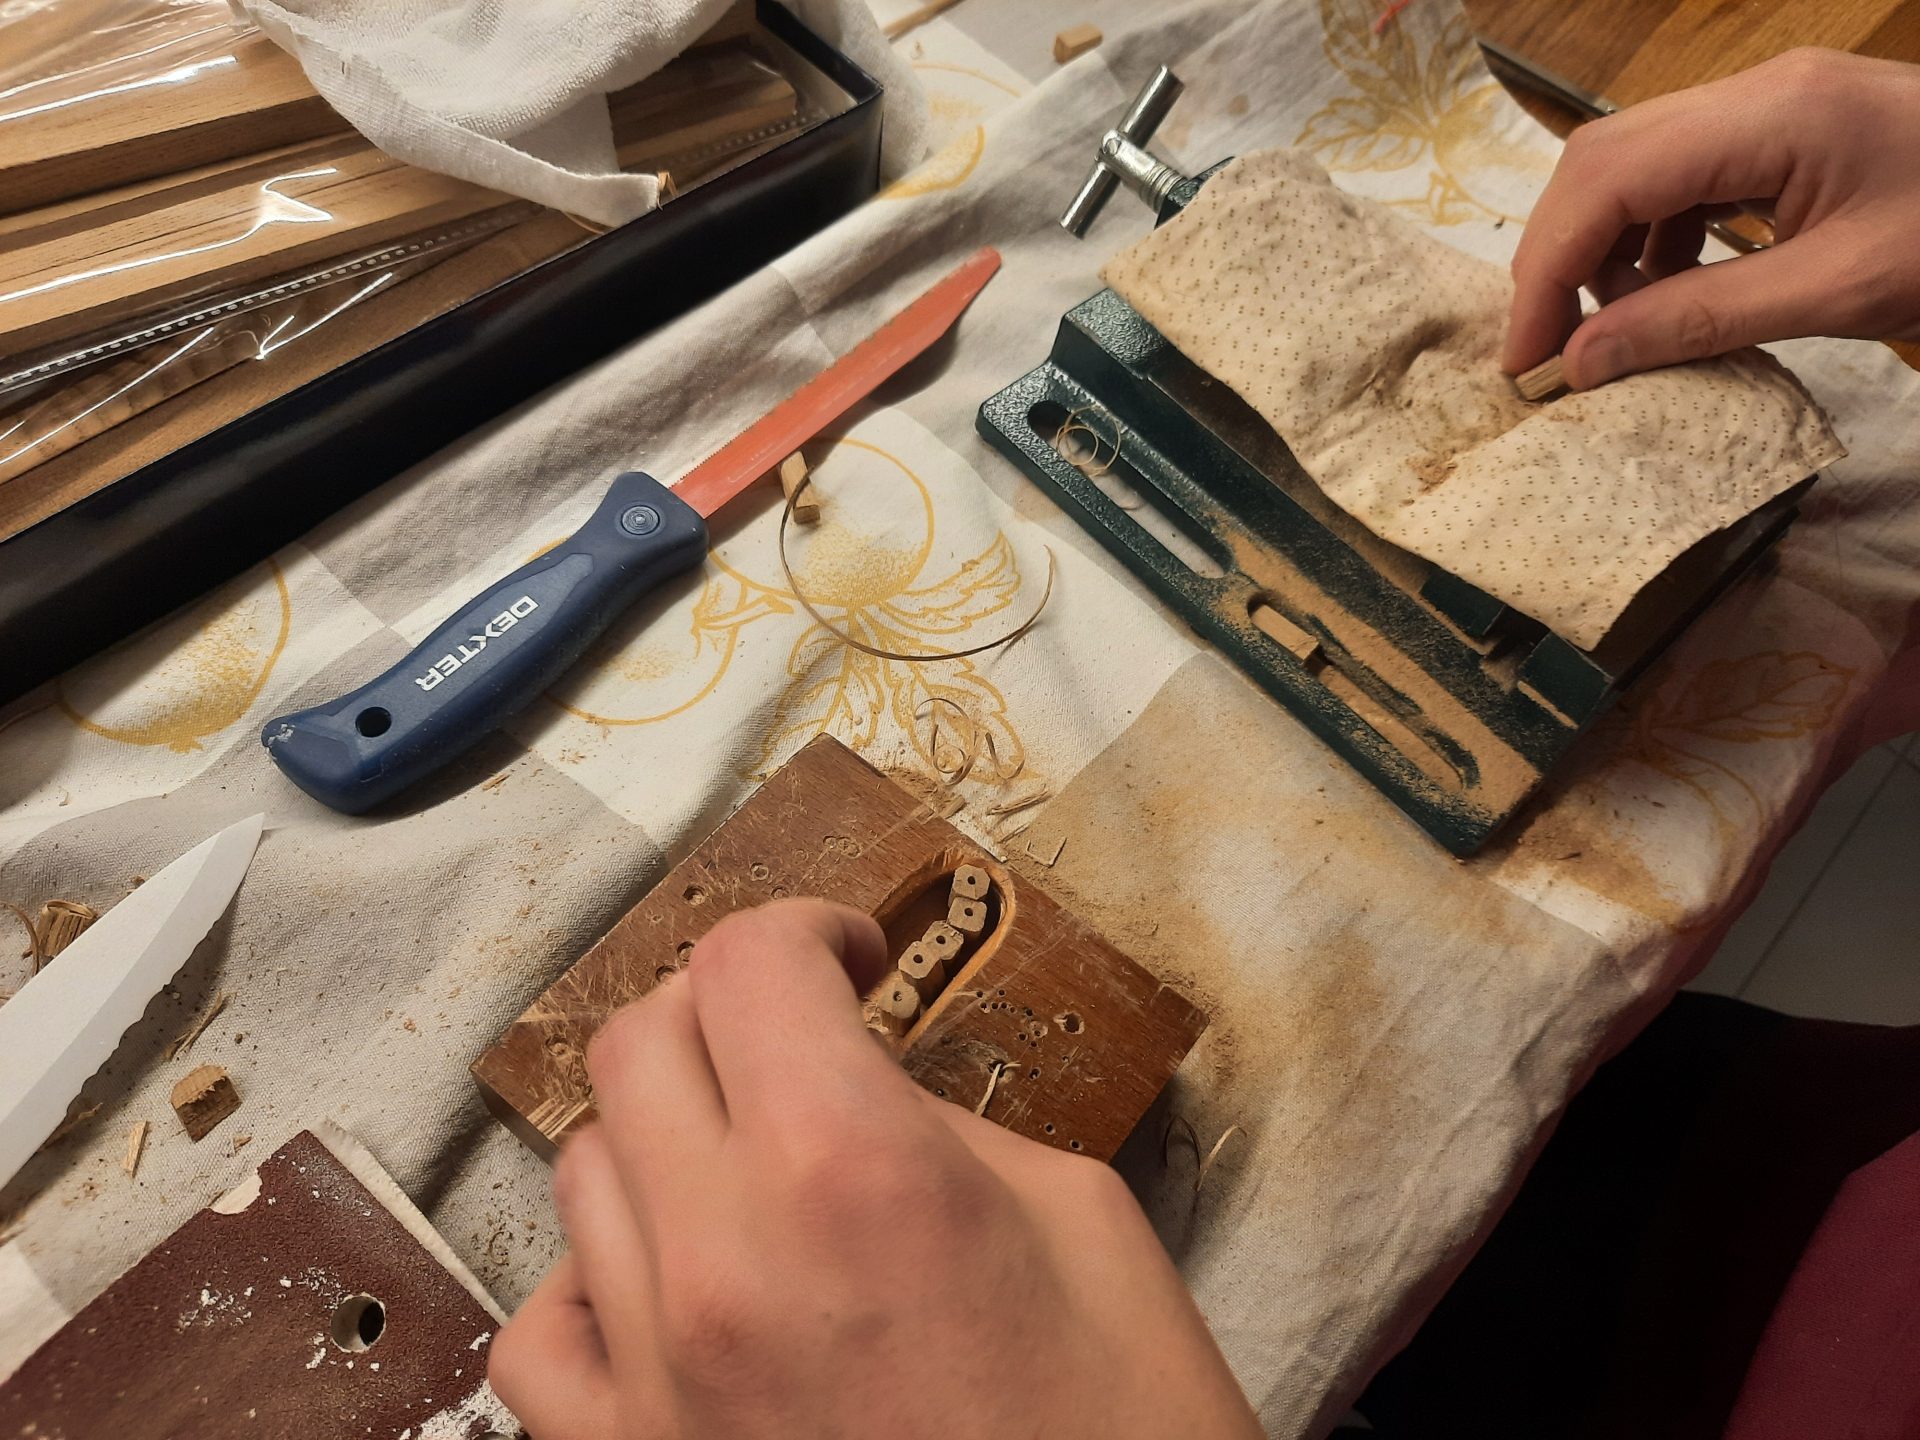
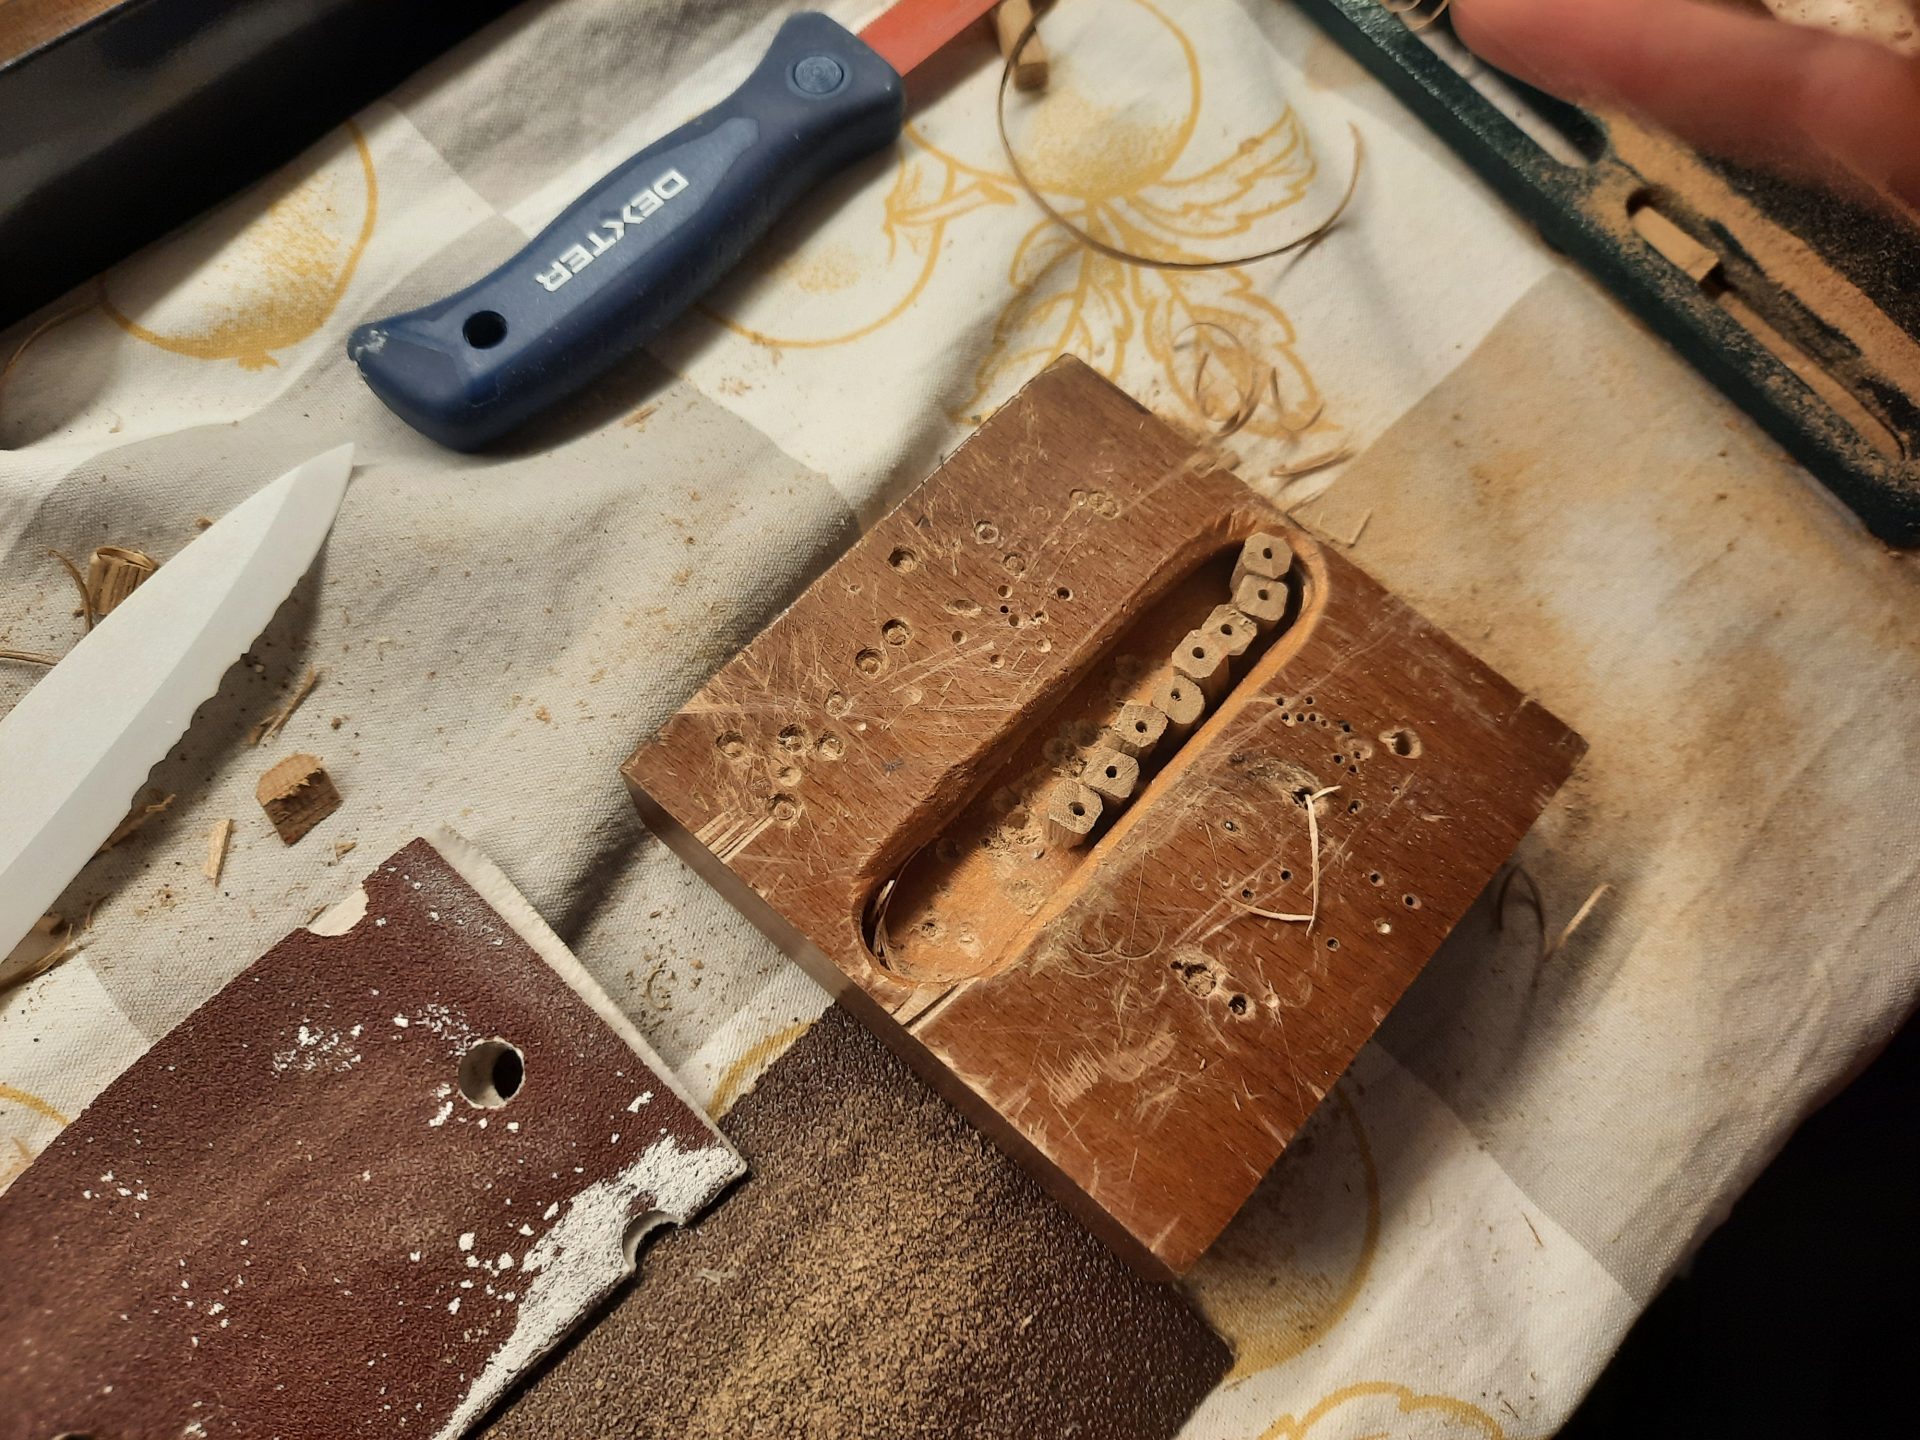
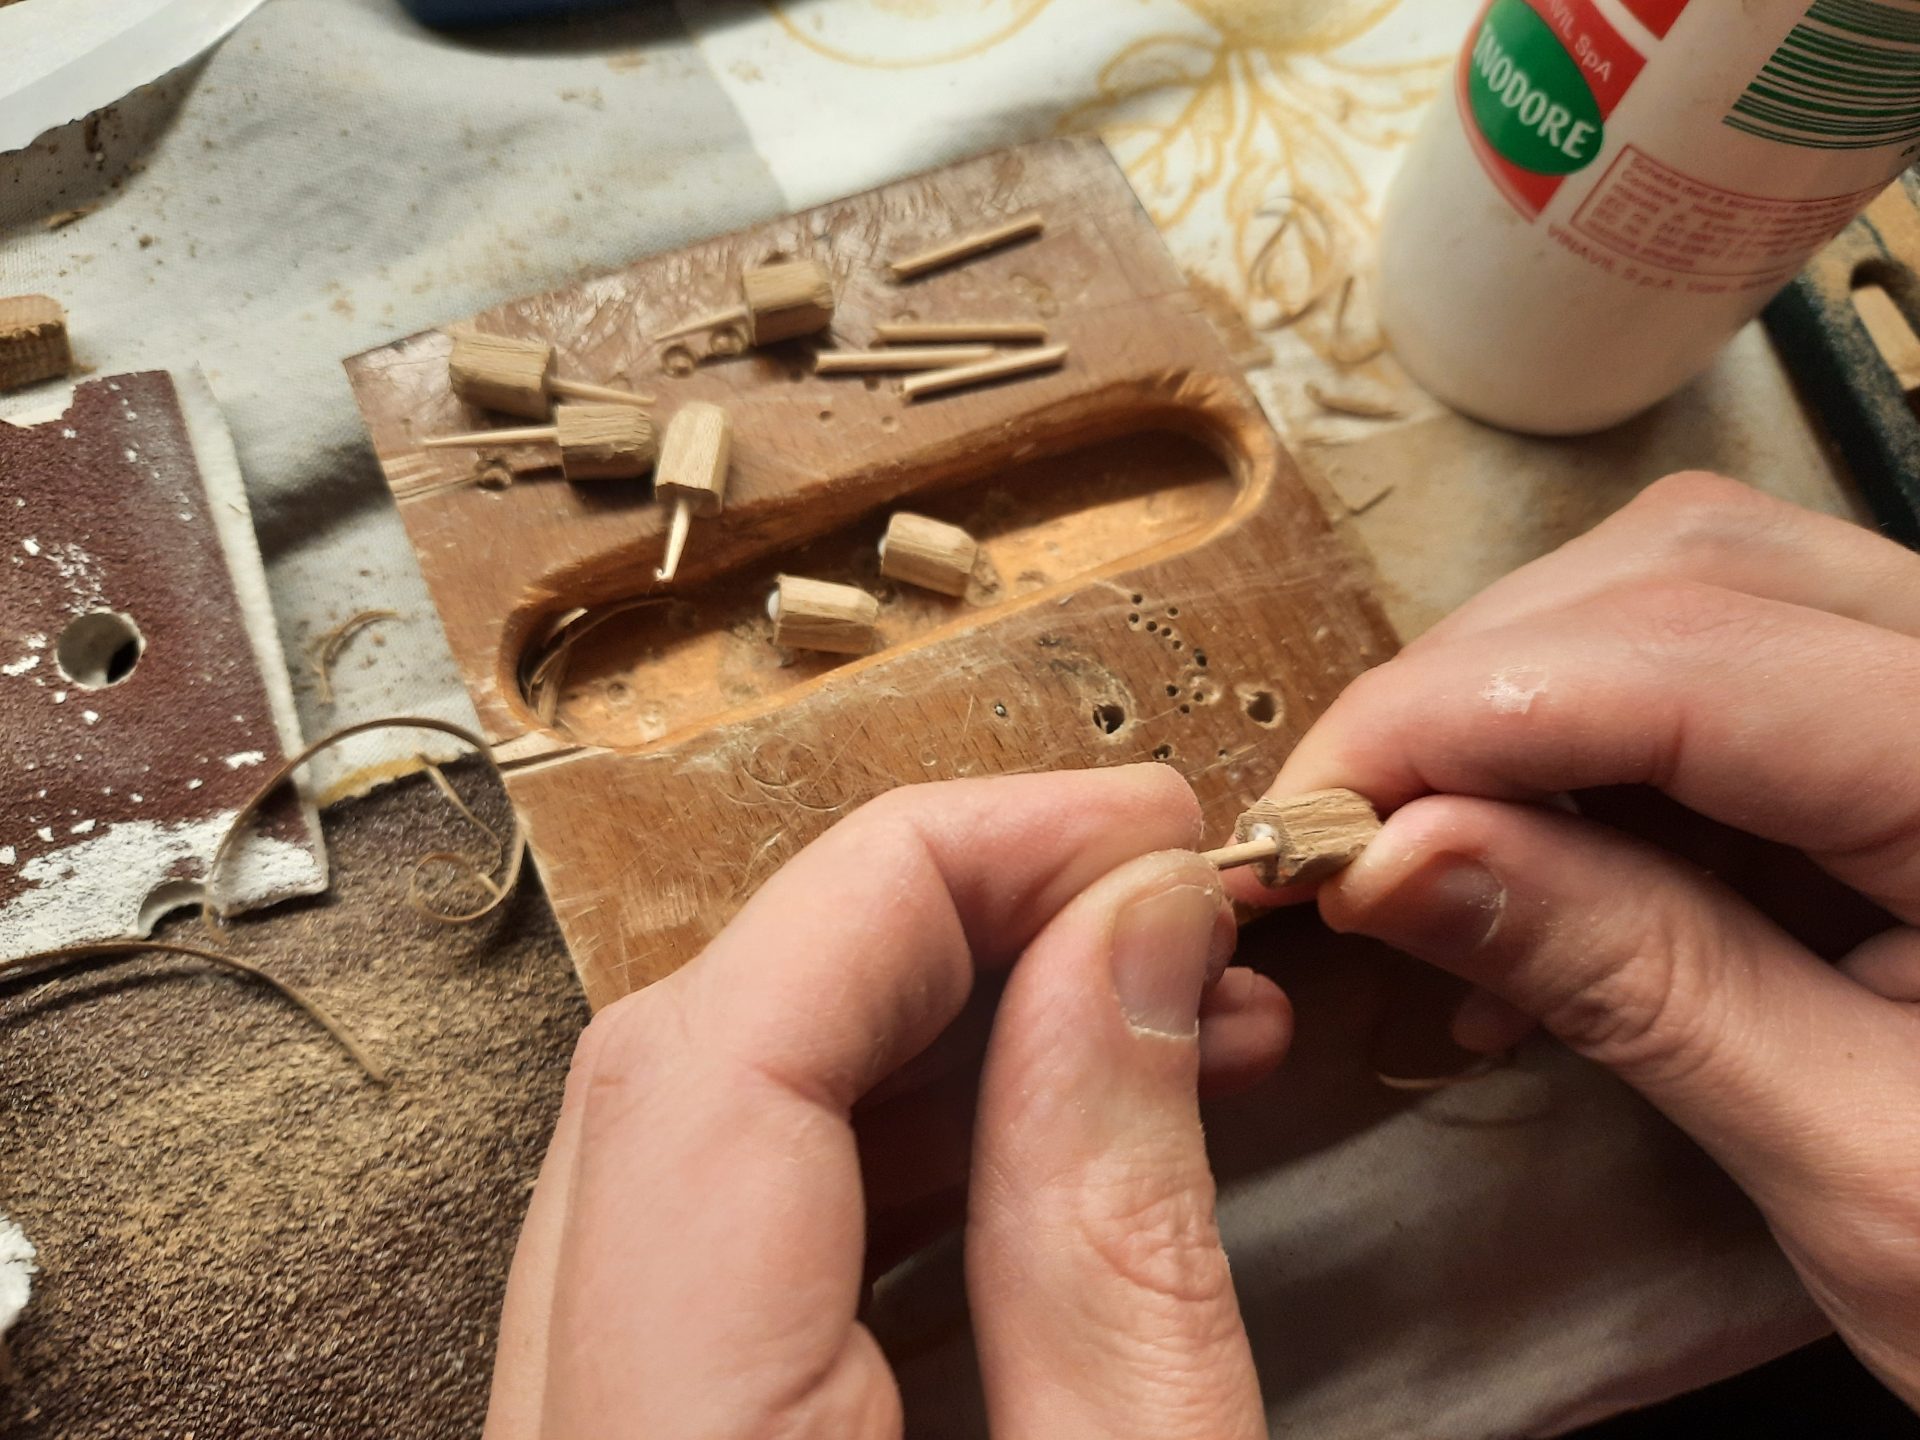
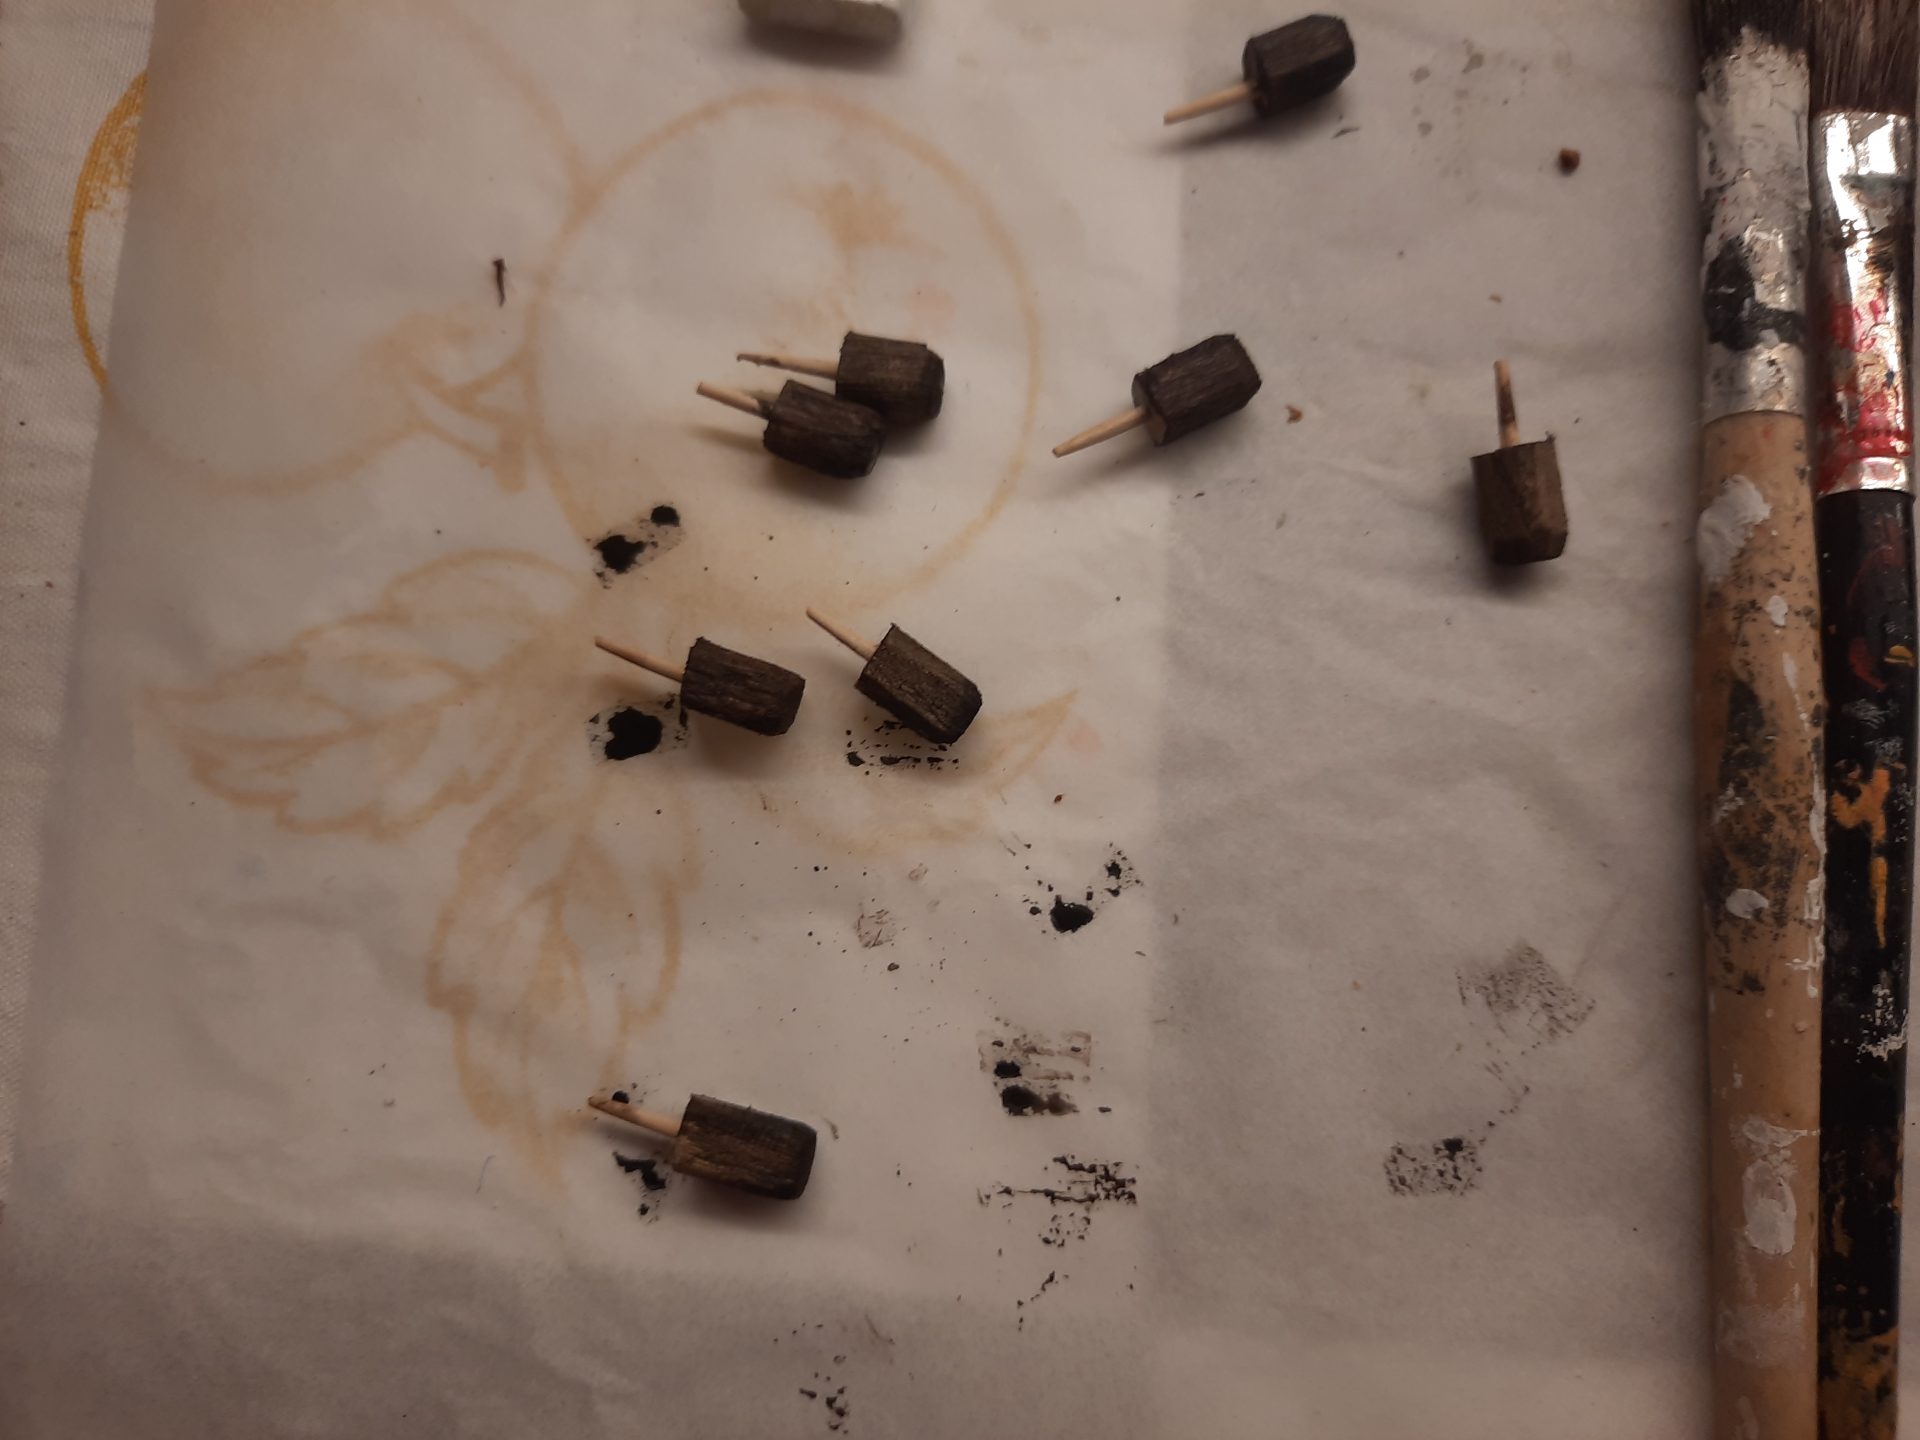
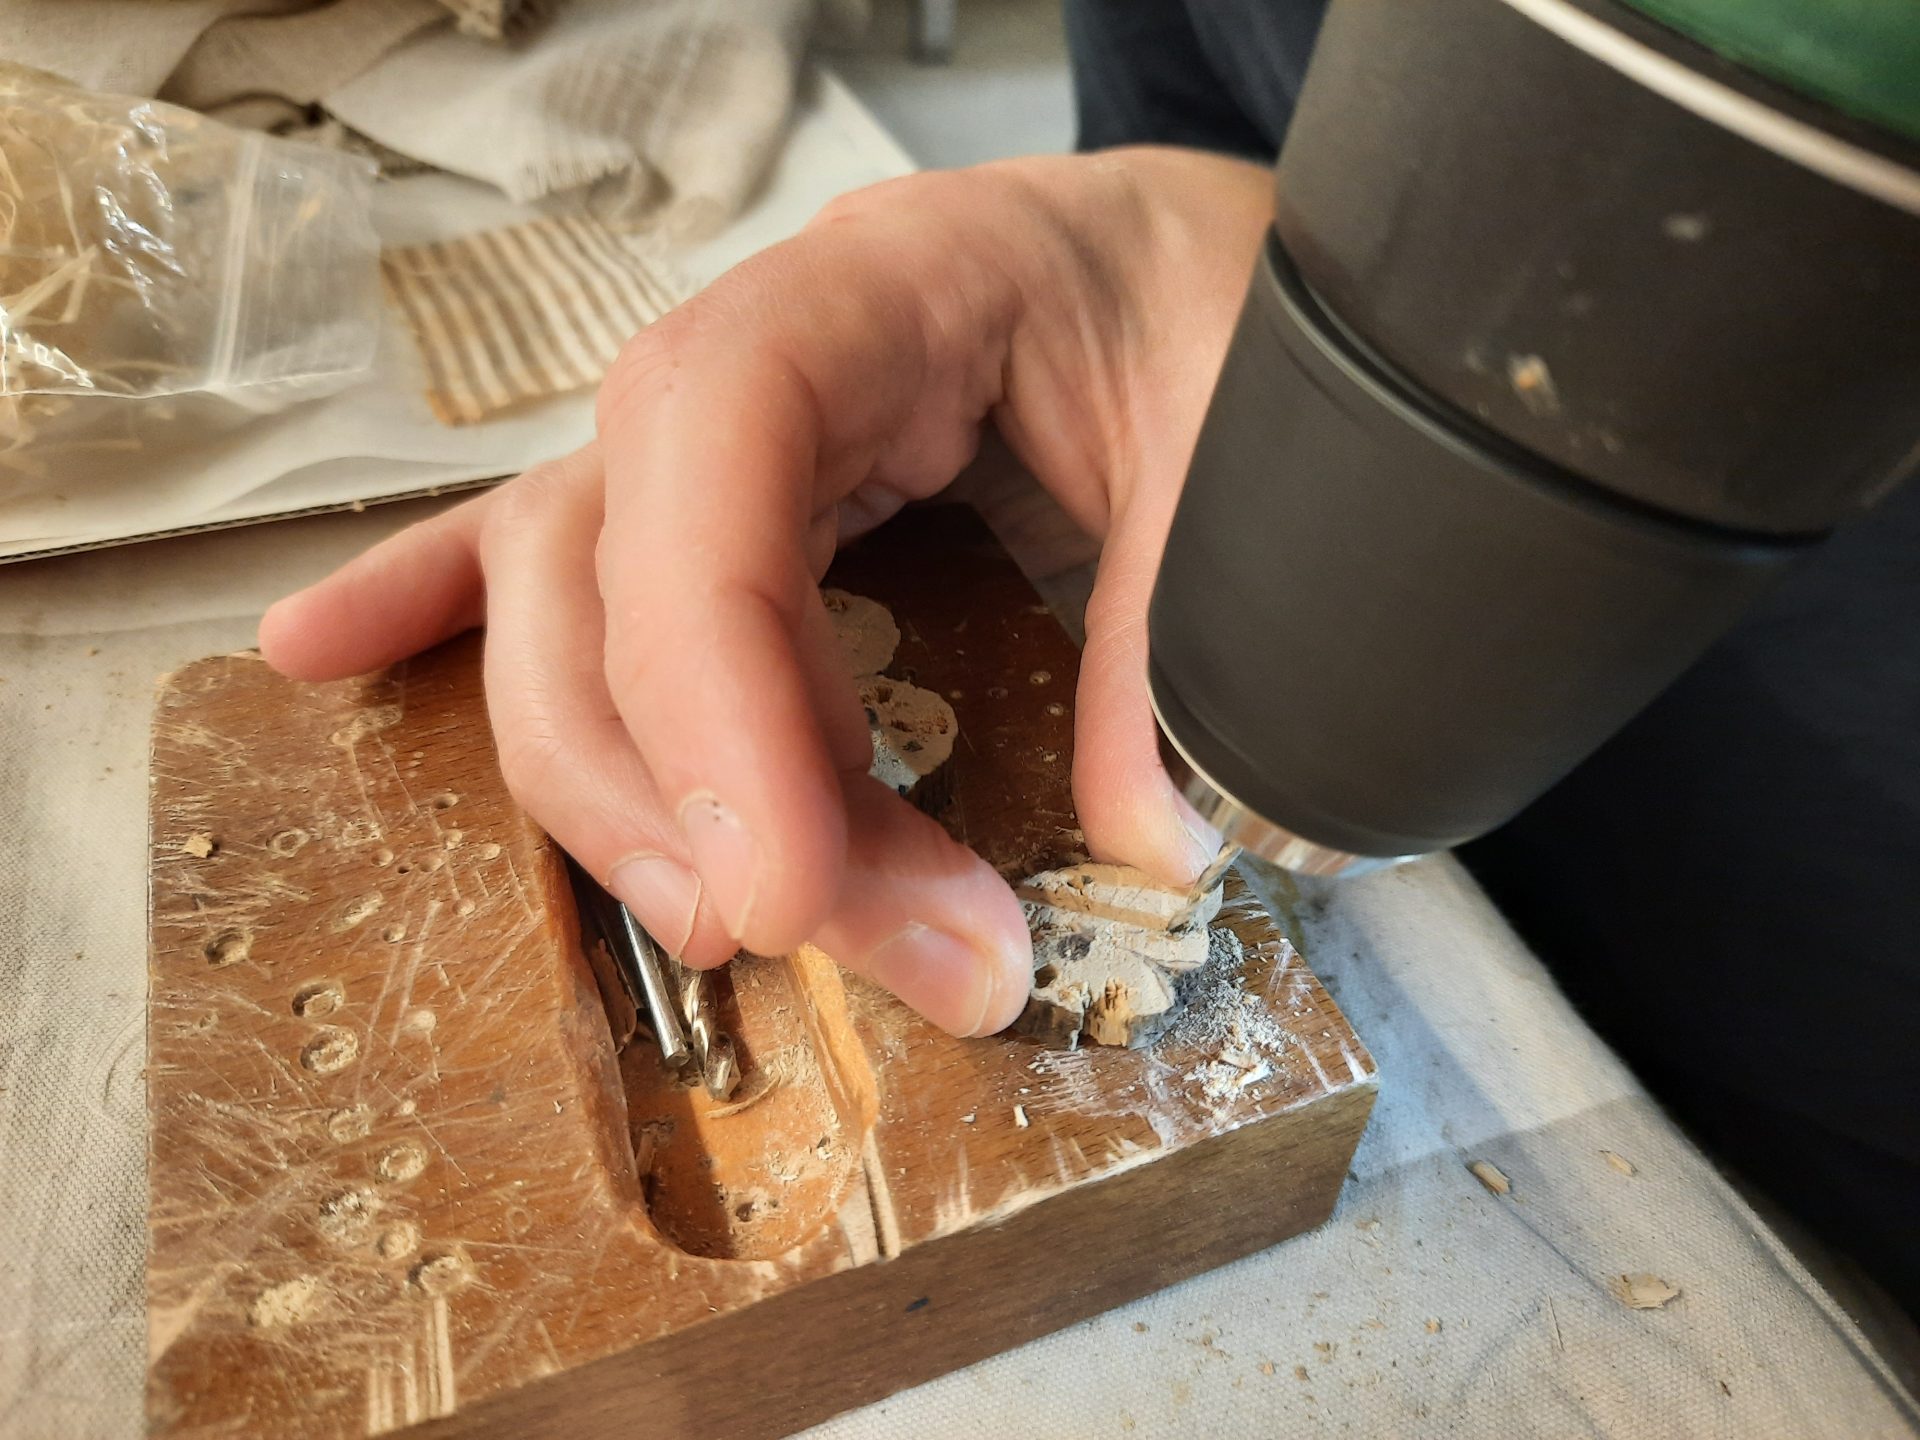
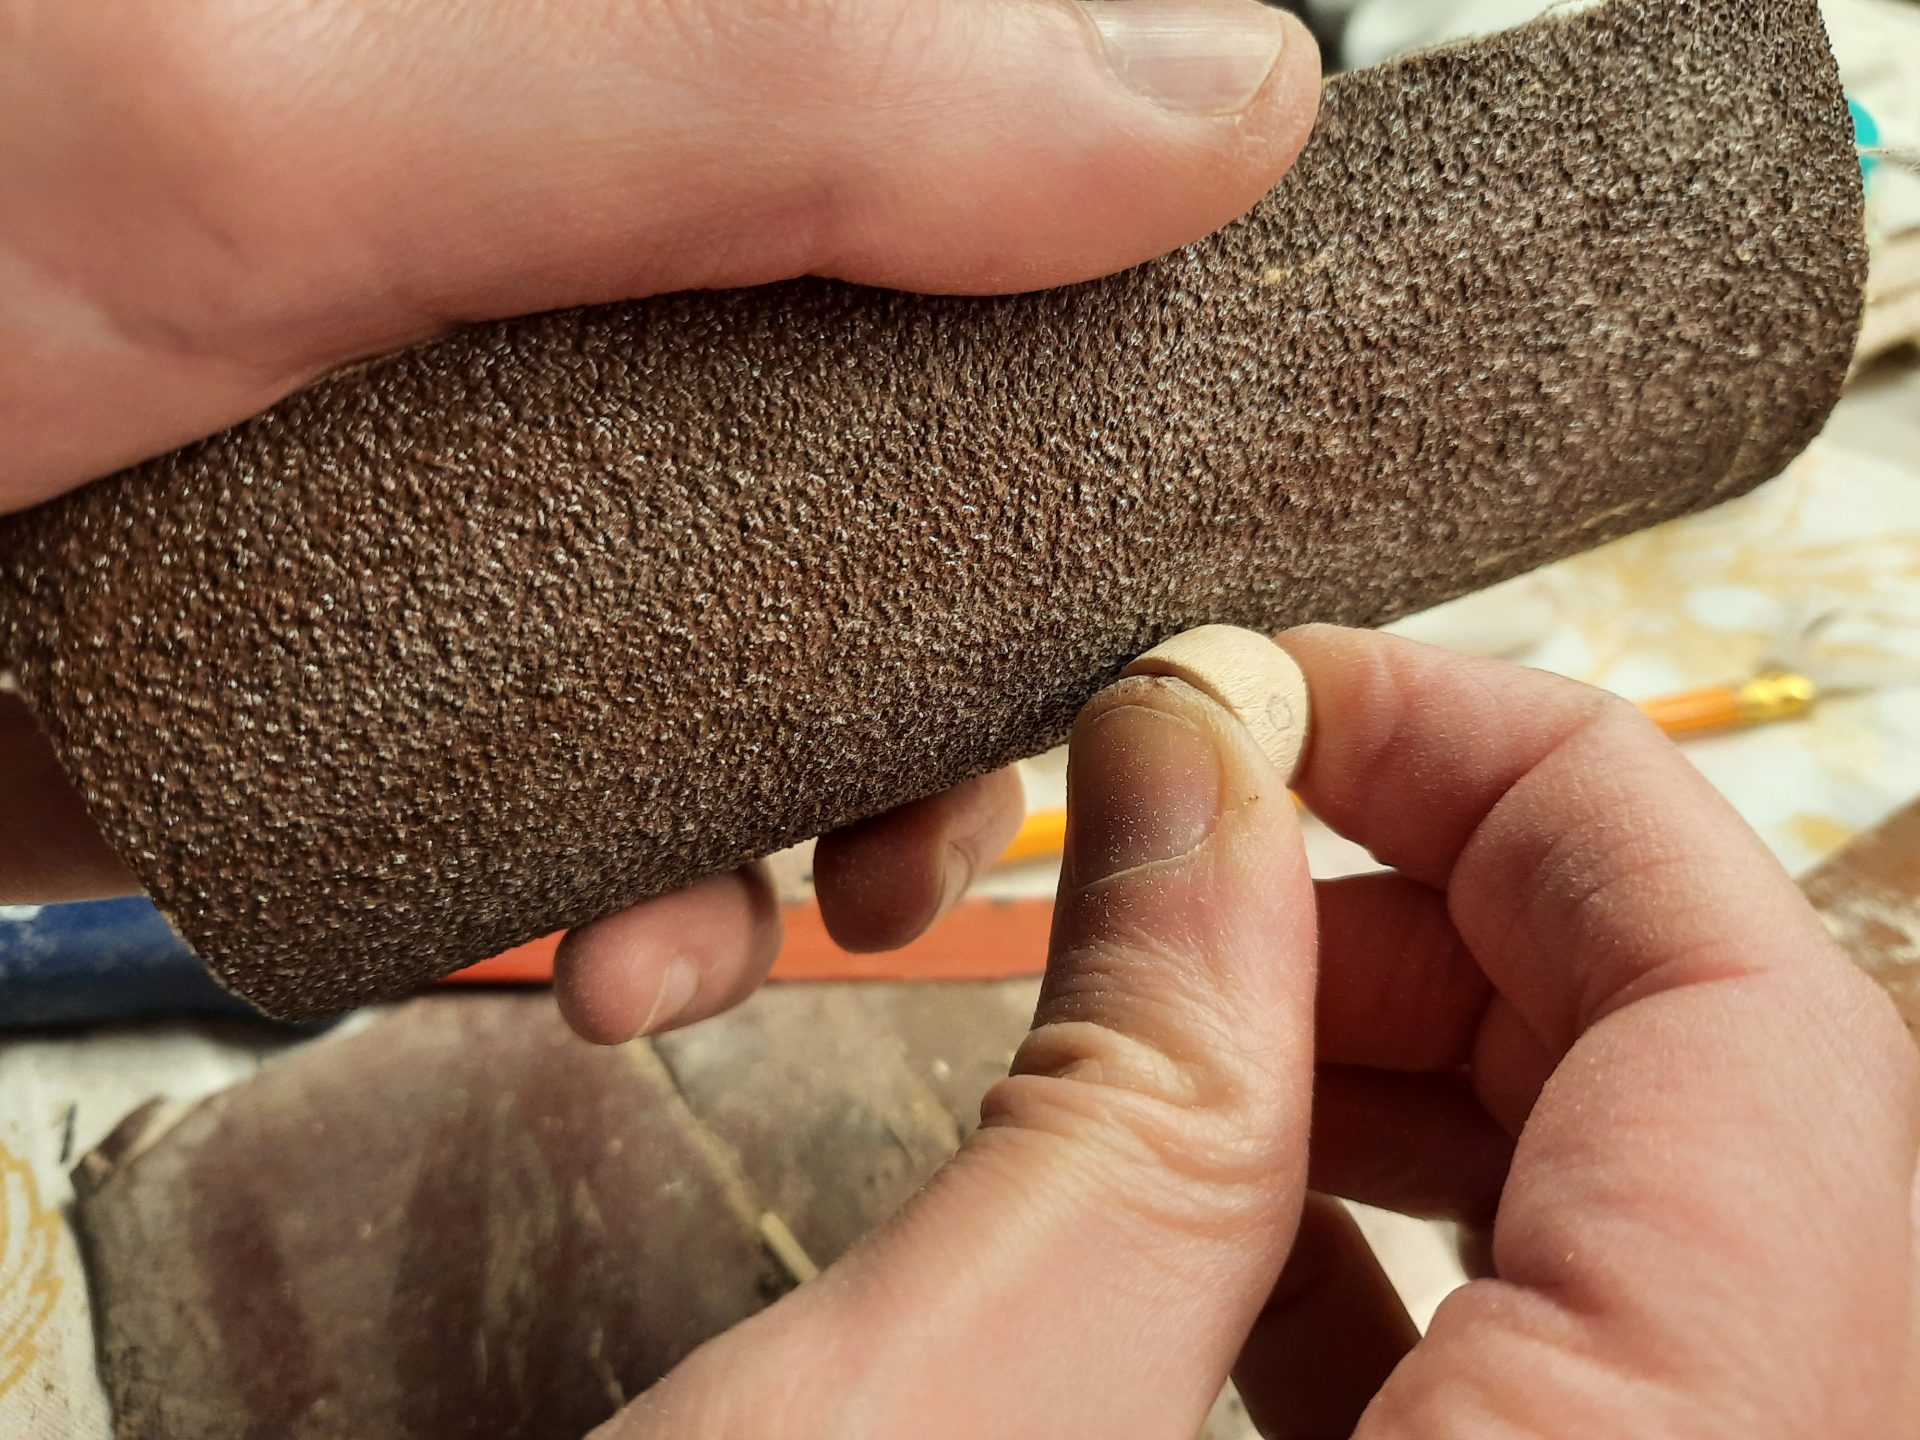
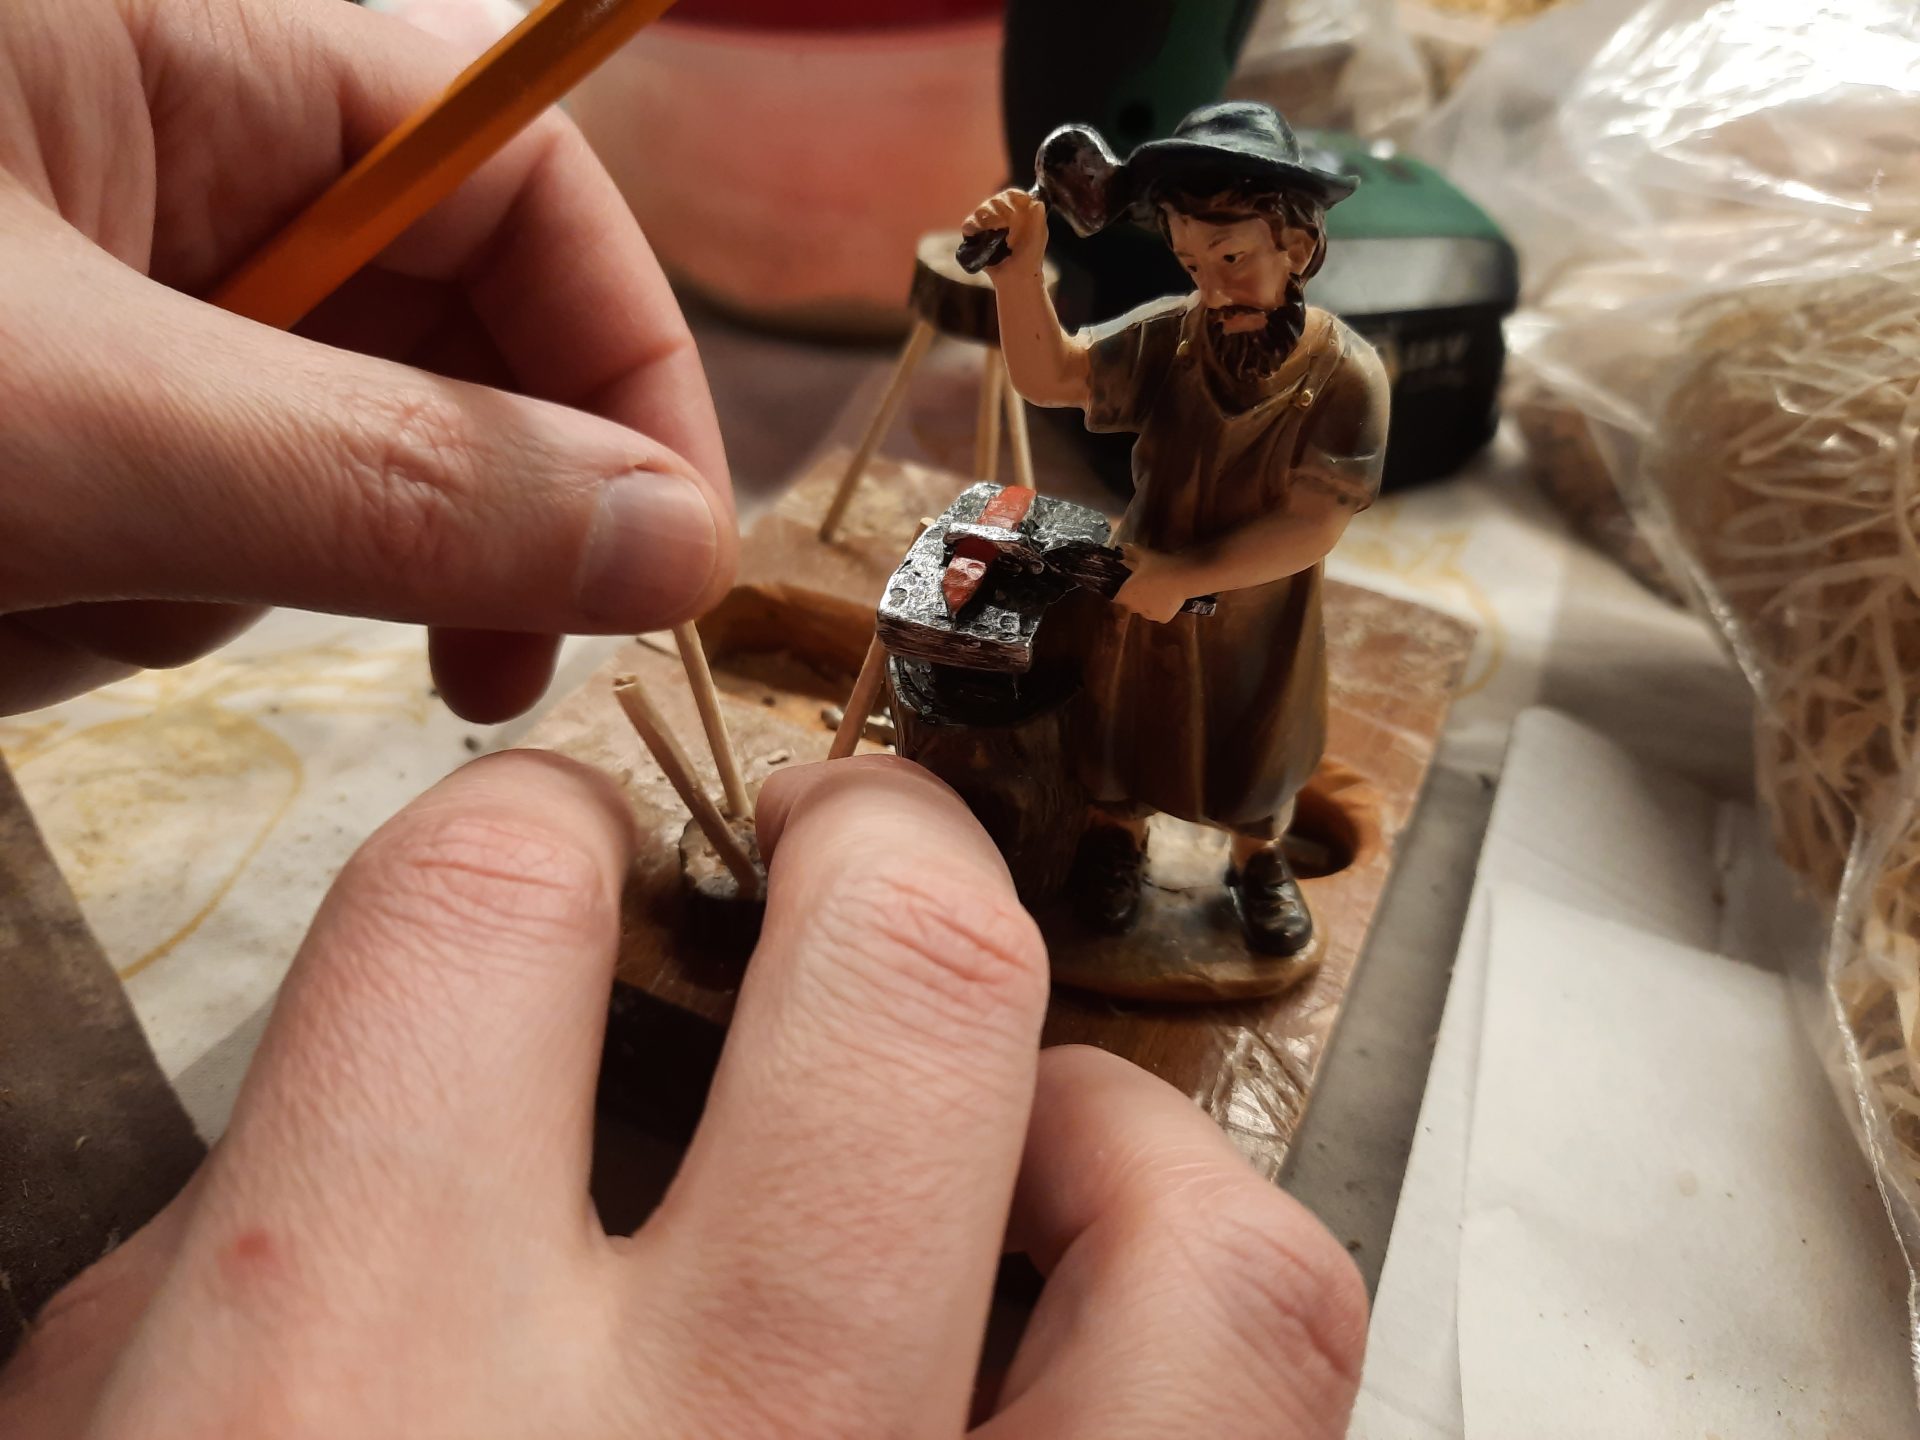
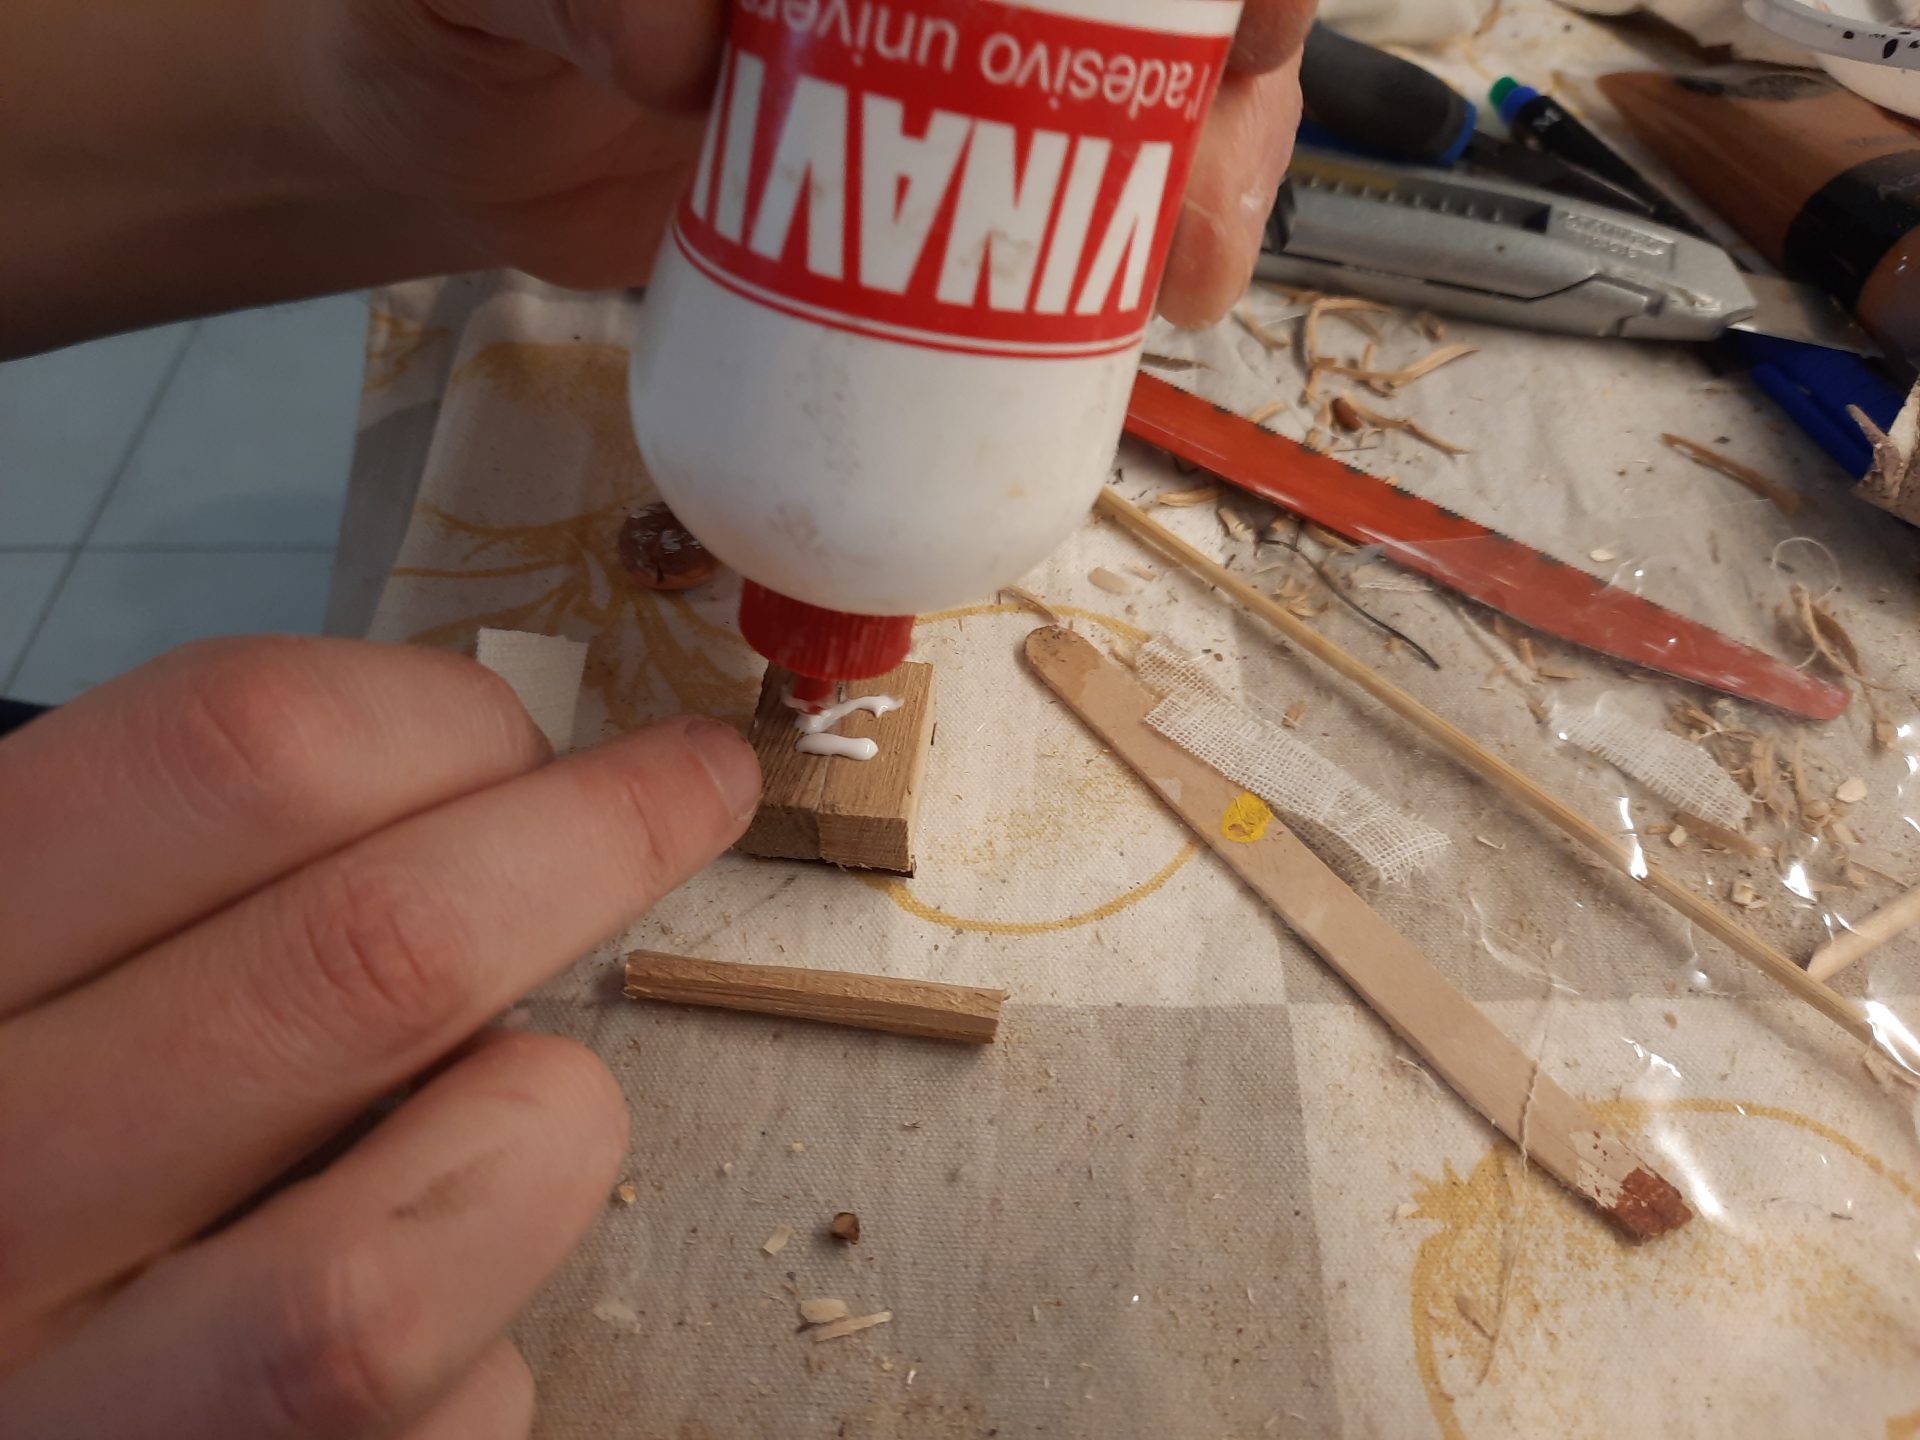
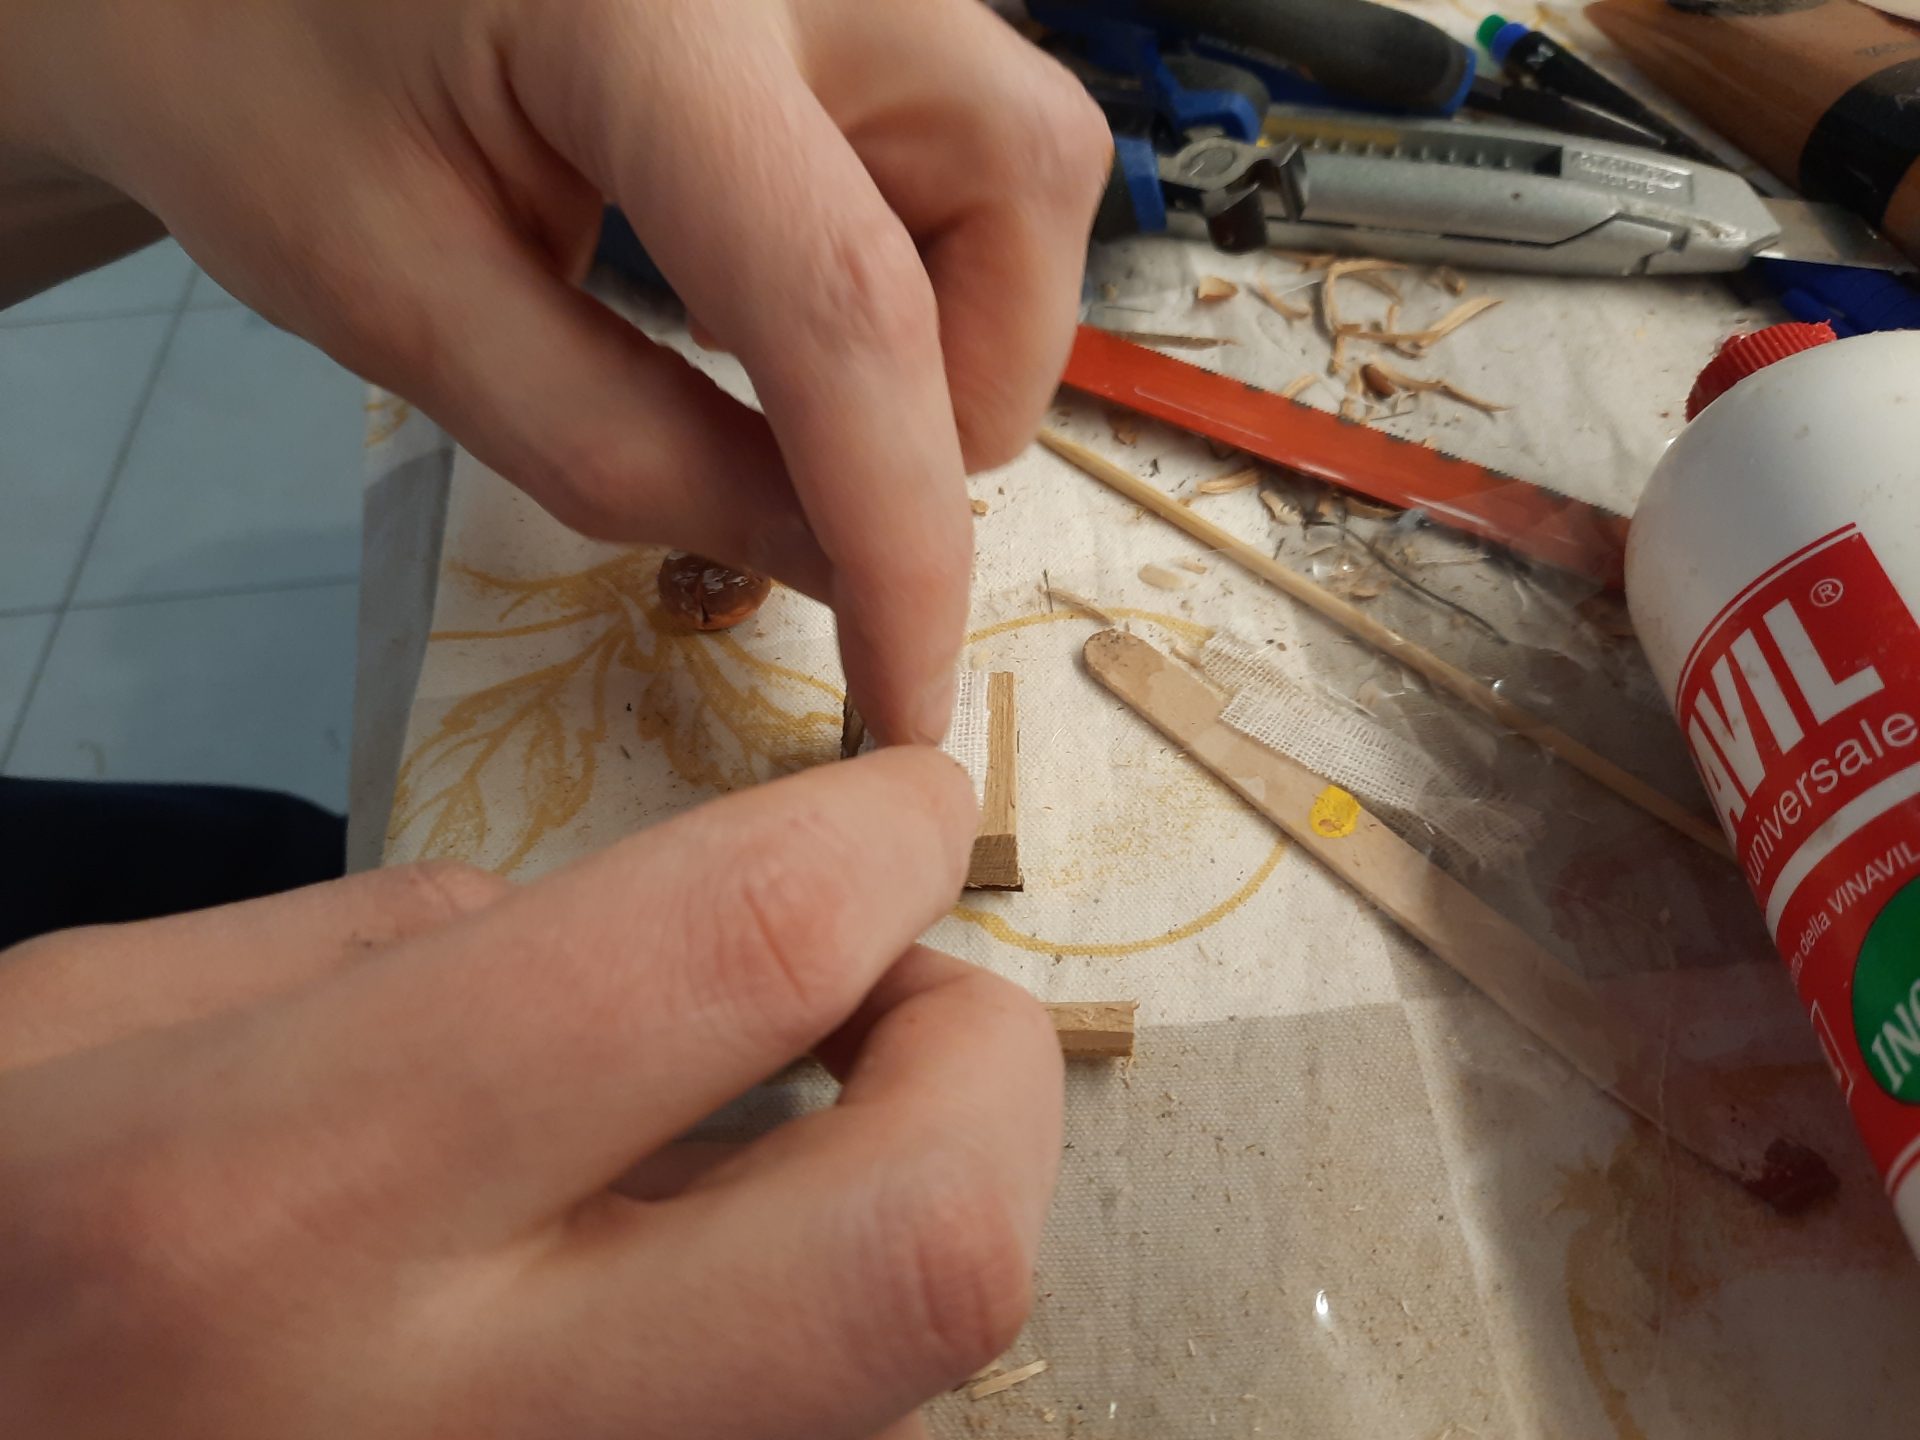
The seat was made cutting to size a small branch with the right diameter. Locutus then drilled three holes under each one to put wooden sticks inside to form the legs. To determine the correct height, he measured them against the blacksmith’s statue, then cut the leg sticks accordingly. A coat of paint was the final touch.
One of those stools was placed in the holy stable, another inside the adjacent room. That one was to be barely visible, once the stable roof was fixed in place, but before mounting it we wanted to furnish that humble space as well. We wanted to do the same with any interior, so that if you peek into a window you can see a place like real.
Meanwhile, I turned to the material I know best: fabric.
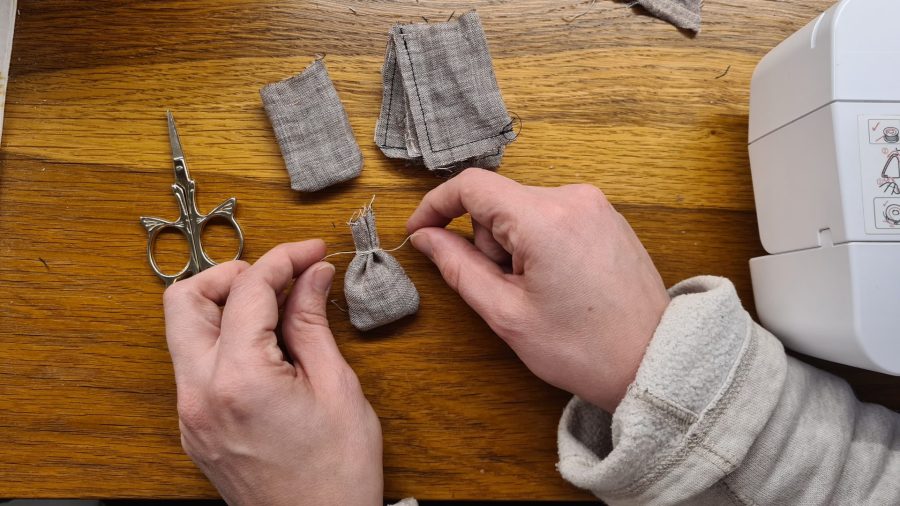
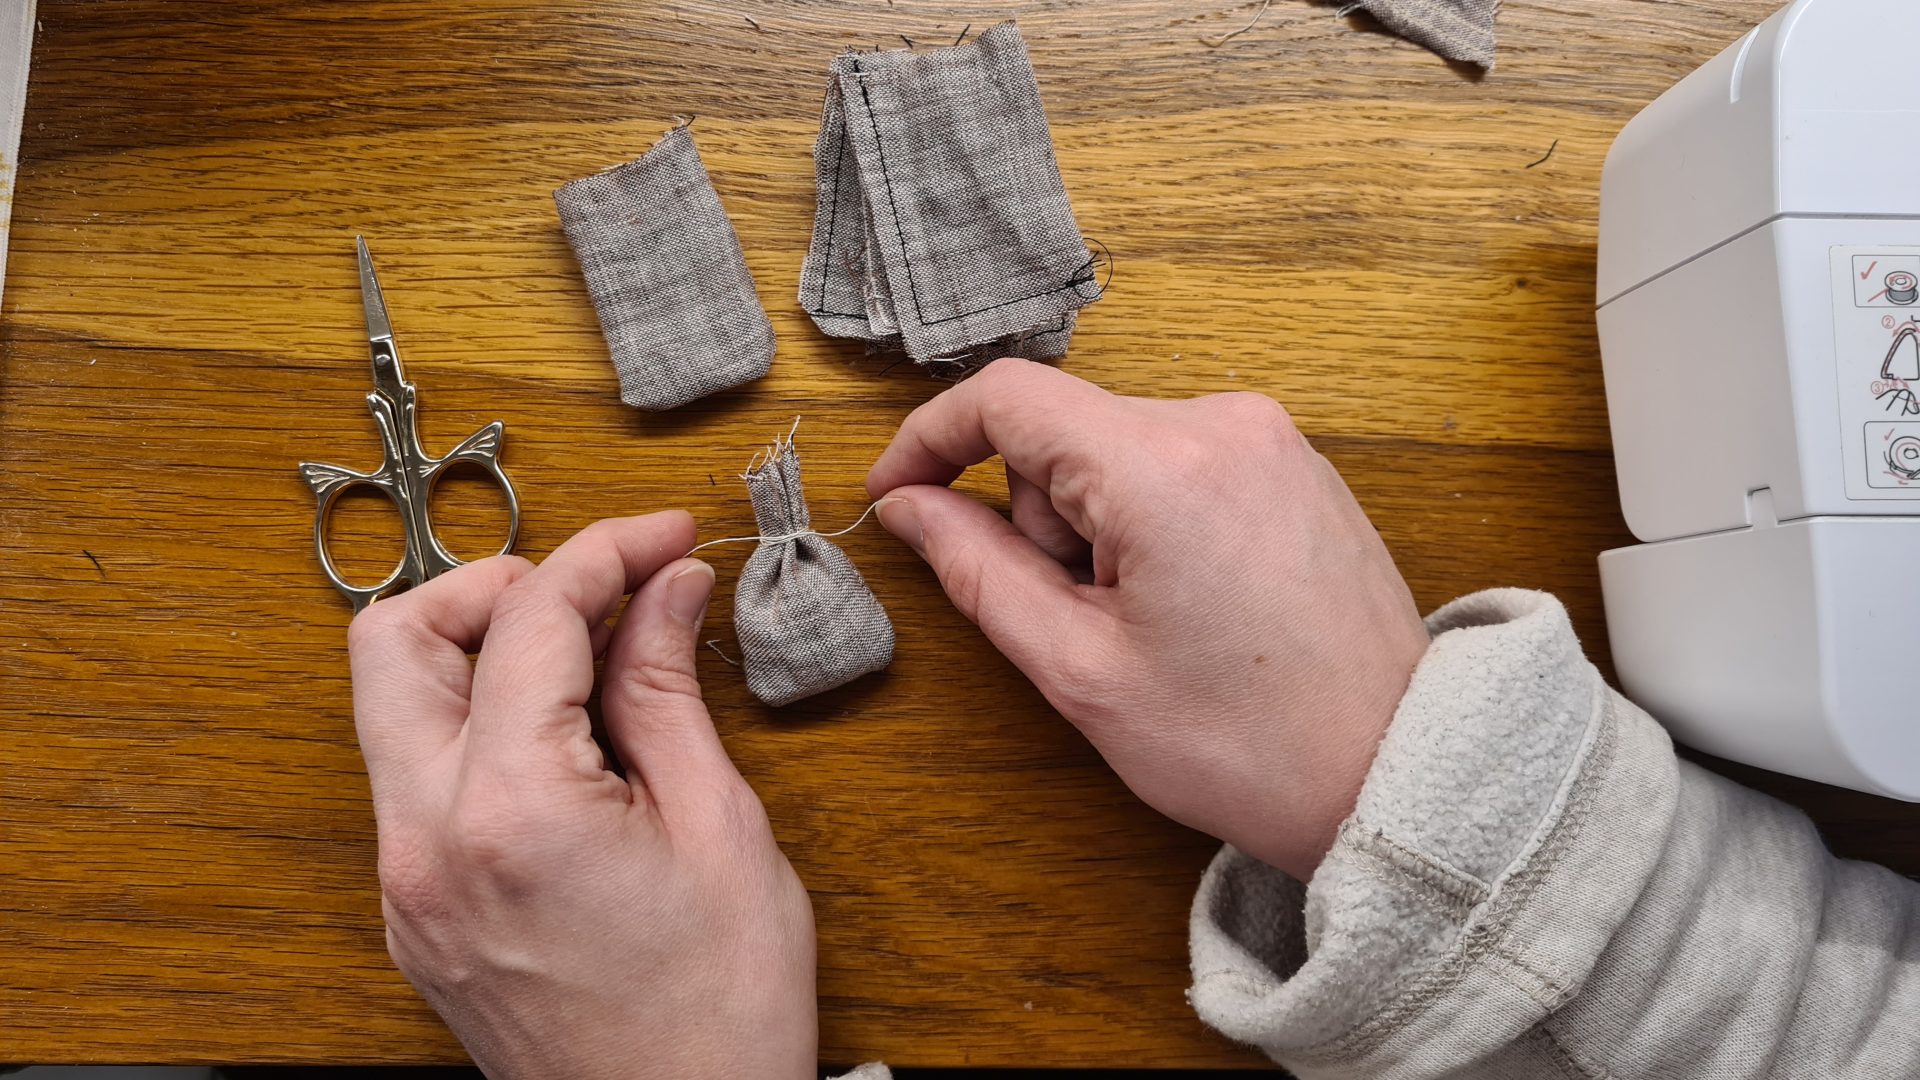
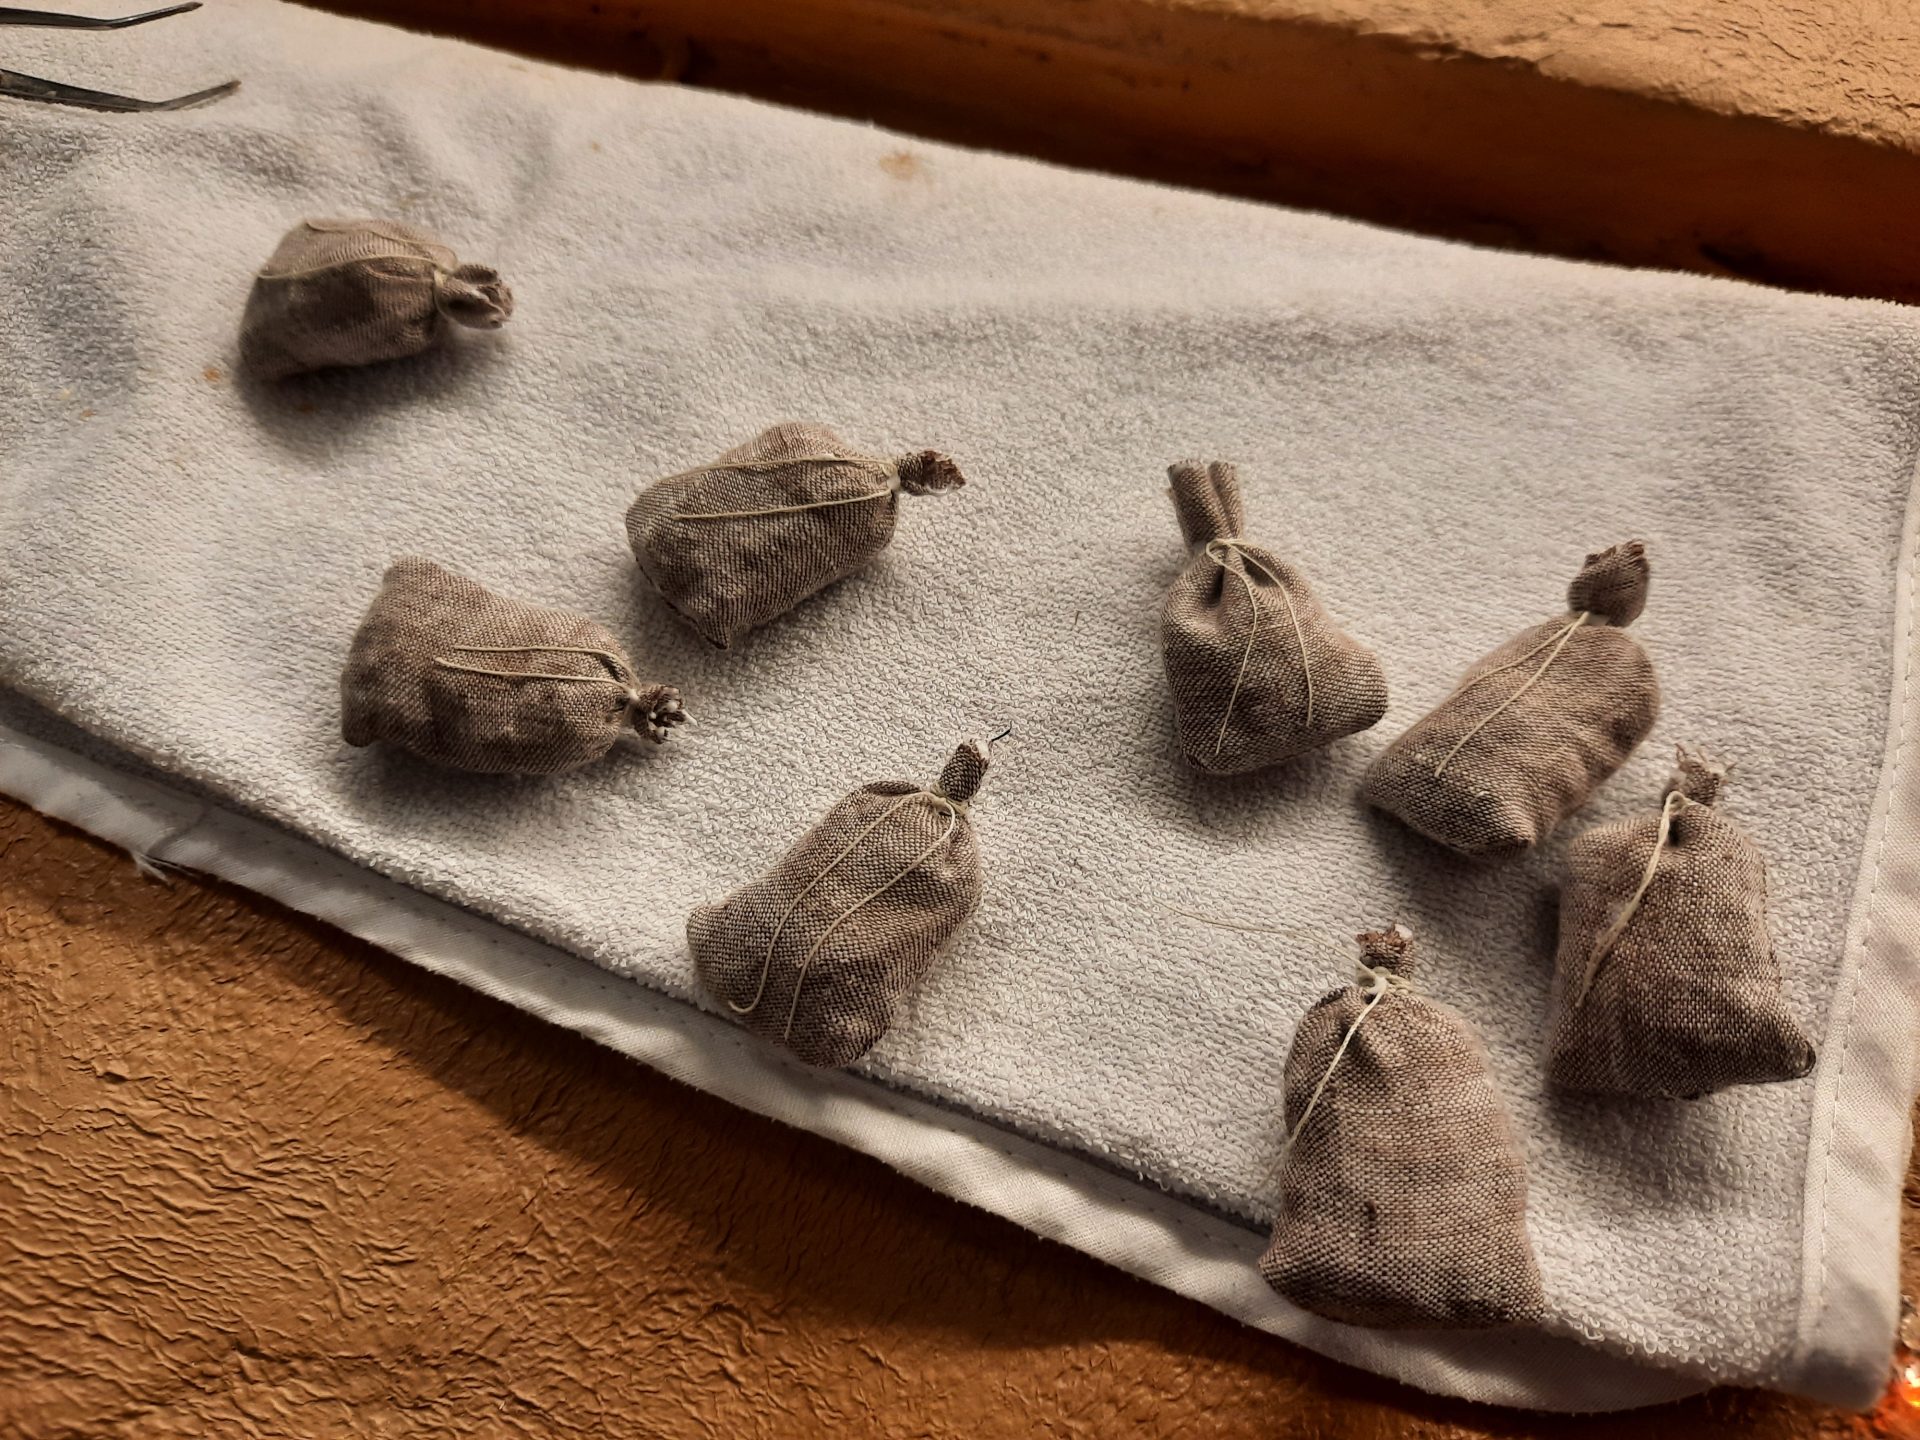
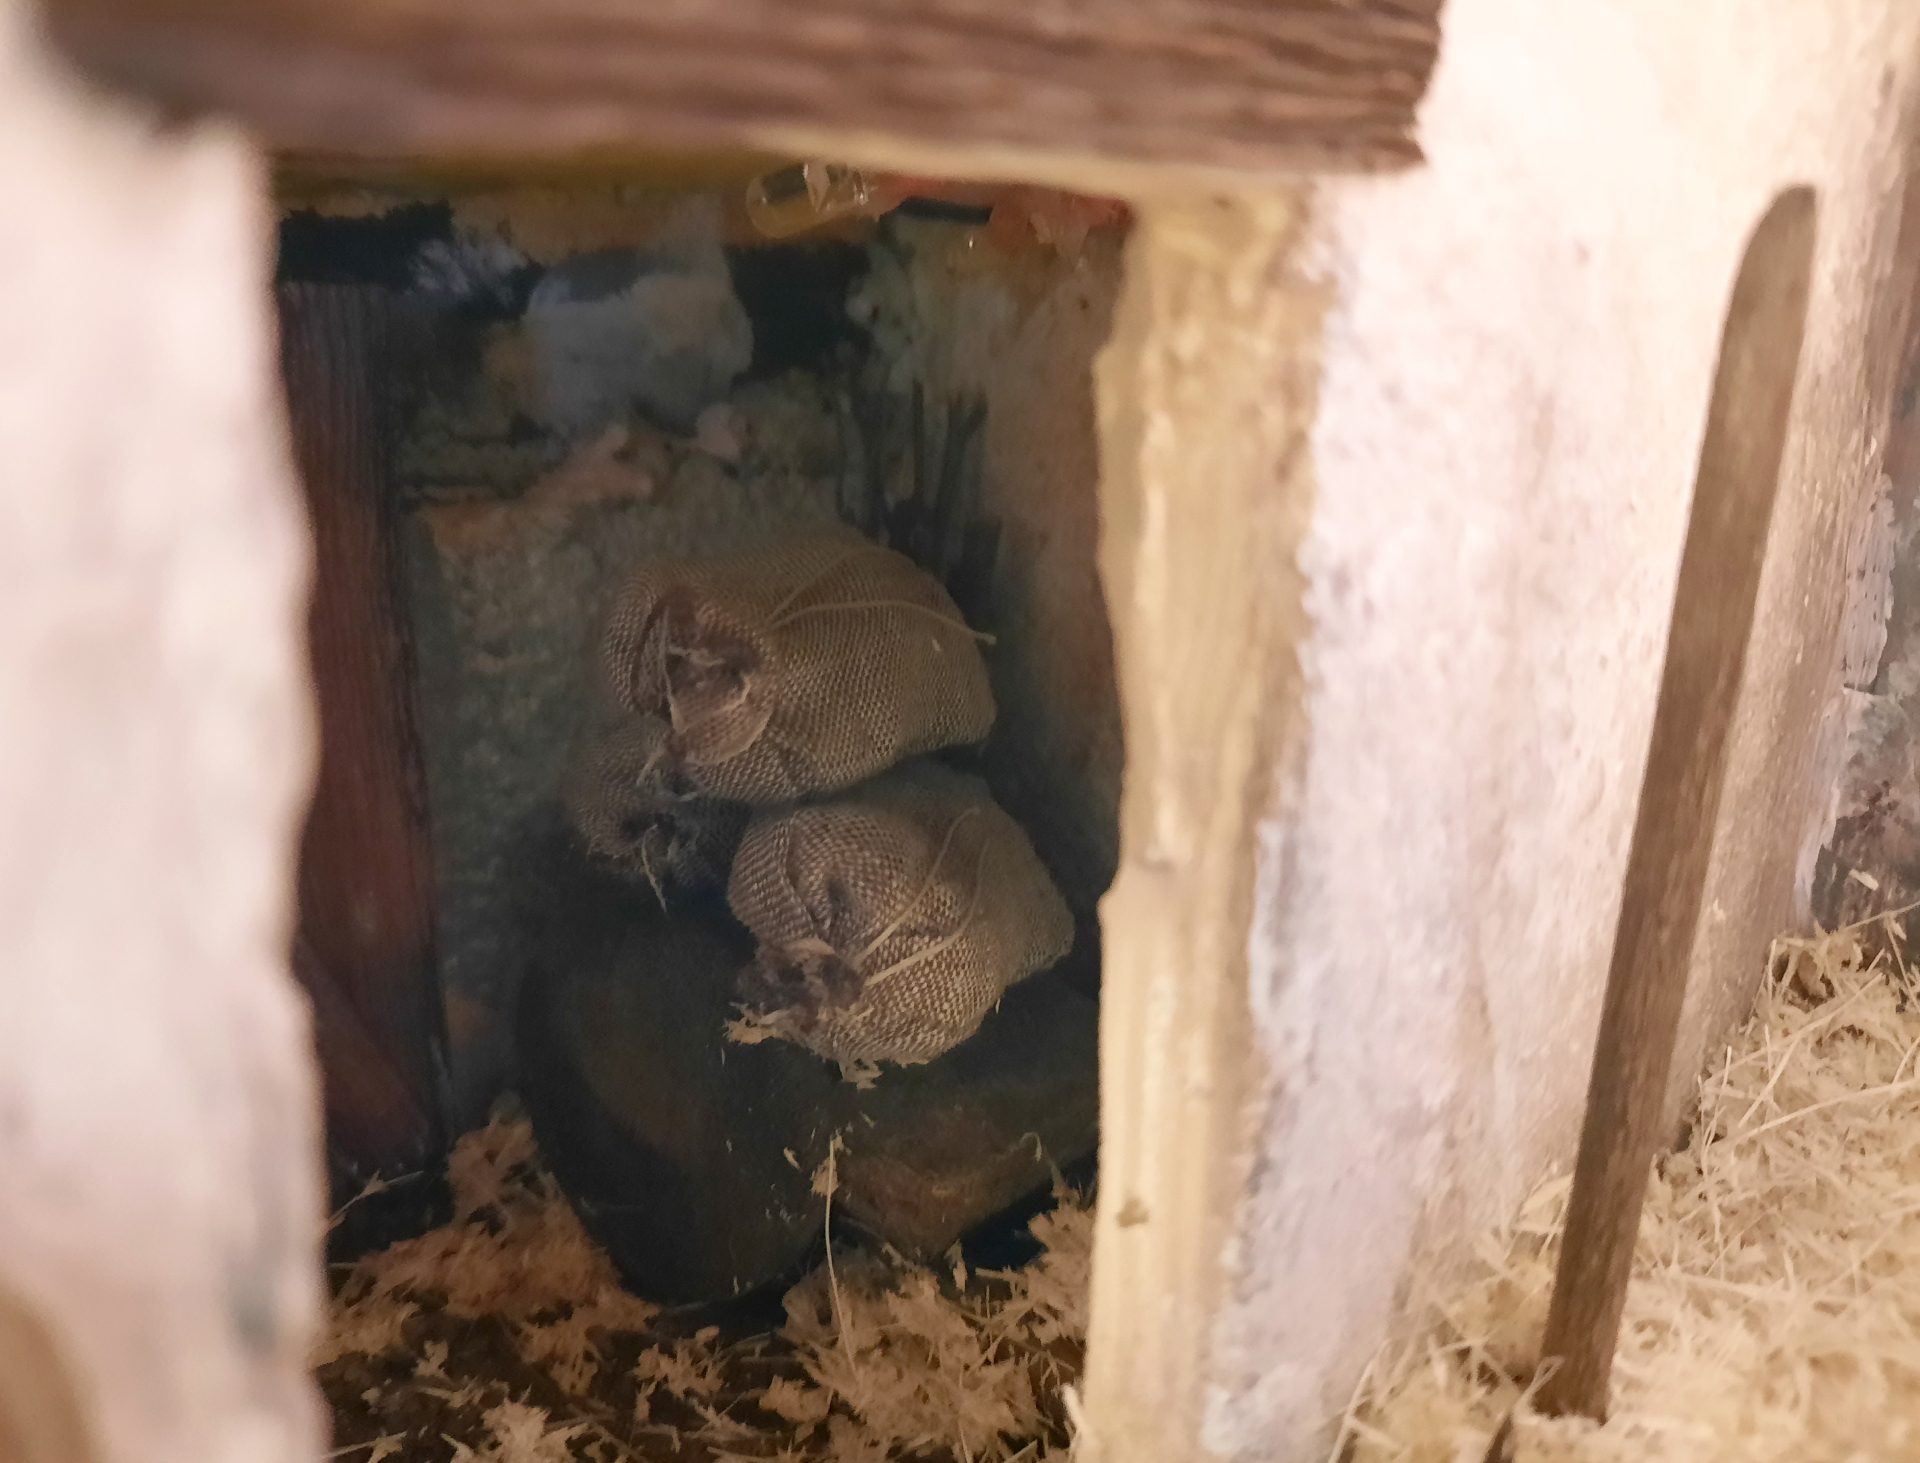
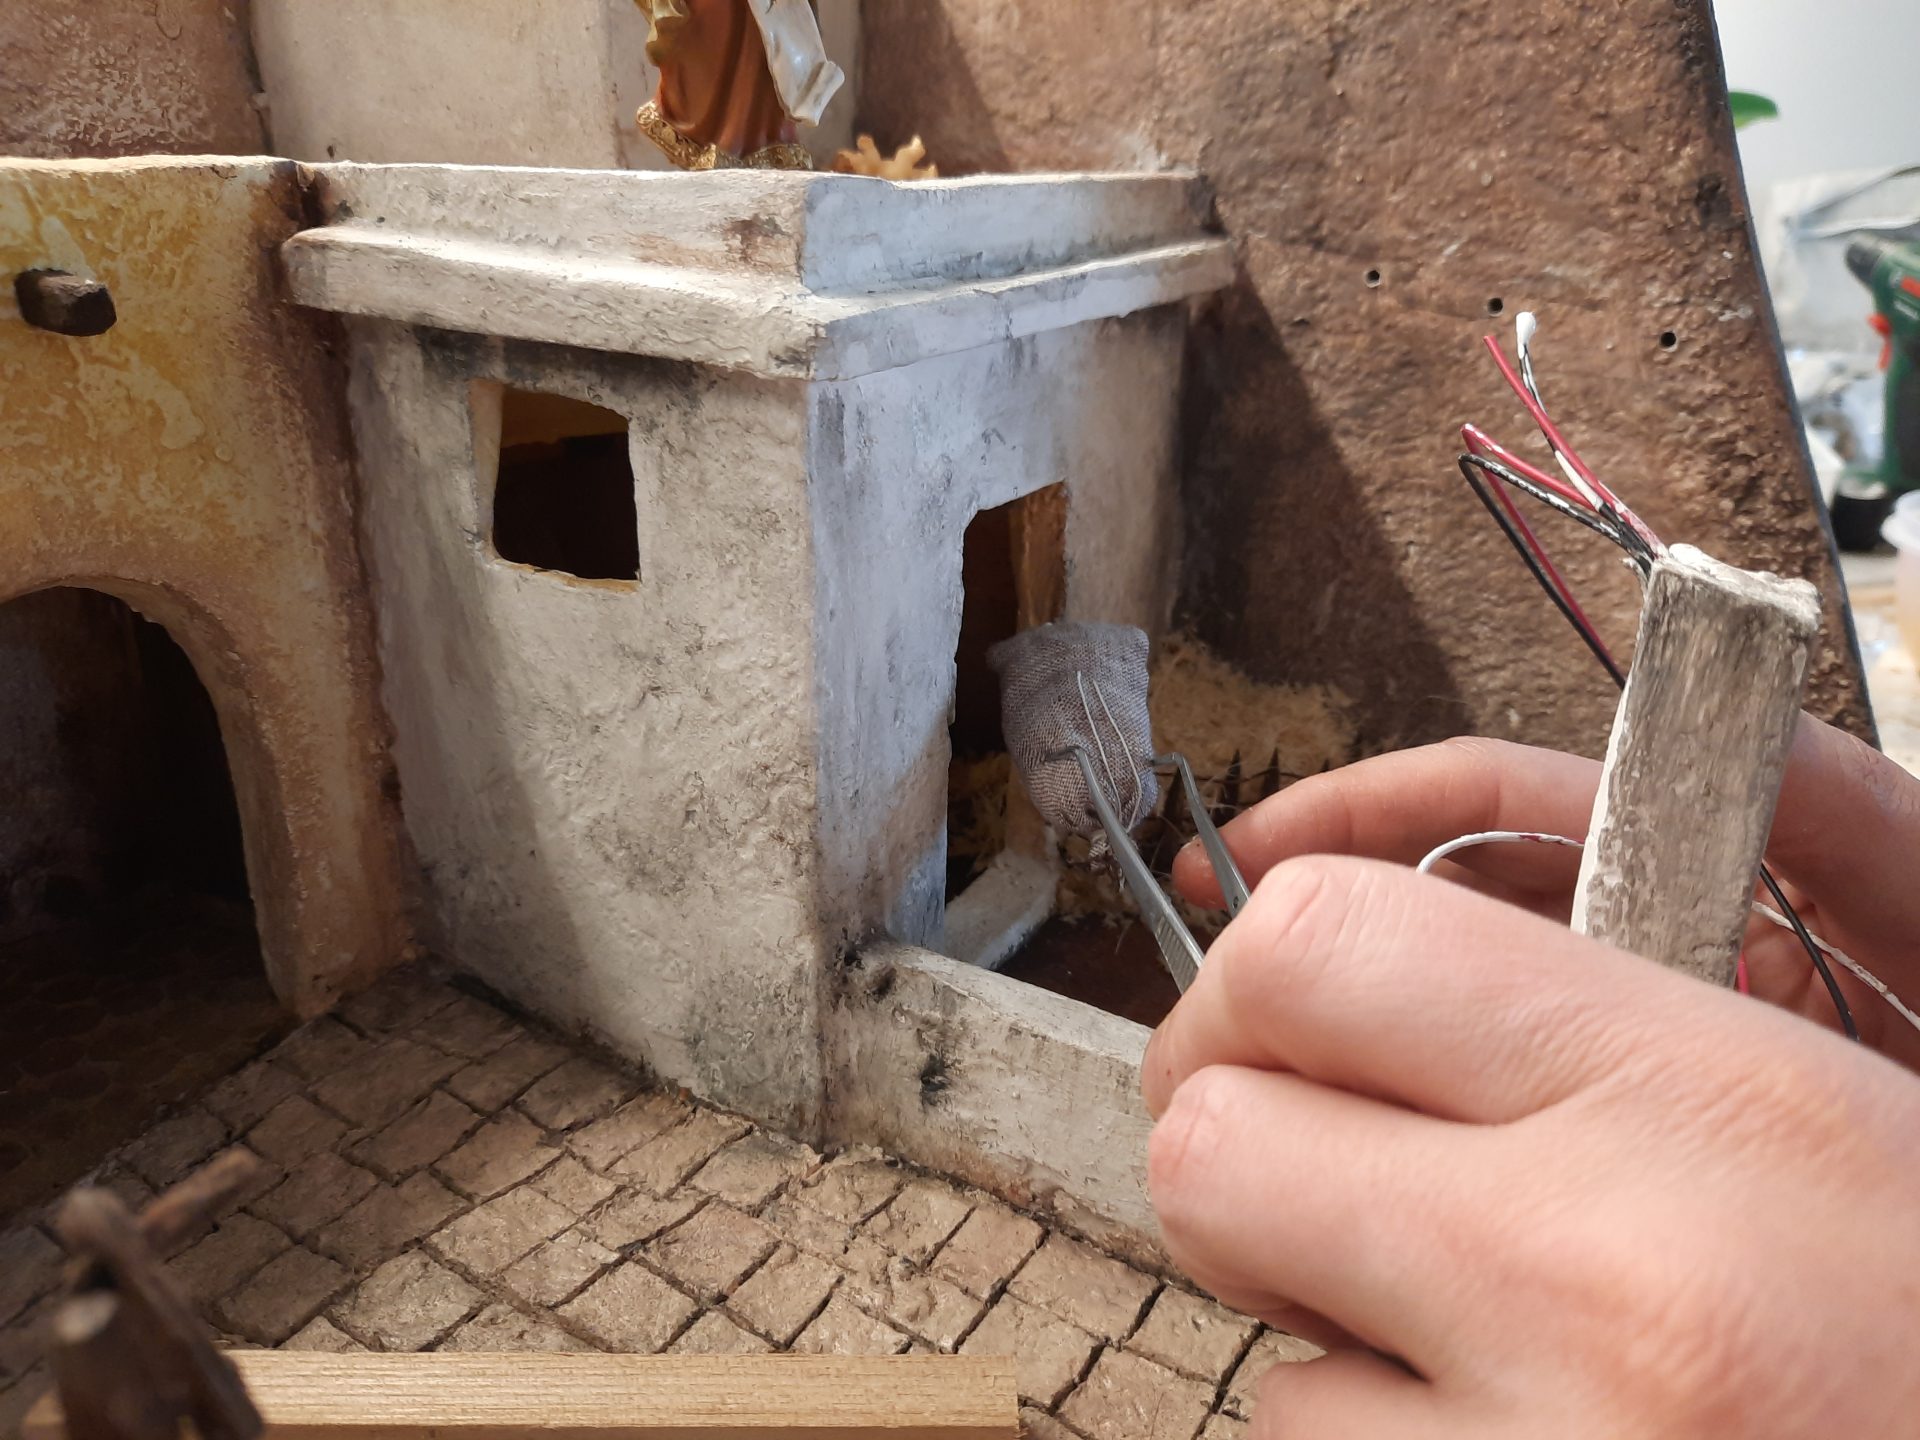
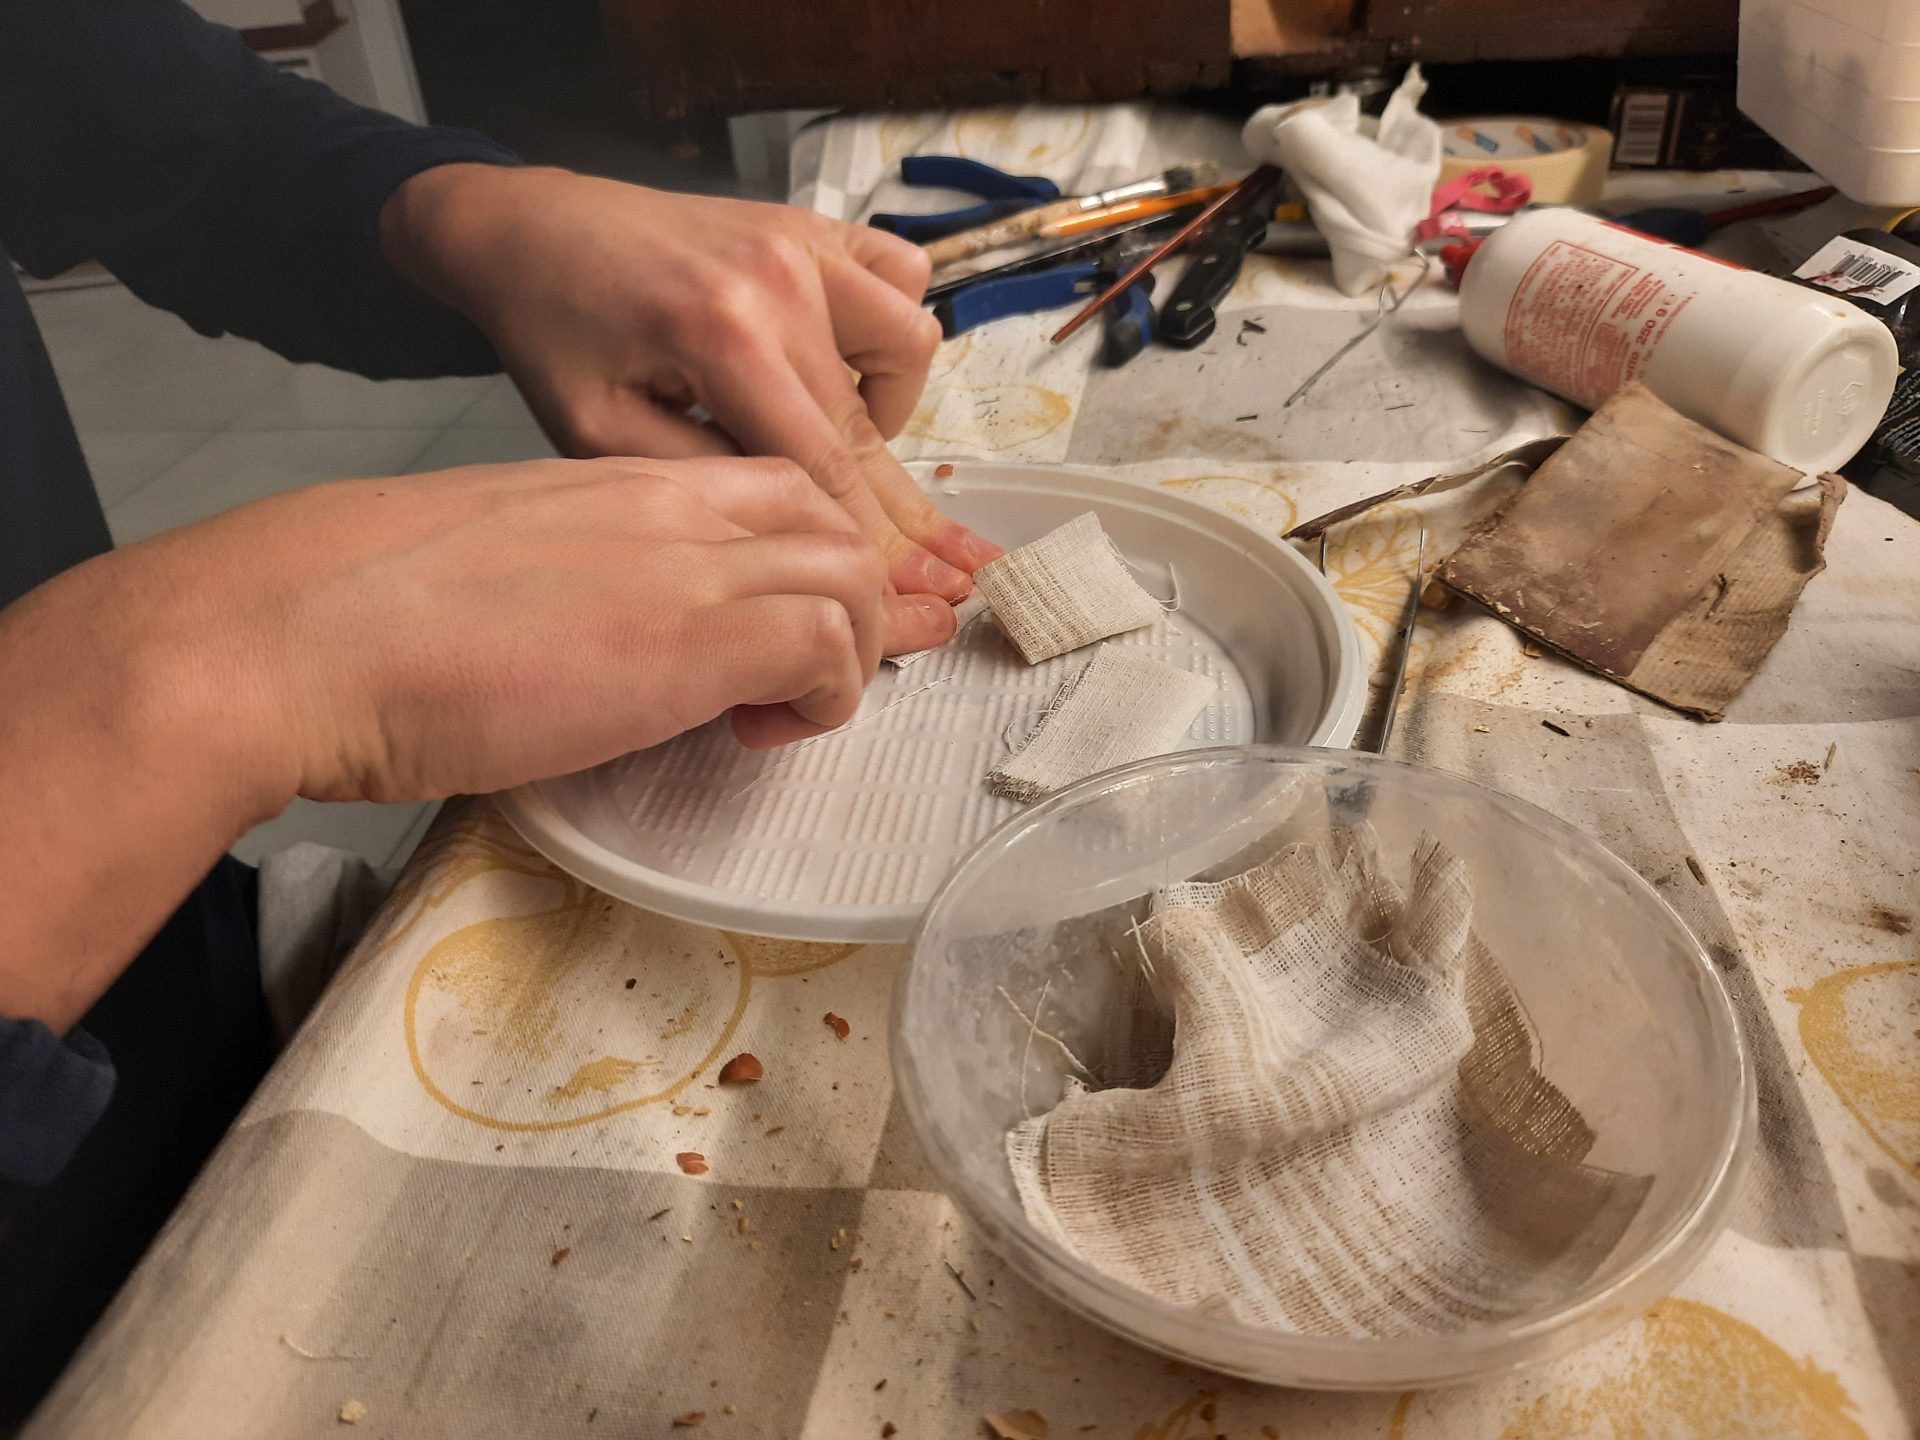
From the scraps of a linen shirt I had recently sewn for myself, I cut and stitched a whole series of tiny bags. These sacks were destined for every corner of the town: tucked into houses, stacked under the porch, piled in stables, stored with craftsmen at work.
Most were sealed, but a few were left open, revealing their contents: flour, wool ready for spinning, grains, food. Each bag was a small, simple touch, yet together they gave the scene the feeling of everyday life unfolding behind those miniature walls.
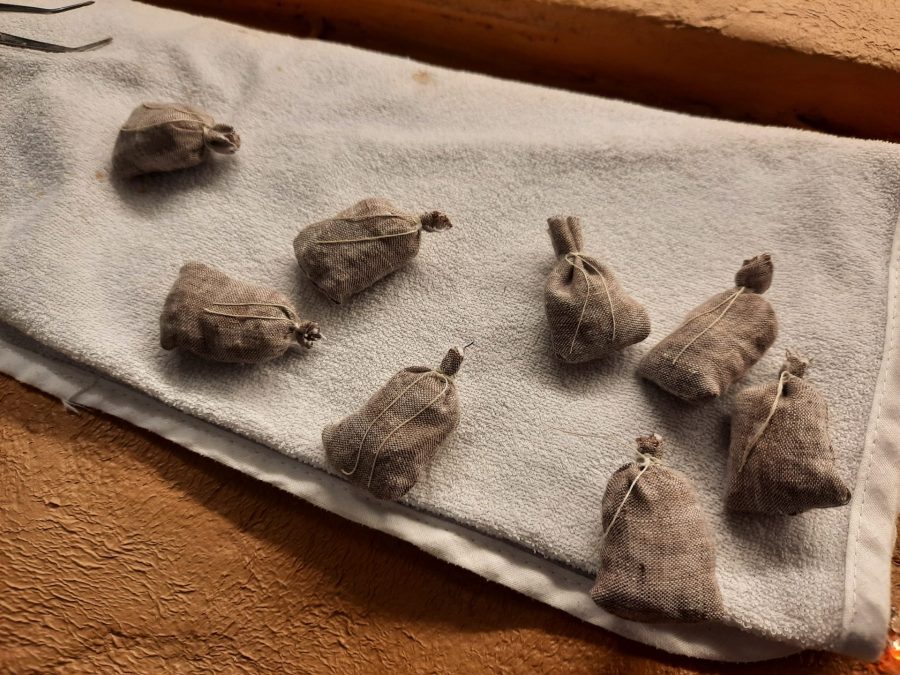


The small room behind the holy stable turned then into a storage space. We placed a few of my linen bags inside, scattered some hay across the floor, then added a couple of tools here and there. My husband crafted a beautiful wooden door for the back wall, meant to suggest a passage leading deeper into the inn. I loved how it turned out: solid, detailed, and full of character. Though in the end it became barely visible, glimpsed only through the tiny window, it well represents how alive and real we wanted our scene to become.
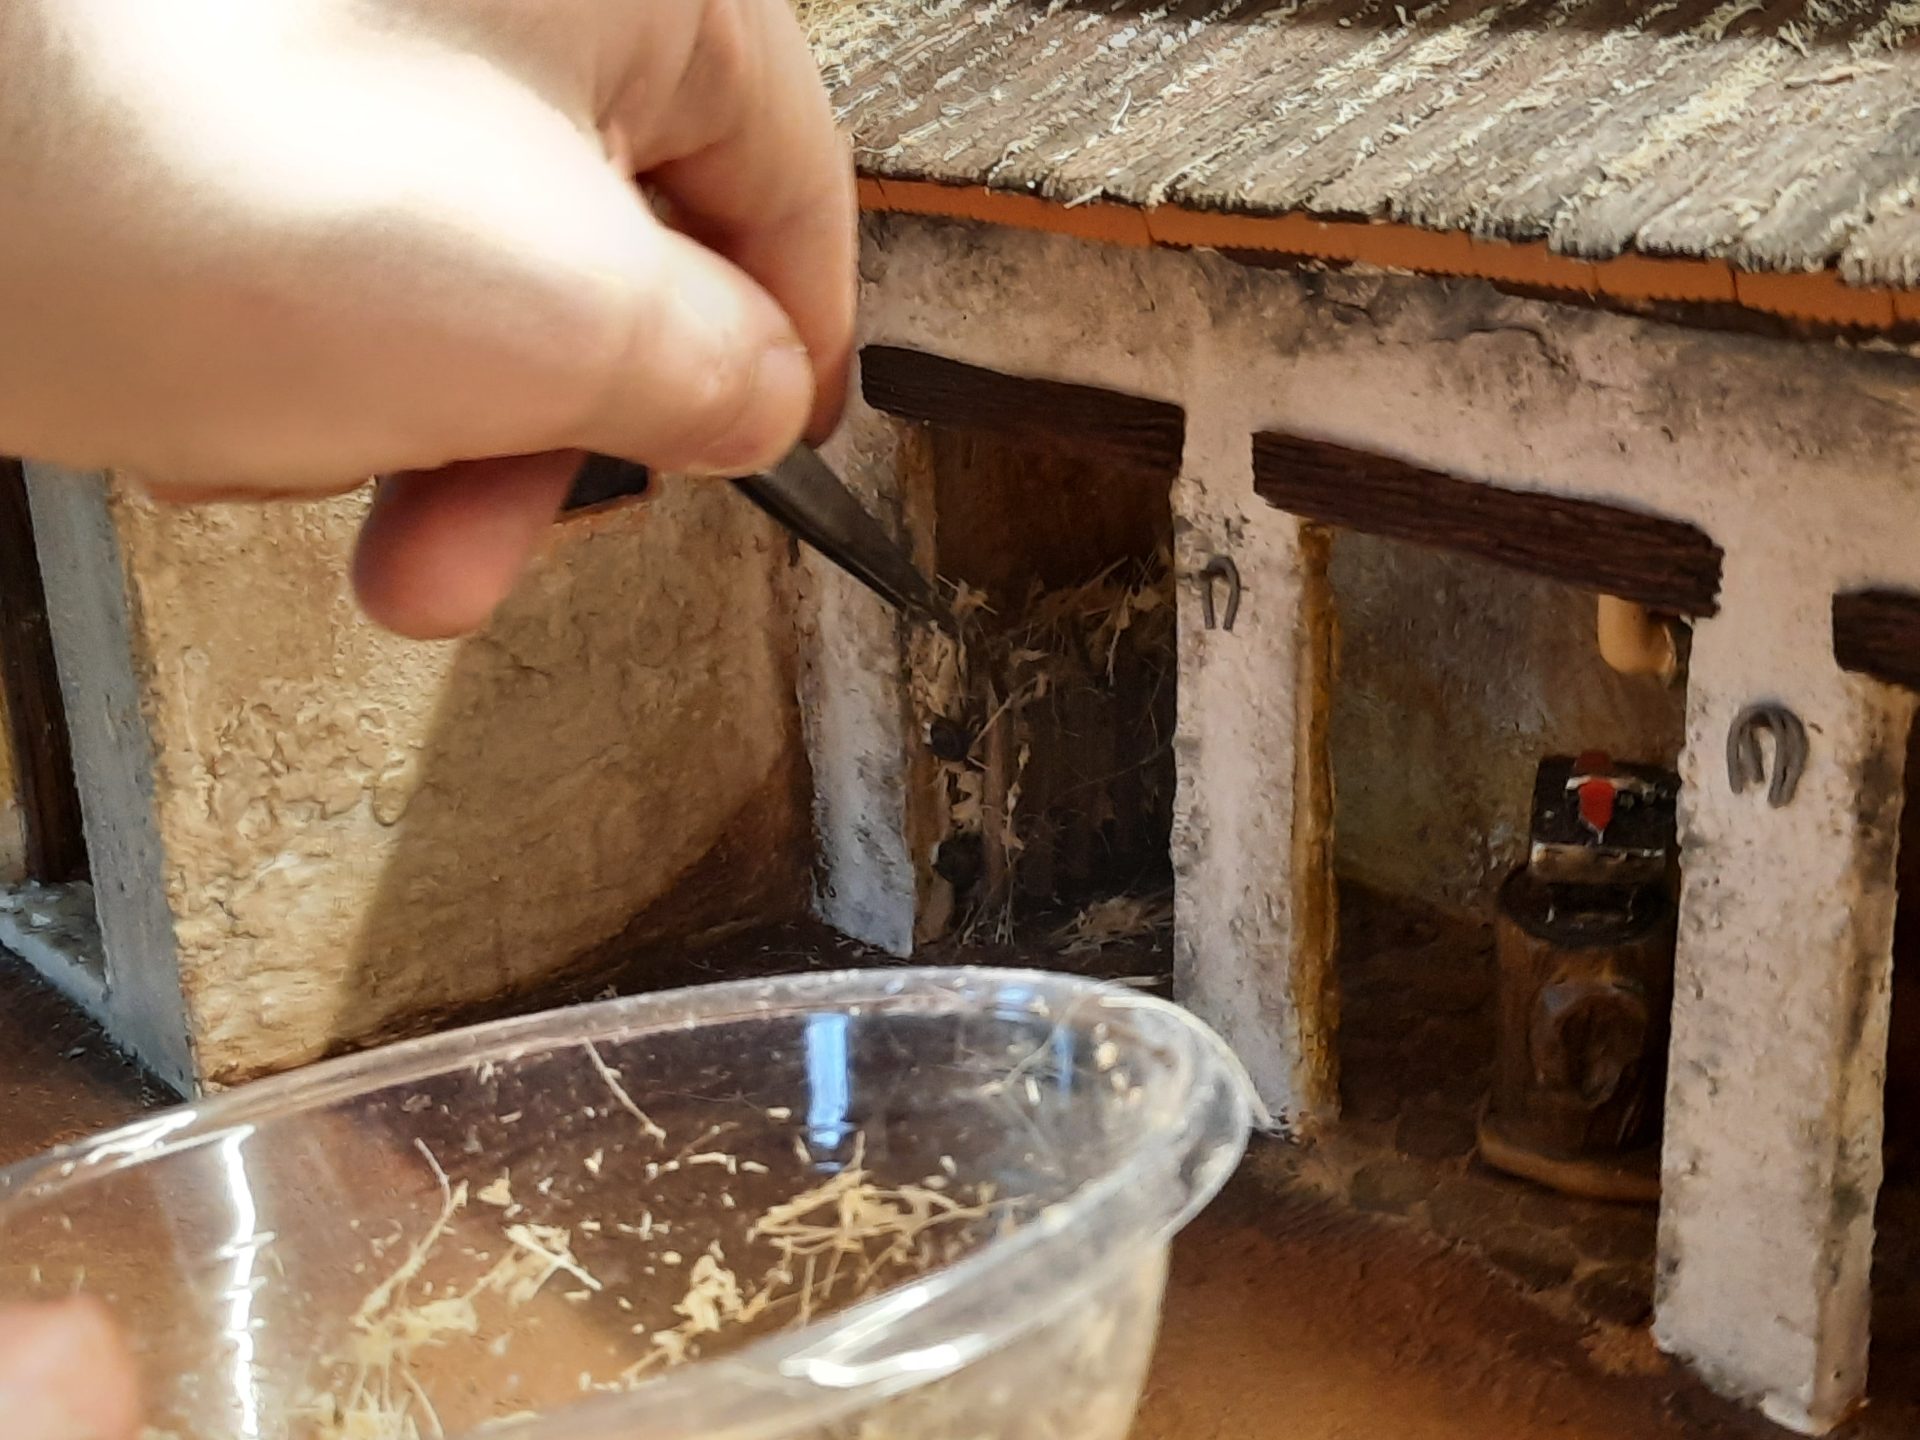
With the storage complete, we moved on to refining the stable itself. Besides the haystack and one of the stools, Locutus covered the entire floor with hay to create the sense of a lived-in, working space. Pitchforks and tools were leaned or hung against the walls, ready for daily chores. And to finish, we added two delicate lanterns, bought from an artisan, which would later glow with warm light: the perfect touch to bathe the manger in a gentle, timeless atmosphere.
Giving life to fires
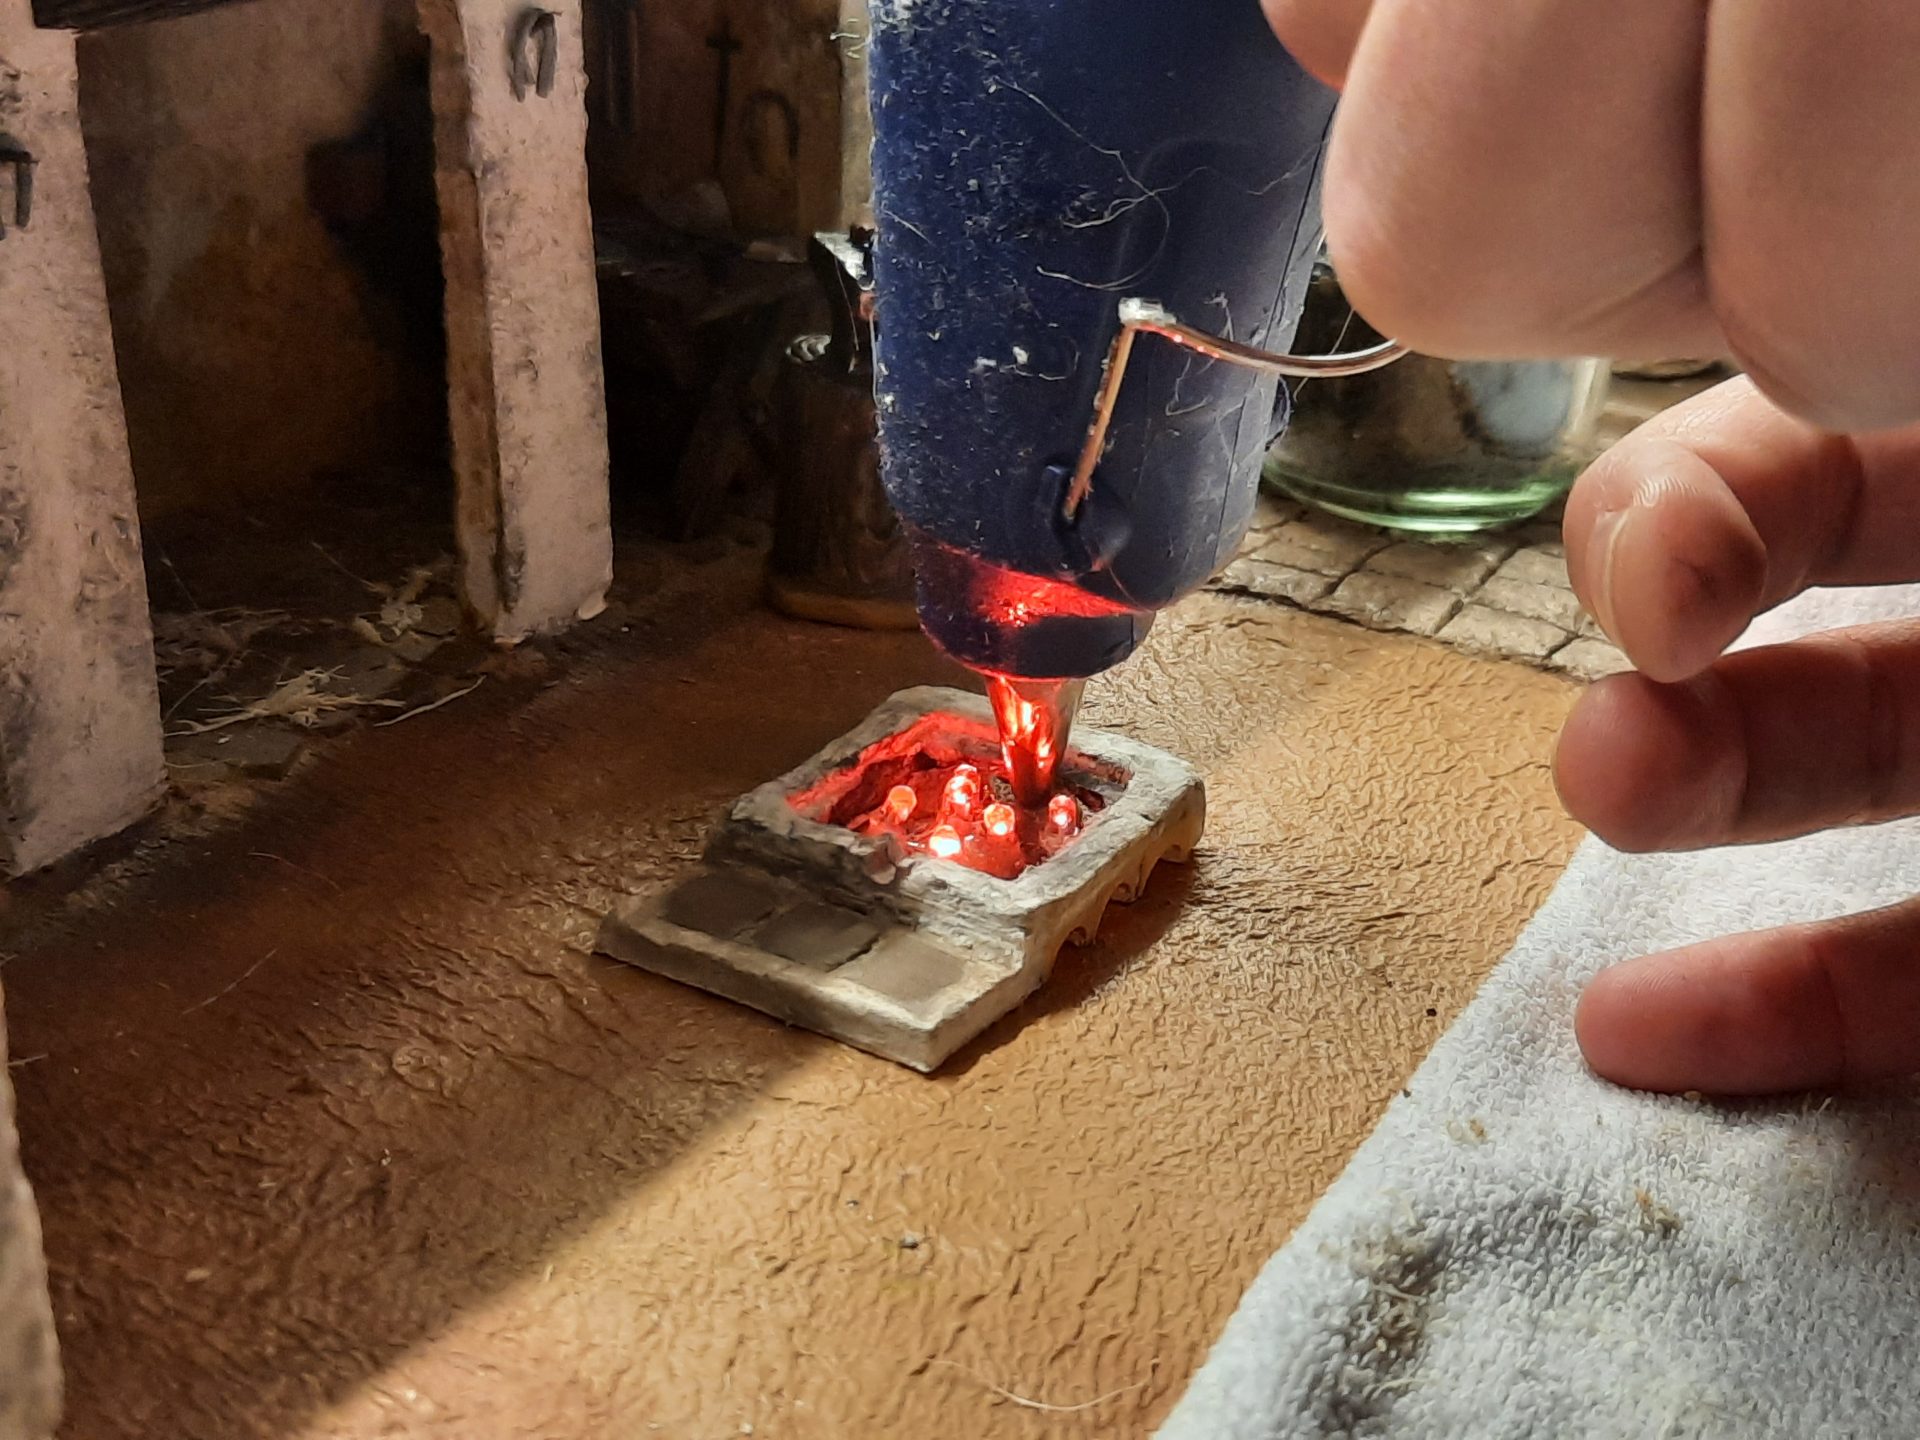
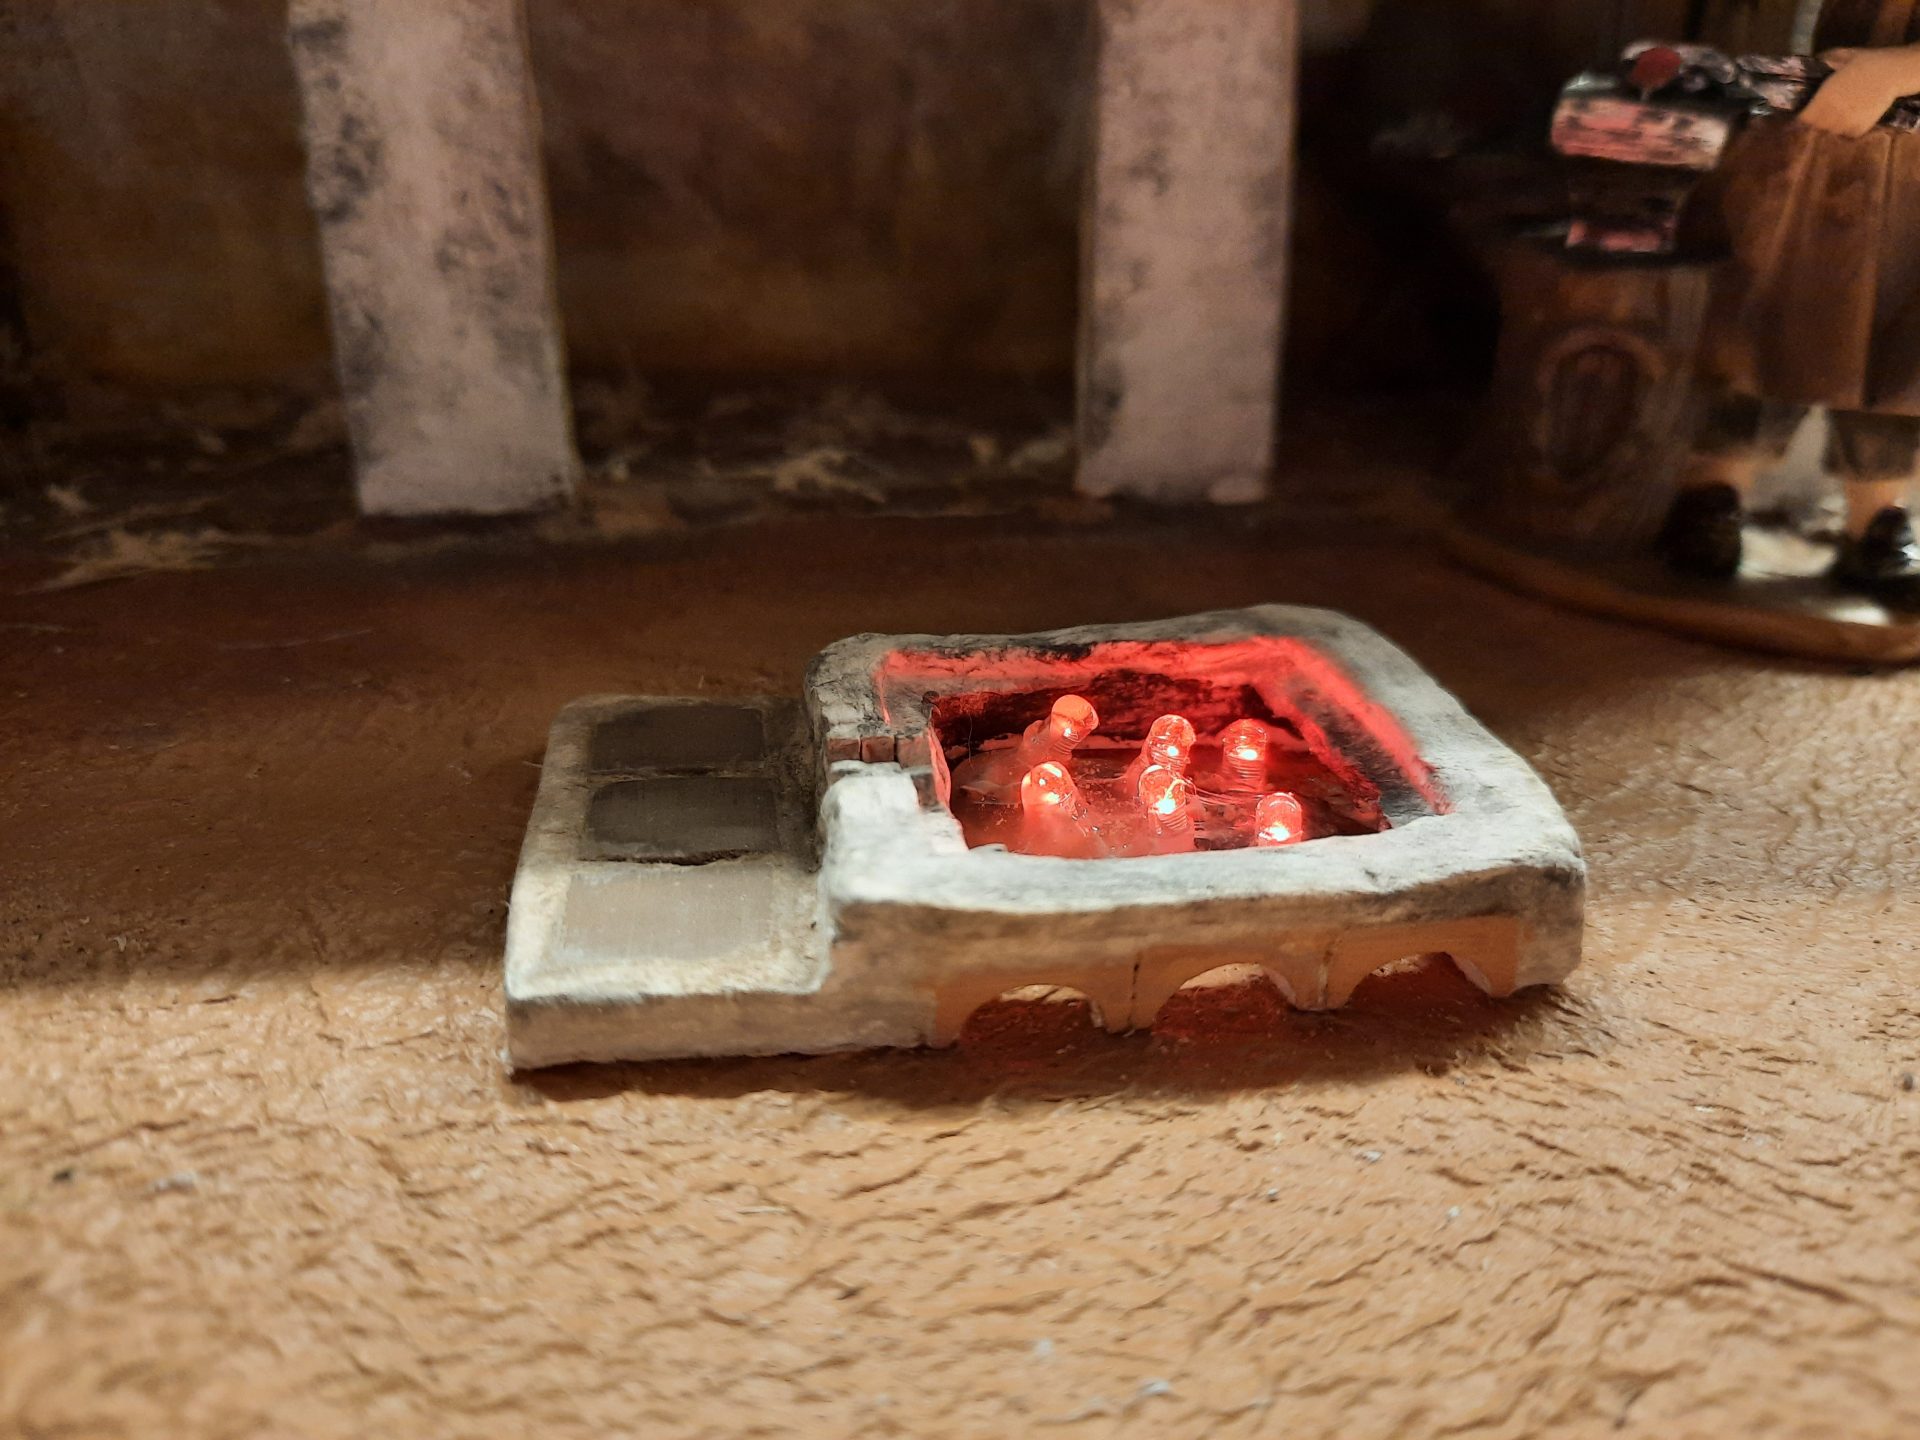
My husband then turned his attention to the fires. He had already placed tiny, strategic LED lights to serve as bonfires and the blacksmith’s forge, and now it was time to bring them to life.
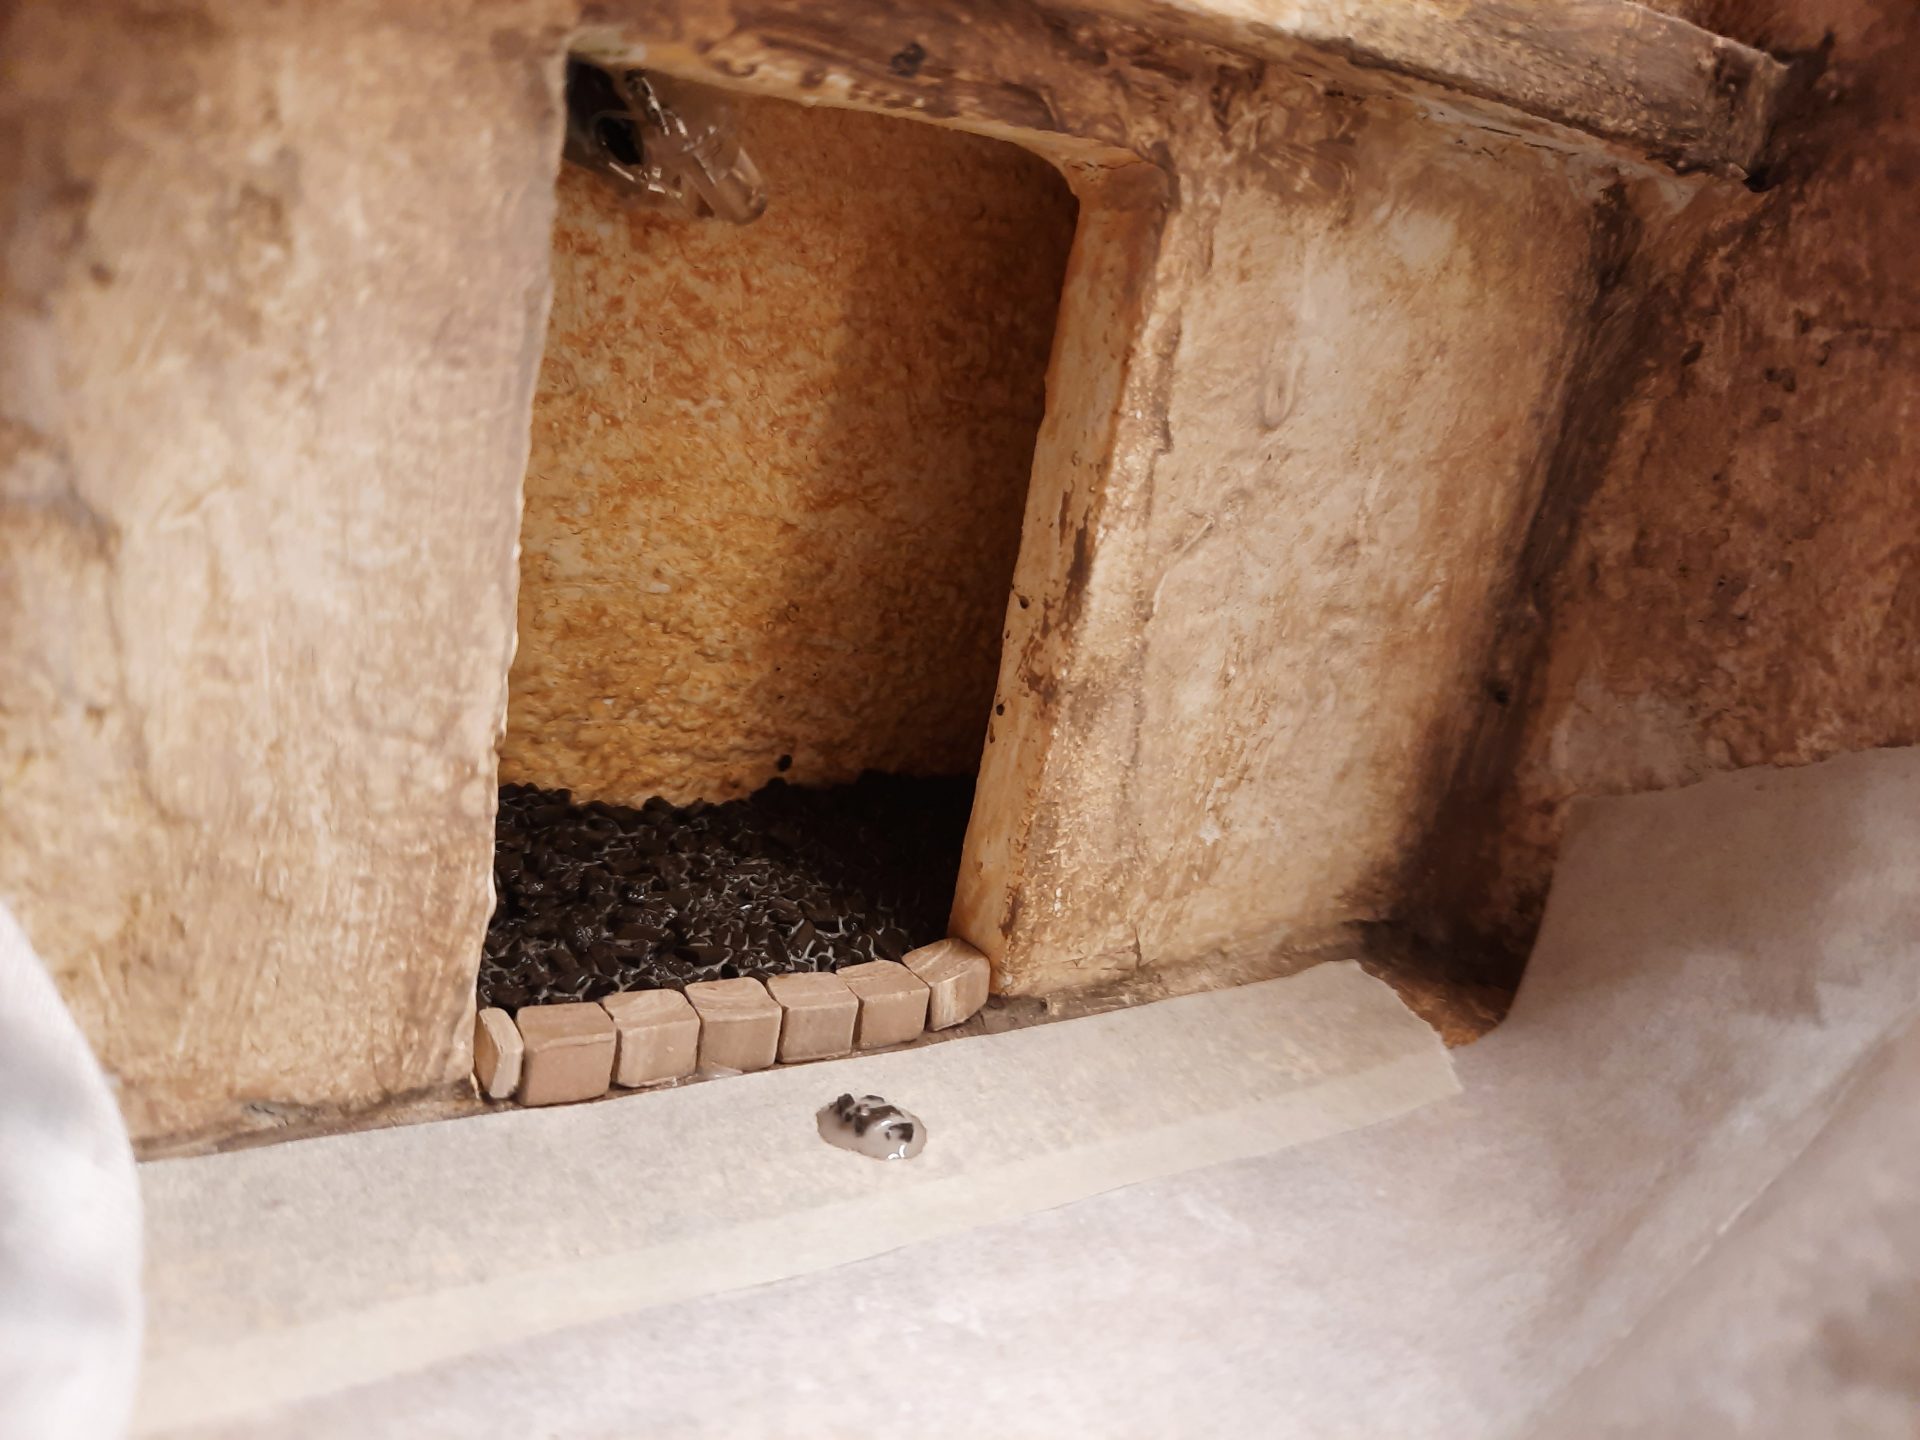
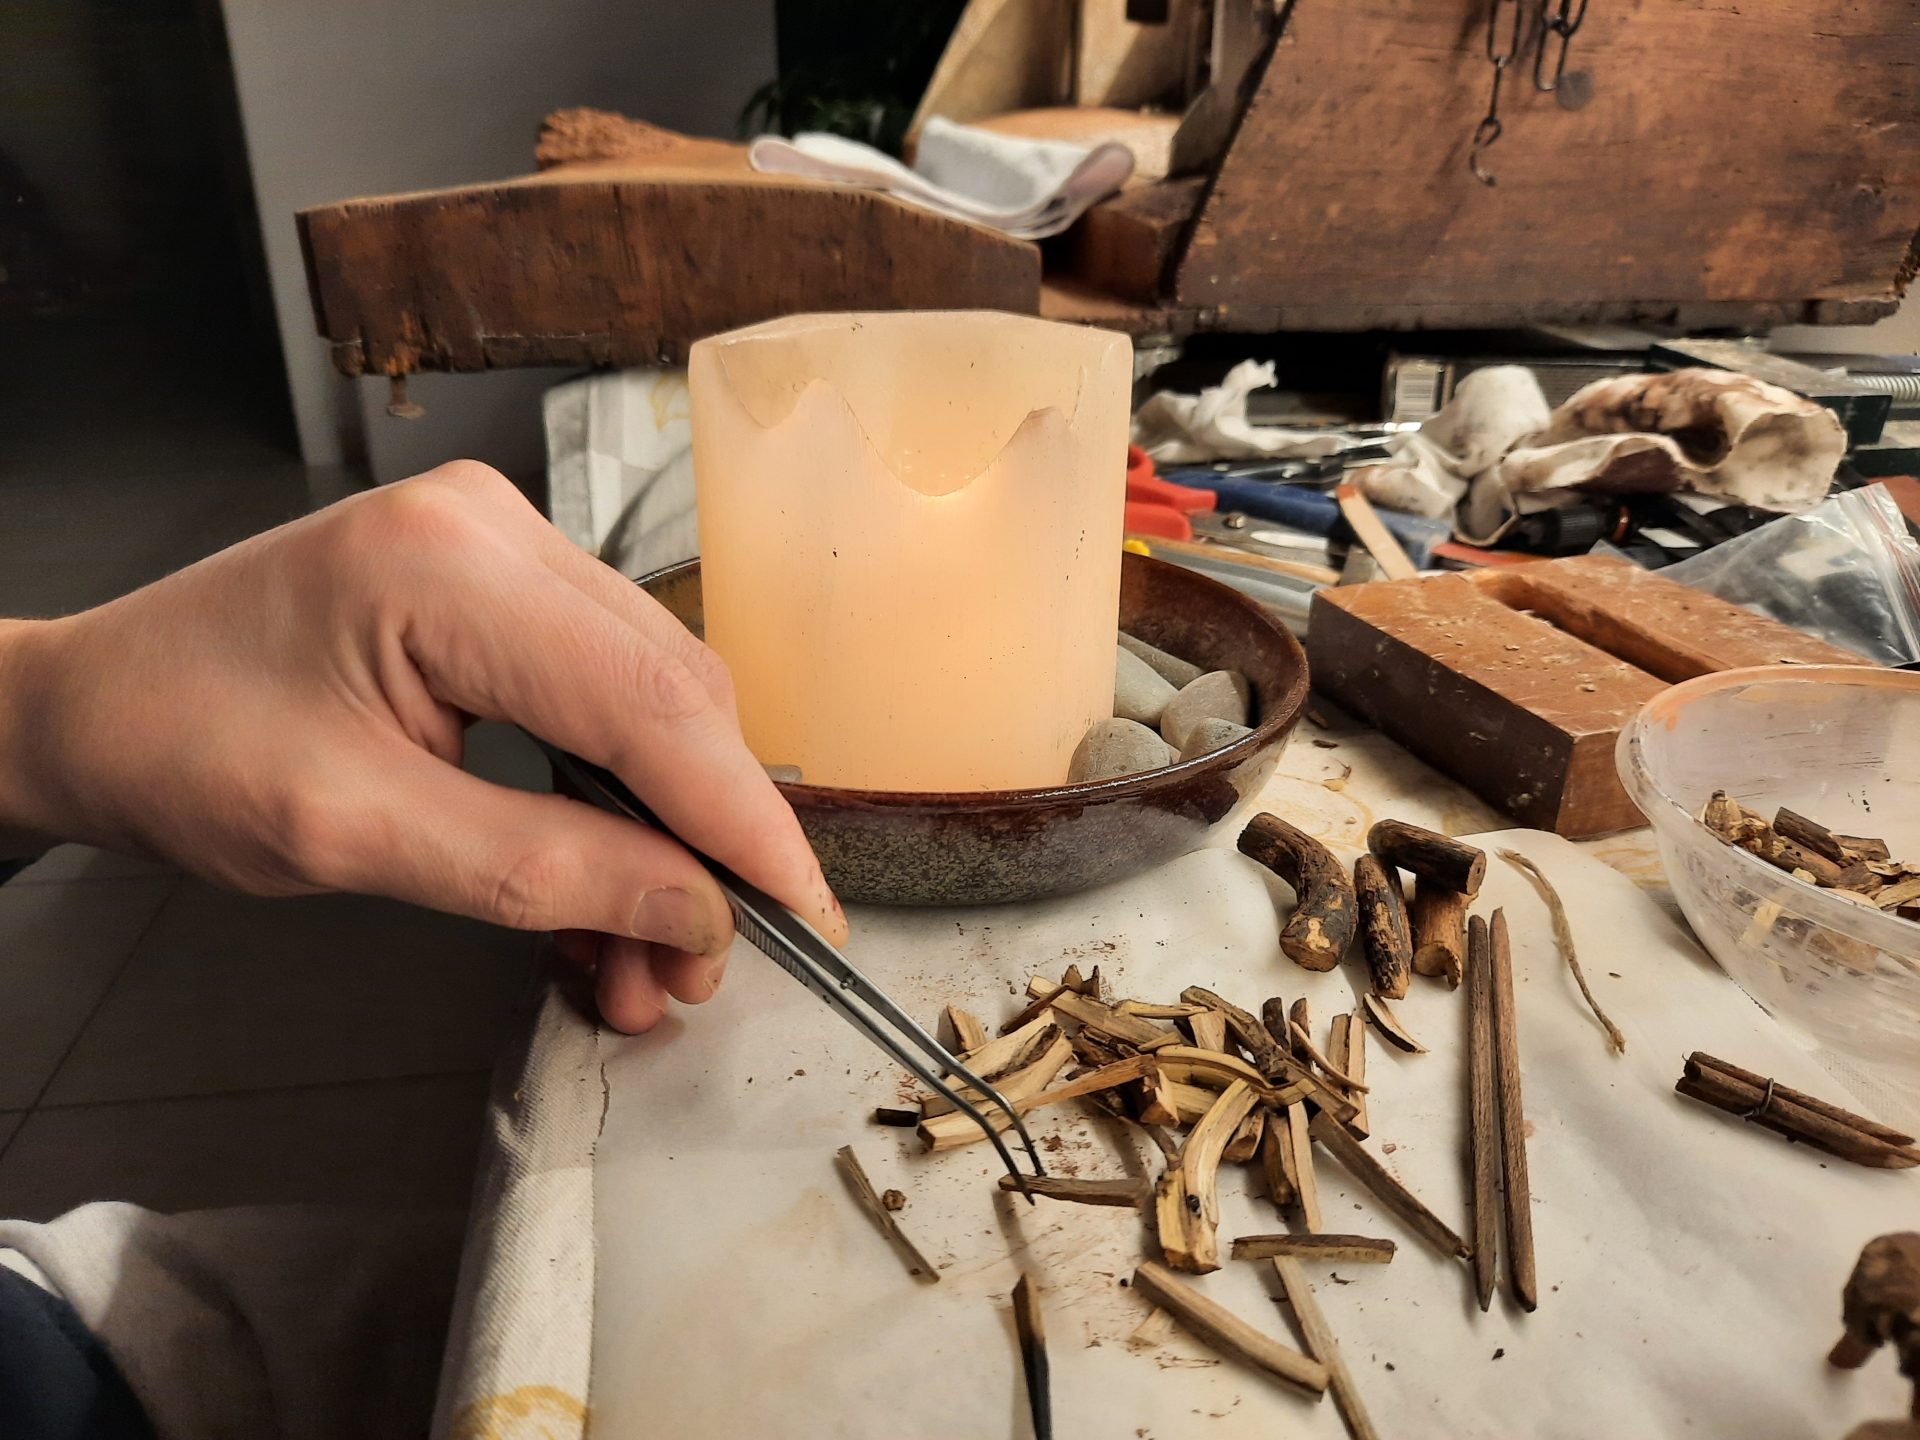
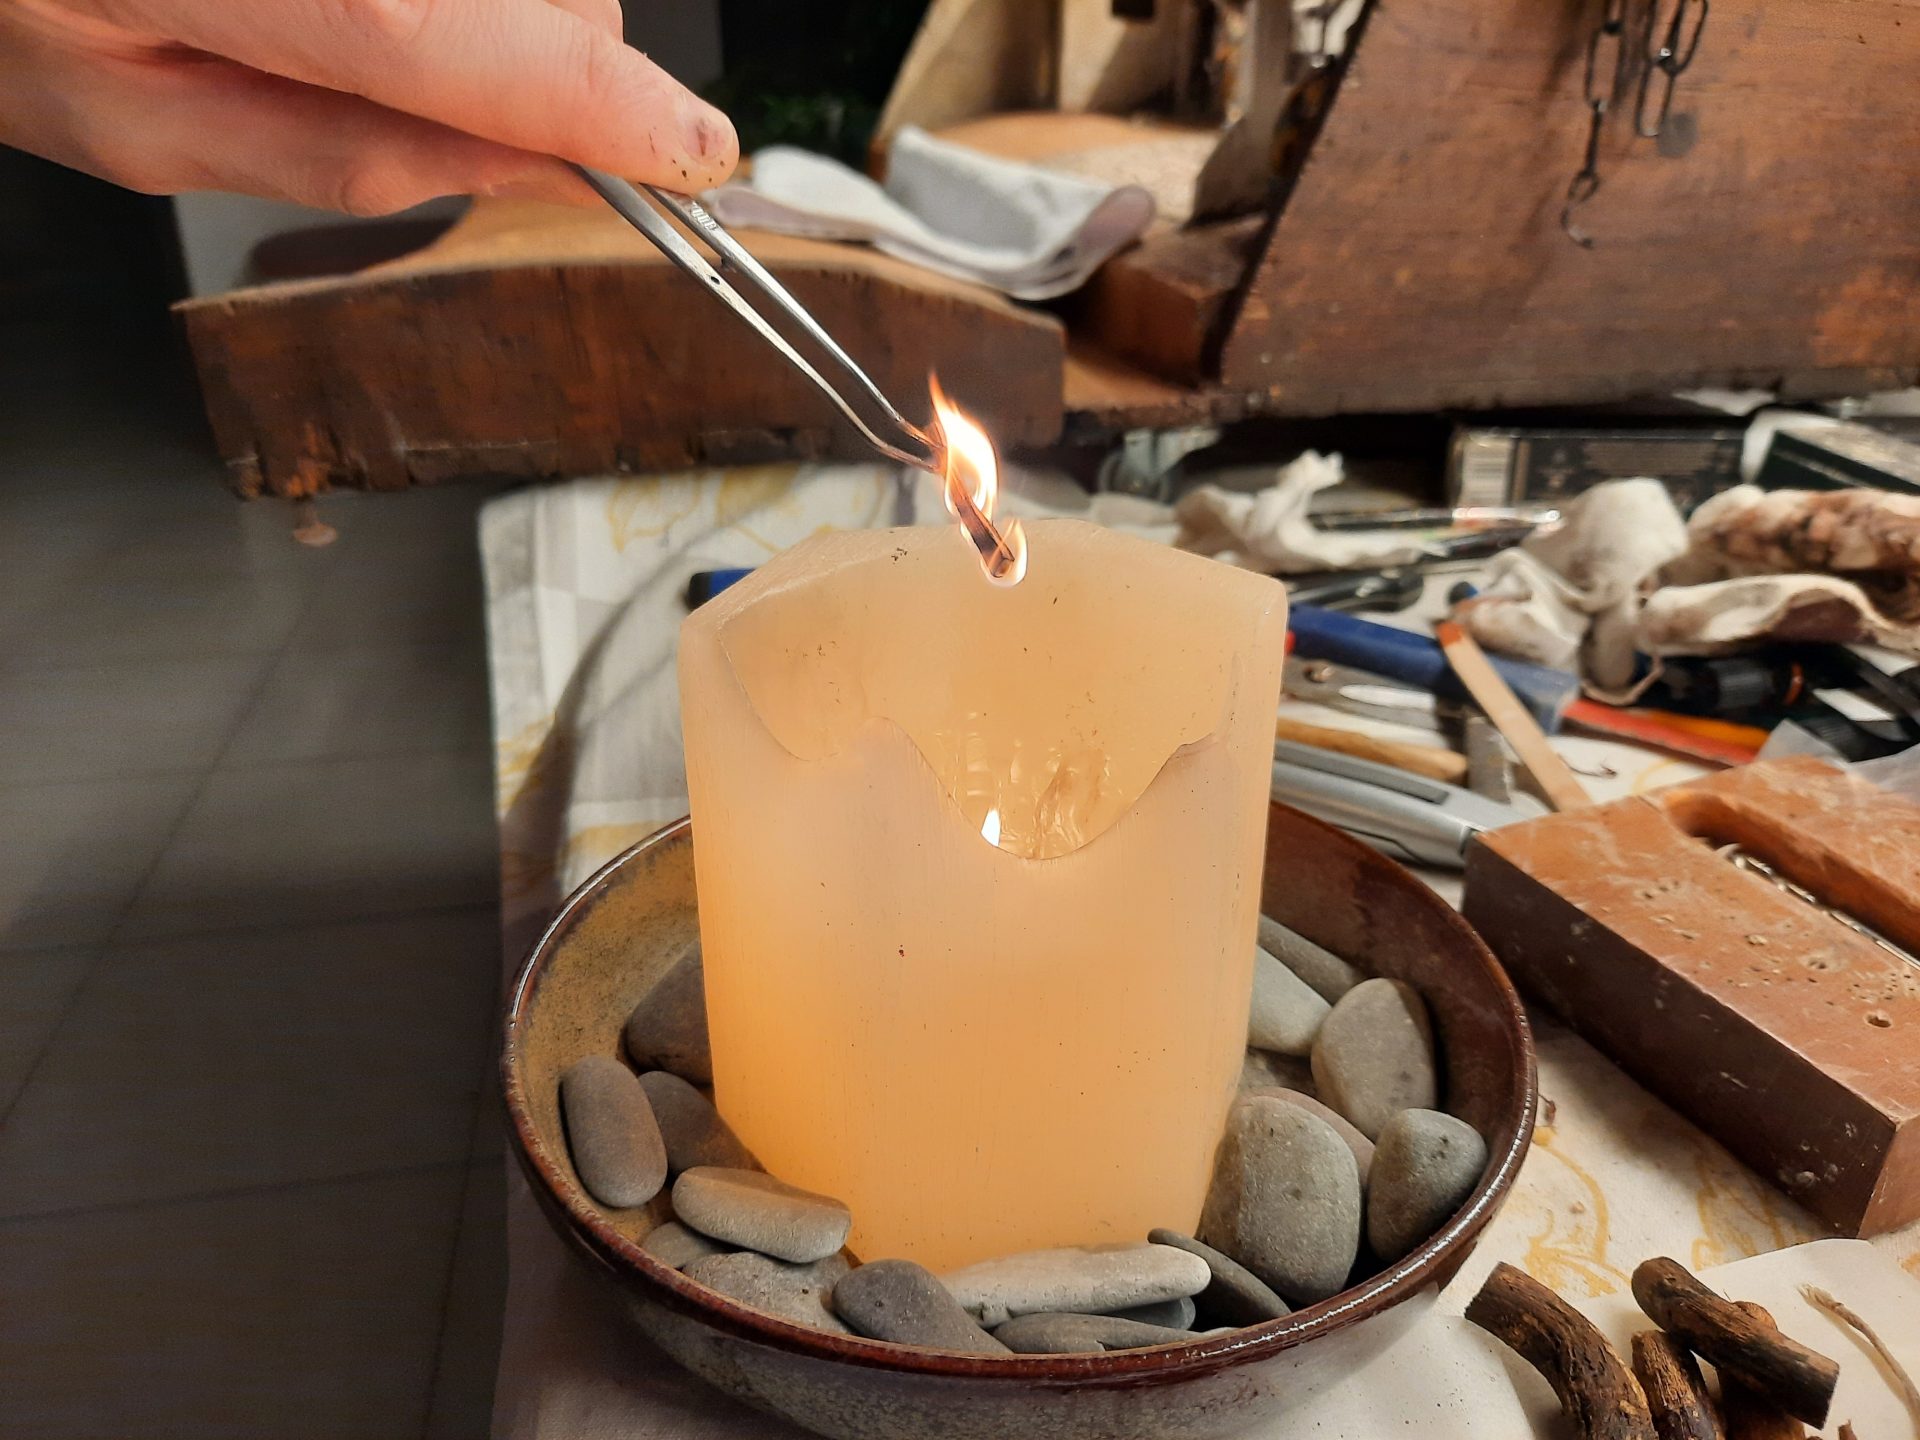
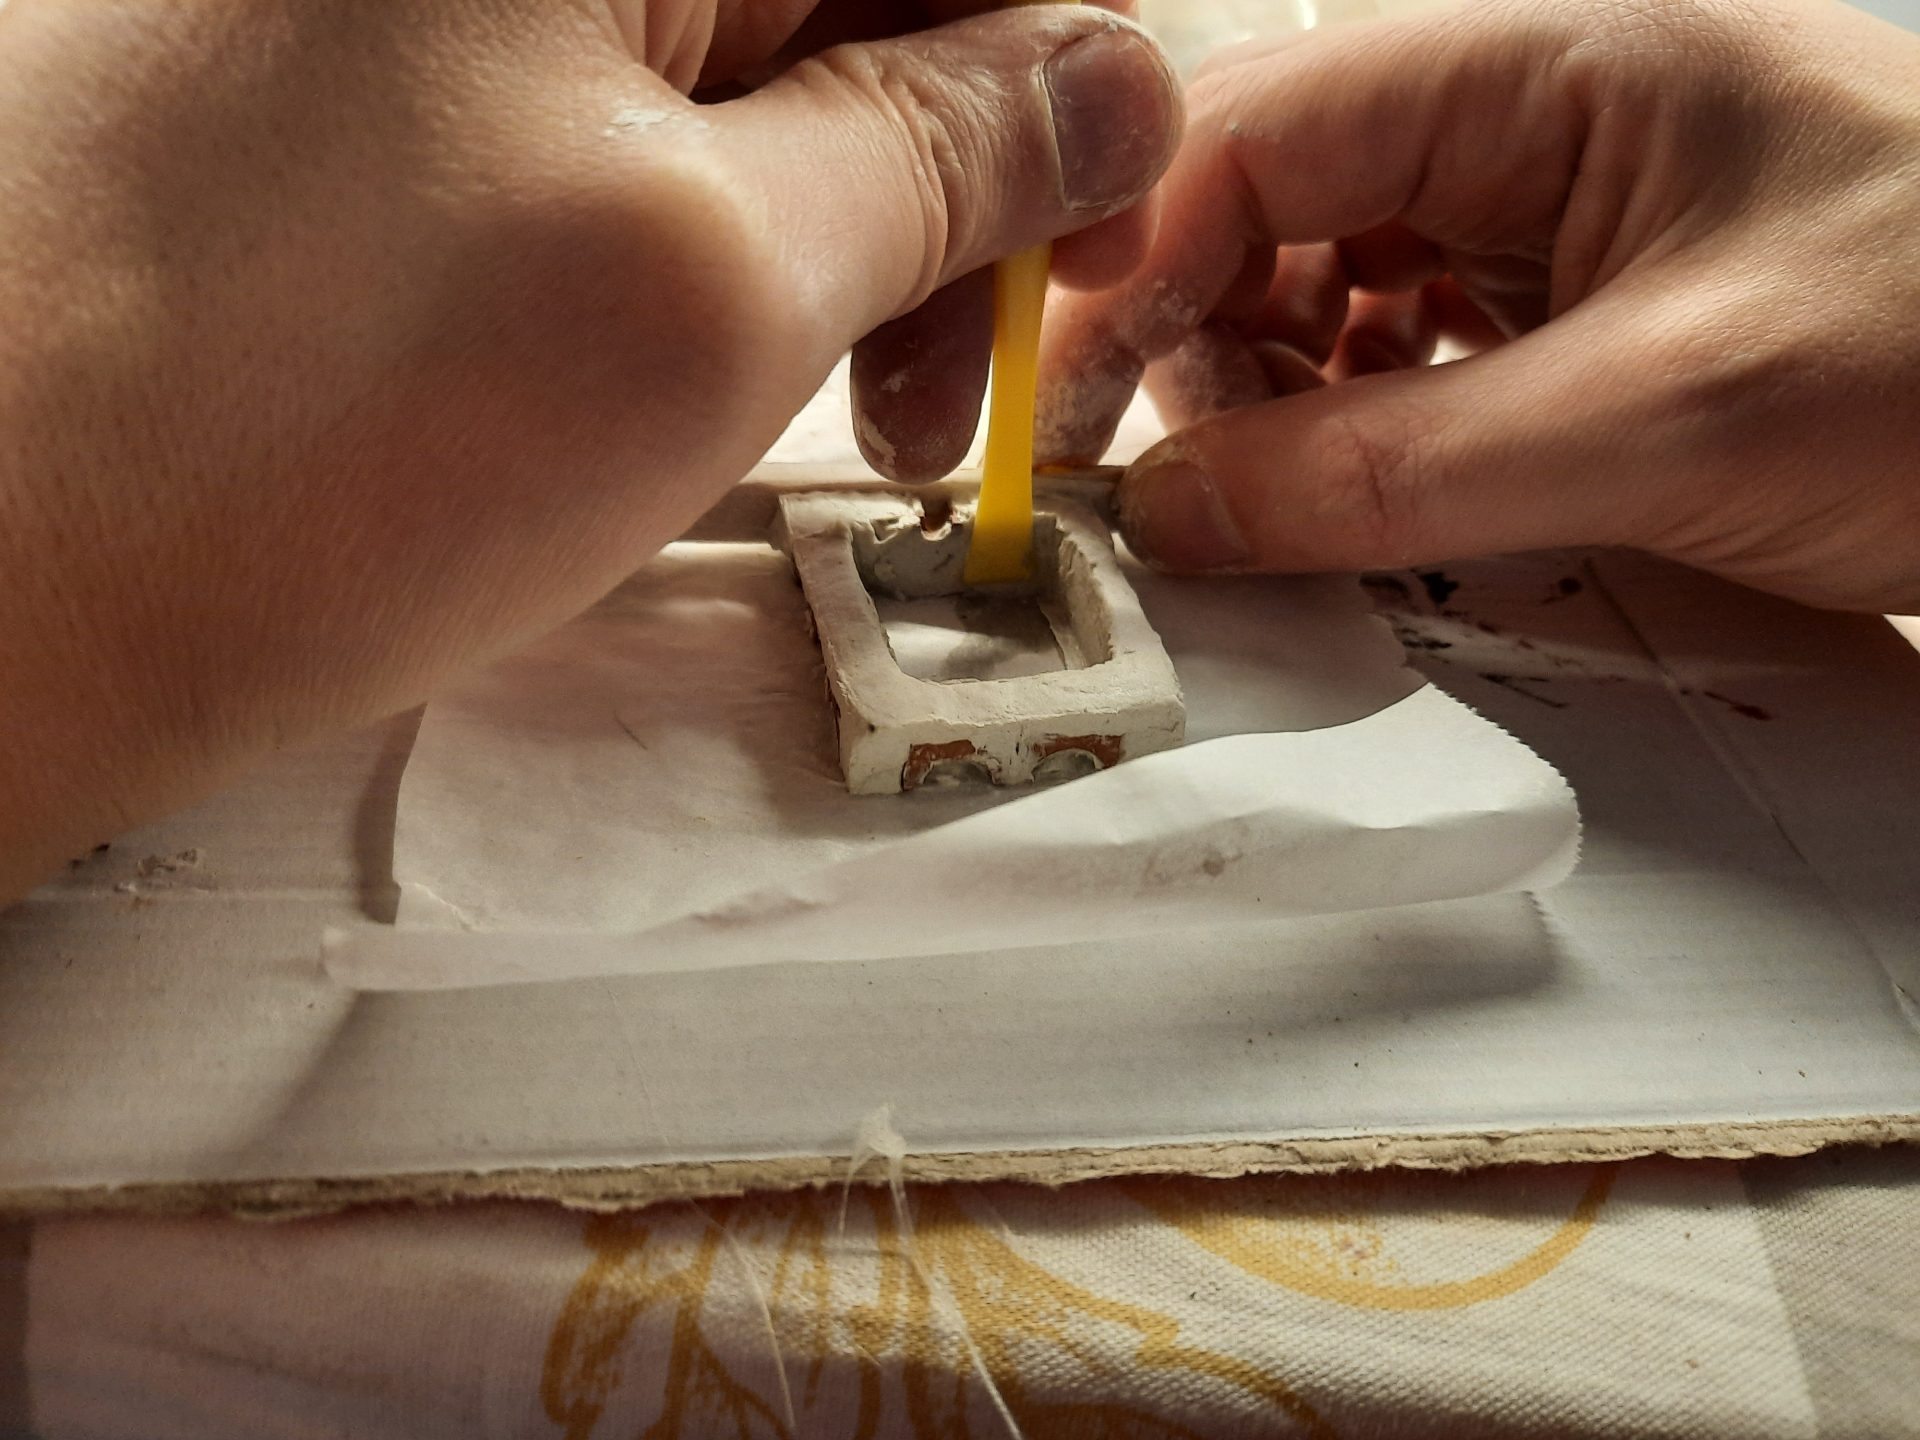
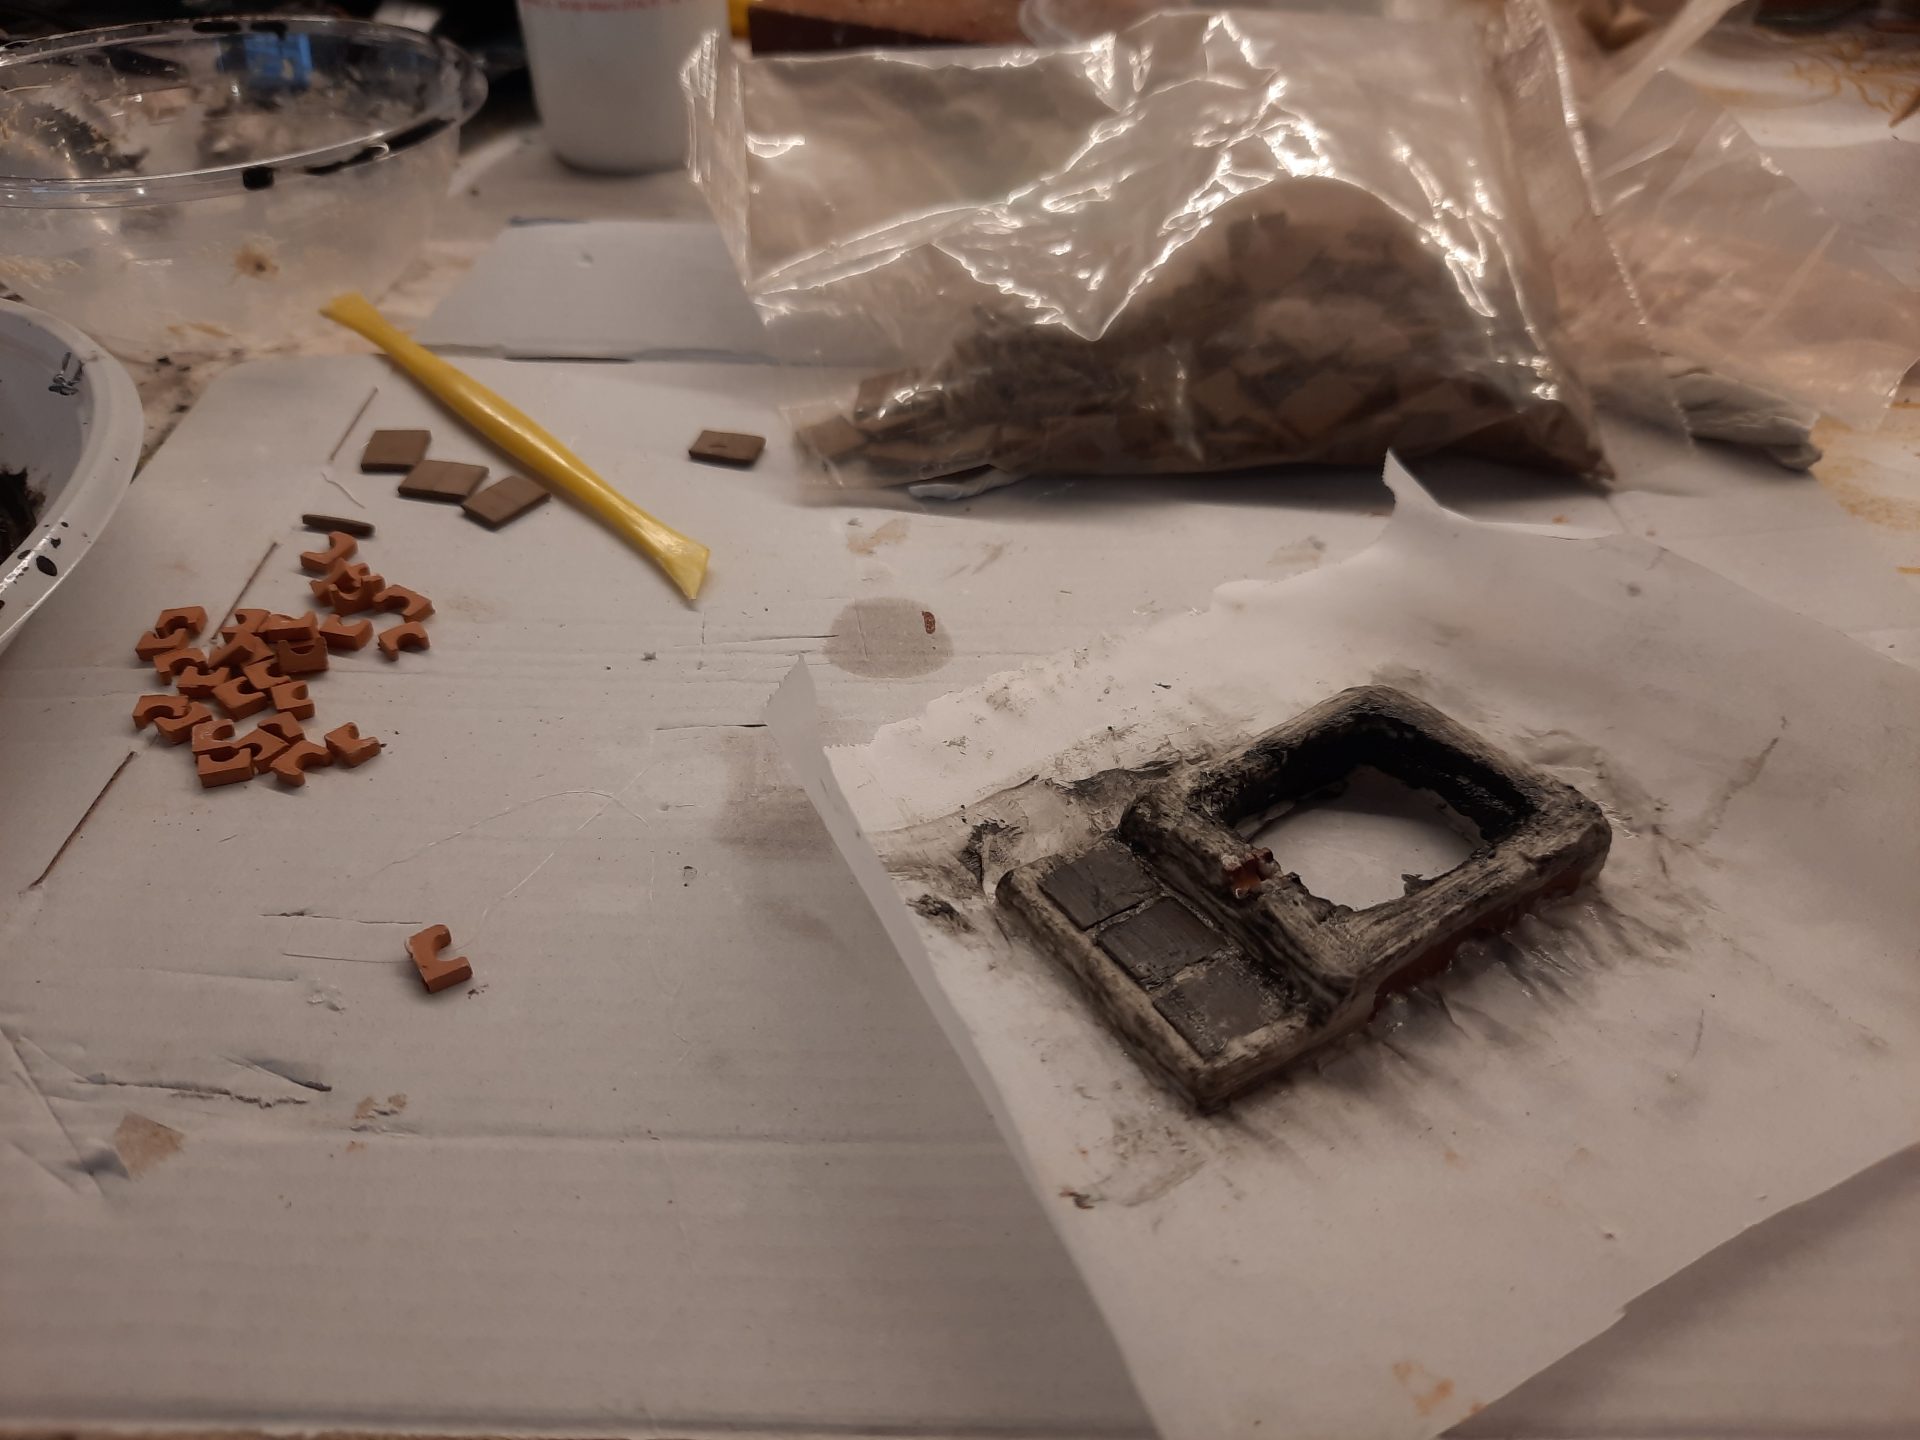
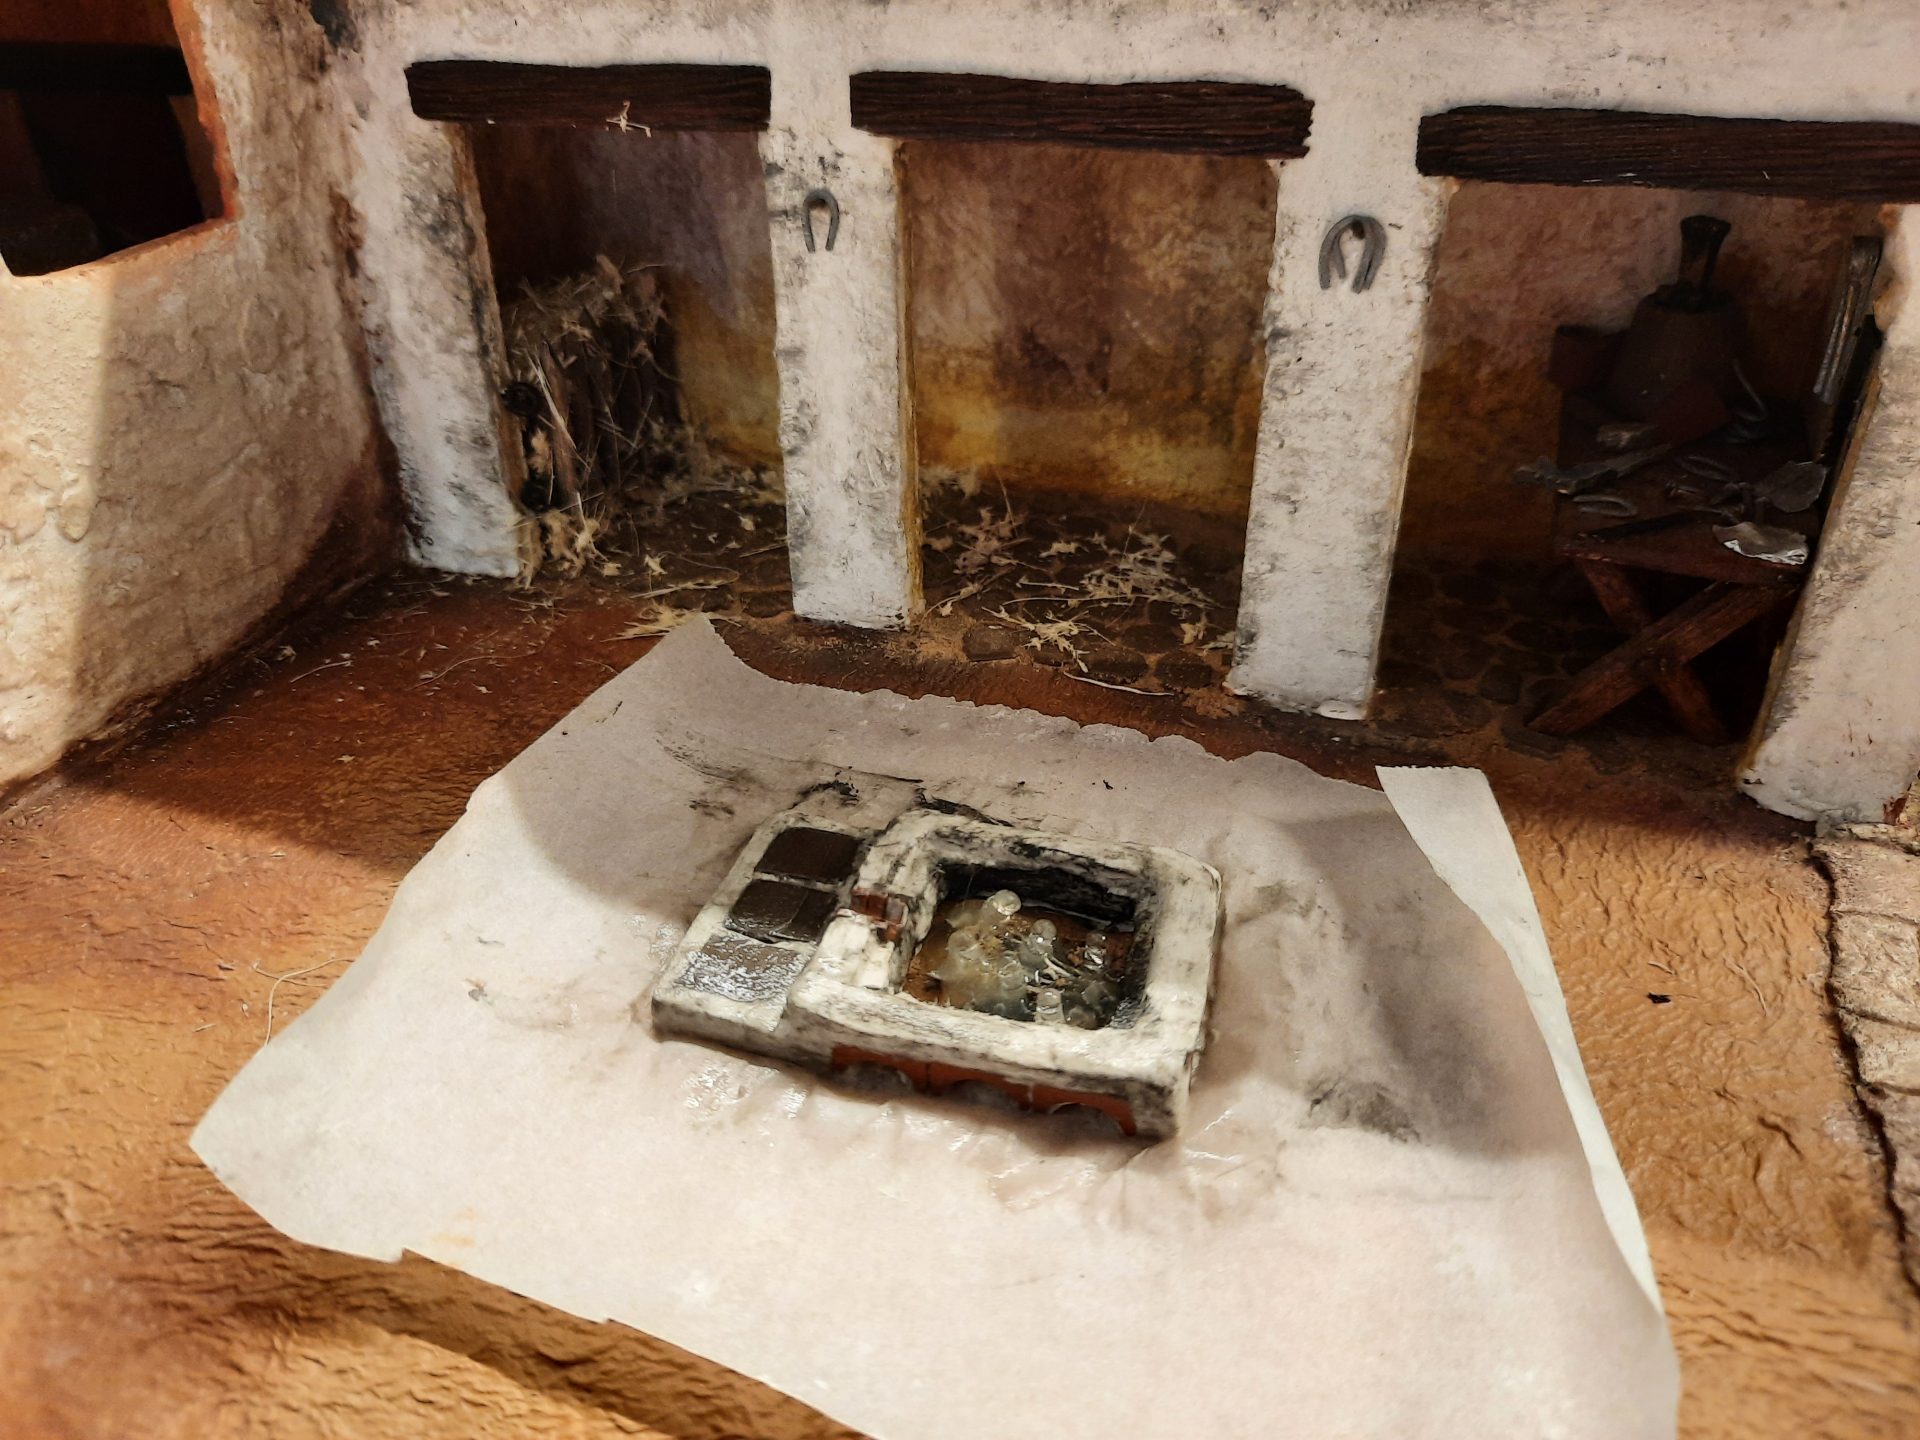
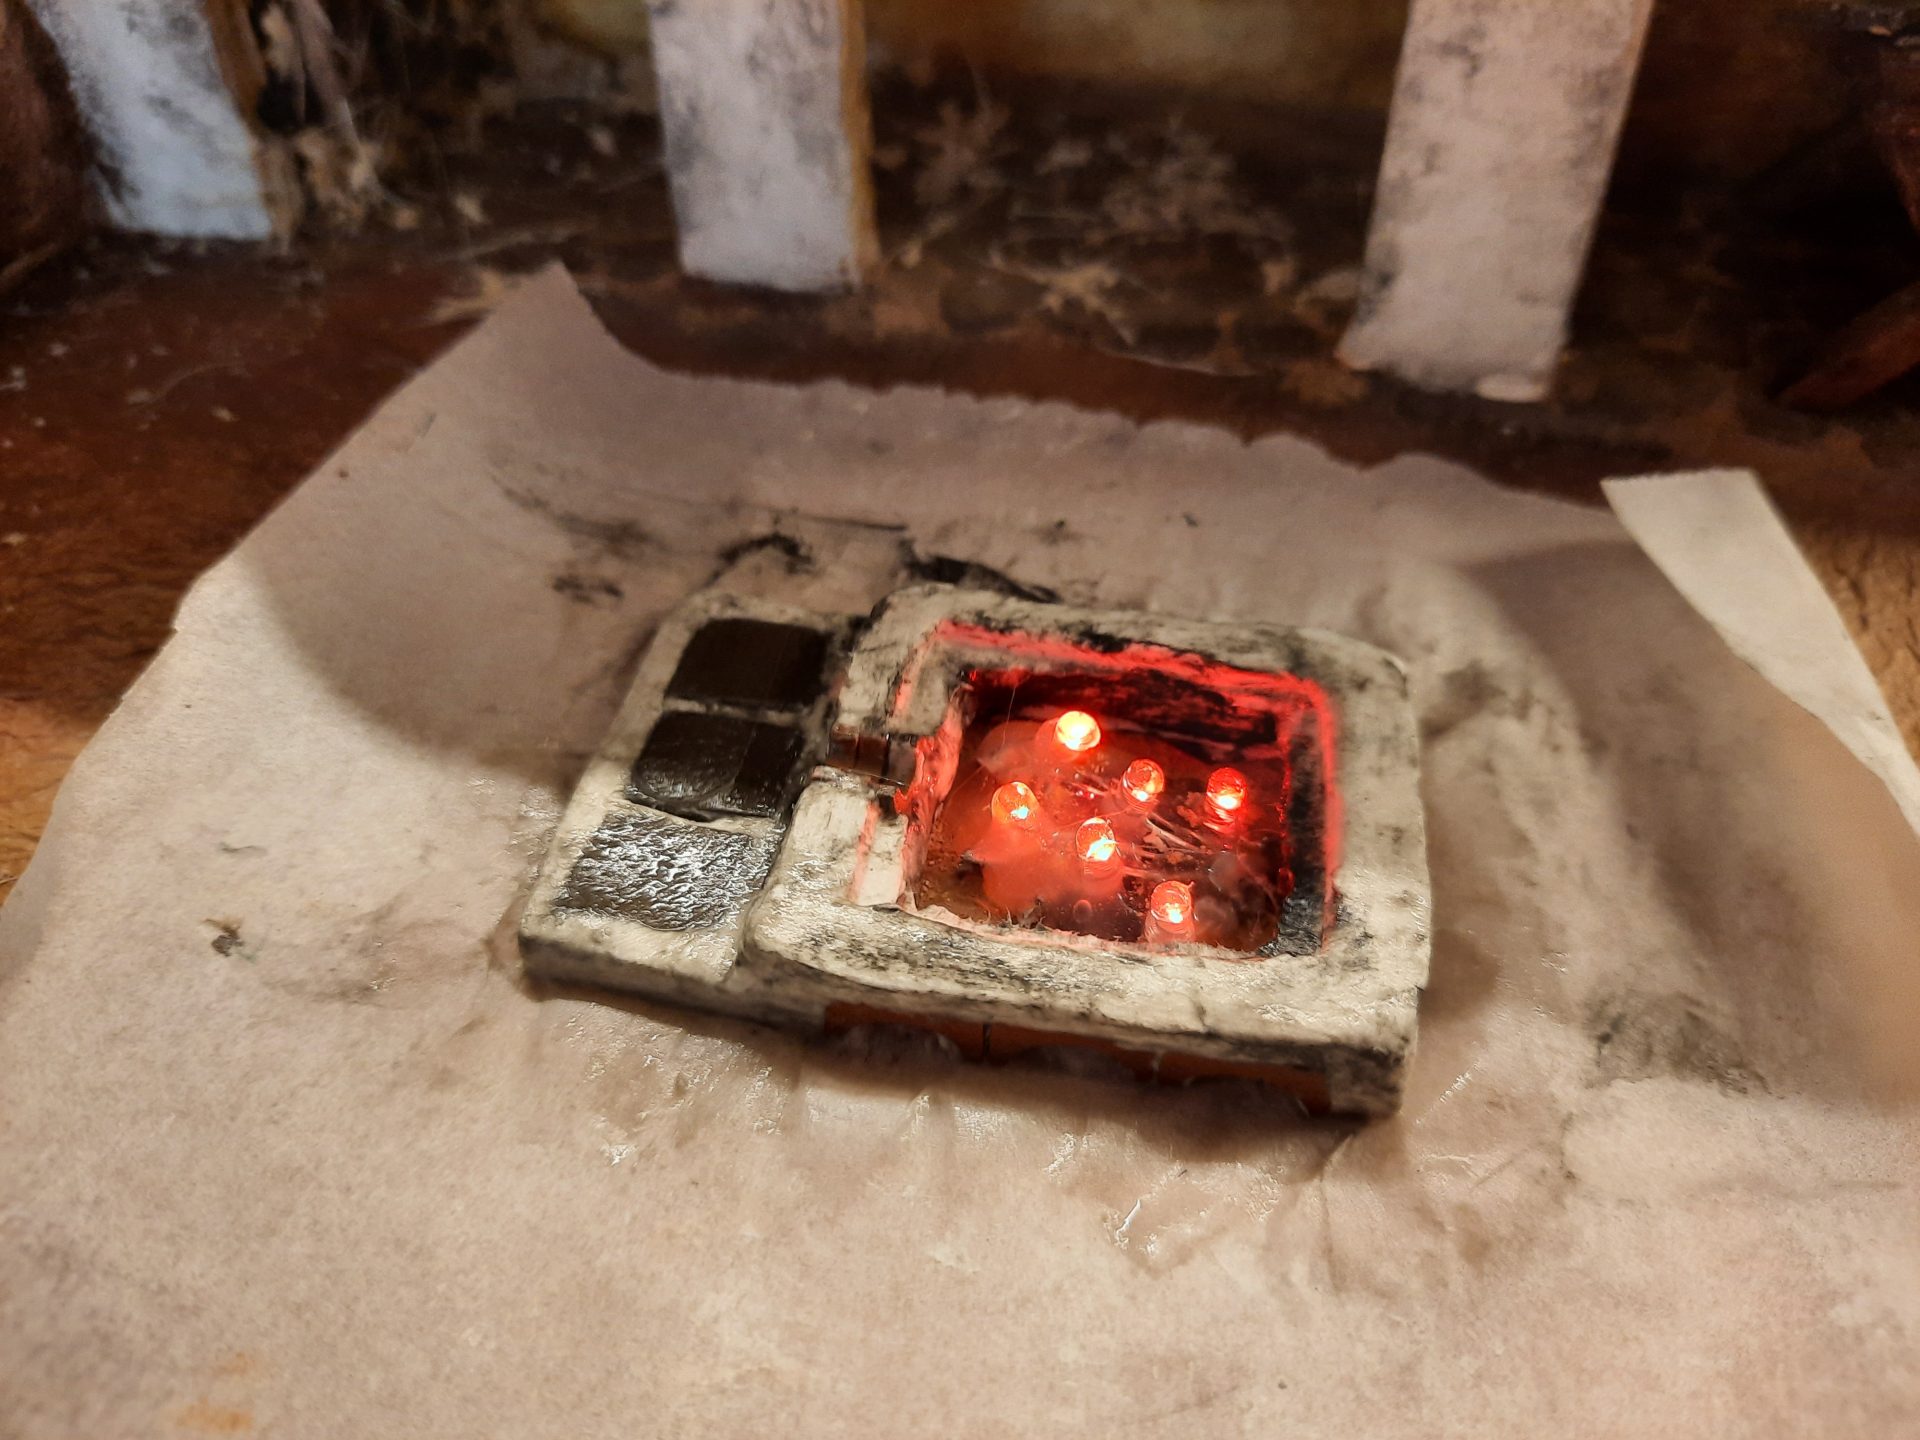
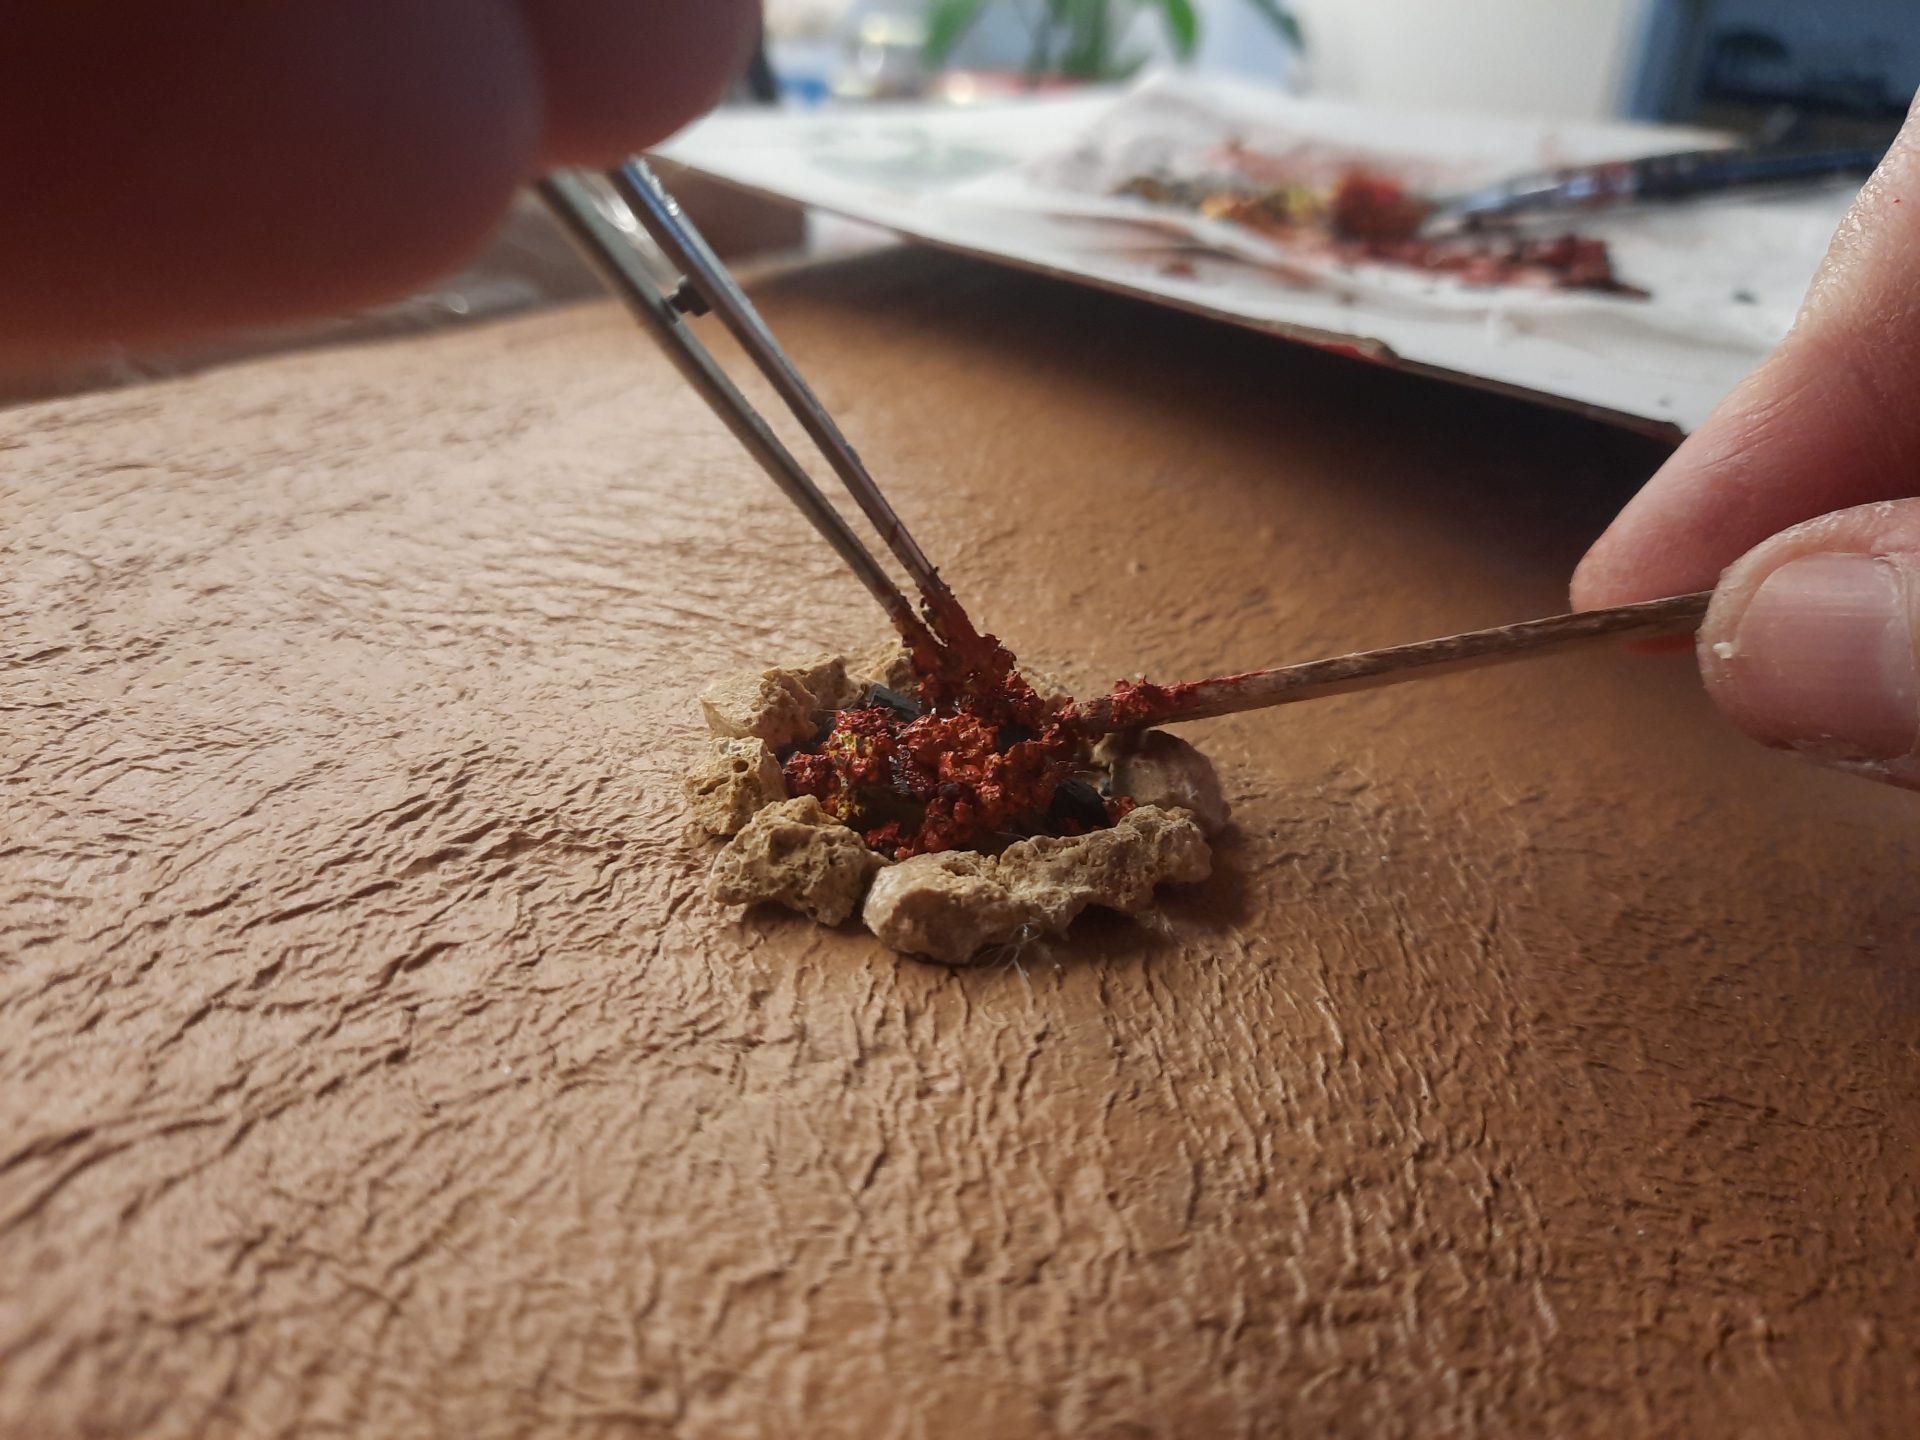
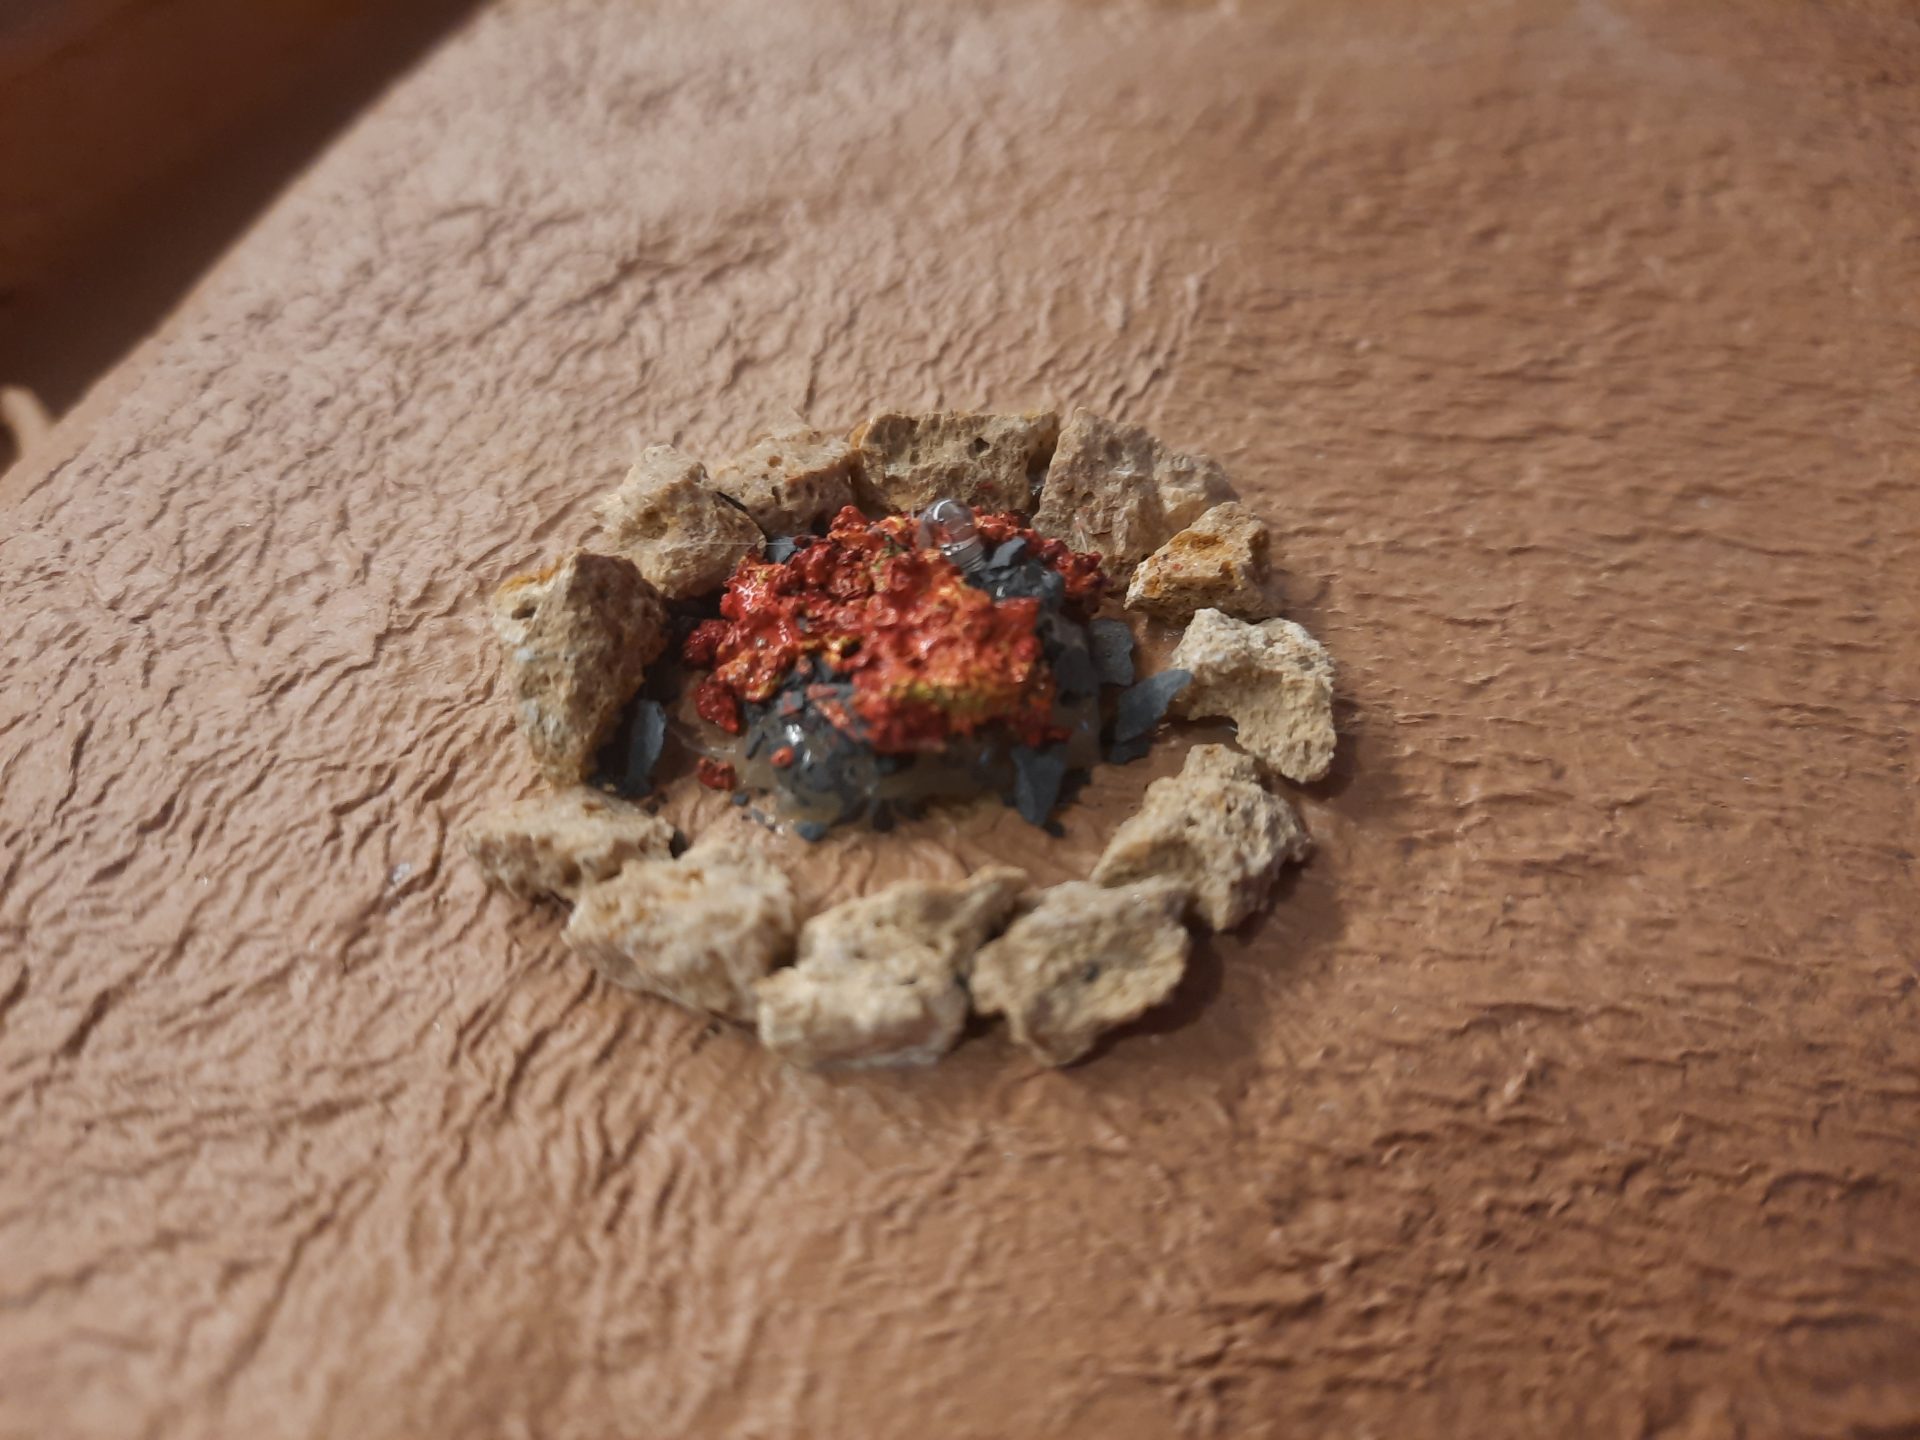
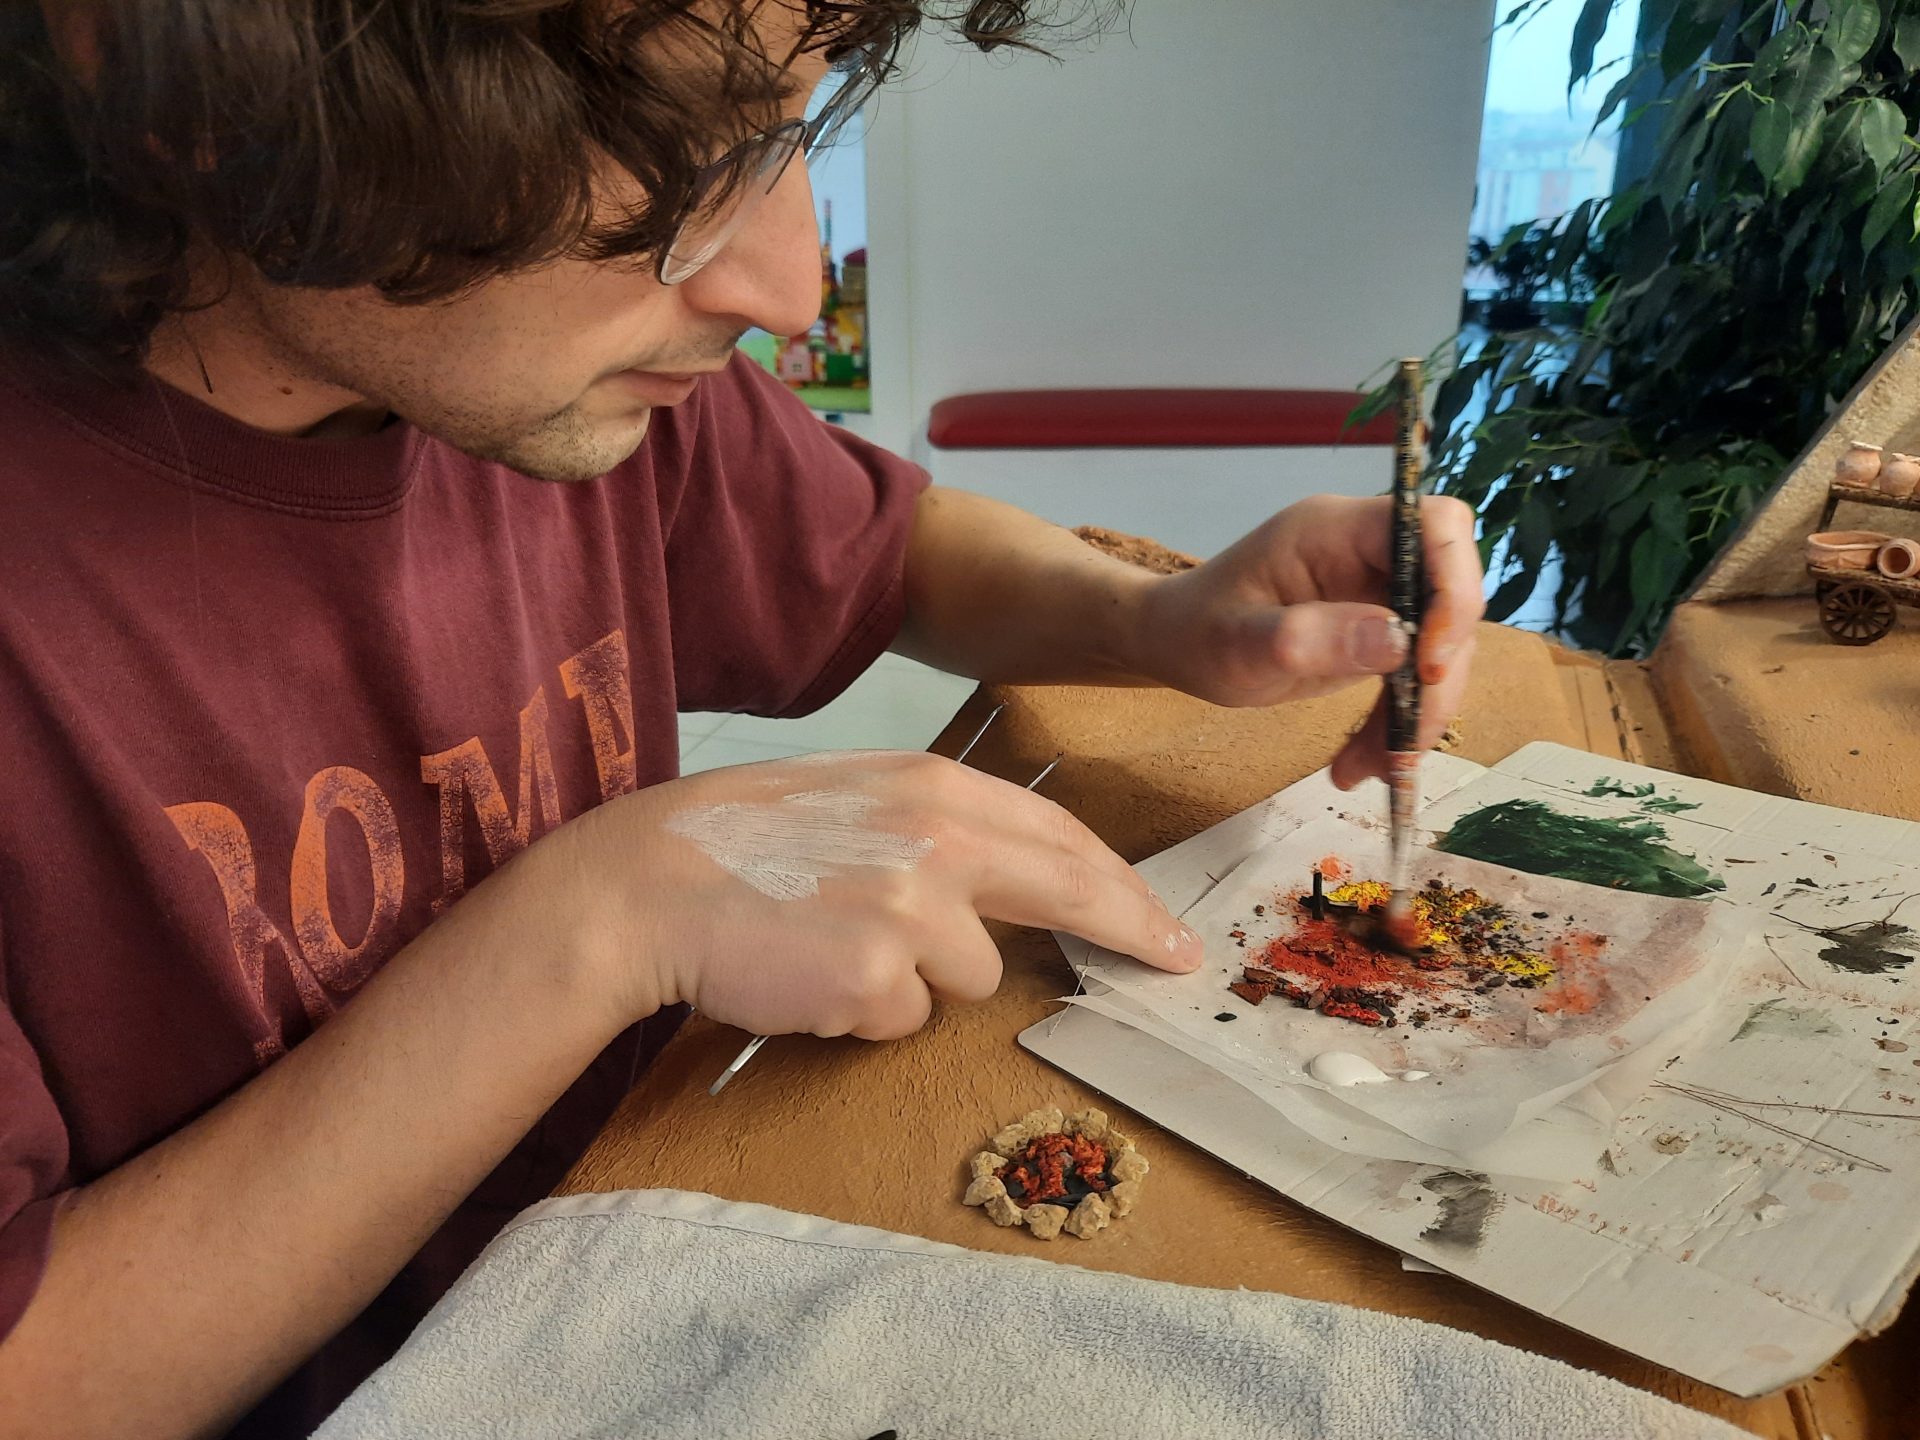
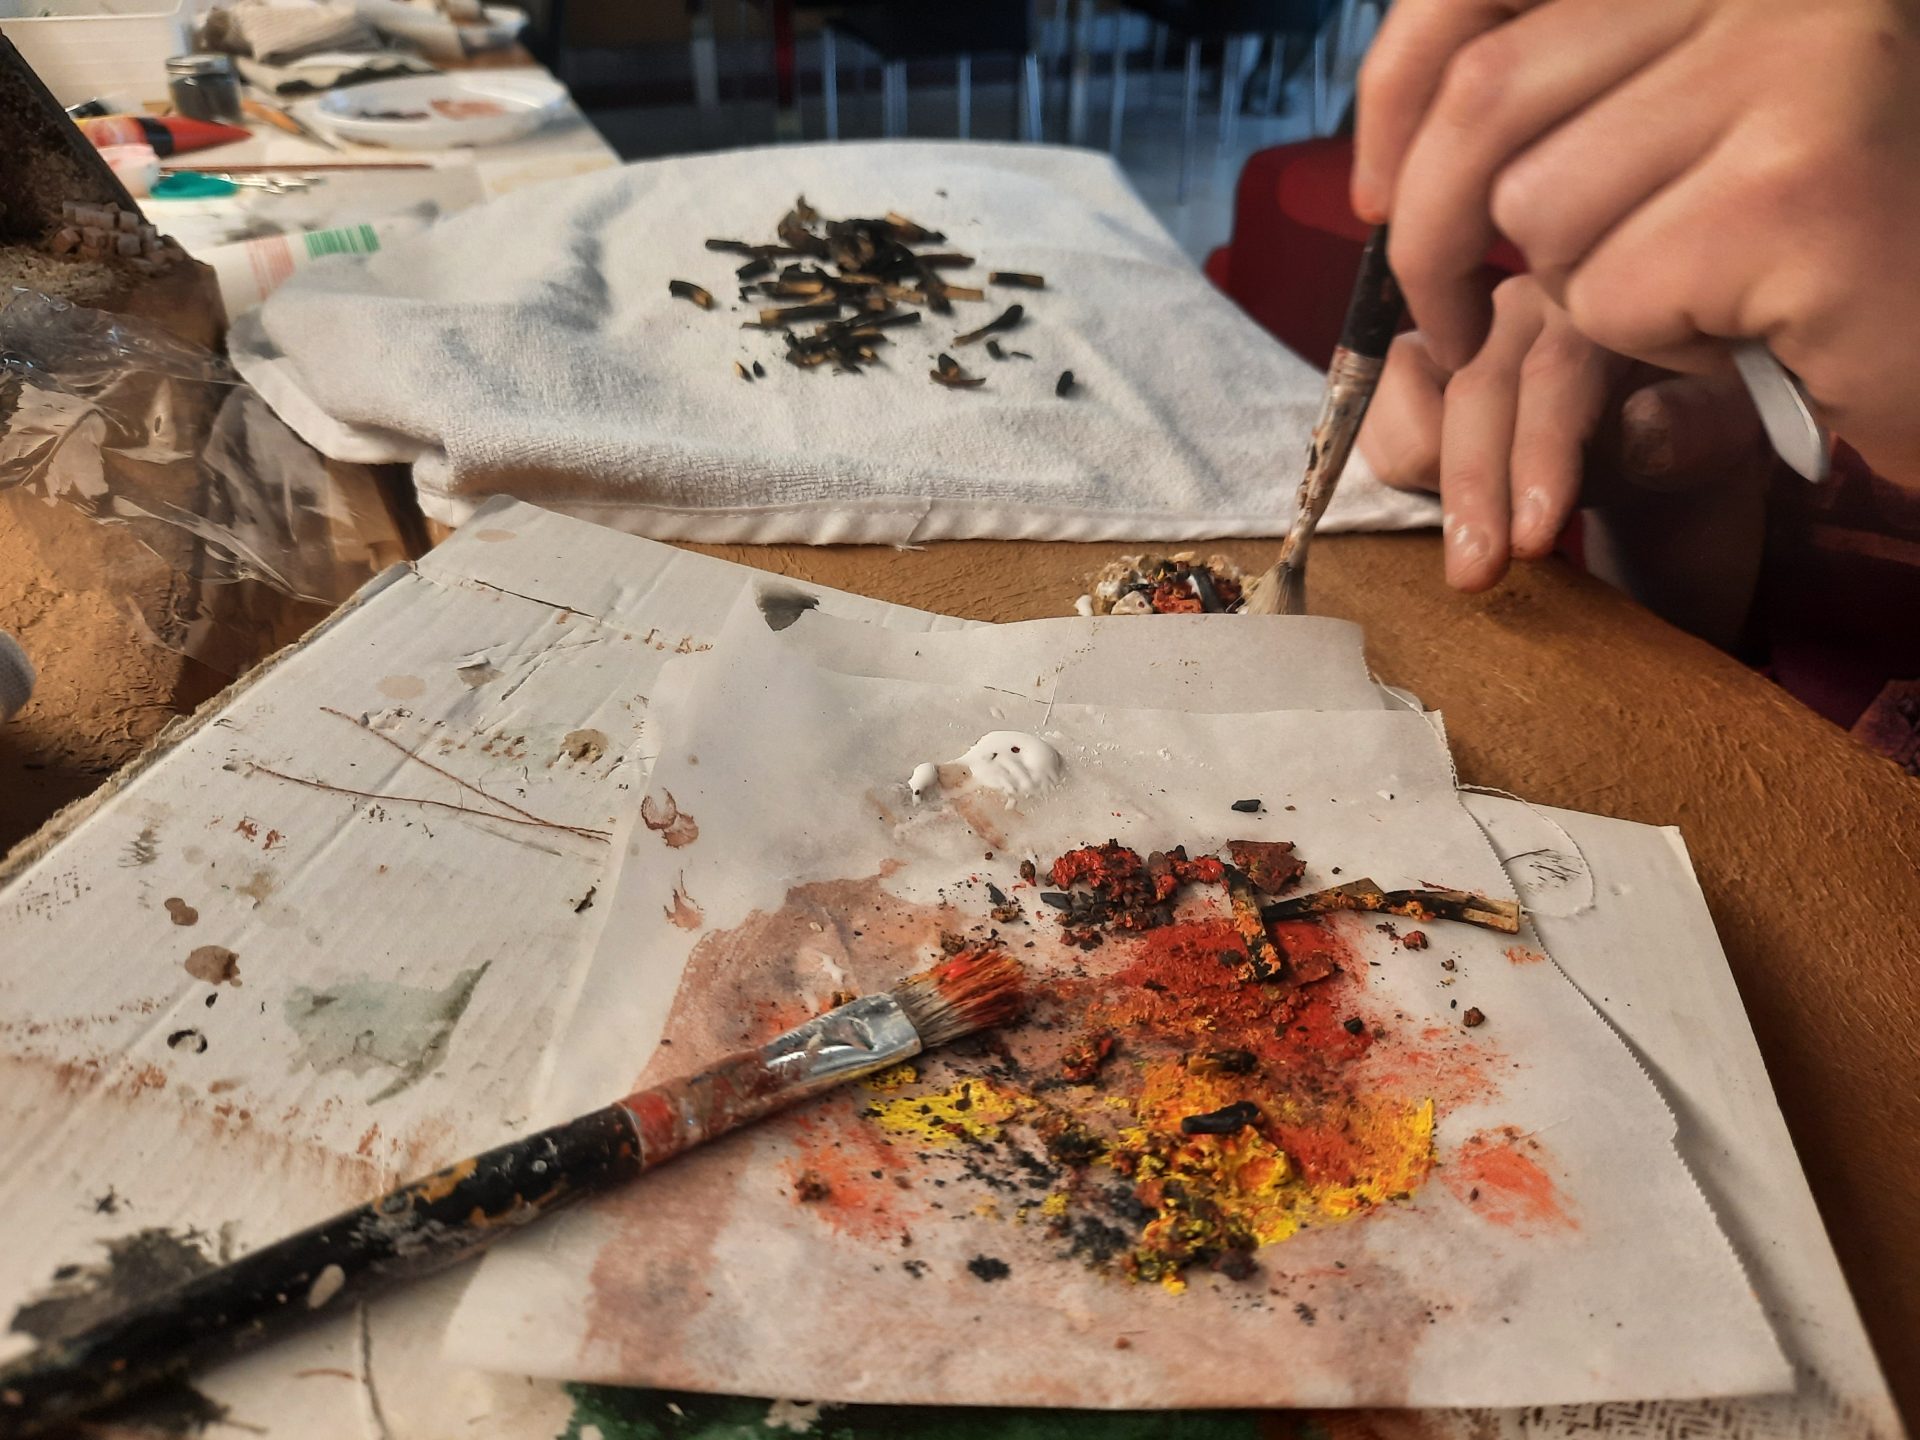
He sculpted a small forge from clay and a couple of leftover tiles, positioning it right in front of the blacksmith’s workshop around a cluster of red LEDs. To soften and disguise the harshness of the lights, he carved scraps of wood into miniature logs, carefully burned them for realism, and arranged them to cover the LEDs so only a warm red glow escaped. For extra diffusion, he sealed the bulbs under a dome of hot glue.
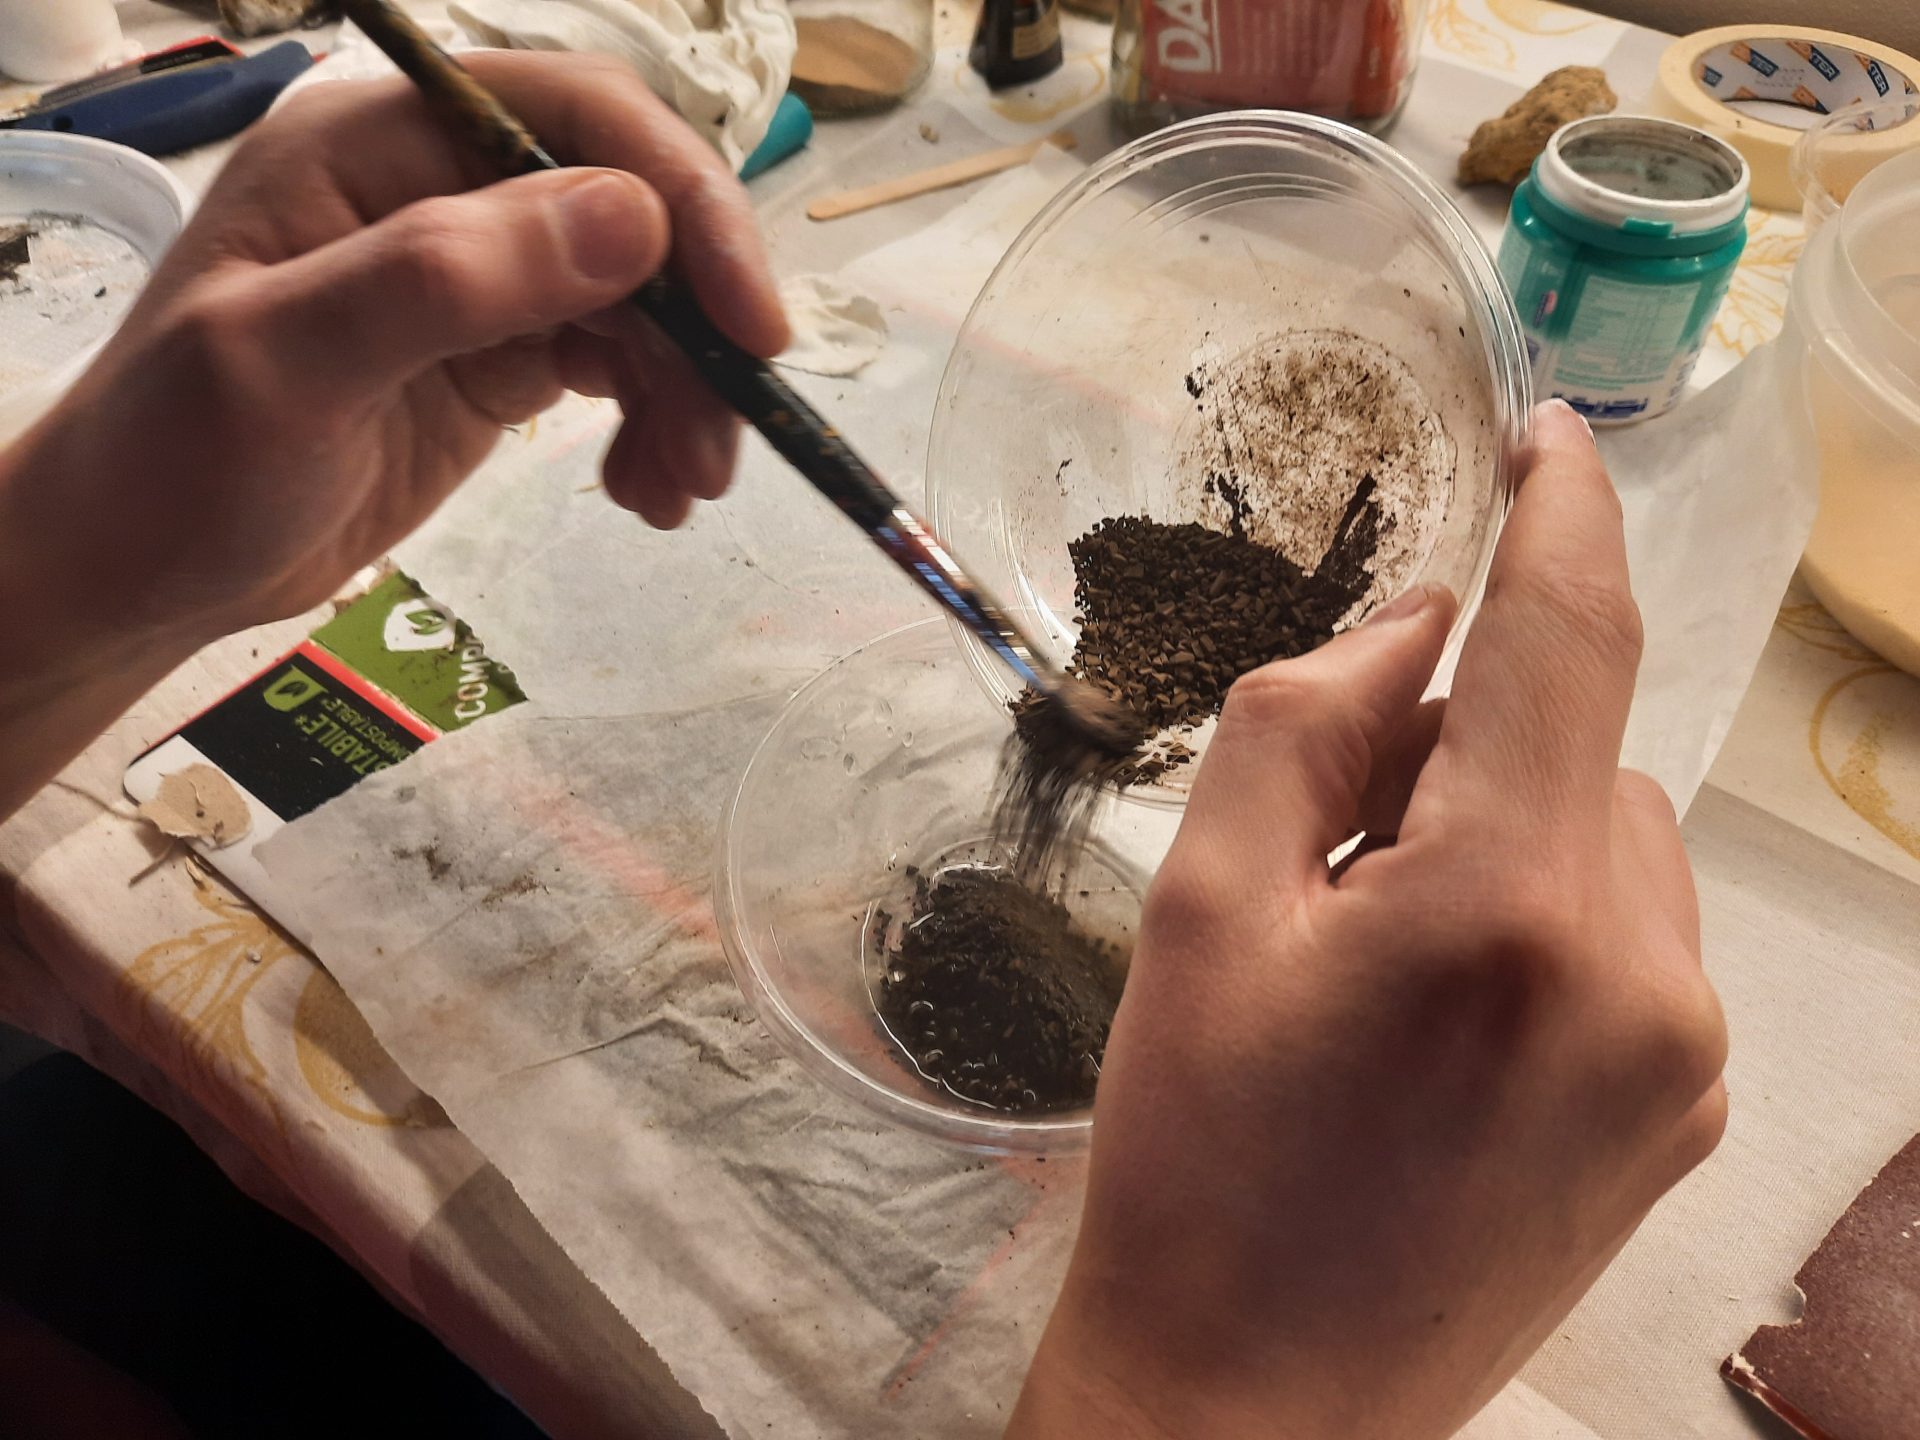
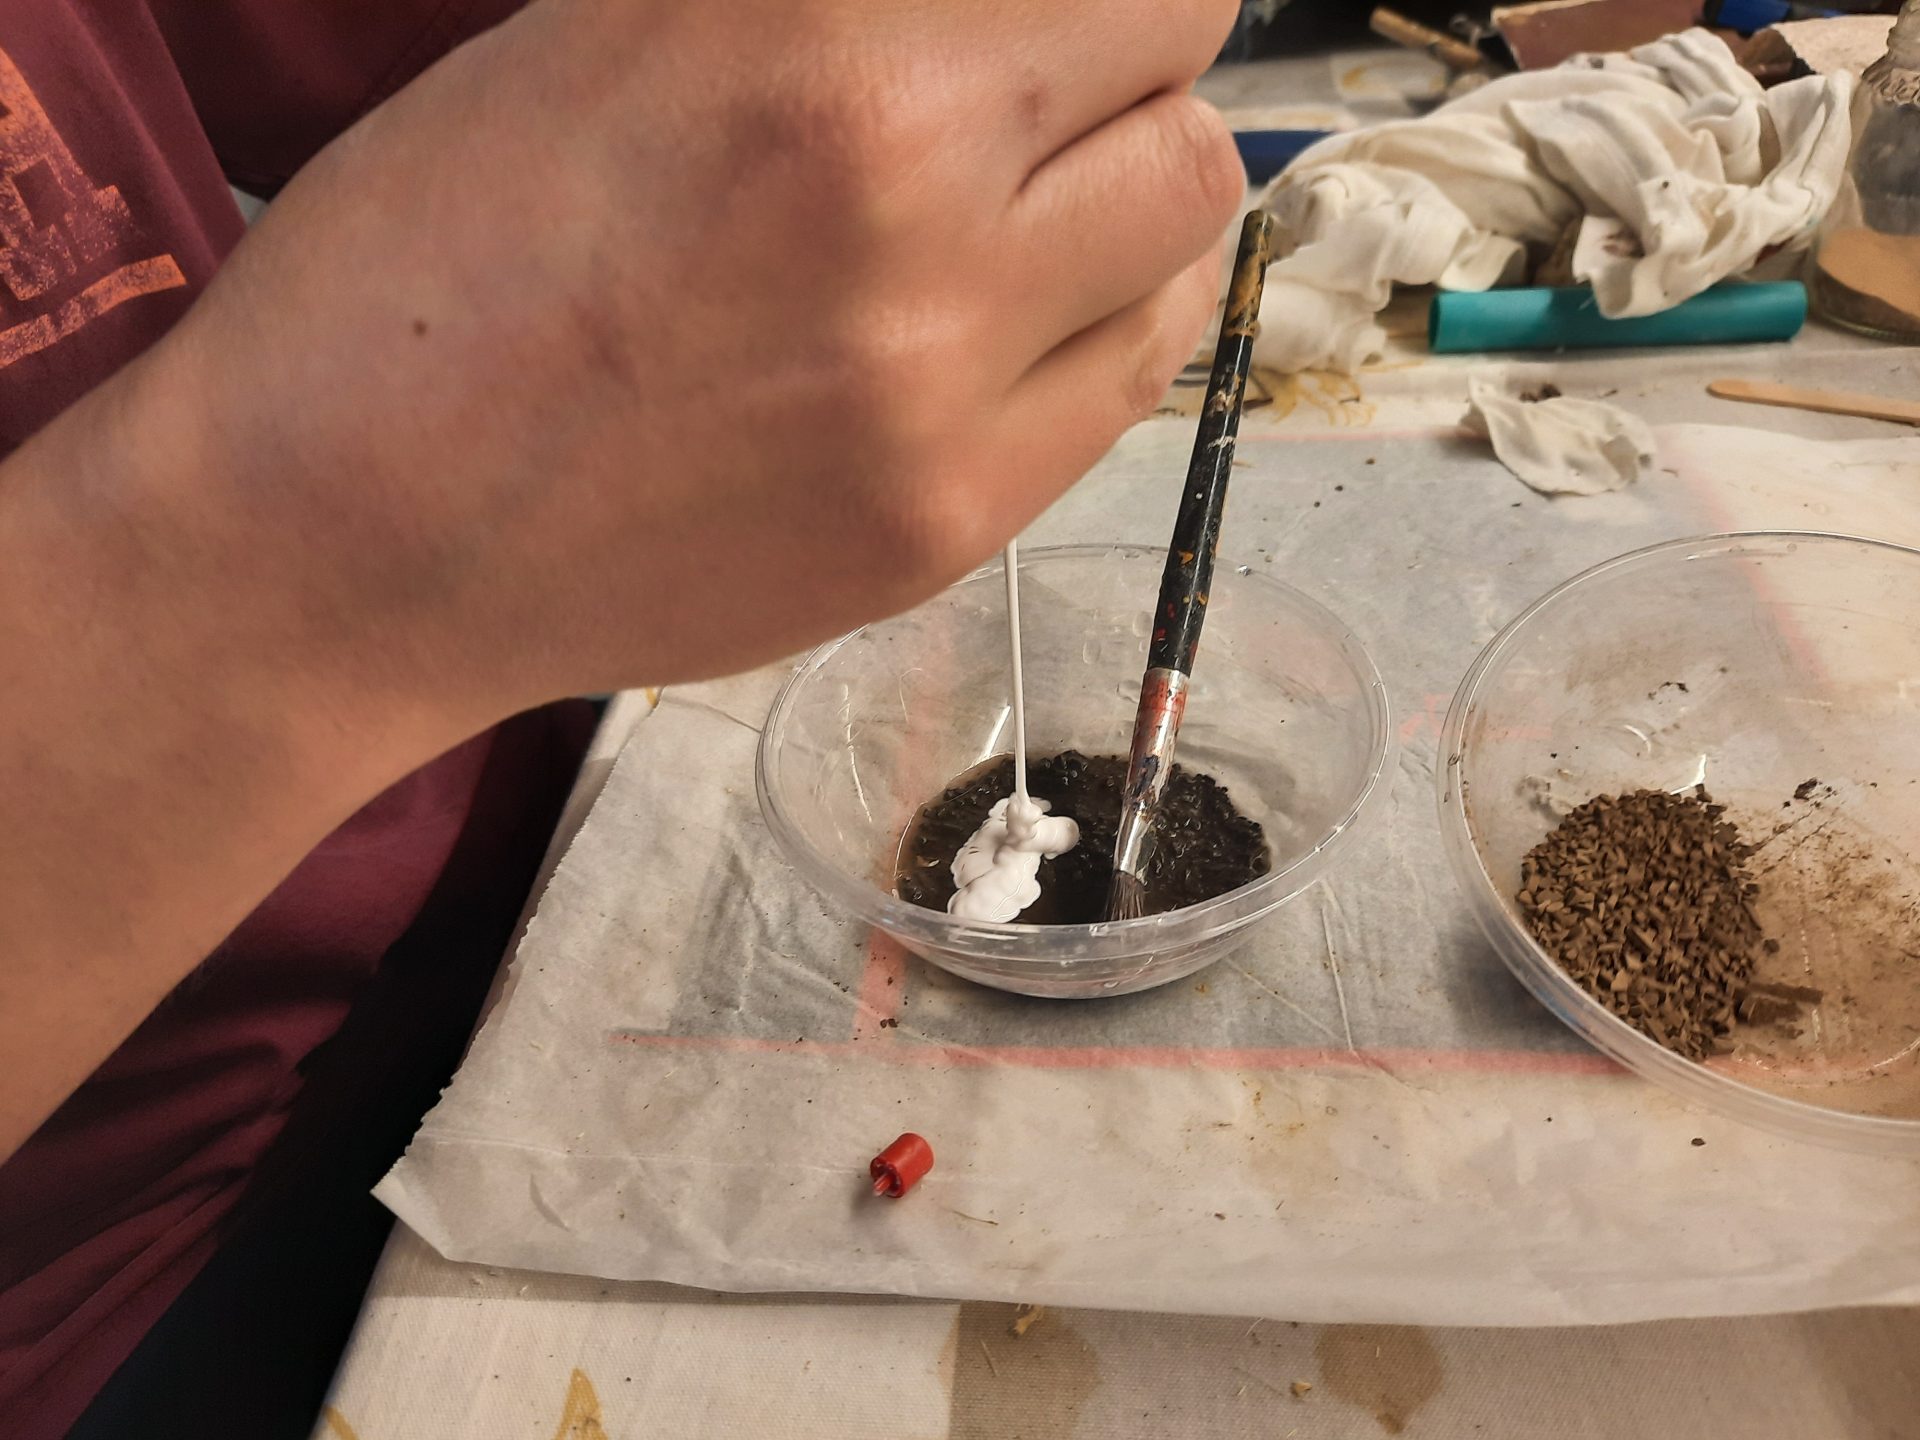
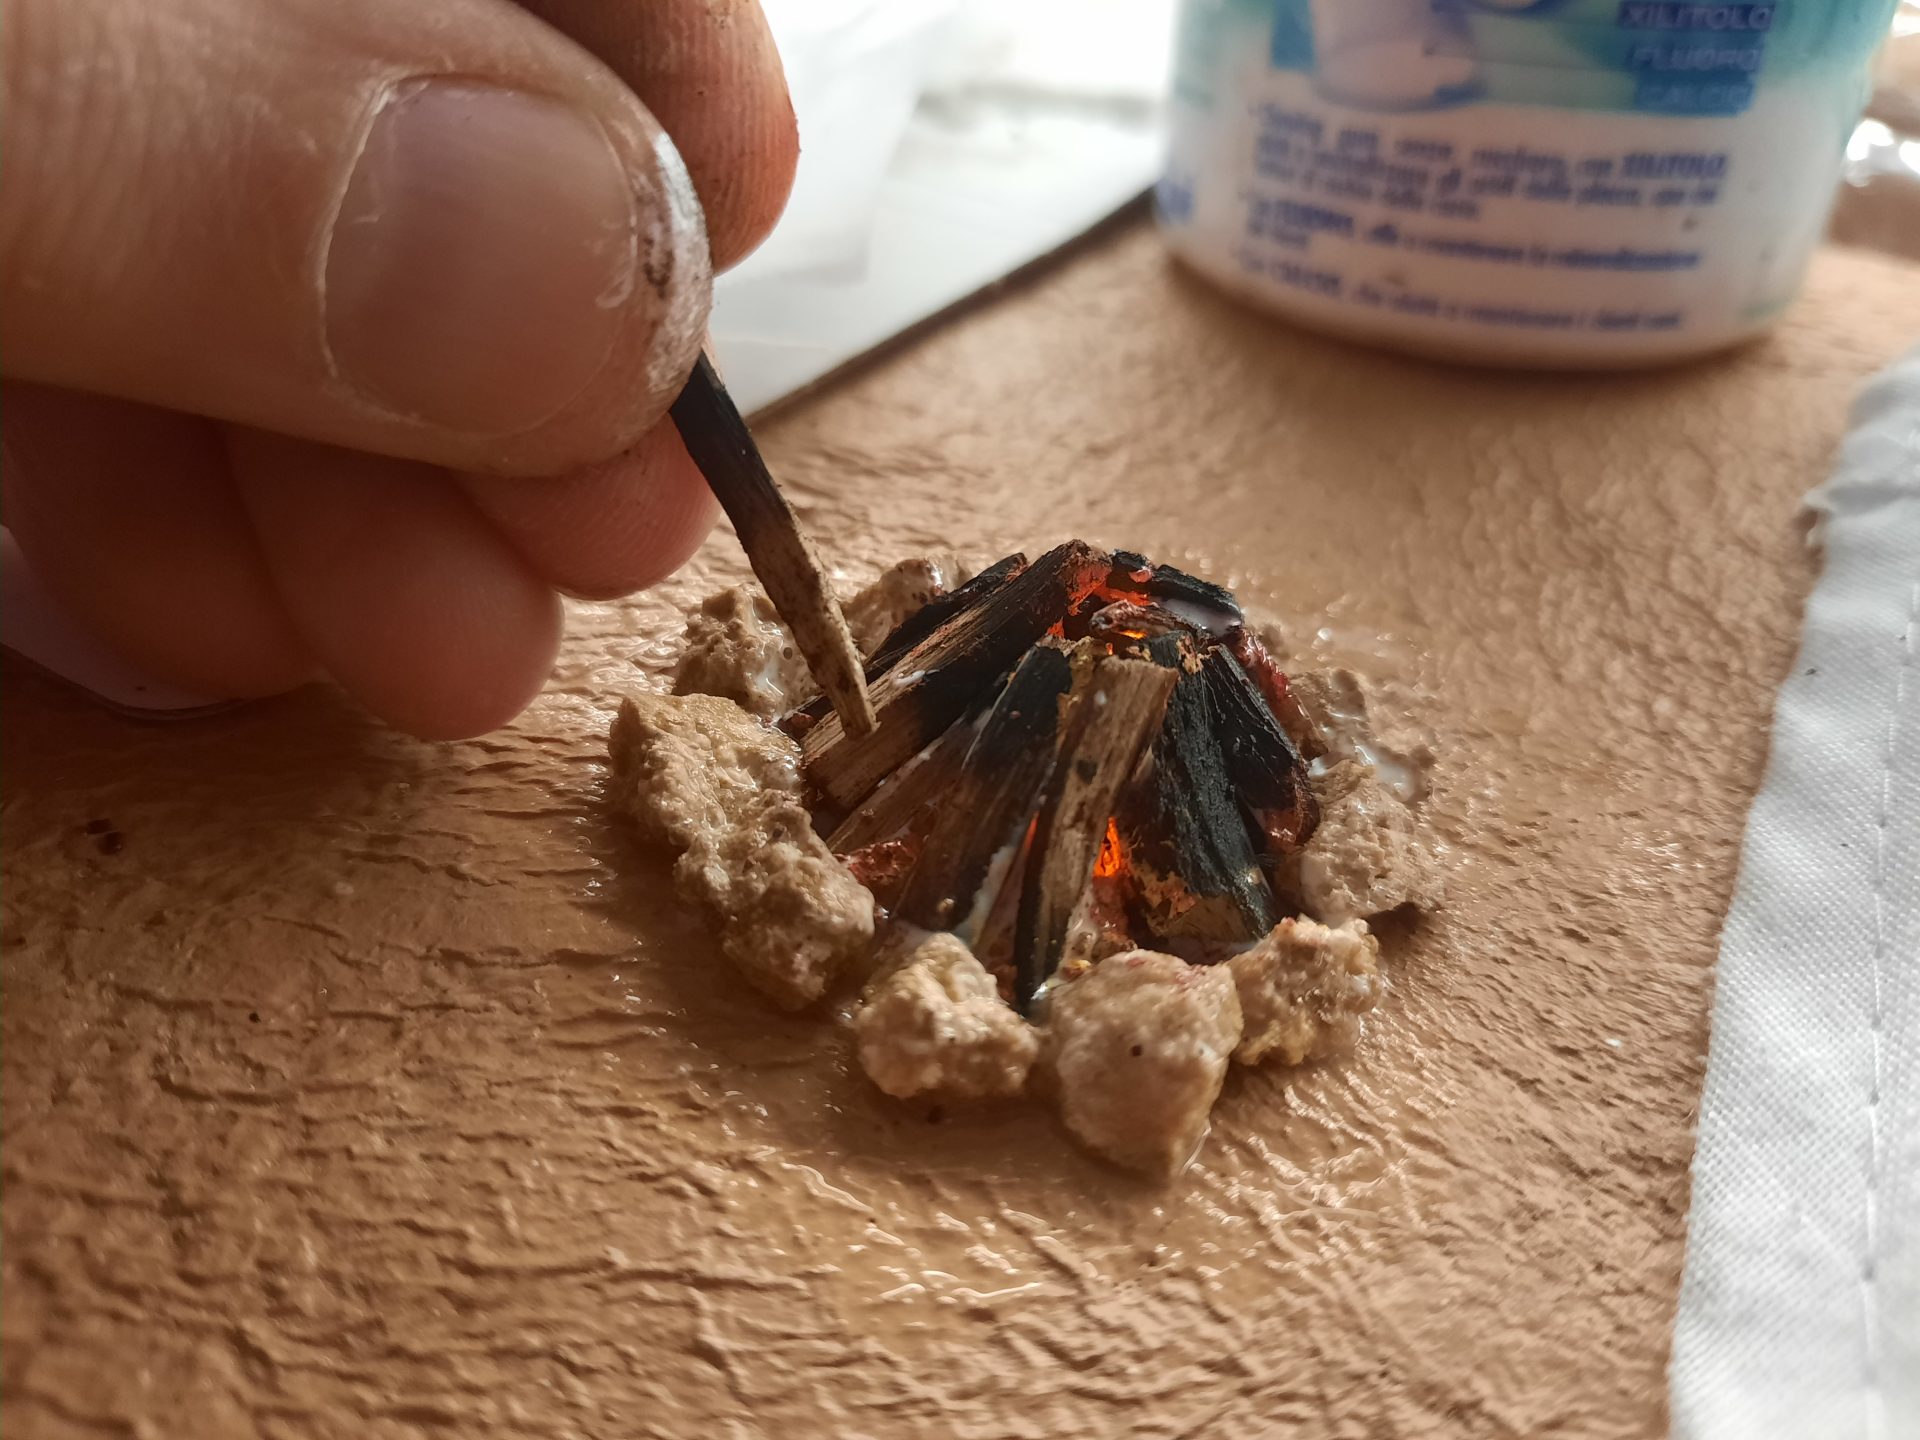
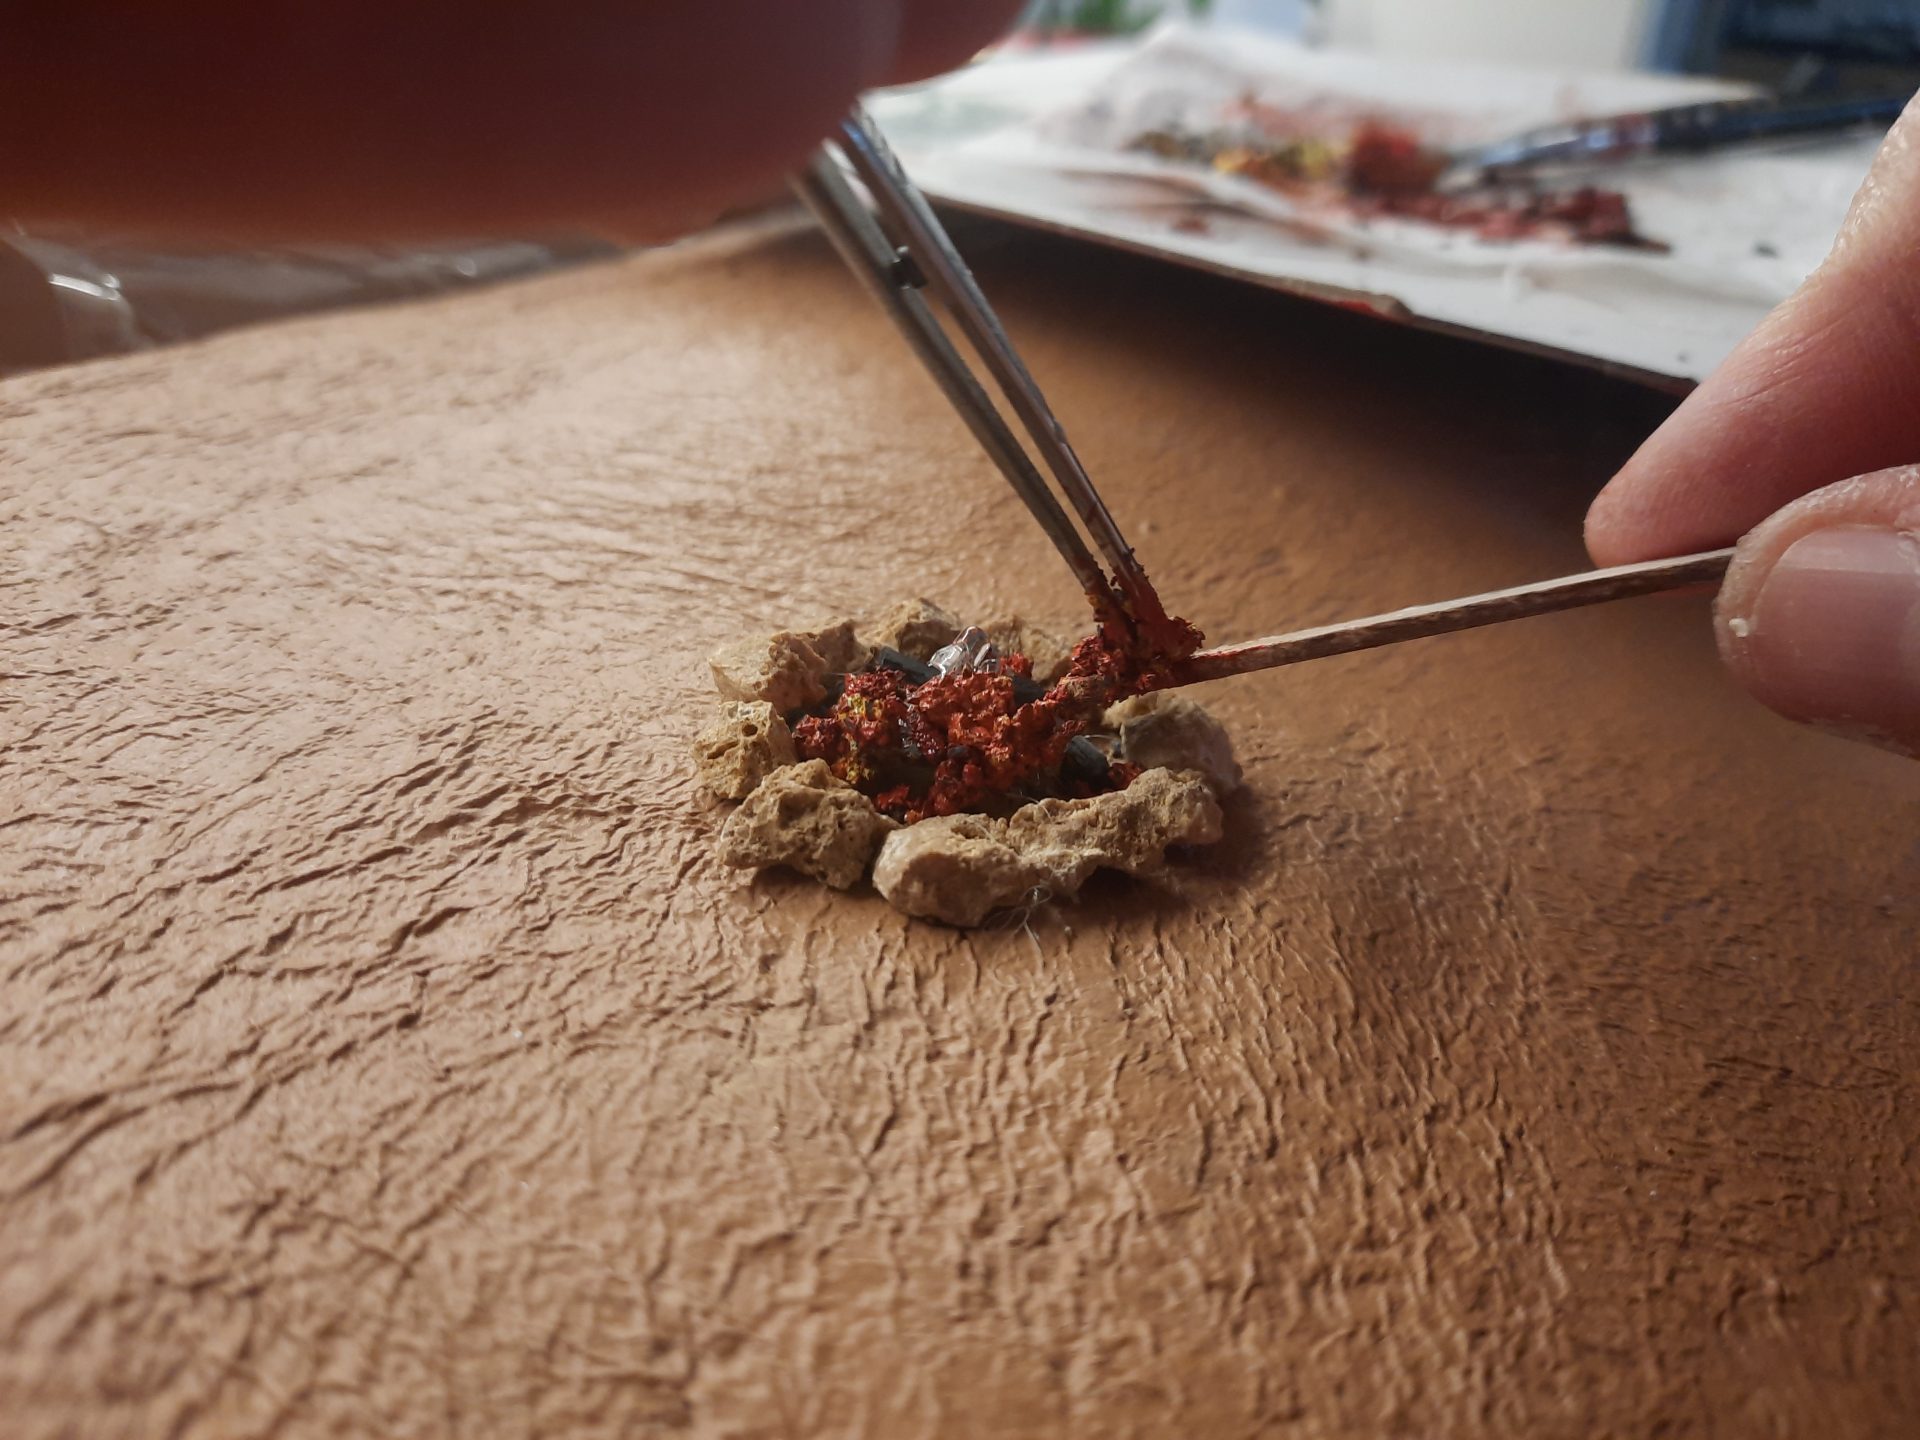
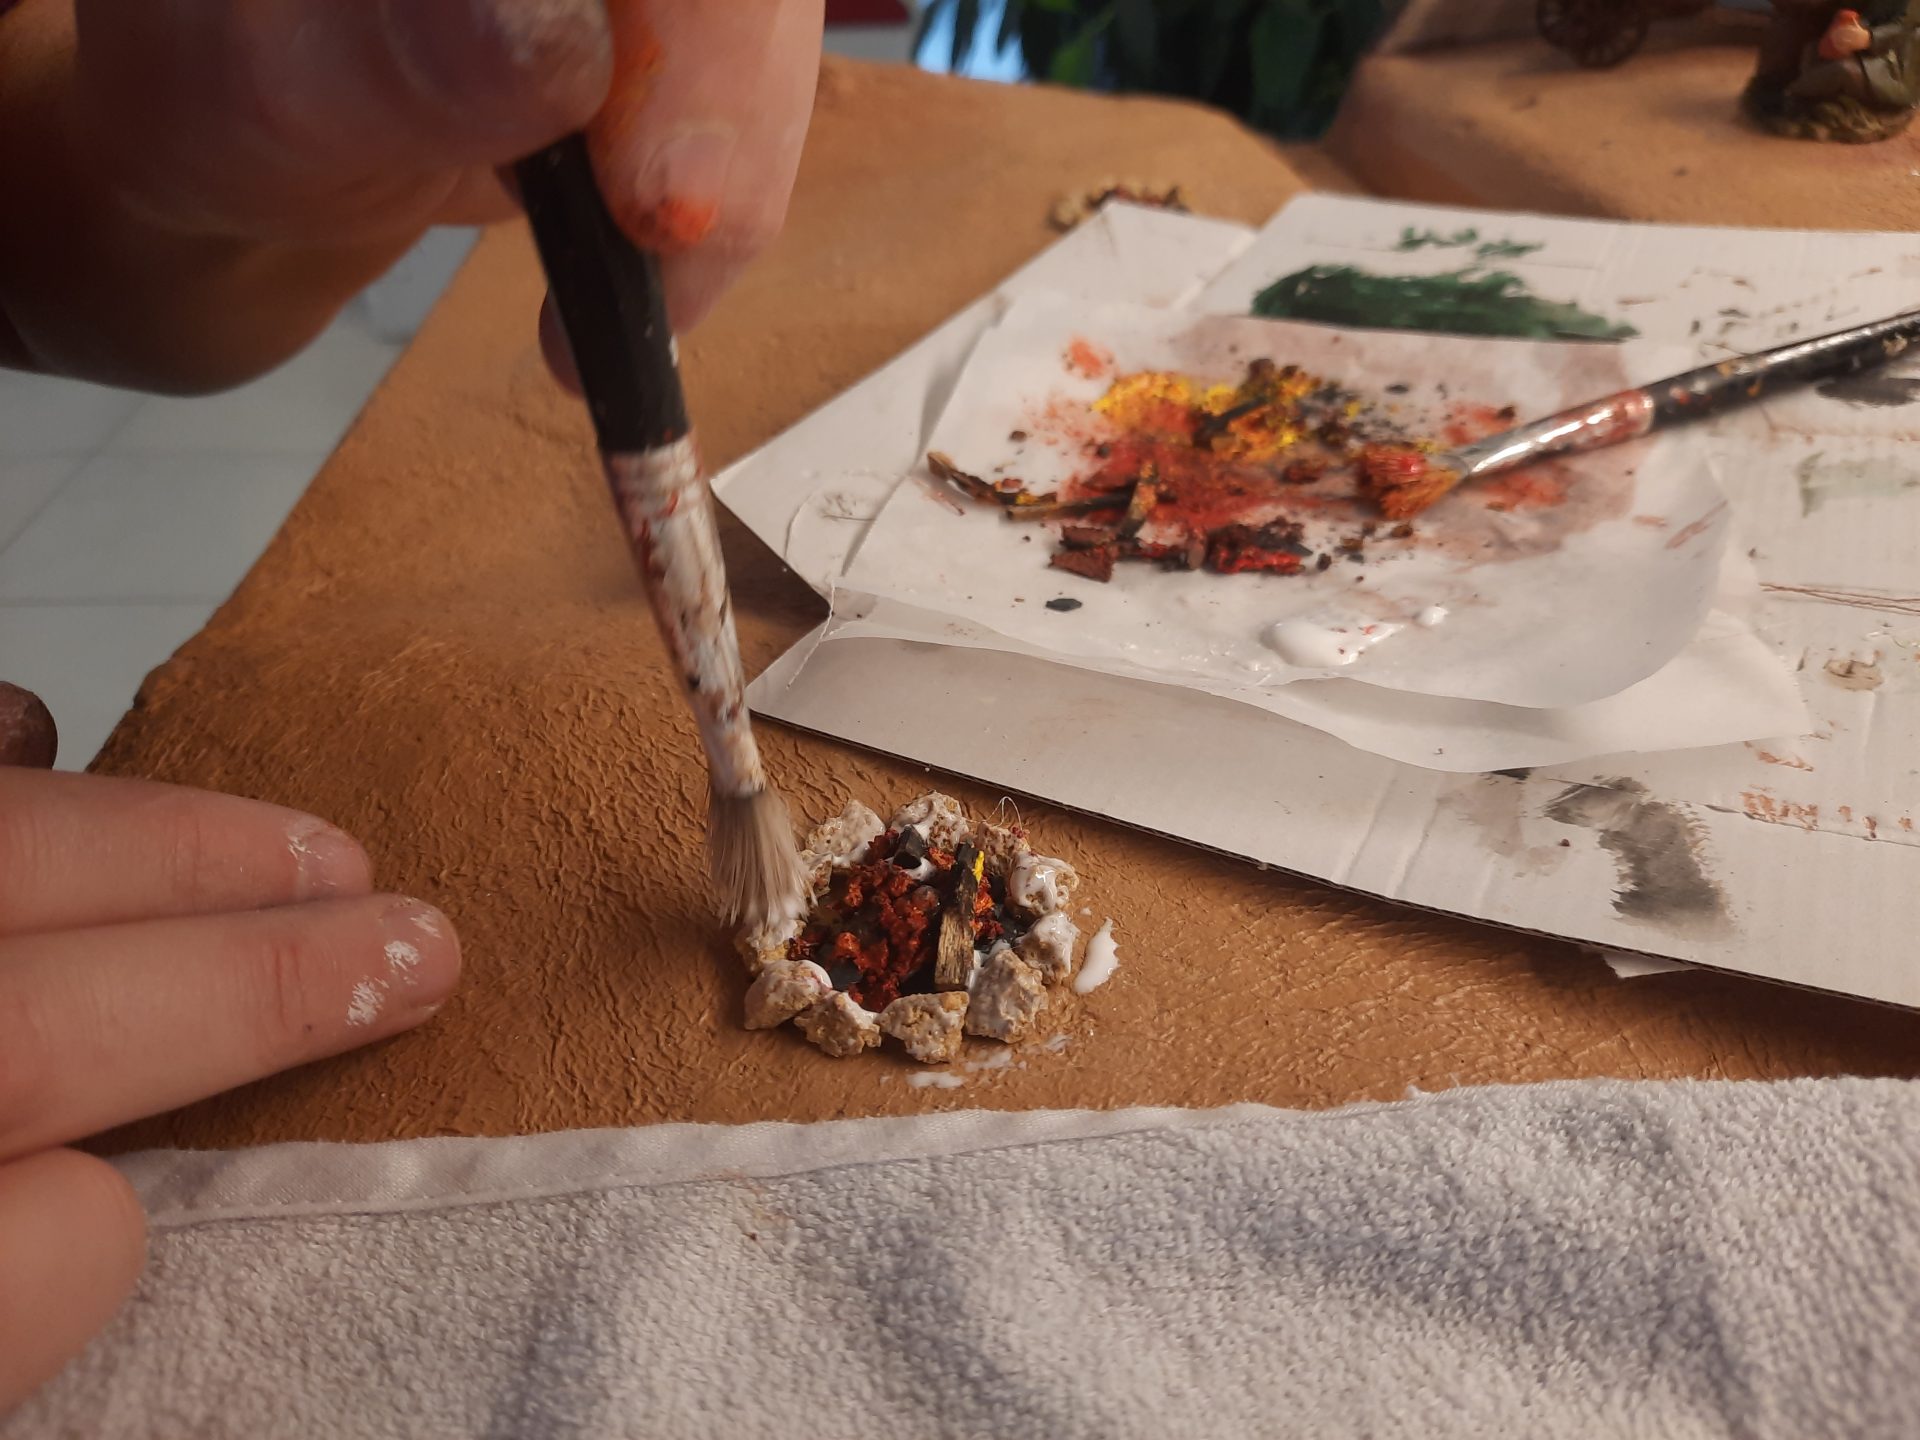
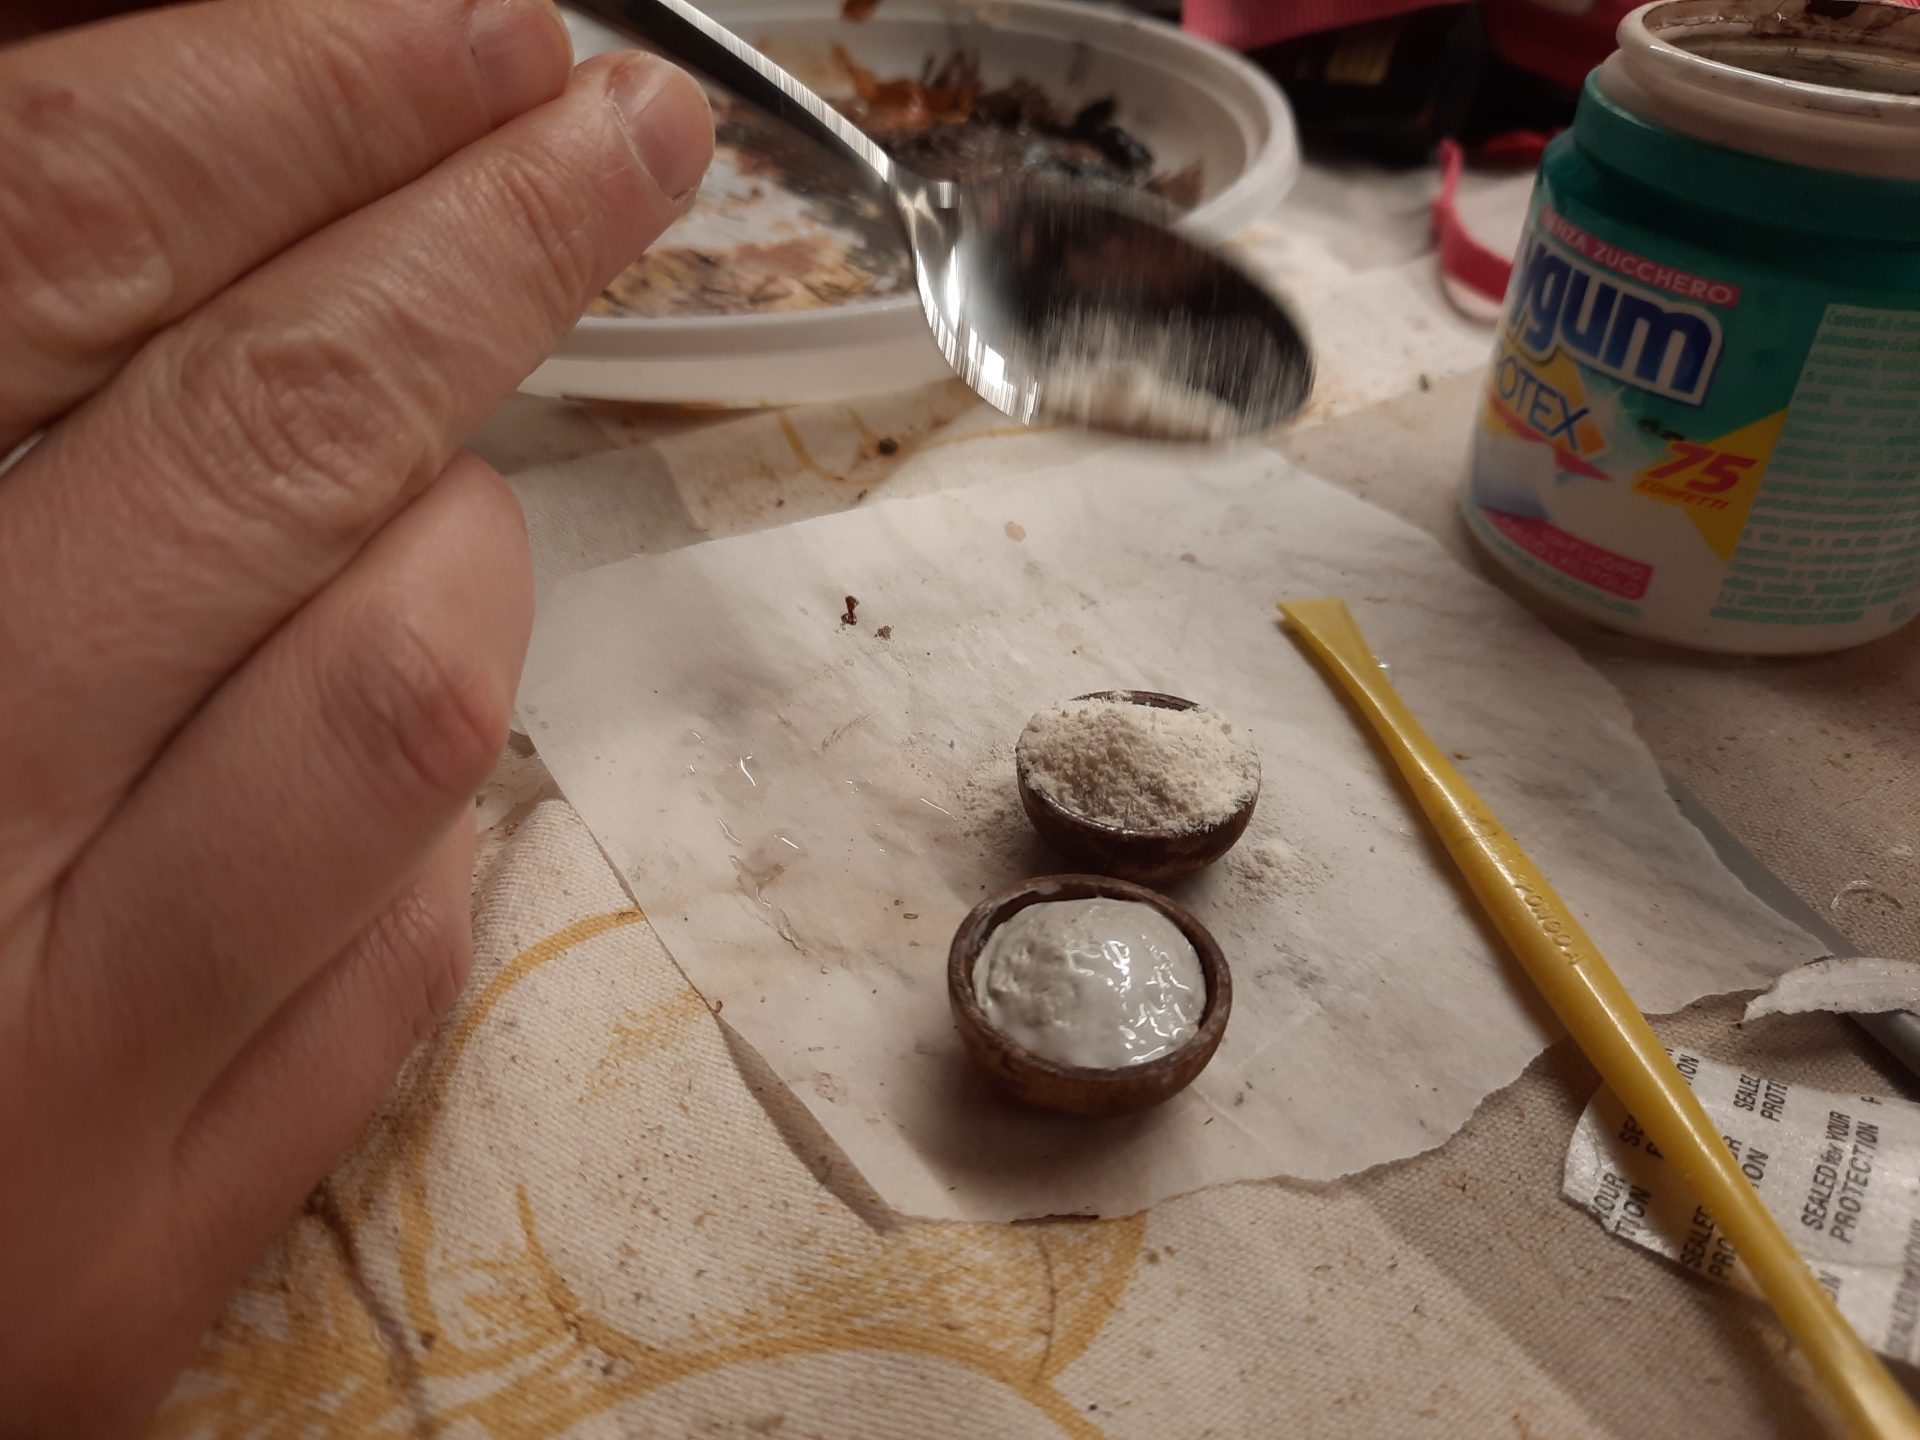
The same charred wood was used to create little bonfires scattered on the desert dunes, each encircled with real stones to mark the fire pit. To finish, he sprinkled ashes made from crushed tile leftovers, painted and blended until they looked perfectly natural. The result was a set of fires that seemed to smolder gently in the night, radiating quiet warmth.


Taking care of homes and workshops
The sculptor's canopy


Next, we turned our attention to the balcony above the porch.
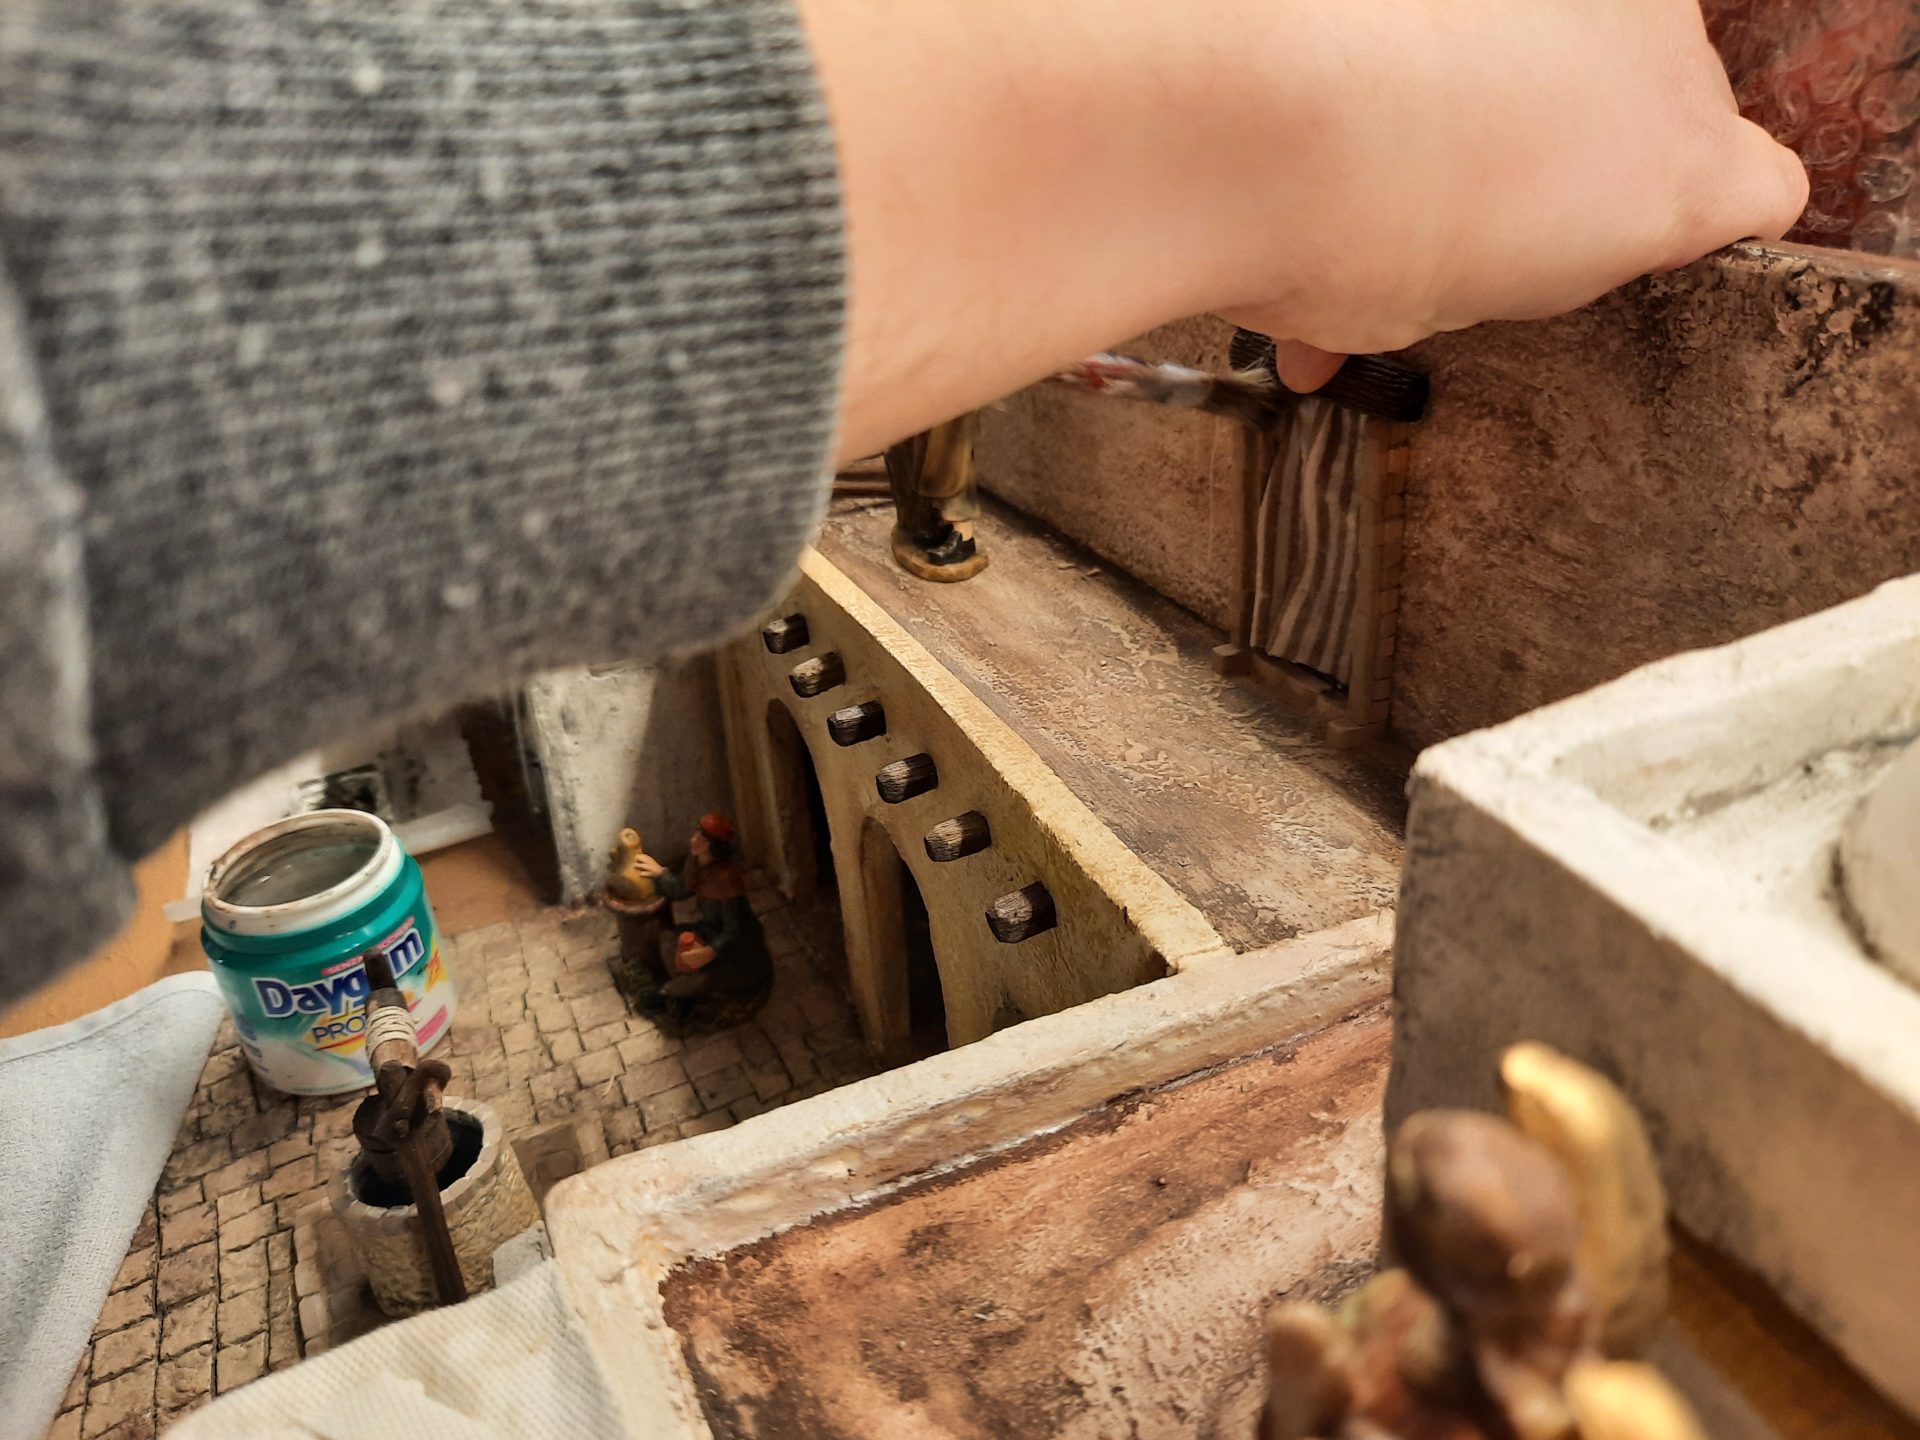
To the doorway I had built earlier, we added a striped fabric curtain, giving the illusion of a lived-in home just beyond.
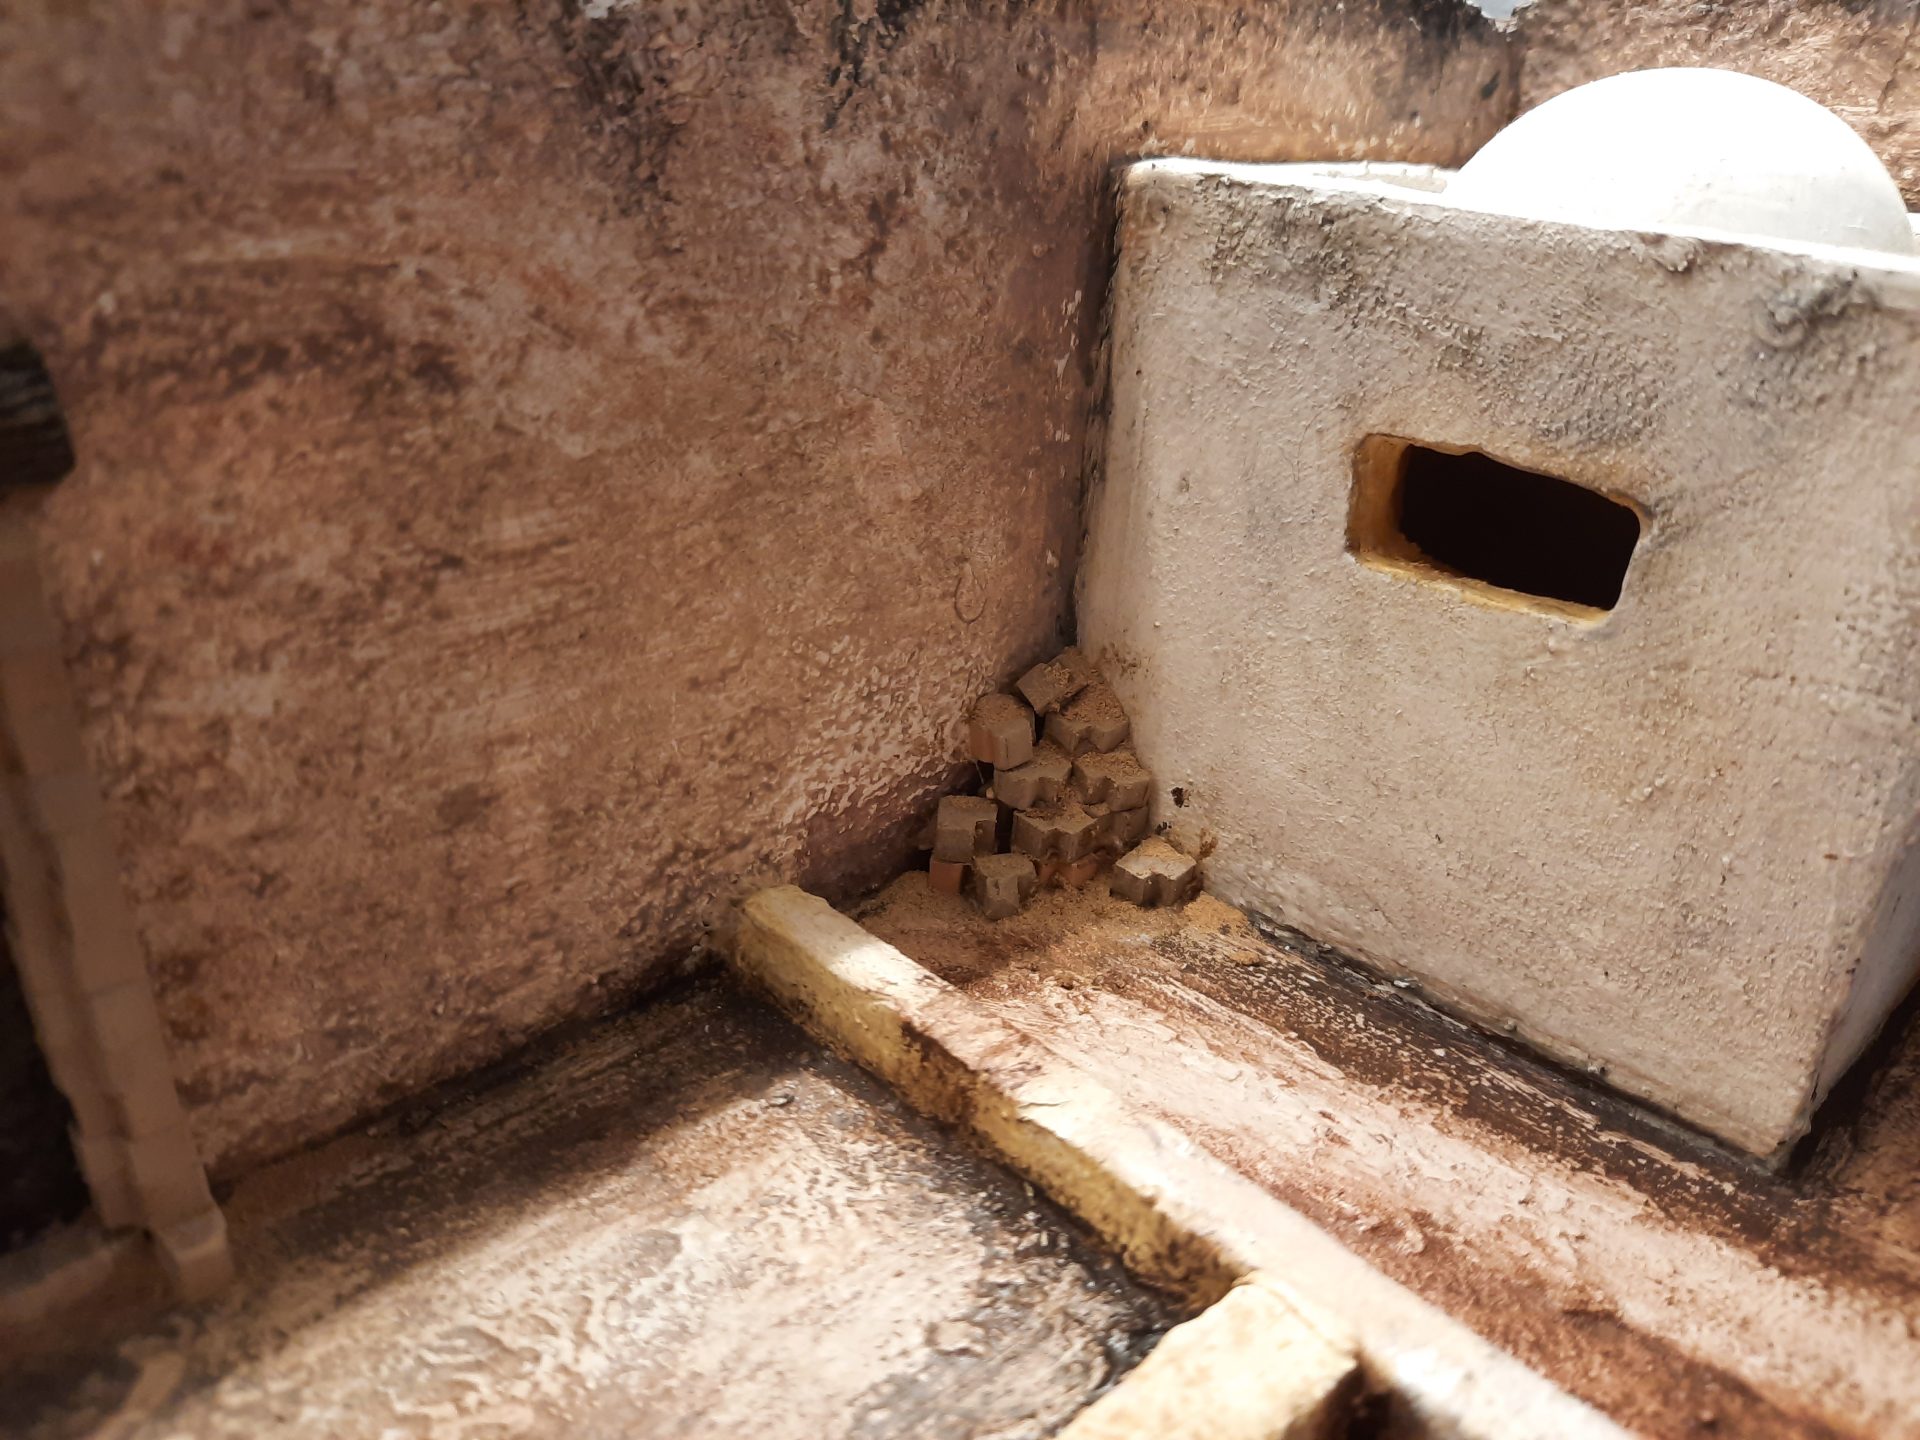
In the corner near the dome on the left, we piled a handful of brick leftovers, as the remnants of some imagined repair work, casually forgotten there or left for more later work.
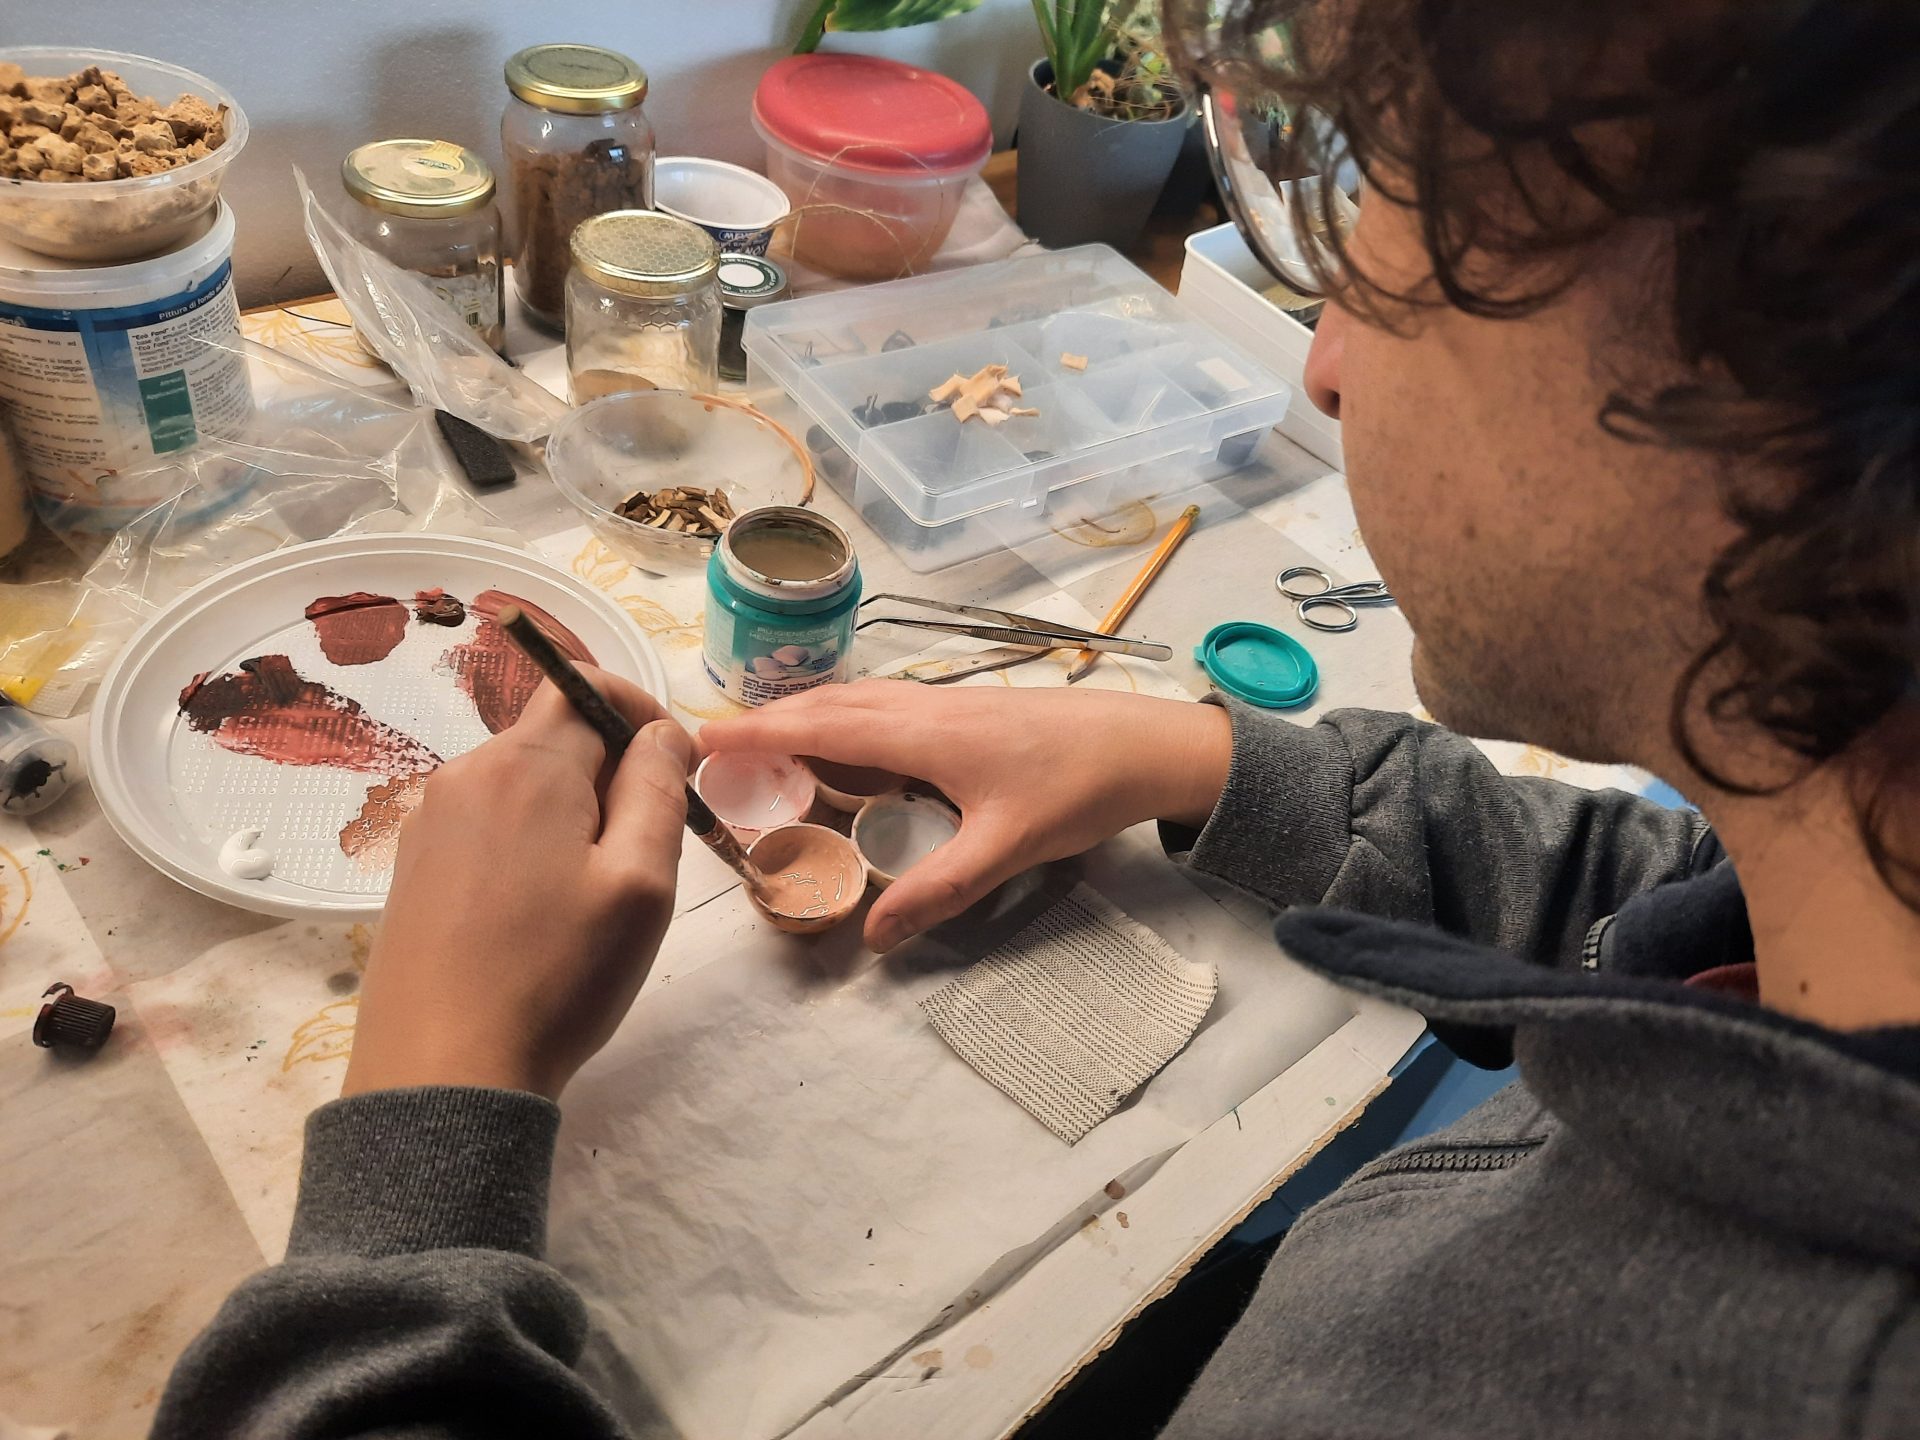
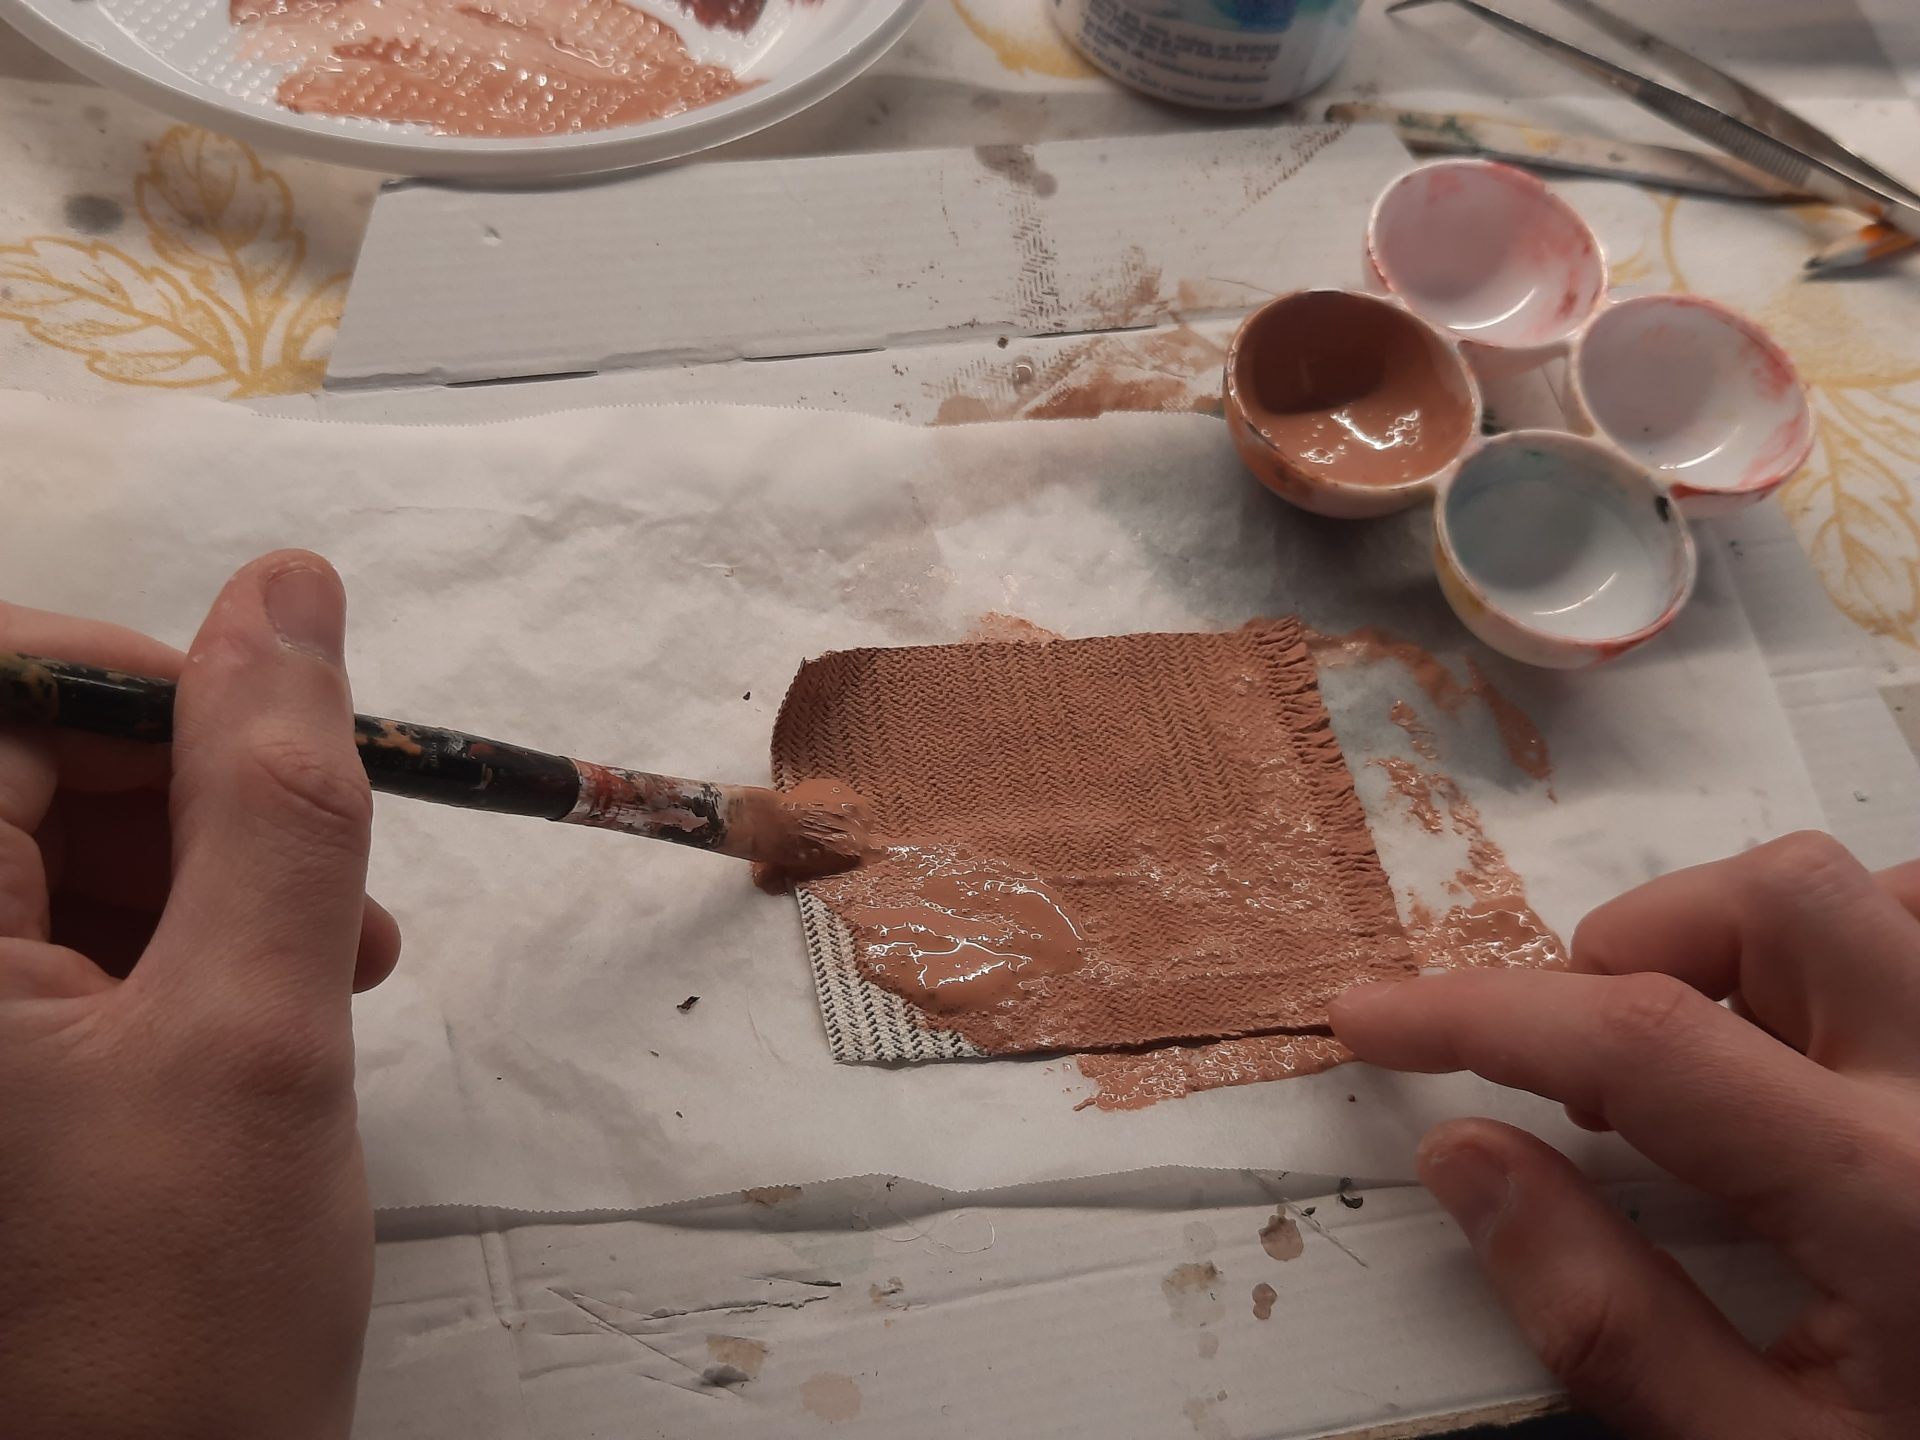
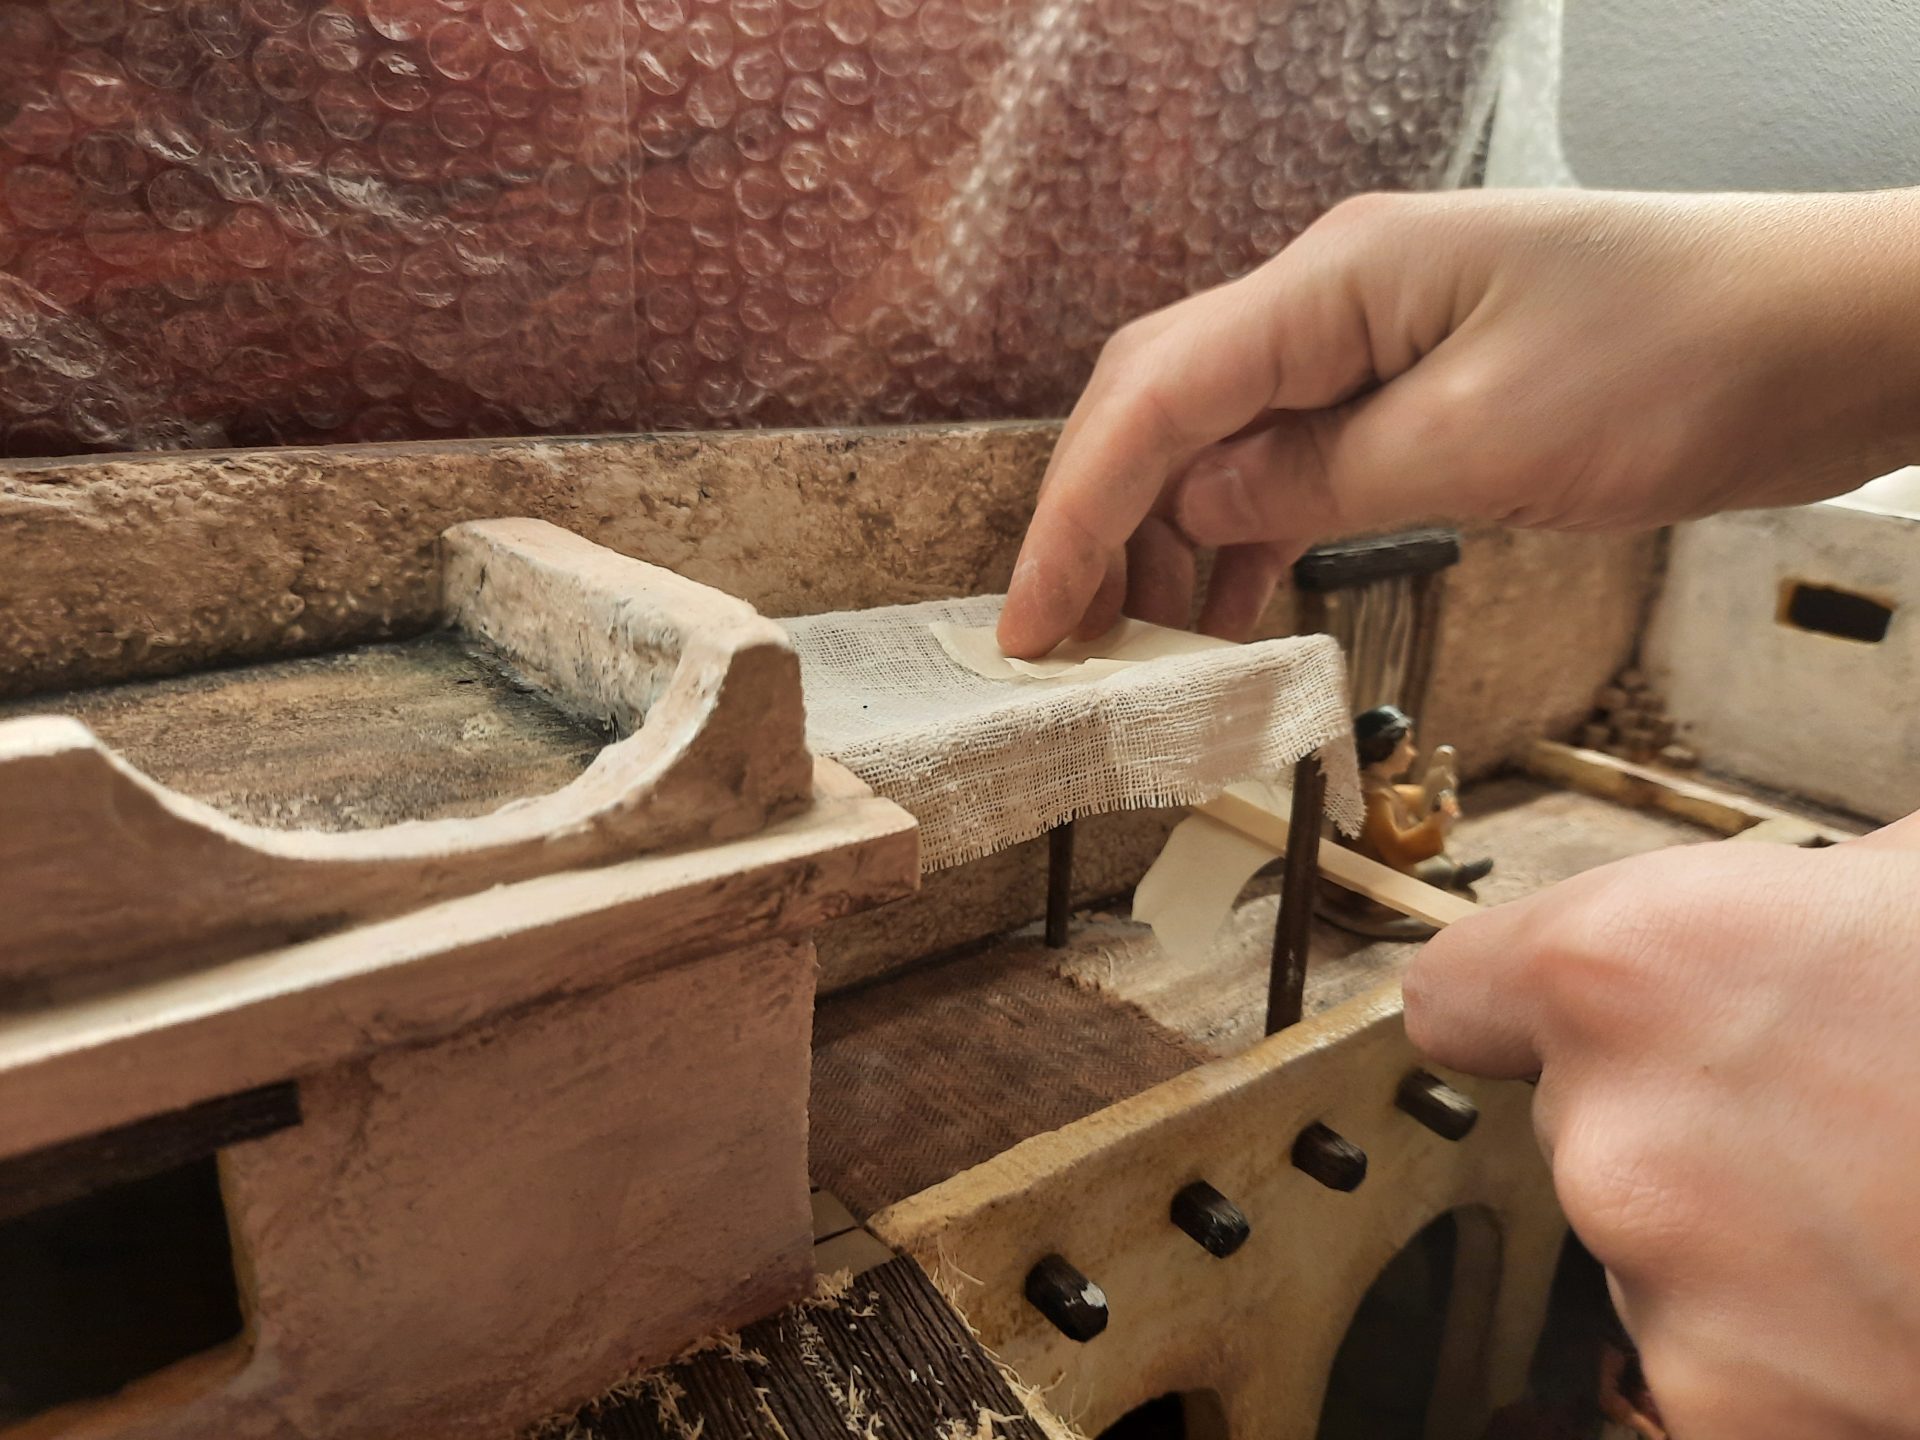
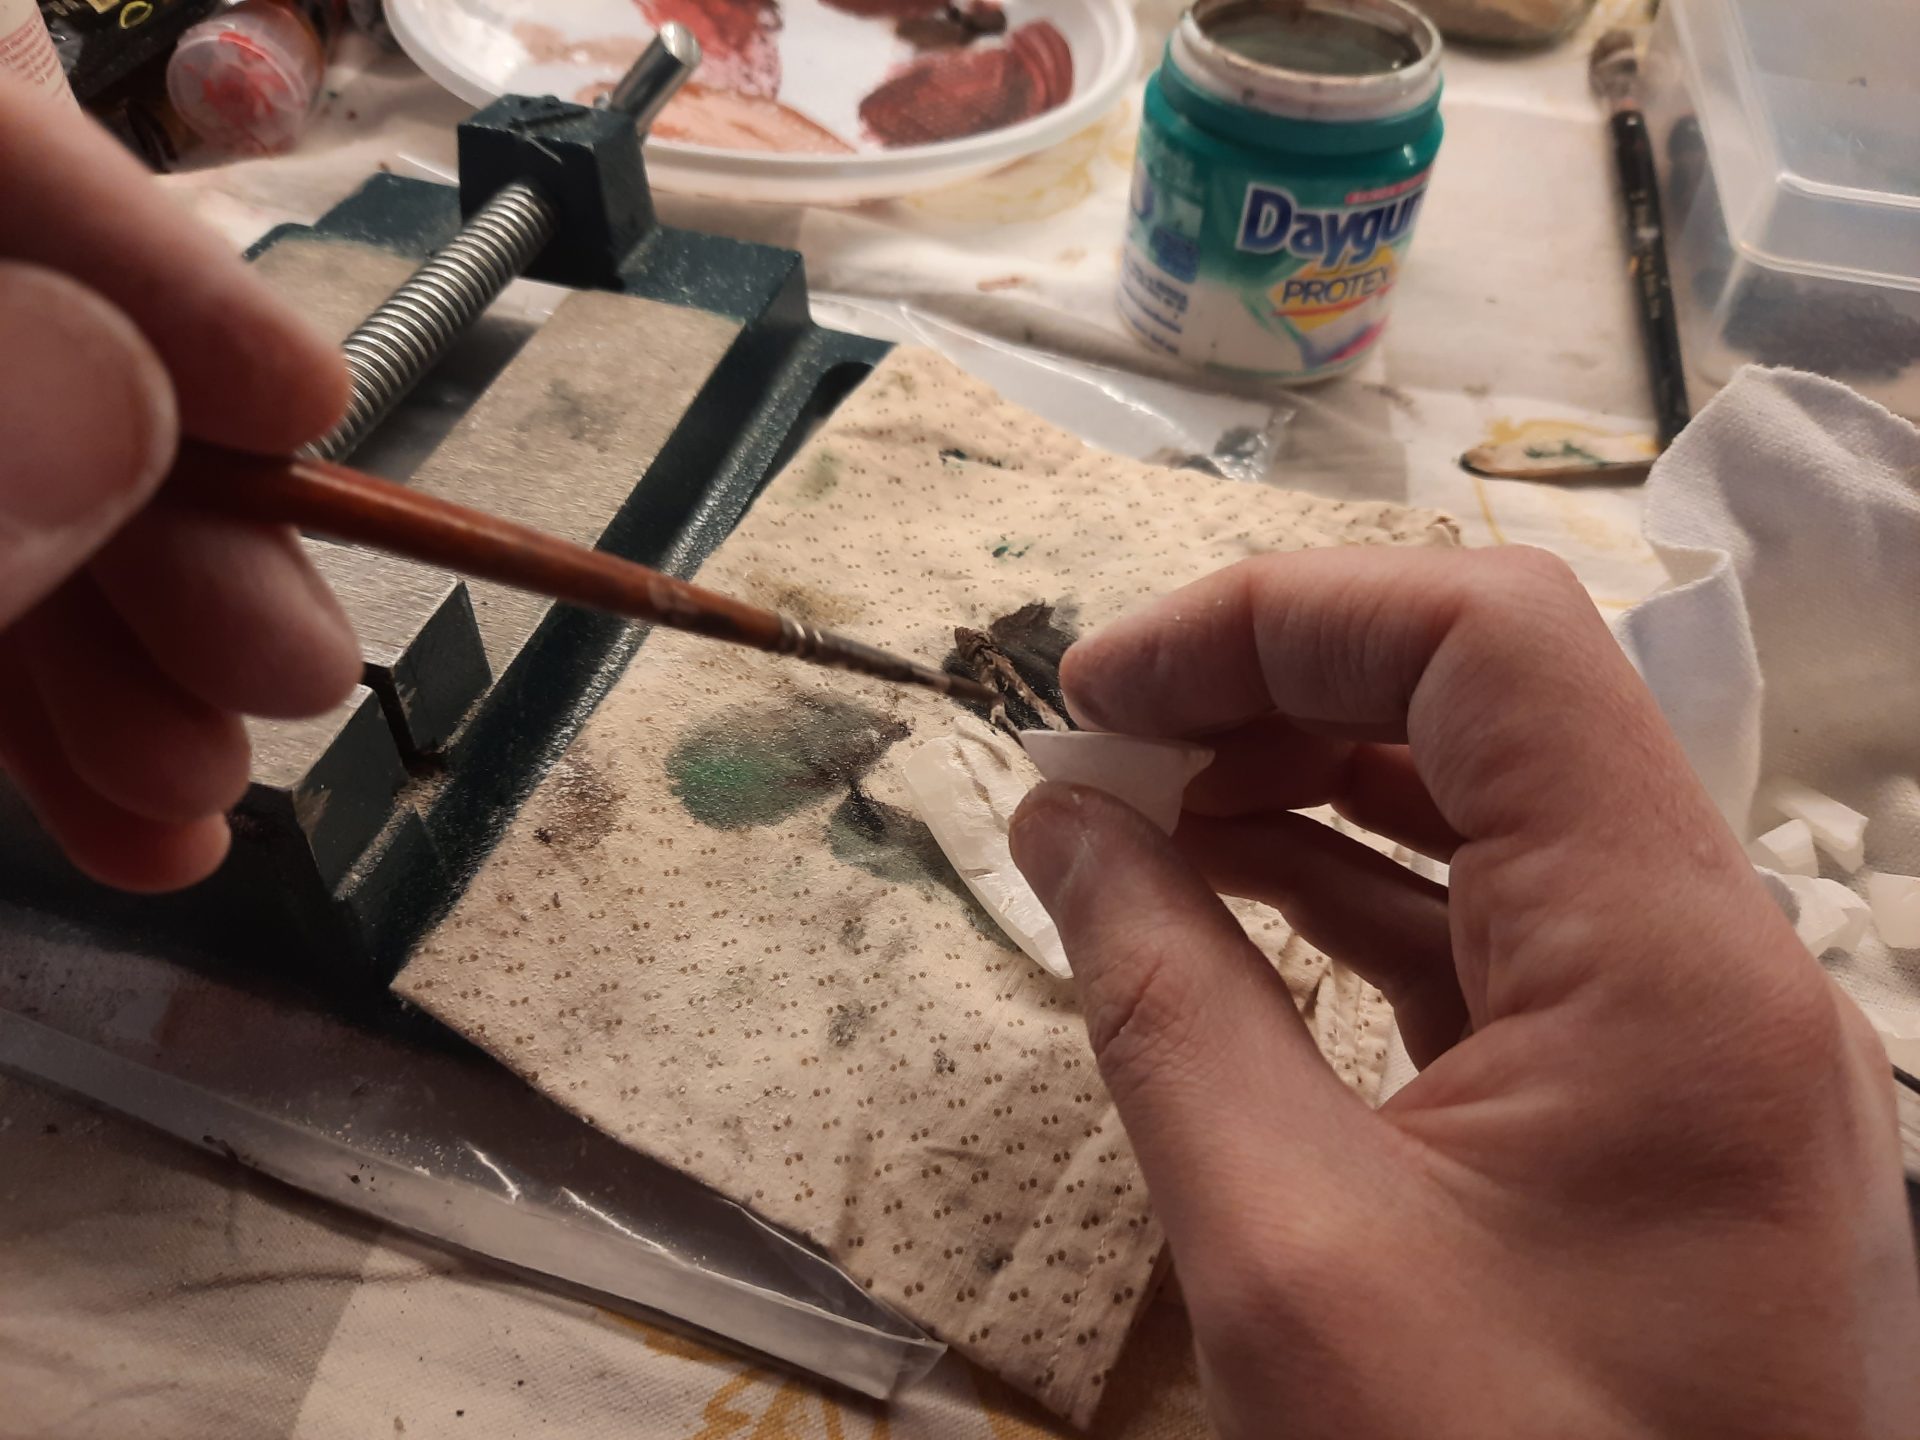
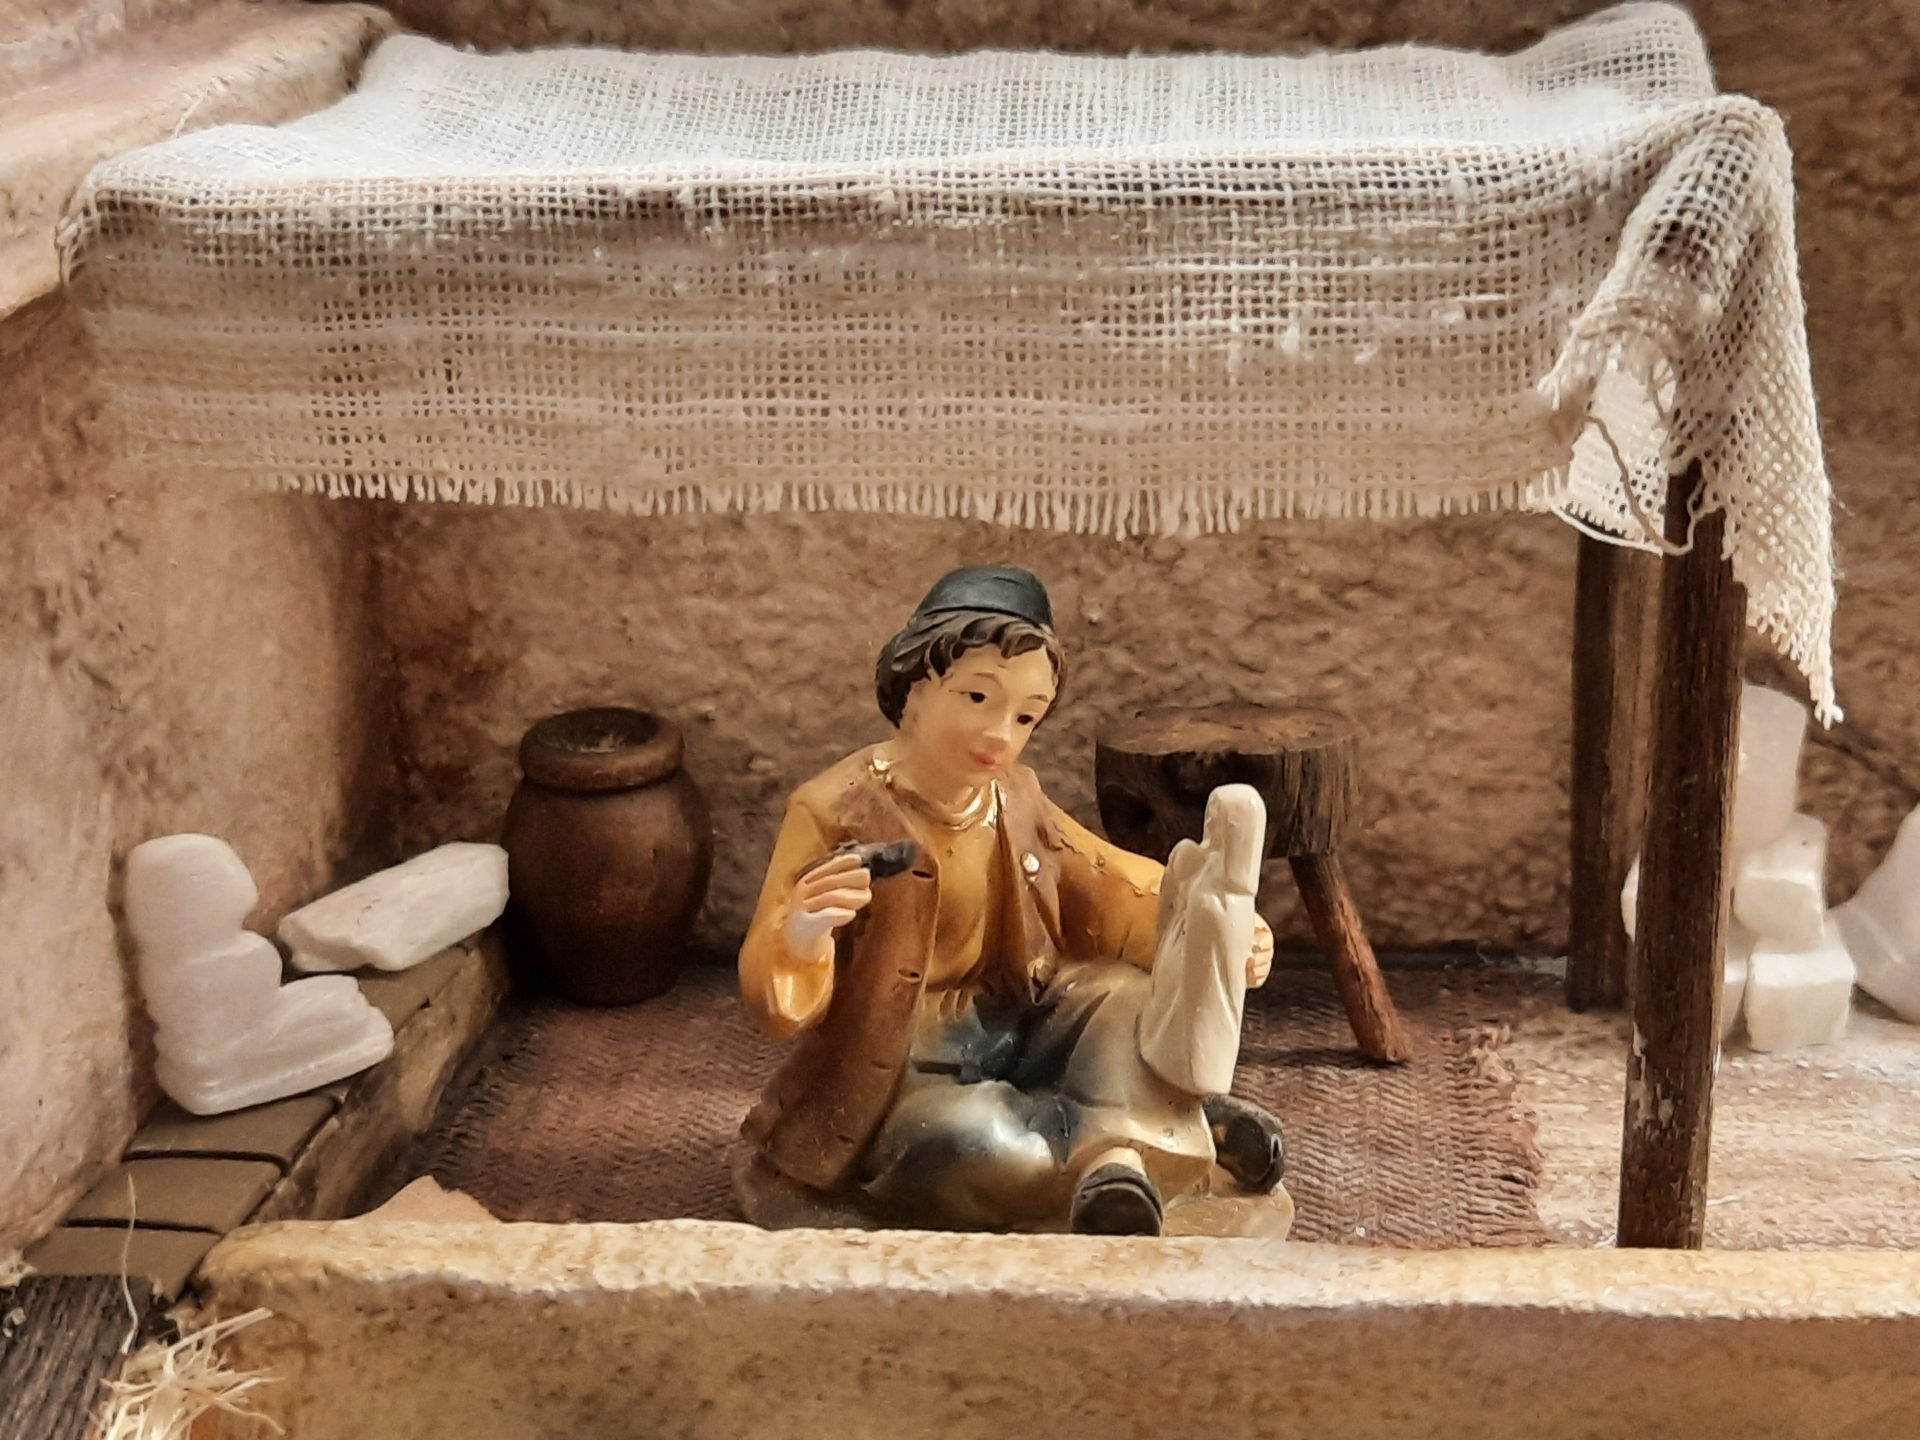
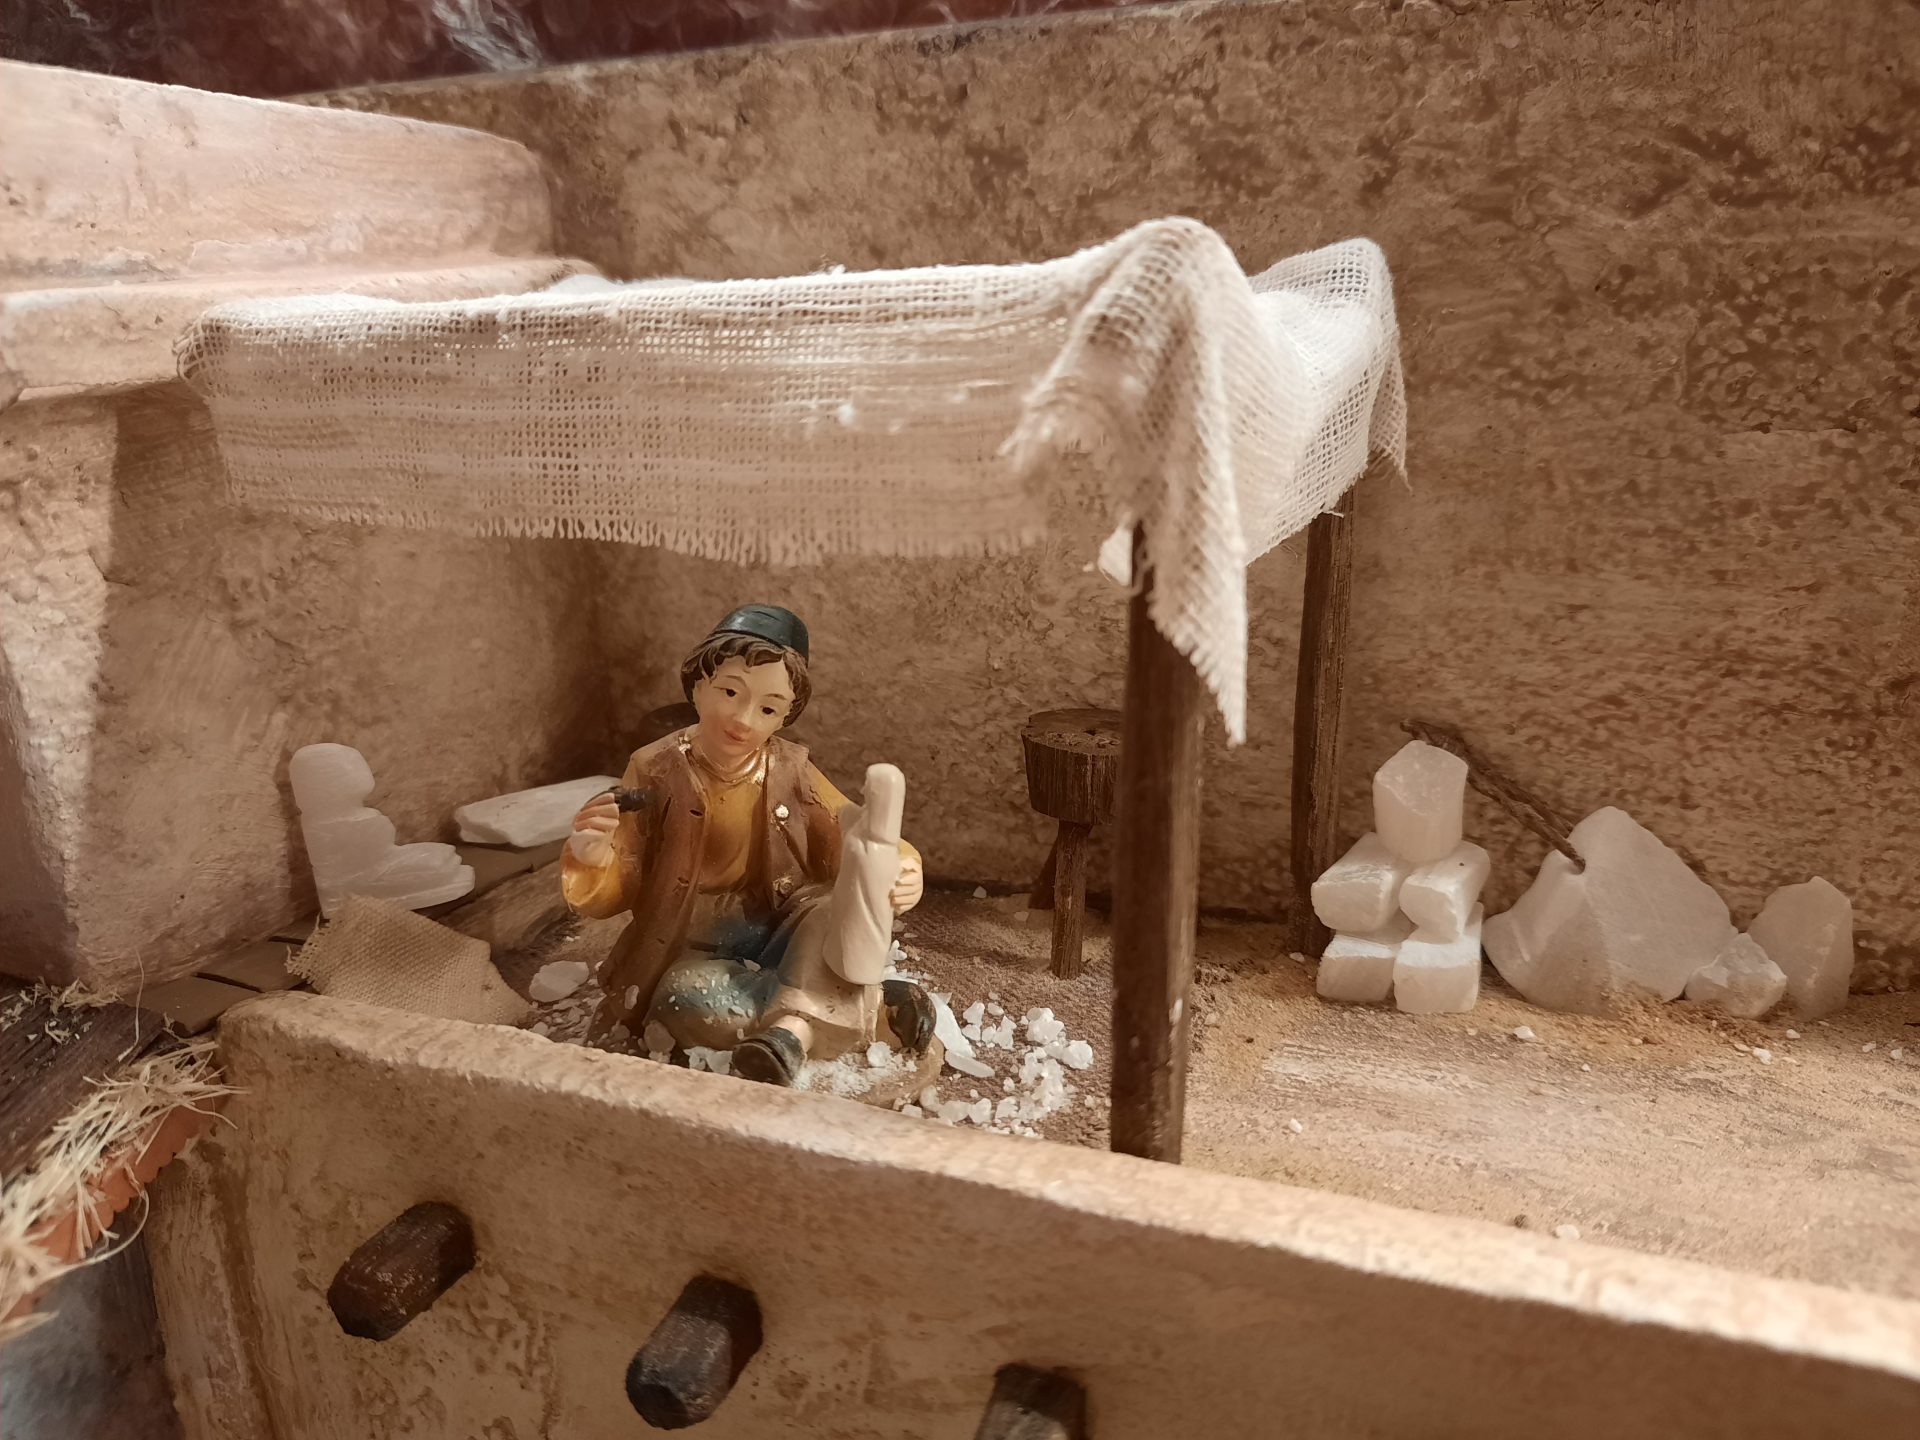
On the right of the doorway, my husband constructed a small wooden frame, designed to hold a tent. I handed him a piece of lightweight, pale-colored fabric, which he stretched across the structure to form a canopy. To complete the space, he painted a heavy striped fabric in a warm reddish ochre, transforming it into a rug to lay beneath the canopy. This balcony was destined to become part of a sculptor’s workshop: we place here the statue of a young sculptor at work, surrounded by half-finished statues and raw stone to be used. Those materials were the real leftovers of sculptures: they were remnants of the alabaster sculptures my husband made before we met.
The kitchen
For sure my favorite space to bring to life was the kitchen, tucked into the ground floor of the leftmost building.
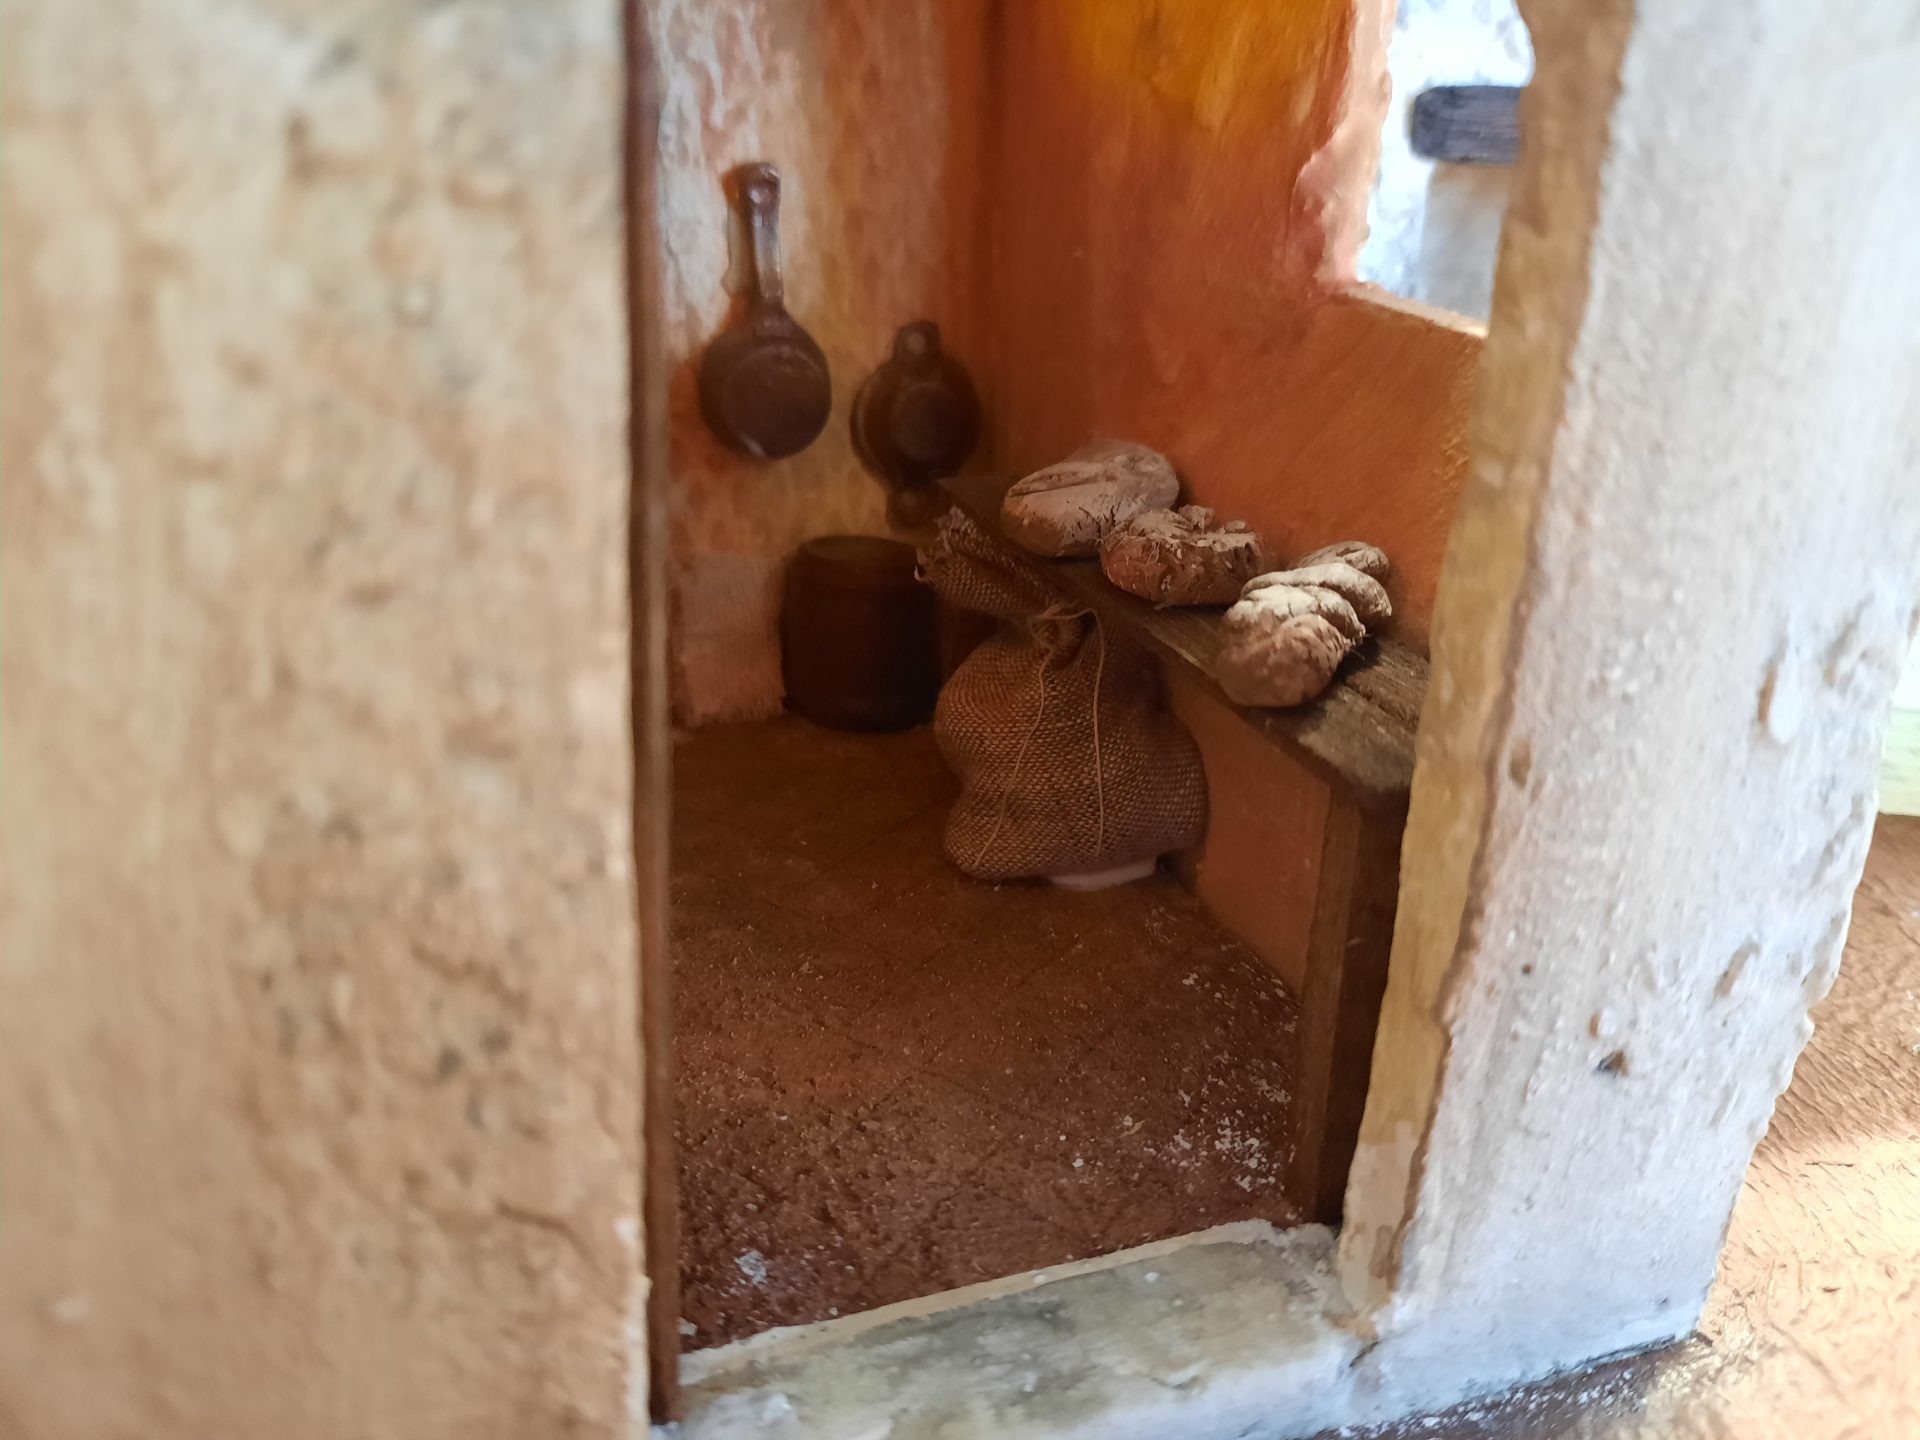
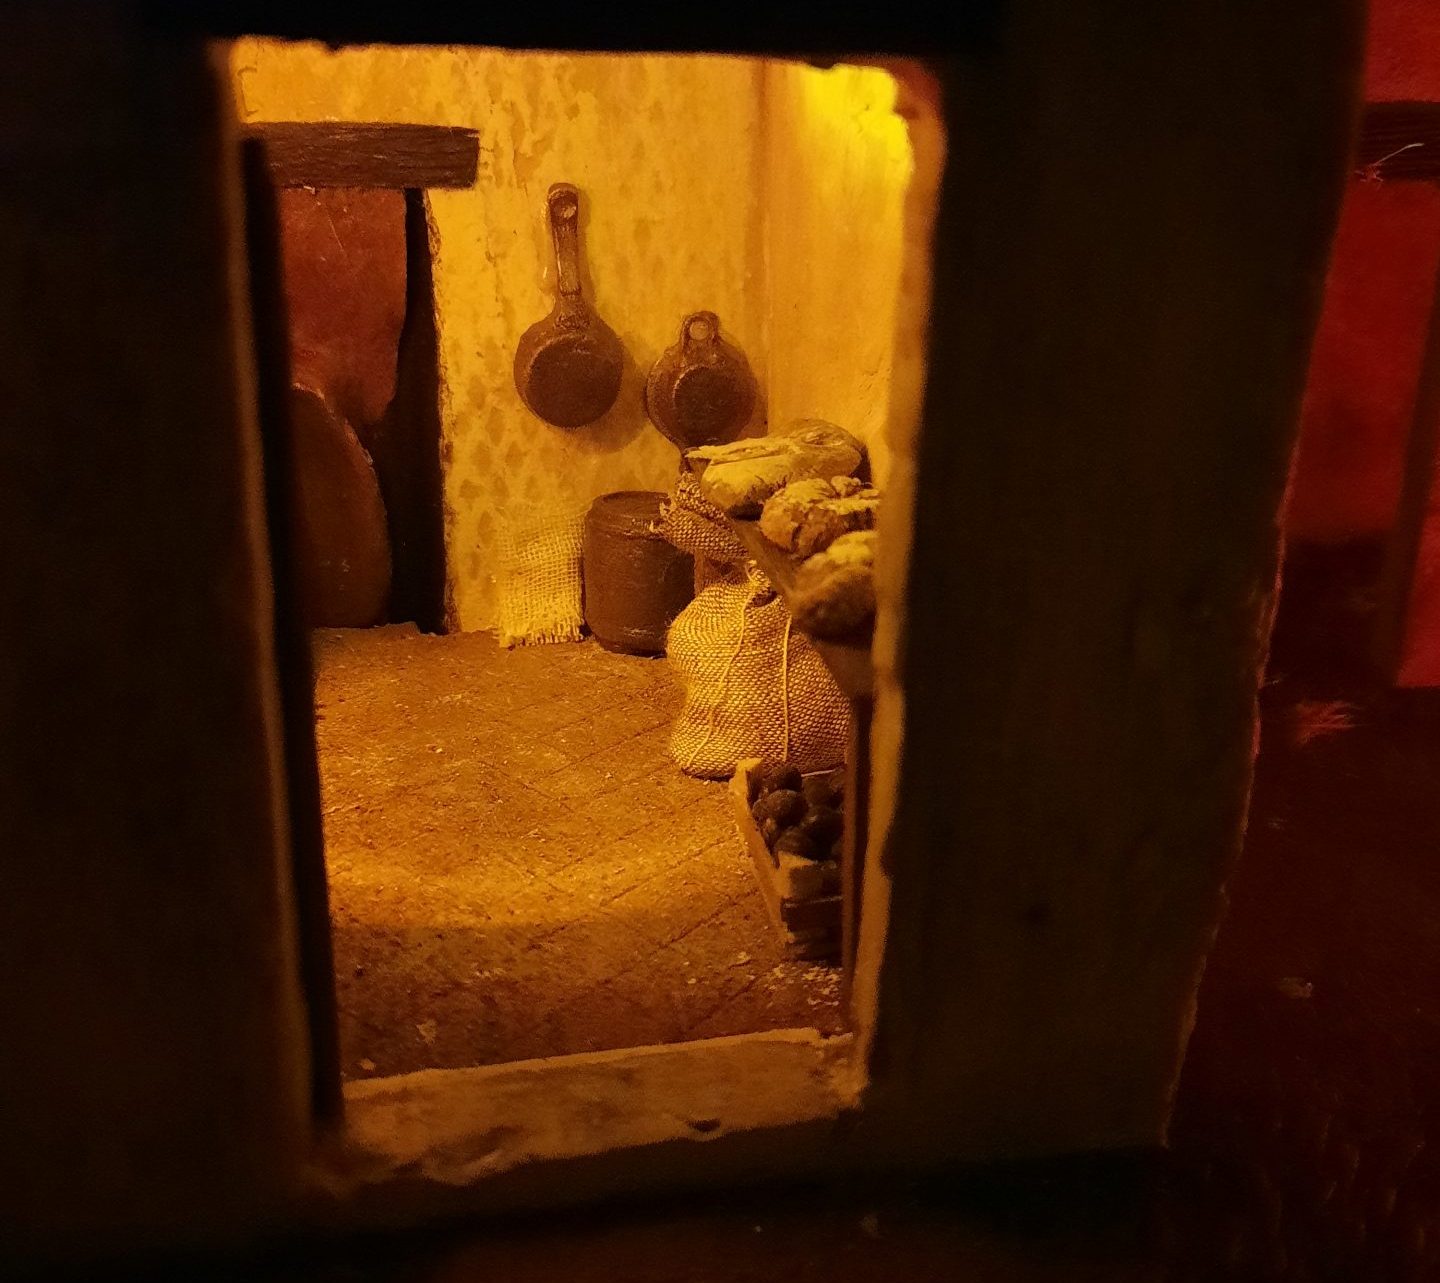
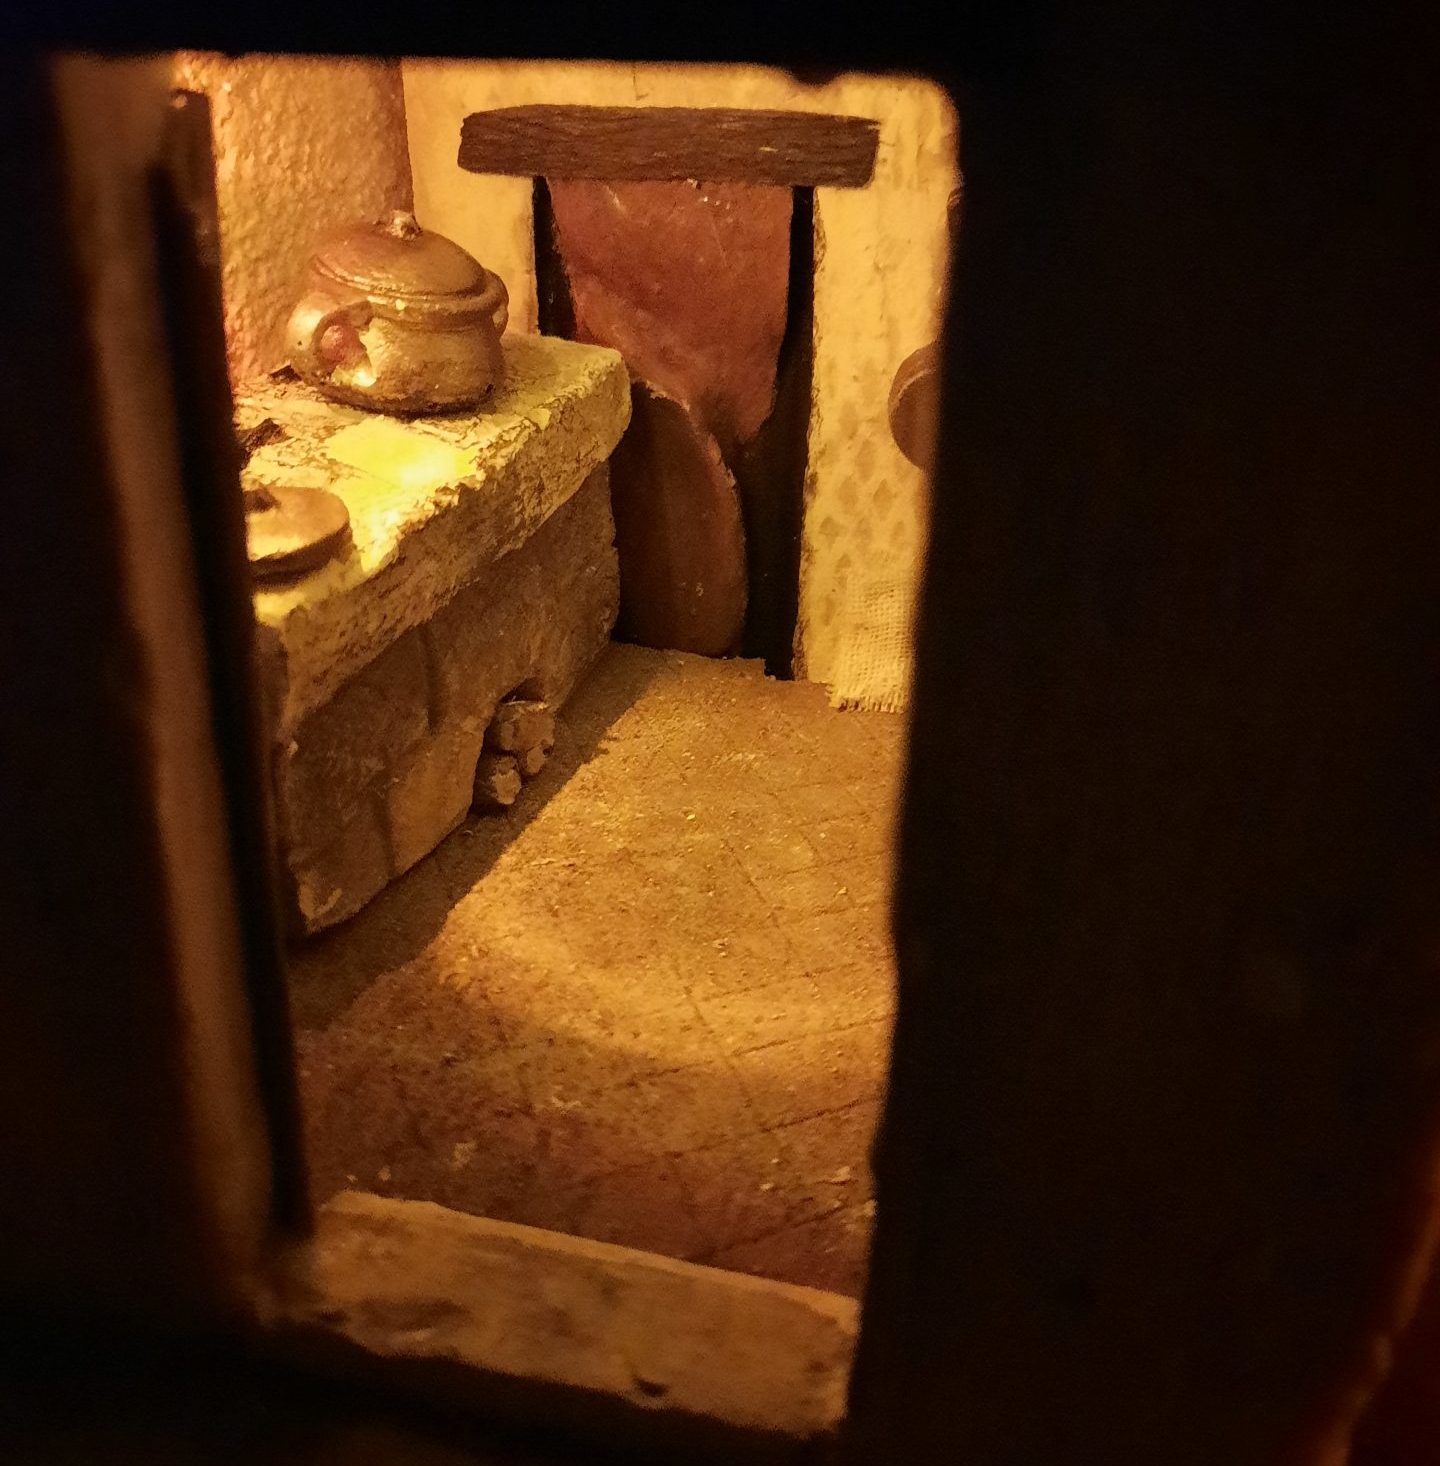
My husband had already prepared the setting, sculpting a curtained door at the back and laying a tiled floor. From an artisan, he bought a little wooden stove, which immediately gave the room its heart. Around it, we carefully built up the scene with tiny details: a bench laden with loaves of bread, flour sacks stacked neatly, a box to carry food, miniature kitchen tools.
The interior walls still kept the original texture of the foam used to build the houses: a feature that we did not want to hide here, but to use as a feature. It created a wall decoration that perfectly matched the tiles on the floor.
What I loved most, though, was how the room came alive at night, with the warm glow of the LEDs carefully selected by Locutus.


The upper bedroom


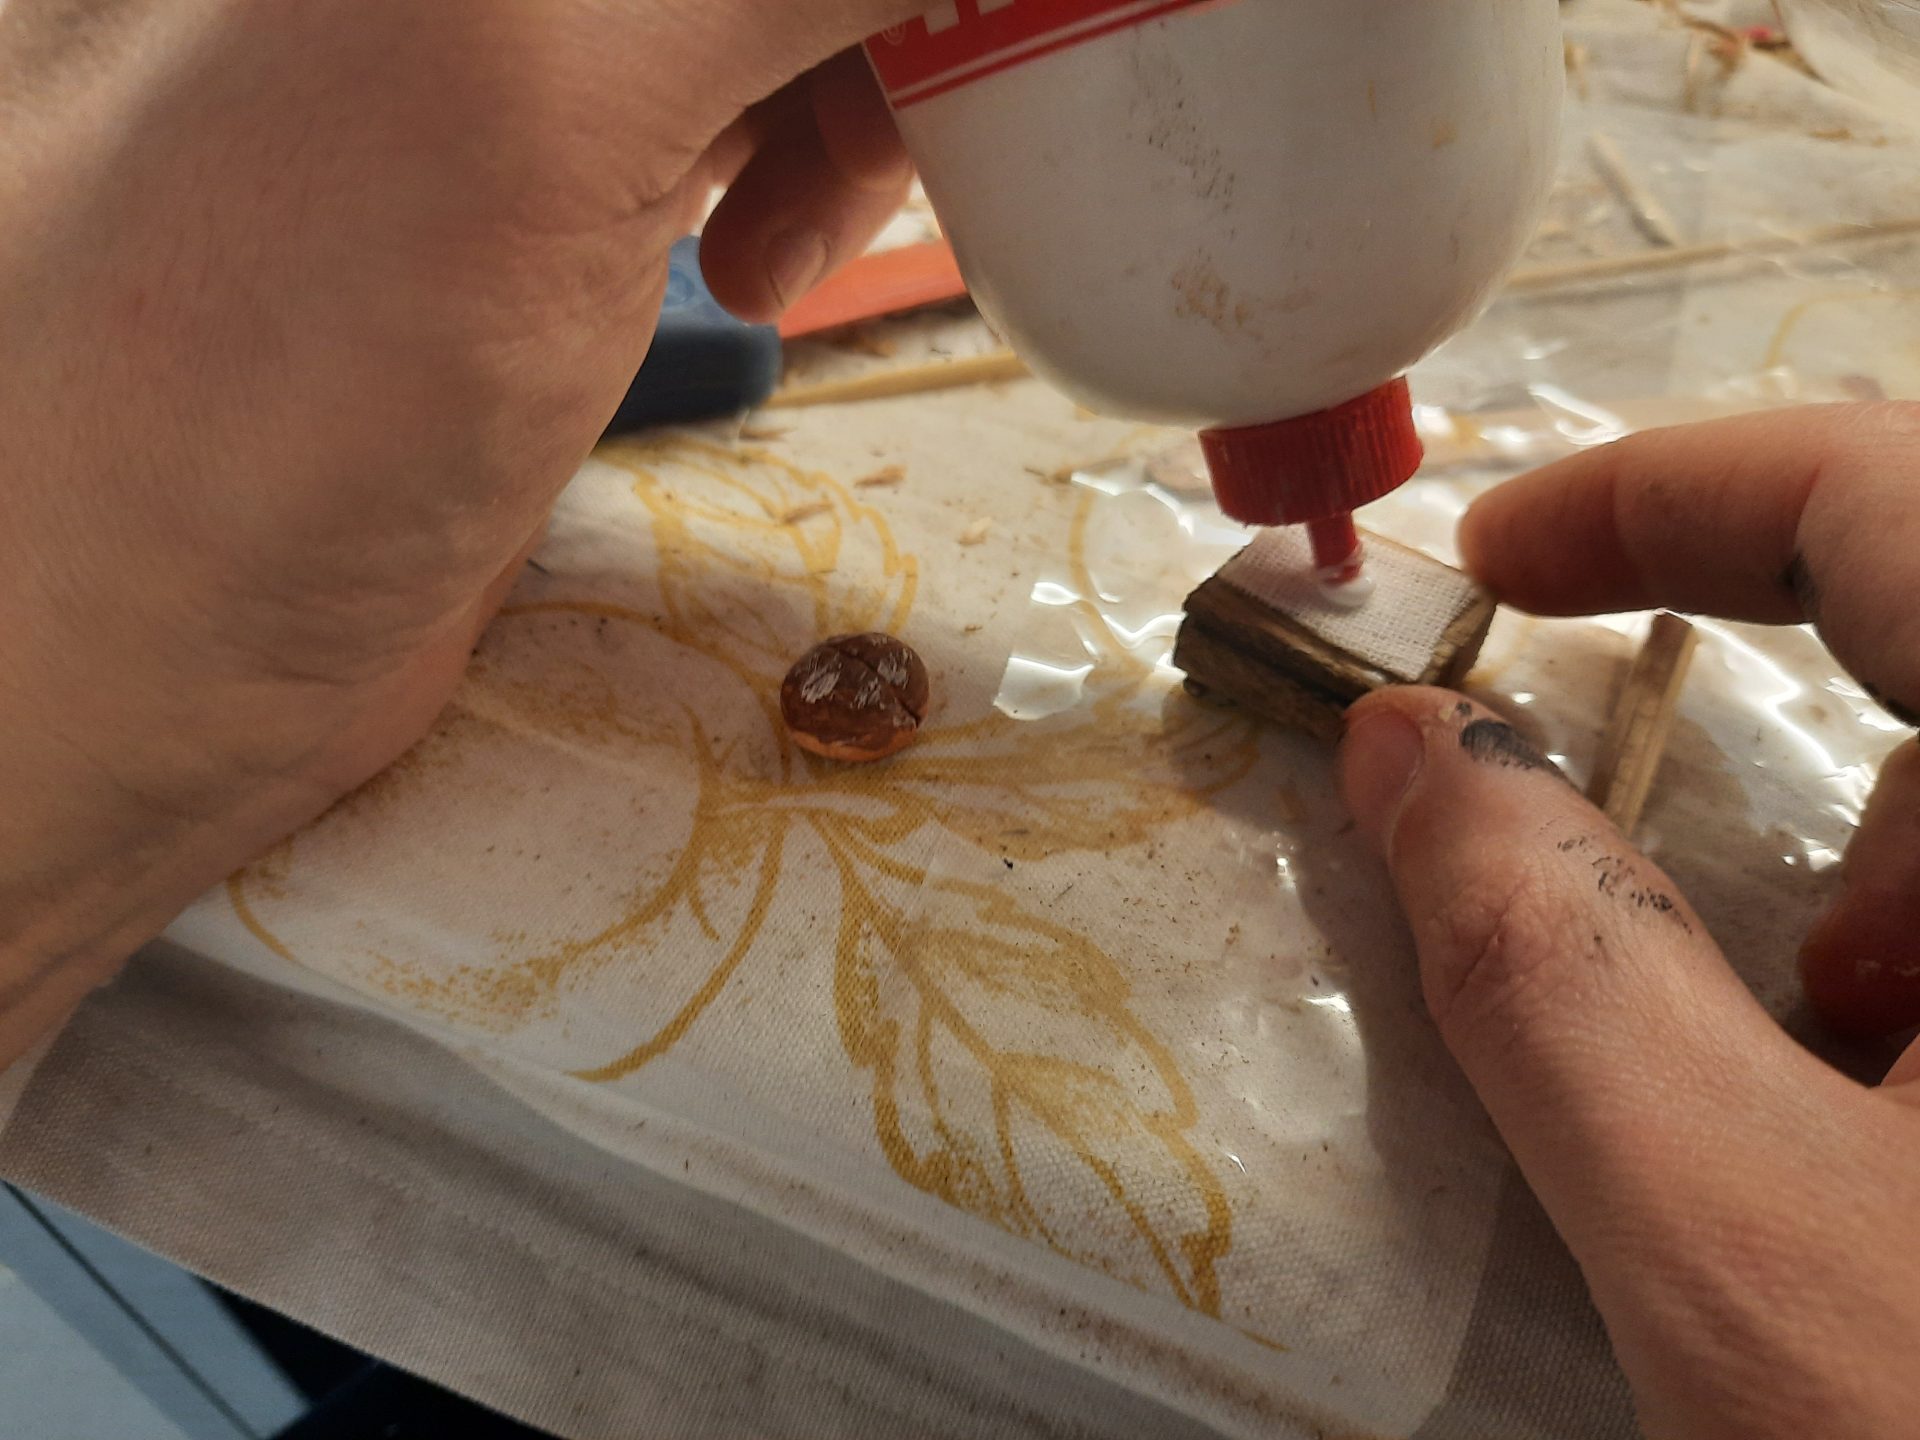
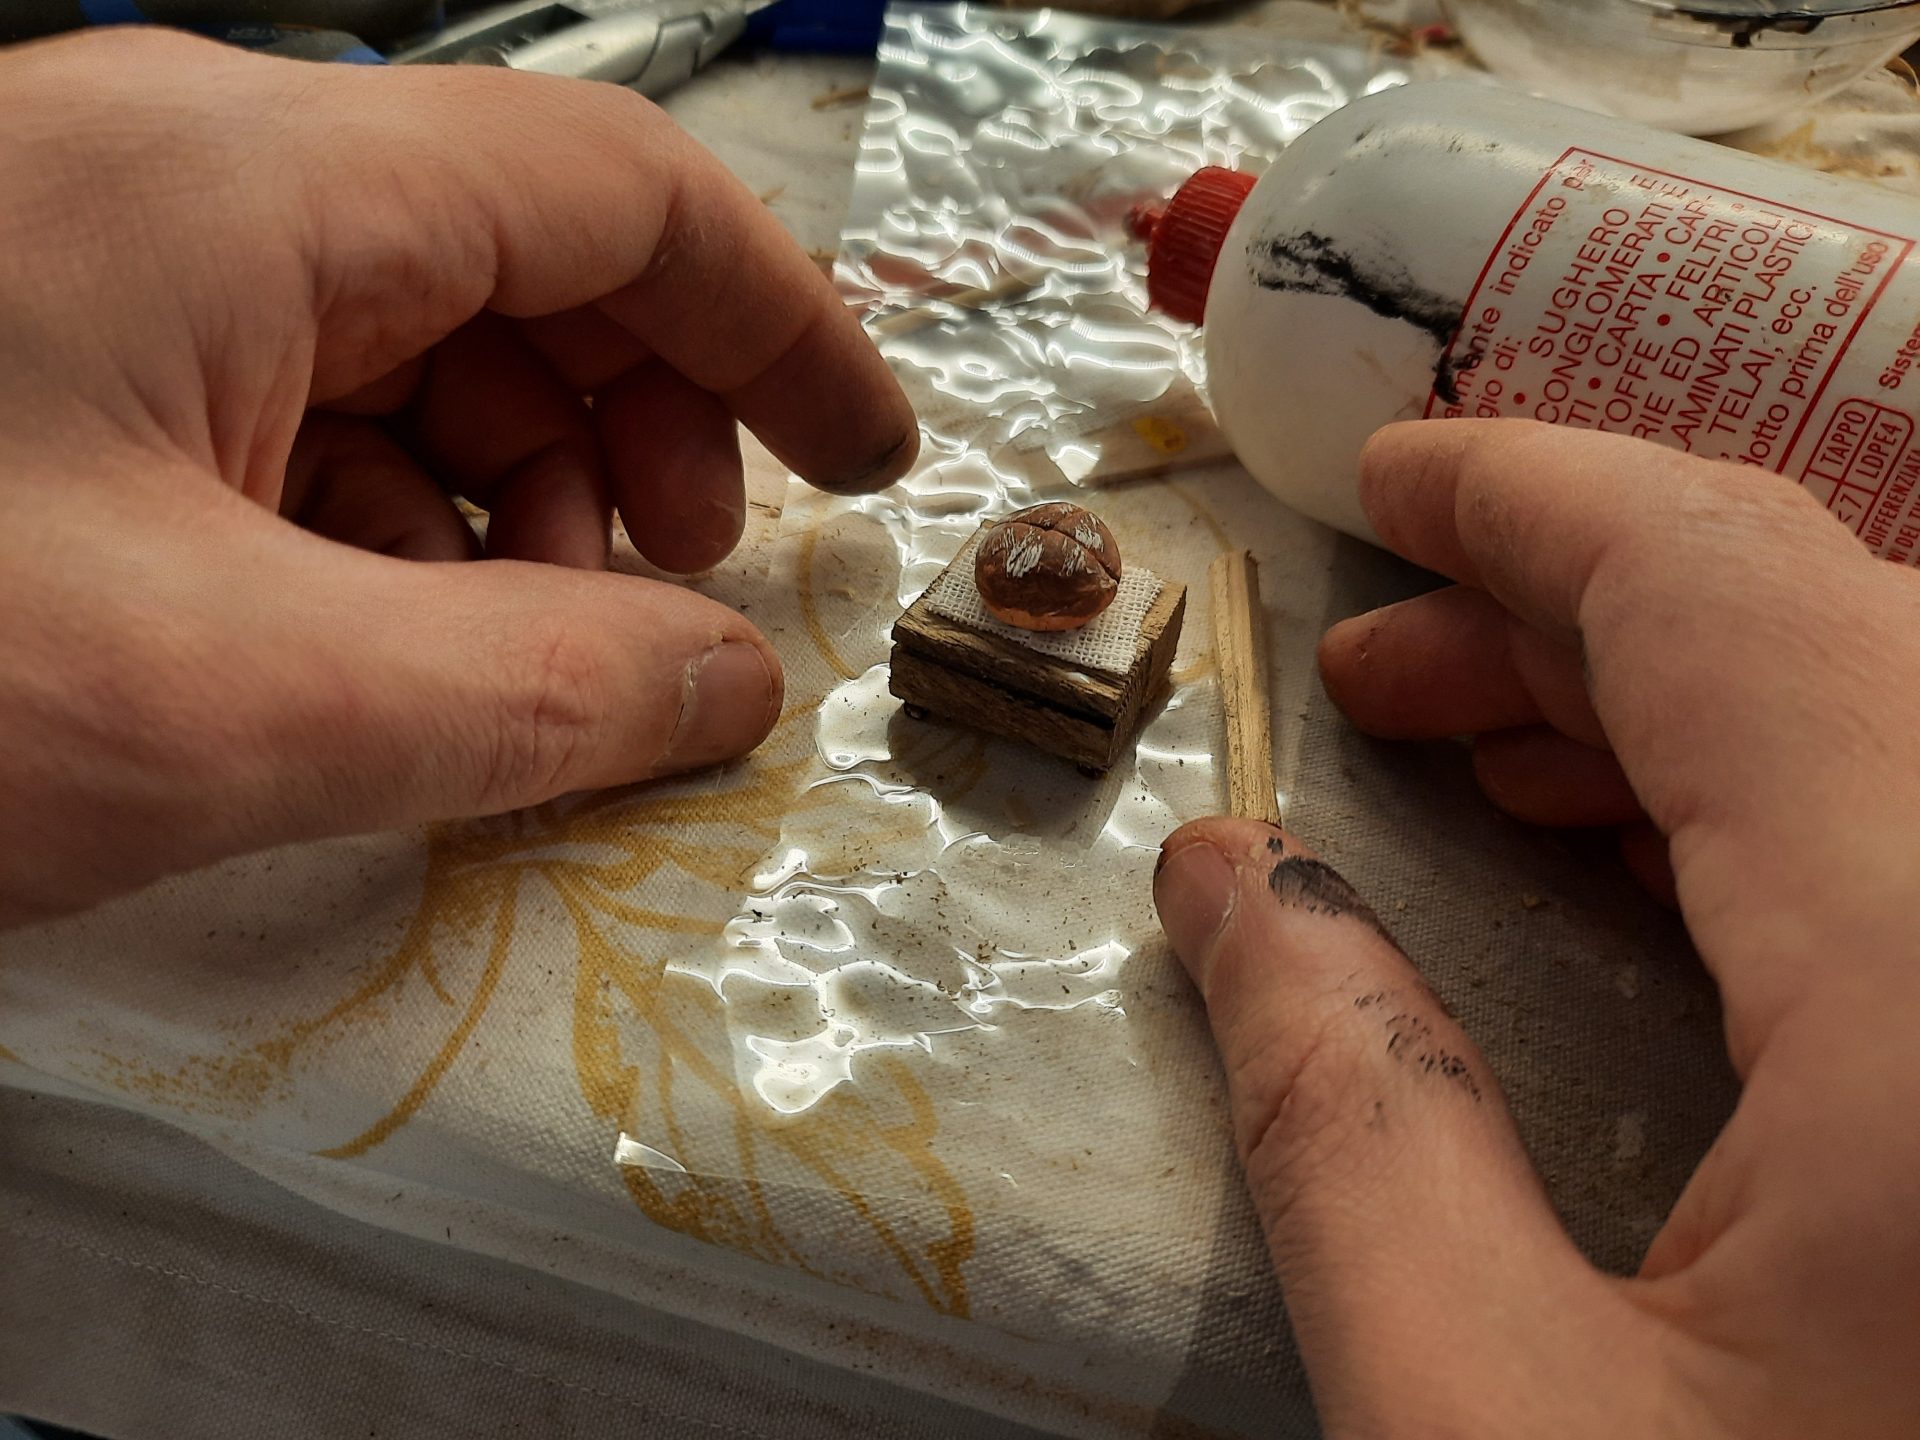
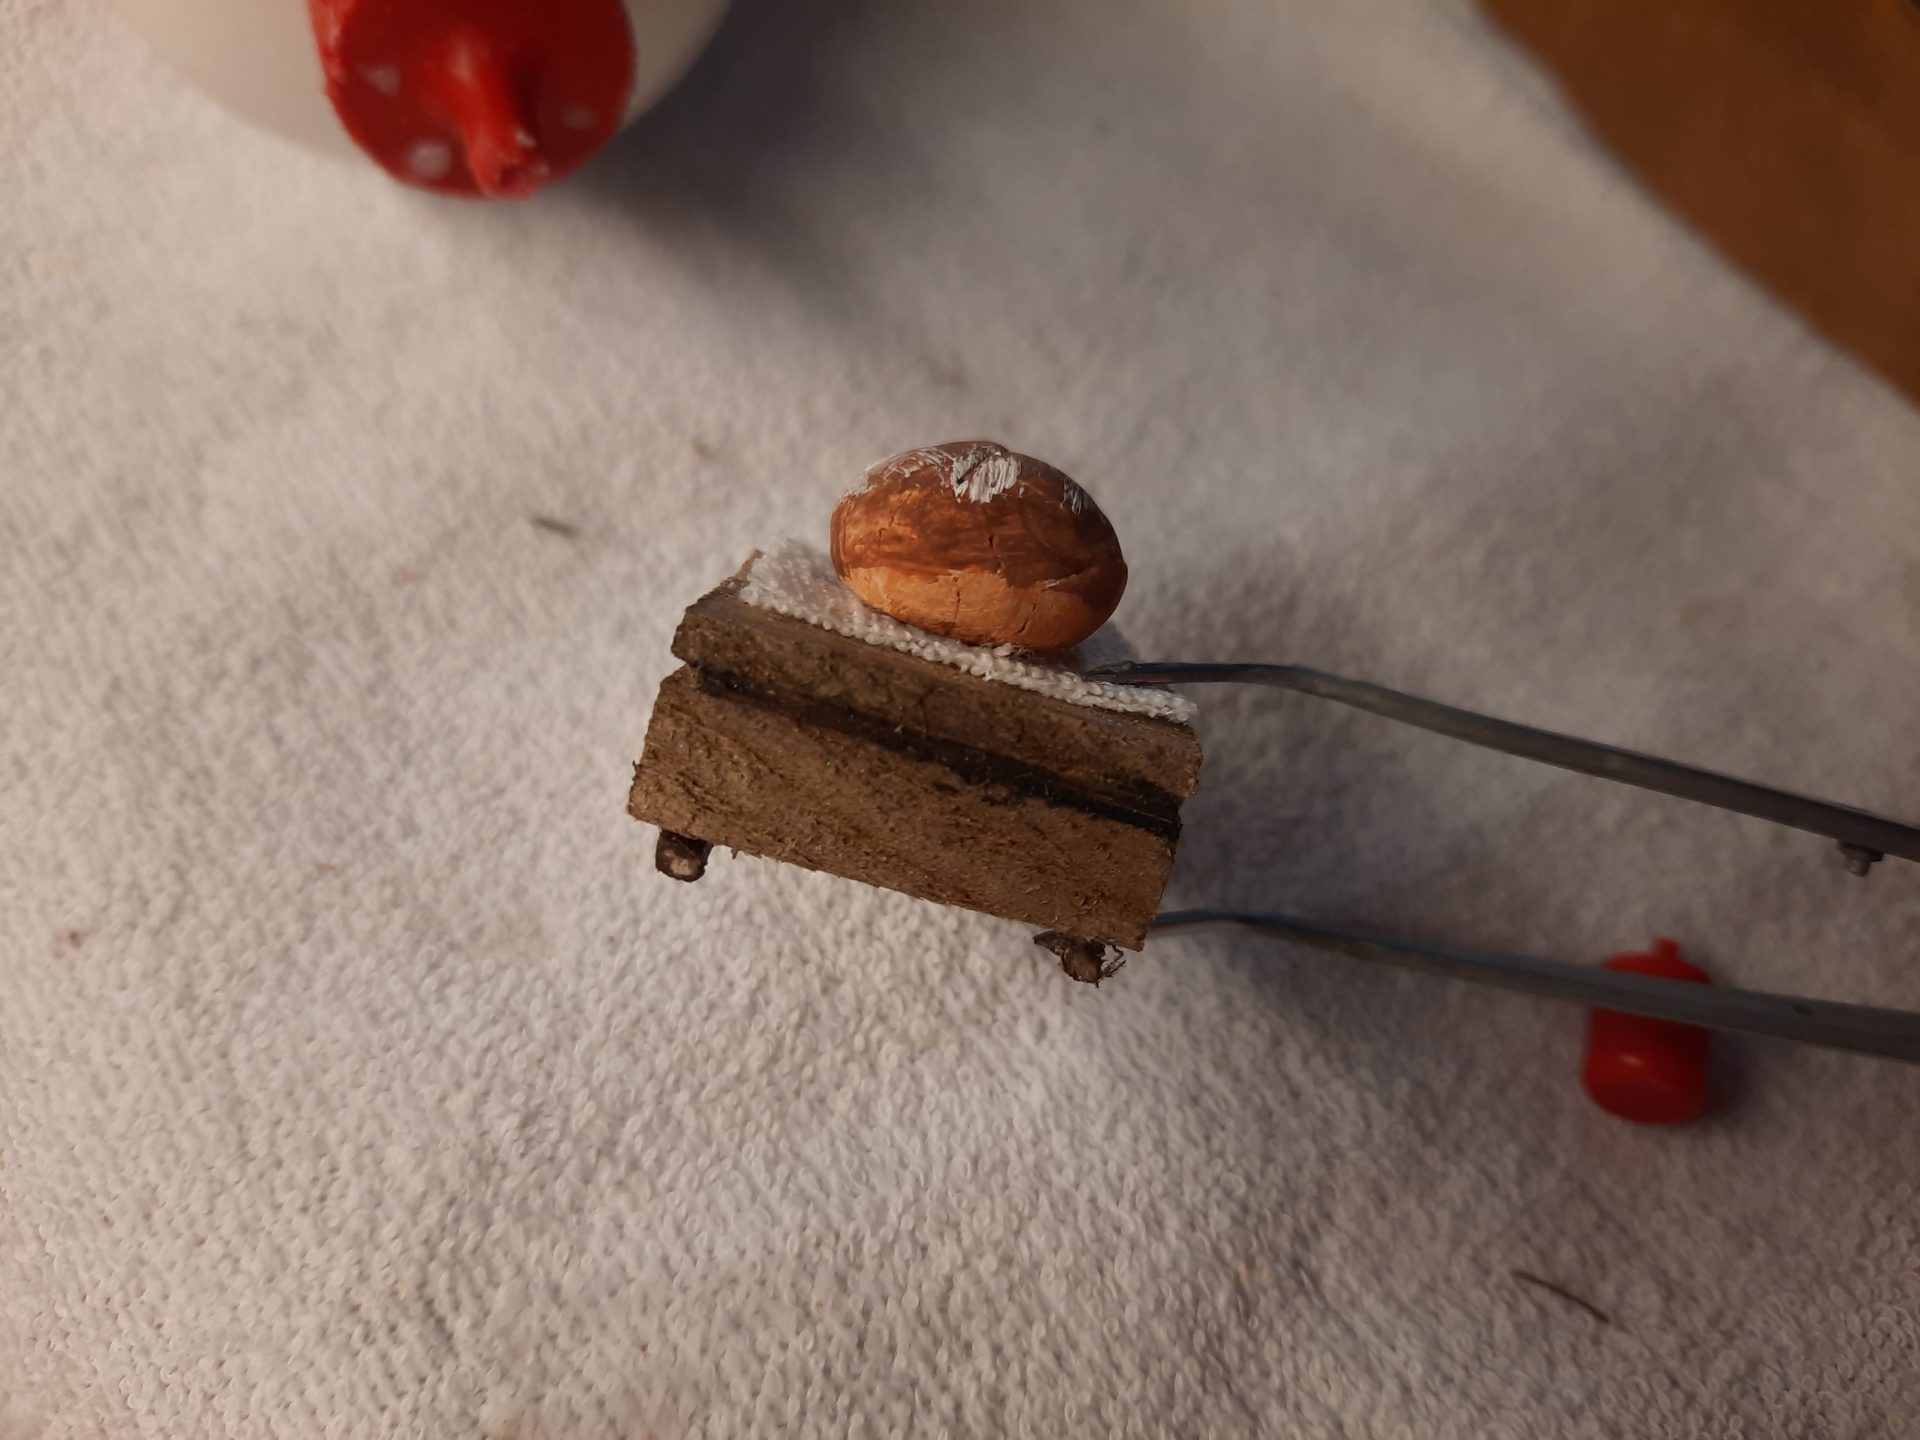
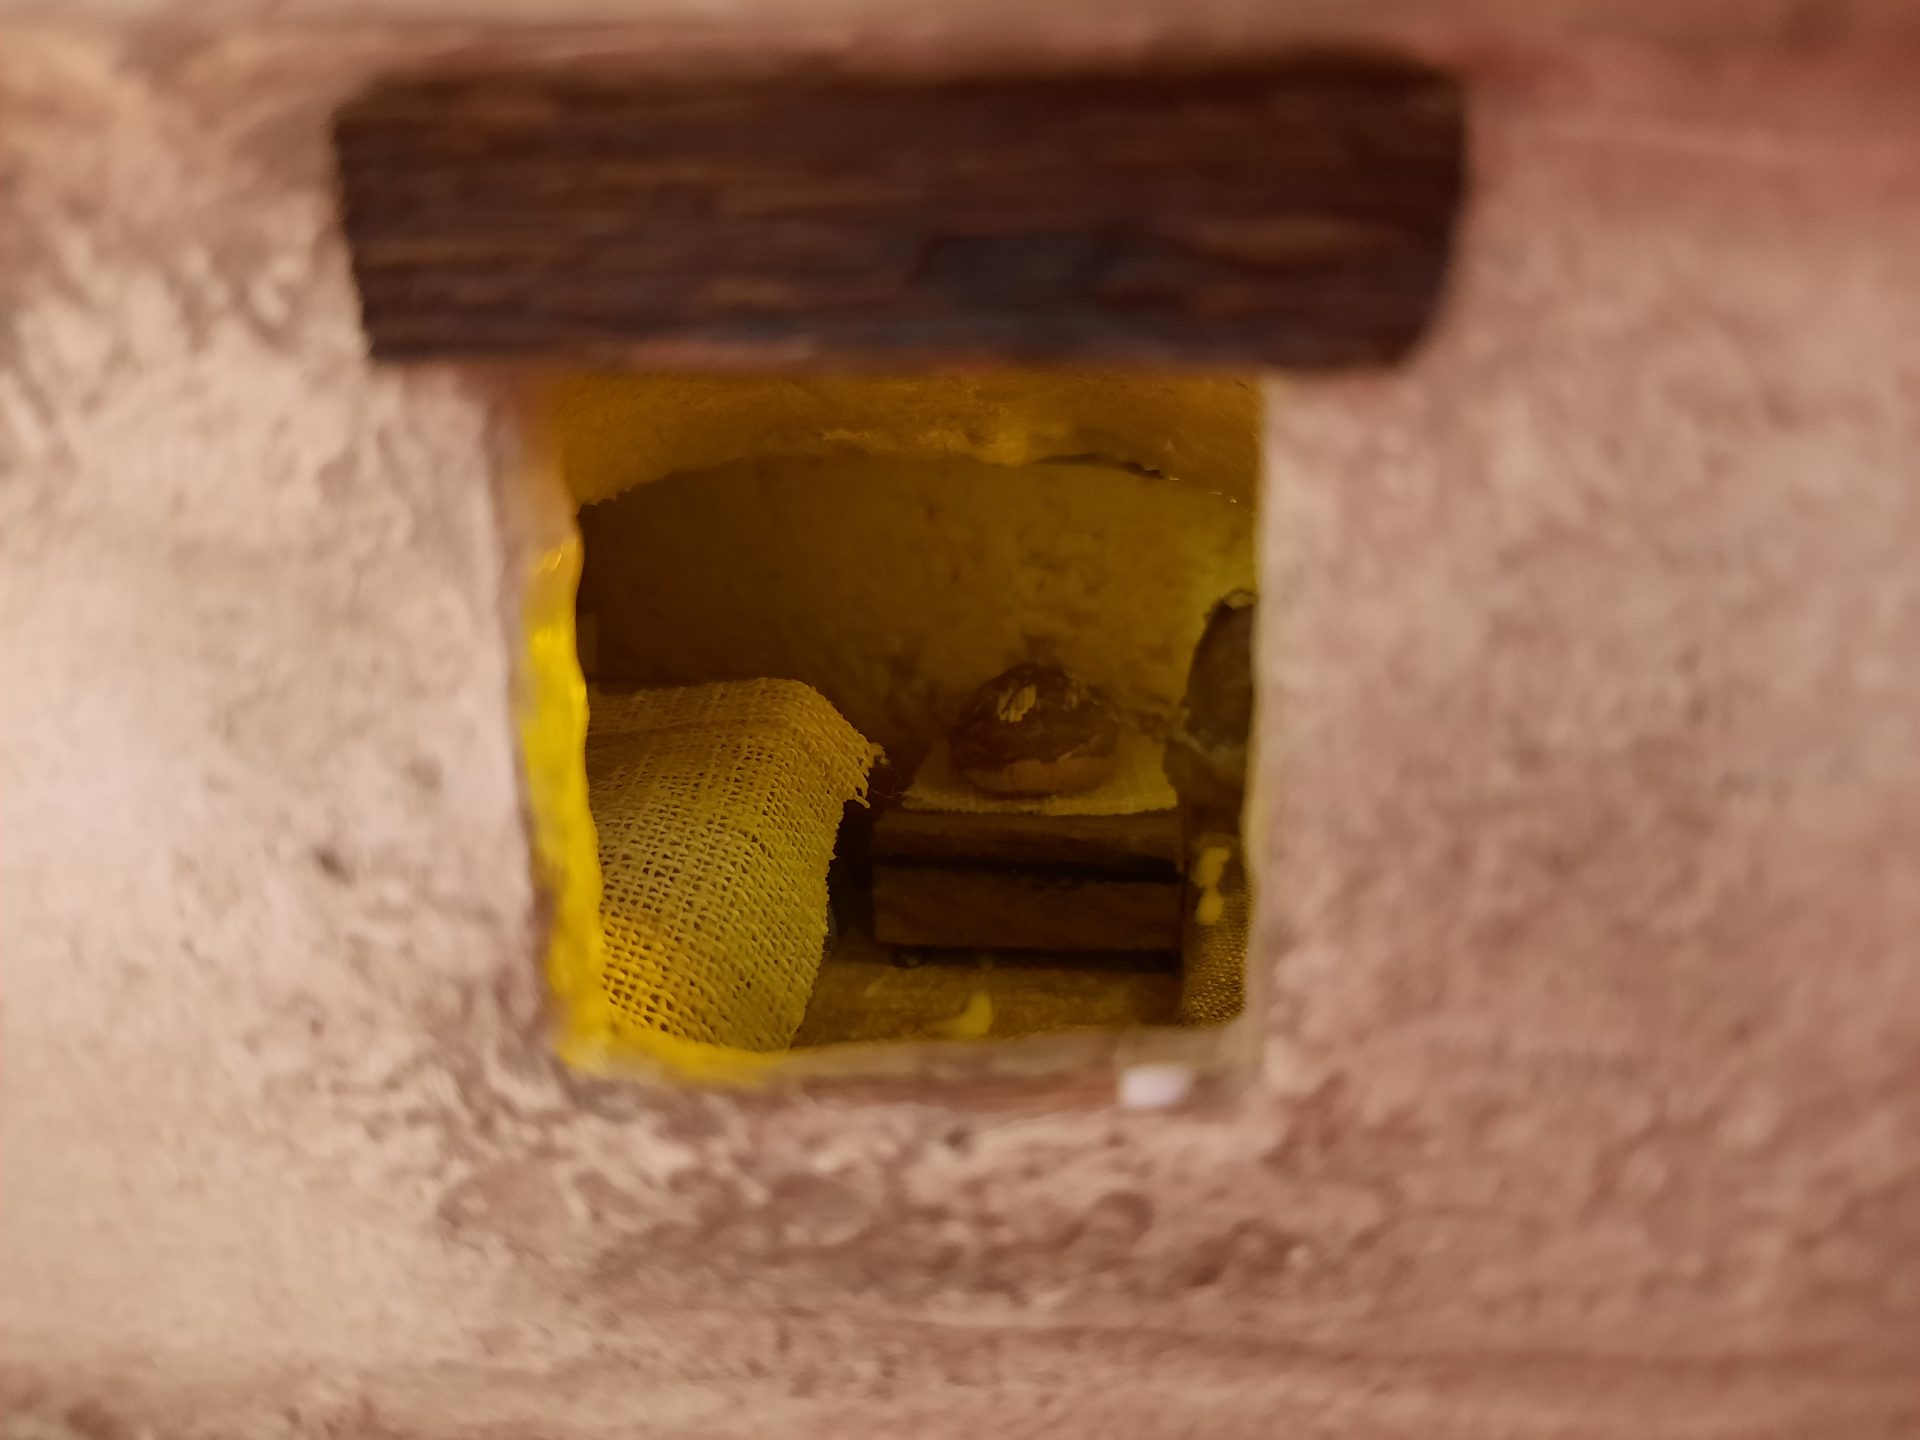
Then came the bedroom on the upper floor, right above the horses’ stable. We imagined it as a modest but functional living space, with several beds, nightstands and a storage bench. Since it required a good deal of fabric furnishing, I was happy to take the task on me. I sewed three tiny mattresses, complete with stuffed pillows and bedsheets, making sure they looked soft and lived-in at this scale. Meanwhile, my husband crafted a nightstand, and on top of it he placed a small rug with a loaf of bread, as though someone had left it there for the next morning.
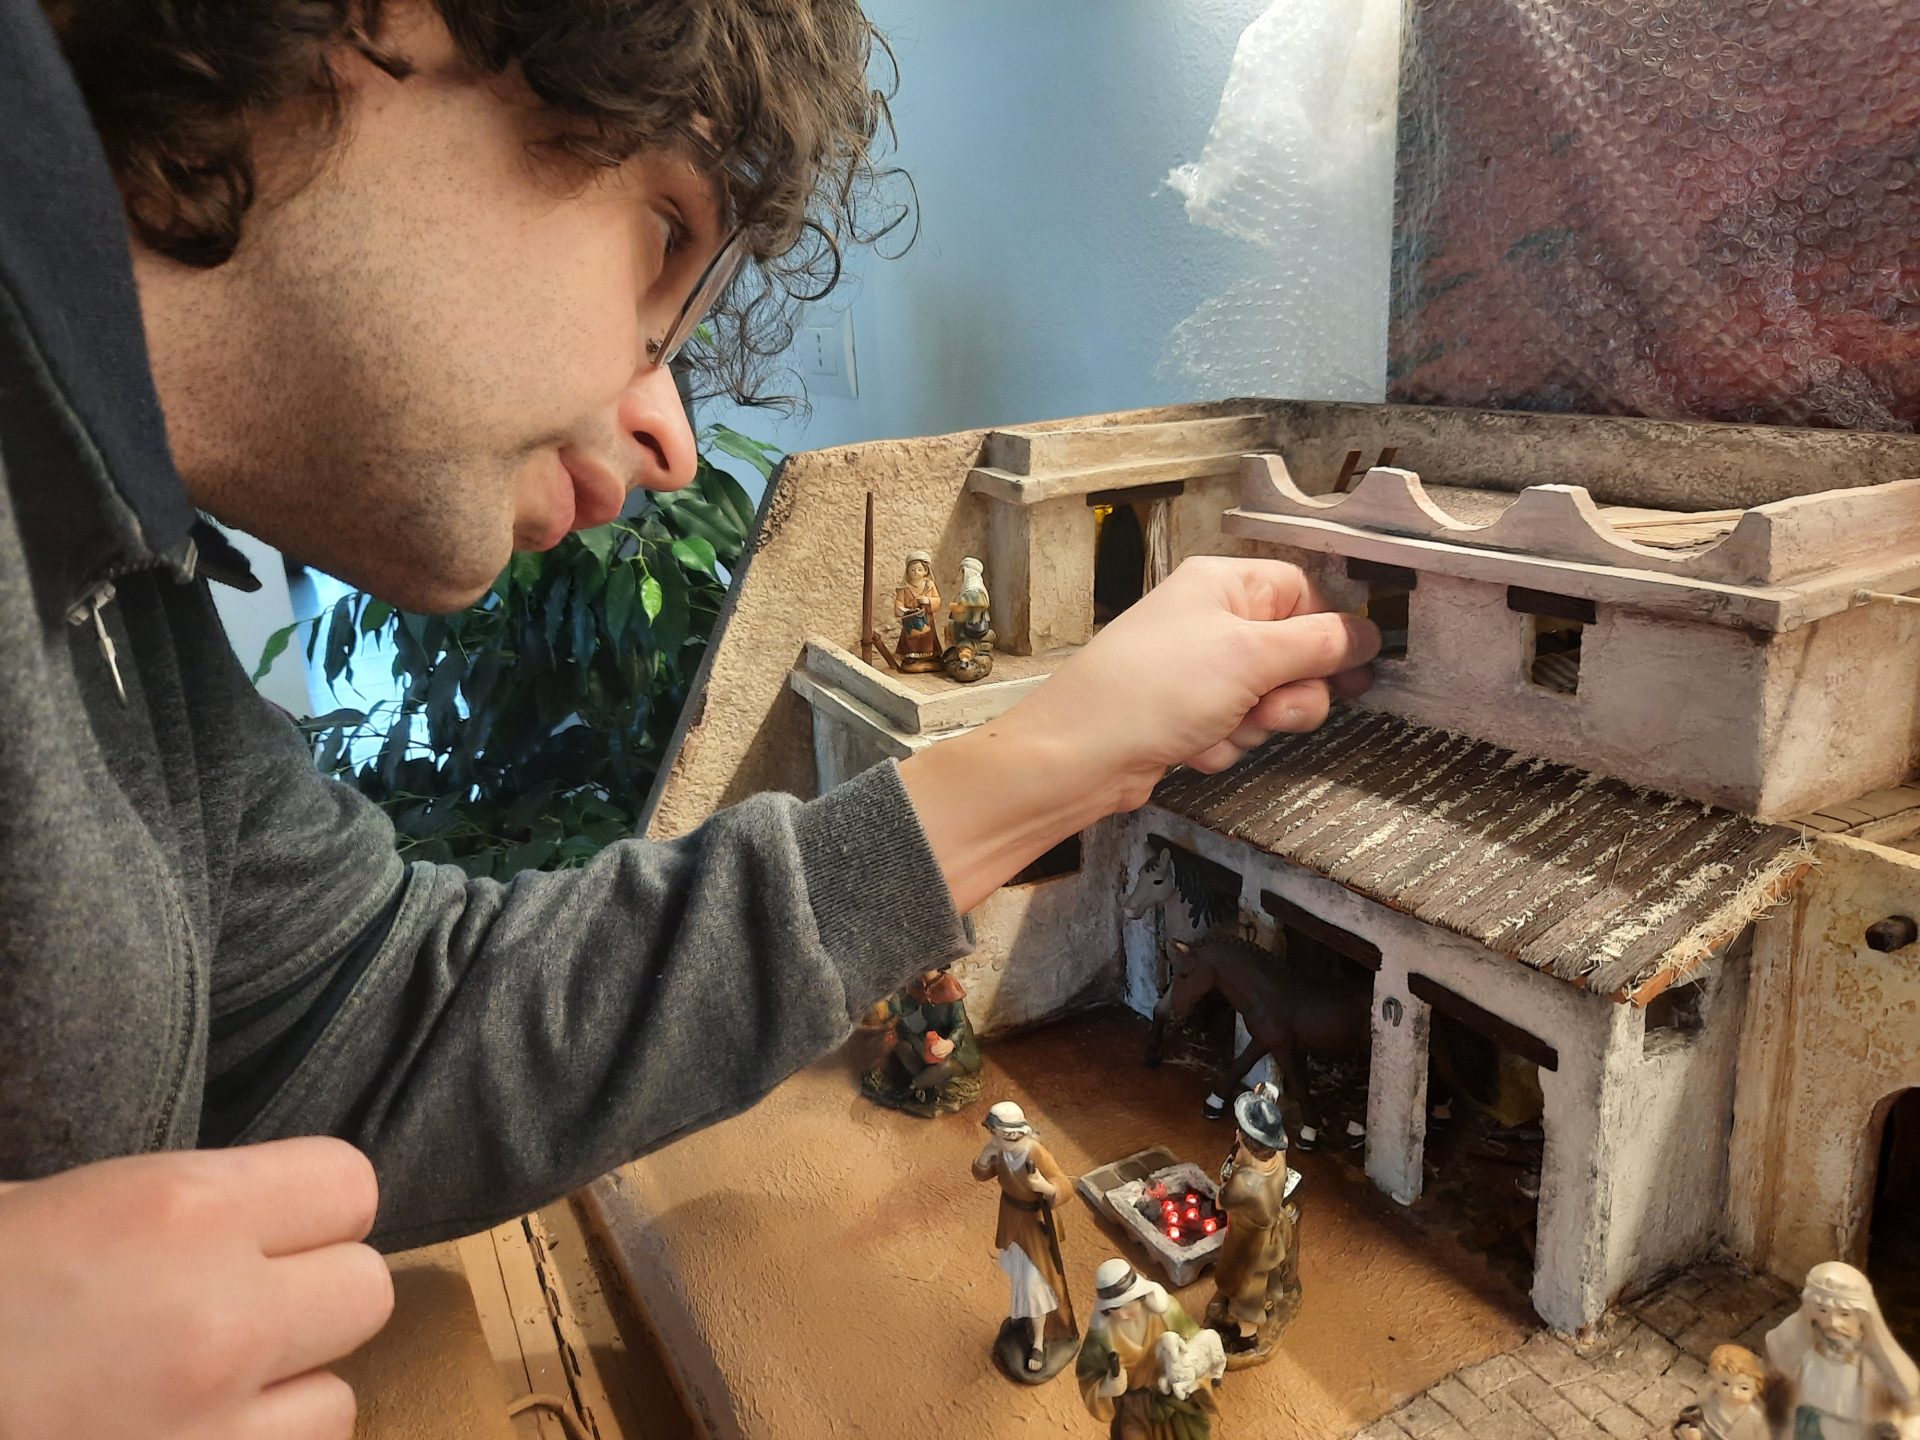
Getting everything into the room was far trickier than building the pieces themselves. Each object had to be scaled correctly but it also had to be small enough to pass through the windows, and it was no easy feat. Surprisingly, the most difficult part wasn’t the rigid beds, but the bedsheets.
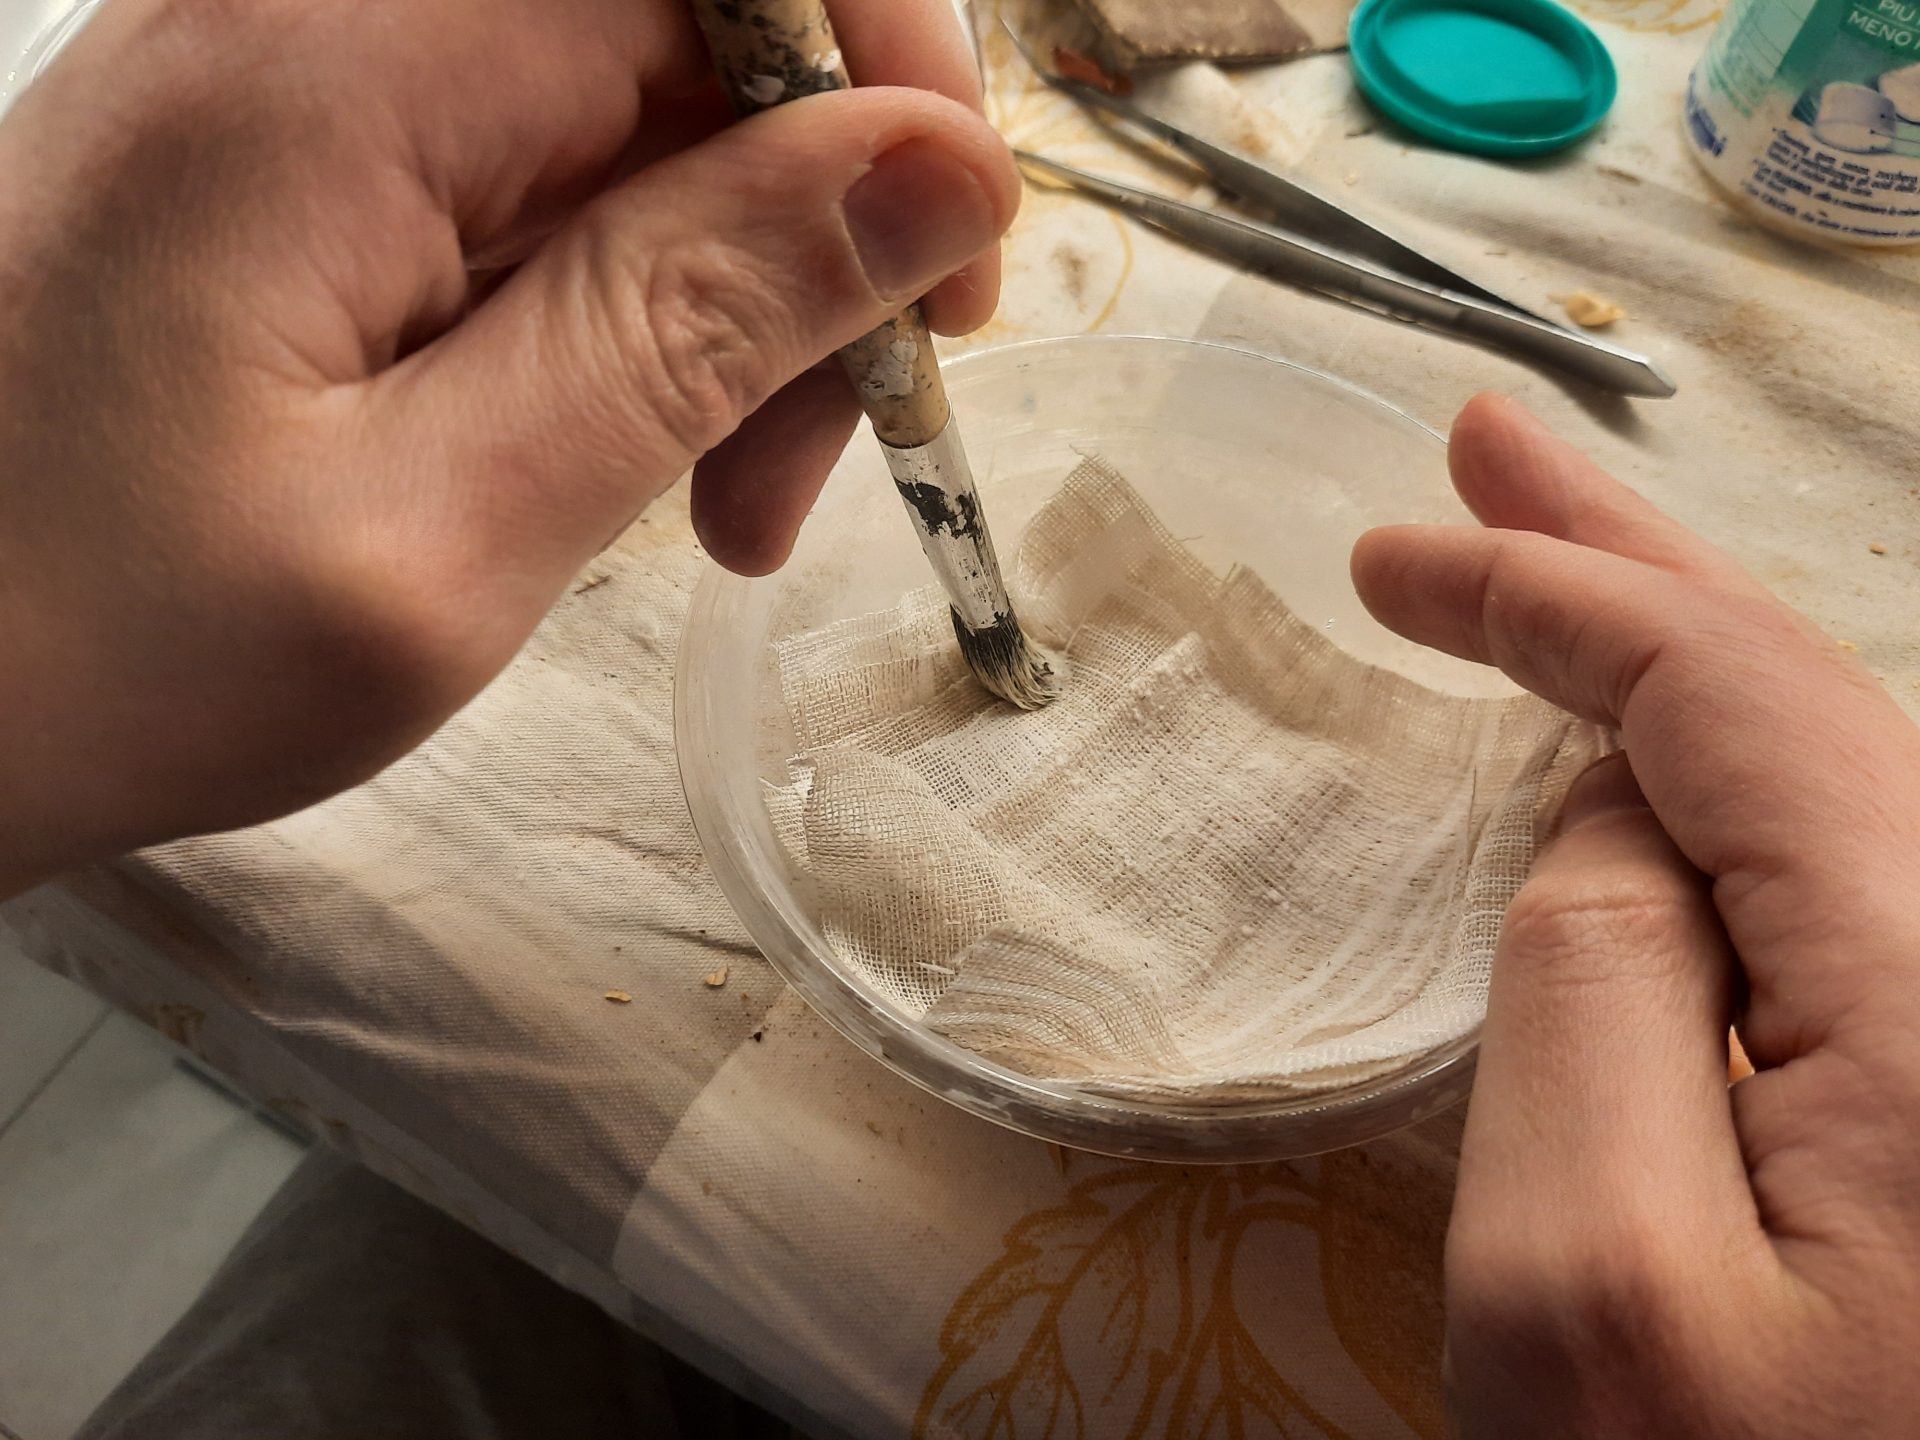
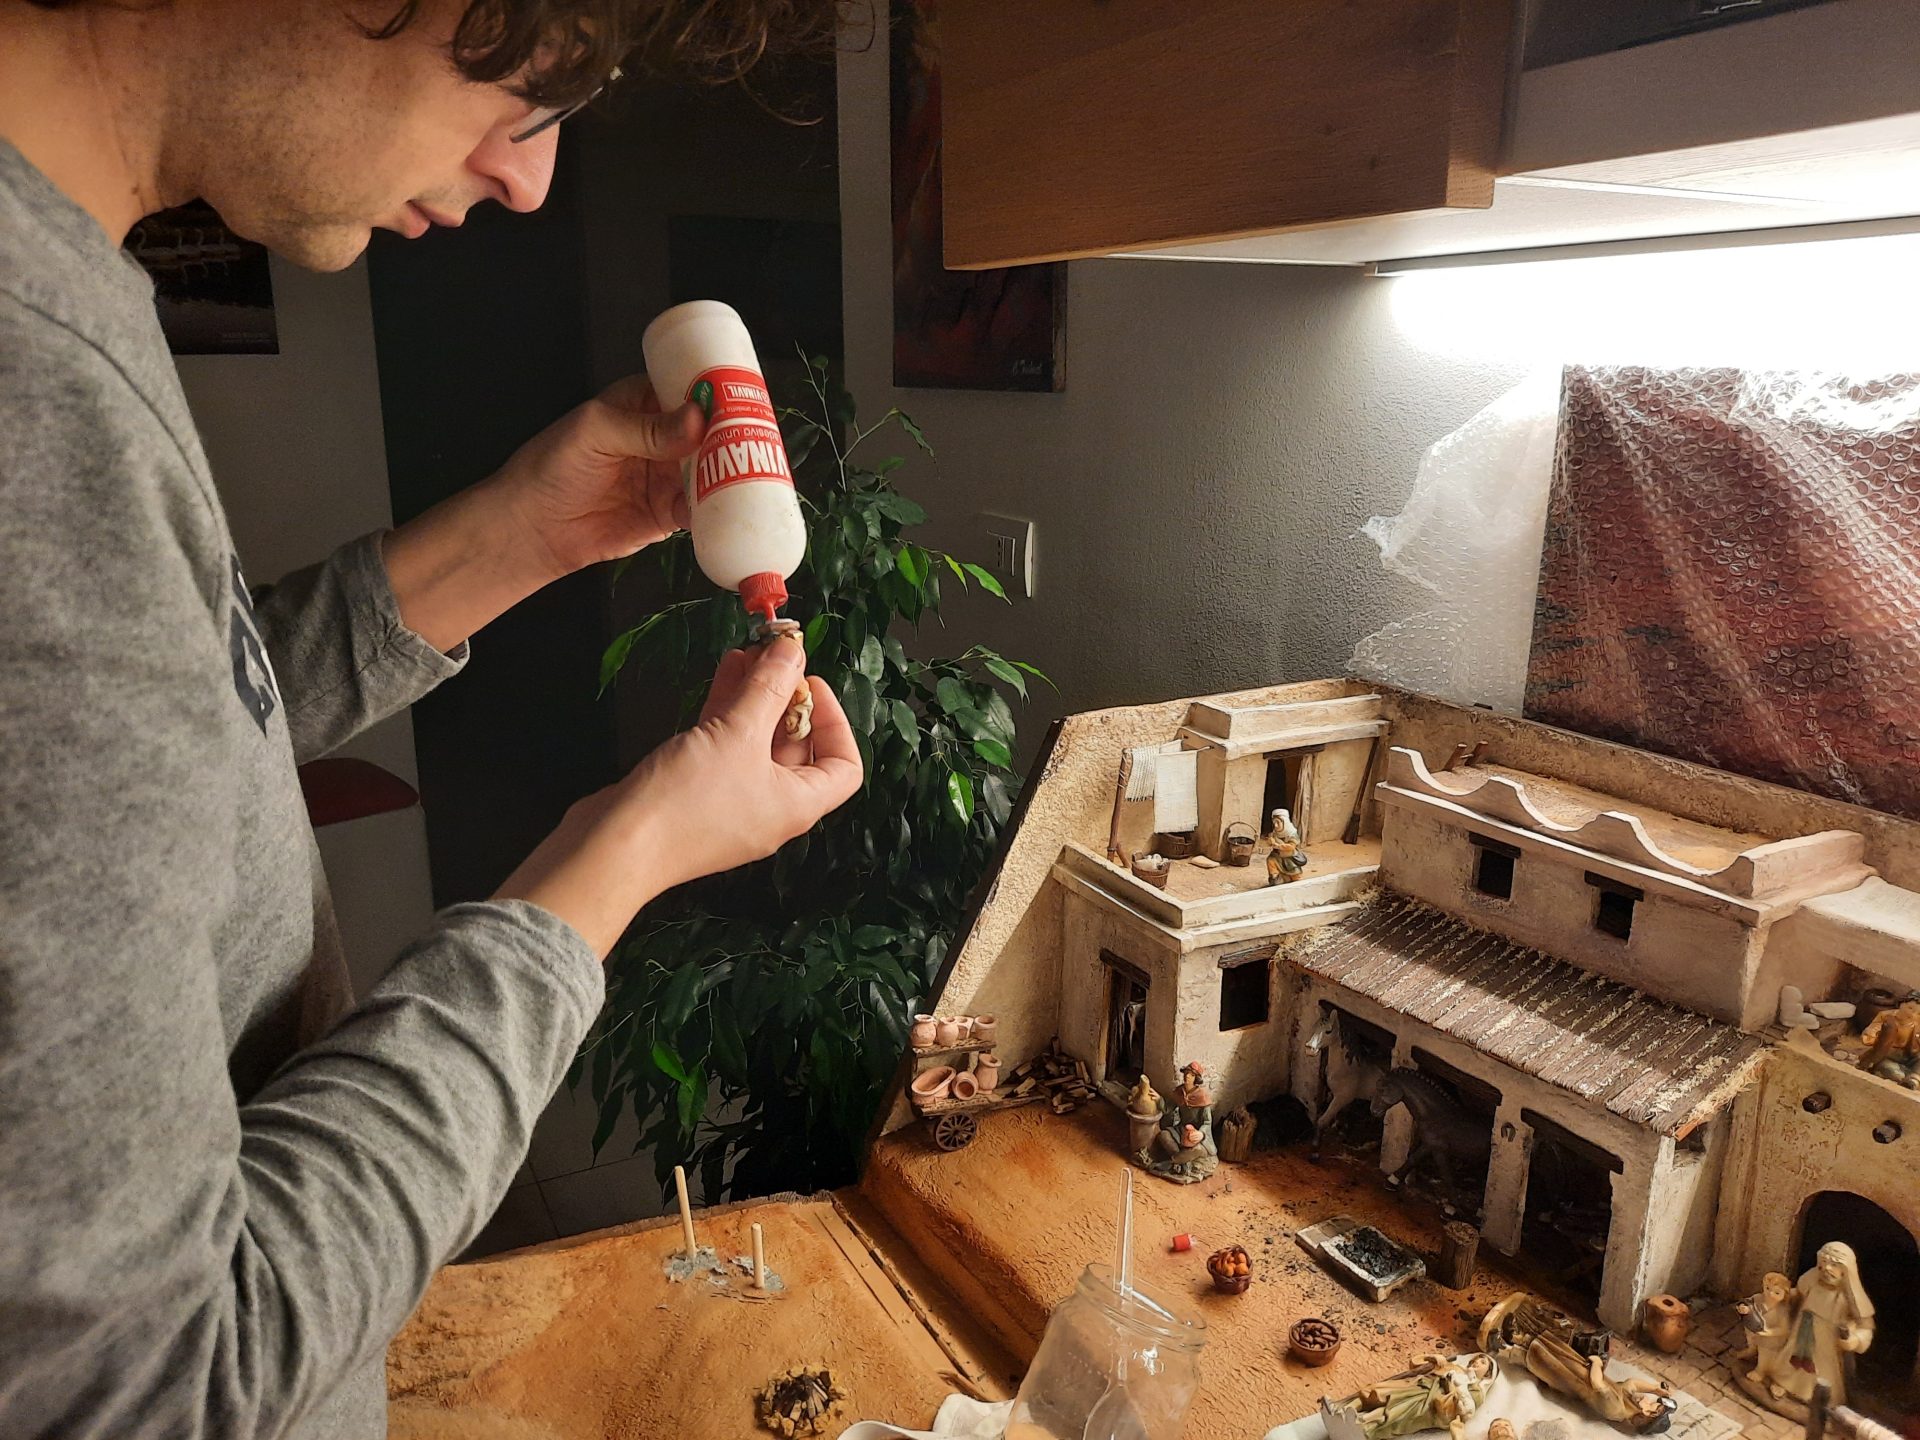
My husband dipped them in a mixture of vinyl glue and water so they would keep their shape around the beds, but without sticking directly to the mattresses. We wanted them to be on shape, but not too rigid. Even so, positioning them was a challenge: each time we tried to slide them through the window onto their bed, they would slip or shift out of place. It took several attempts, and more than a little patience, before everything finally sat just right. When the bedroom was complete at last, the sight was both of satisfaction and a relief.
The domestic balcony
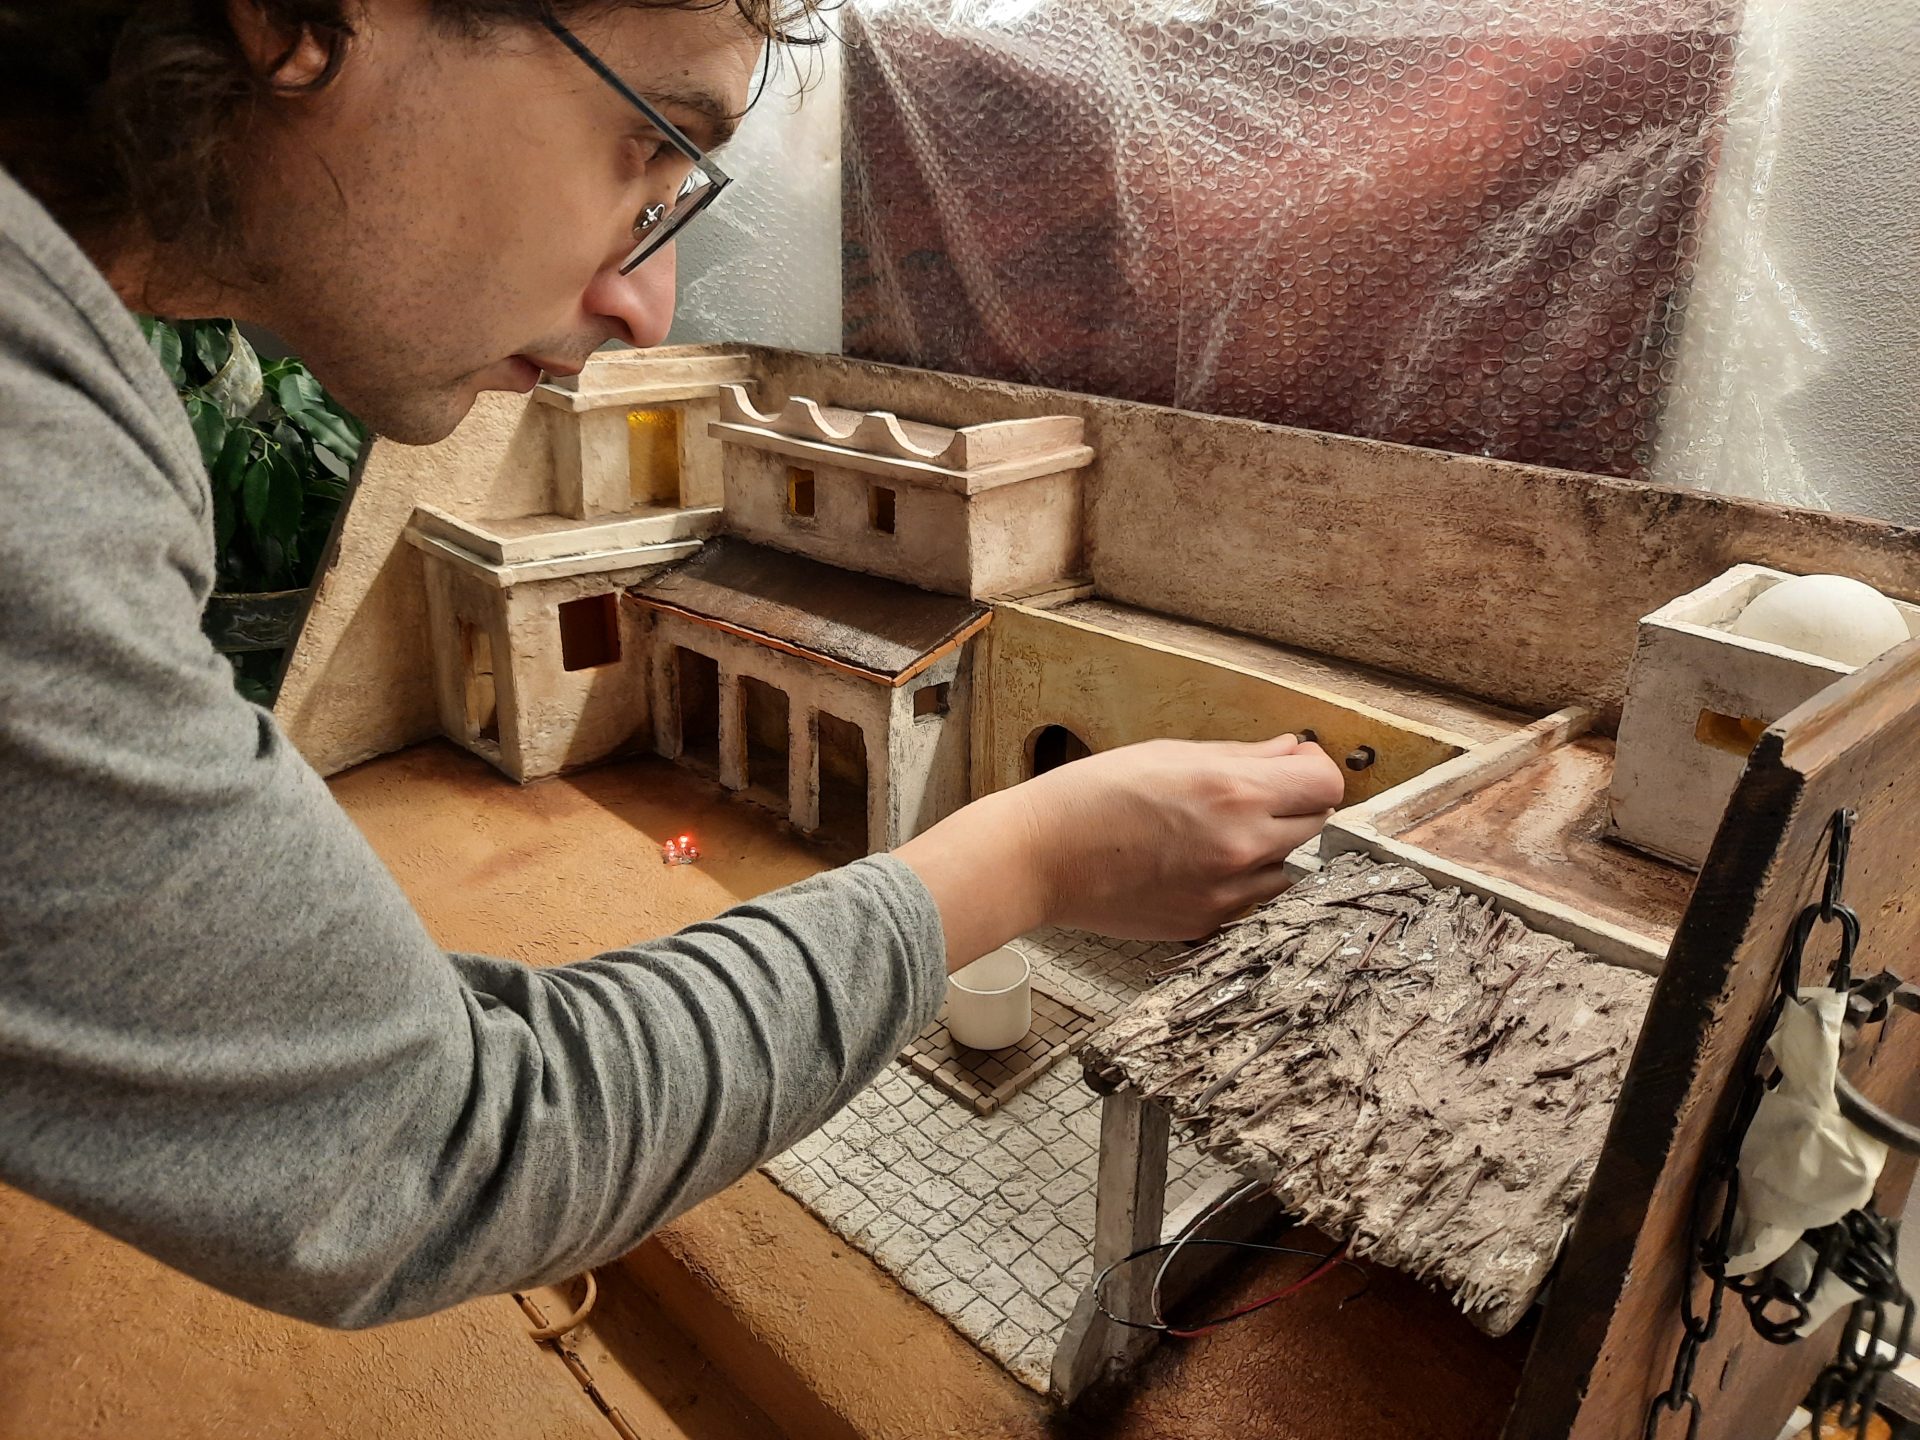
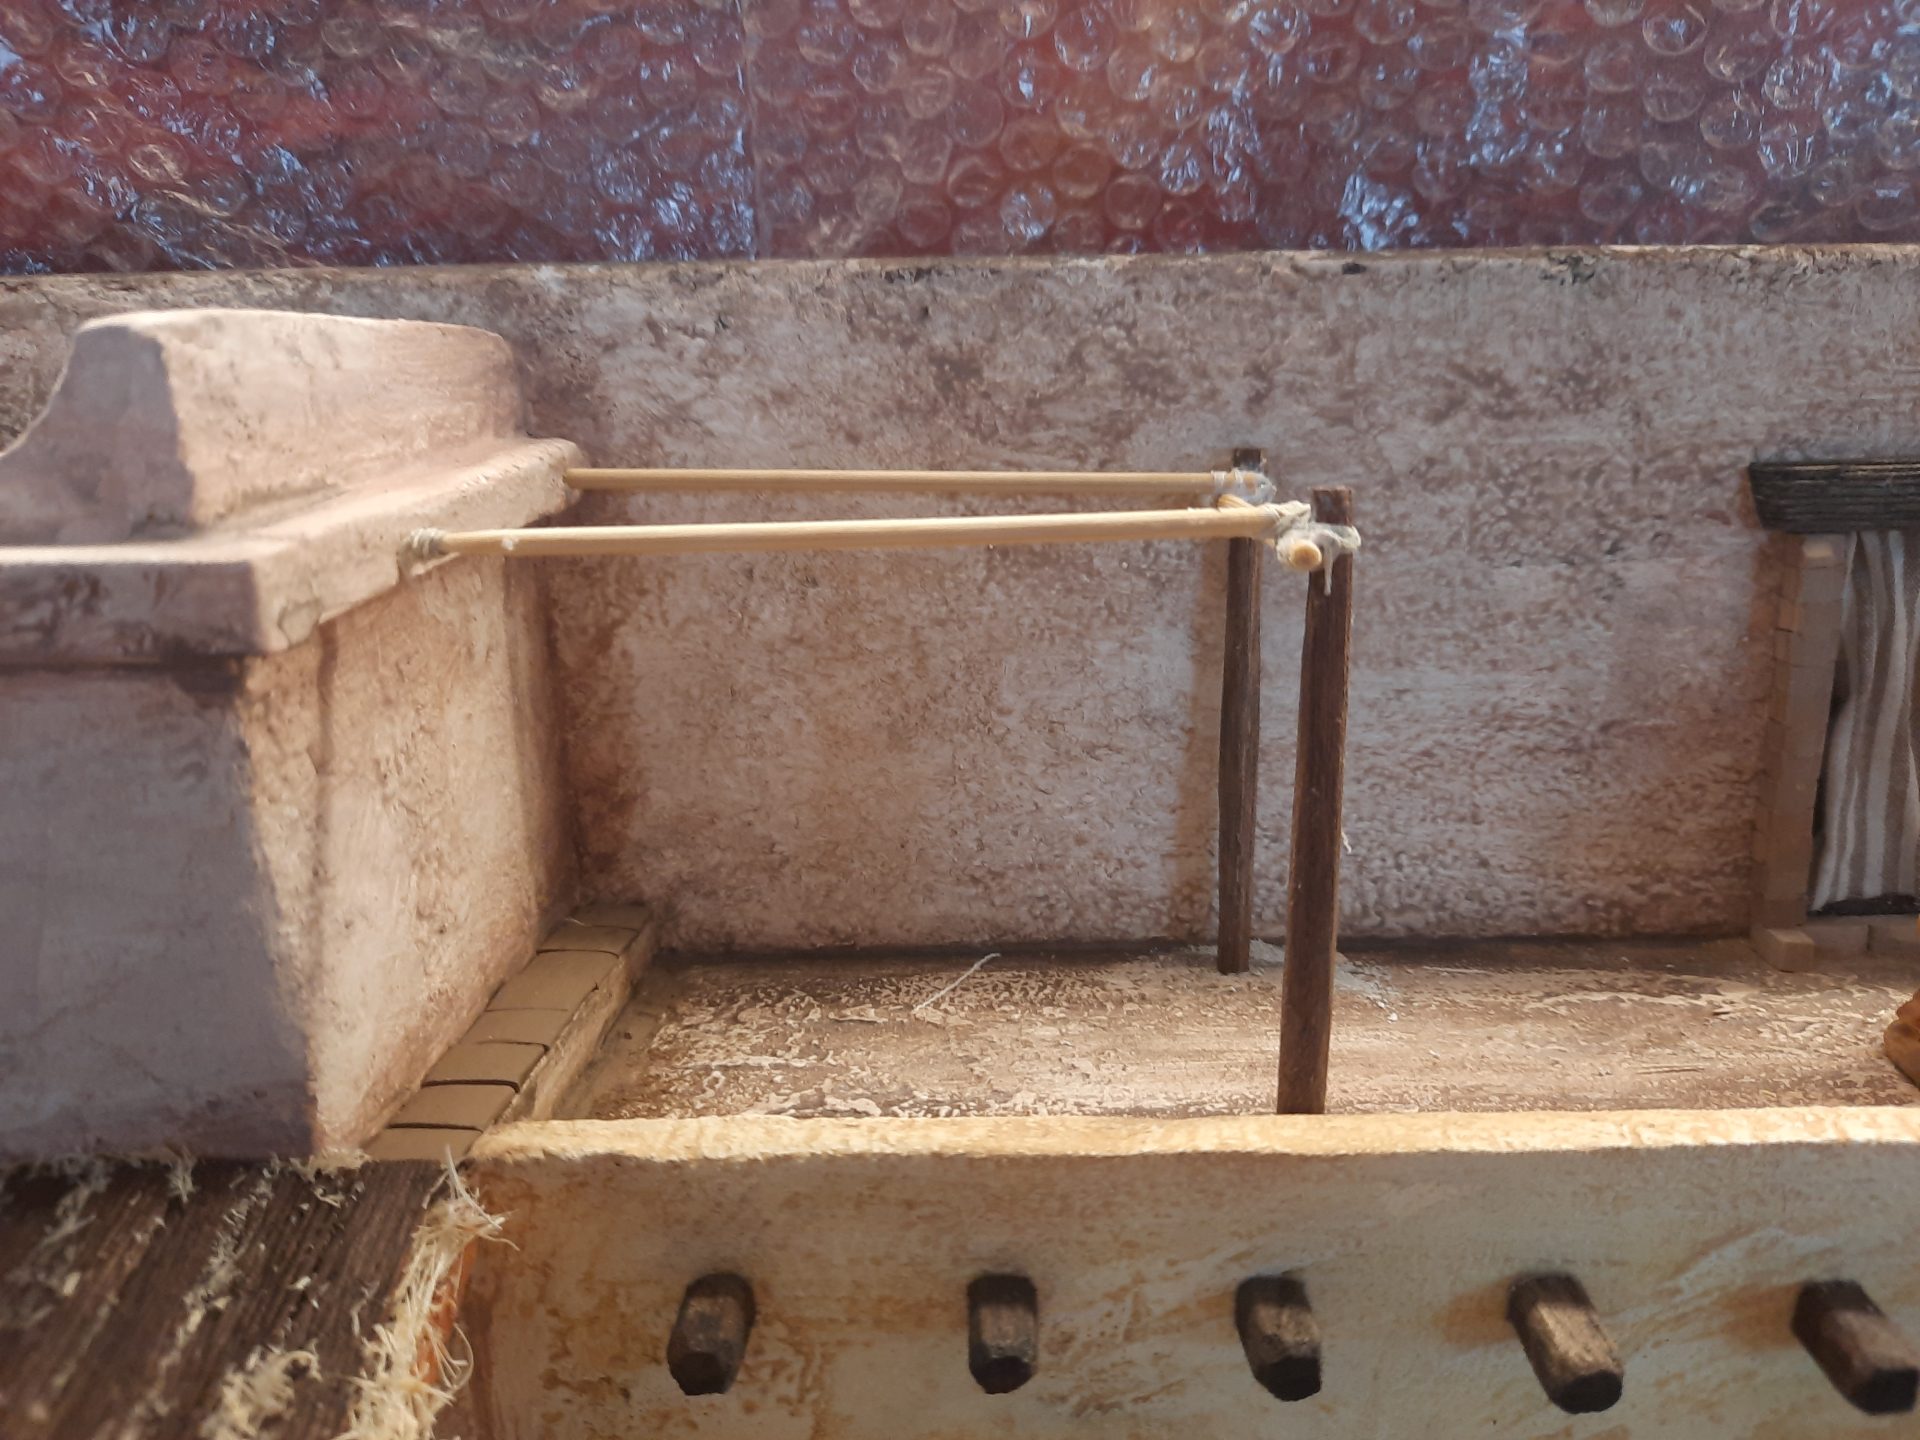
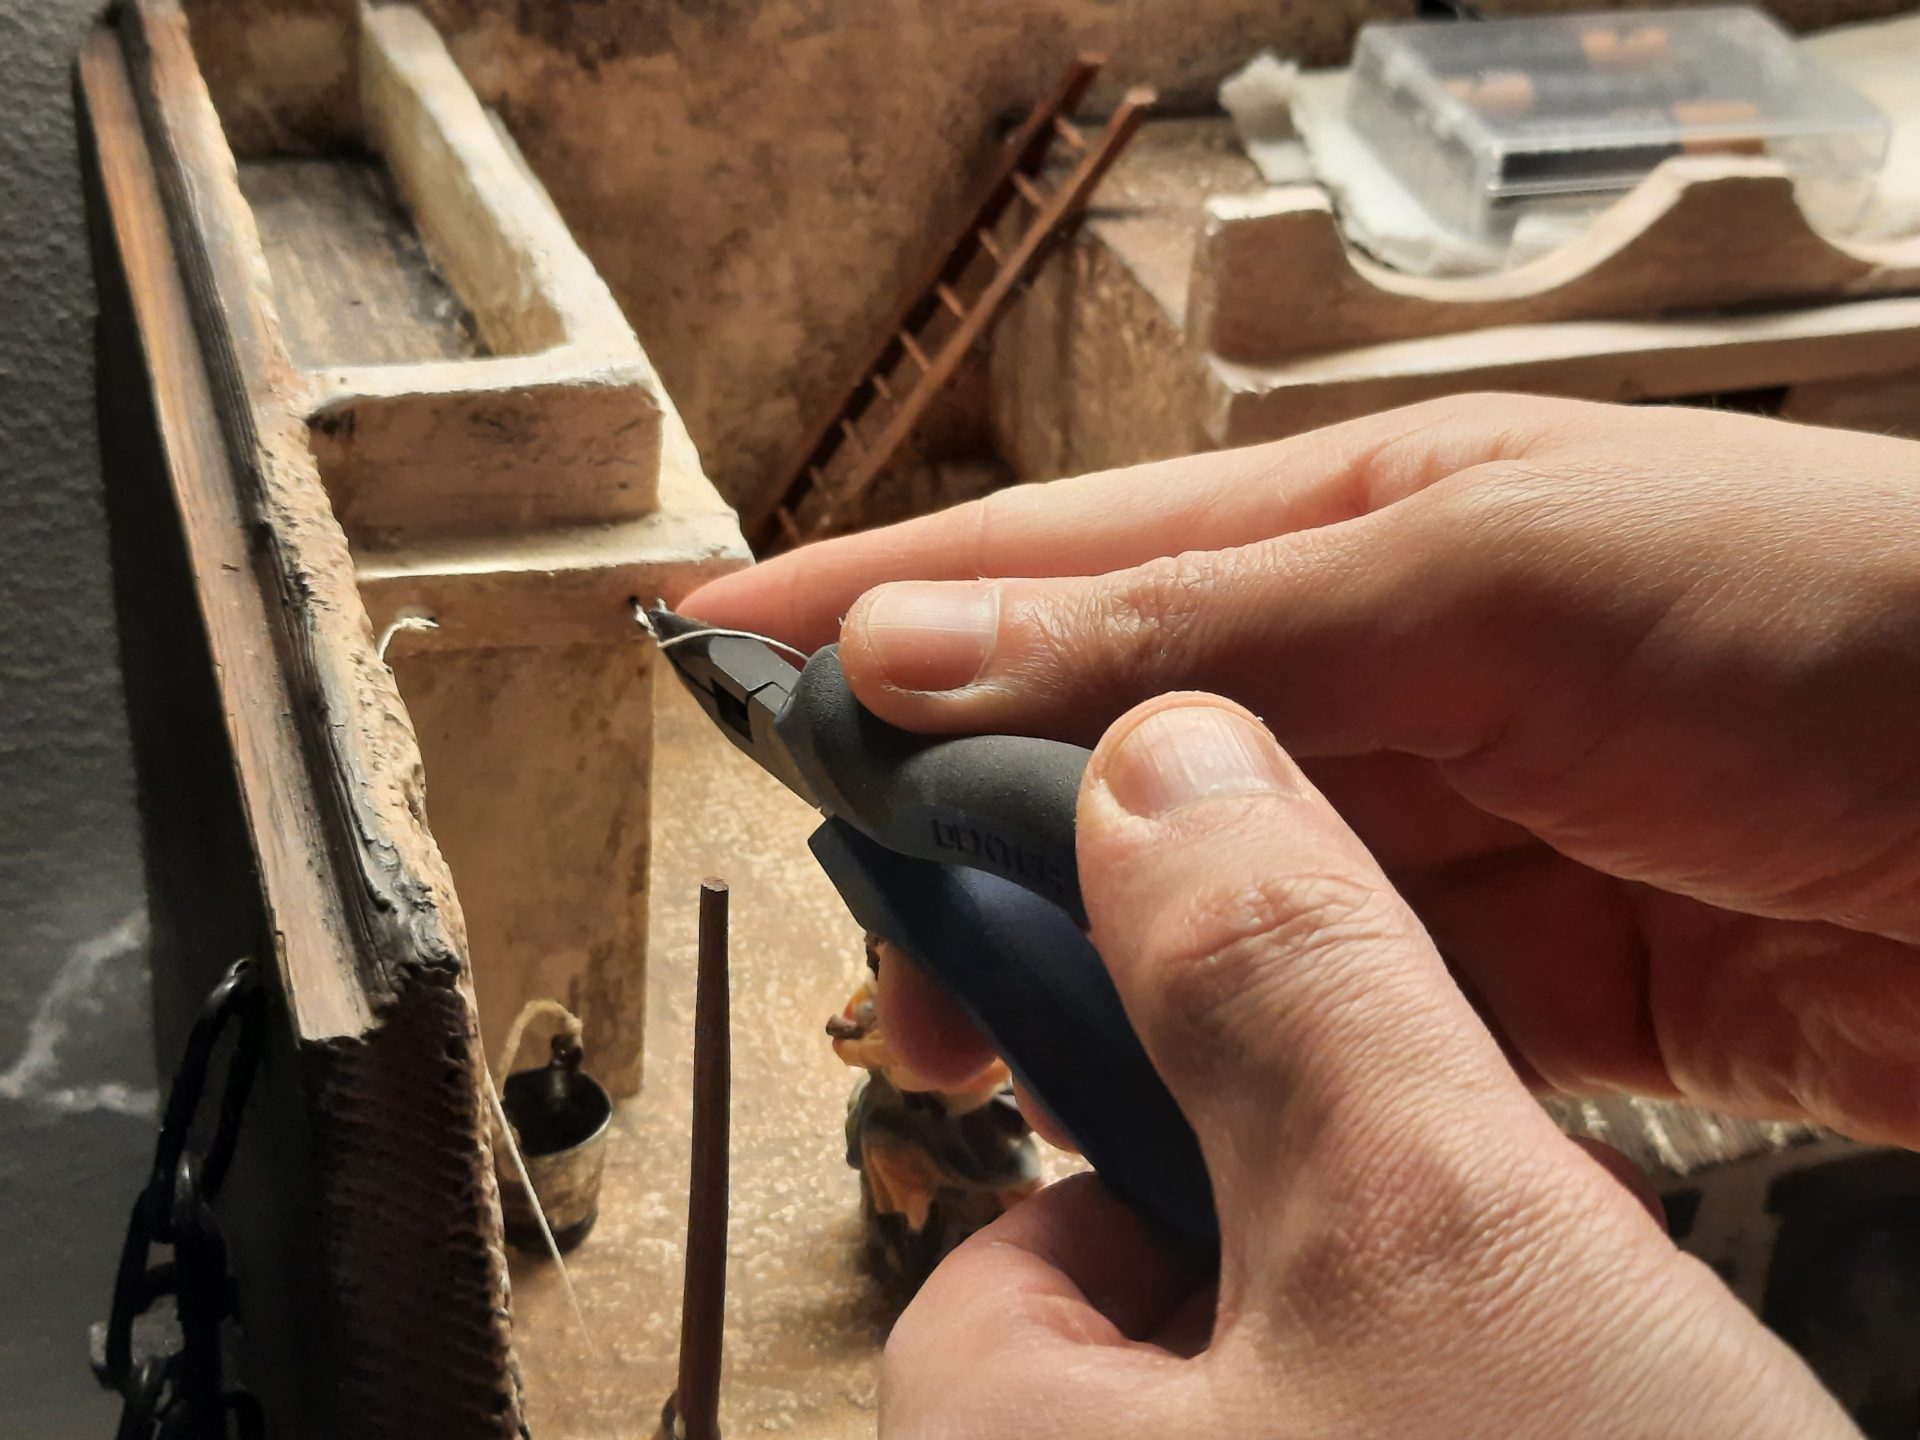
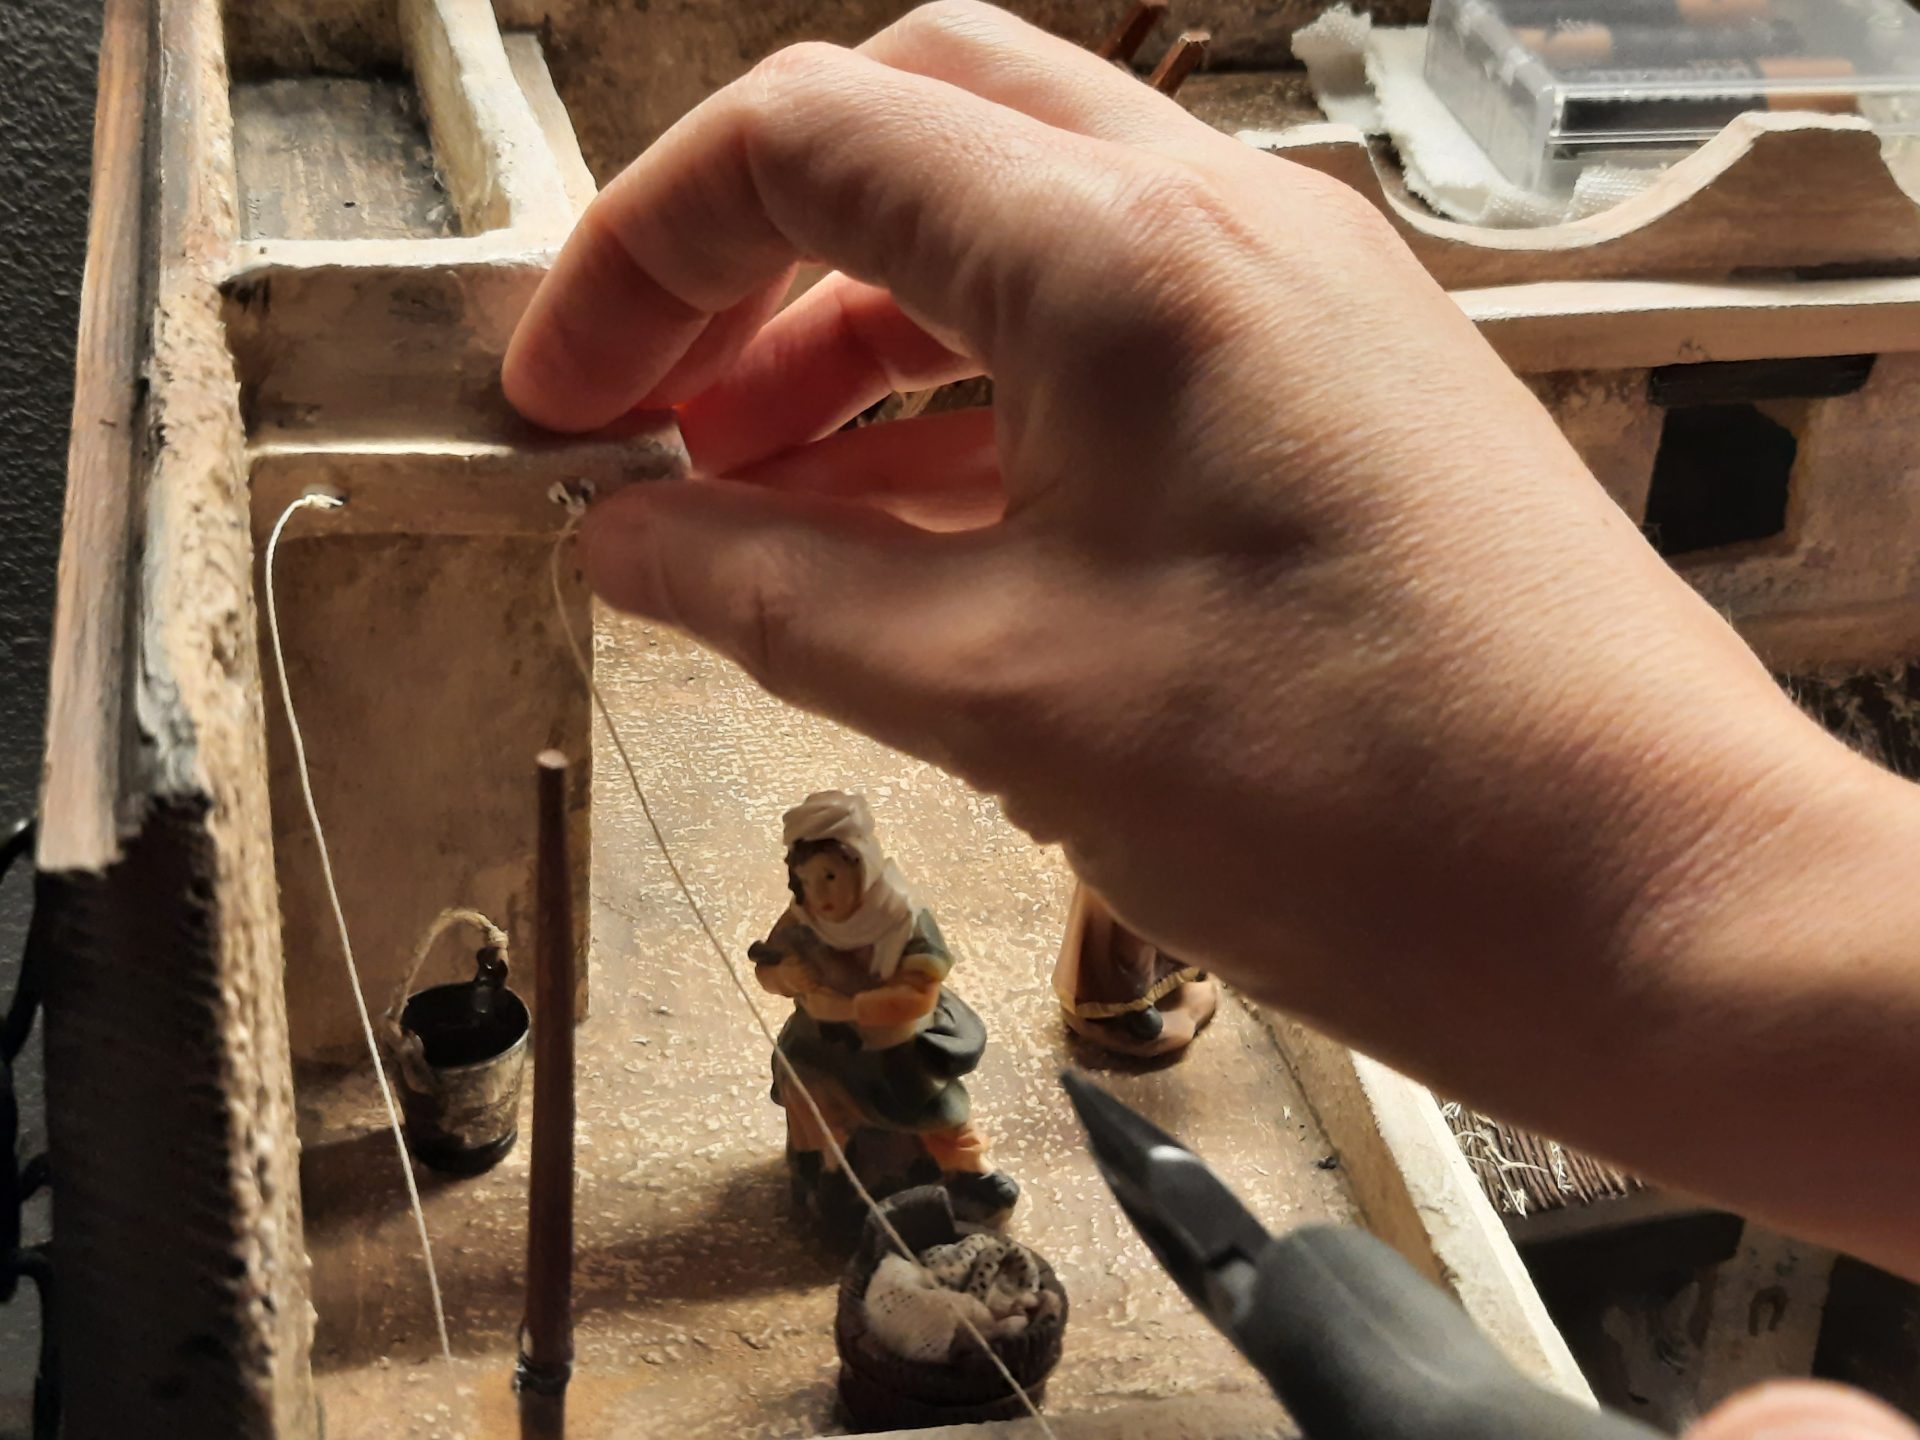
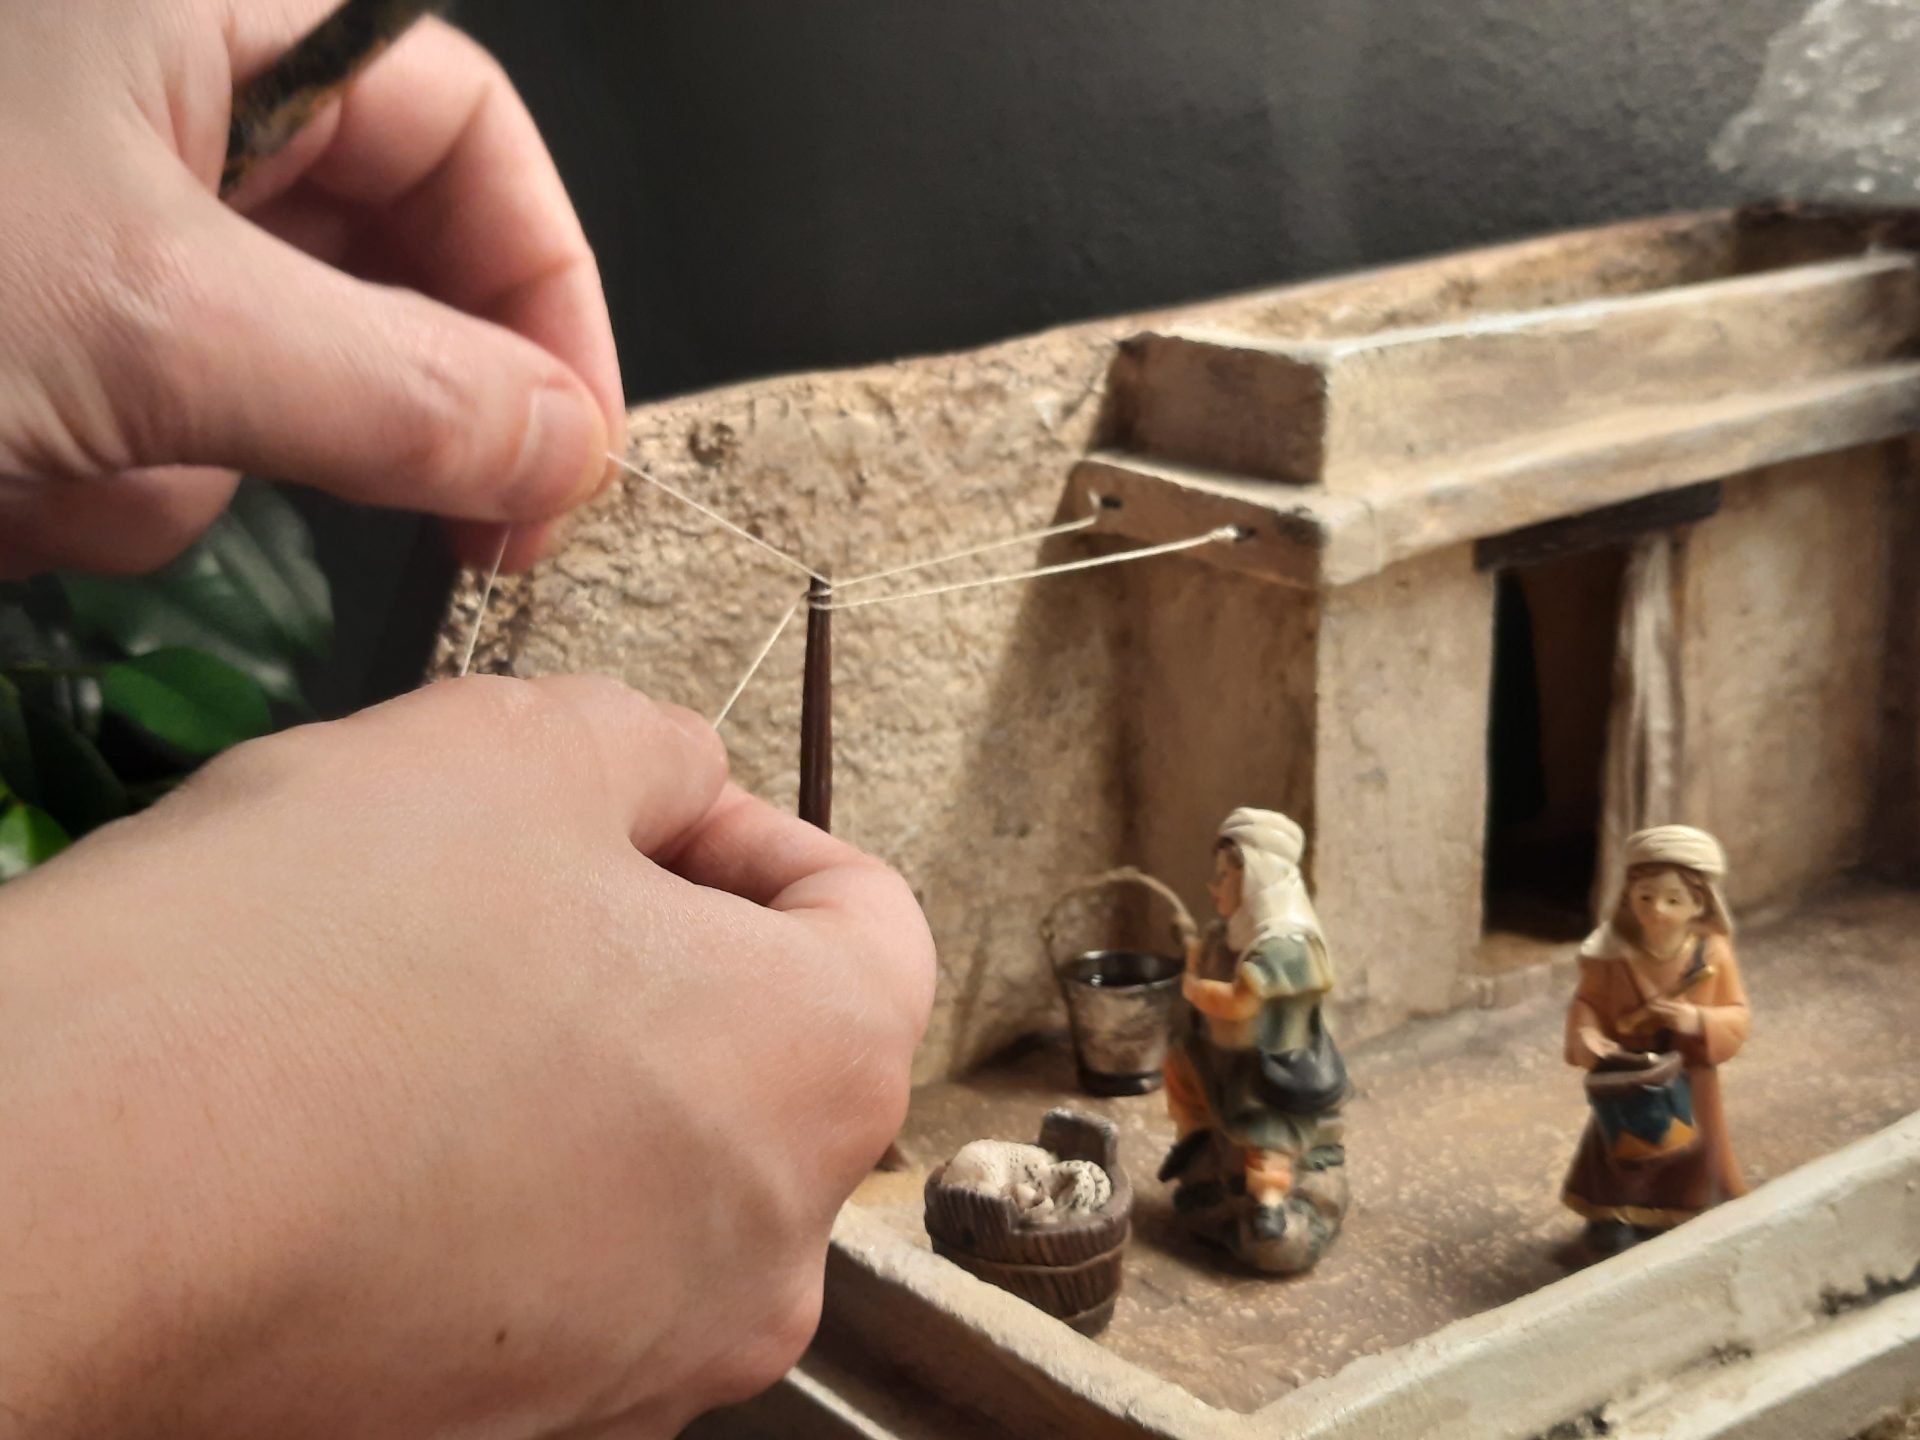
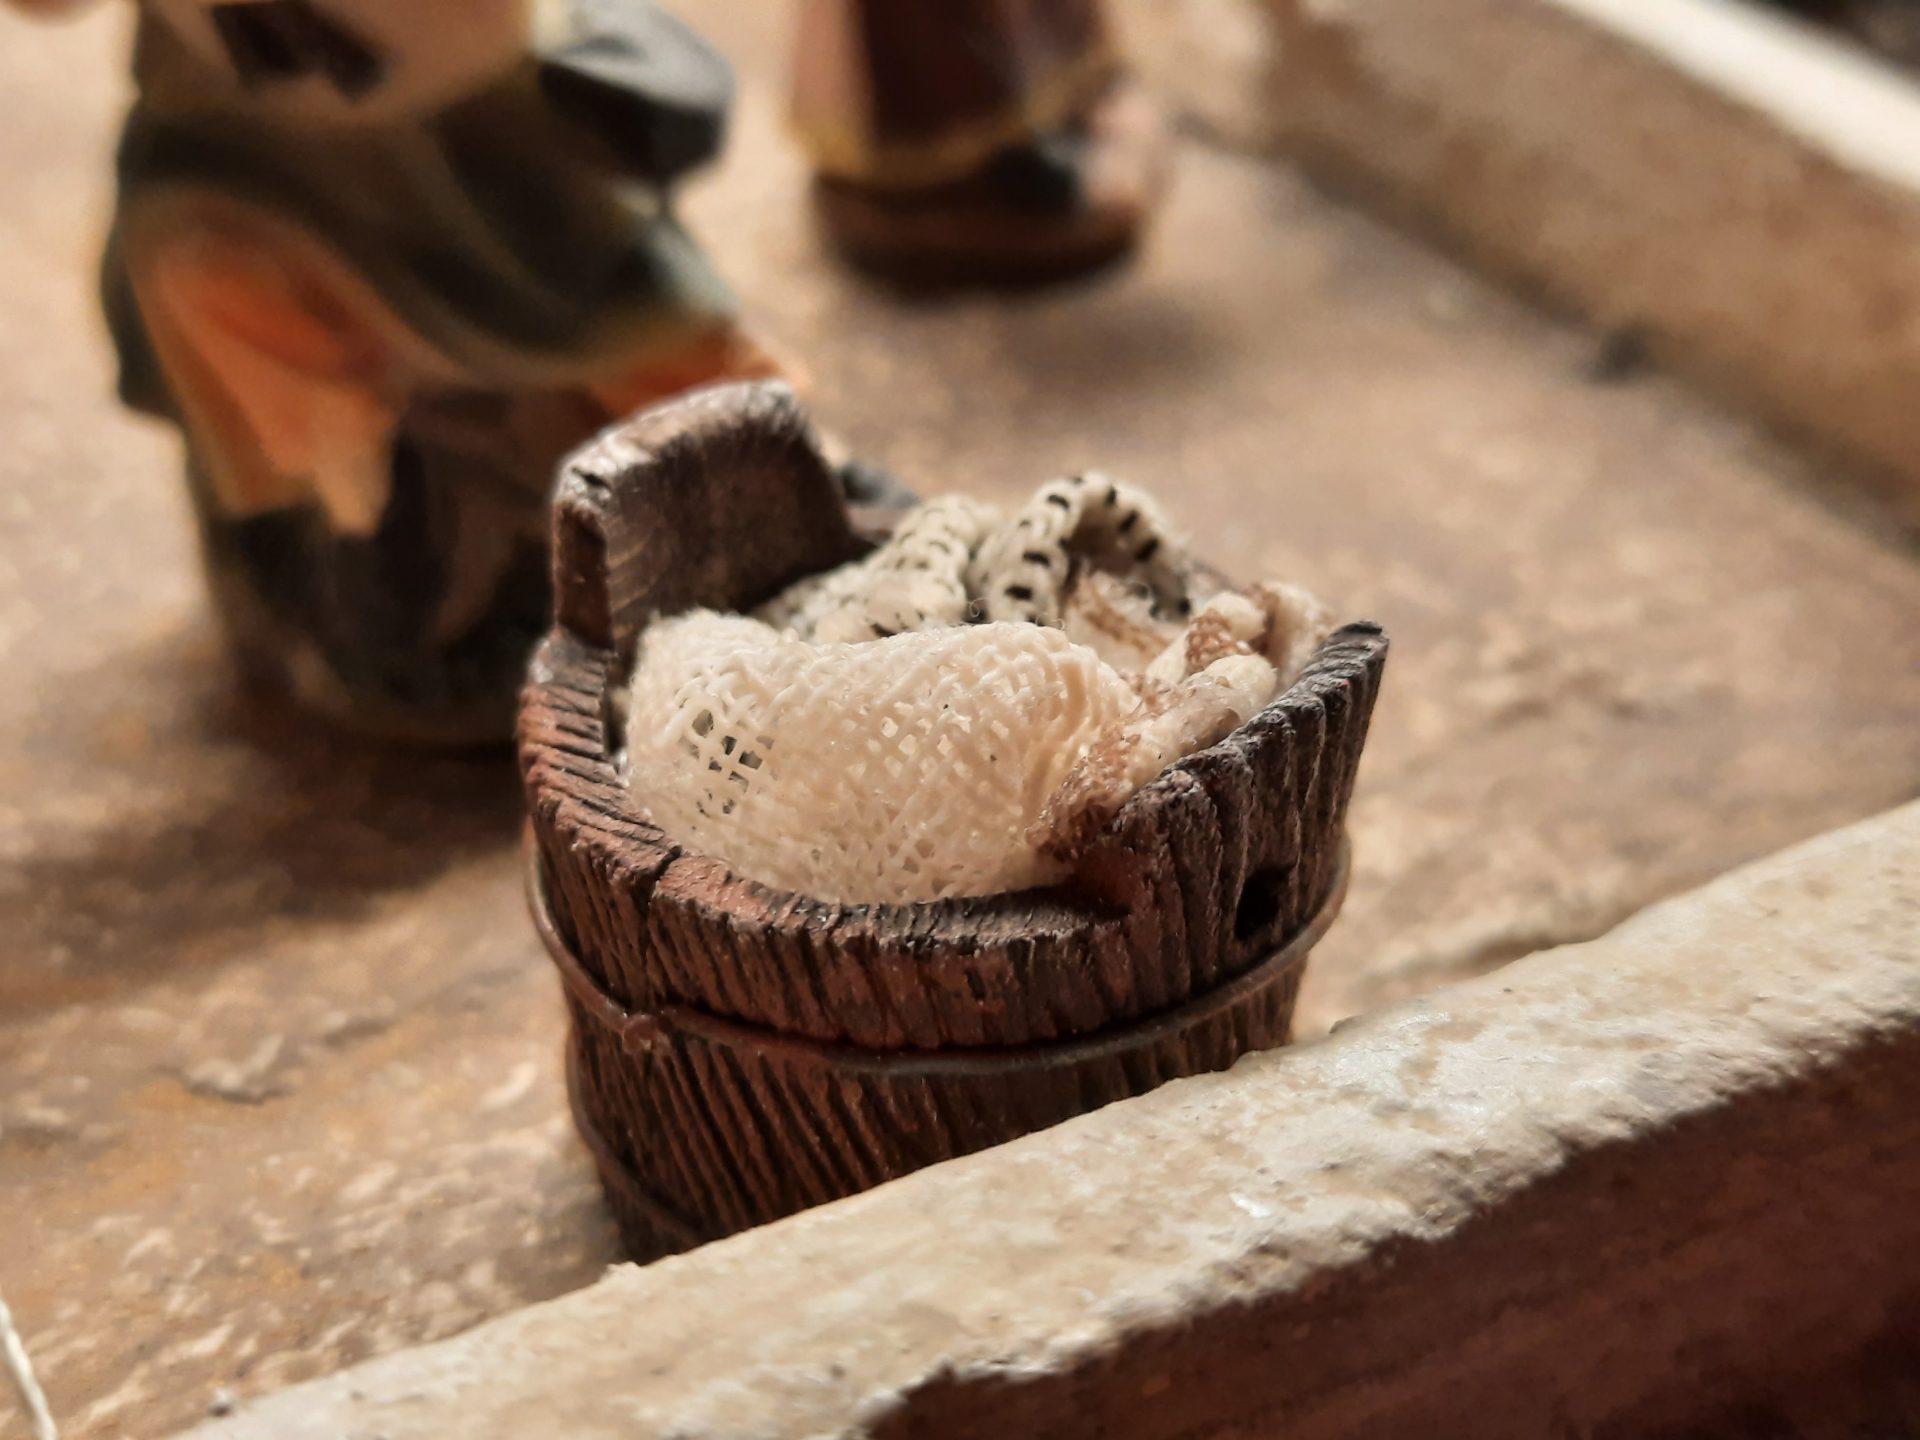
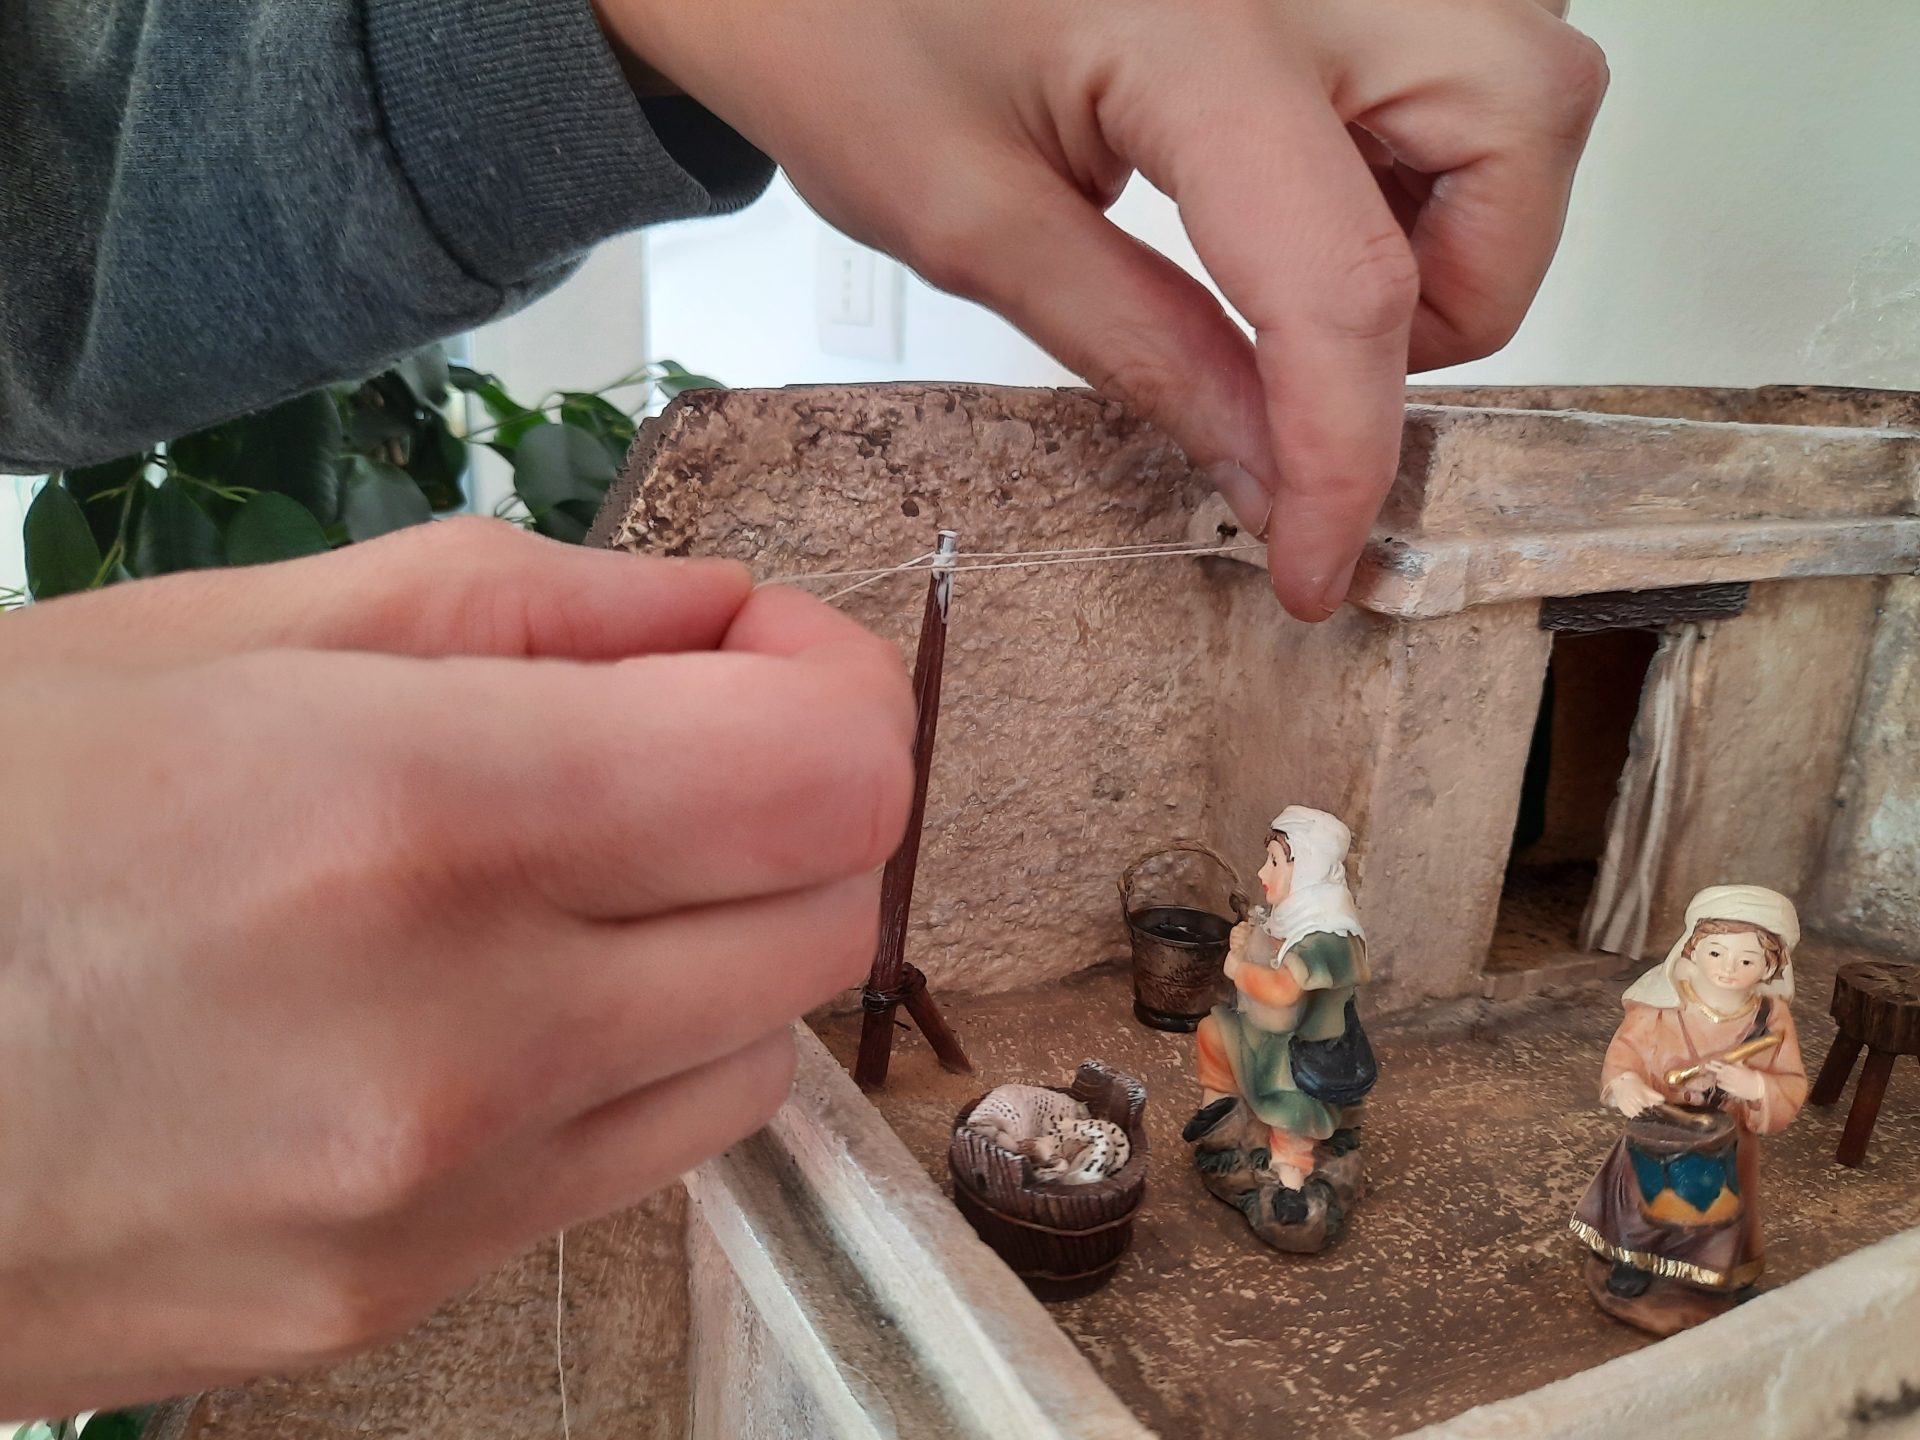
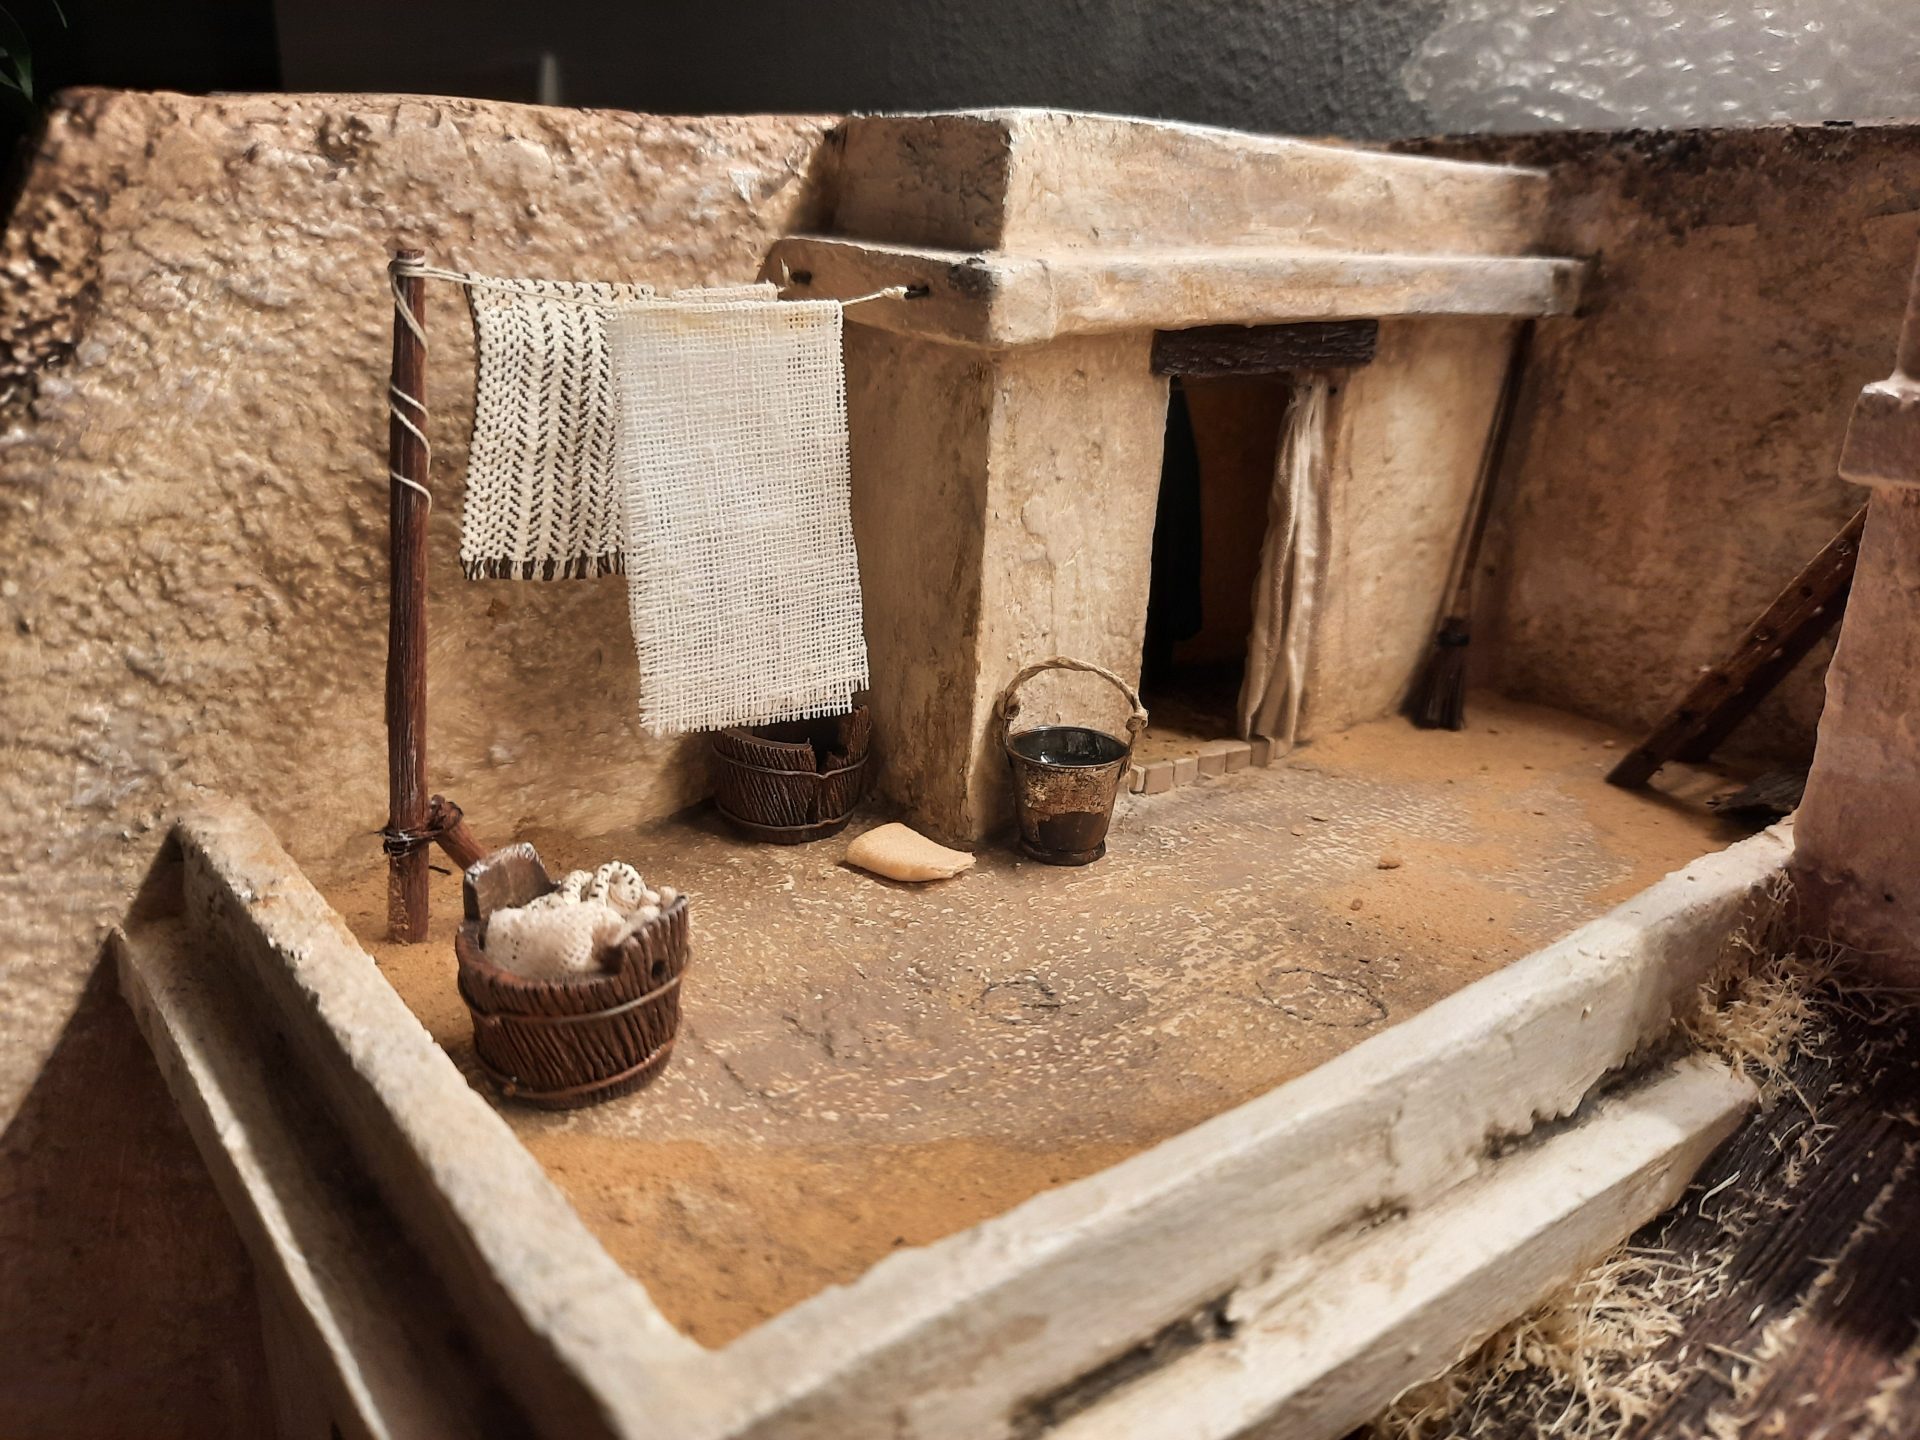
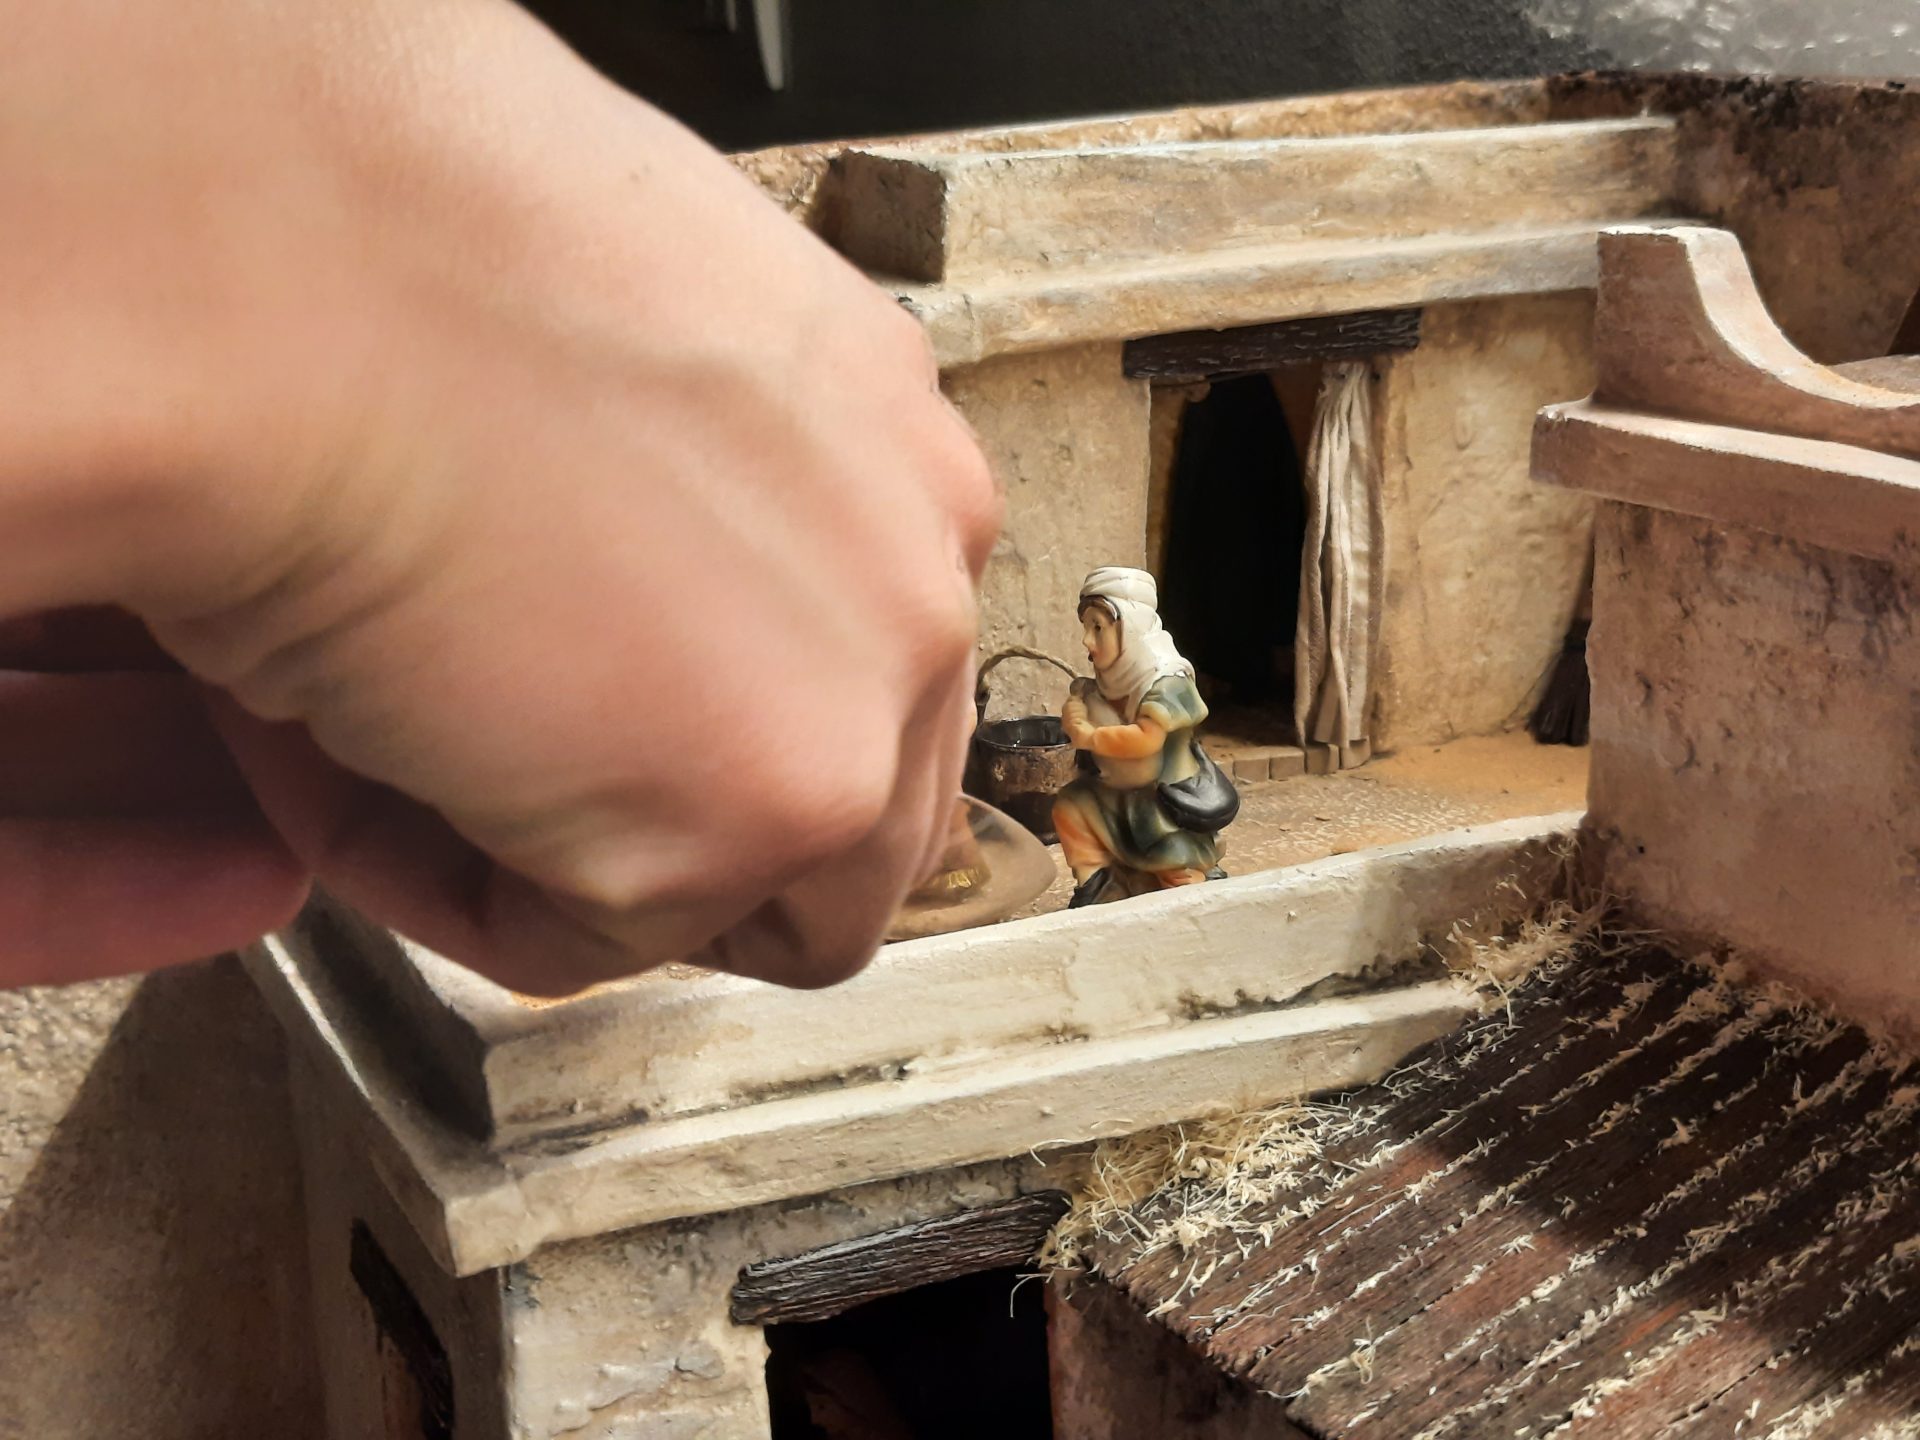
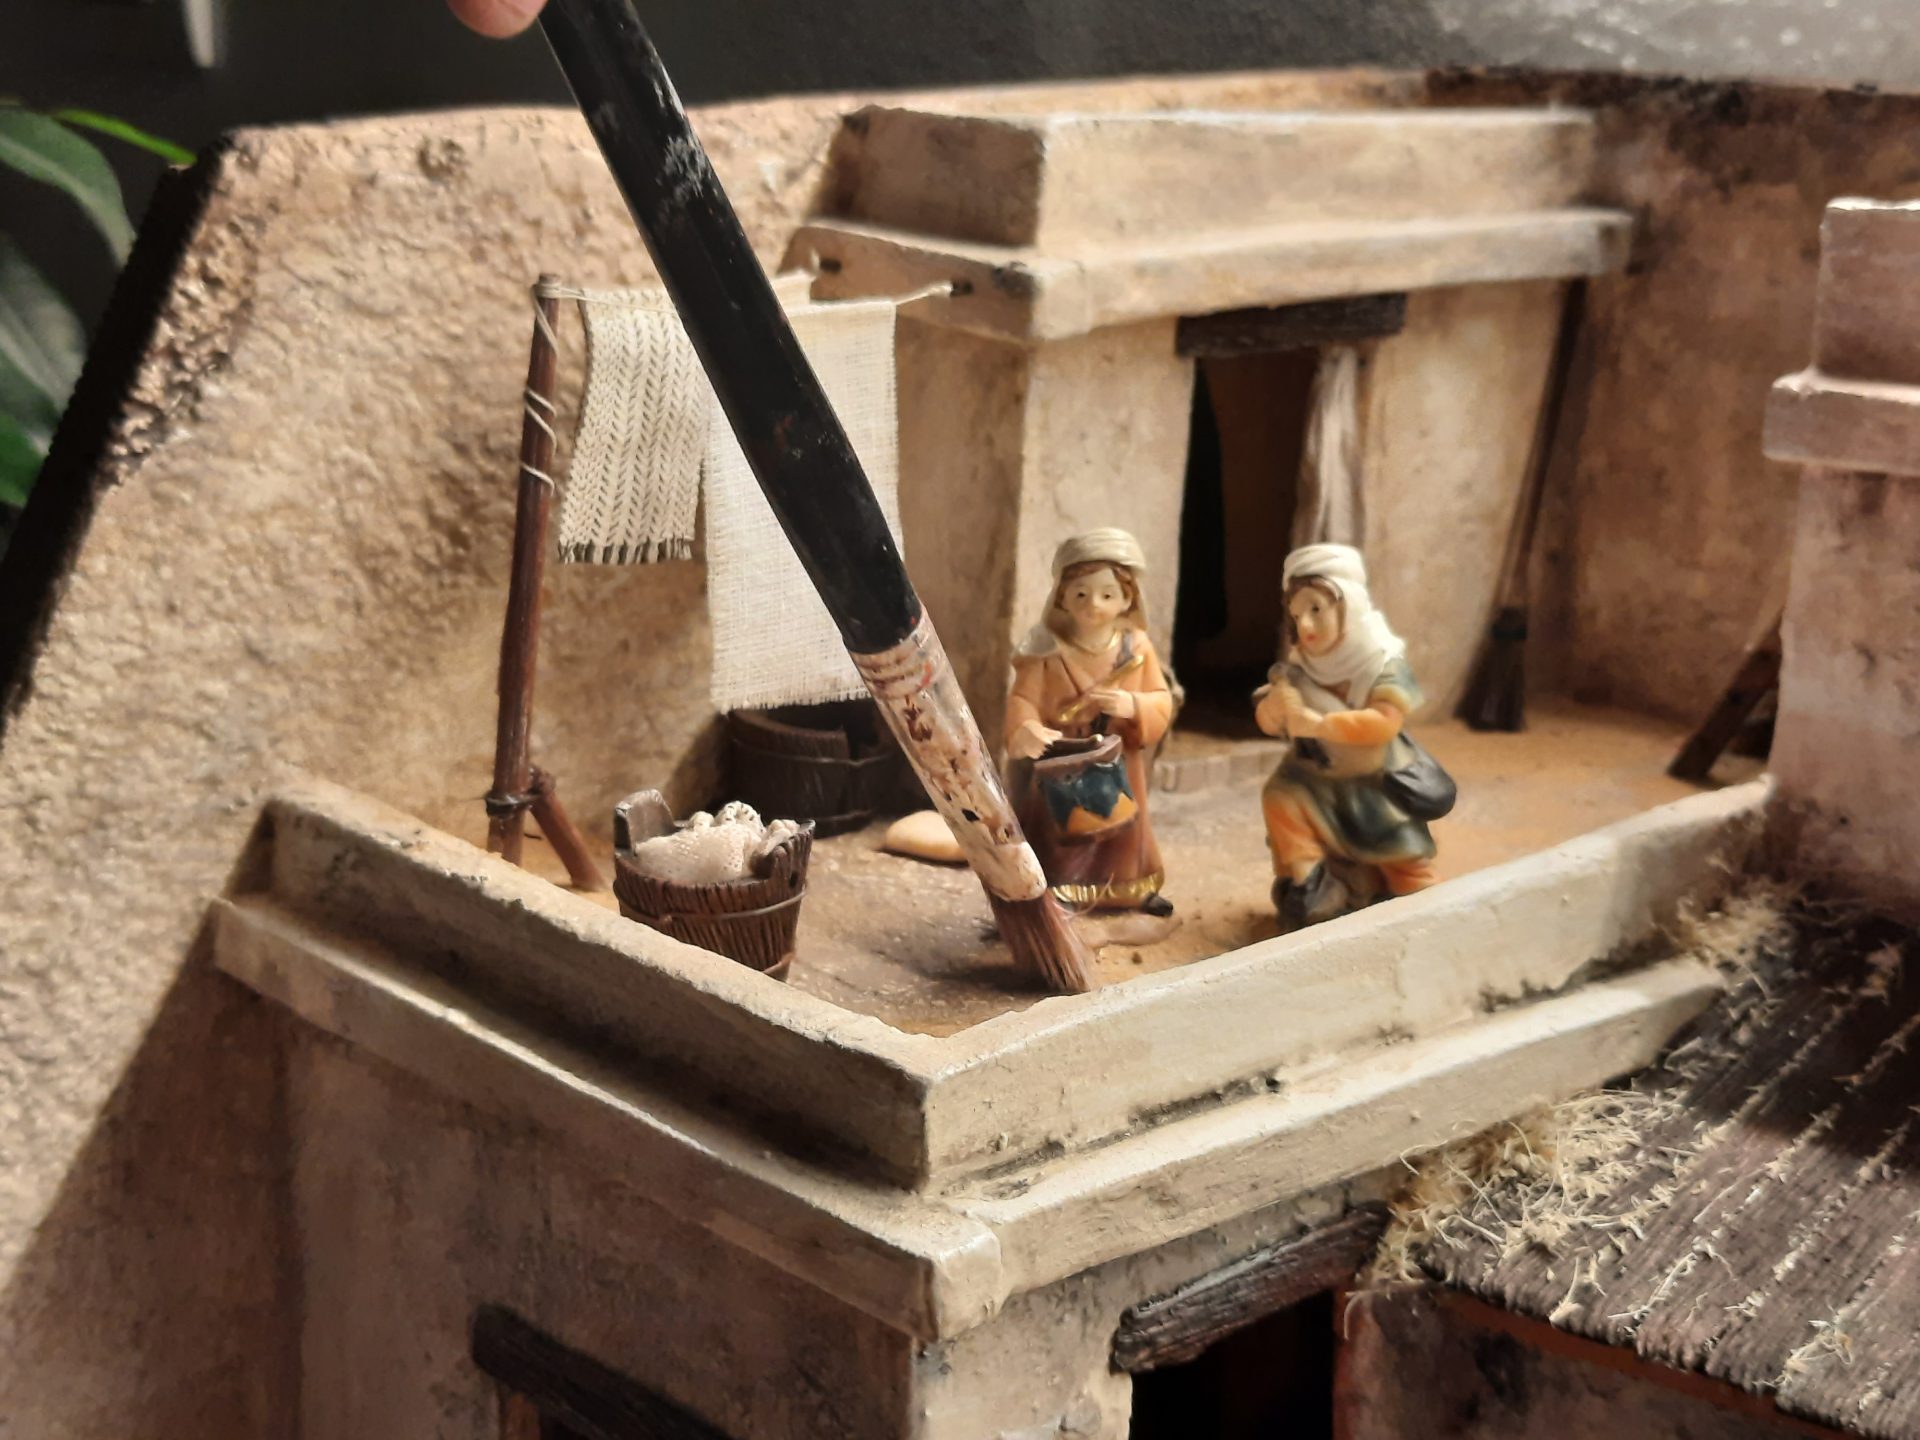
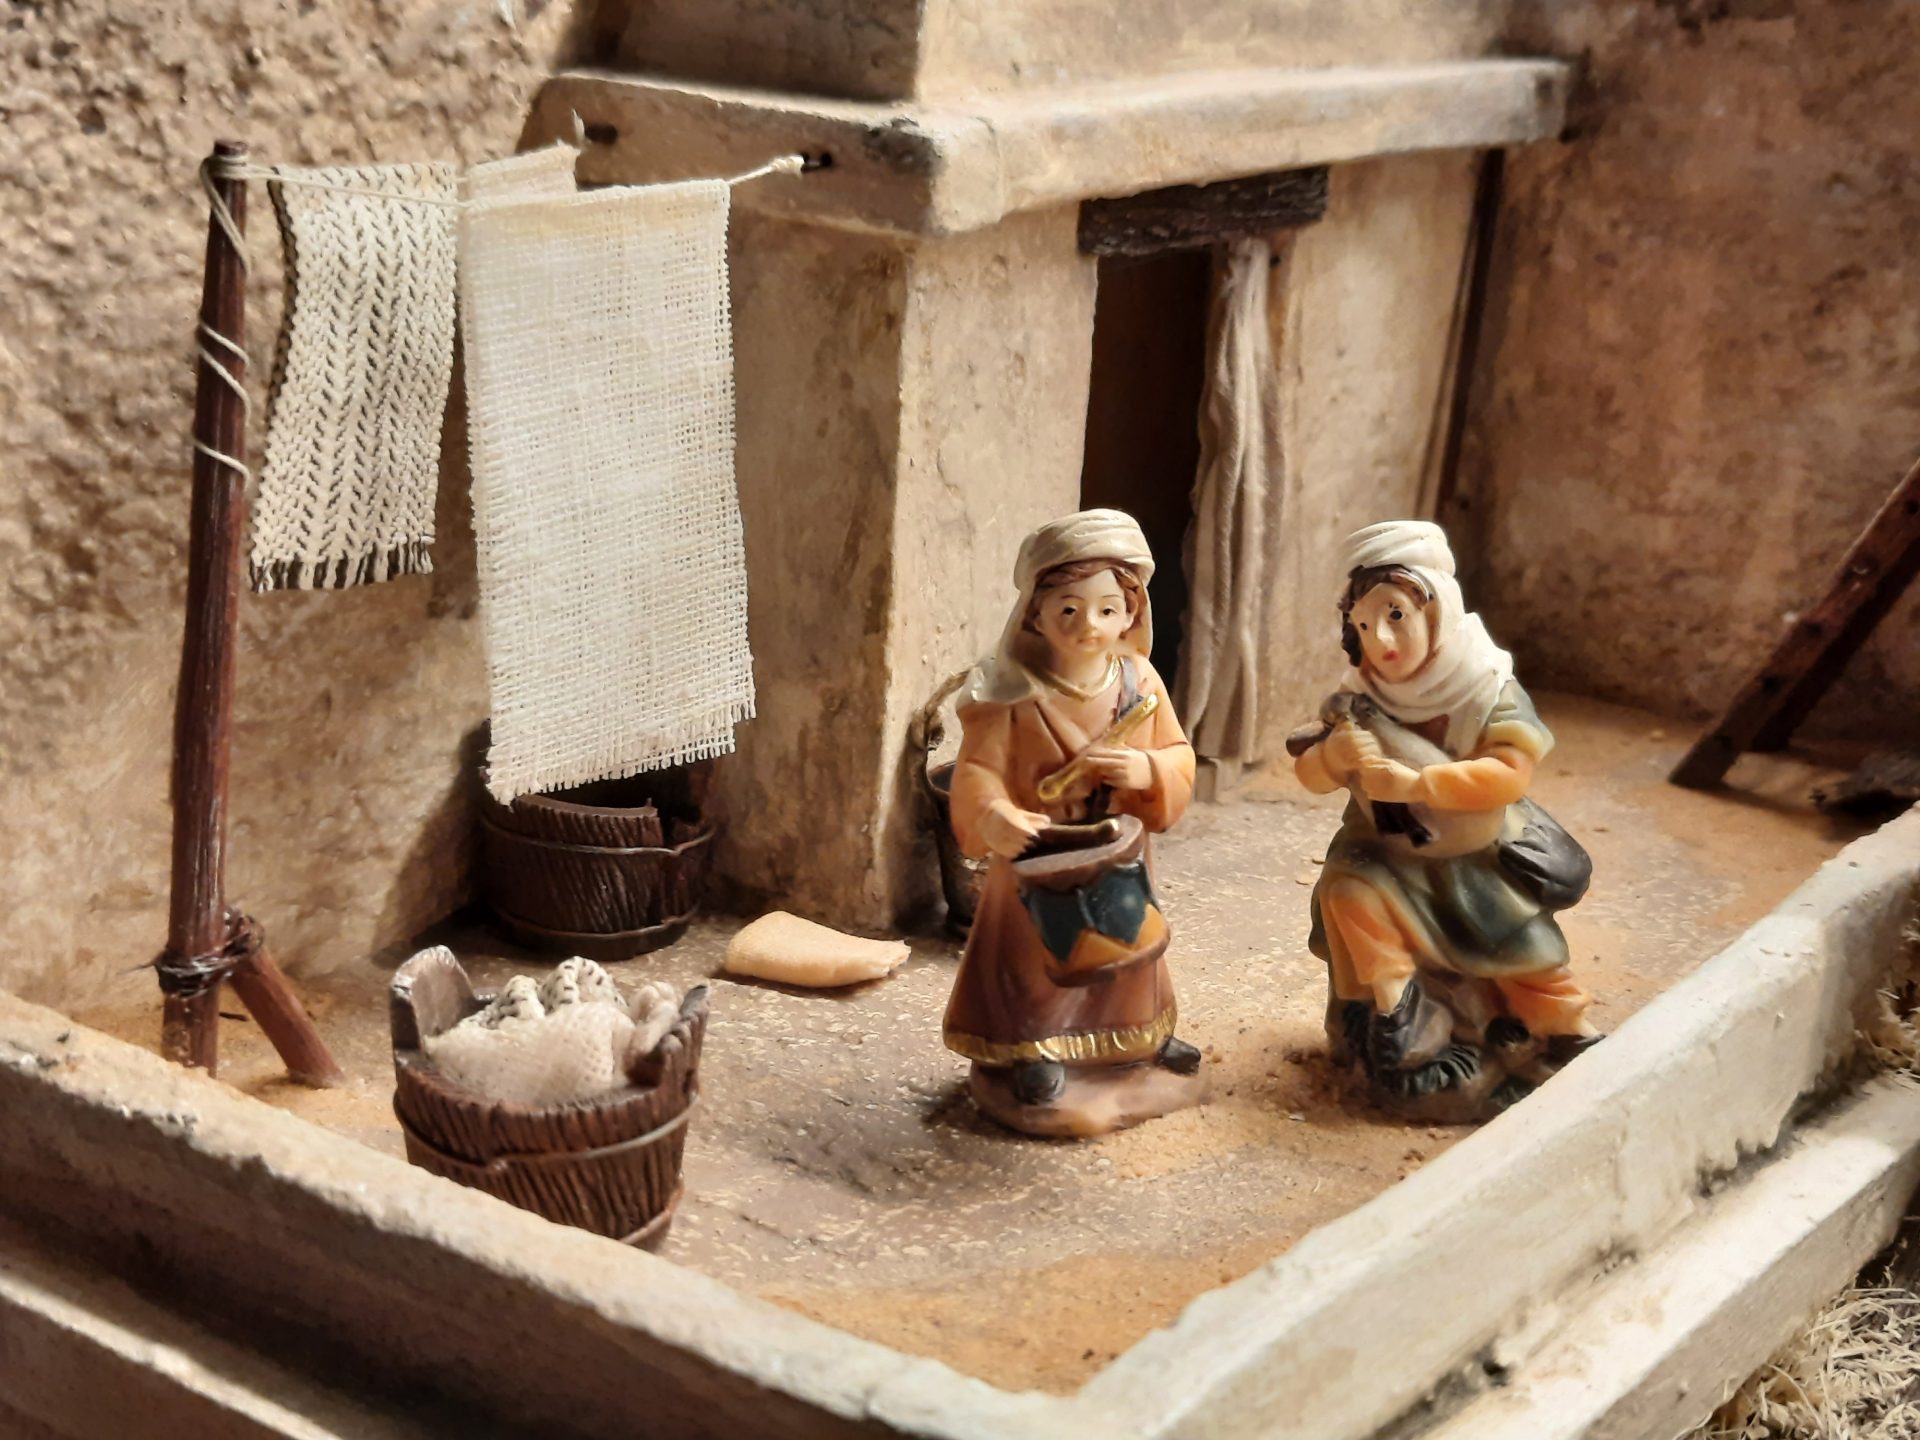
The other balcony, the one right above the kitchen, became a lively domestic corner. We decided to turn it into a space for hanging clothes, a touch of everyday life. My husband built the structure: a wooden pole with two ropes stretched across to a higher roof. I filled a small wooden bucket with folded fabric ready to be hung, and we dipped two scraps of cloth in vinyl glue so they would keep their shape fluttering from the ropes.
While we were working with fabrics, we also dressed the doorway that opened onto this balcony. A curtain was added and left slightly open, offering a glimpse into the room behind. Inside, another piece of fabric was fixed to the wall as a cape, suggesting someone’s garment set aside.
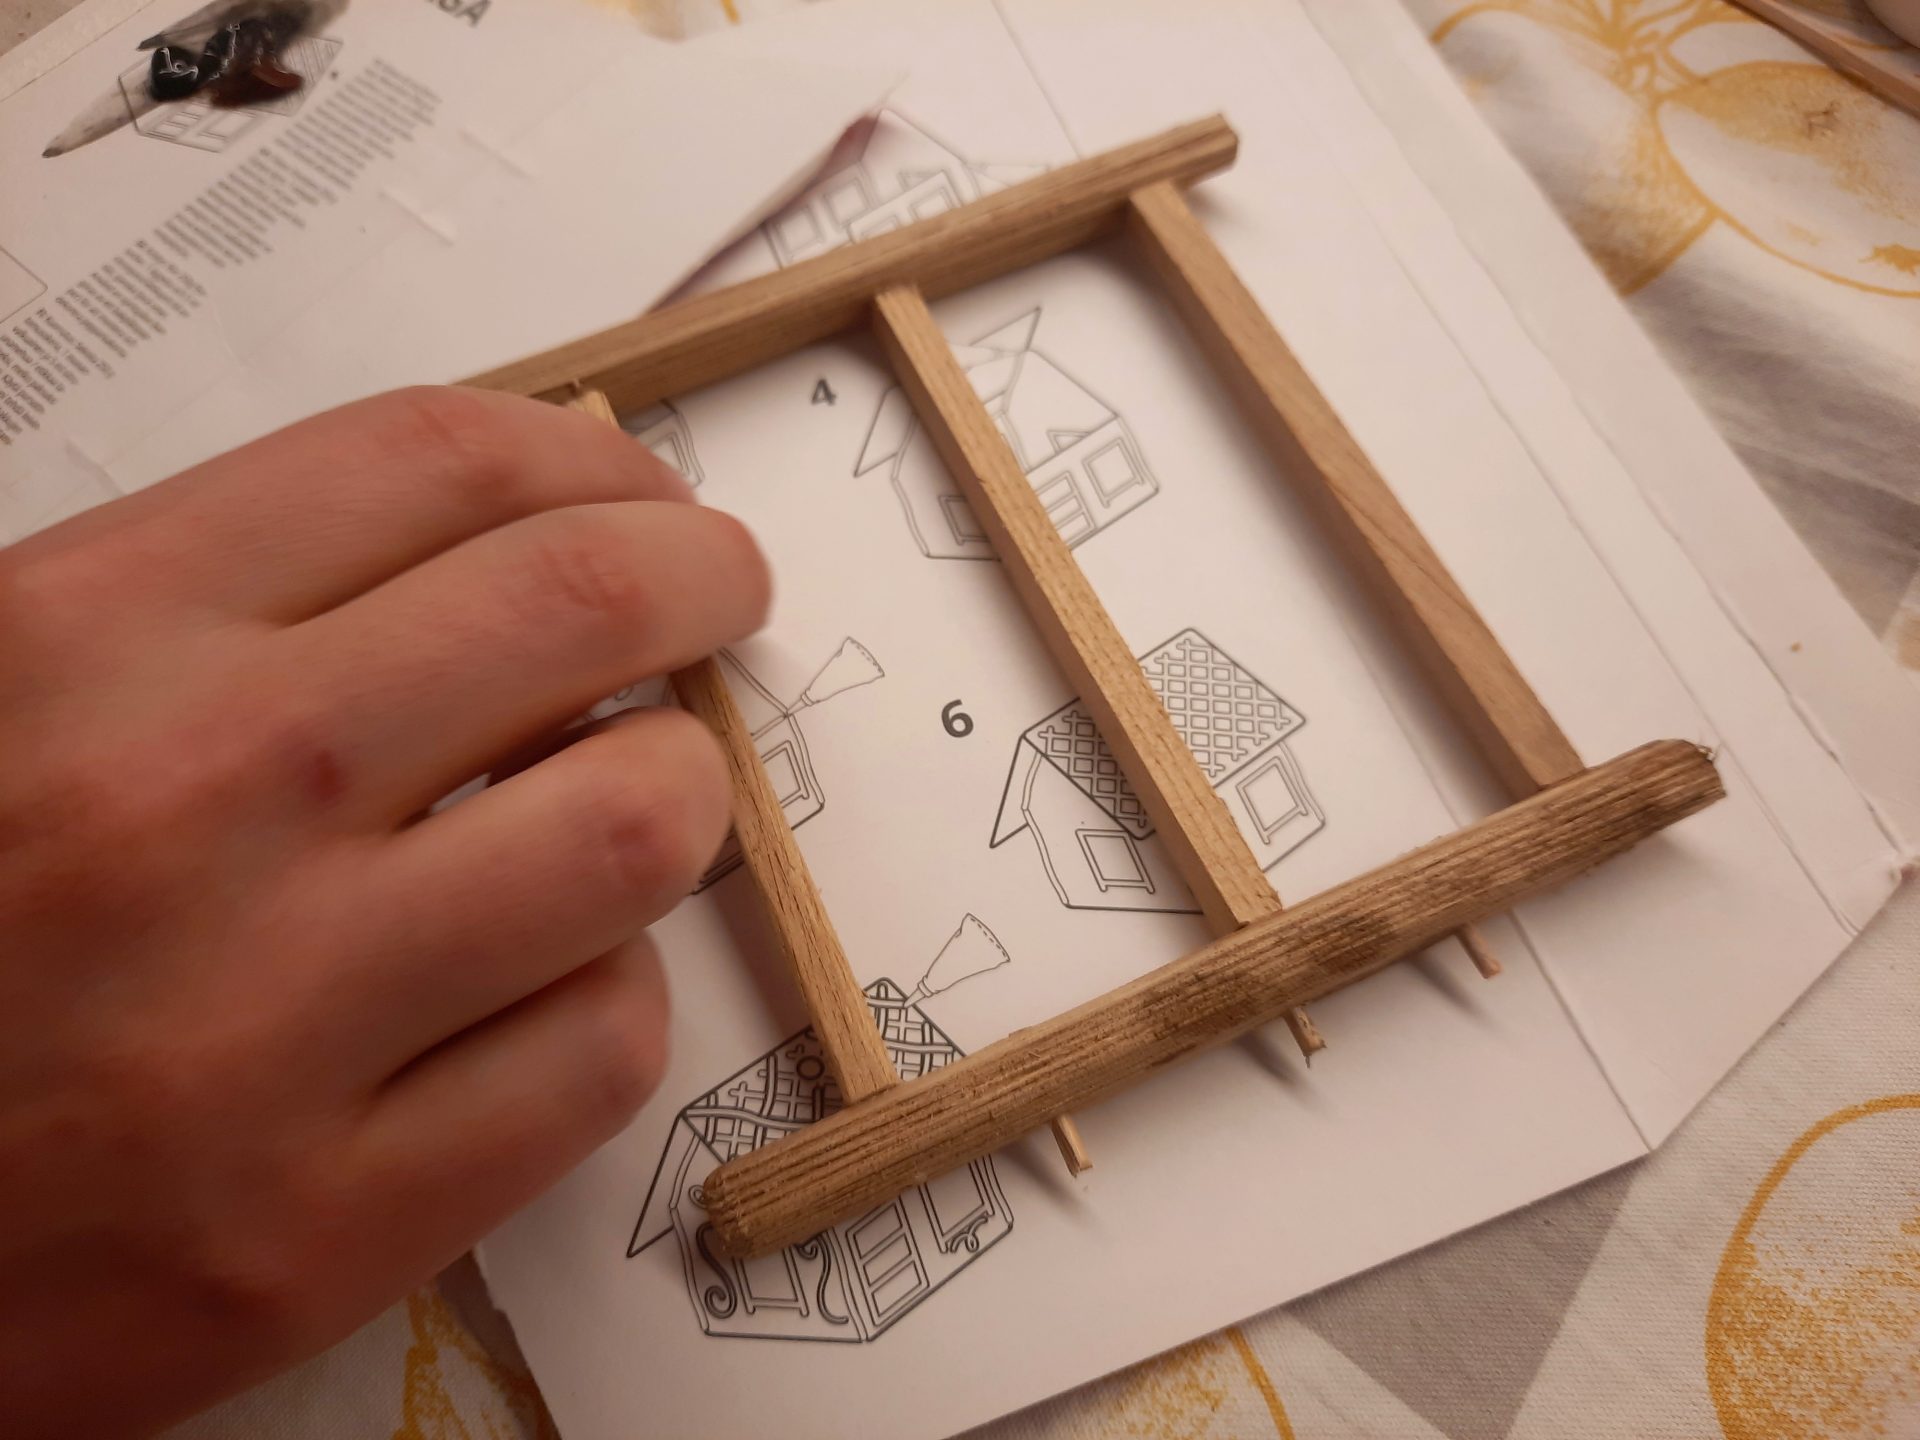
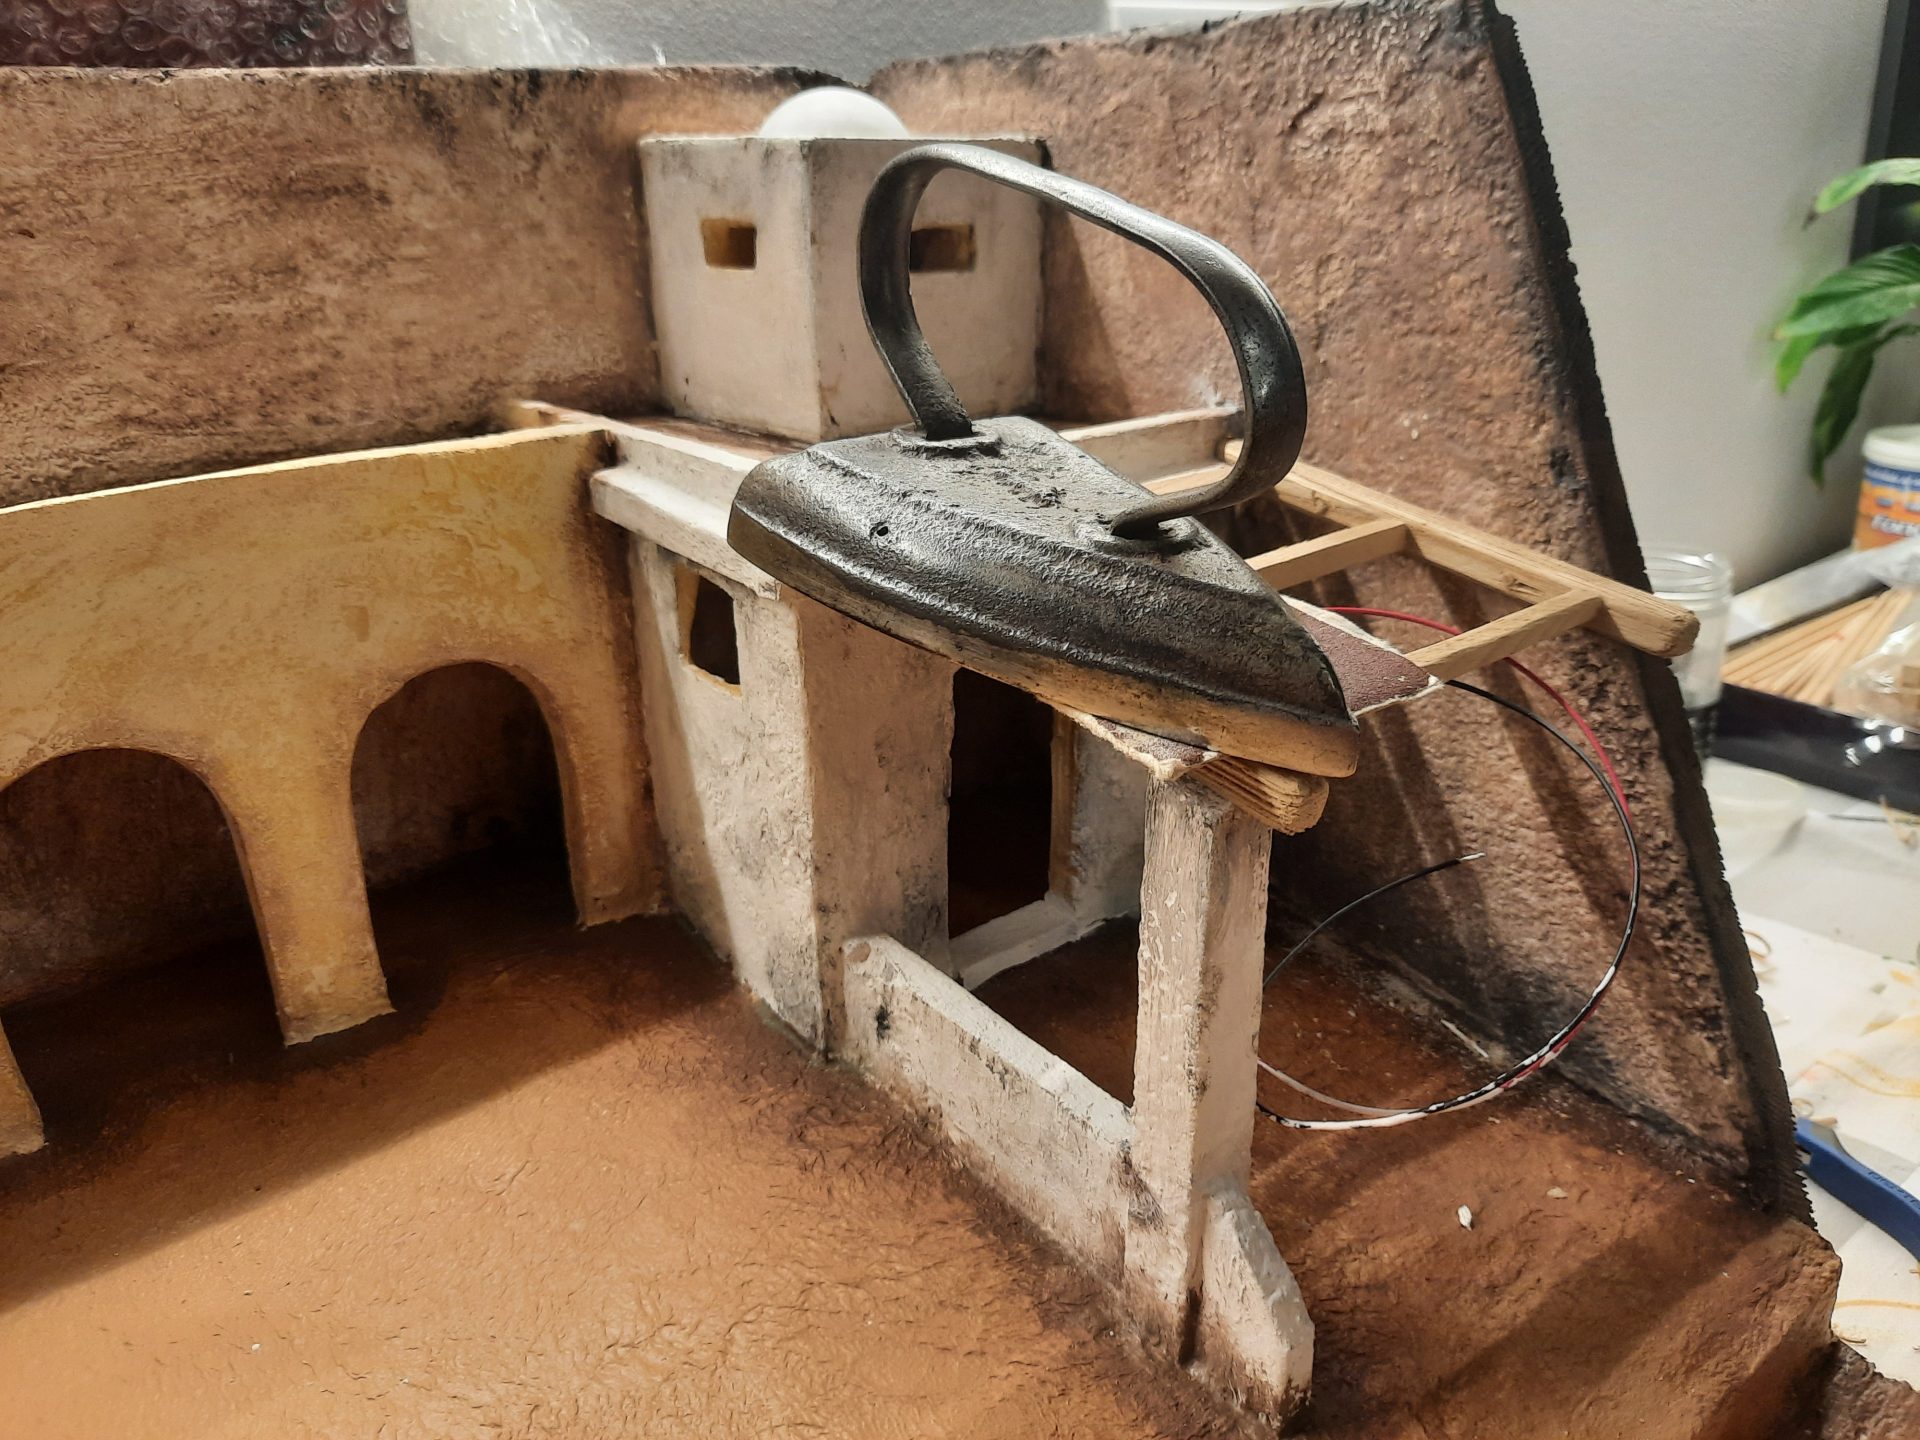
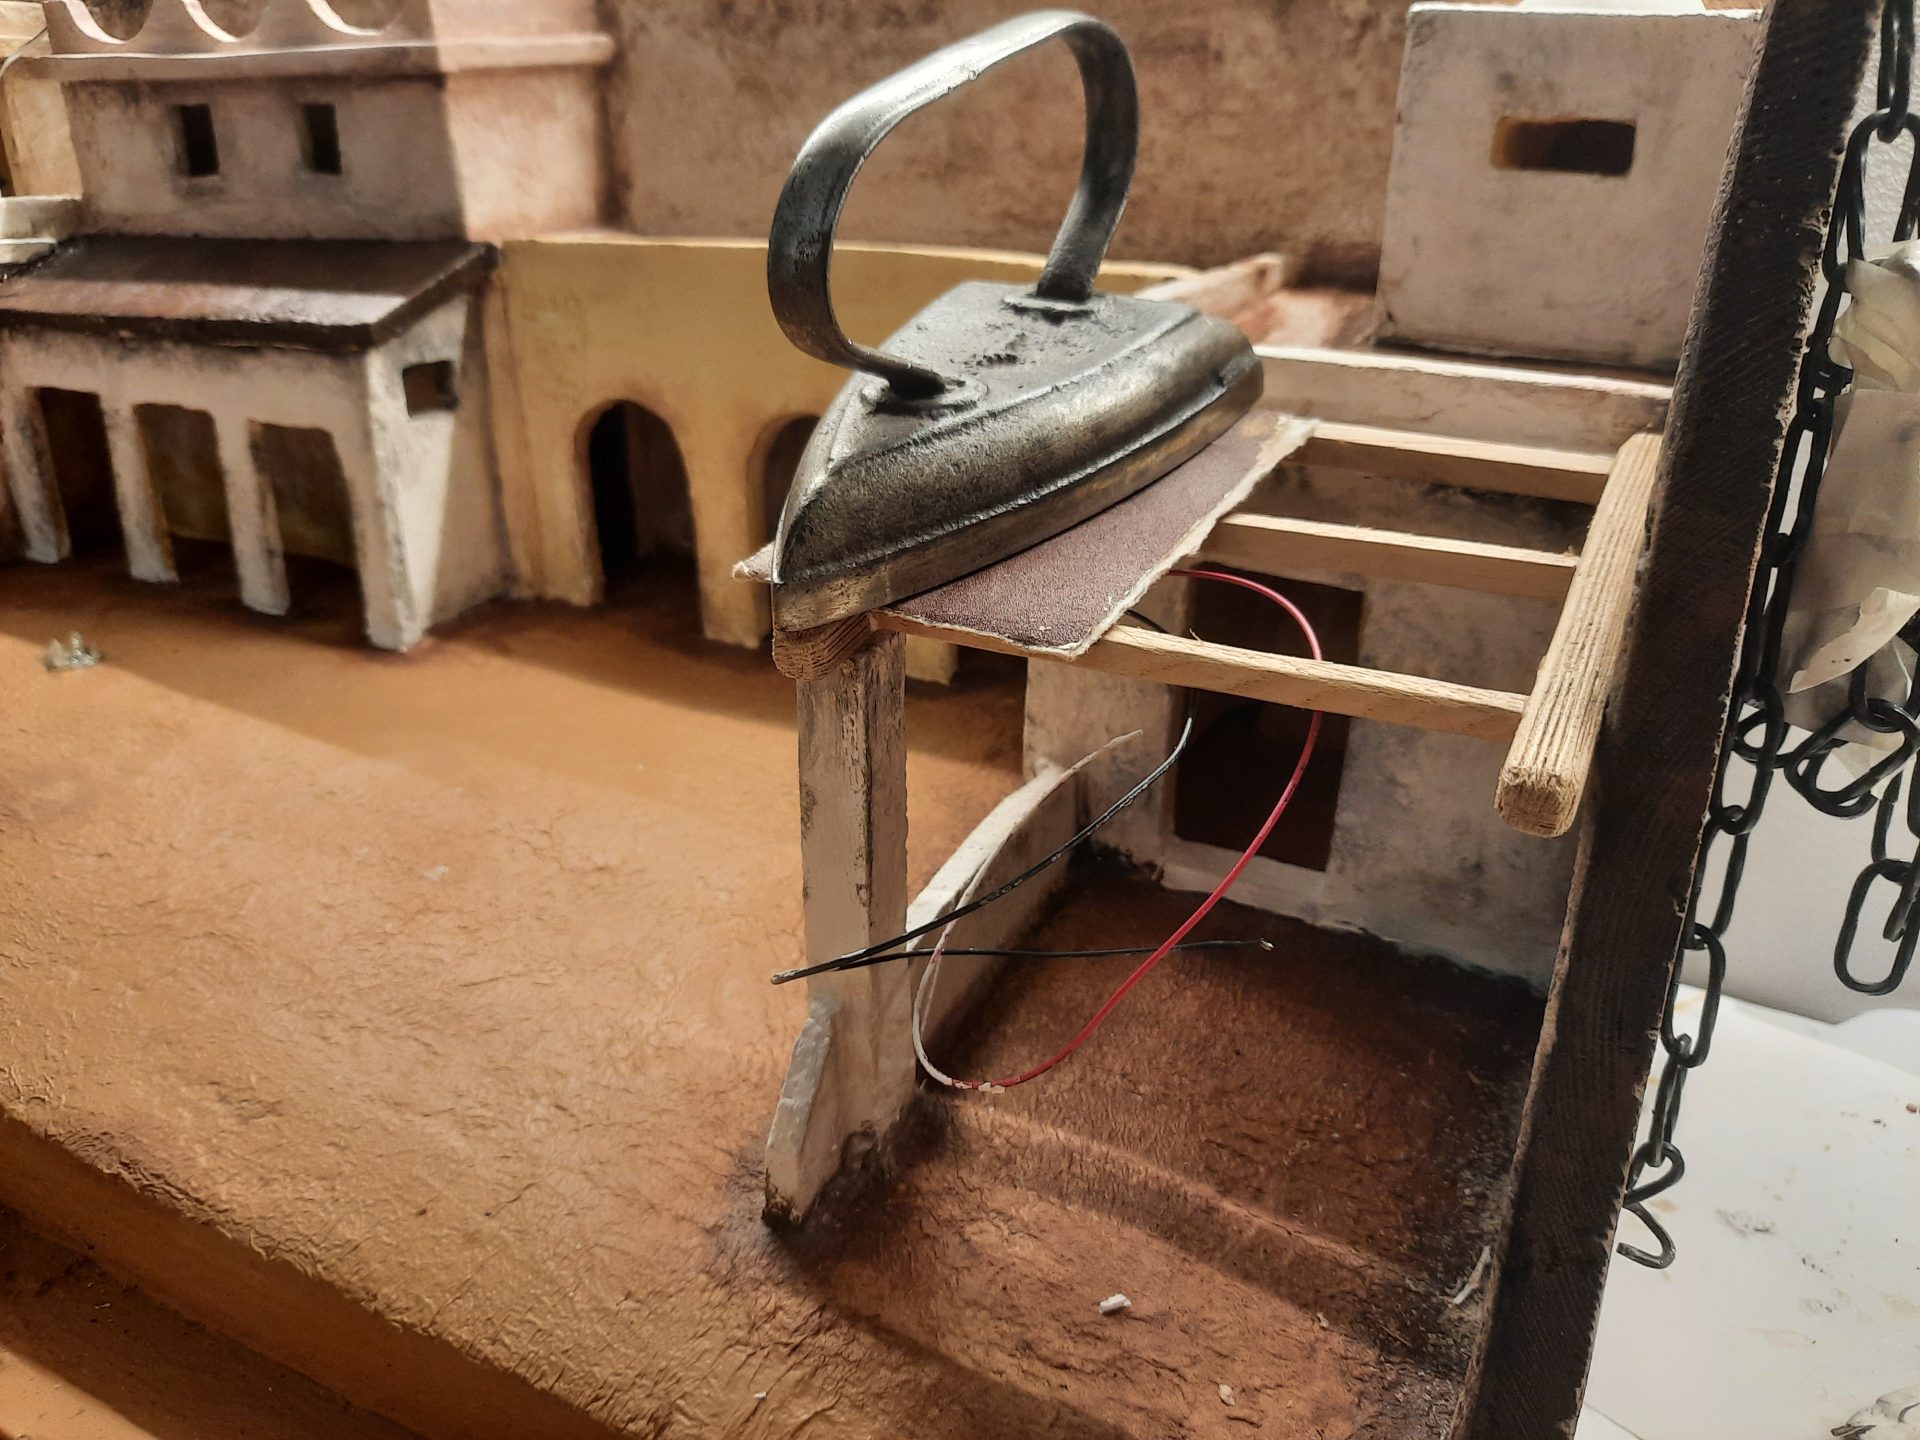
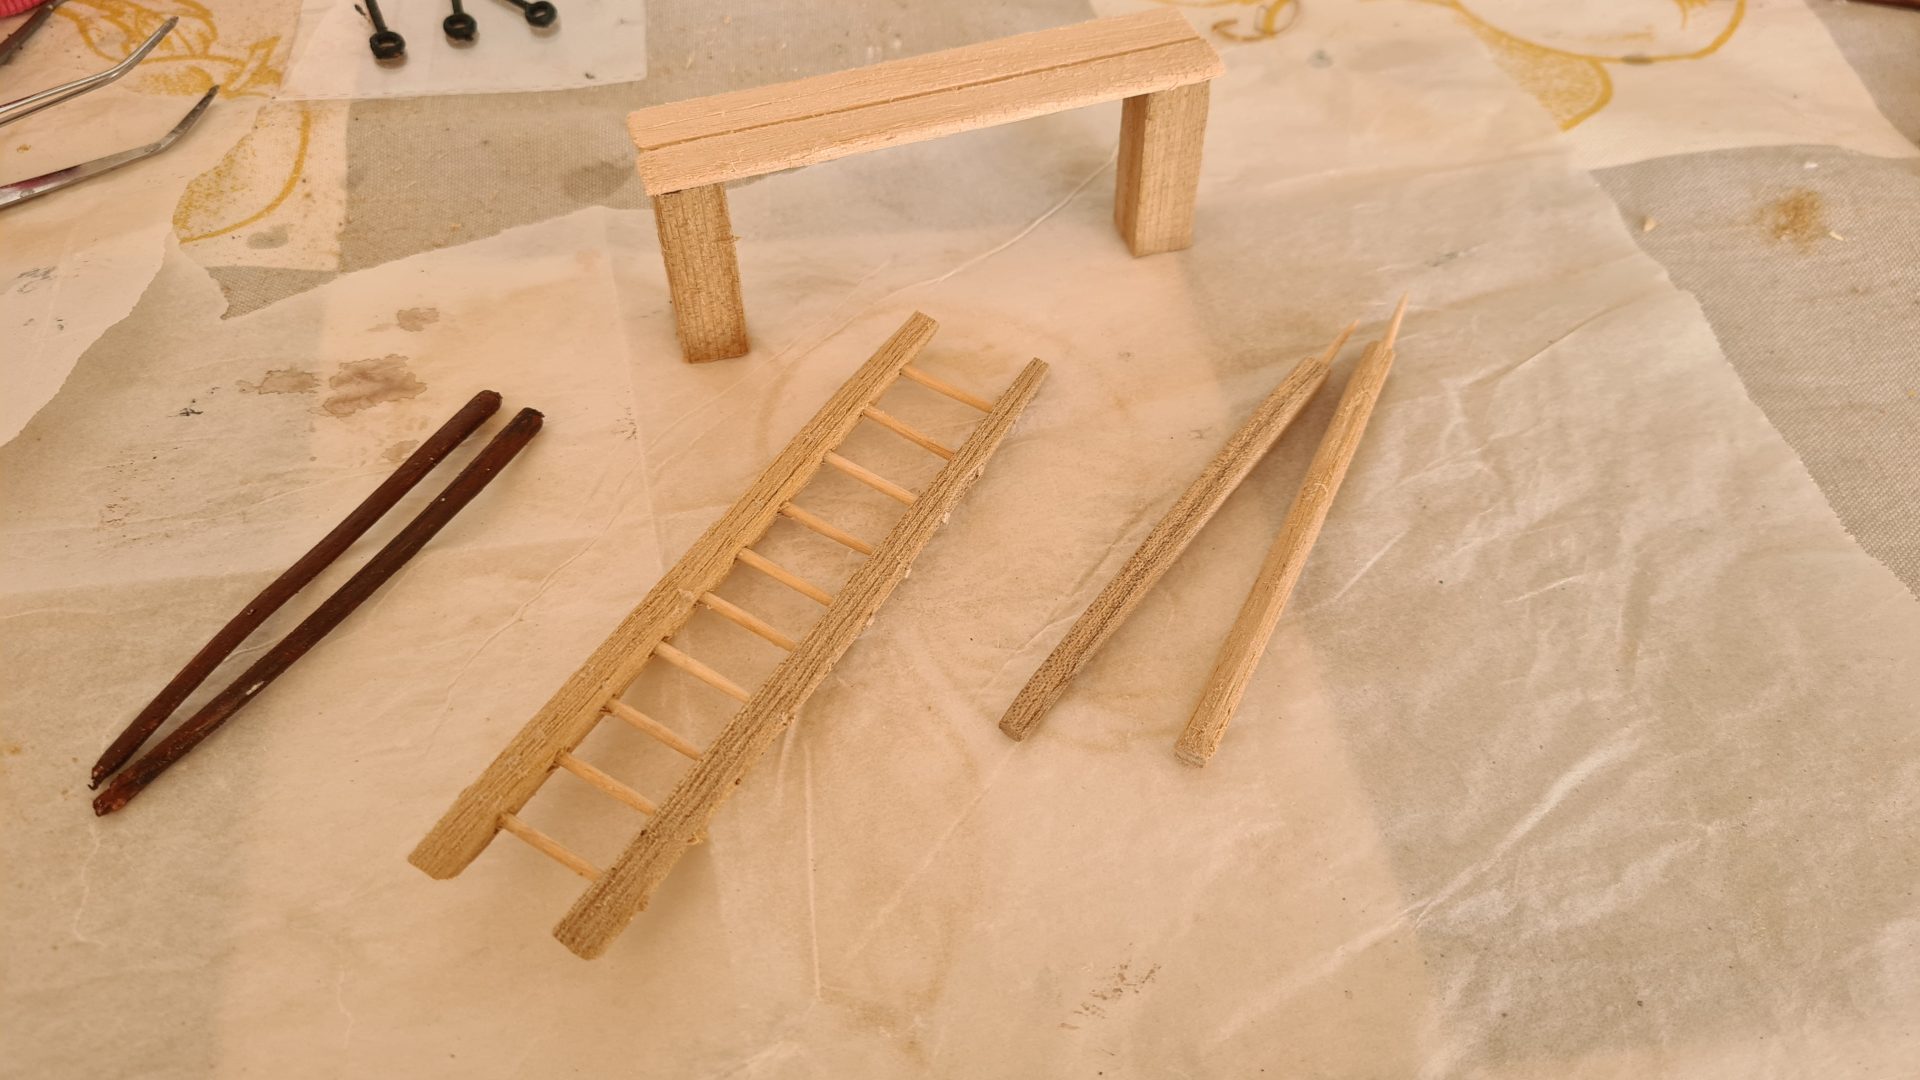
A broom leaning against the outer wall and a wooden ladder reaching up toward the second-floor terrace above the bedroom completed the setting. With these few details, the balcony turned into a scene that felt inhabited, full of small, ordinary gestures of daily life.


Thinking about the latest step forward


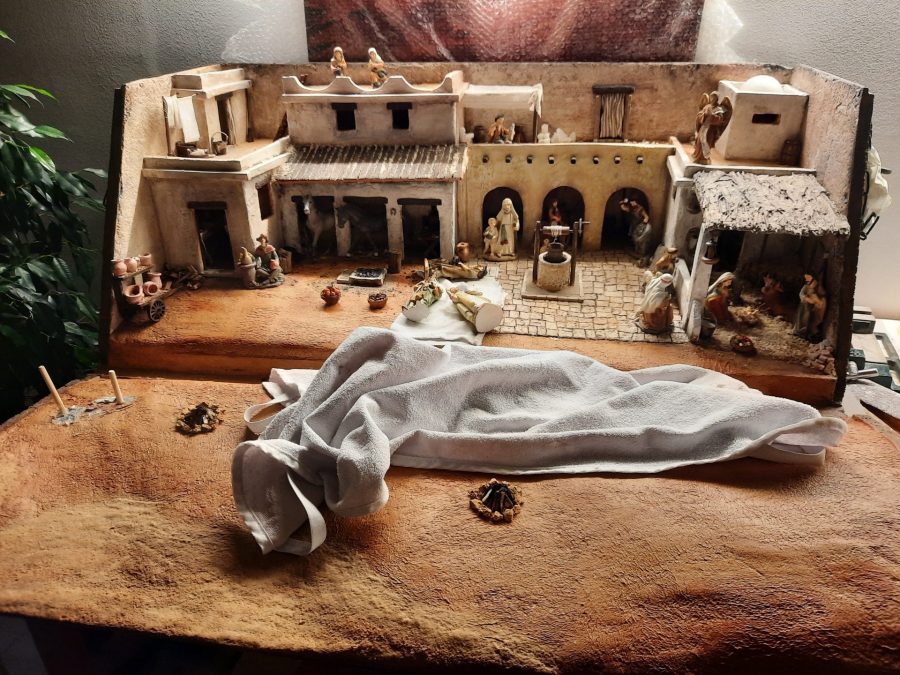
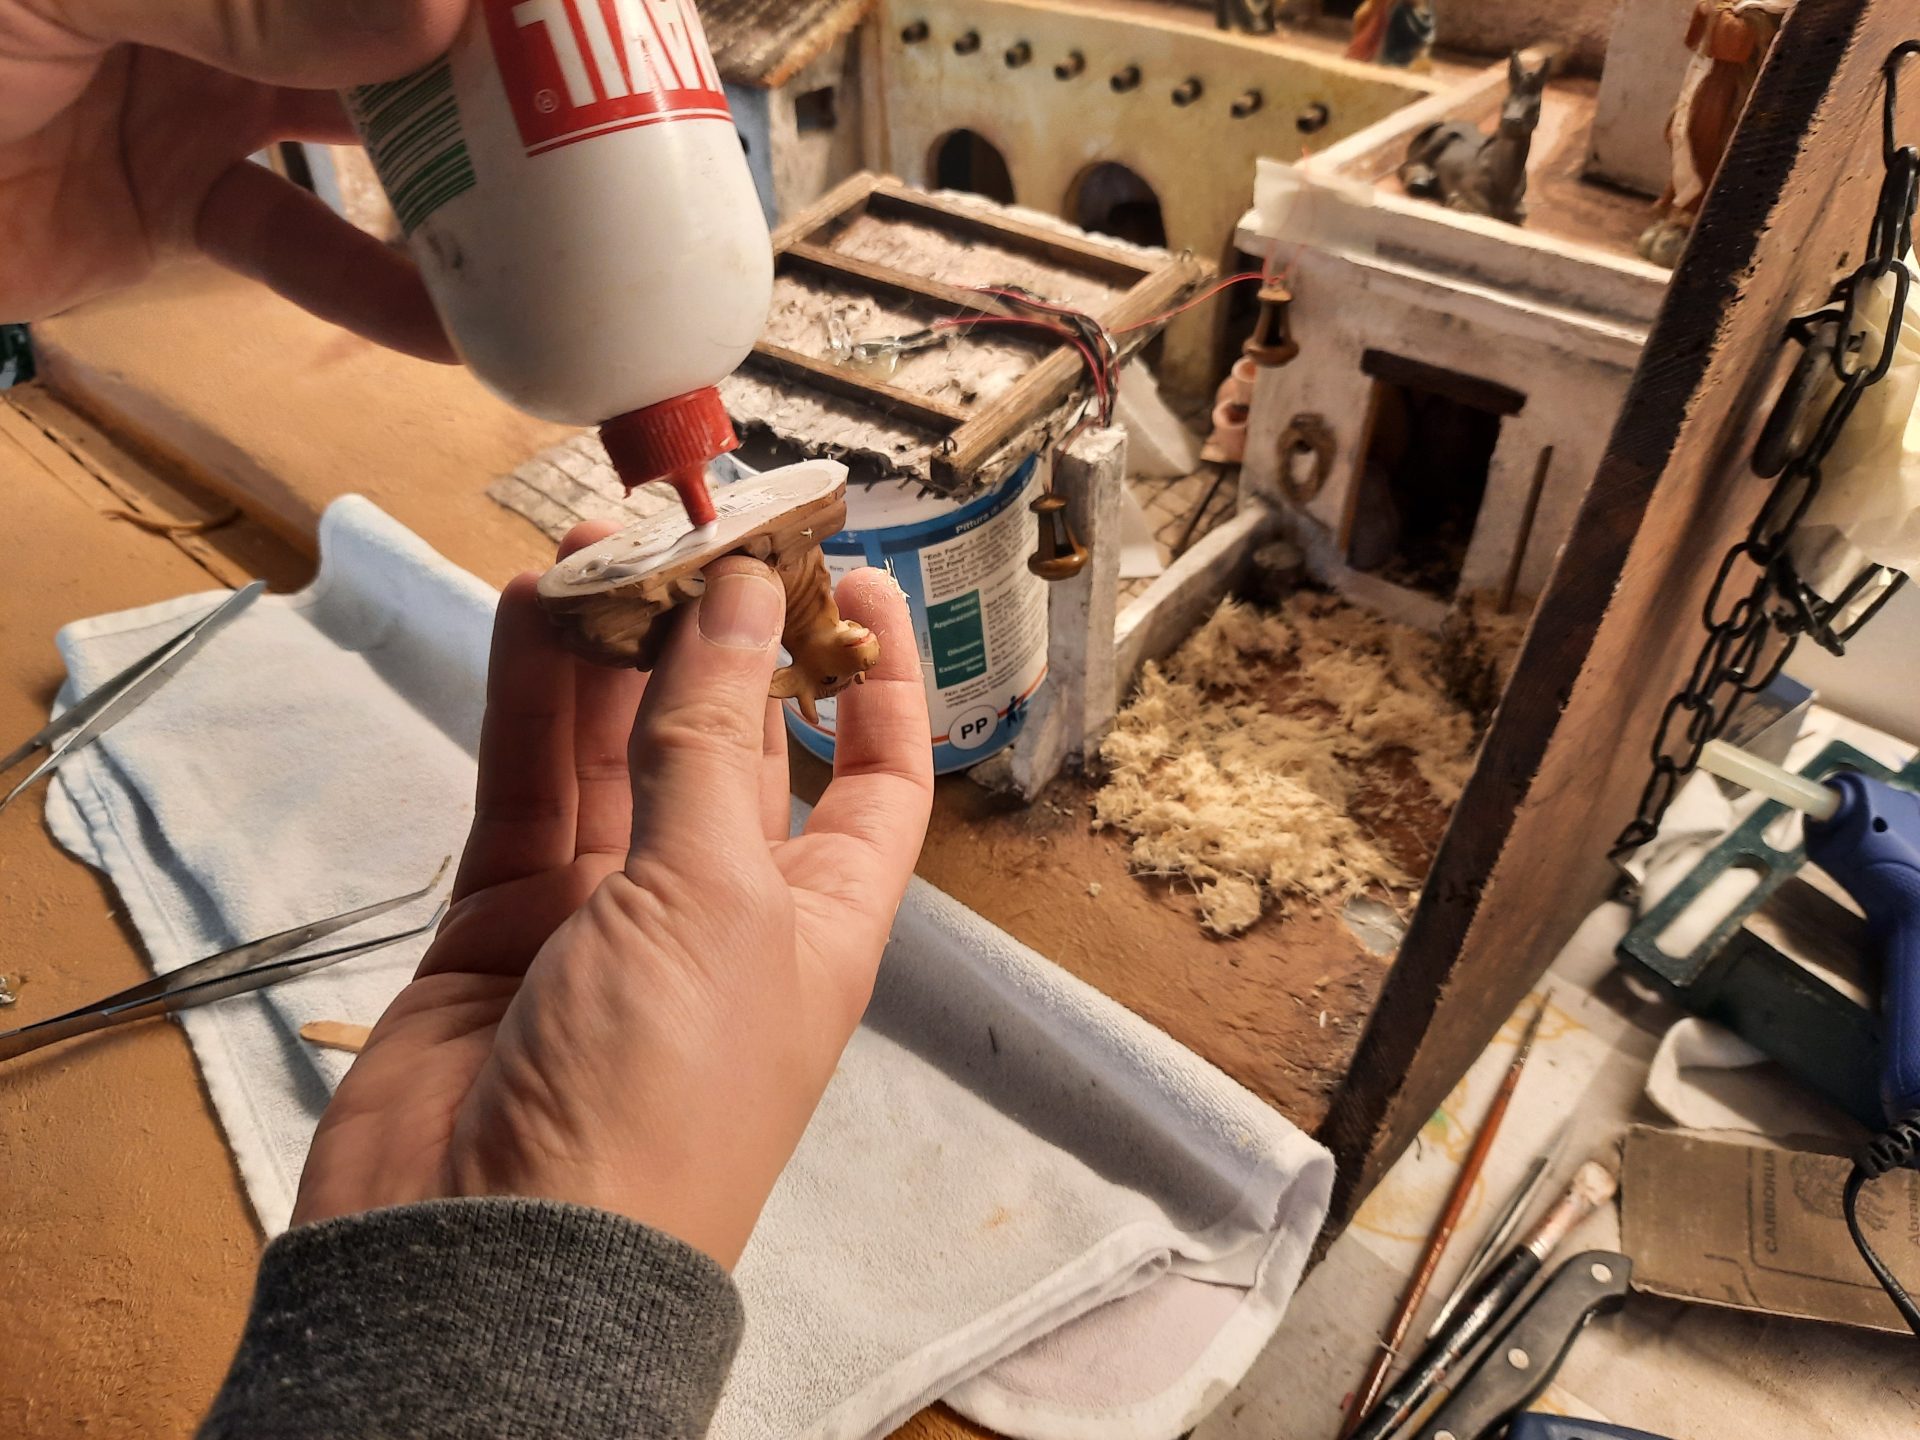
While we were busy with all the detailing, we were also constantly discussing where to place the statues. We set them in the scene as we worked, just to see how they looked among the buildings and details. Some of them quickly found their place and were glued down straight away. Others moved around more: placed, replaced, taken away, brought back, left to rest in a corner until we decided if they truly belonged there. For these undecided figures, we postponed fixing their final positions until the very end, once the last part of the diorama (the oasis and desert scene) was complete.
But the Nativity already felt almost finished. Many evenings we just sat in front of it, switching the lights on and off, admiring how far we had come after years of work. The end was so close, we felt it almost within reach. And yet, we sometimes wondered: do we really long for it to be finished? After so many years of building and crafting together, would we miss the process once the project was finally complete?
I am sure many of you have ever felt that, too: wanting to reach the end of a big project, but at the same time wishing the making would never stop. Tell us in the comments: did you ever feel the same as well?
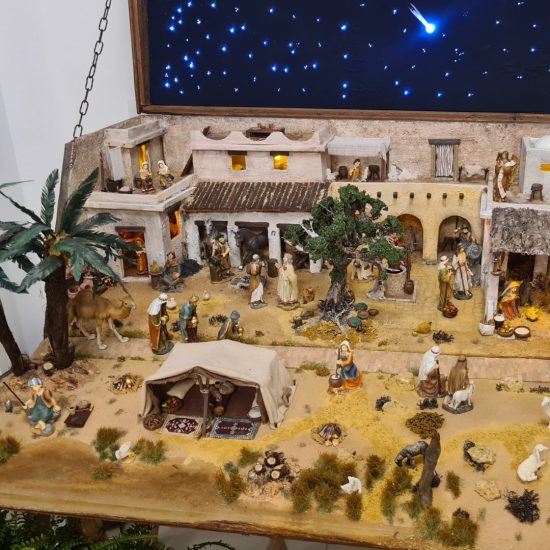
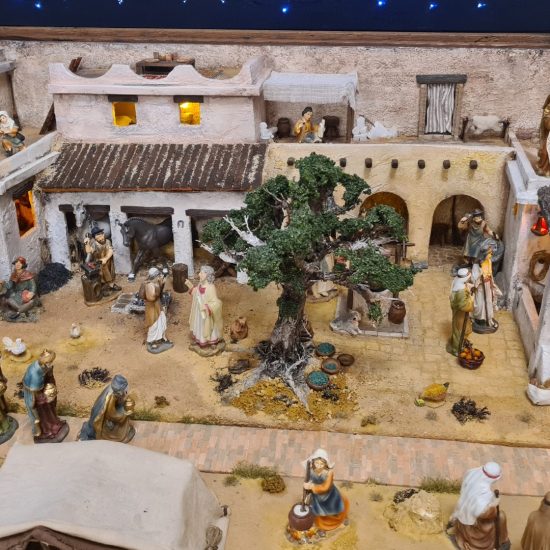
And stay tuned for the next chapter, where we’ll bring the oasis to life and finally set the last details of Bethlehem in place.








)