When we have to start a new string art project, we usually have a quite precise idea of what we want to achieve: the topic, the wooden basis, the size, the yarn to use, any additions like LED lights… What do we miss to begin crafting? A design. A pattern to follow, in the right size and shape, where the image has an easy outline to follow, whose lines are spaced enough both for thread to weave around nails and the image to be easily recognisable and pretty.
I decided to collect here some of the patterns we used for our projects, what you can download and use for free to make your own.
Whenever the pattern is our own original design or a free template from the web, you’ll find proper credit to the author. If anything missing, please tell us!
Also, come back from time to time: I plan to add more patterns as we make new projects!

How to use our #LRCrafts patterns
When you look for string art patterns, you can find very different solutions: the simple outline to follow, each single nail pre-placed on the design, the indication of where the thread should go… They can ben really complex. What’s our own solution?
Well, it depends. You can have complex projects where you need more details to follow or easy crafts where just a black line to follow is enough. Here you are going to find patterns of any kind with an explanation of how and why. Choose the one you prefer.
Table of contents
Simple silhouettes
Easy beginner-friendly projects. You have simple silhouettes to follow, some with nail marks.
Consider, though, that nail marks are just an indication: the real spacing depends on the final size of your project and size of your nails. For more about this, check our string art FAQs.

Pattern from freesvg.org

Click for details about our project
Treble clef
This is a quick and easy string art project, perfect for music lovers.
Here you have a simple outline to follow: pin it on your board then start hammering the nails. I suggest you to start in the middle of the design, then going outwards.
To decide the spacing between the nails, you have to consider the size of your project, how thick you want the weave to be, how thick is your chosen yarn.
You can choose two weaving options: just follow the outline, without filling in the shape, or filling the shape and then outline the contour of the design. Feeling fancy? You can fill the space in a random manner or following a regular pattern, like drawing Bézier curves!

Pattern by #LRCrafts
Click for details about our project
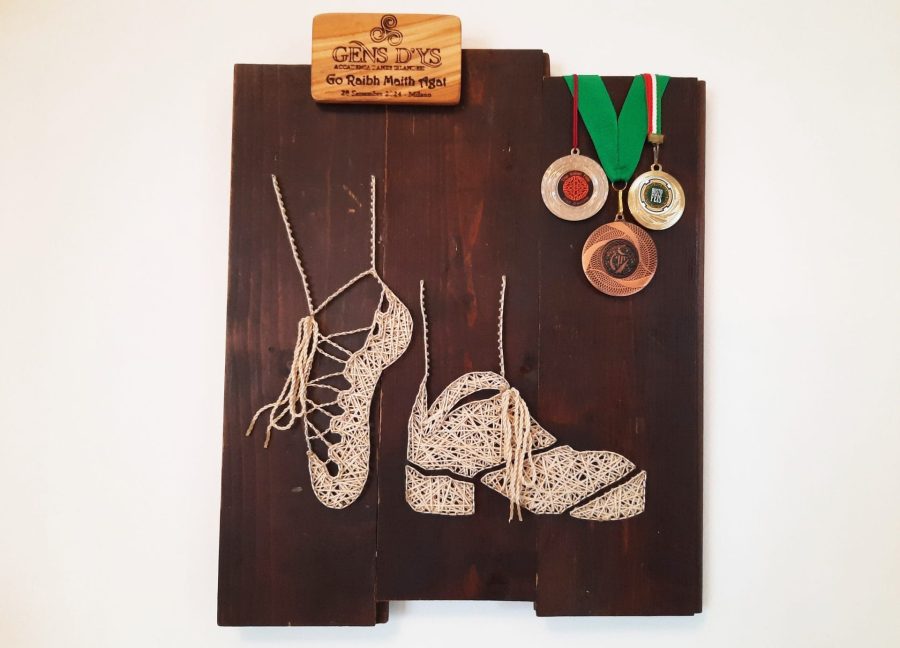
Irish dance shoes
This project is all about our passion for Irish dance.
Here I drew the two types of Irish dance shoes, light and heavy. For an explanation about them and their peculiarities, read the blog post where I talk about the how and why of this craft.
To this design, we added the shoelace bows separately, tying them to a nail. The rest of the laces are contoured. You can notice, mainly on the right shoe, that I left an empty space that seems unnatural. That is where the shoe seams are: I like leaving empty space to have a glimpse of the wooden board underneath. It’s one of the main customisations I do while preparing a string art design pattern.
Pattern by #LRCrafts

Click for details about our project
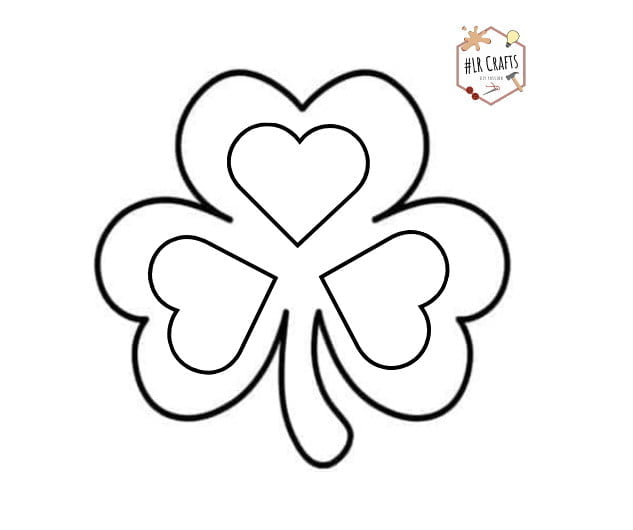
Shamrock
Yes, another Irish-themed pattern. And a classic one.
Of this, we made multiple variants in small sizes to become presents for a few Irish dance friends.
In one case, we used the full template of the shamrock with the three hearts, one for each leaf. It provided a nice double border that could be seen as just a thick border or a three-hearted shamrock.

Pattern by #LRCrafts
Click for details about our project
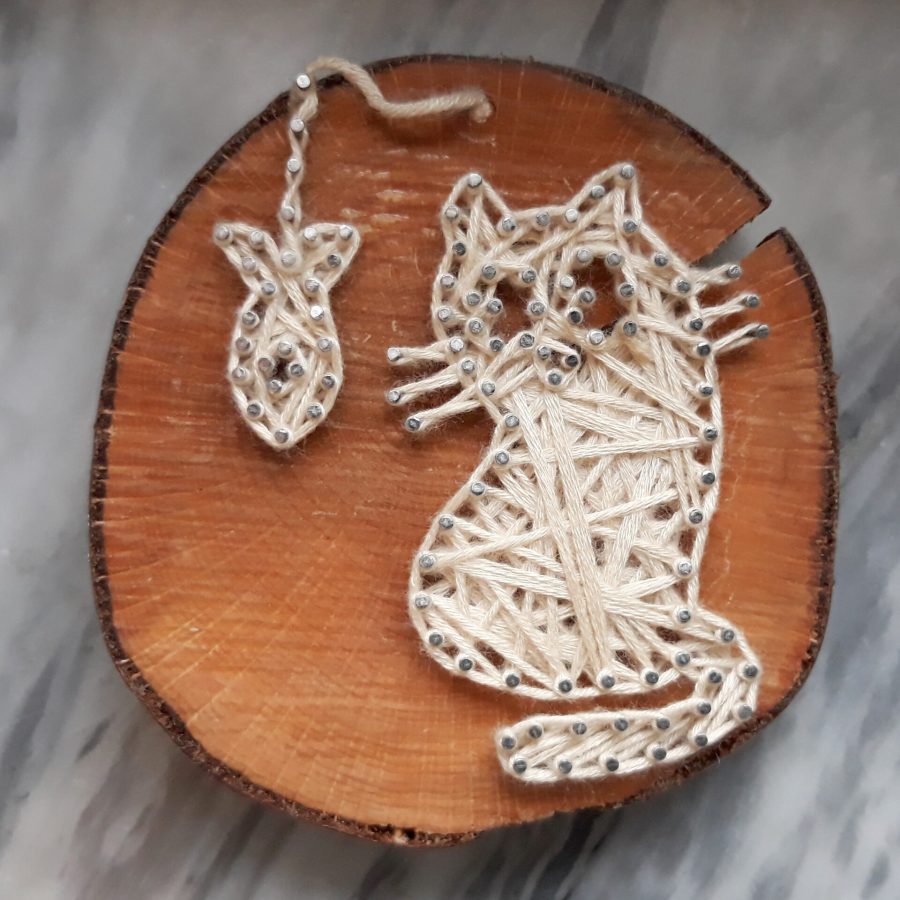
Cat with fish
For this small project, I drew the outline of my design, but when I wanted to make a proper pattern I decided to do something different.
This pattern has not just the outline of the figure, but also the marks for each nail. Keeping the outline, even if in a lighter color, makes the design easier to read. If the size of your project and nails and the thickness of your yarn is ok with the nail spacing I chose, you can follow the nail marks to hammer down. Otherwise, you have the outline of the figure and can choose to place your nails in other places and quantities.
Multimaterial string art
Here you can find the patterns for string art designs involving additional materials, such as LED lights or decorations or other than yarn.
Follow the template as provided or remove the additions to have just the simple silhouette project.
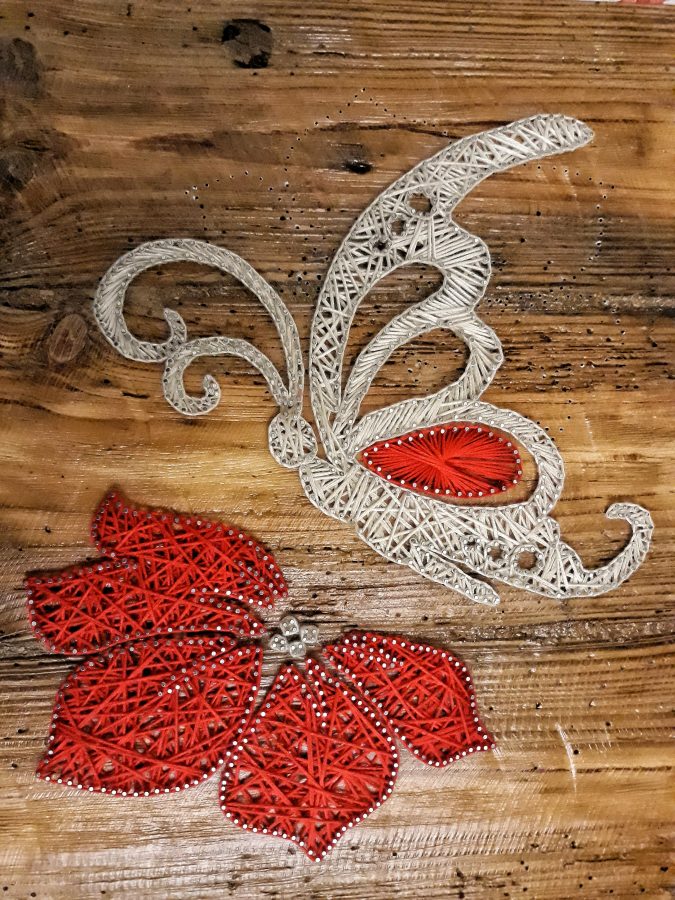
When creating string art, incorporating unique materials can elevate the final piece from beautiful to extraordinary. Custom Neon Signs, for example, can add an entirely new dimension to your project. Imagine pairing a string art project with glowing neon elements, seamlessly integrating them into the design. What might begin as a traditional line-based art project can instantly transform into an eye-catching masterpiece. I wish I’d known about them when planning our Christmas tree!
For larger installations or statement pieces, strategically placing neon lights can bring personality to your work. A tip: use metal thread. When the lights are turned on, they interact with the threads, creating a stunning interplay of glow and texture.


Pattern by #LRCrafts
Click for details about our project
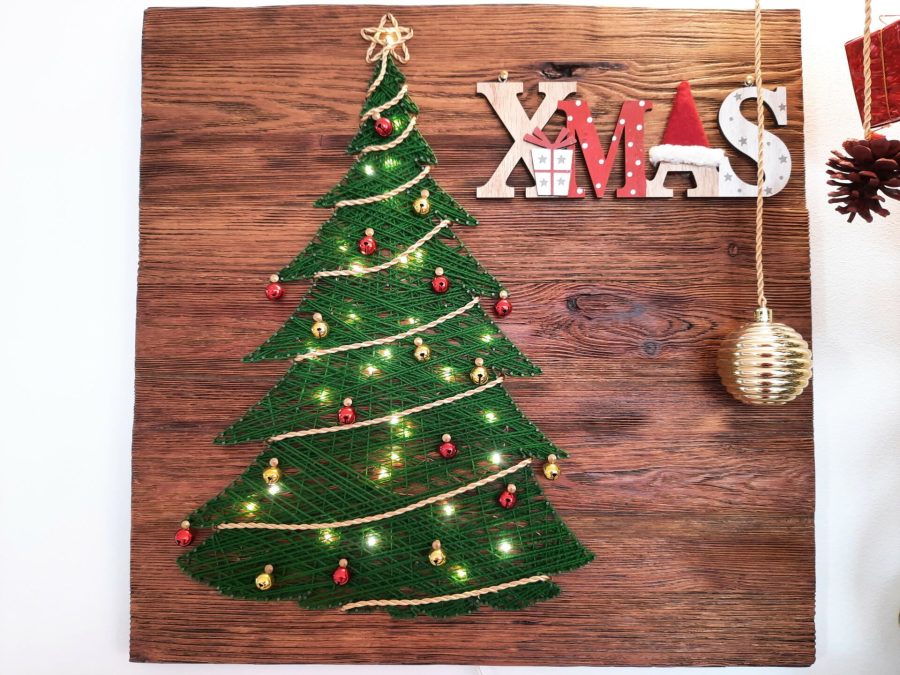
Christmas tree with garland and lights
This project is simple in its weaving, but requires a careful planning, because it includes non-string art elements such as LED lights that have to be place at the right moment. We have a dedicated blog post to know more about the details of how we made our string art Christmas tree.
The first step is hammering down the nails, then you have to drill holes for the garland and the LED lights. You have then to place your LEDs (they will rest behind the yarn and have the end with batteries or plug on the back). After pulling the wire from the back of the board through a pre-drilled hole, carefully weaved it by hand. Remember to have one light for the top star!
The following step is the proper yarn weaving, while the final one is the garland. We made one in golden thread and weaved it around our tree, through the previously drilled holes, and around the five nails drawing the top star.
You can then add as many decorations you want on top of your string art tree. Using nails with a big head, we scattered golden and red bells all over the surface of the tree.
How to string art?
If you are a beginner, you can check our basic tutorial or jump to the FAQs to find tips, answers and help. Isn’t that enough? Ask questions to us directly in the comments below!
More complex patterns
The following templates have nail marks and more indications about the weaving, since the yarn follows more complex patterns.
Also find a pattern by Regina Ribeiro, that we used for a Christmas project. Since the original author is no longer available online, I wanted to share her work with proper credit not to loose her name in the ocean of the internet.
Pattern Pattern by Regina Ribeiro

Click for details about our project
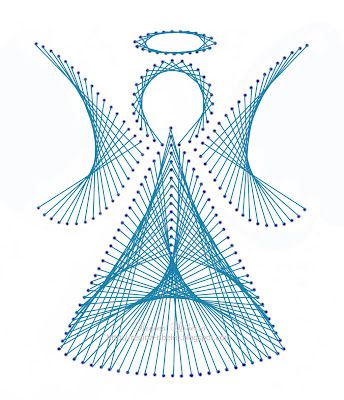
Christmas angel
This pattern is not a simple outline: it has the nails positions carefully marked, with the indication of the yarn weaving as well. The weaving follows the Bézier curves principle, a technique also known as symmography, that gives its best on a string art project.
It was our first try with this kind of symmography, but it was a pretty easy start. The wings, head and halo are straightforward: begin from the first nail and reach the last one, no magic, no complex tricks. With the circular halo, you can start wherever you feel comfortable.
The body is not as easy. Start wherever you feel comfortable, but you could need a few trials. Don’t worry if at the first go you have to unravel the yarn and start over: be prepared for it, it’s quite normal.
I hope you found our patterns useful.
If you browse our string art projects and find you’d like a specific pattern, please leave a comment!


2 Comments. Leave new
Buonasera,mi chiamo Elena e sto iniziando ad avvicinarmi a quest’ arte che libera la mia fantasia,la mia mente e mi aiuta a rilassarmi.Mi piacerebbe creare un progetto un po’ diverso,fatico a trovare un modello adatto.Ho una foto,una macchina…ma ammetto che non so bene come fare.Potete darmi qualche consiglio? grazie
Buongiorno Elena! La string art ti darà tante soddisfazioni! Inizia cercando un’immagine monocromatica, tipo “car silhouette”. Prendine una semplice e pianta i chiodi su tutti i contorni. Le parti nere dell’immagine saranno quelle coperte dal filo, quelle bianche risparmiate e si vedrà il fondo. Questo per fare un po’ di pratica con la tecnica e capire quale effetto finale ti piace, se un disegno tanto pieno di filo o meno. Potrai poi passare alla tua foto della macchina. Scomponila nelle partti fondamentali, può aiutarti renderla in bianco e nero. L’obiettivo è rendere la foto il più simile a un’immagine monocromatica “silhouette”. Se necessario, lascia spazi vuoti tra gli elementi dell’auto, come tra ruote e telaio. Darà risalto alla figura. Puoi guardare il nostro progetto del castello e confrontarlo con la foto per renderti conto. E se hai bisogno siamo qui a disposizione! Leggi le nostre FAQ per tanti consigli pratici. Buon lavoro!