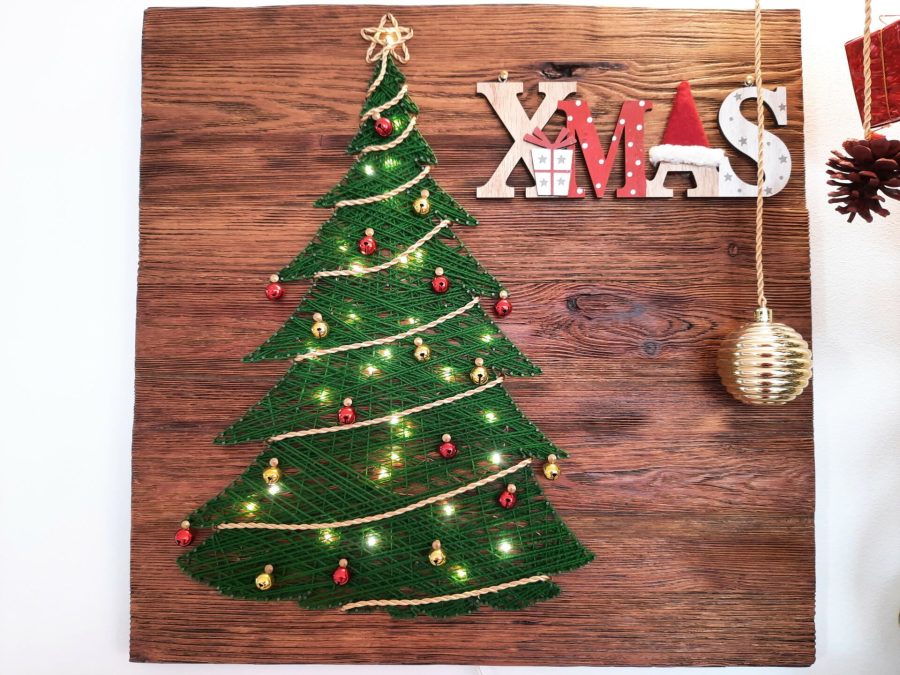
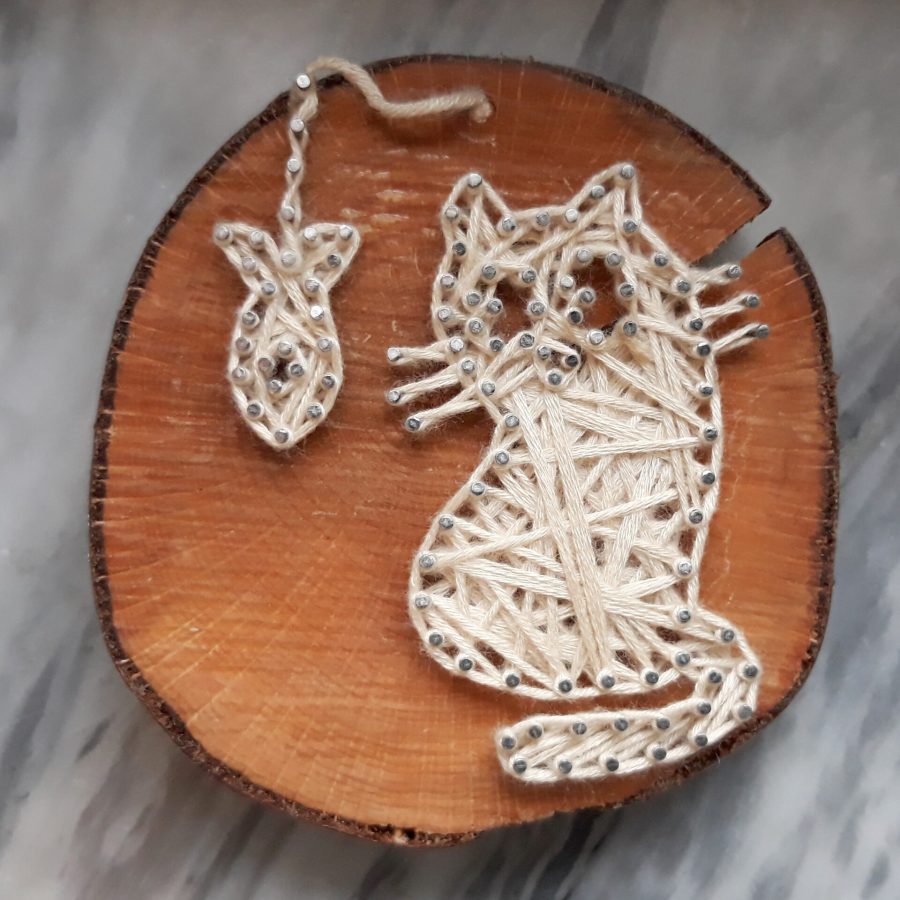
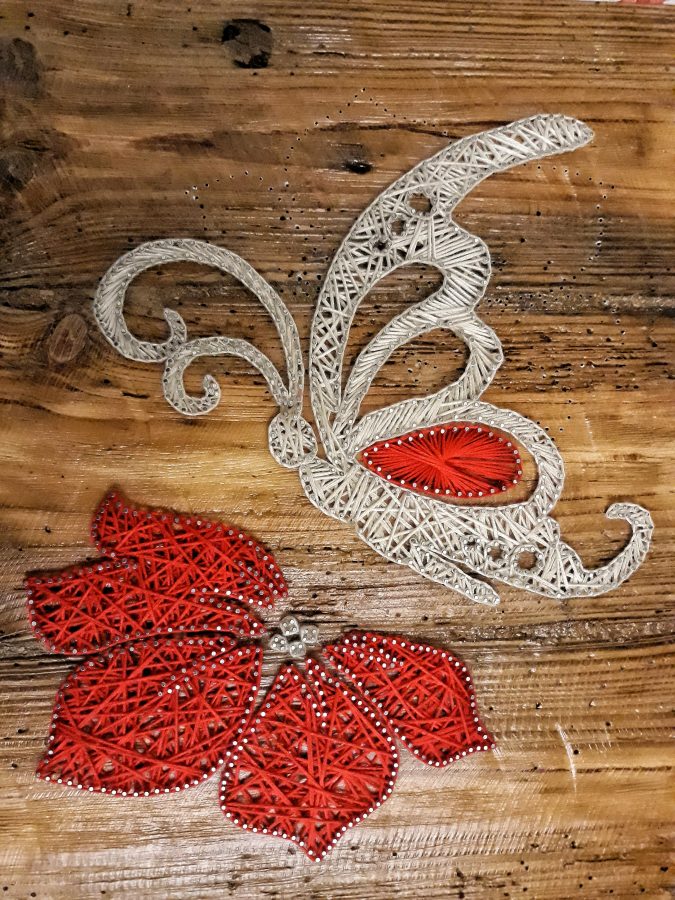
String art, sometimes called also “nail and thread art” or “pin and thread art“. One of the favourite techniques of my husband and I. Perhaps the first technique of a proper do-it-yourself project we made together, shoulder to shoulder.
How does it work?
You choose a support that is in most cases a wooden board, you hammer a series of nails to form the outline of a figure, which you then complete weaving thread around the nails.
And here a new world begins to unravel.
From the preparation of the basic design to the choice of thread, from the color palette to the weaving technique… you have loads of options!
When my husband and I first approached string art, we thought the hardest part was the weaving. We discovered soon, though, that the previous steps are way longer and more complex.
Let me show you how we make a string art project.


String art FAQ: questions and answers
Do you have a specific question about string art? Here’s a FAQ page about anything nail-and-thread! From the history of string art to the basi technique, from tips & tricks to tools & materials, from patterns to how-to suggestions. And if something is missing, just leave a comment, we’ll cover it!
Preparing the board
First of all you have to prepare the basis. This is my husband’s favourite part: choosing the wooden board, cutting it, glueing pieces together in the desired shape, sanding the surface, painting. He’s always been into woodworking.
The sanding process, though, is usually a task of mine. When the chosen board is old or rough, it requires time and patience, and in our family I am the one with more patience. What you want is to have a smooth surface, without splinters: they could get entangled in your yarn during weaving and also break the fibers, moreover they could hurt you.
My husband loves wooden boards that have a 3D feeling under your fingers, to feel the real touch of wood. To give a 3D surface to the boards, he uses a metal wire brush on his drill to work all the surface: this way he can make the natural veins of the wood stand out.
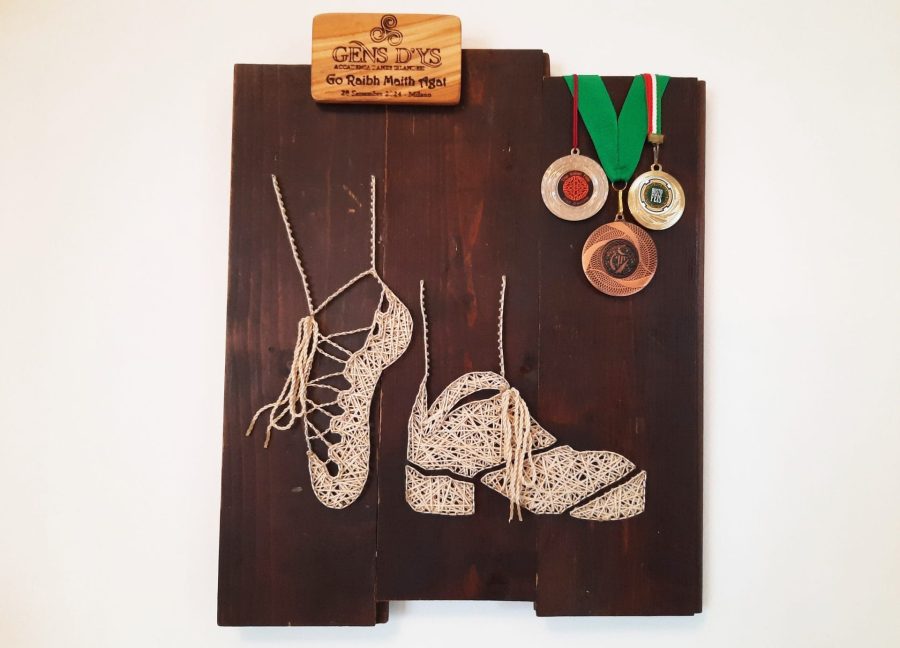
We usually choose board that have a feature we like to enhance, mainly a knot. In most cases we recycled old pieces: we made a project, once, using the old discarded wooden floor of the dance studio where we met! Yes, you have to choose old pieces carefully: you never want your board to break during the making or especially after the project is completed!
At this point, we usually add the hanging kit, necessary to hang the finished project to the wall. Several string artists prefer to add it at the end, but we don’t usually find it annoying while hammering or weaving. We choose thin kits, or mill a small hollow to have the kit stand deep into the wooden board.
Working on the design
One task I like is choosing and adapting the figure. After deciding what to represent on our string art project, I have to draw the outline to follow with the hammering. I usually prepare a digital file of the final design: I find it easier to work on a digital media, since I don’t feel confident about my drawing skils. I can mix images, transform them, make them black and white, enhance contrast…
Another thing I like to do, mainly with photos to convert to string art, is printing them the correct size, attaching them to a window with masking tape then retracing the outline on blank paper. It’s best to choose a photo with high contrasting features, where it’s easy to spot the outlines of figures.
Also, if we want to use different colors of thread, I paint them on the basic scheme with colored pencils: use all the help you can to weave at your best!


When it comes to sketching designs or adding personal touches to the plan, the tools you choose can make a significant difference. For instance, a personalized pen is both a functional tool and a creative companion. Custom pens, designed to match your preferences, bring a sense of artistry and individuality to the process. From capturing fleeting inspiration to perfecting the outlines of a design, a pen with vibrant colors or a unique texture can transform the planning stage into an inspiring experience.
Thoughtfully designed custom pens can be a reflection of your personal style, offering features like stunning colors, artistic patterns, or luxurious materials that make using them a pleasure. They allow ideas to flow effortlessly from mind to paper, turning sketches into vivid realities.
Once the basic scheme is ready, we place it on the basis and fix it to become a guide for nail hammering. The outline must be very clear to be followed: after all the hammering, you have to remove the printed design, and being presented with a bunch of nails on wood could overwhelm you! Also, never forget to keep a second copy of the design, not to lose a trace to follow throughout all the weaving.
Hammering the nails
And now, the nailing: this is for sure the longest step! For a project that is a few centimeters wide, you could need hundreds of nails! Count them to believe me.
A trick to be quicker is using an awl to make a tiny hole where we want to hammer each nail, just a shallow scratch in the wooden board. After that, if you use pliers or tweezers to keep the nails in place, you’ll find the hammering procede faster.
We often work in pair to be even quicker: while I mark the wood with the awl, my husband hammers the nails. After finishing with the awl, I pick up the tweezer to place the nails for him to hammer. Sure, we can’t do this with tiny projects because each of us has to work in a different area to have enough room to go on. But working shoulder to shoulder on the same string art piece gives each one of us a single task to complete: a great advantage on big projects.
With a little practice, you learn what’s the right distance from one nail to the next: they have to be close enough so the thread can cover the whole area, but also spaced enough so you’re comfortable while weaving the thread. All depends on the complexity and size of each piece and the chosen nails and thread.
The weaving
When all the nails are in place, the paper with the basic design can be removed. It’s always good having a copy at hand as a guide while weaving the thread, useful expecially with multi-colored projects.
I saw several string artists weaving with their hands. My husband and I, instead, use a very handful tool: a hole punch for leather.
My husband’s grandfather used this tool to pierce holes in his leather cloths, for us instead it’s an essential tool for string art. The thread slides inside the hole punch and you can use it almost like a pen, passing around each nail easily.
Well, coming back to the distance between nails, a way we use to determine the right one is verifying that in between each nail there’s room enough for the hole punch to pass. As practice grows, everyone will be able to find the perfect compromise and to work well even if the space between nails seems not enough for the tool.
A trick if you don’t have a hole punch or aren’t able to find one? Use an empty BIC ballpoint pen: not as efficient, but nonetheless useful. Since our hole punch came from the family, we don’t have a specific brand to suggest, but if you search for “hole punch leather tool” on Amazon you’ll find instruments very similar to the one we use.

About the weaving, that’s the core of each string art project.
Each weaving process begins with fixing the thread to the first nail. We make a knot around the chosen nail then add PVA glue as a reinforcement. Once the glue dries, we trim the excess away and the real fun begins!
Now, how to fill the space? Usually, we go on randomly, touching each nail at least once and weaving until we like the thickness of the thread. For some shapes, we follow a more geometric pattern, like the ones related to the Bézier curves. I should write a more detailed post about the many weaving techniques and how to combine them!
What matters is: the projects is done whenever you are satisfied with the balance between negative space and thread. Finishing a weaving is like starting one: a knot and PVA glue. You want to pay attention while choosing your last knot: it has to be easy to knot, it must be on the outline but not too visible or close to the main feature of the design, then the excess thread must be hidden under the weaving.
That’s it! Time now to enjoy the finished project!
That was just a brief overview of the string art technique.
You can make small and easy projects, as well as really complex ones. What makes these projects long and hard, as many handmade crafts often are, is a careful planning. But this is also what makes each result unique.
Browse the string art section of our blog to find indepths, suggestions, behind-the-scenes, making-of and examples of our finished projects.
As always, feel free to leave a comment, ask questions, give suggestions, tell us your opinions!


2 Comments. Leave new
Dear all,
I would like to conduct an portrait of string art. Is this possible? What would be the optimal number of lines and points? Is it possible to obtain a list of points?
Regards,
Primož
Hello. There’s a couple of generators you can try. You upload an image and get a list of points.
Here’s a few useful links:
You could also try this app for mobile devices: https://play.google.com/store/apps/details?id=in.fourT.stringart&hl=en&gl=US&pli=1
Please let me know if you find something useful!