In our family we are all about thrift shops and second-hand markets. You never know what gems you might stumble upon at an affordable price.
One random day, as we were strolling around the city without a purpose, I suggested we visit a nearby thrift store. And there it was – a dress form, roughly my size at first glance, with a price tag that made my eyes widen.
It was a sign. I’d been thinking about getting a dress form to aid my DIY clothing adventures, and here it was, practically calling my name. I started dreaming about all the clothes I could make with its help… I’ve been in the process of concluding the sewing of a skirt, waistcoat and shirt from old bedsheets and other leftover fabric I inherited from aunts and grannies, so my mind began to wander.
I have to admit I didn’t spend much time looking at the details, the price tag was too inviting, the idea of owning such a companion for the sewing adventures I had in mind… I thought I could figure out any problems later on at home.
No beating around the bush – the dress form came home with us, ready for a makeover.


First order of business? Say goodbye to the plastic flowers someone thought were a good idea to glue on.
It took me a whole afternoon to get rid of them, and it wasn’t easy at all. I started meticulously taking them off one by one, trying to remove the hot glue without damaging the underneath fabric. Taking off those flowers felt like a meticulous surgery, each petal a tiny obstacle to reclaiming the form’s true beauty.
More than halfway into the process, I noticed that the brown fabric cover had wear signs at the bottom, so my husband proposed to sew a whole new cover. I liked the idea, mainly because I could change the brown color that was too dark for my taste, and to fit in our home, kissed all day long by natural sunlight.
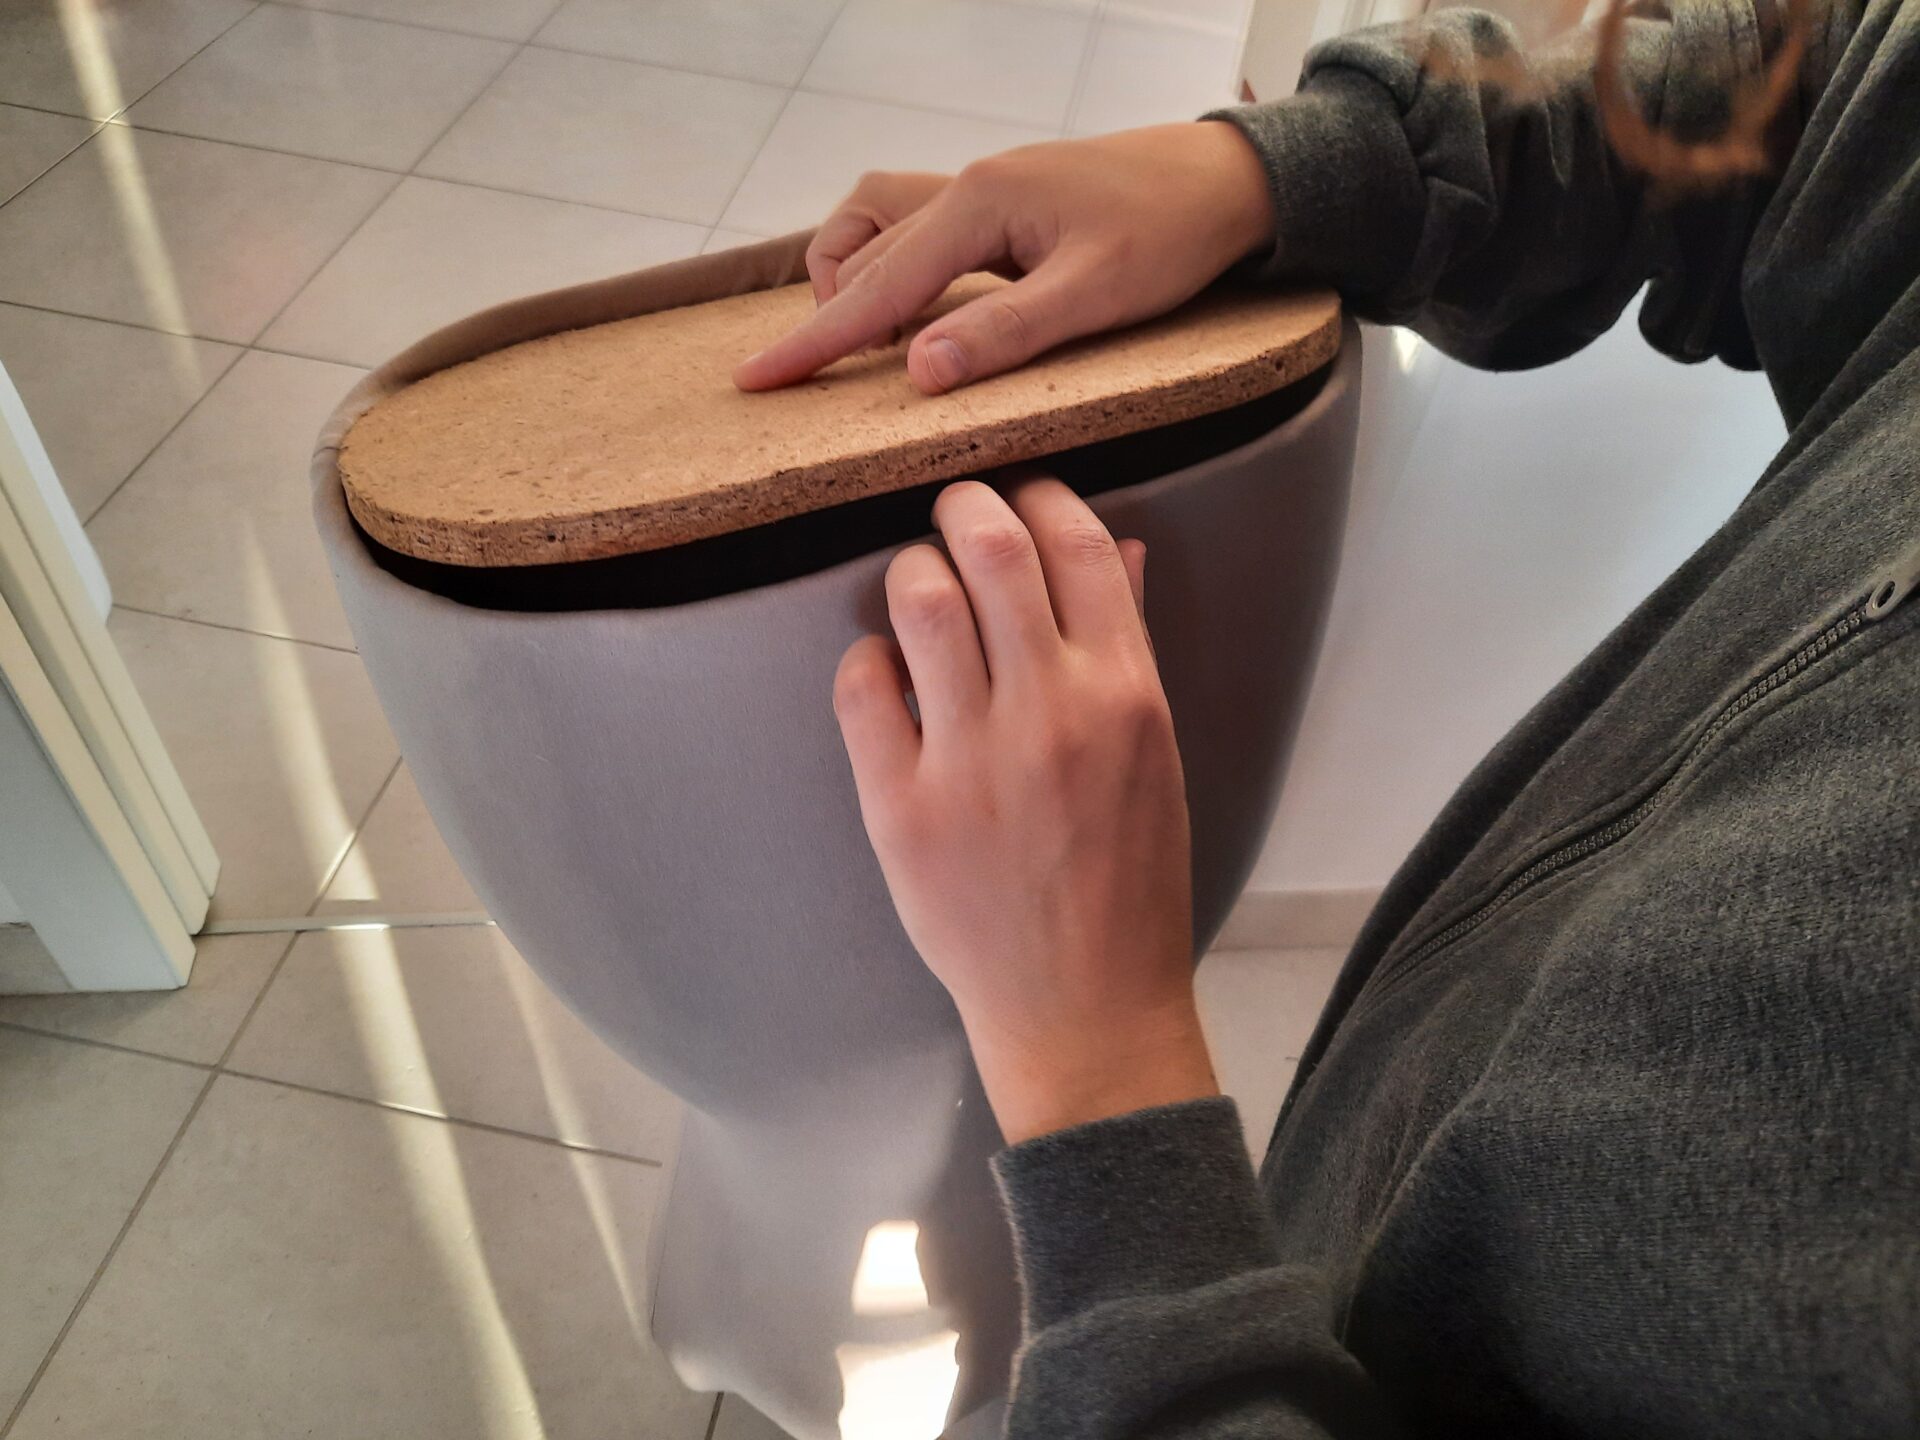
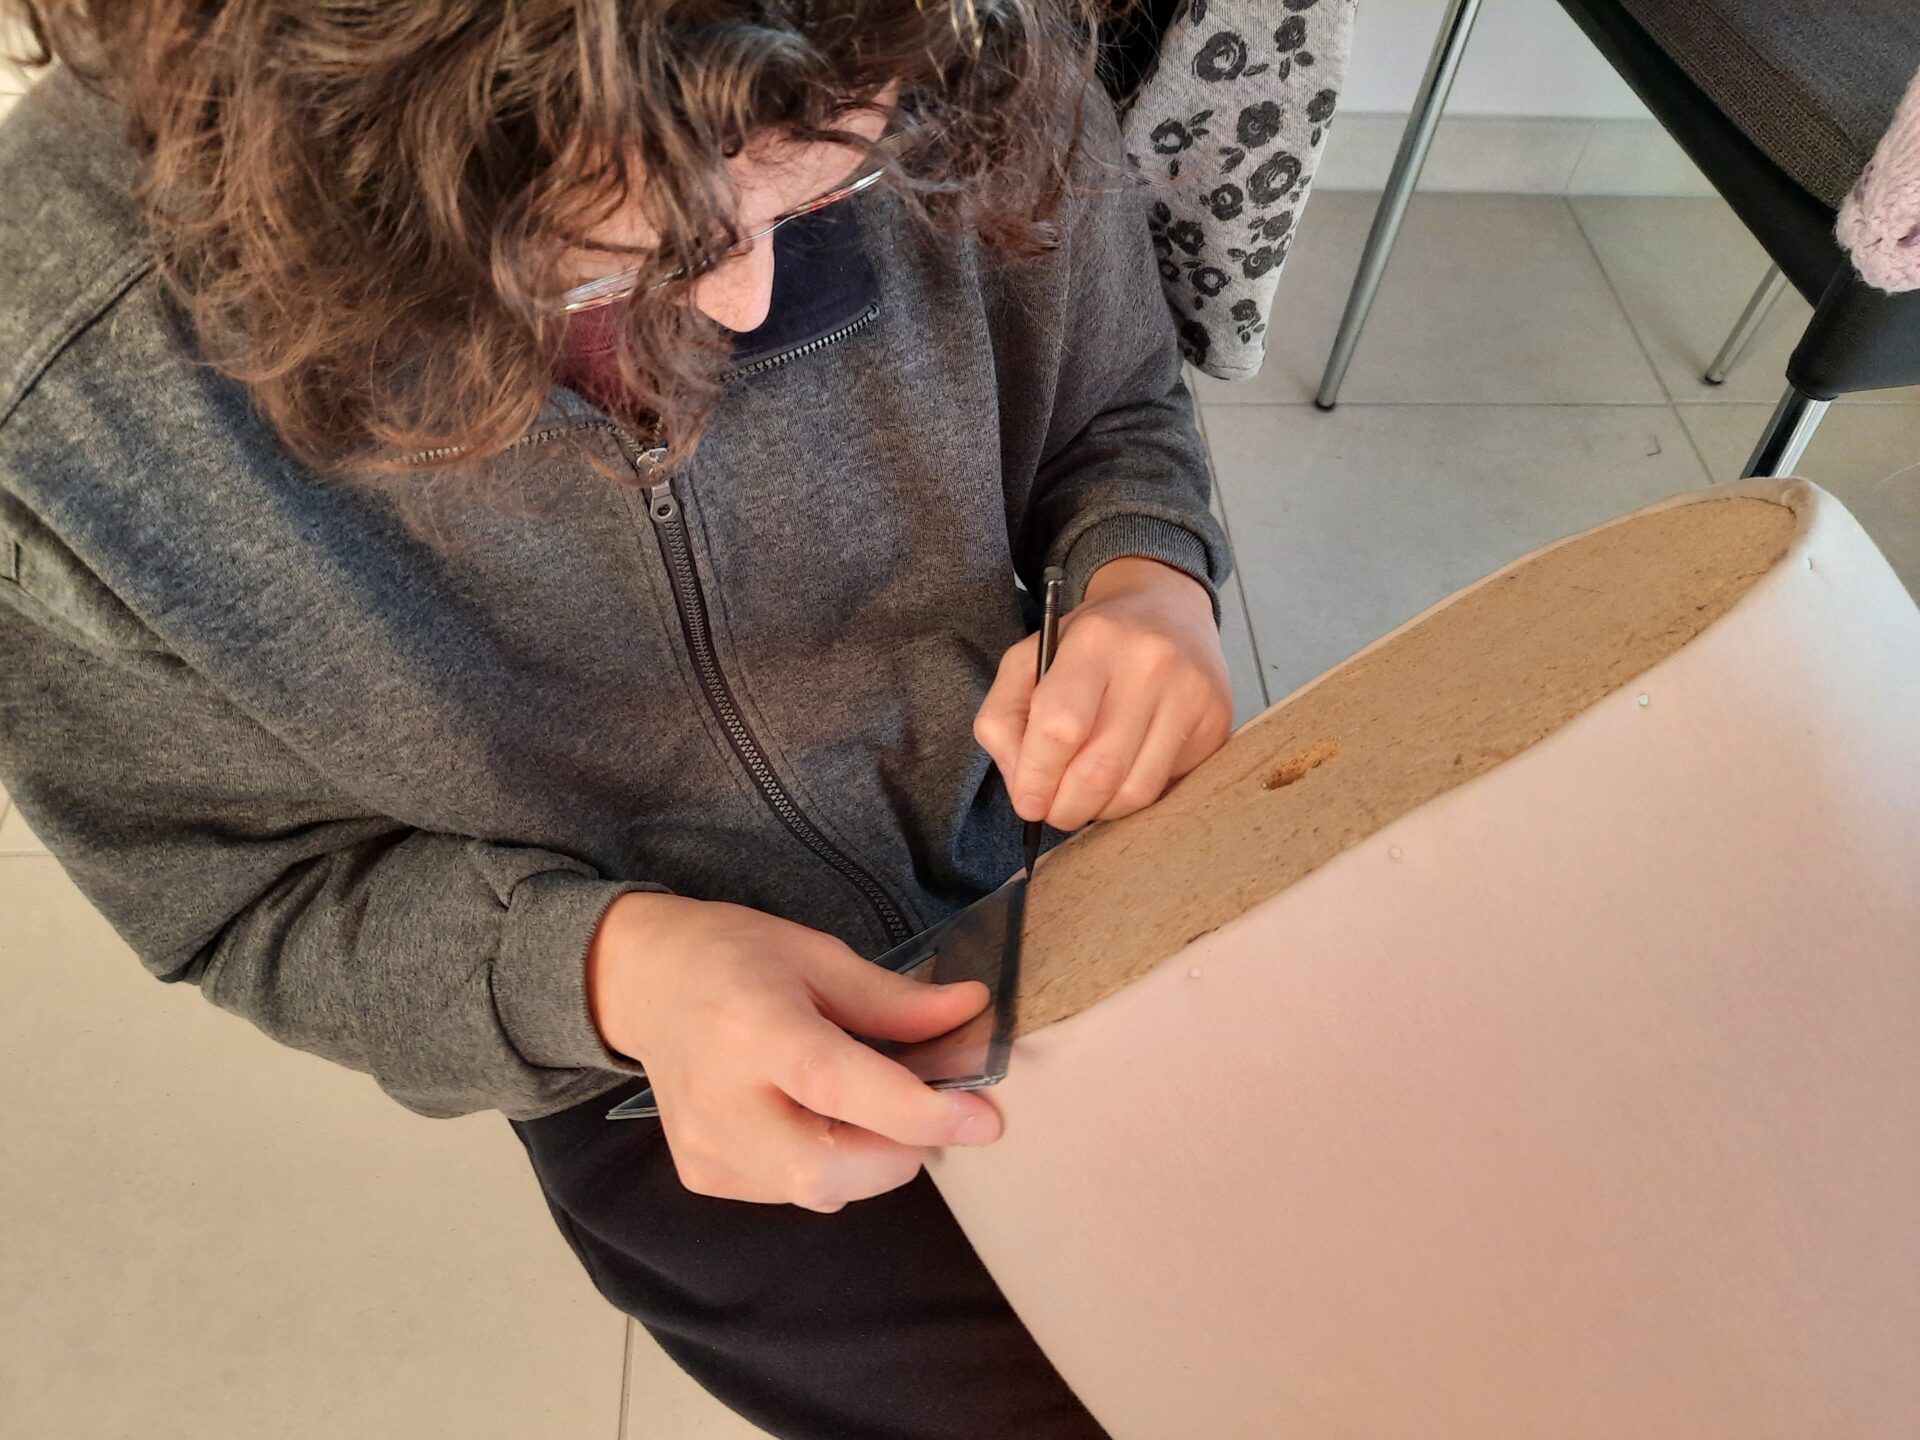
With my husband’s help, we discovered the dress form was made of some high-quality thick papier-mâché, in very good condition. The wooden top wasn’t too shabby either and made of solid wood.
While working on my newly acquired dress form, it became apparent it’s a bit more generous in the bust area than me. While I don’t intend to use it for dress fitting – nothing beats the real deal – I’d like it to snugly showcase my freshly sewn clothes.
I’ve contemplated the challenge of reducing the bust circumference, and for now, I’m opting to use it as-is. However, the DIY enthusiast in me is itching to explore ways to tailor it to my liking. If you’ve ever tackled this dilemma or have suggestions on how to sculpt a dress form’s bust, I’m all ears! Drop your insights in the comments below: I’d love to hear your experiences and tips.


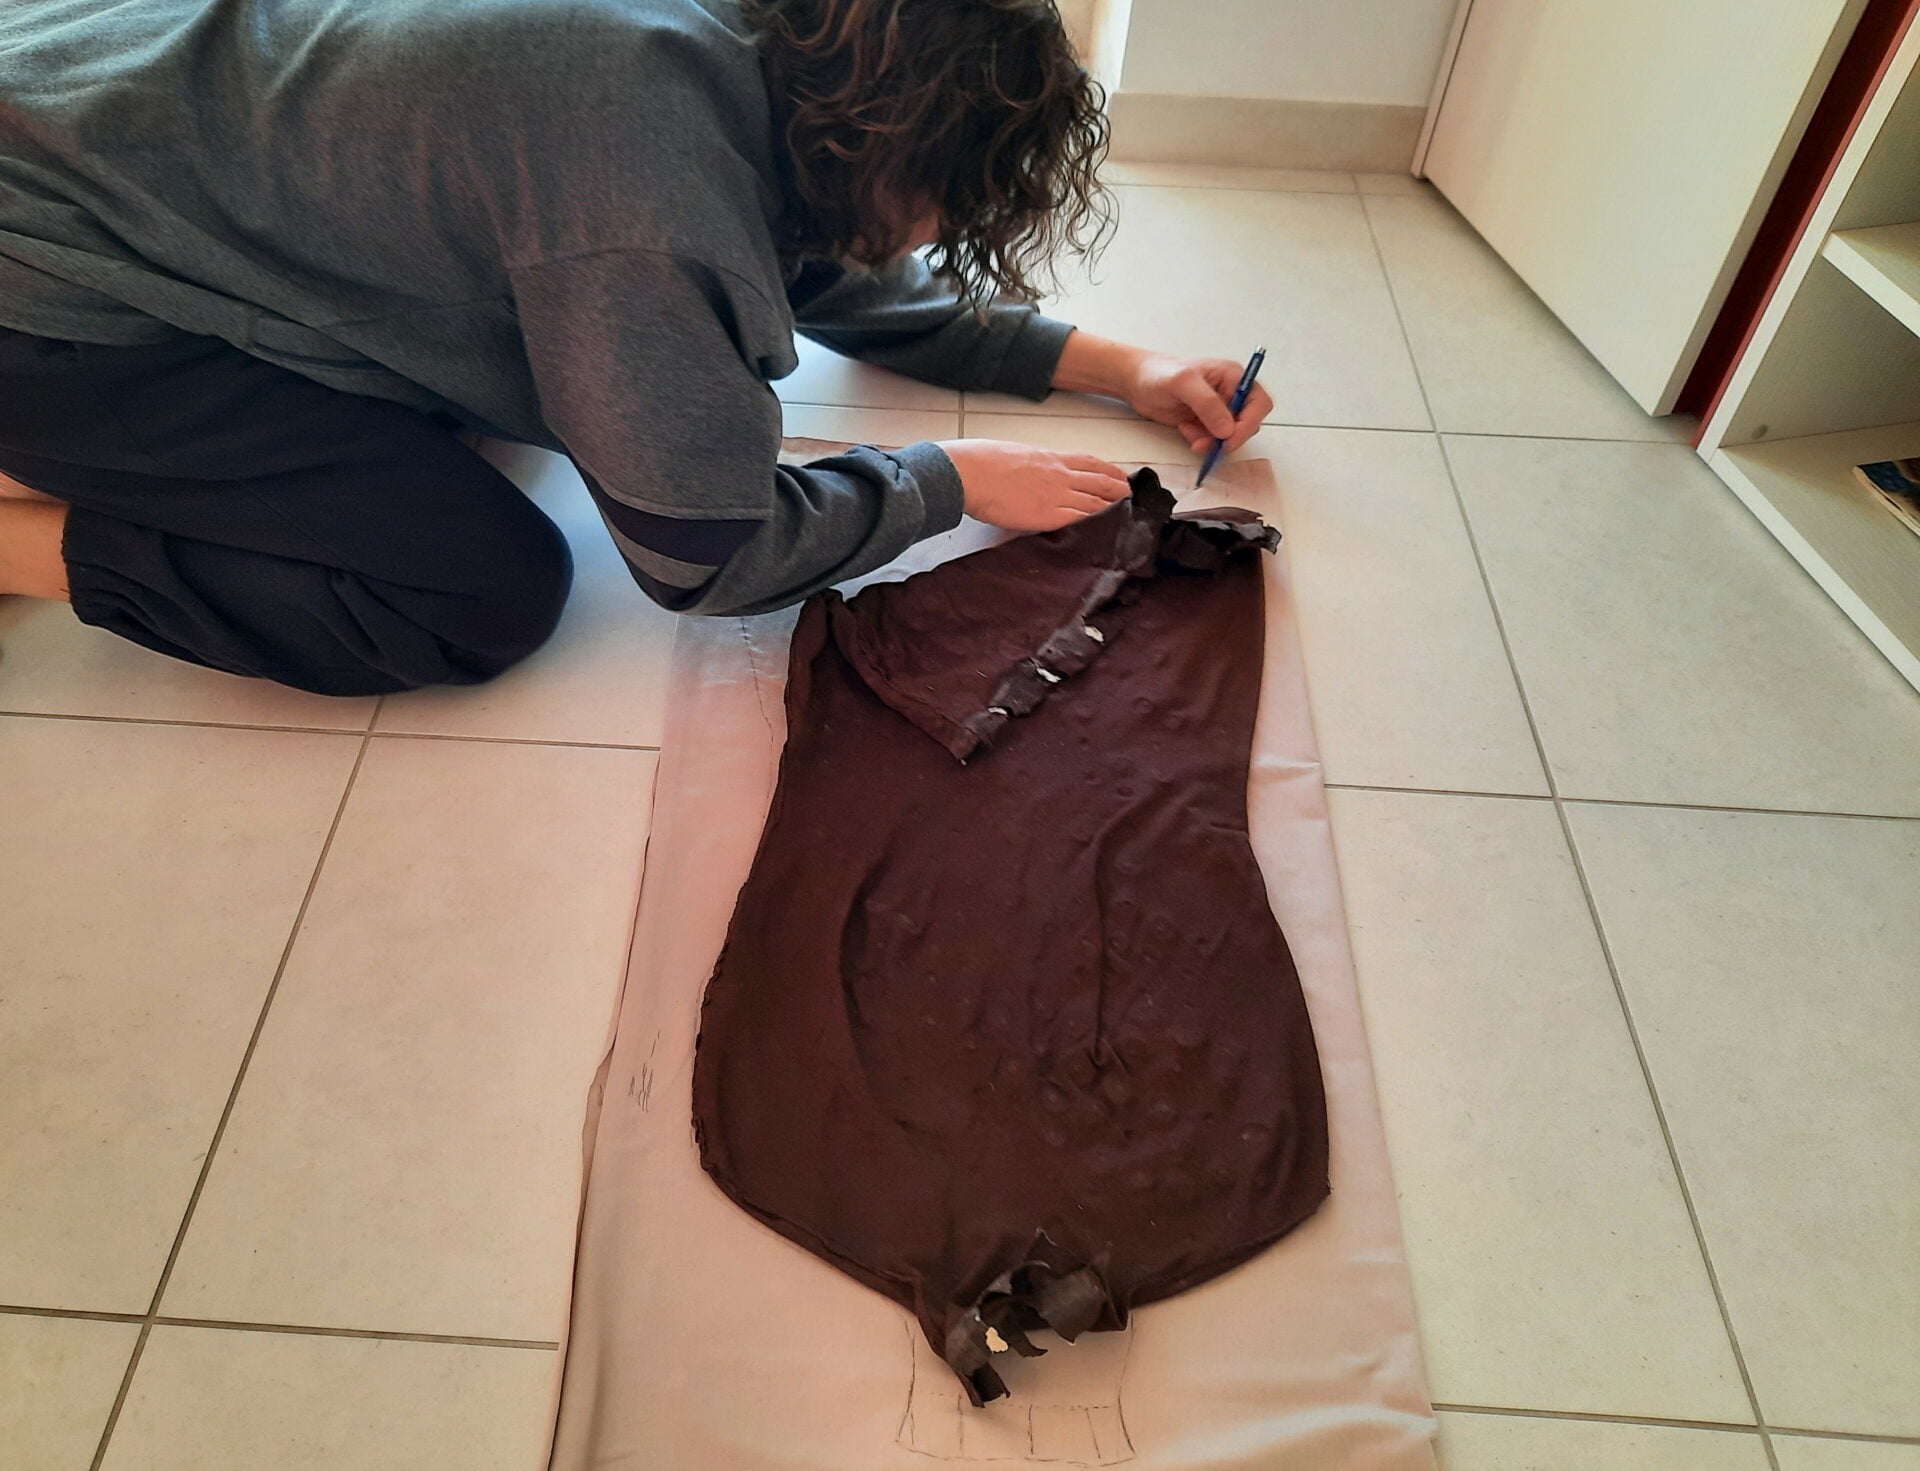
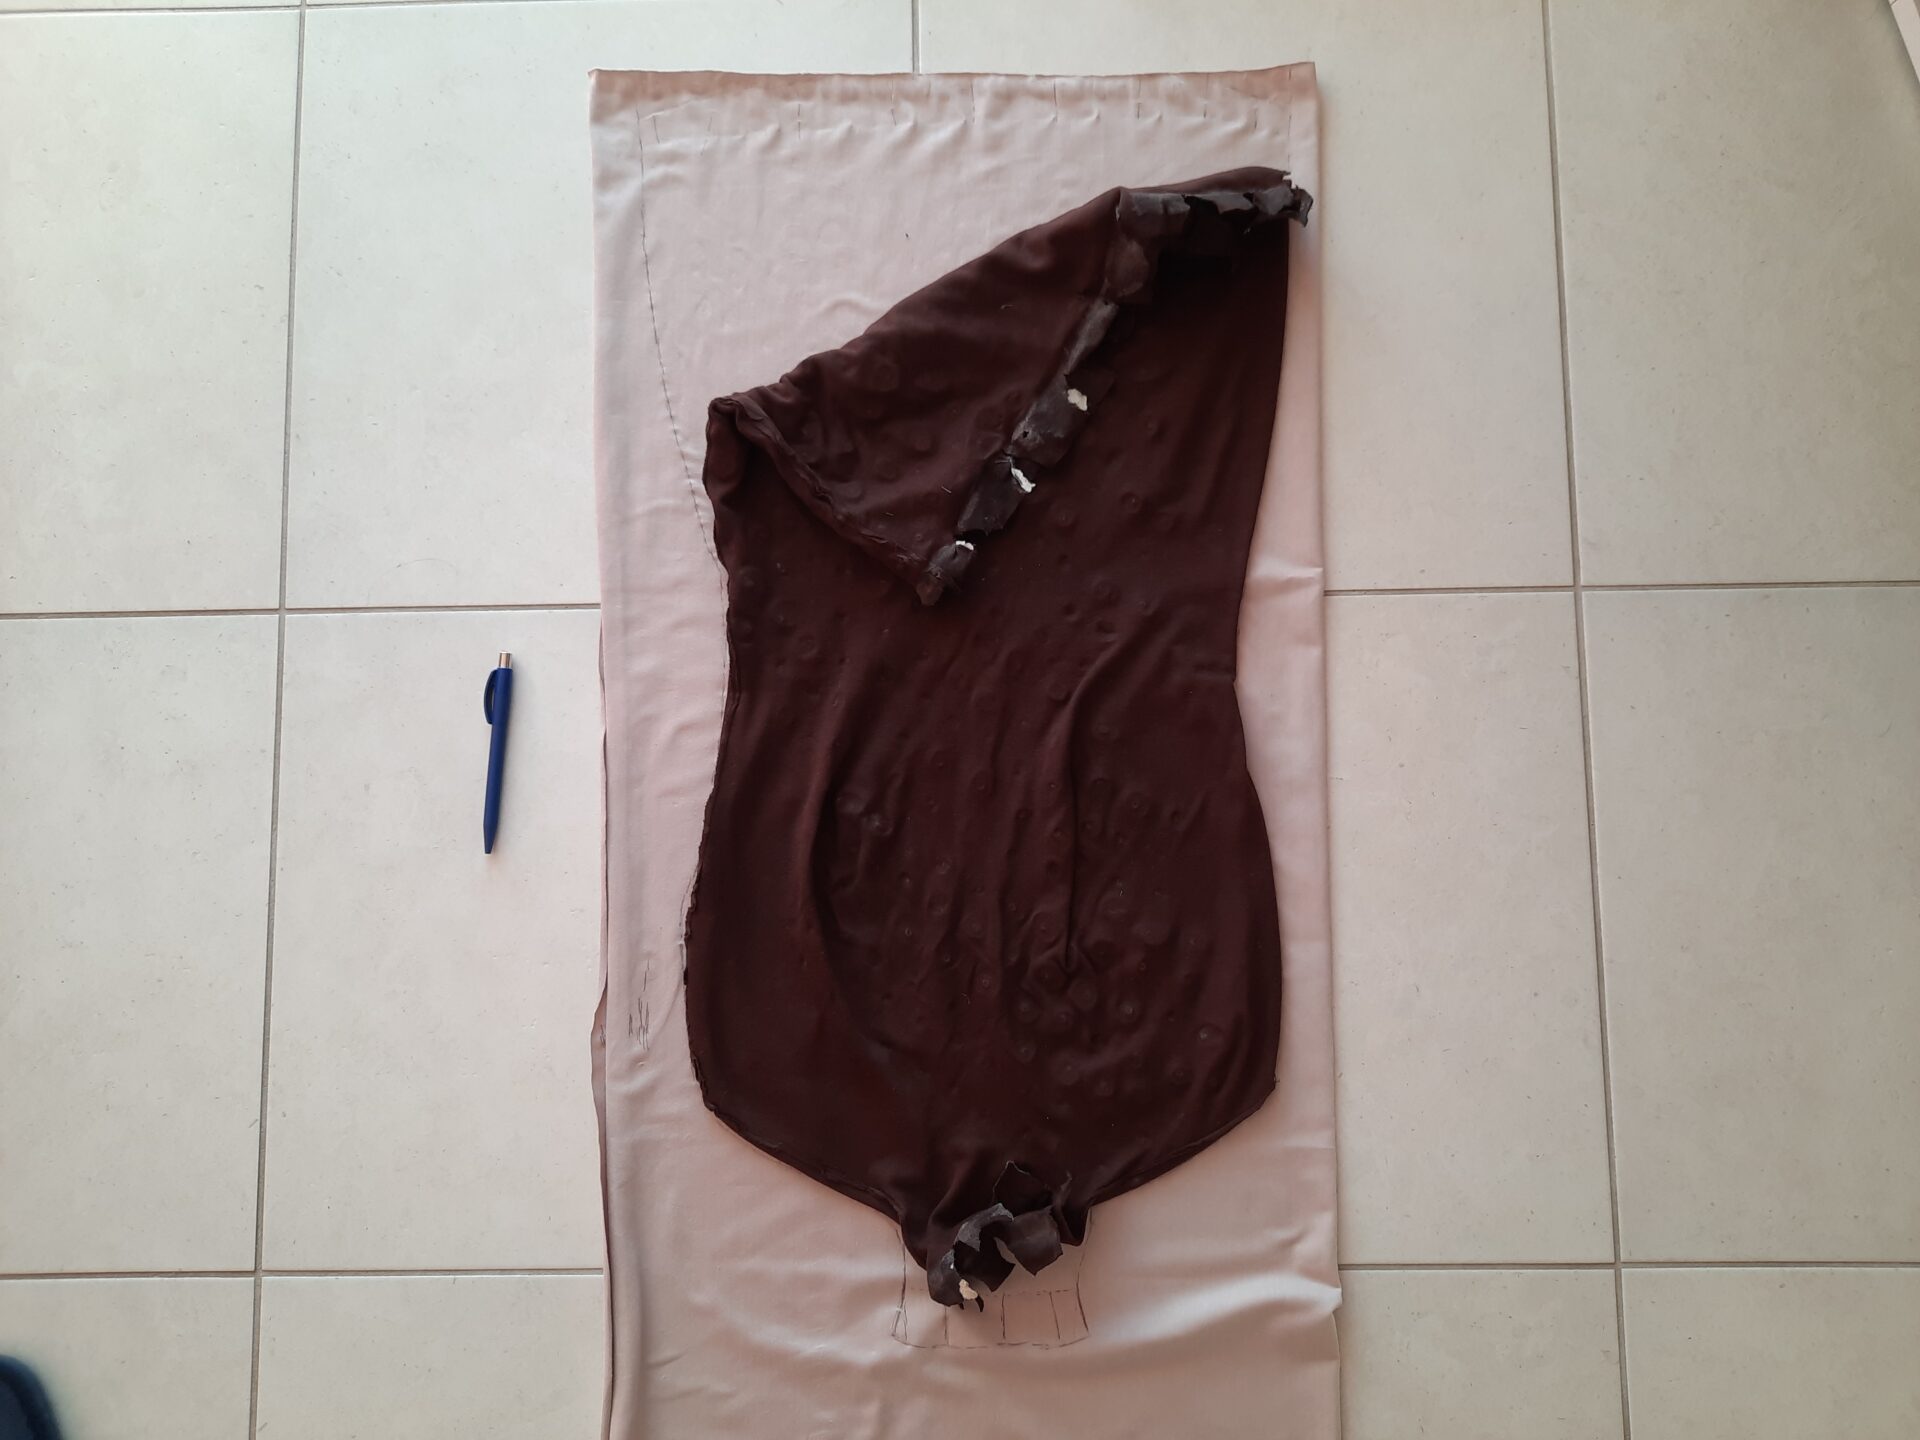
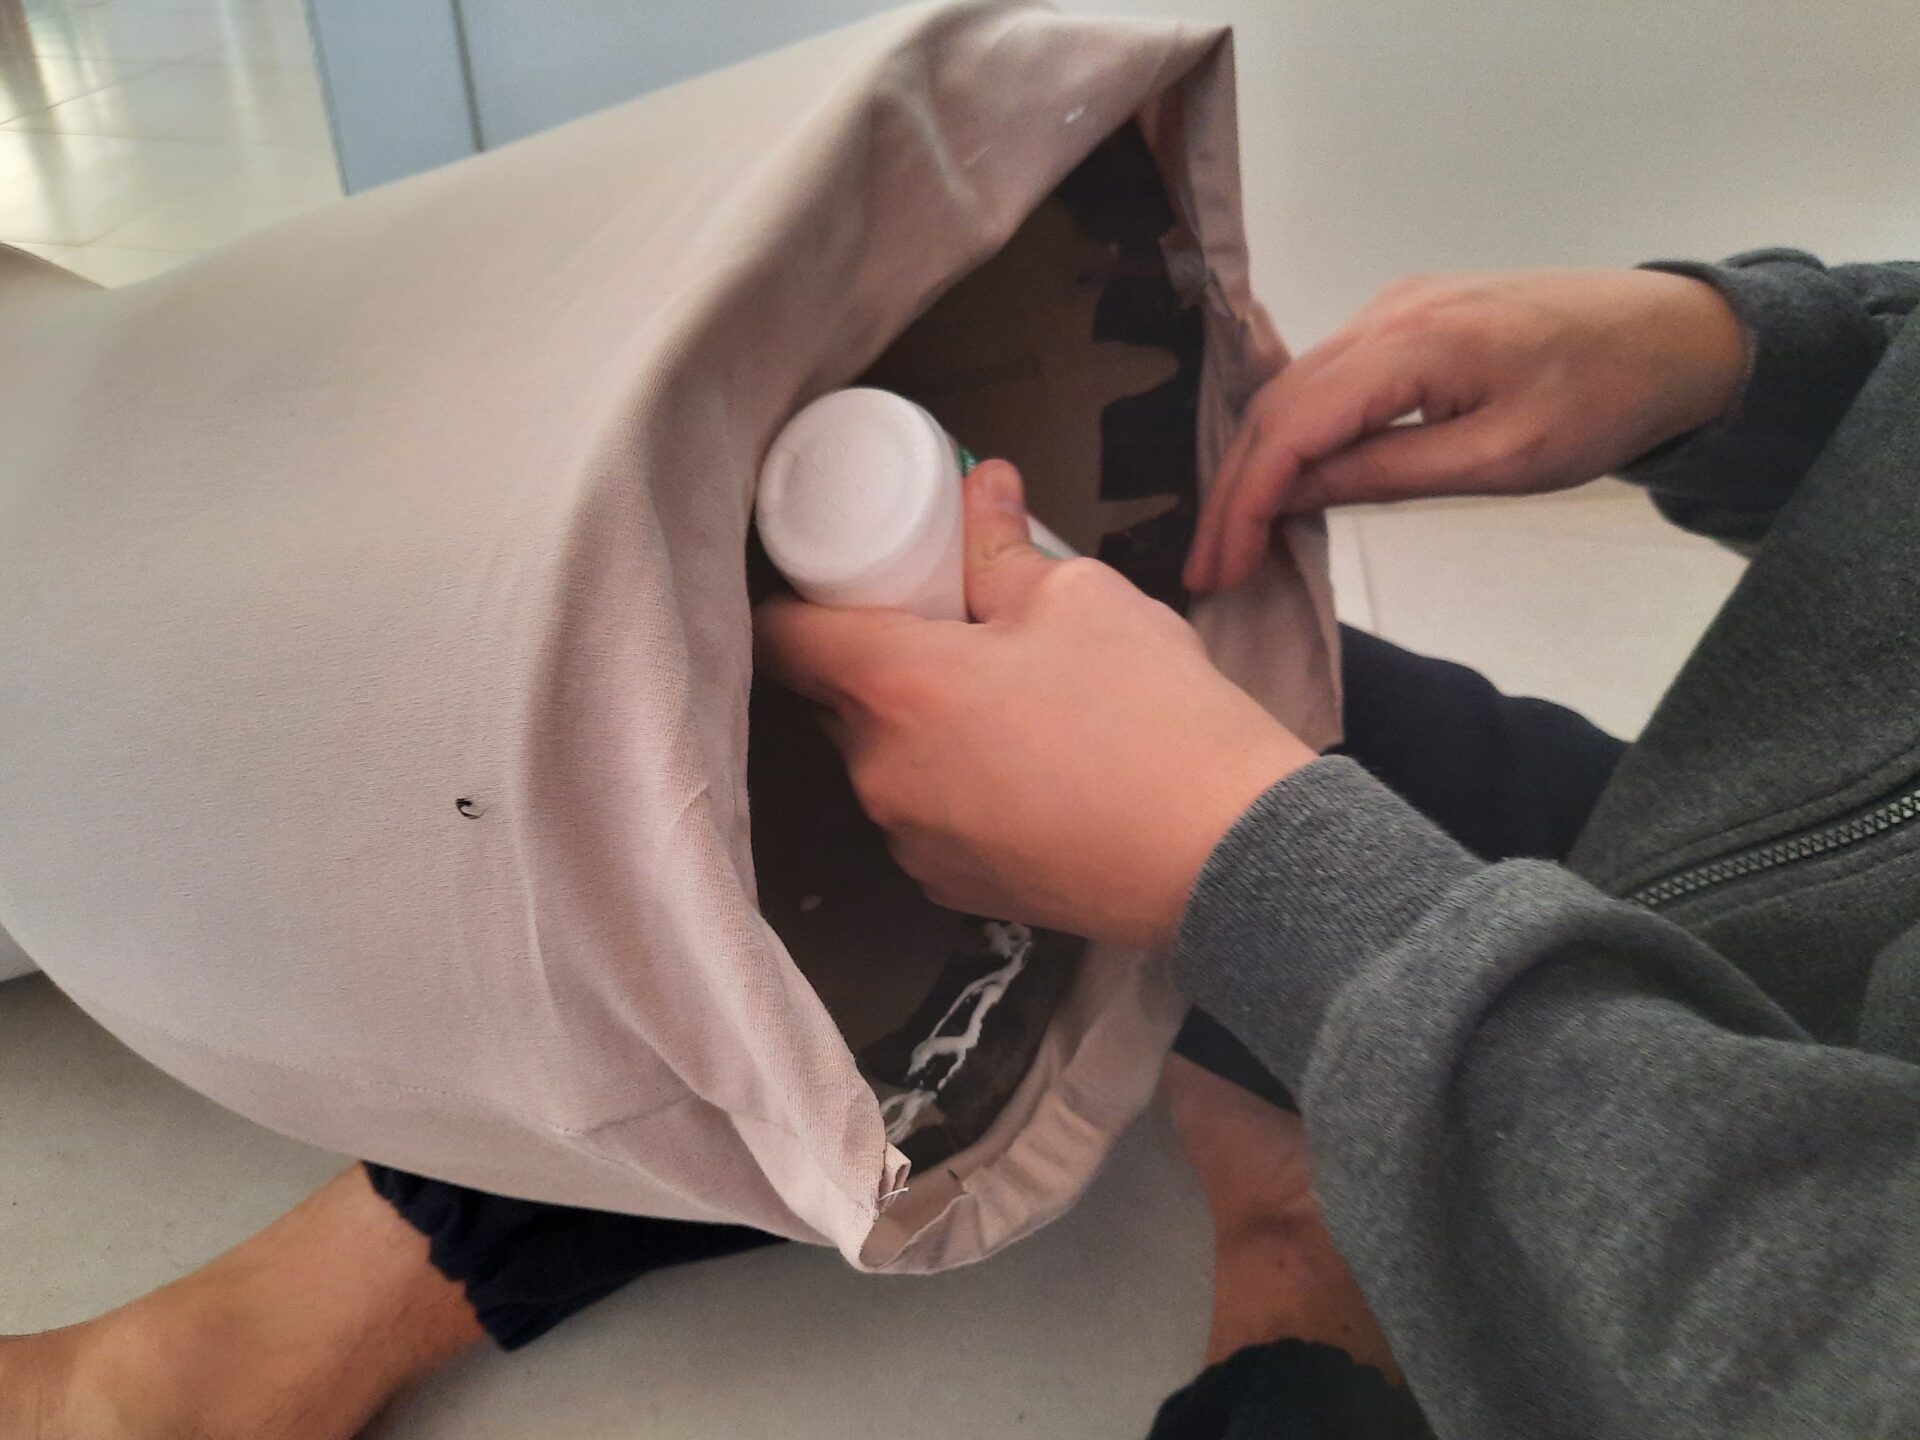
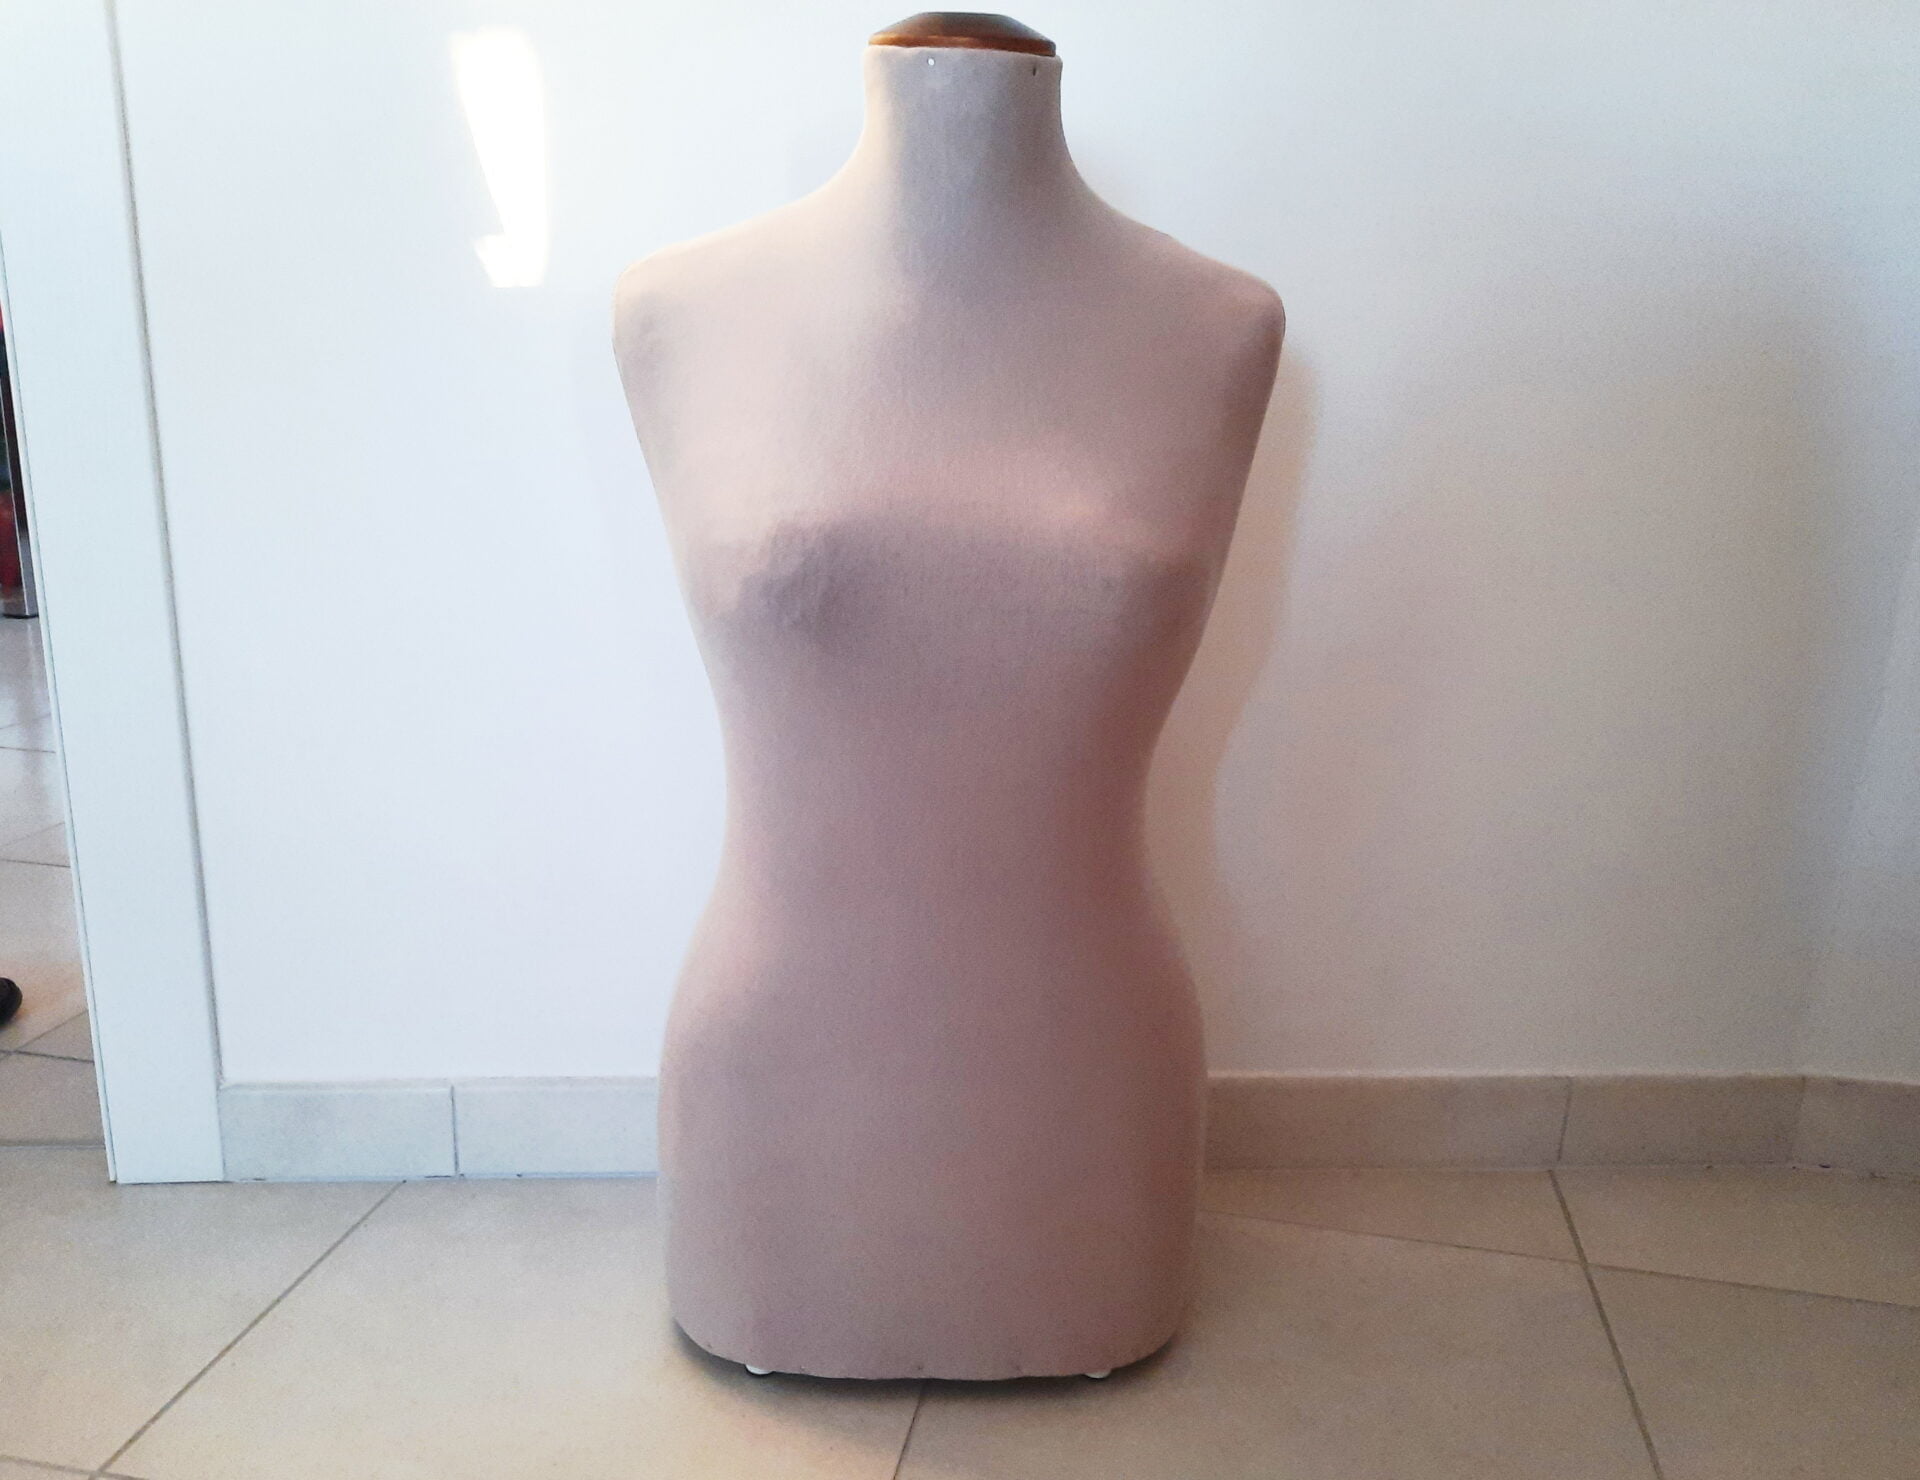
As for the new cover, we opted for cream jersey fabric. My husband traced the outline of the old cover and I sewed the new one: team effort at its finest.
My husband got to work sanding the wooden top to obliterate that old shiny paint. The bottom was of plywood and in such good condition it didn’t require any care from us.
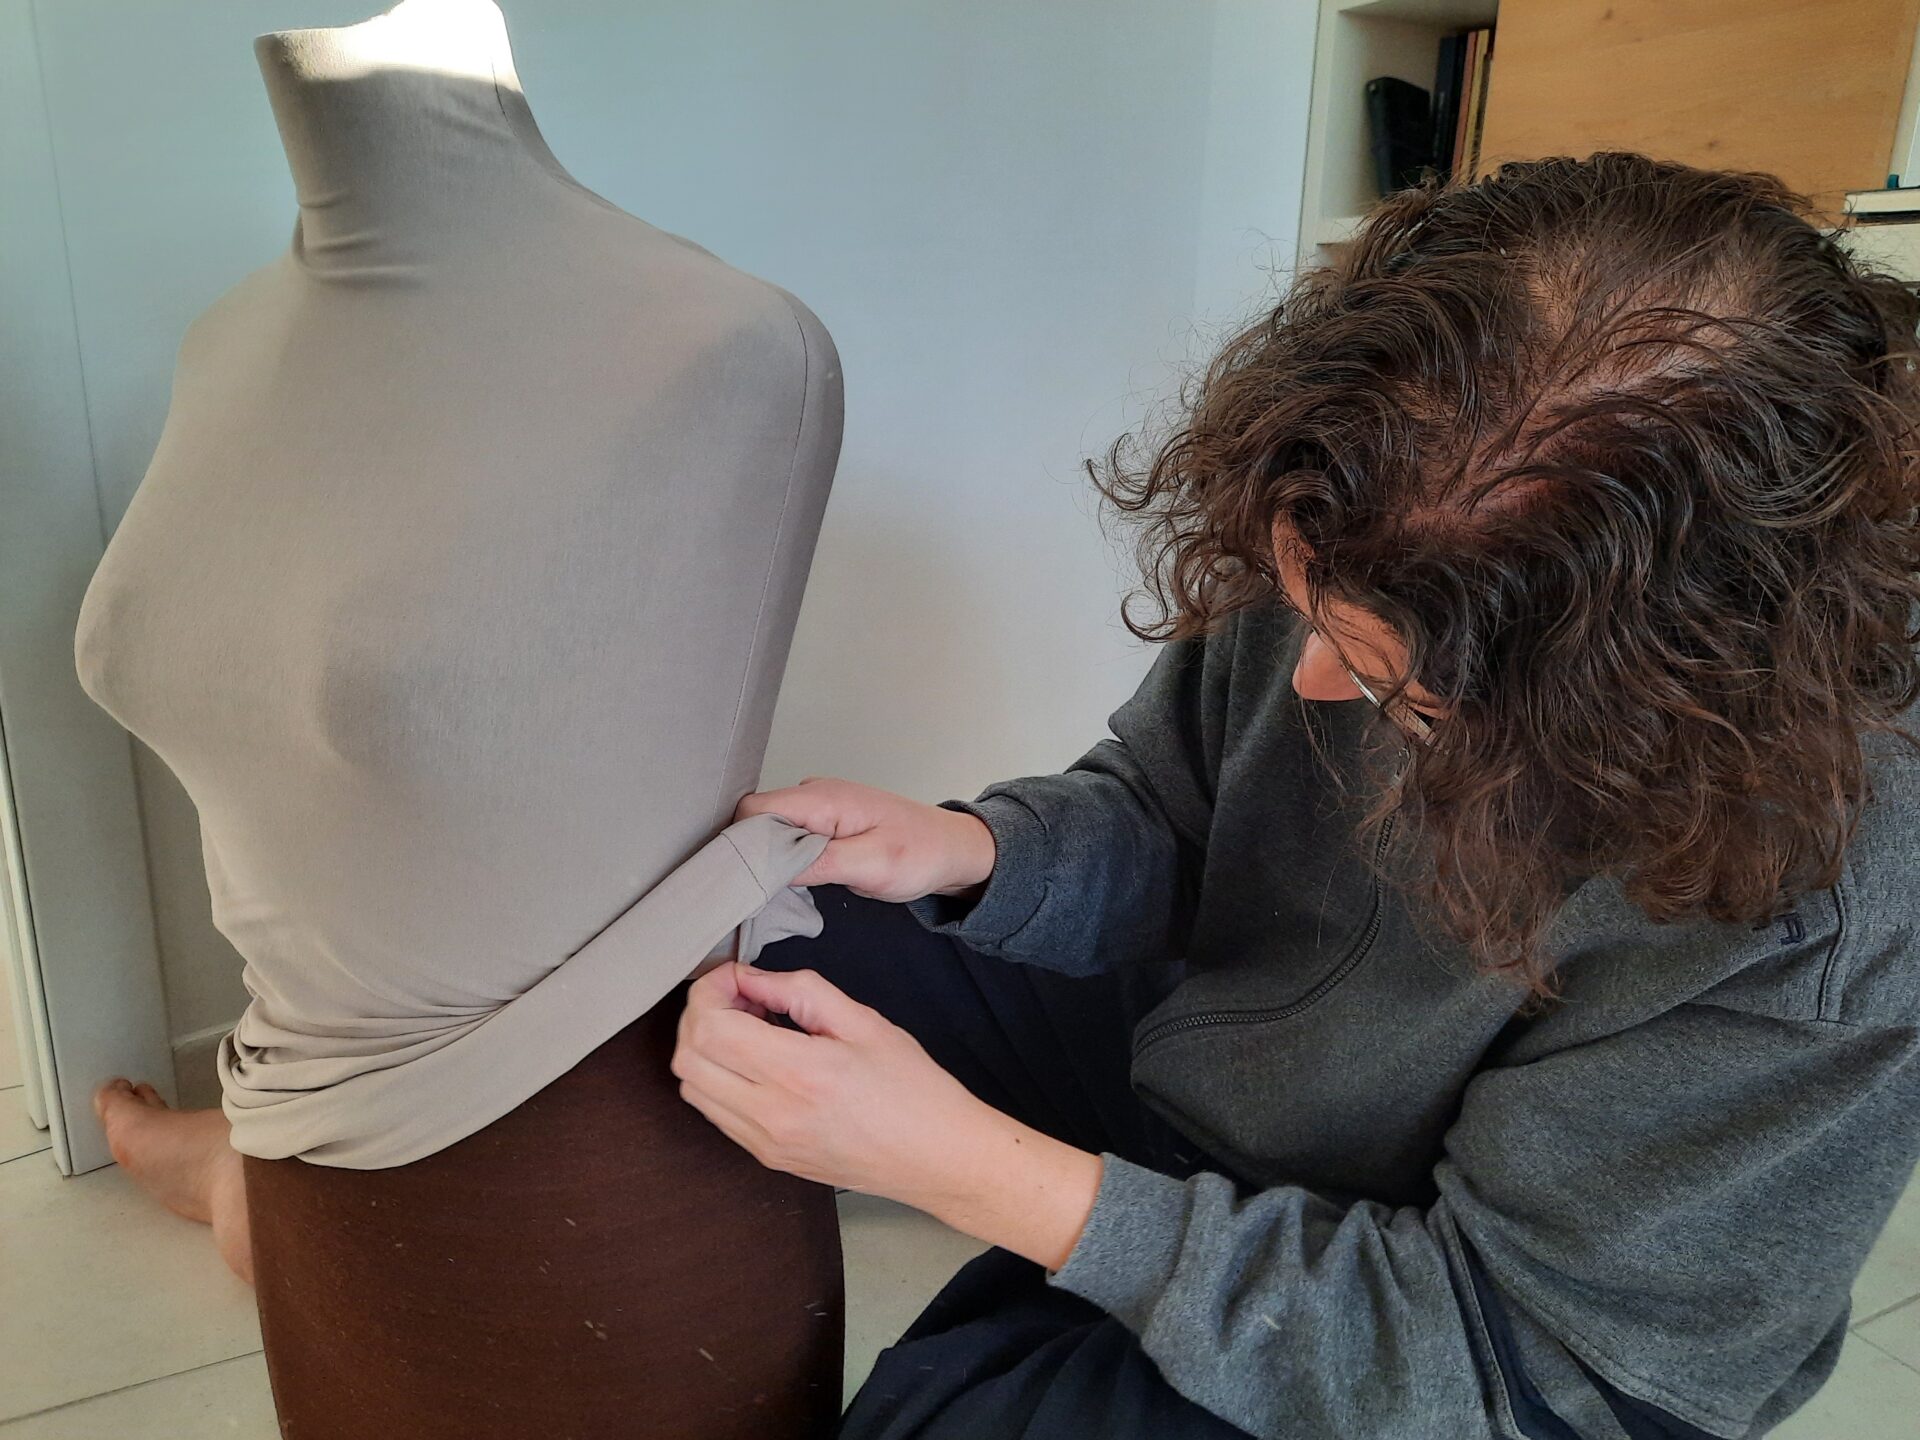
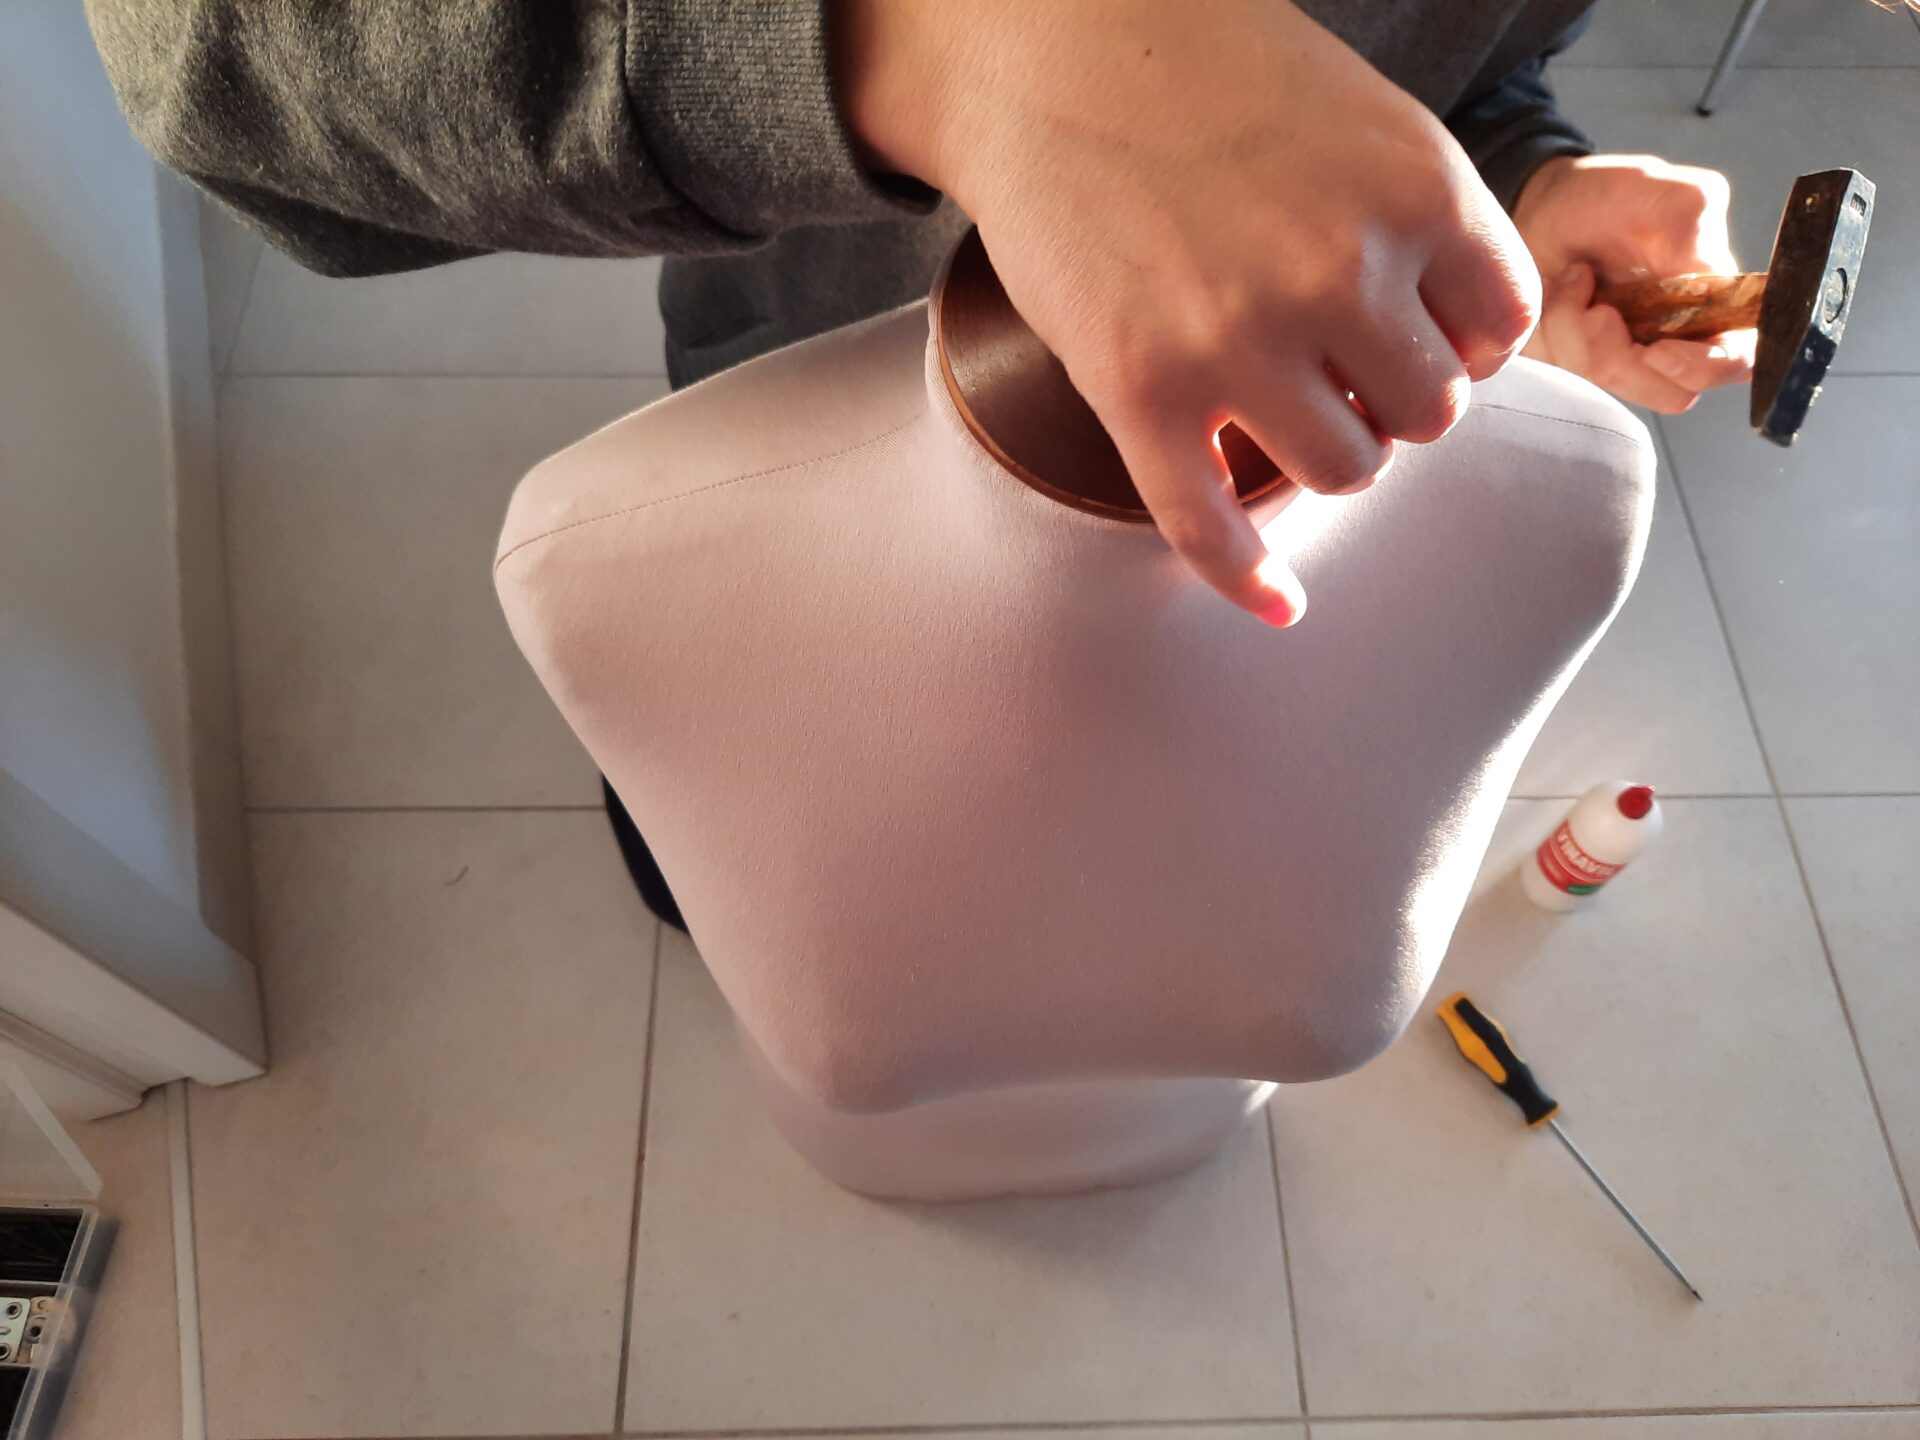
New cover on, my husband fixed it with new nails and a bit of vinyl glue.
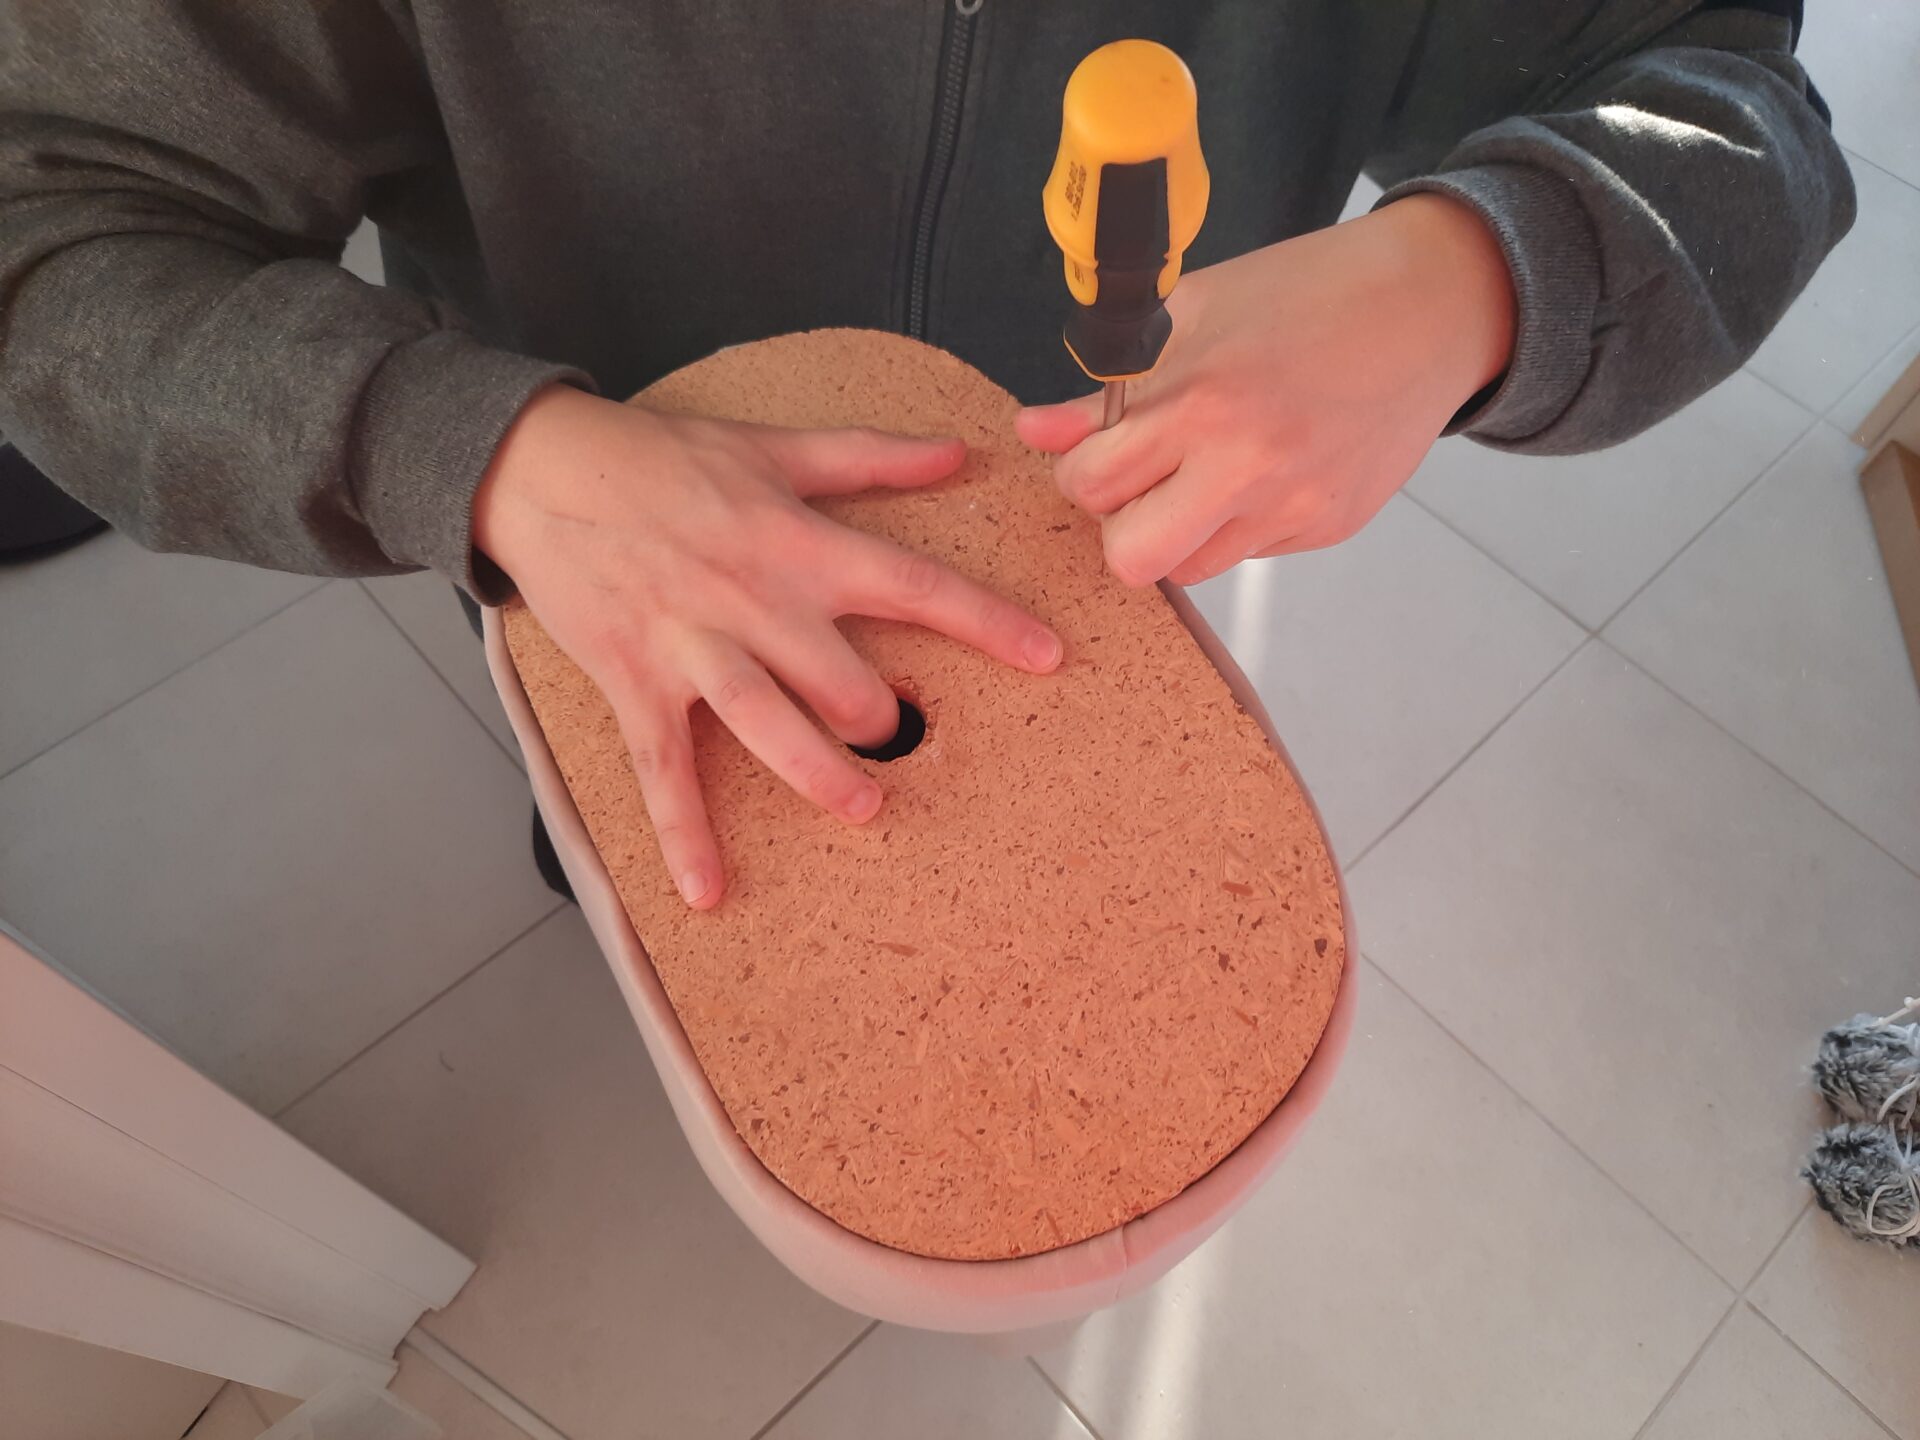
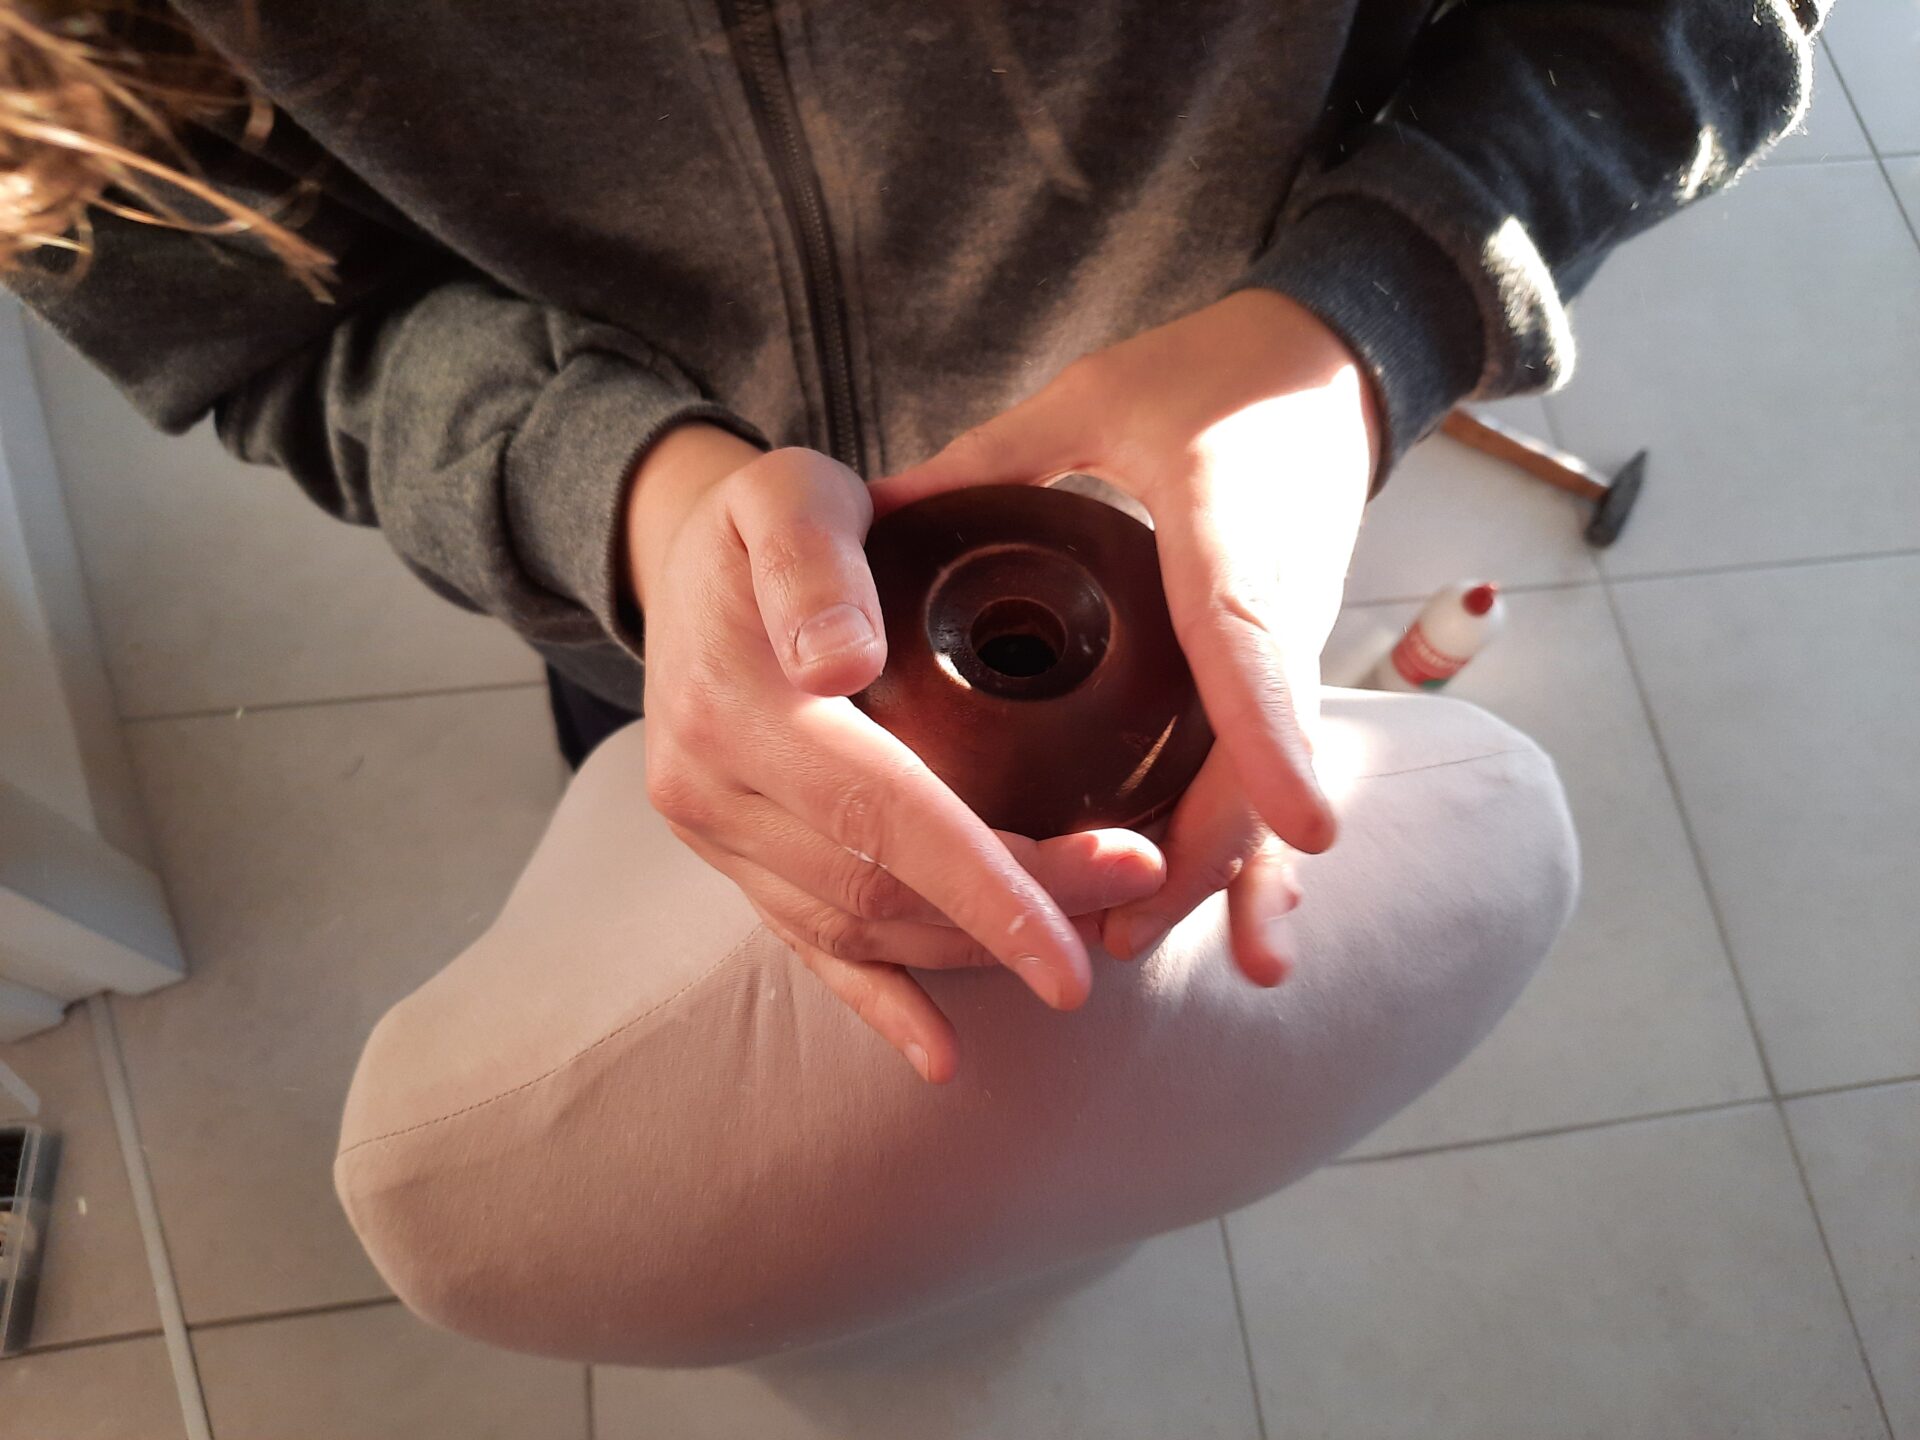
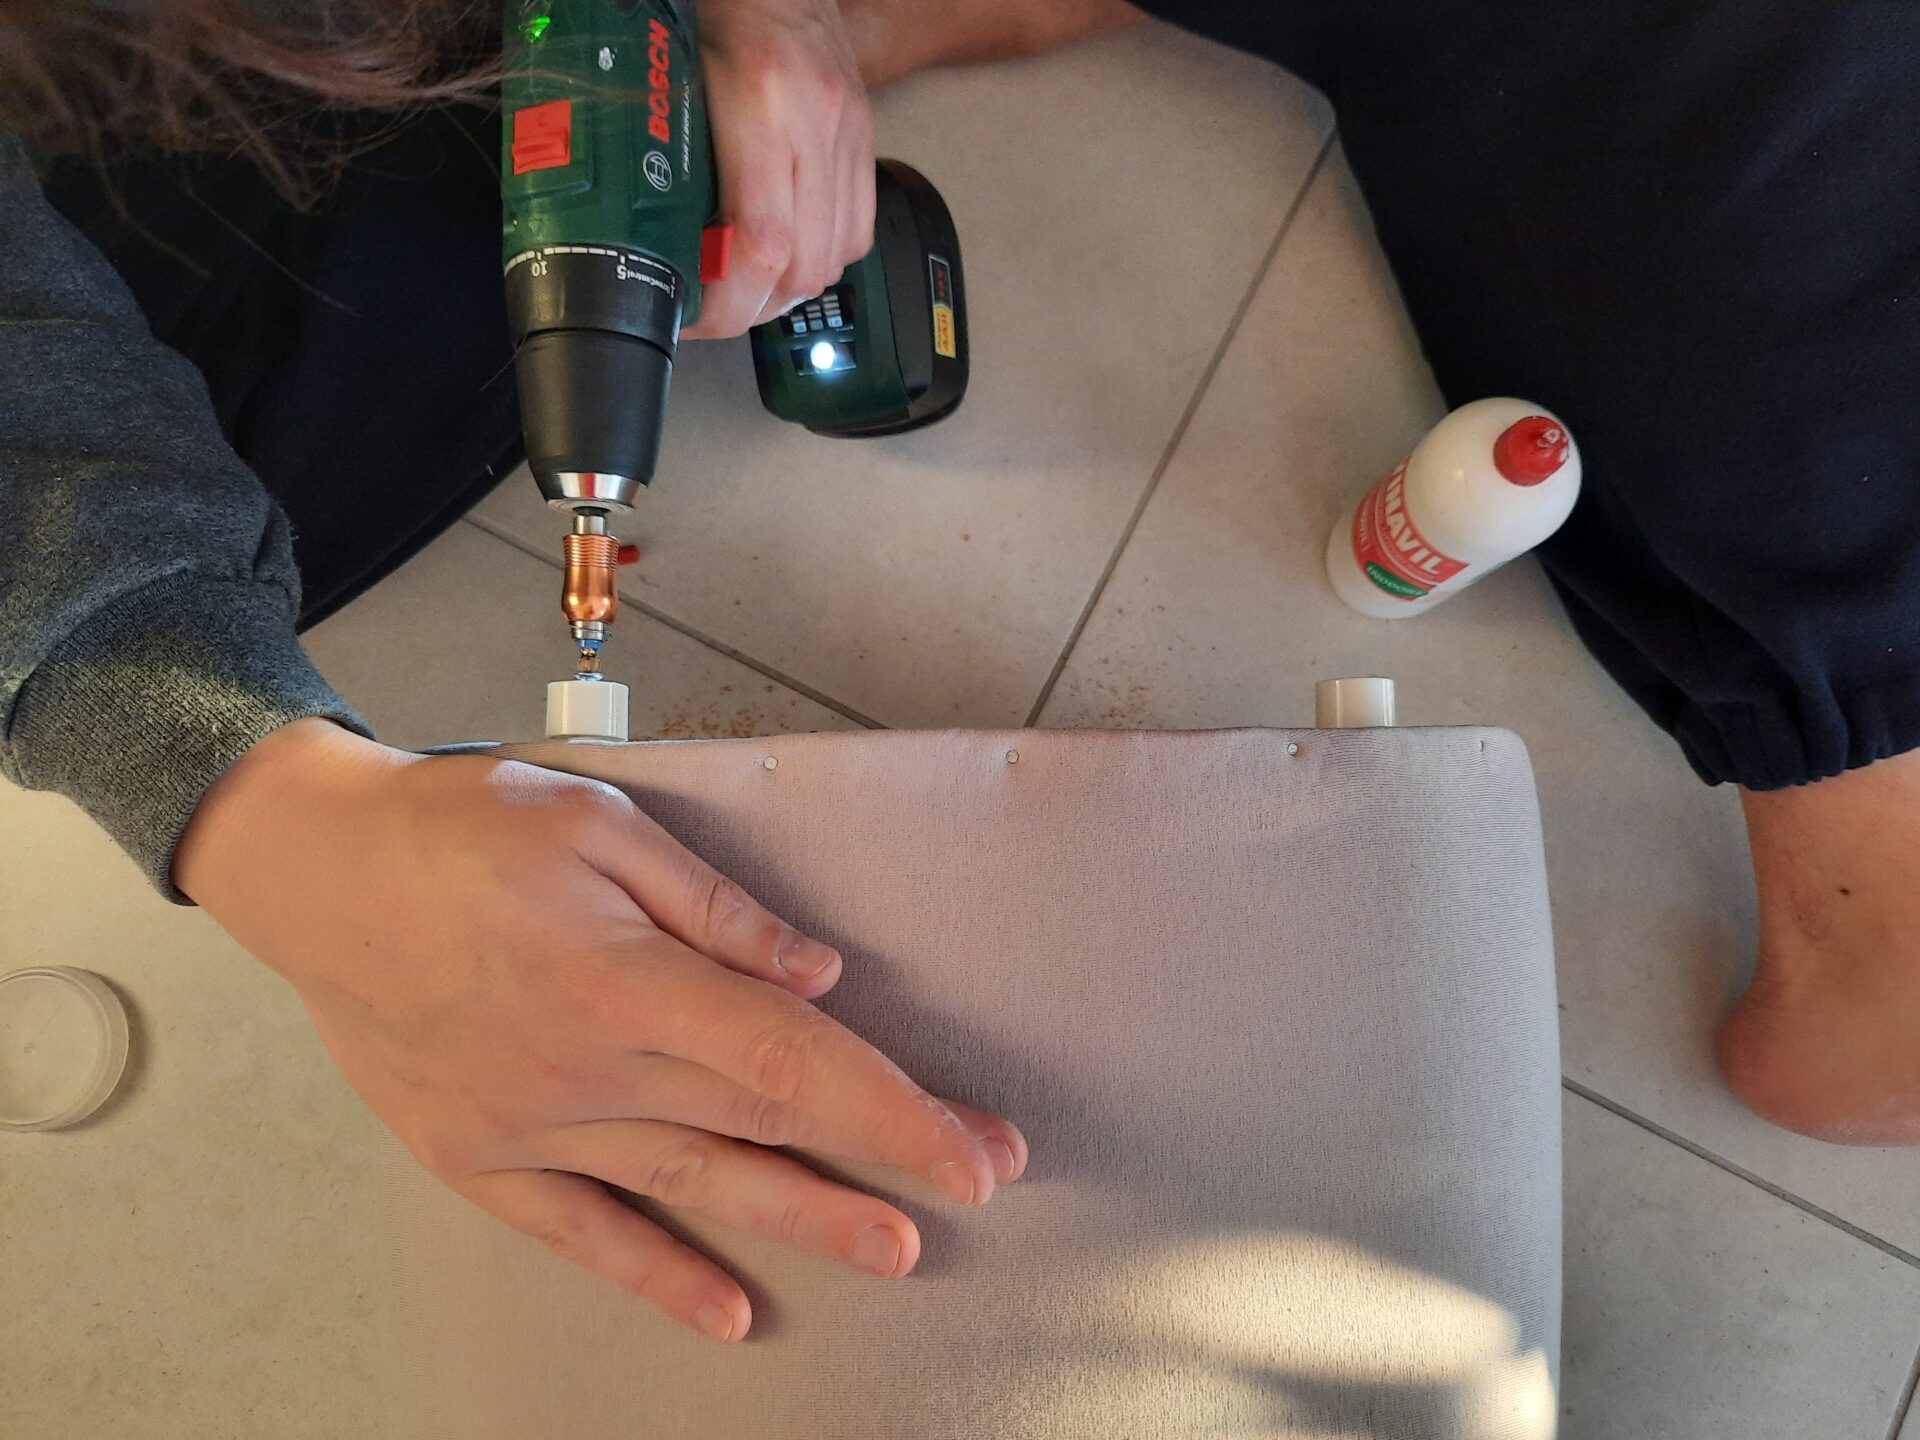
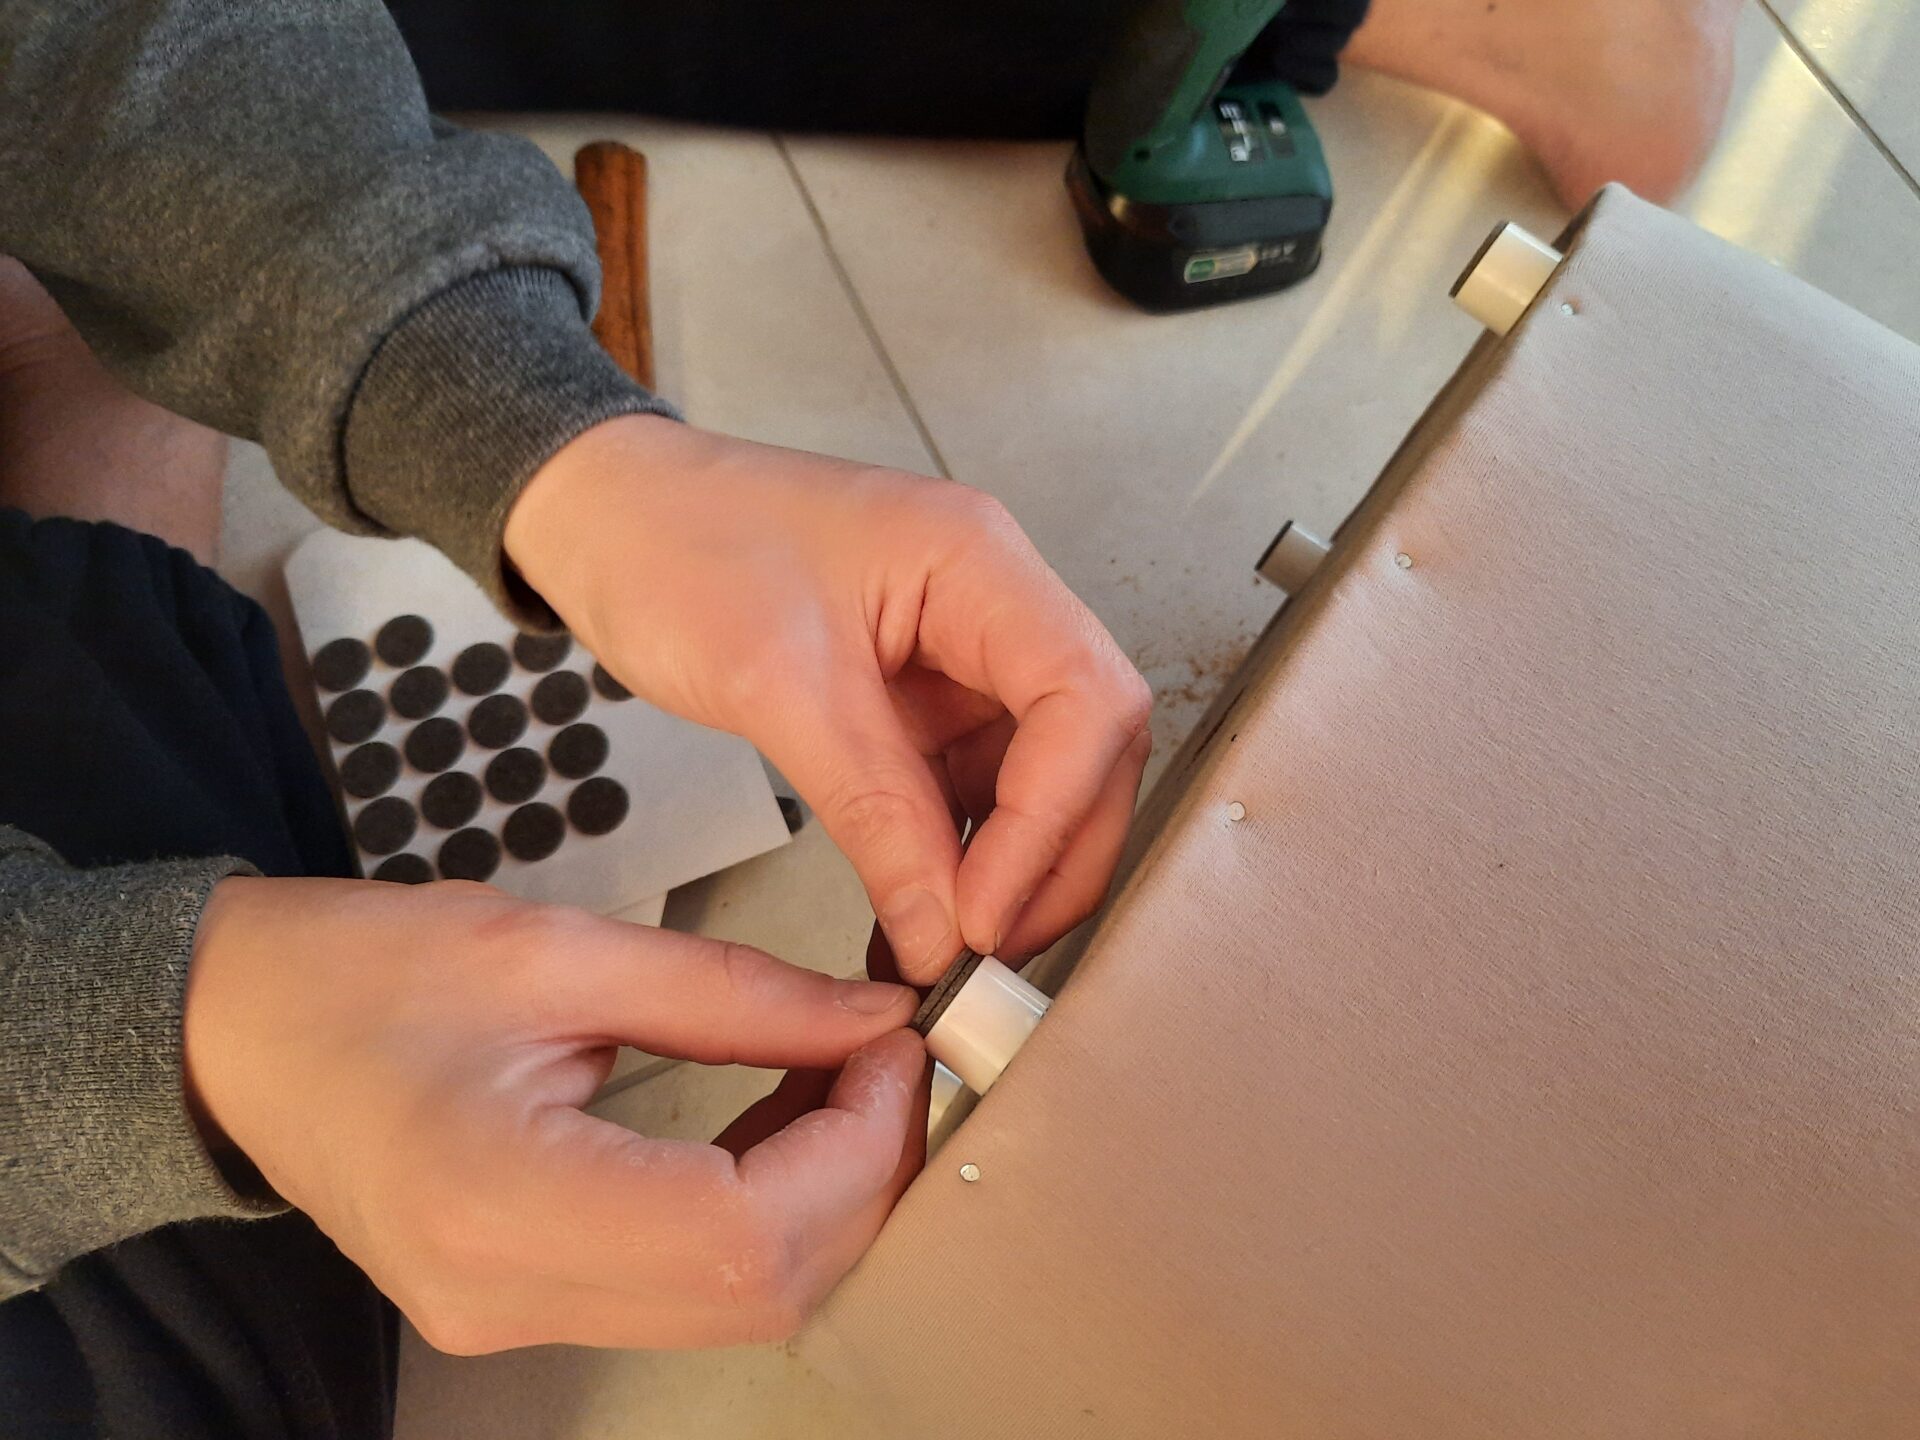
He also had the idea of adding four feet under the bottom, so I could easily use the dress form both on the table and on the floor. Sure, it came with its own steel stand, but we didn’t have room enough to keep it on. We stored the stand in the garage, ready to be placed back under the dress form whenever needed.
Now, this dress form proudly resides in my studio, serving both function and aesthetics.
Sure, it’s a smidge larger than me, particularly in the bust area. I don’t have the intention to use this dress form for dress fitting (using the body is always better, I think), but I’d like it a bit thinner in the bust so it can hold my newly sewn clothes easily. I know how to enlarge a dress form, but what about reducing one?
I decided for now I will try and use it as-is. I will one day figure out how to reduce the bust circumference. If anyone has a suggestion, please drop a comment!
Now, with my trusty revamped dress form, I can’t wait to dive into my next sewing adventure. Stay tuned for further insights into how I put this newfound treasure to good use!


